Silent mode


This week for the keyboard hacking, i decide to make a silent mode button. So whenever we are watching video and music we can easily stop it by push a button.

  1. I opened a keyboard and took the circuit board that I would use to create a switch button that would pause silent and play music.


2

2 Took the part that i needed.

4

3 Test the key on the computer to find out which one is the silent key.

5

4 I find out  not only the silent key but also the” paste key deleted key….”

6

5 Figured out what combination made a the “silent” button and soldered the cables to it.

7.jpg

6 Because my keyboard is smaller than others so it took me more time to solder the line on it.

9

7 But finally i made it.

IMG_7361

8 Plug in the keyboard on a computer and then connect the two side together and the silent button worked.

9 Test it on my computer and it all worked!

11

12


Heart sensor

This week we are going to make a sensor. Since i like lovely little things i decide to make a heart shape sensor.

1.Clean up the materials and cut them into right size square : conductive fabric,resistive fabric,normal fabric (neoprene),conductive thread,regular thread,foam.


IMG_7327


2. Cut a heart shape

IMG_7329

3 Put the materials in order of regular fabric, conductive fabric, restive fabric and lastly foam. Sew the materials all together .

IMG_7328


IMG_7336

4 Cut off the bigger part of the conductive fabric, restive fabric and lastly foam. Make sure the normal fabric covered all of them.

IMG_7337    IMG_7334

5 Repeat on the other side.

IMG_7330

6 Sew the two halves of the shape together.


IMG_7338

IMG_7340

IMG_7344

7 Test the sensor and it works!!!

IMG_7387

IMG_7384

Switch and speakers

For the first attempt, I sew the fabrics and sponges together inside a pocket I made.

So it didn’t work at all the first try, I later figured out it was because I sew all the parts together with unconductive thread. Also to mention about the design of the pocket, is for easier correction. I know I won’t get it right the first time, with the past few experiments taking much more time than I intended. So afterwards, I sew each conductive fabric onto one sponge, placed the resistive fabric in between and placed it back into the pocket. This time it worked much better.

Moving on to the speaker, first I built the circuit.

20151008_115111

I planed to connect the circuit onto a t-shirt for the speakers, and so I tested it out. But unfortunately, there is a short circuit problem. The 555 heats up when I connect the battery to the circuit, but the speakers didn’t work. I have tried to redo the circuit but didn’t make any difference. The circuit itself is done as shown on the graph, so it is in the right order.

20151014_195727

For now, I can only work in class to figure out the problem and redo it again later.

Screaming Scarf_Textilo

This week i decide to make a screaming scarf with Textilo. So when we walk on the street in a freezing day and tired of saying ” Pardon ” when people blocked our way , we can  just easily push the button and make our scarf screaming to get people’s attention. It is interesting and it helps us to saved a lot of time by saying “Pardon” in a freezing day.  >.<


(Since we did the first few steps together so i took the photos of the first few steps from the ppt.)

1 Cut a 5cm neoprene disc.

Screen Shot 2015-10-15 at 上午10.59.19

2 With a CNC machine cut the Flectron circuit following this schematic.

Screen Shot 2015-10-15 at 上午10.59.33

3 Remove the unwanted part of the circuit.

1

4 Place the circuit on the neoprene and iron it

Screen Shot 2015-10-15 at 上午10.59.11

2

5 Solder the 4 componetes (555 IC 100 ohms resistance, 10&100 mico capacitors) according to the schematics.

3

6 Test by placing a 3v to 15v battery on the PLUS& round pad undernearth it then a resistive sensor on the two upper pads(input) and then an actuator on the two lower pads(output).Screen Shot 2015-10-15 at 上午11.21.17

7 Find a comfortable fabric and cut it into scarf shape, placed the sensor sounder,pad, and battery in a right way. Solder the battery and sounder on the pad.

4

8 Sew the sensor on the pad.

5

9 Sew two different line from the sensor to negative and positive side of the pad.

6

7

8

9

10 Cut down a small fabric to make a pocket for the battery and sew it on the scarf.

10

11 Sew it perfectly size for the battery and put the battery in it.

11

12 Check every part of the connects and sew the unstable part. Make sure everything connect well and works.

12

13 Finally sew the two side of the scarf together and here we are—- a beautiful but screaming scarf.

14

14 WEARING IT AND SCREAMING…..

13


textilo wearable accessory


conductive_button_02

The first step in creating our wearable noise accessory is to create a textile sensor.

sensor_description

There are several ways to approach this. Here I started with an ordinary black fabric, added a layer of foam, another layer of black fabric, a conductive fabric, then a resistive fabric on side one. On side two I repeated the pattern of a resistive, a conductive and an ordinary fabric.

sensor_web_02

Don’t forget to test how conductive your sensor is before sewing it together..!

IMG_1450

Now we want to connect our conductive sensor to a textilo to control a little speaker. You can find a step by step tutorial on the textilo itself here. The trickiest part for me was soldering the components to the texilo itself as it can be quite tricky to soder carefully without burning the fabric.


textilo_sodered

The next step is to brainstorm and decide what sort of material or wearable you want to create. I worked with very talented Jaqueline Banting, a fashion student at Parsons Paris. We conceptualized a wearable accessory made out of fabric that fits like a necklace. This meant, we needed to start from scratch. We chose a few fabrics and started to work out the composition of the textilio, sensor, battery and speaker.

wearable_tech_01_web

This quickly turned into this. A piece with two pockets, the one on the left for the sensor, the one on the right for the battery.

wearable_inprogress

It was time to test the functionality. Unfortunately due to some soldering mistakes it was not functioning properly.

IMG_1743

But, we didn’t let that hold us back from finishing the prototype. The wearable was created, the textilo was pinned and after a few hours in the fashion lab we came up with this…


IMG_1757

I plan to re-create the textilo and I hope to be abel to get it to a working state soon!


Textilo – Noisy Socks


We made a Textilo!


You can follow the essential steps to create a textilo:

First we laser cut this circuit on conductive fabric that we sticked to a regular fabric (the black one).IMG_5557

Then, we soldered the circuit with the different components: the generator, the speaker and the soft sensor that we made last session (I personally made a new one that you can see bellow).

IMG_5565 IMG_5573

Here’s my new sensor that’s more adapted to the socks I’m making because of its form.

IMG_5660 IMG_5661 IMG_5663 IMG_5664


With those crocodiles we’re able to check if our circuit is working.IMG_5665 IMG_5684

And it is working!!!!

(I decided to glue the textilo for security reasons, you’re not forced to)

Then I started sewing the whole circuit to my socket. I created two pockets: one to put the generator, and the other for the speaker. I decided to keep the textilo apparent for esthetic reasons (I like the colors and the shape of it). I could always cover it with fabric if I wanted to.

IMG_5855 IMG_5859

I’m now wearing this socket that make noise when you press on the floor.

IMG_5879 IMG_5880 IMG_5882 IMG_5887 IMG_5888


You can check out this compilation of insane videos that I took with this socket 😉


Textilo Sensor T-shirt

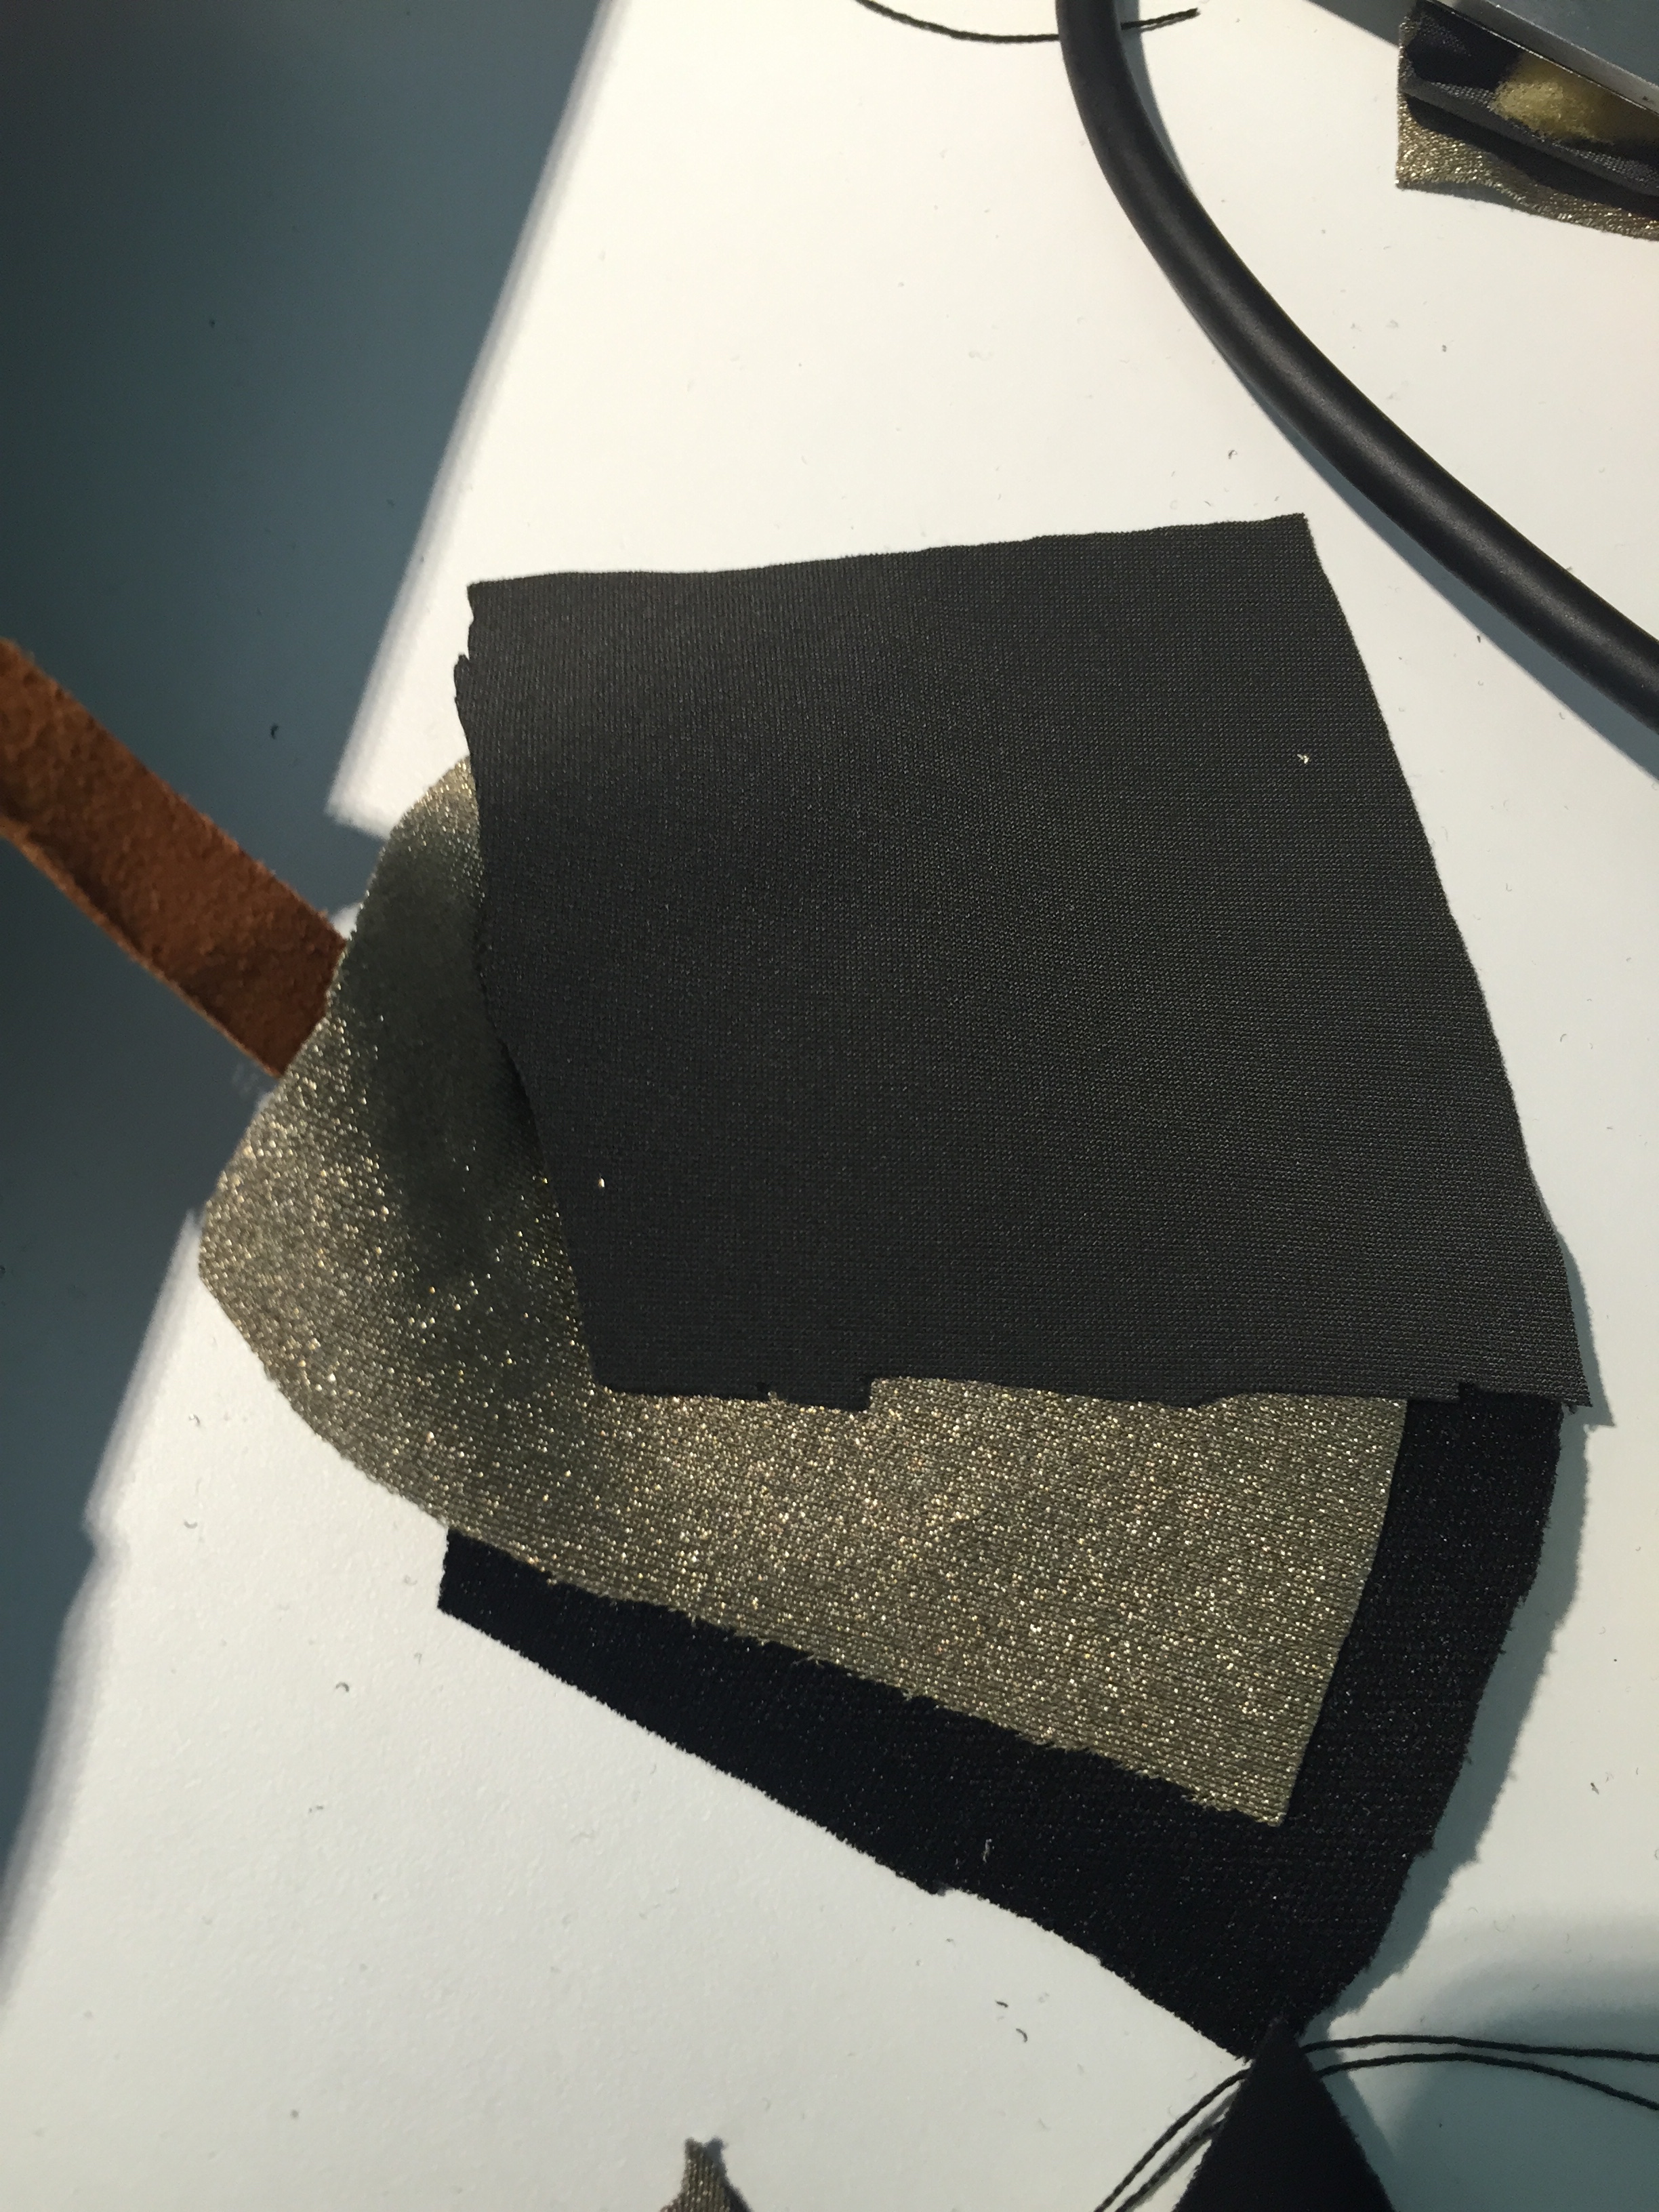
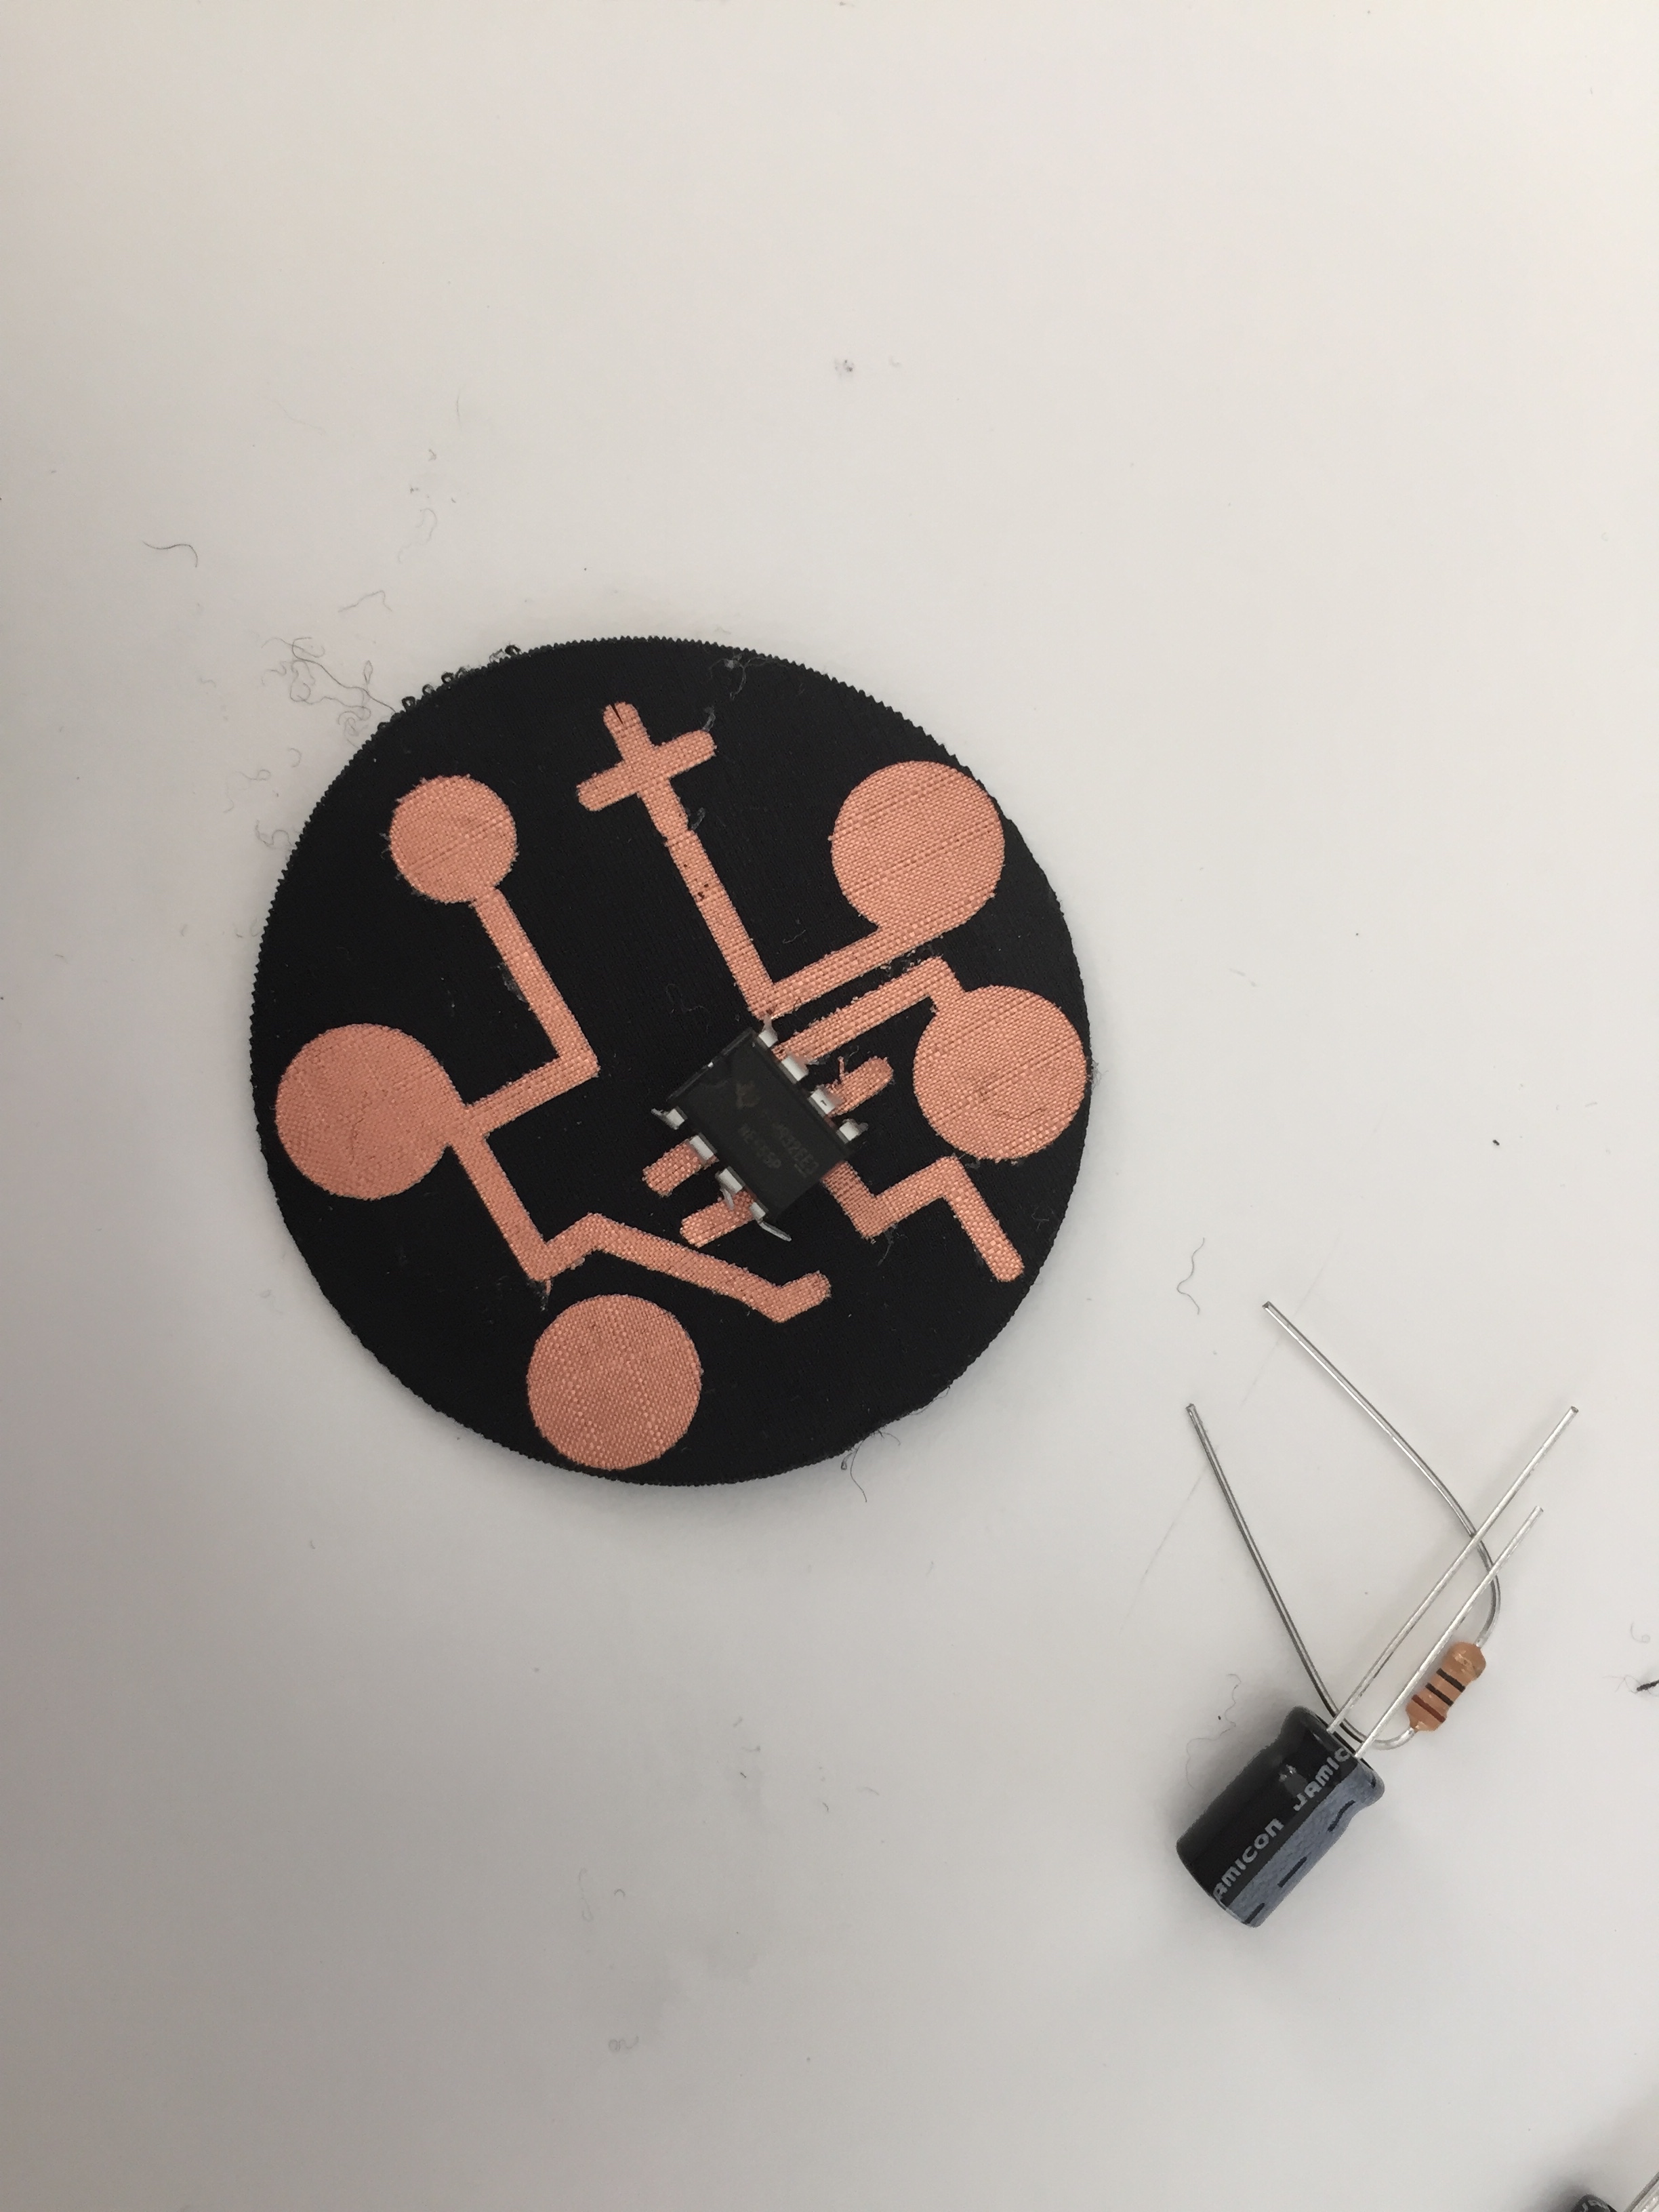
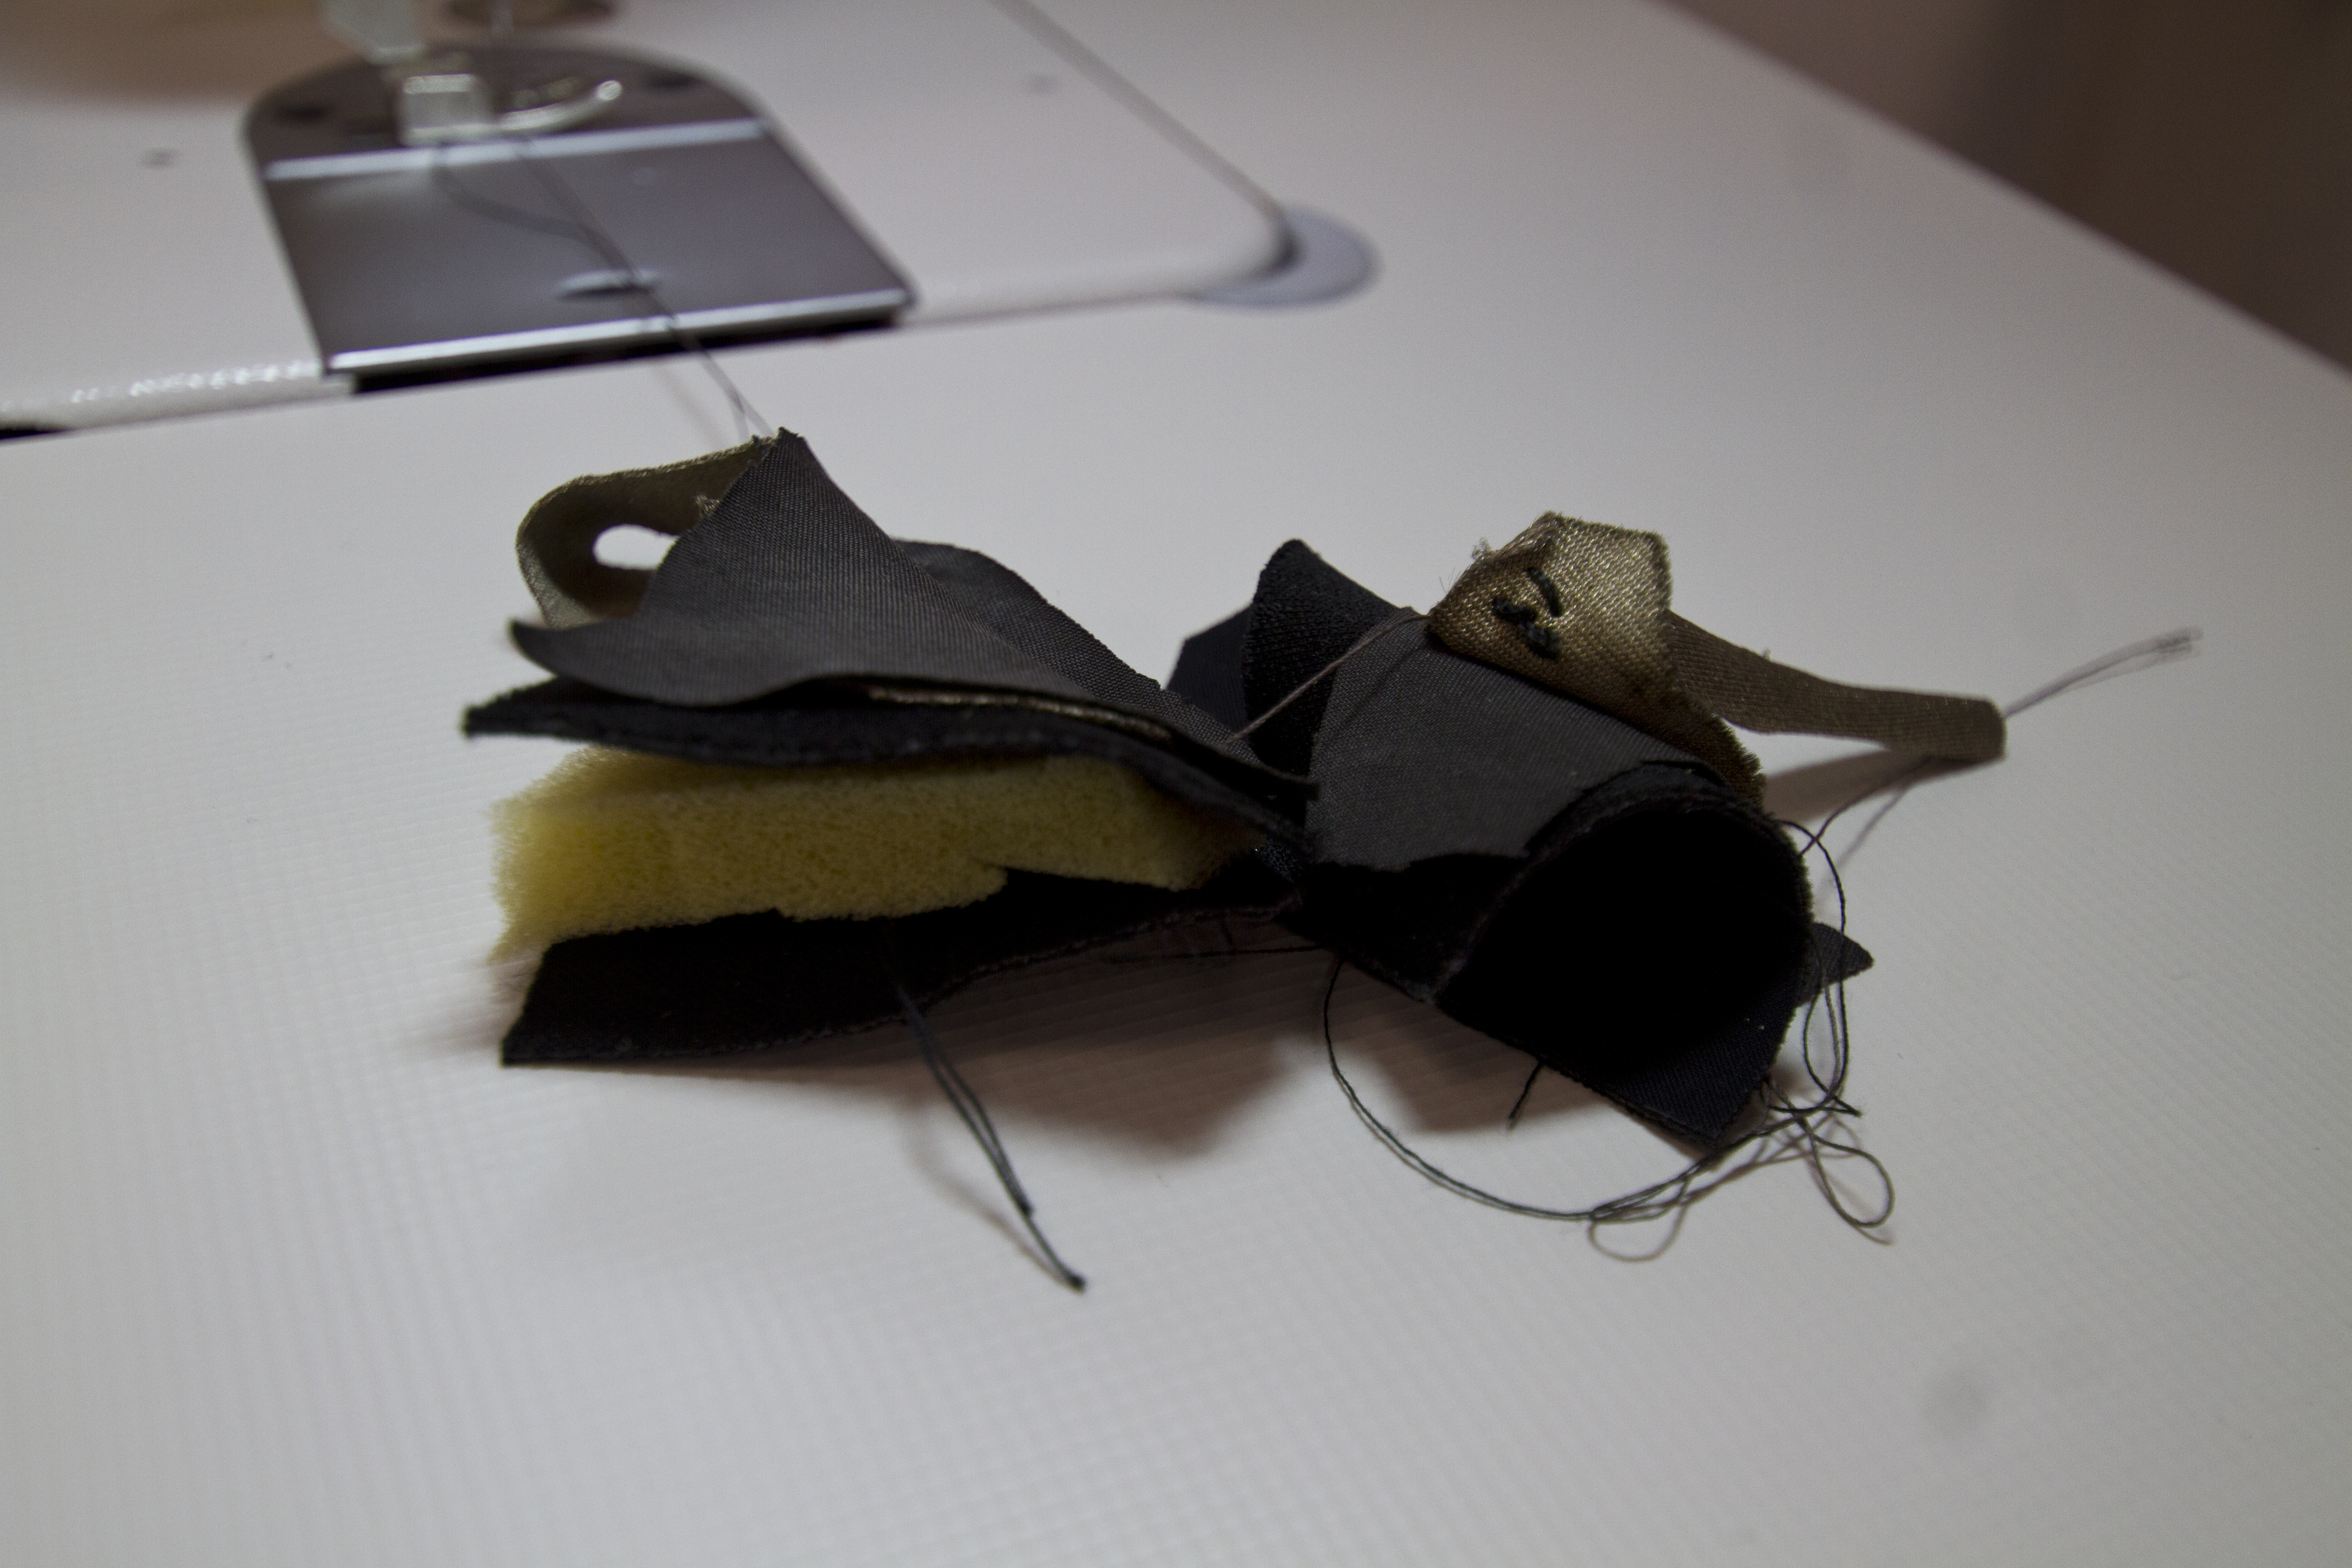
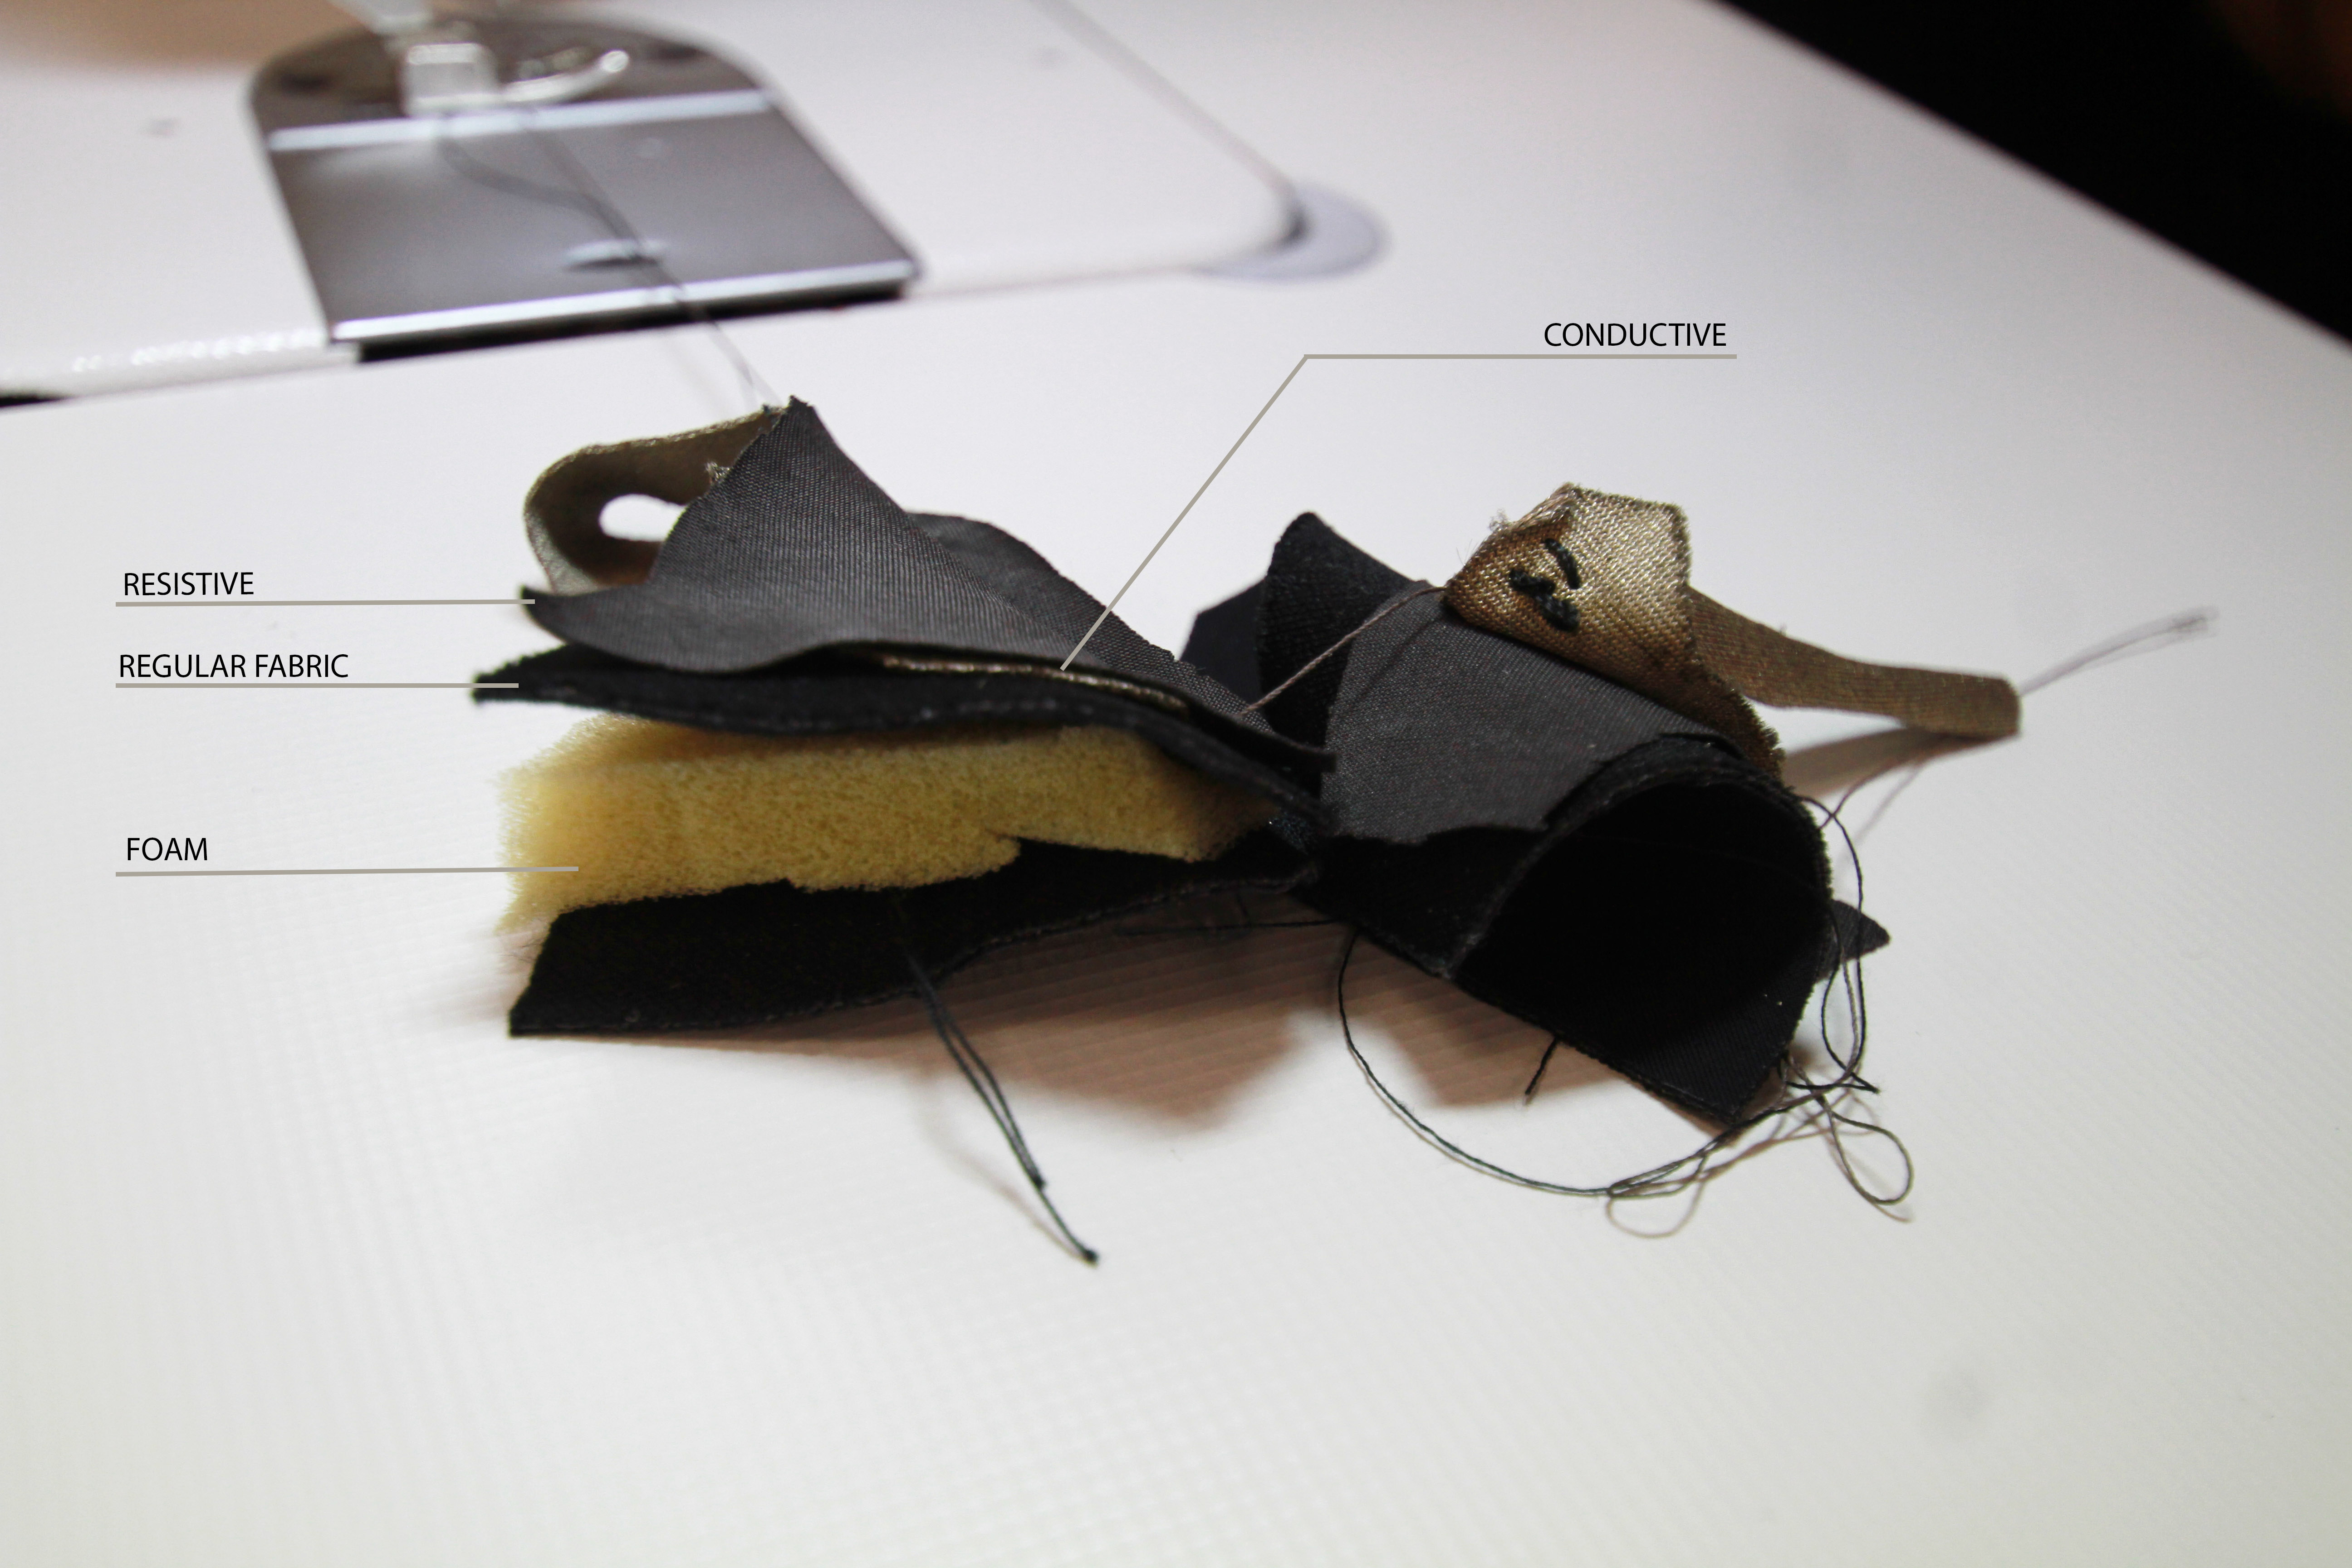
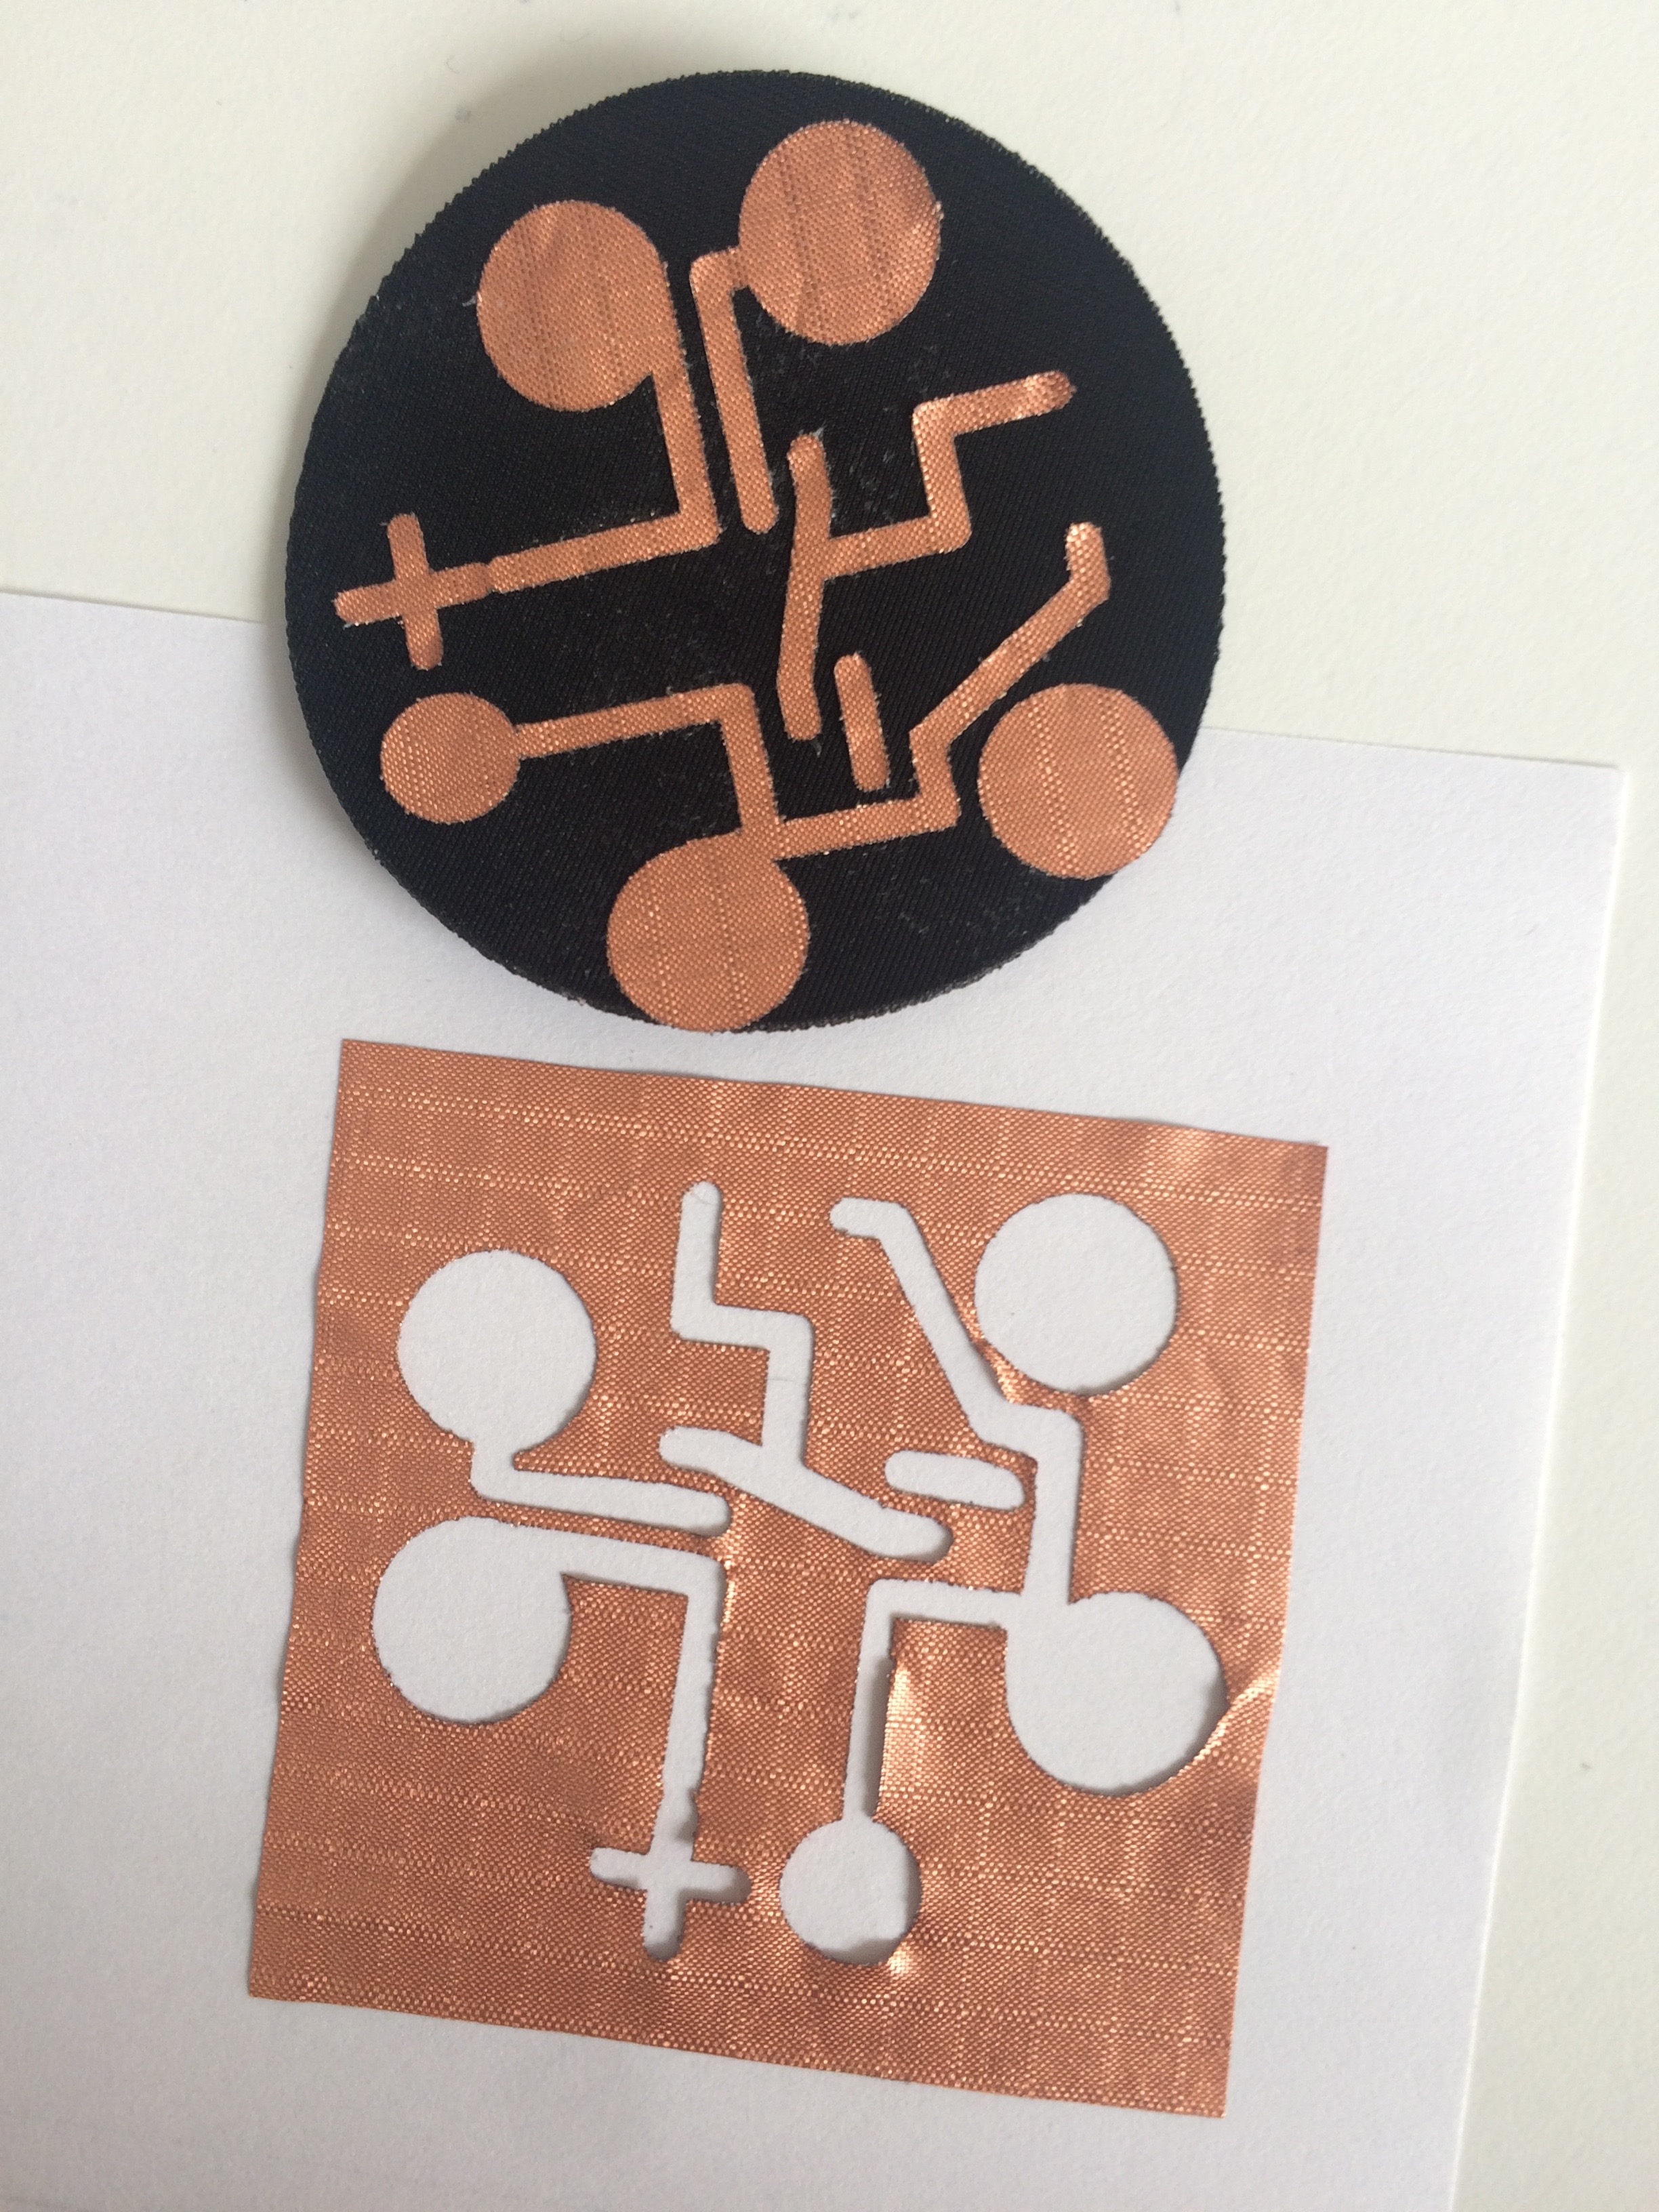
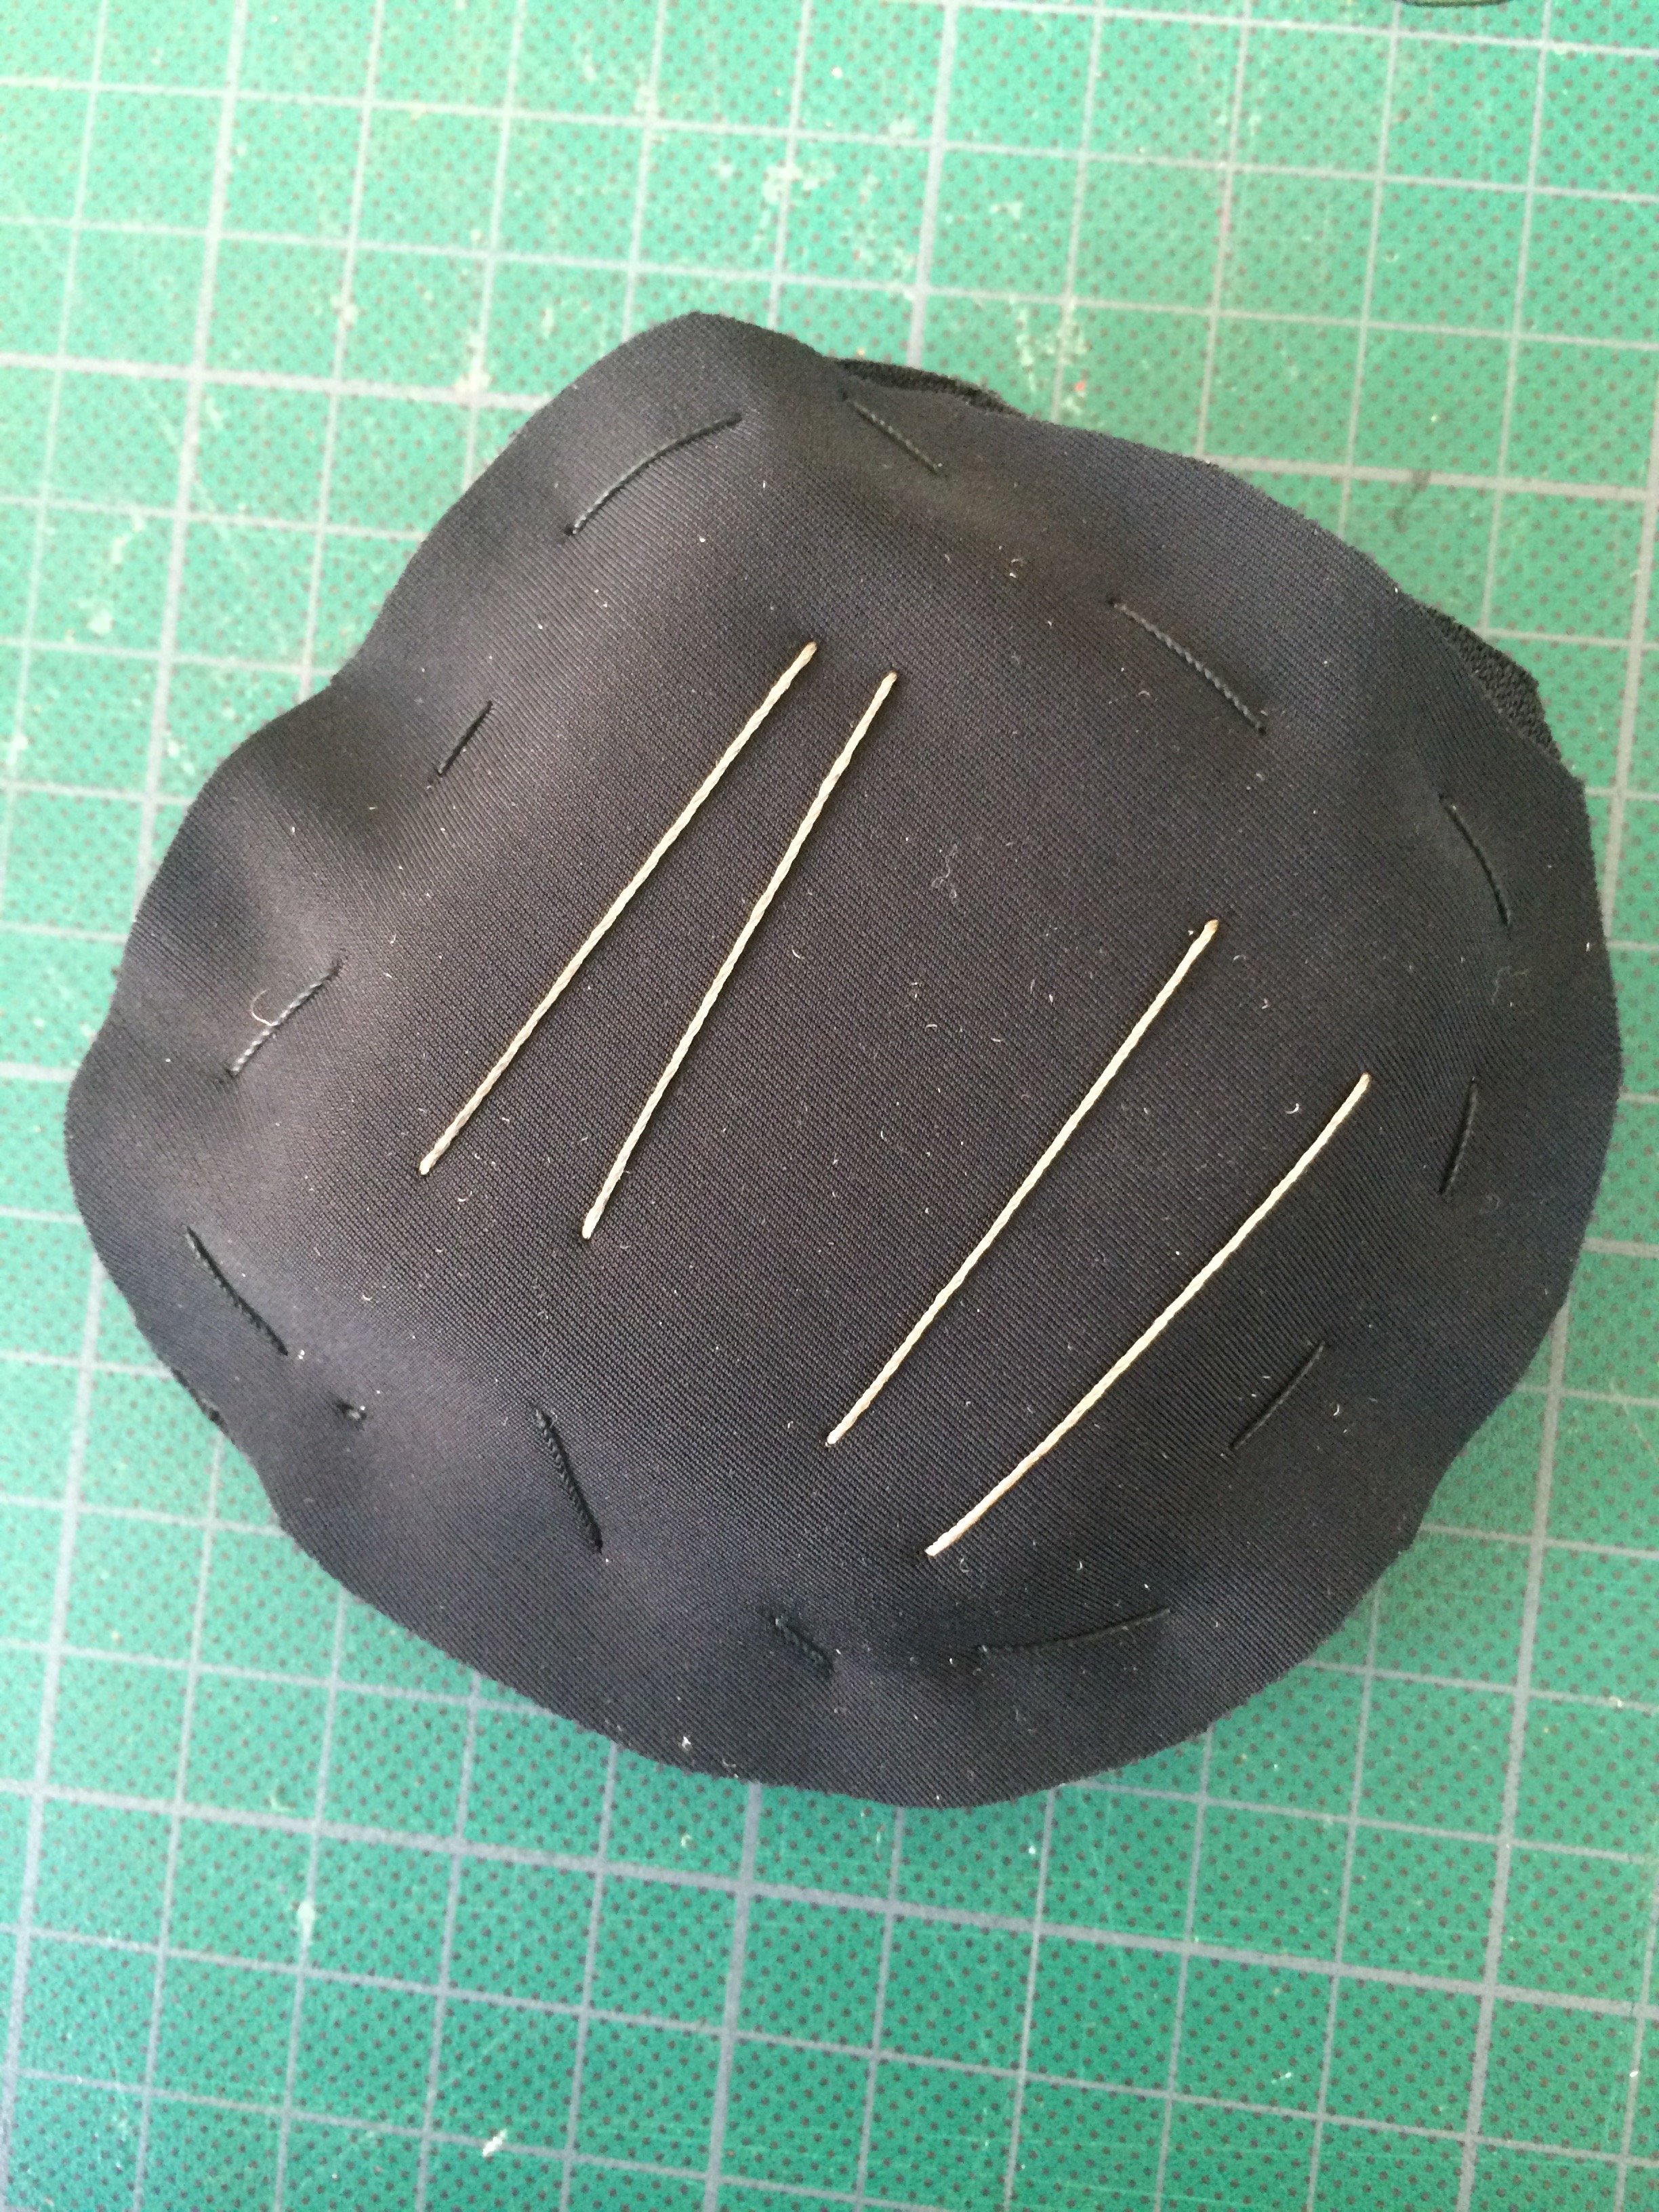
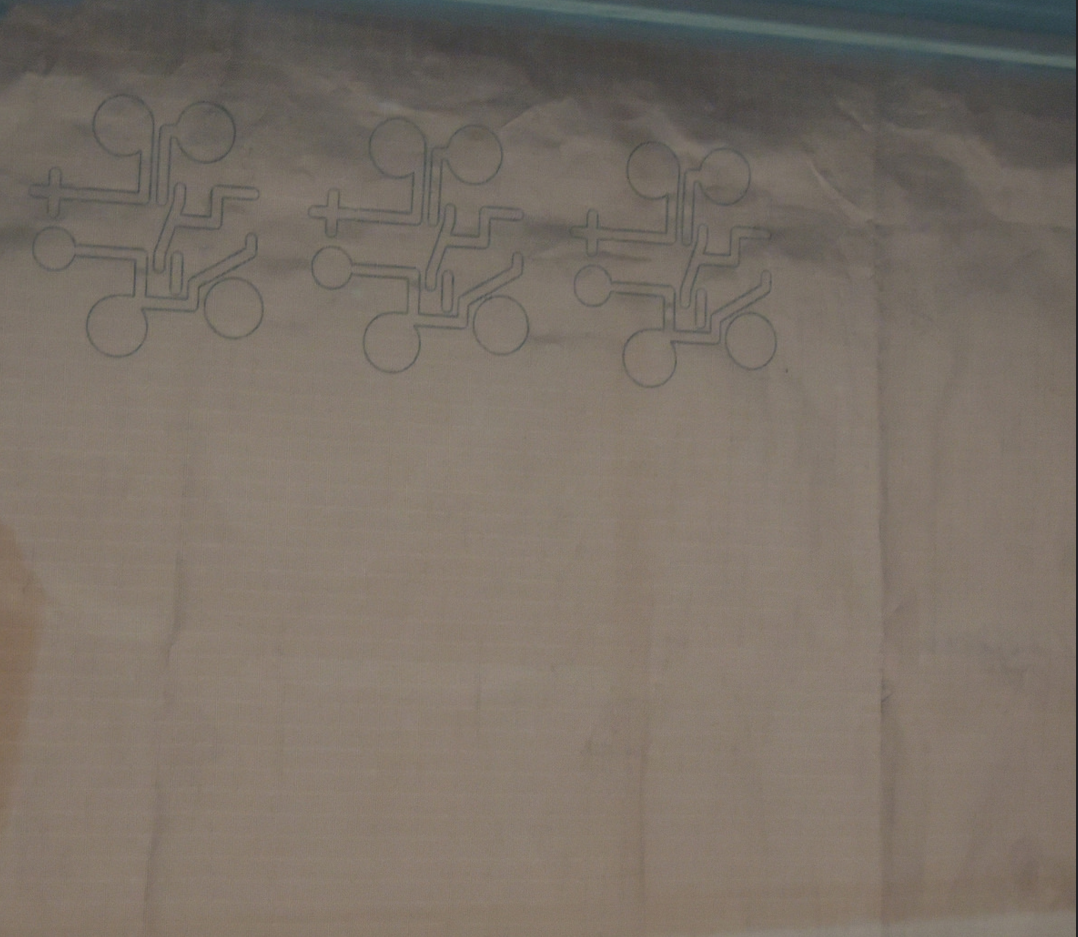
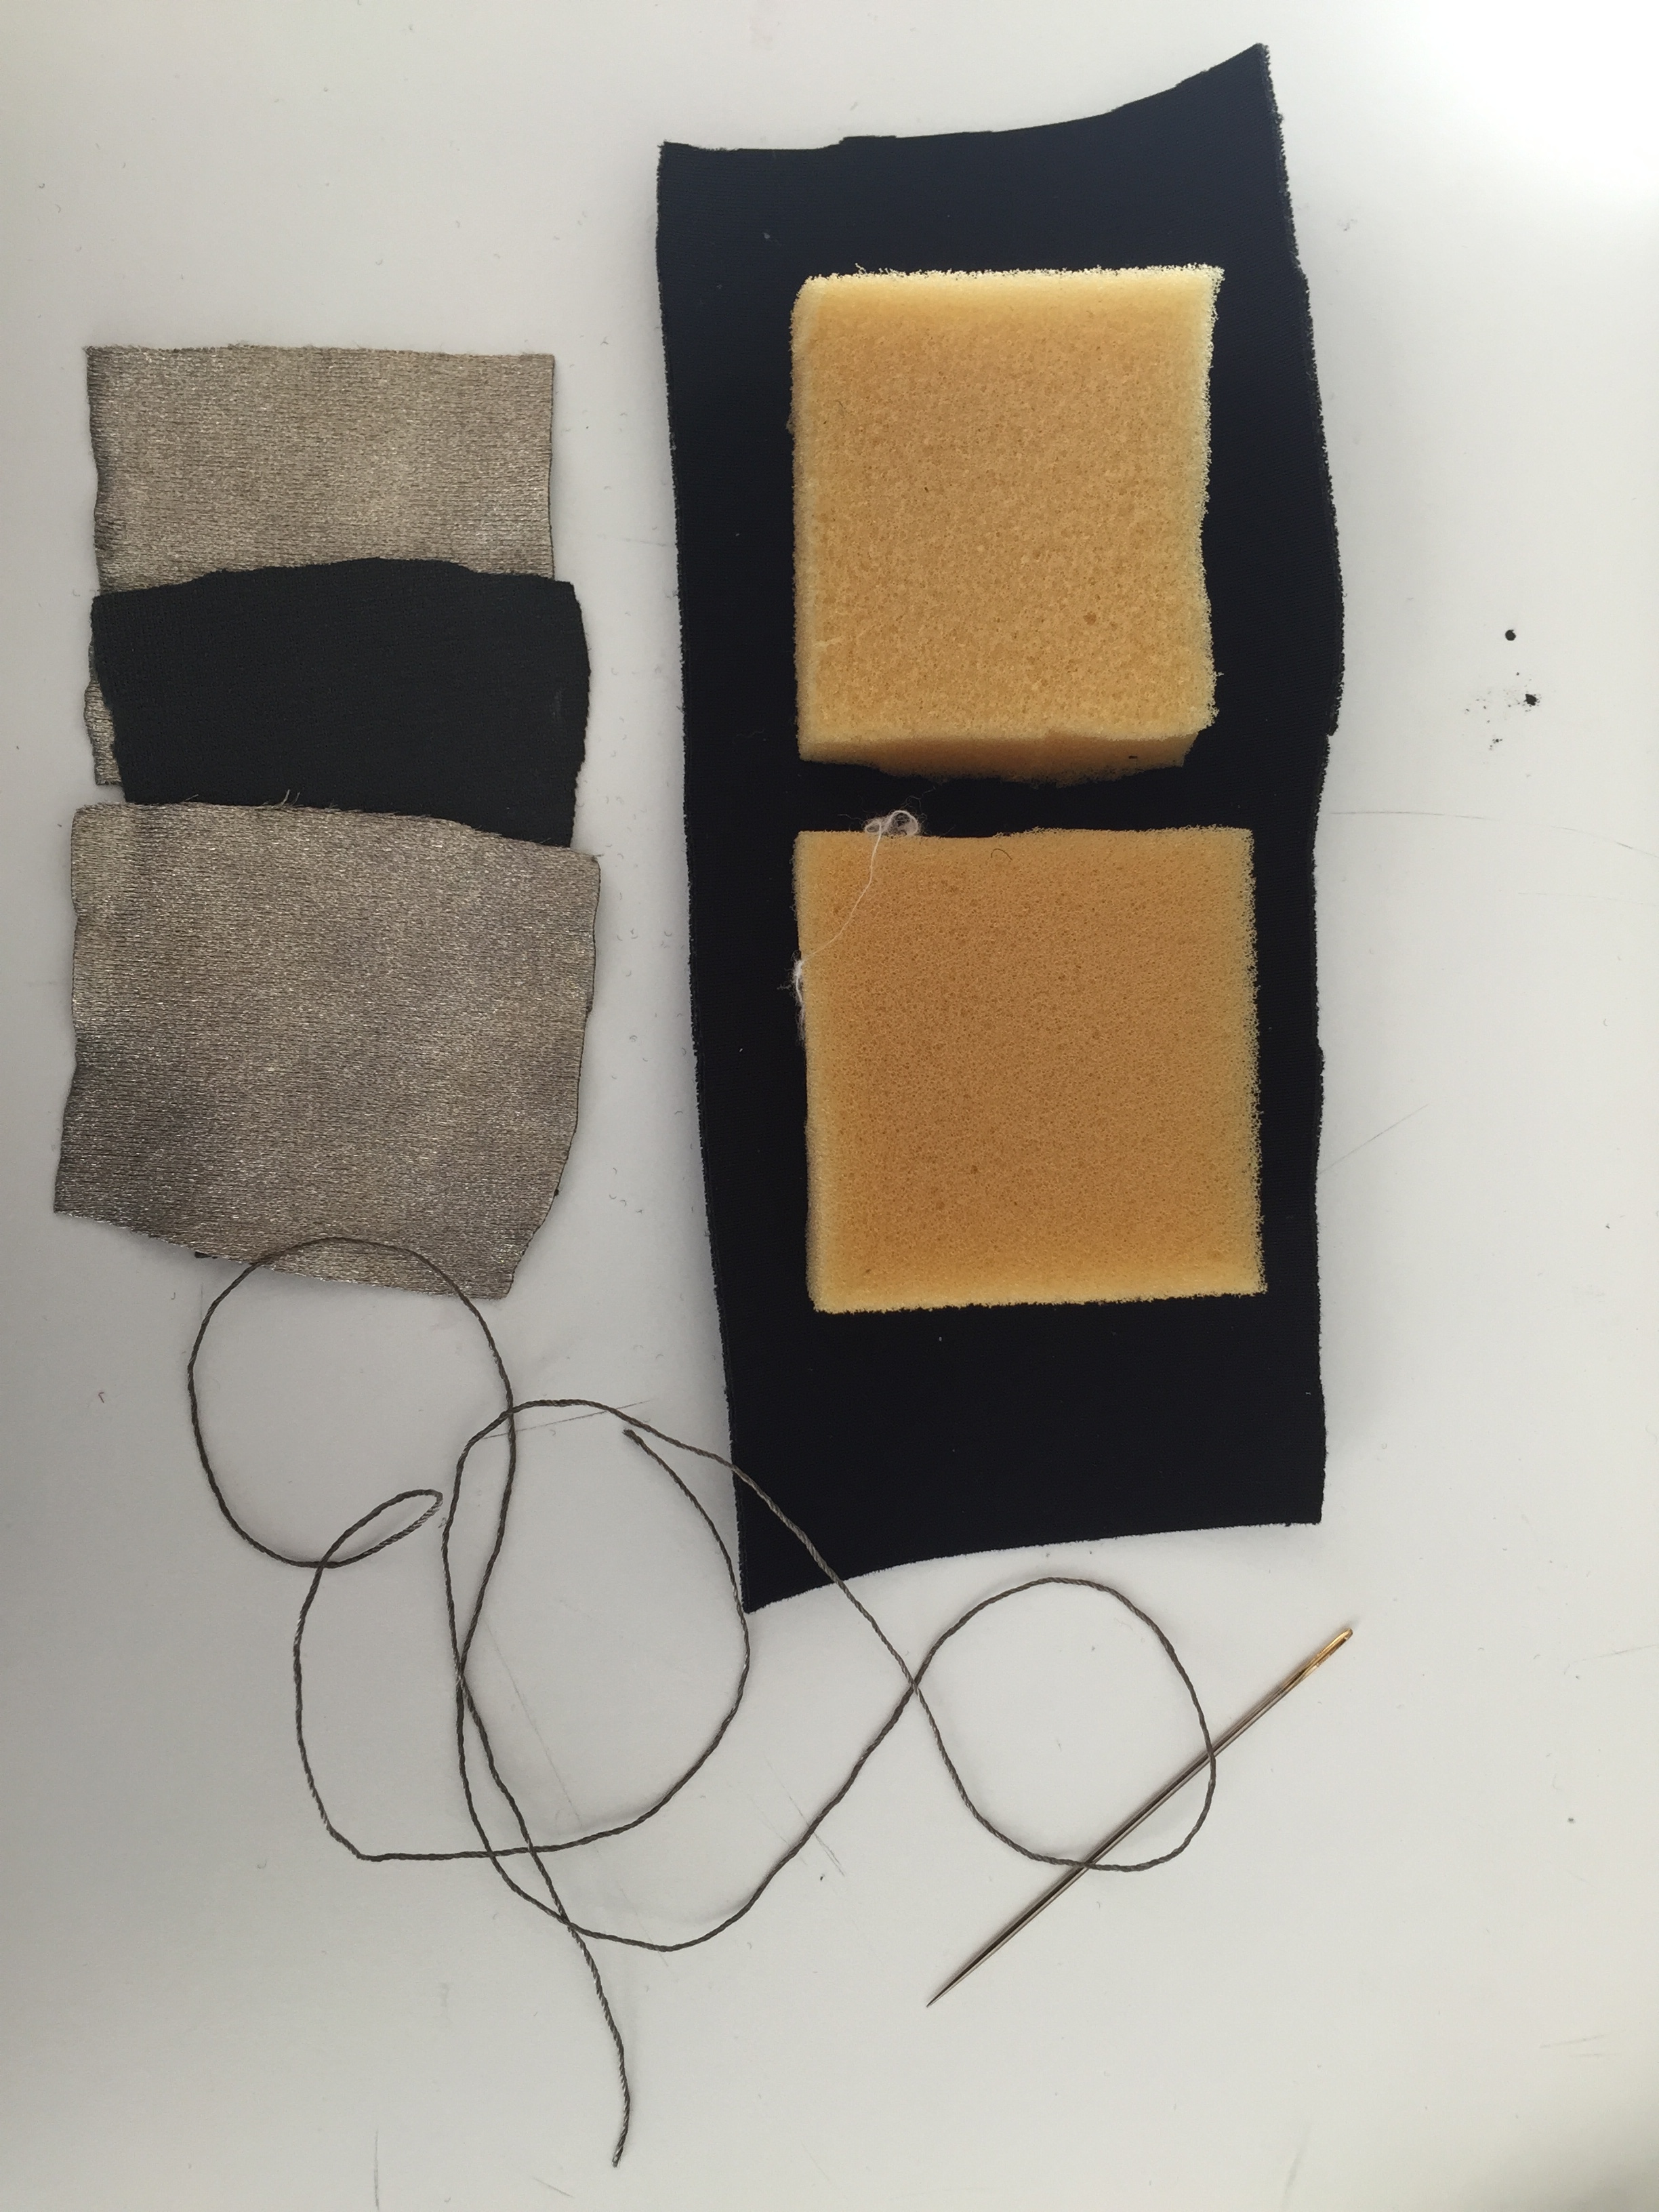
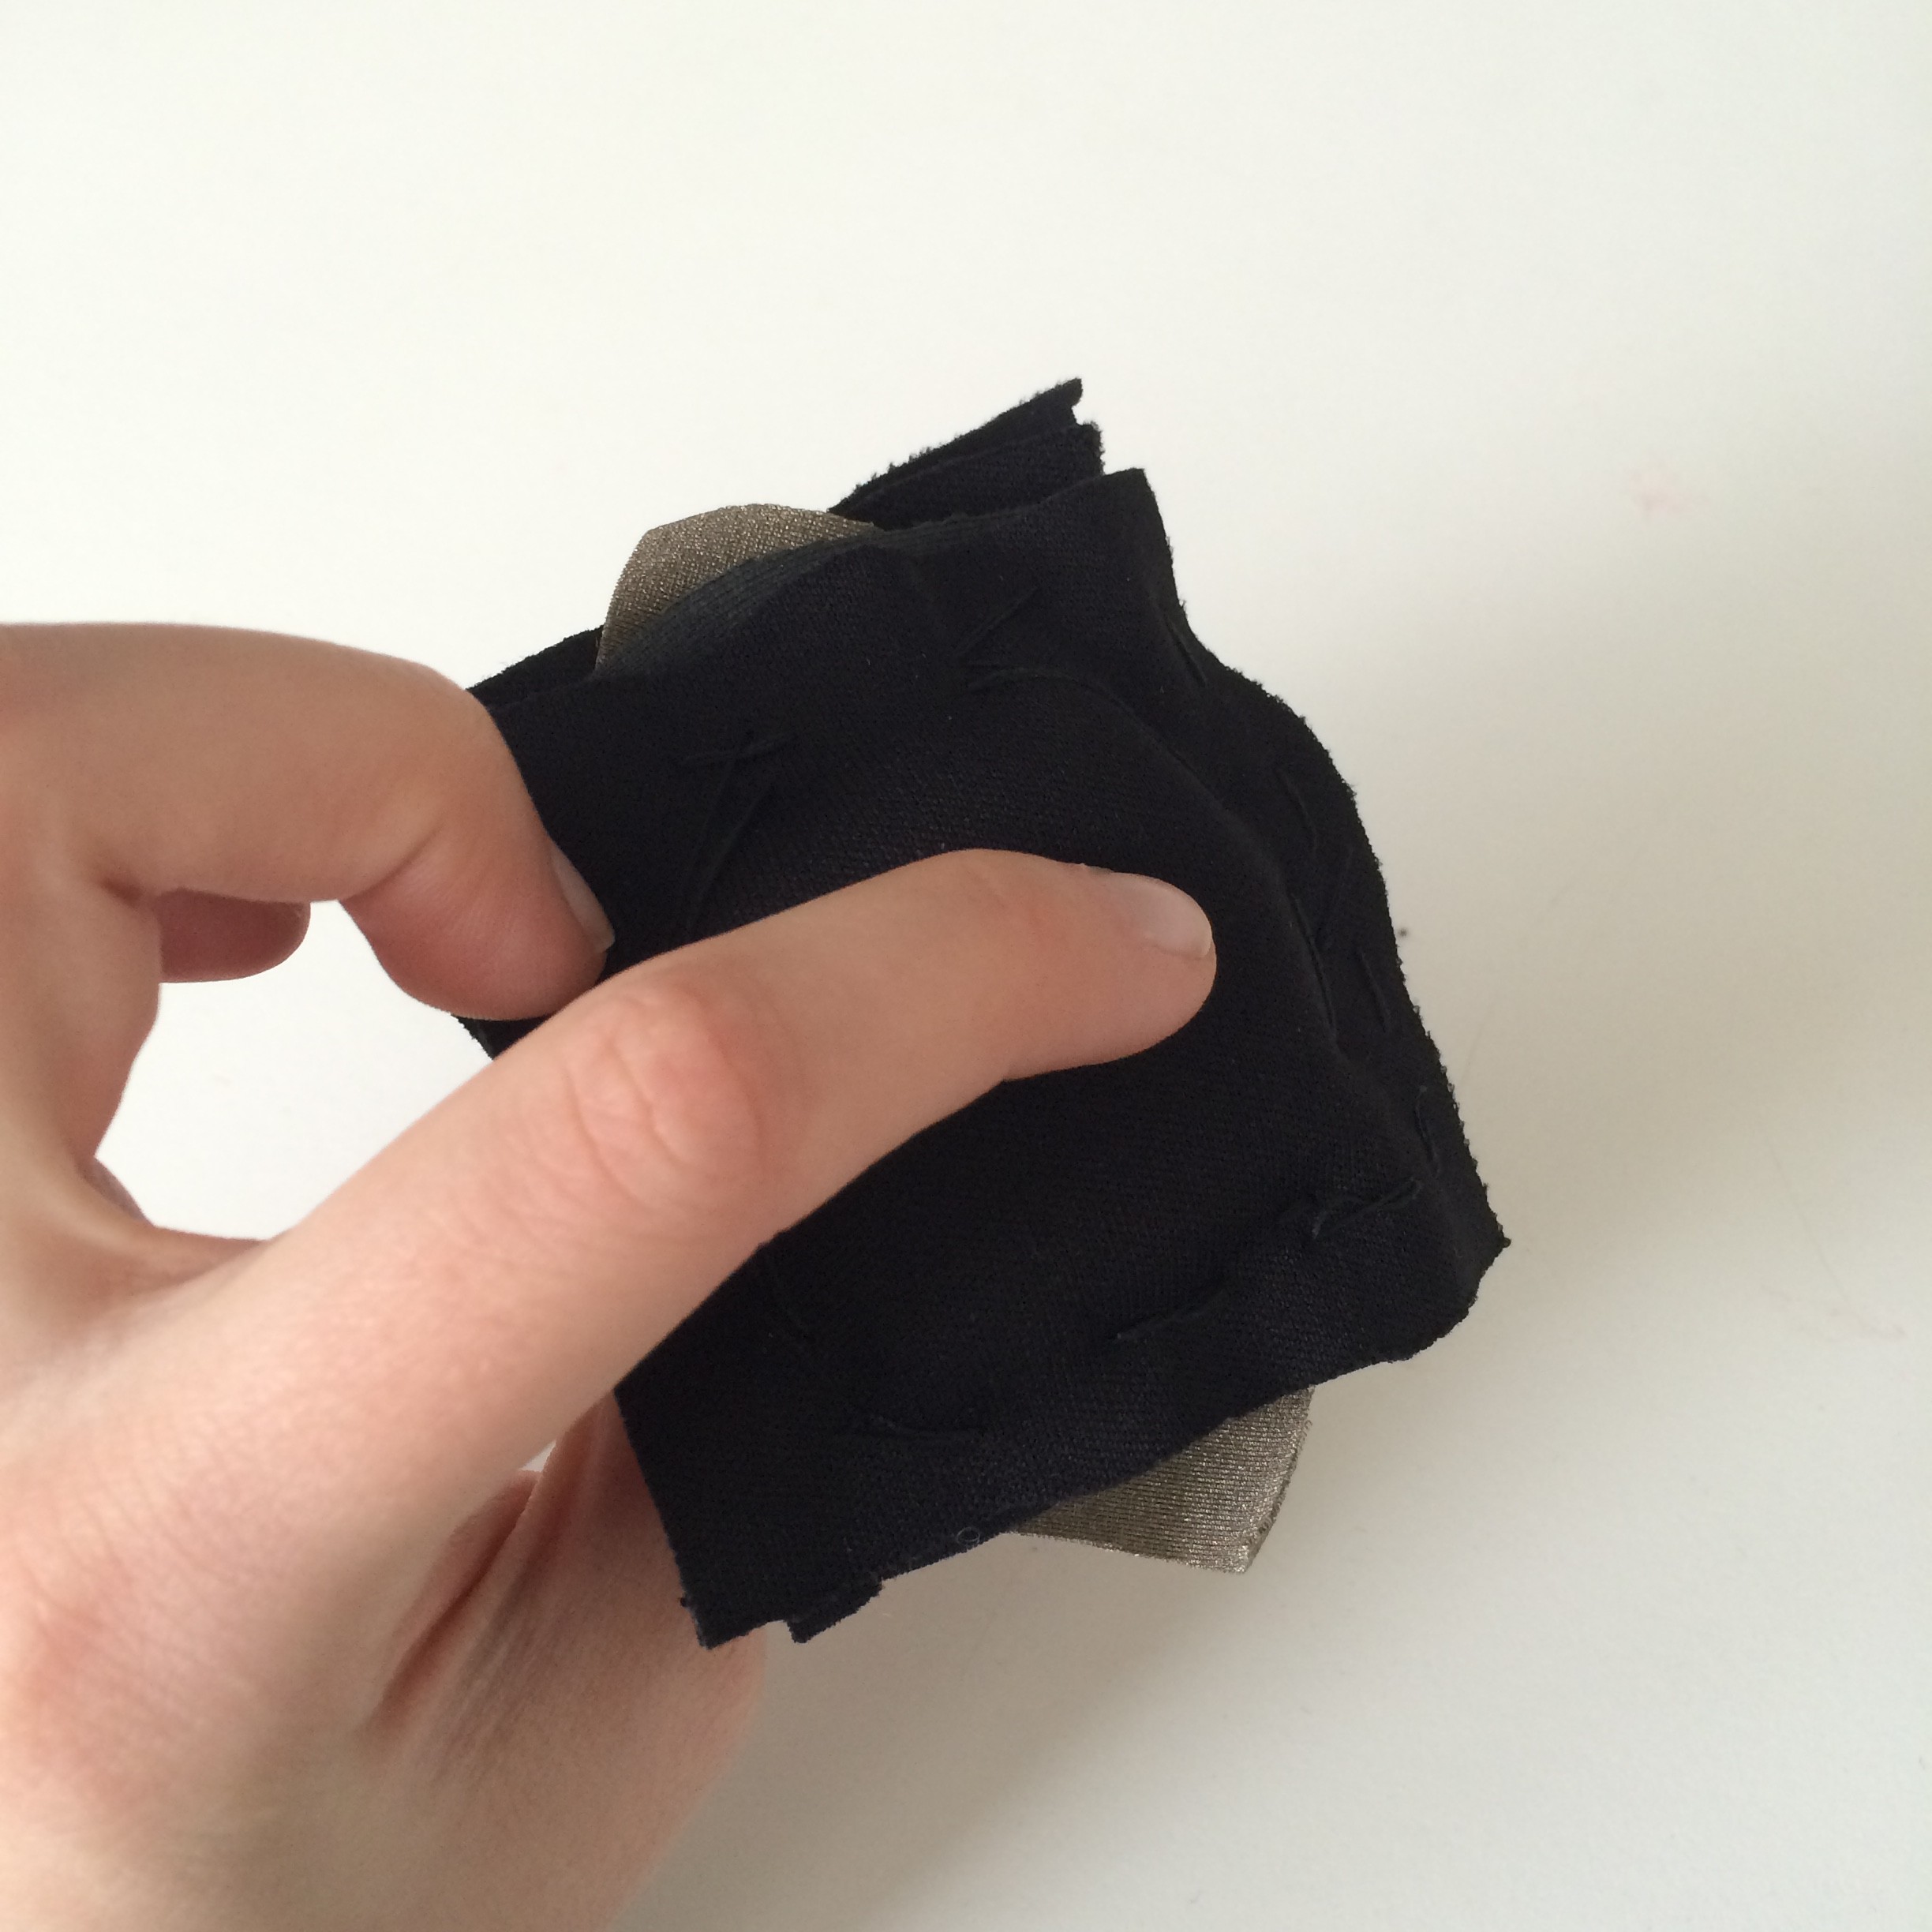
So, this week we made garments with the textilo little board that we created ourselves. In order to create the textilo, we first laser cut a 5cm circular disc of neoprene. We first used the heat press to fuse together the glue paper with the conductive fabric, and then laser cut the textilo pattern out of the conductive fabric.

Screen Shot 2015-10-21 at 3.40.29 PM

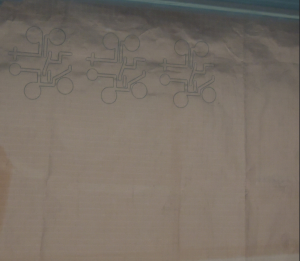
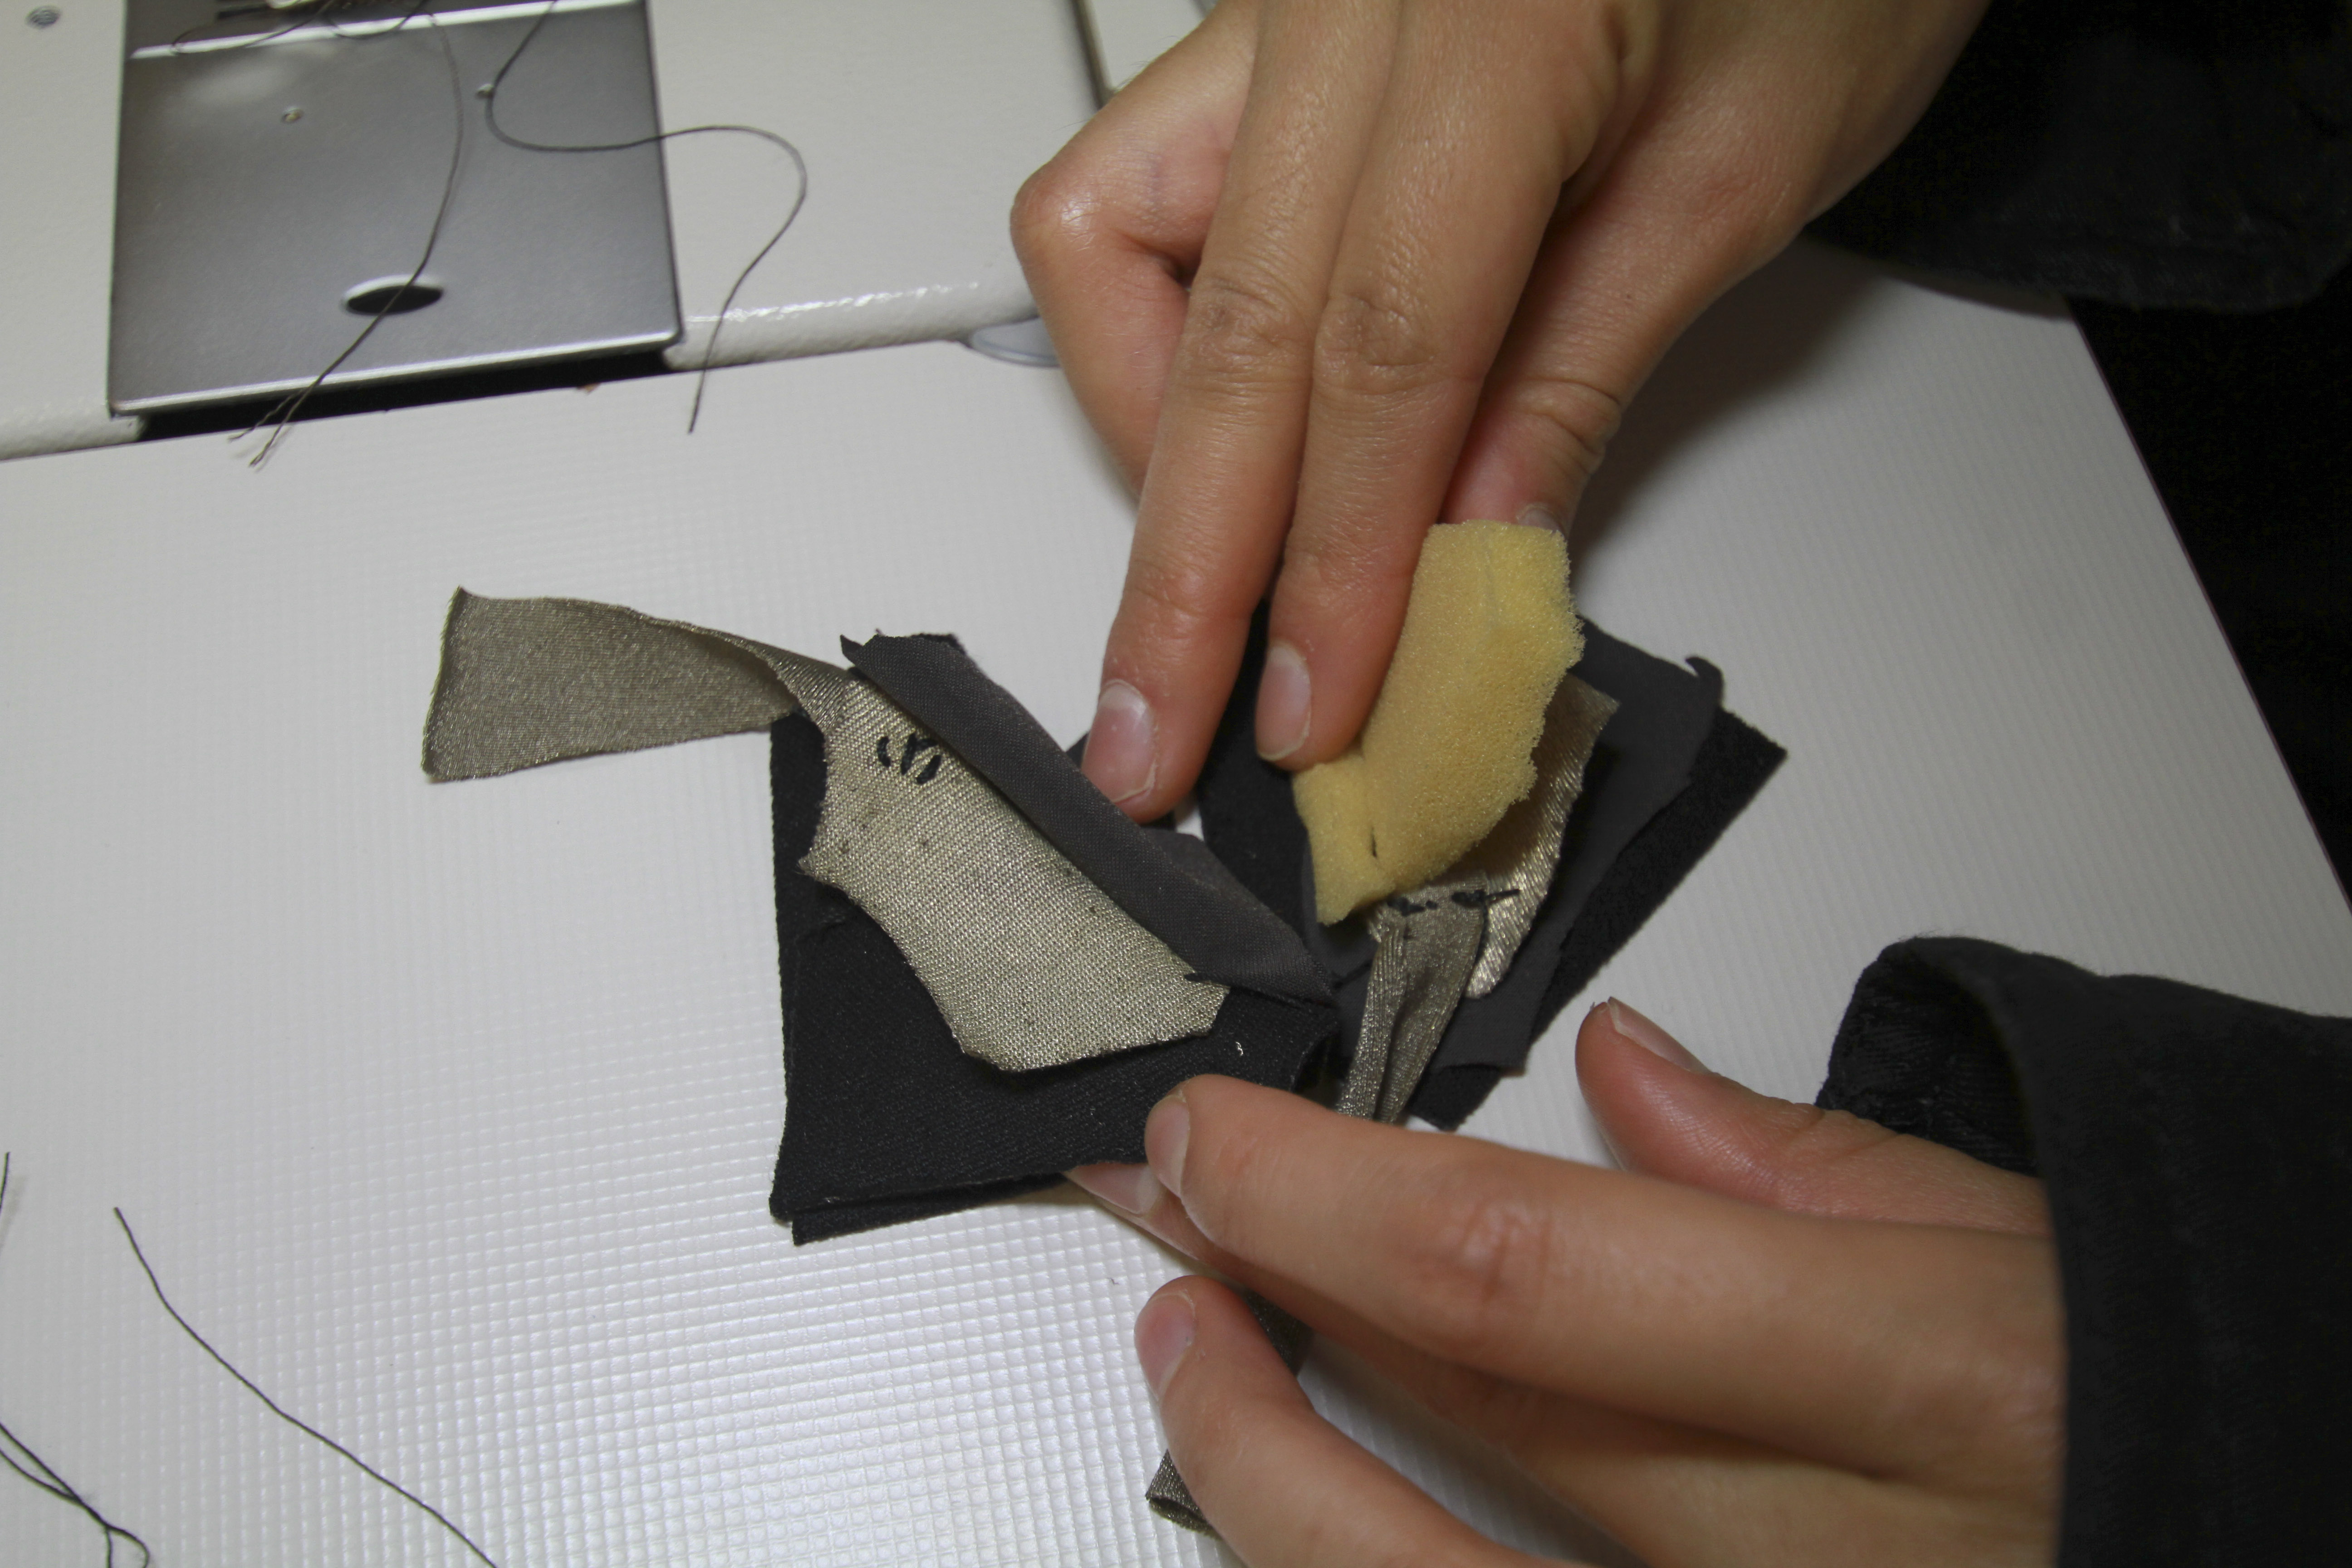
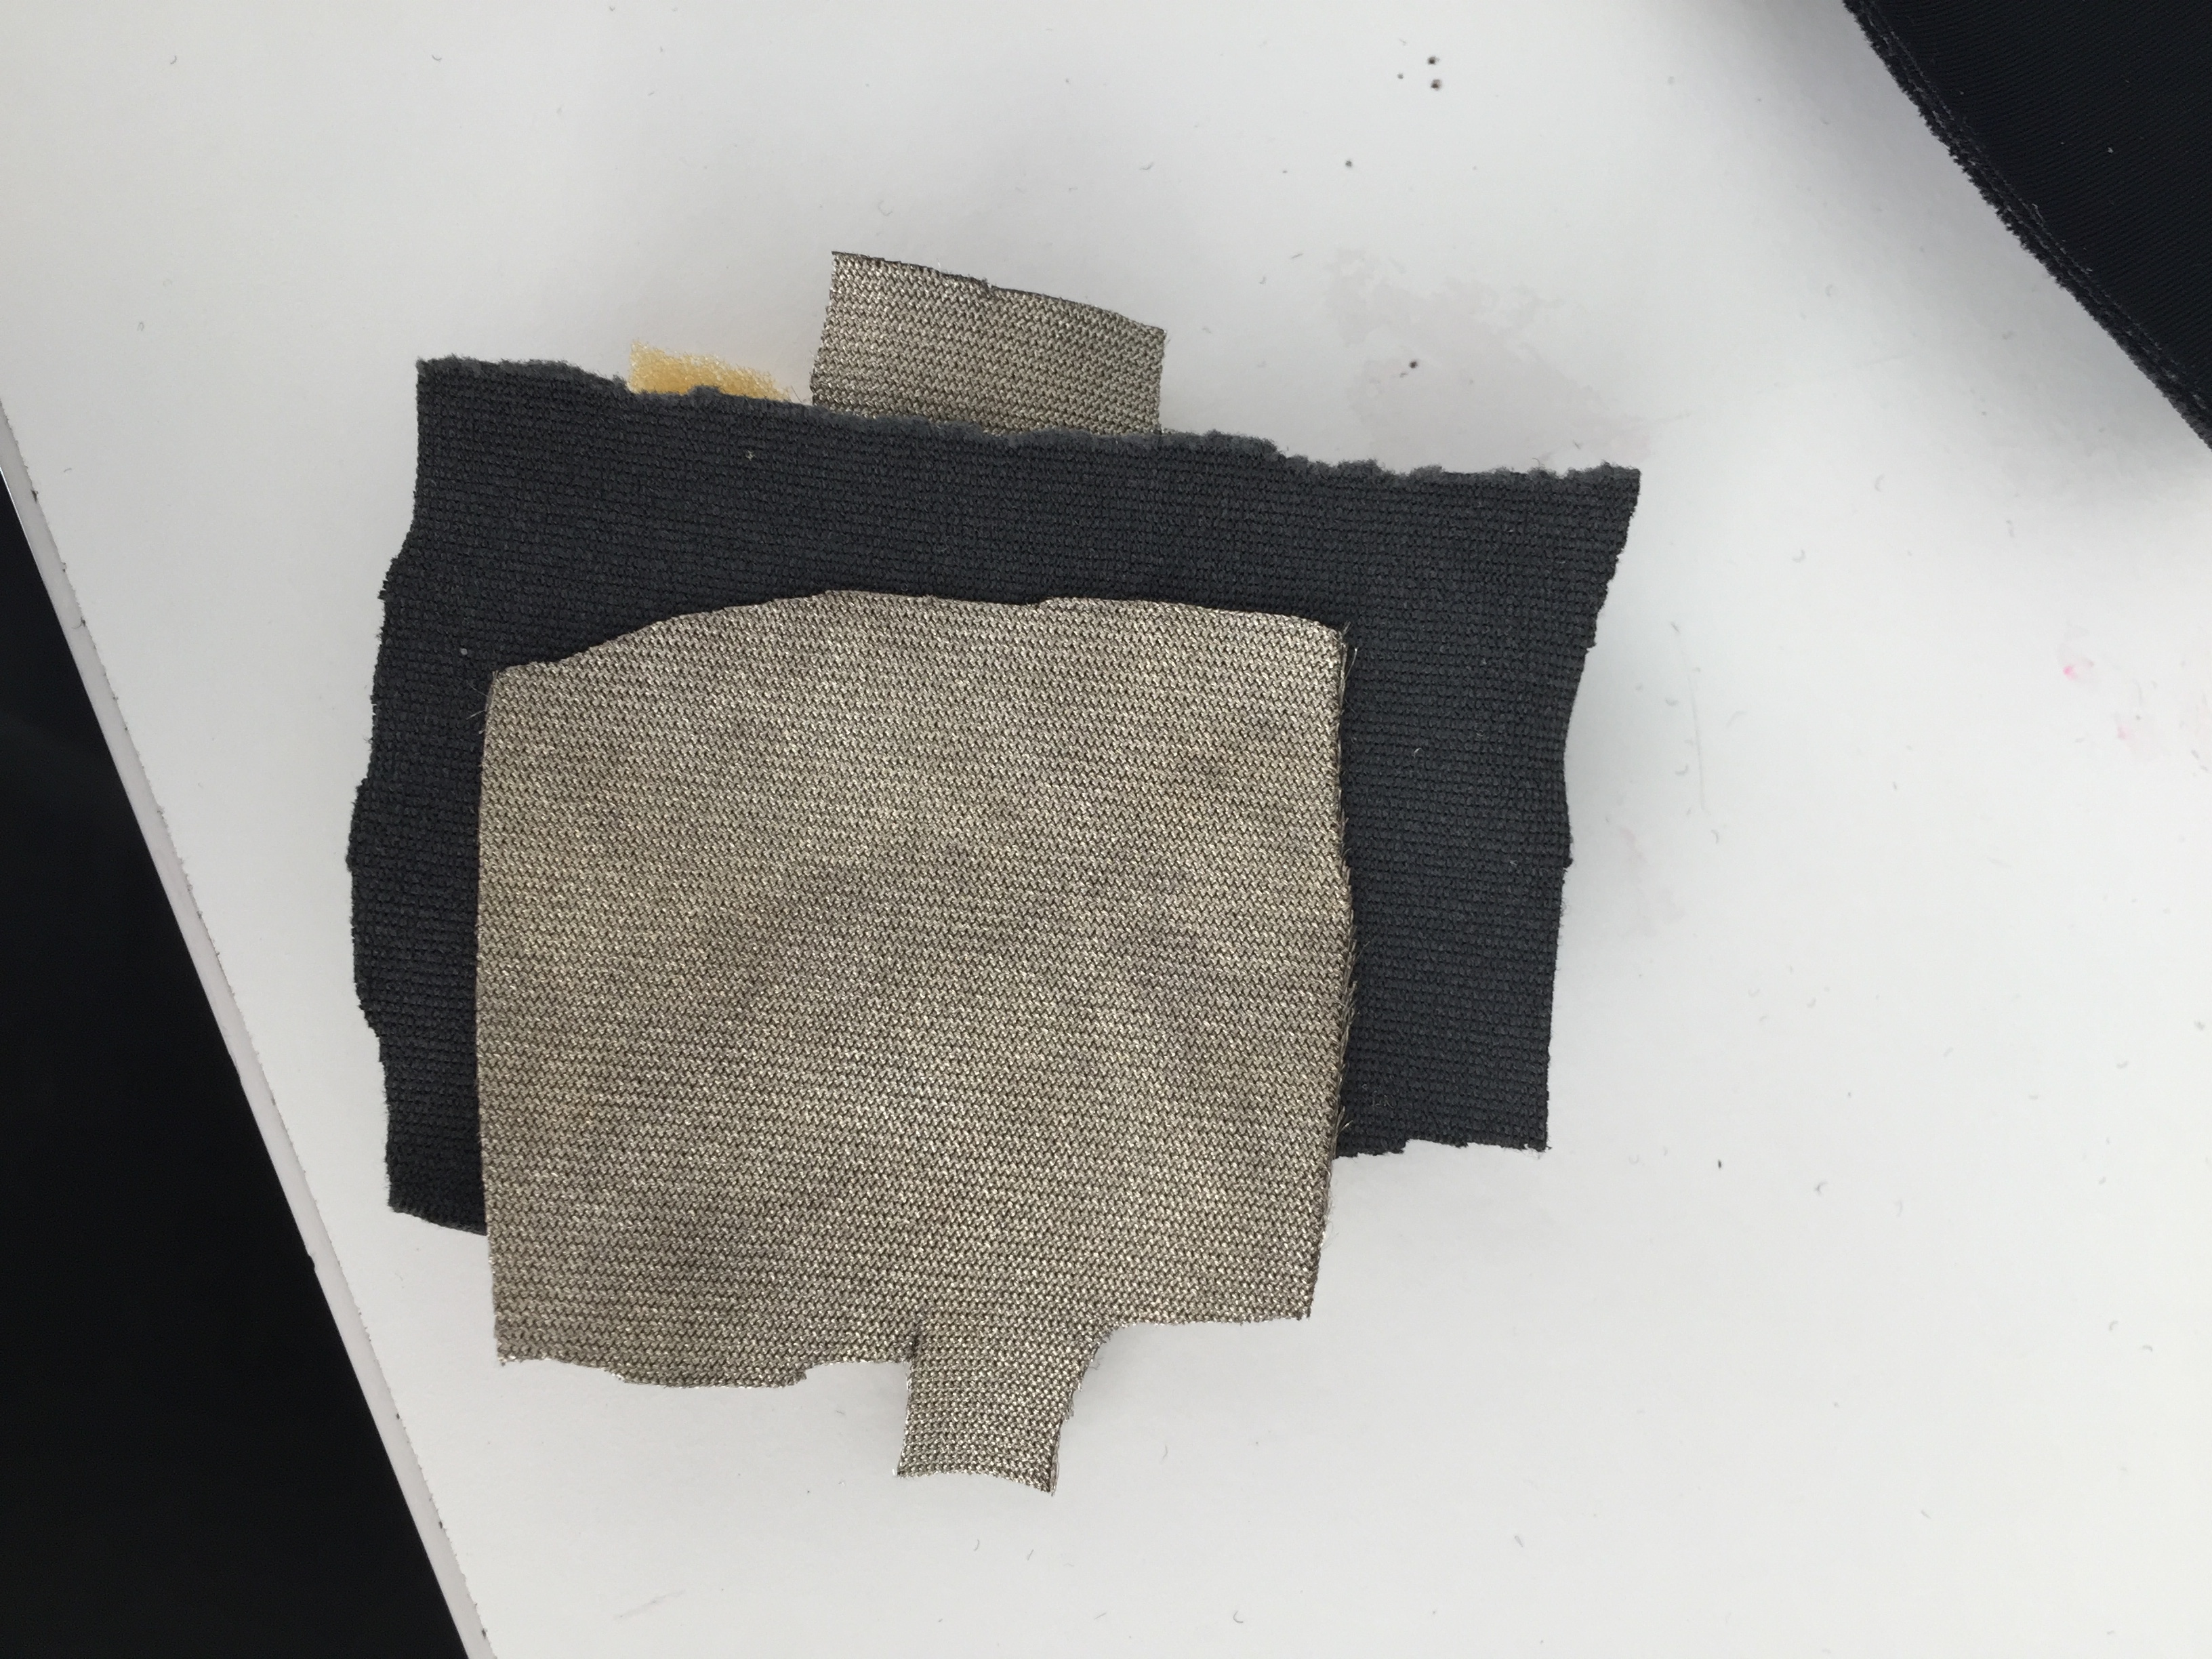
We then took off the pieces of conductive fabric that were not needed, and were left with the textilo pattern. It stuck onto the neoprene because we had previously fused the glue paper onto the back of the fabric. I also needed to re-iron the fabric onto the neoprene to make sure it stuck….

22142715471_b1c8532d47_o

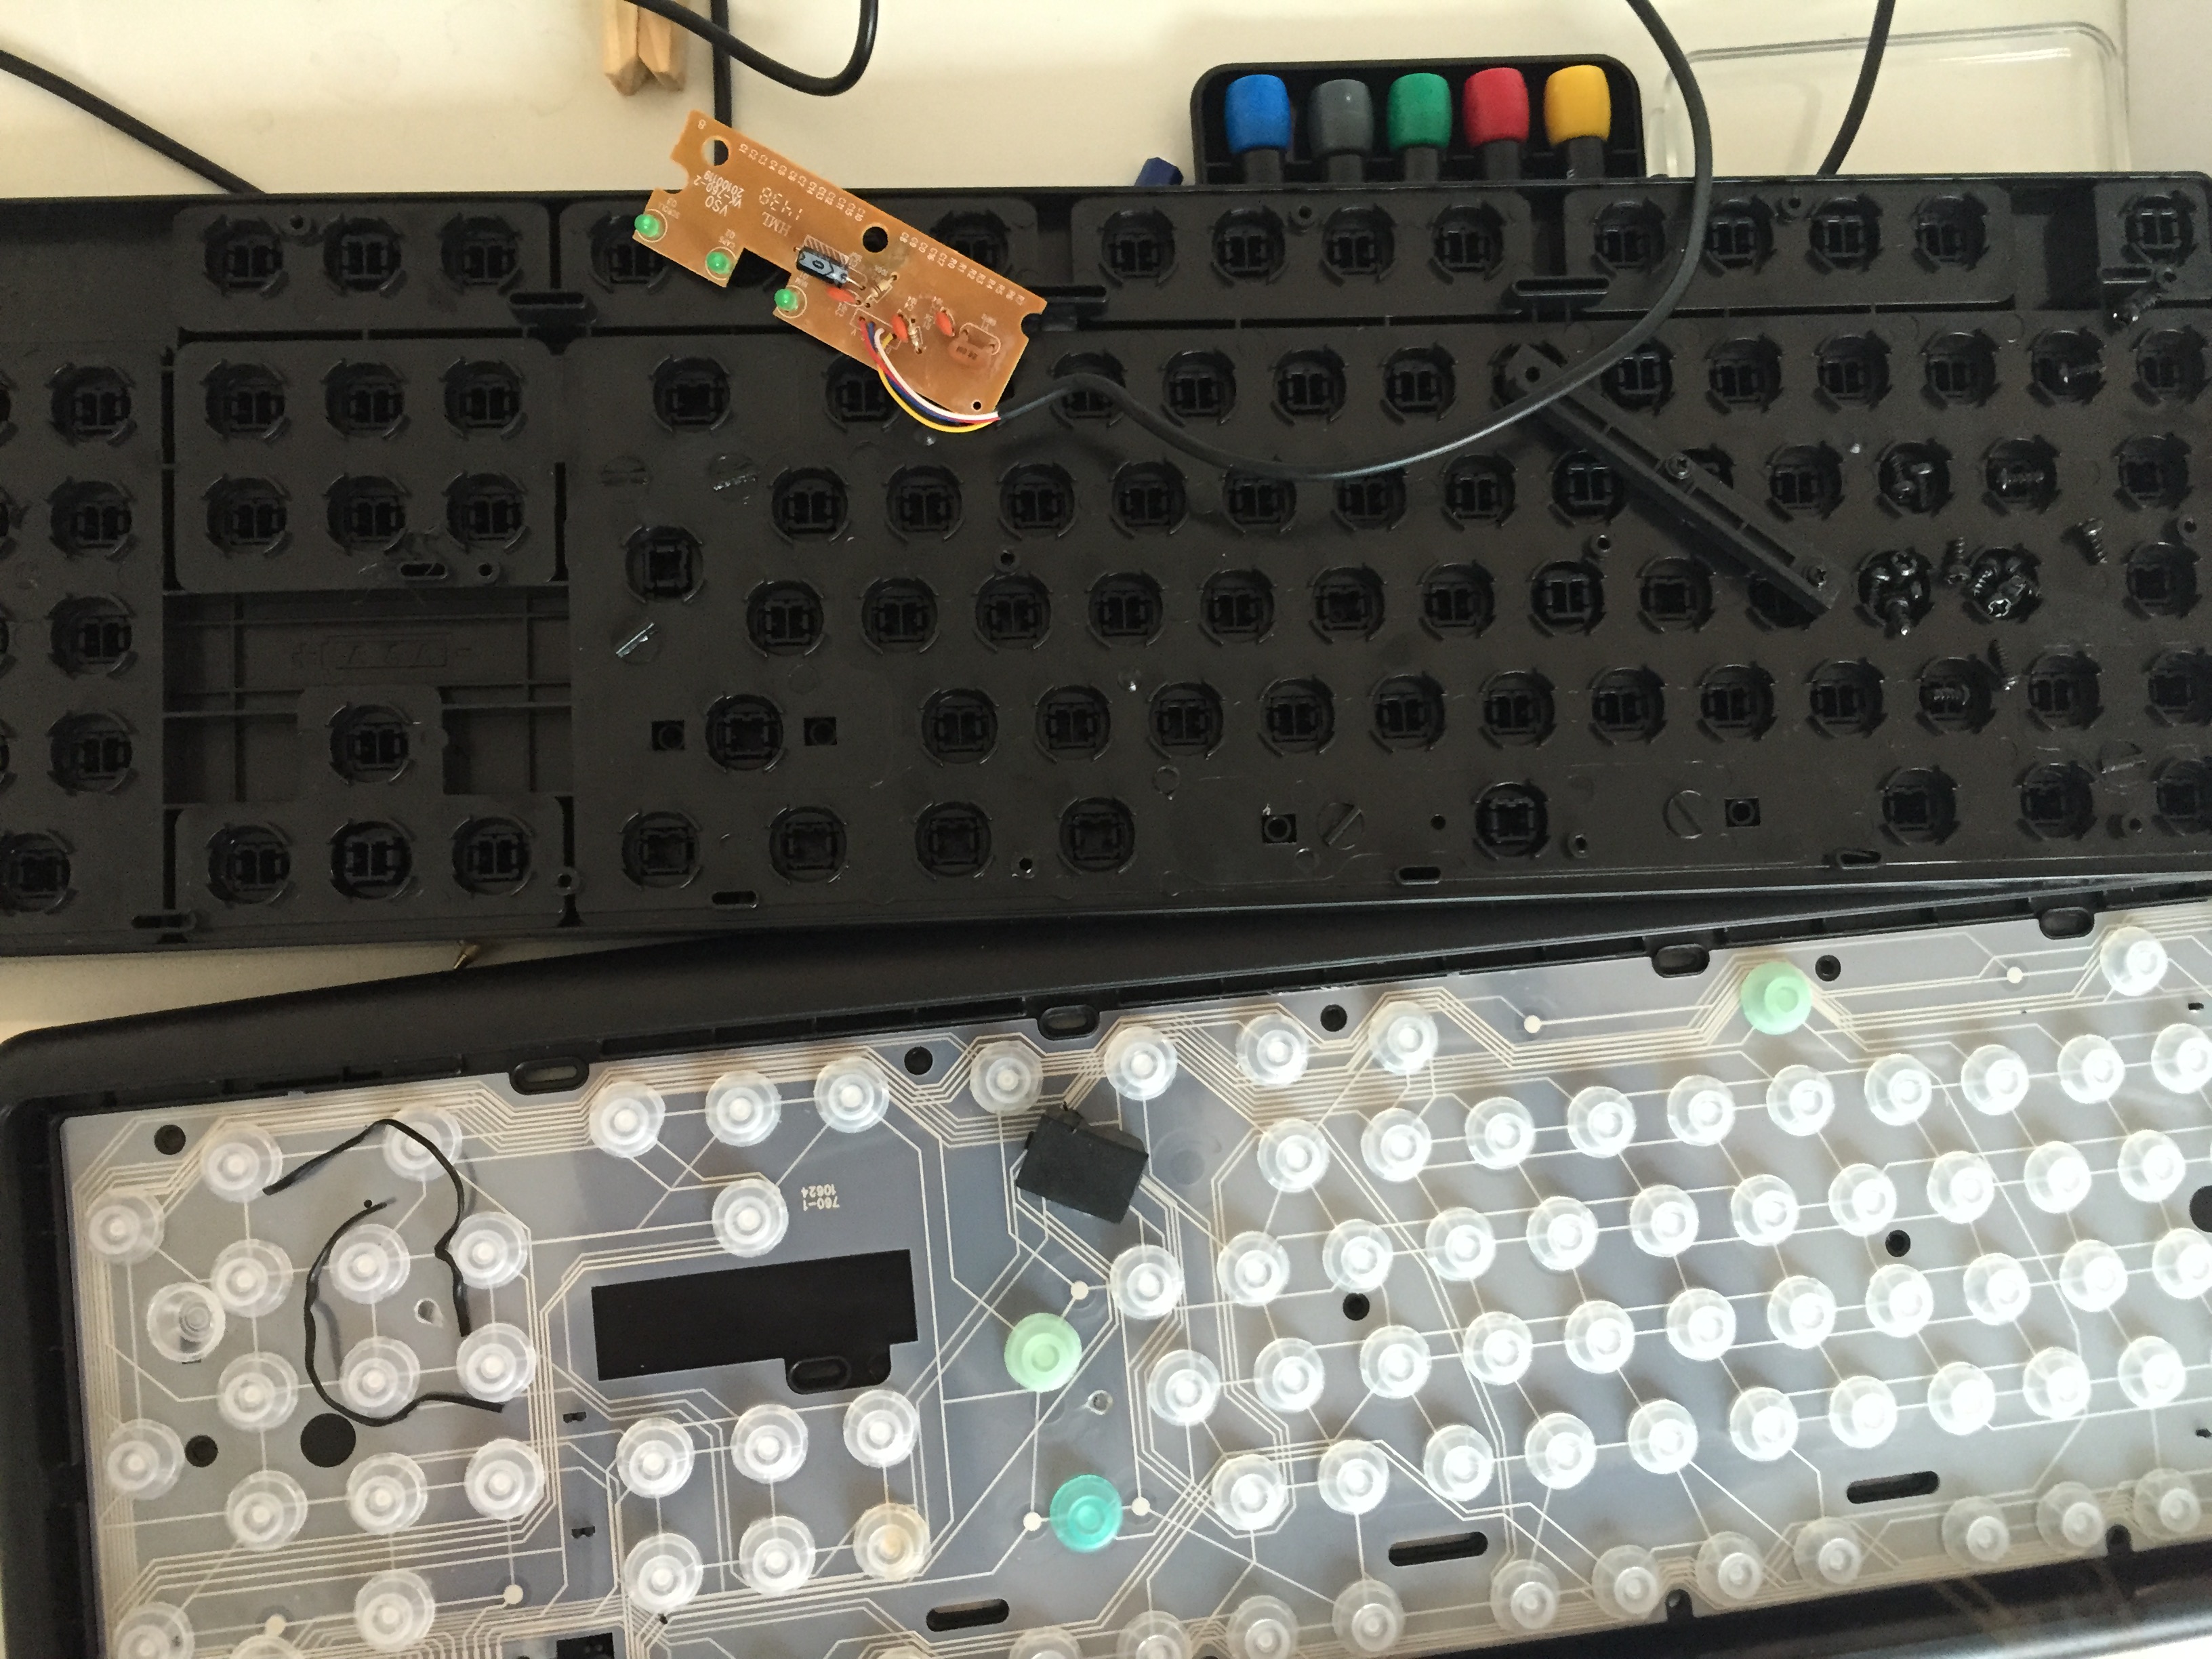
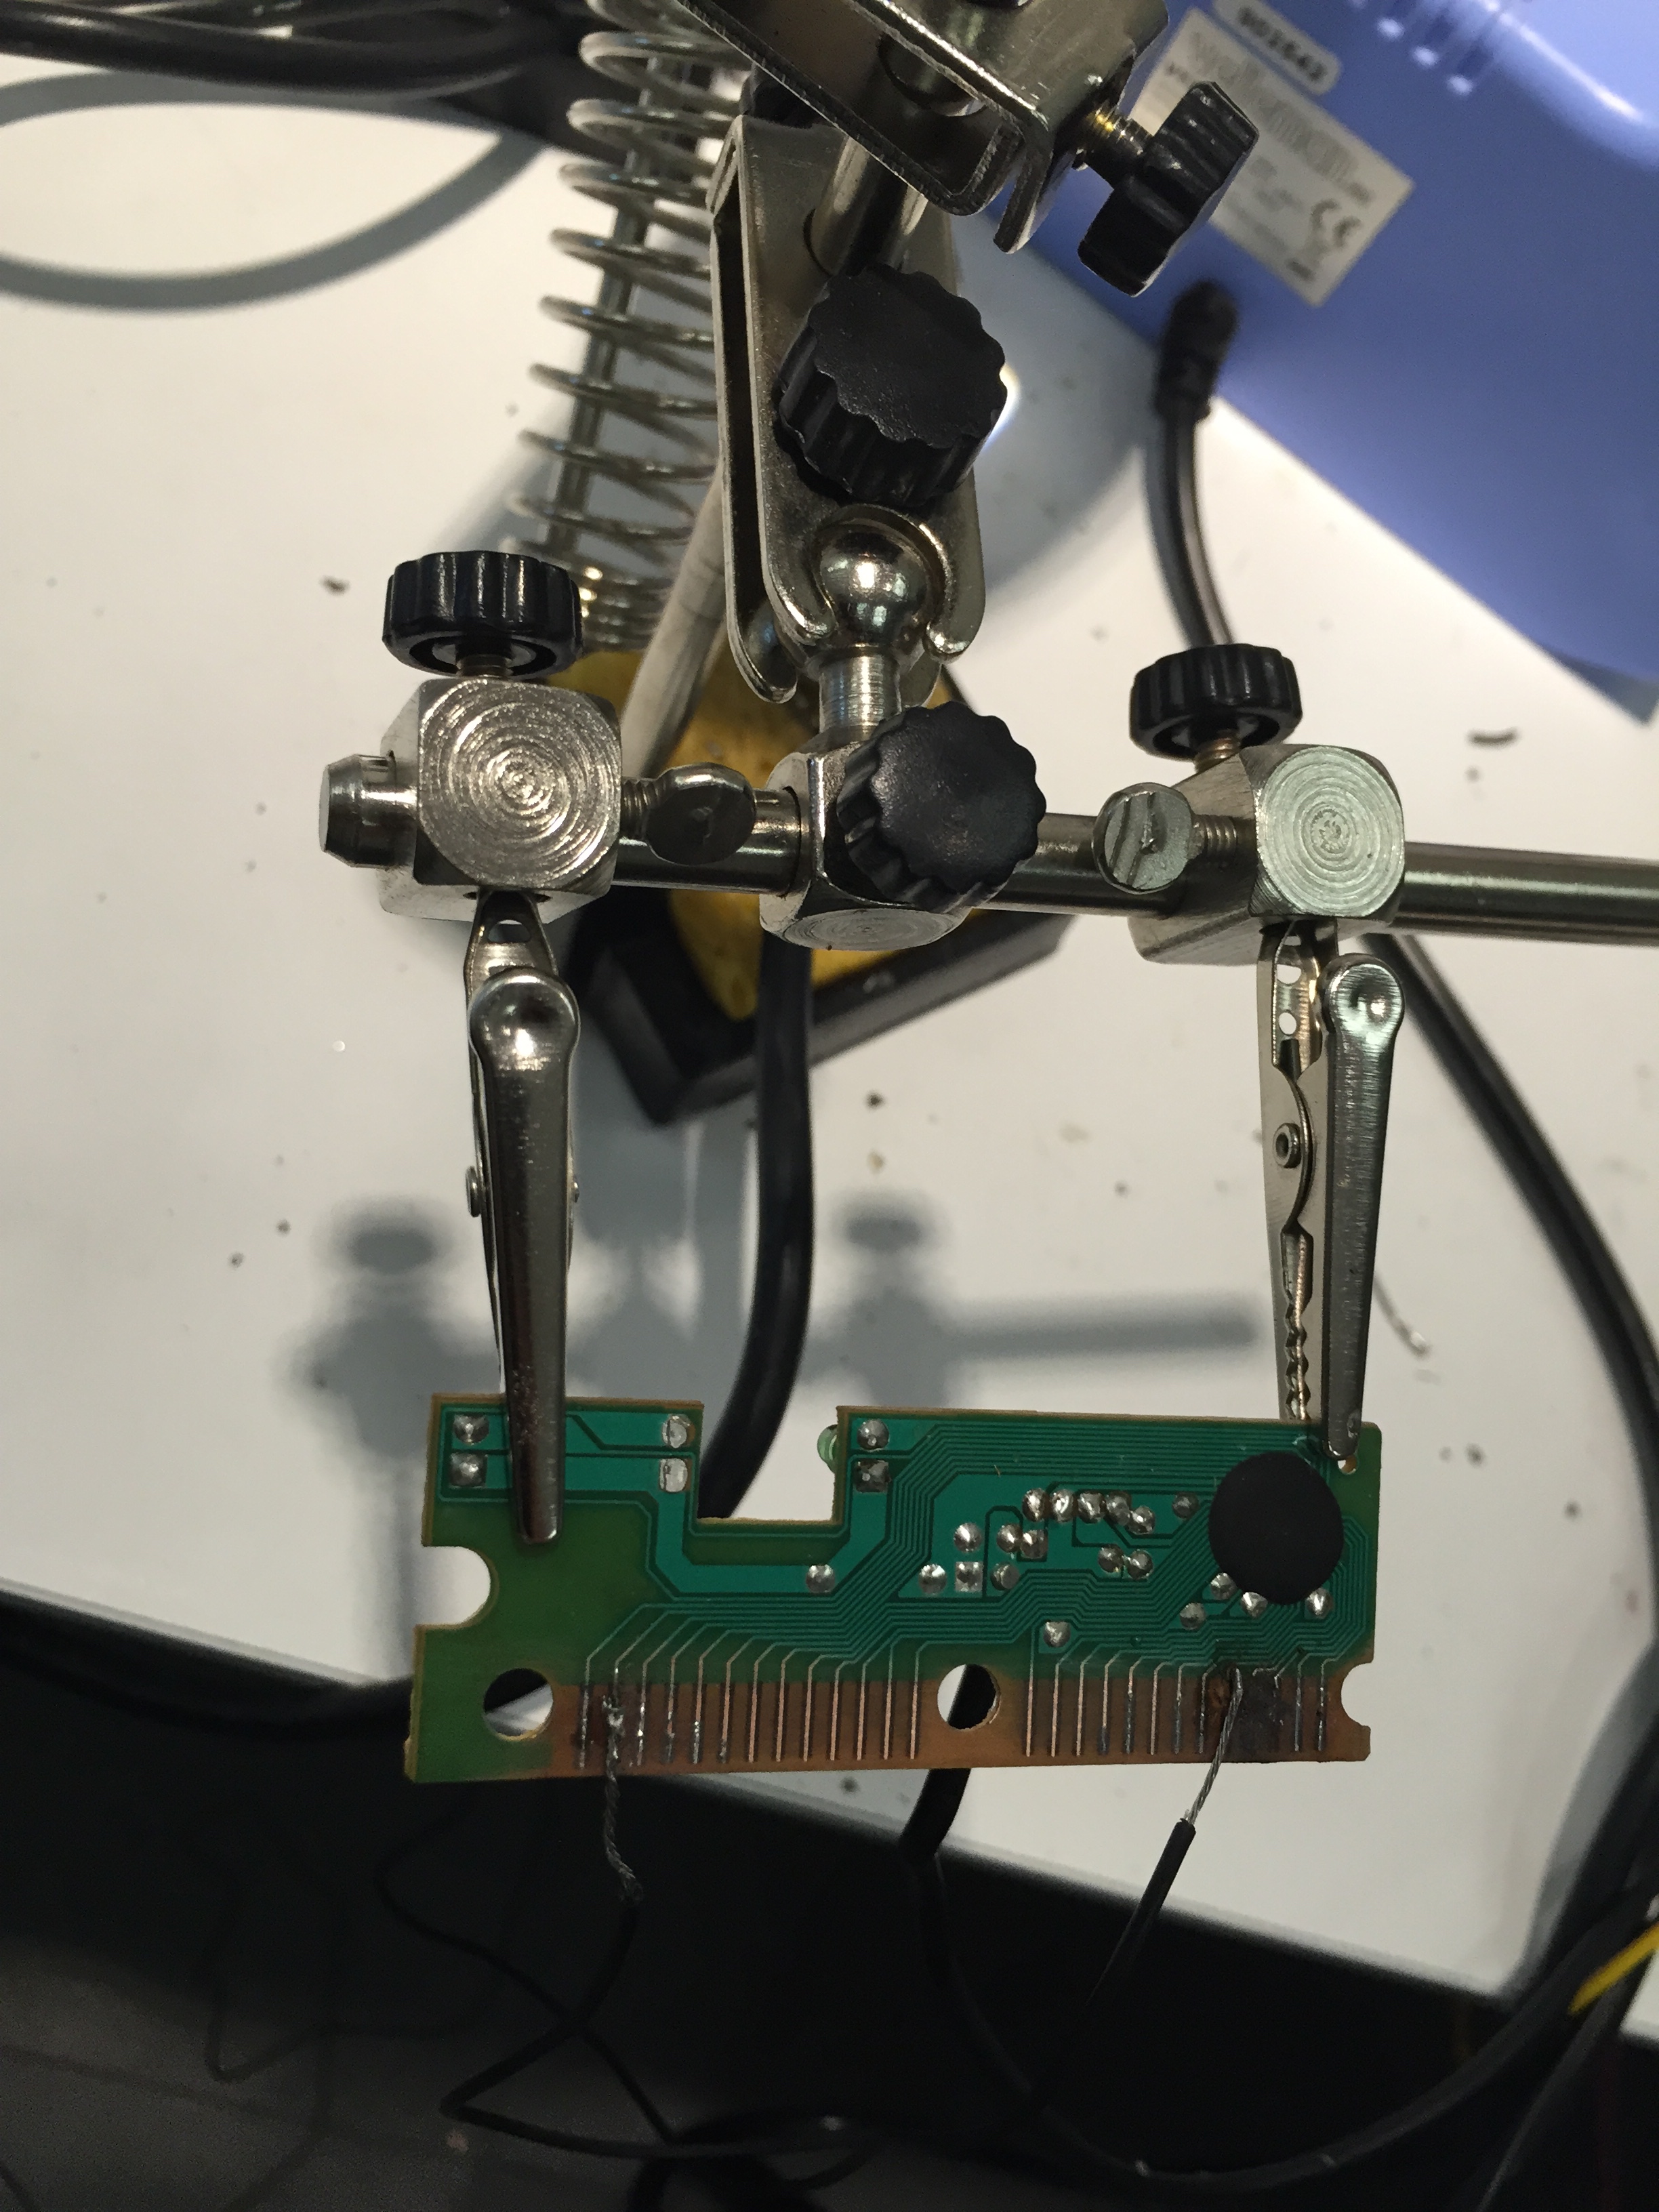
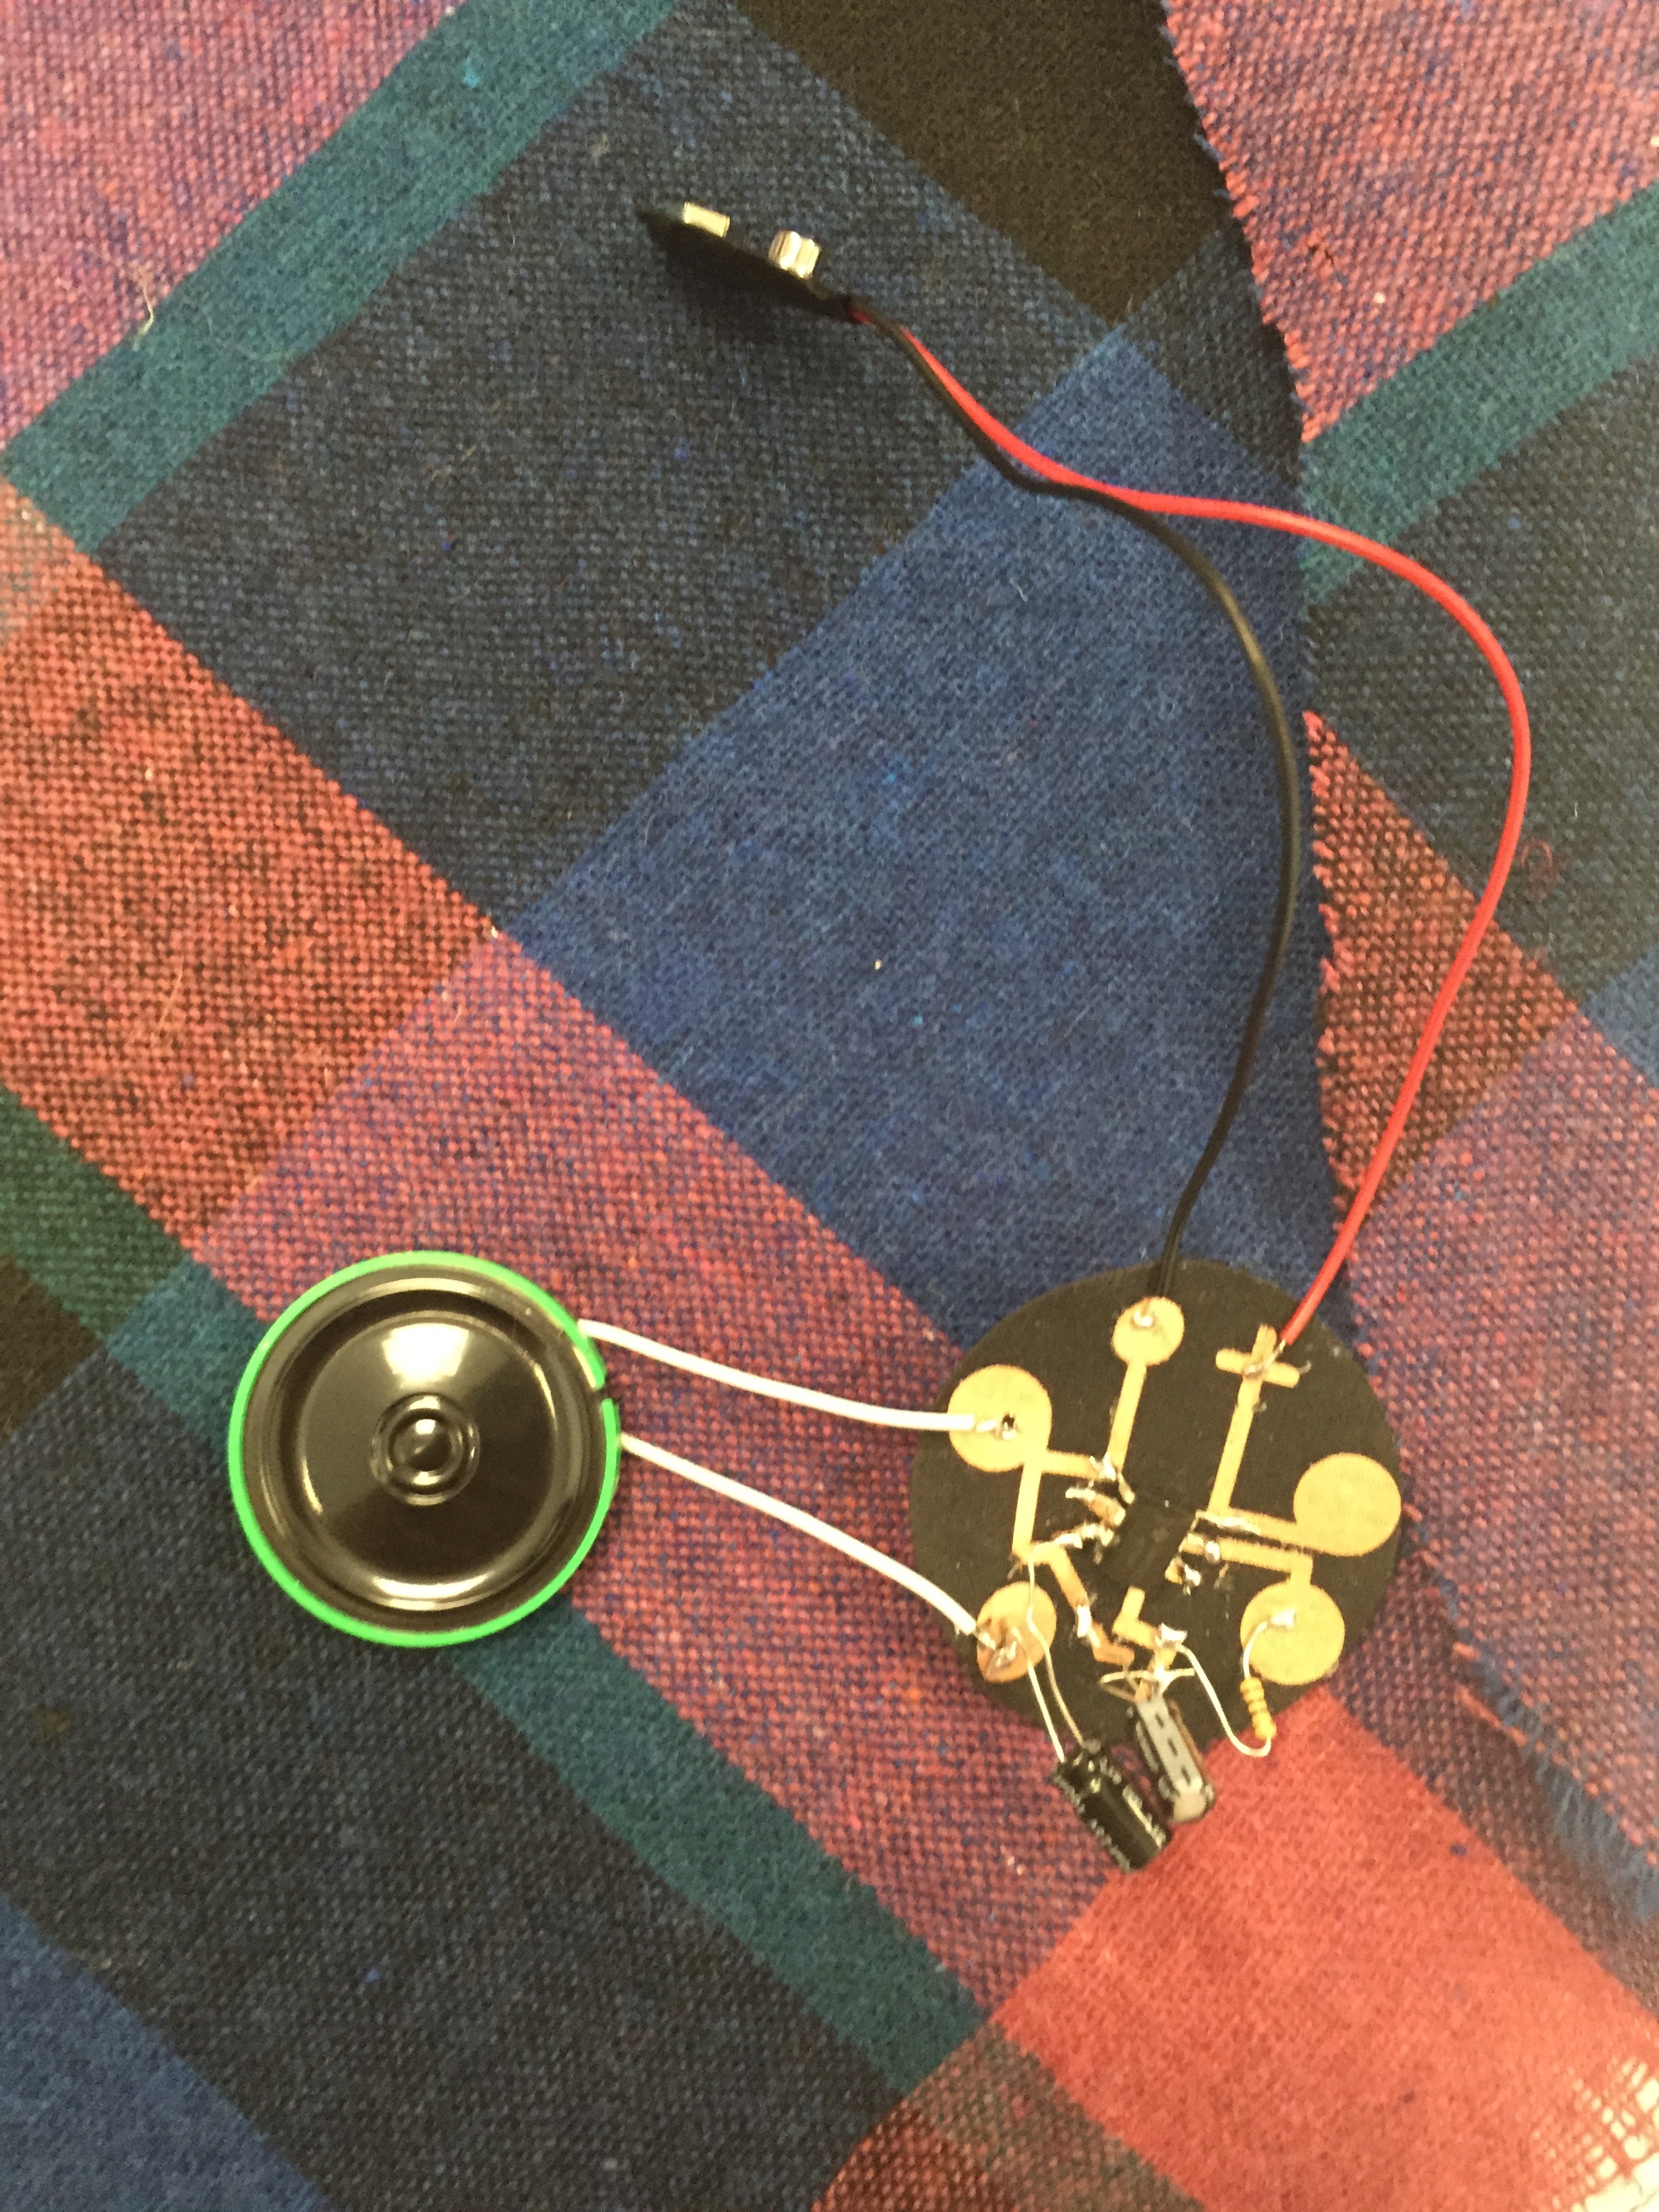
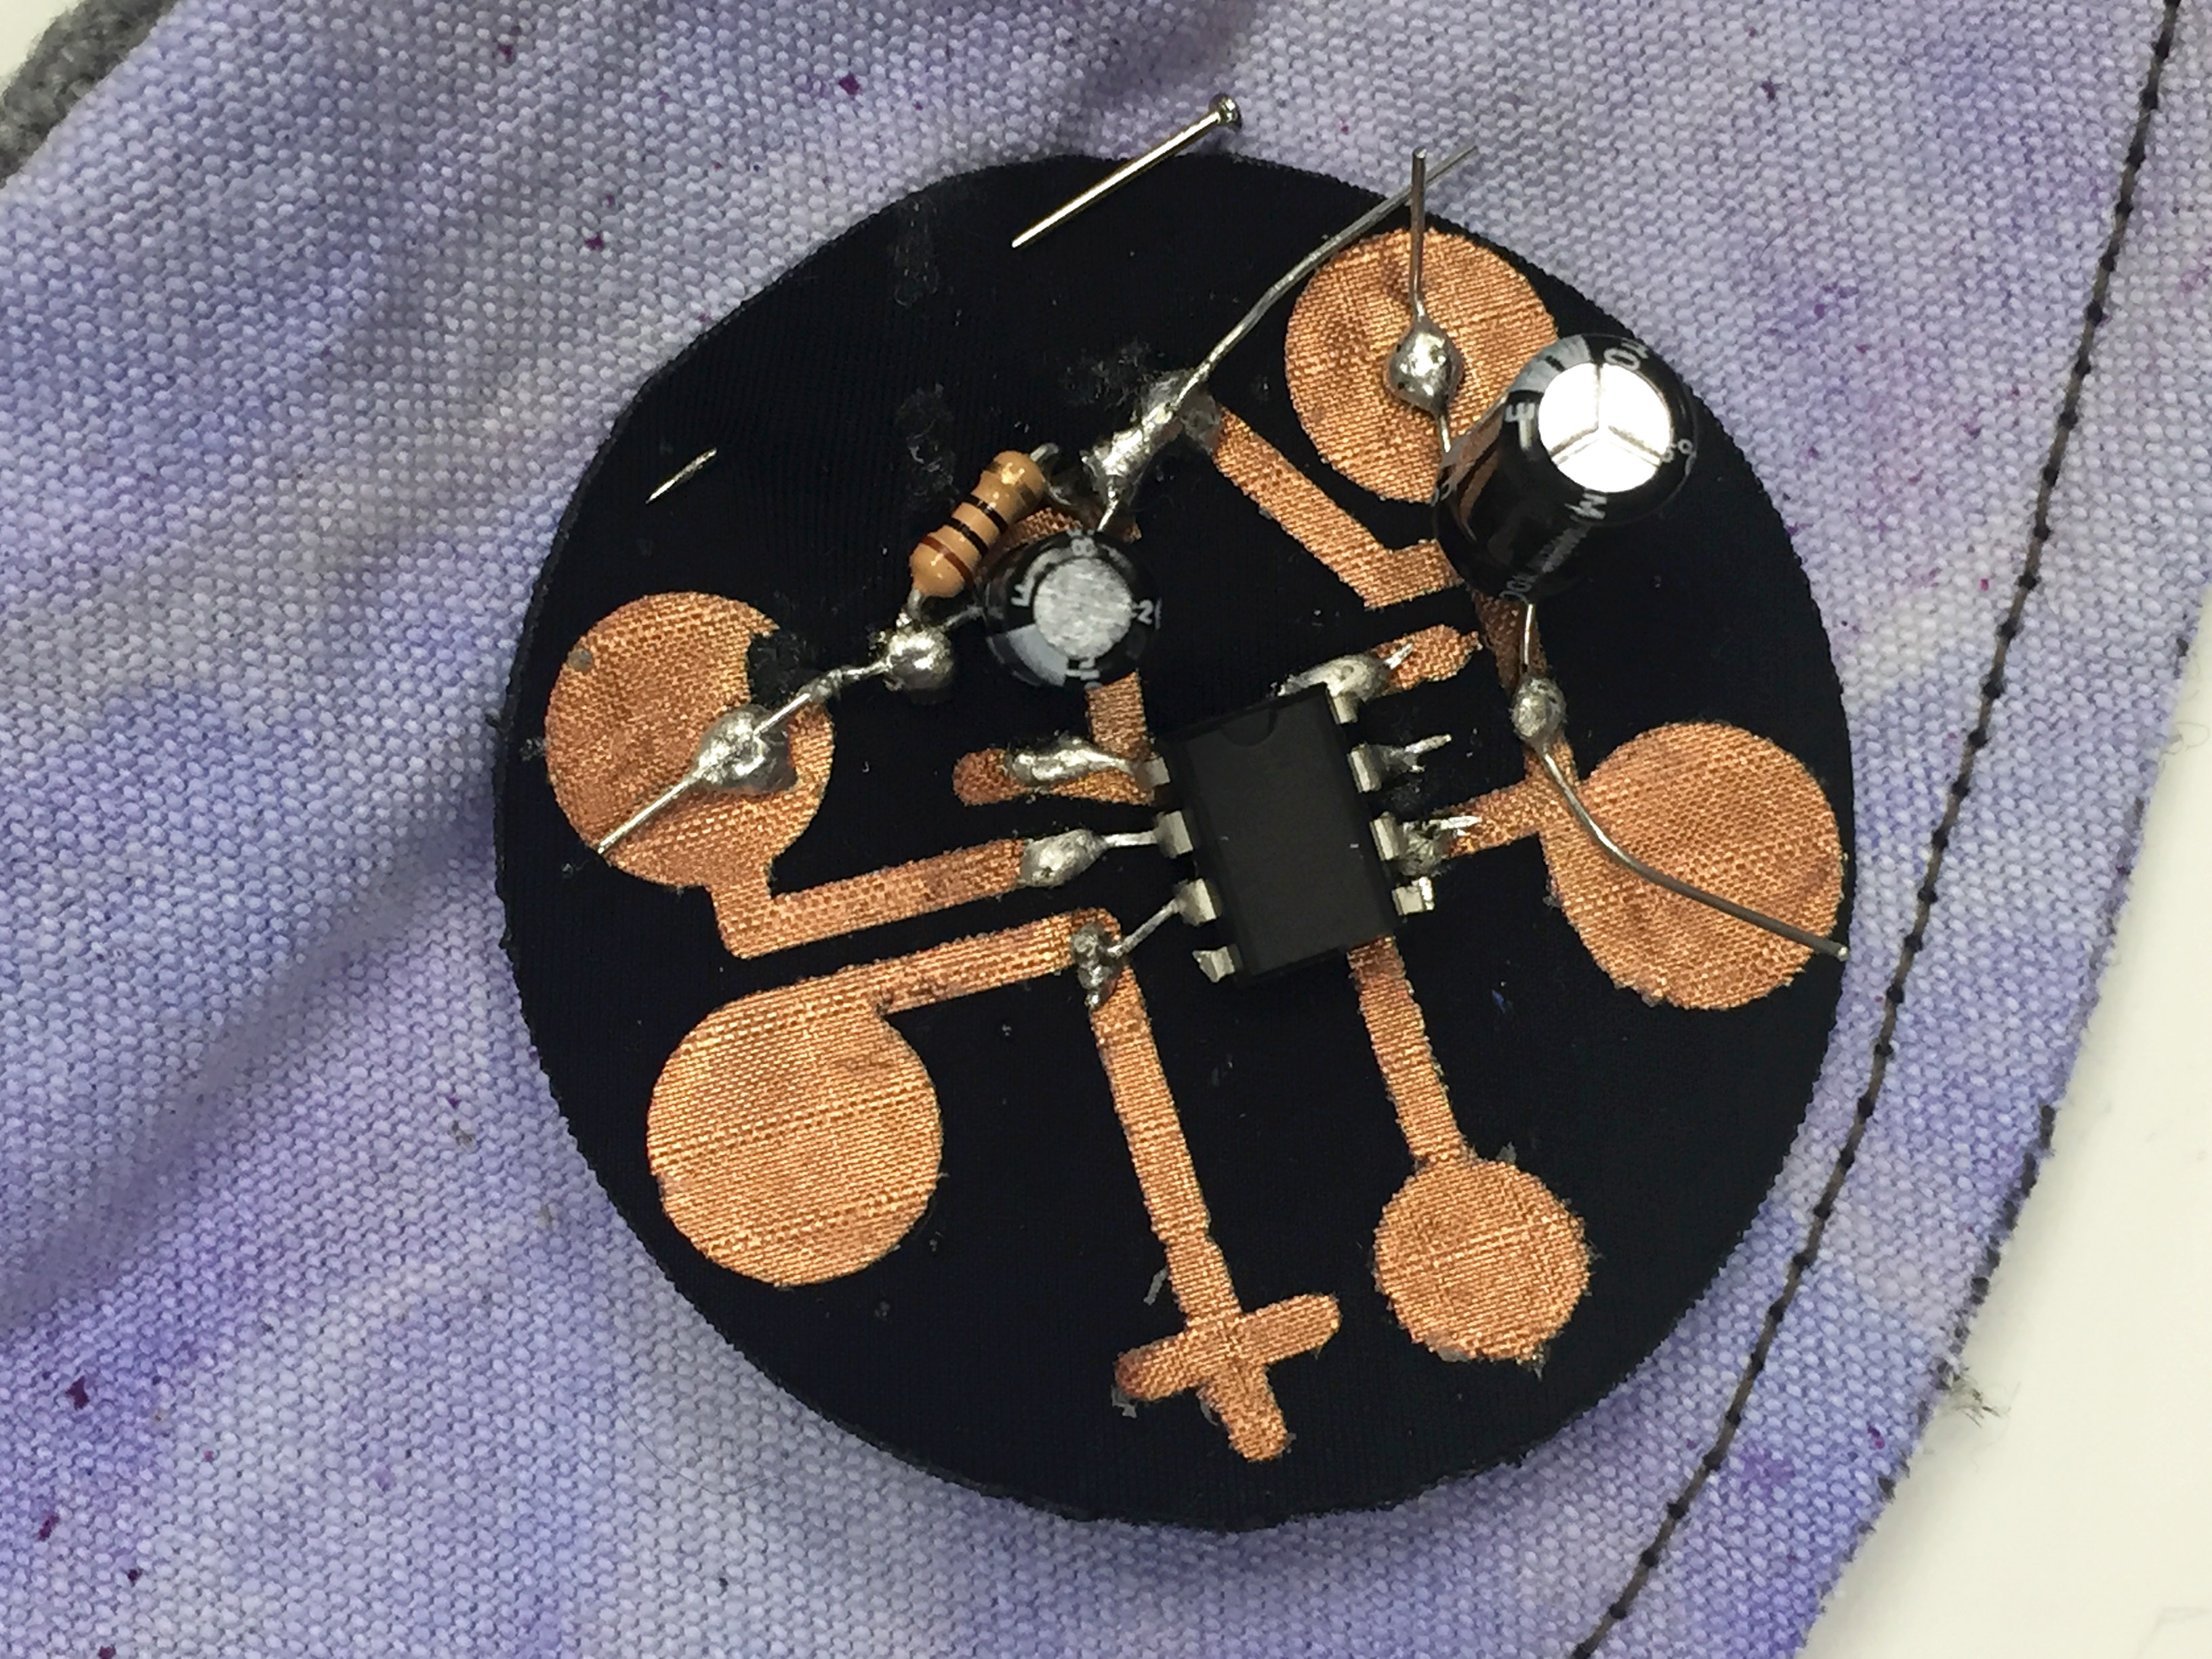
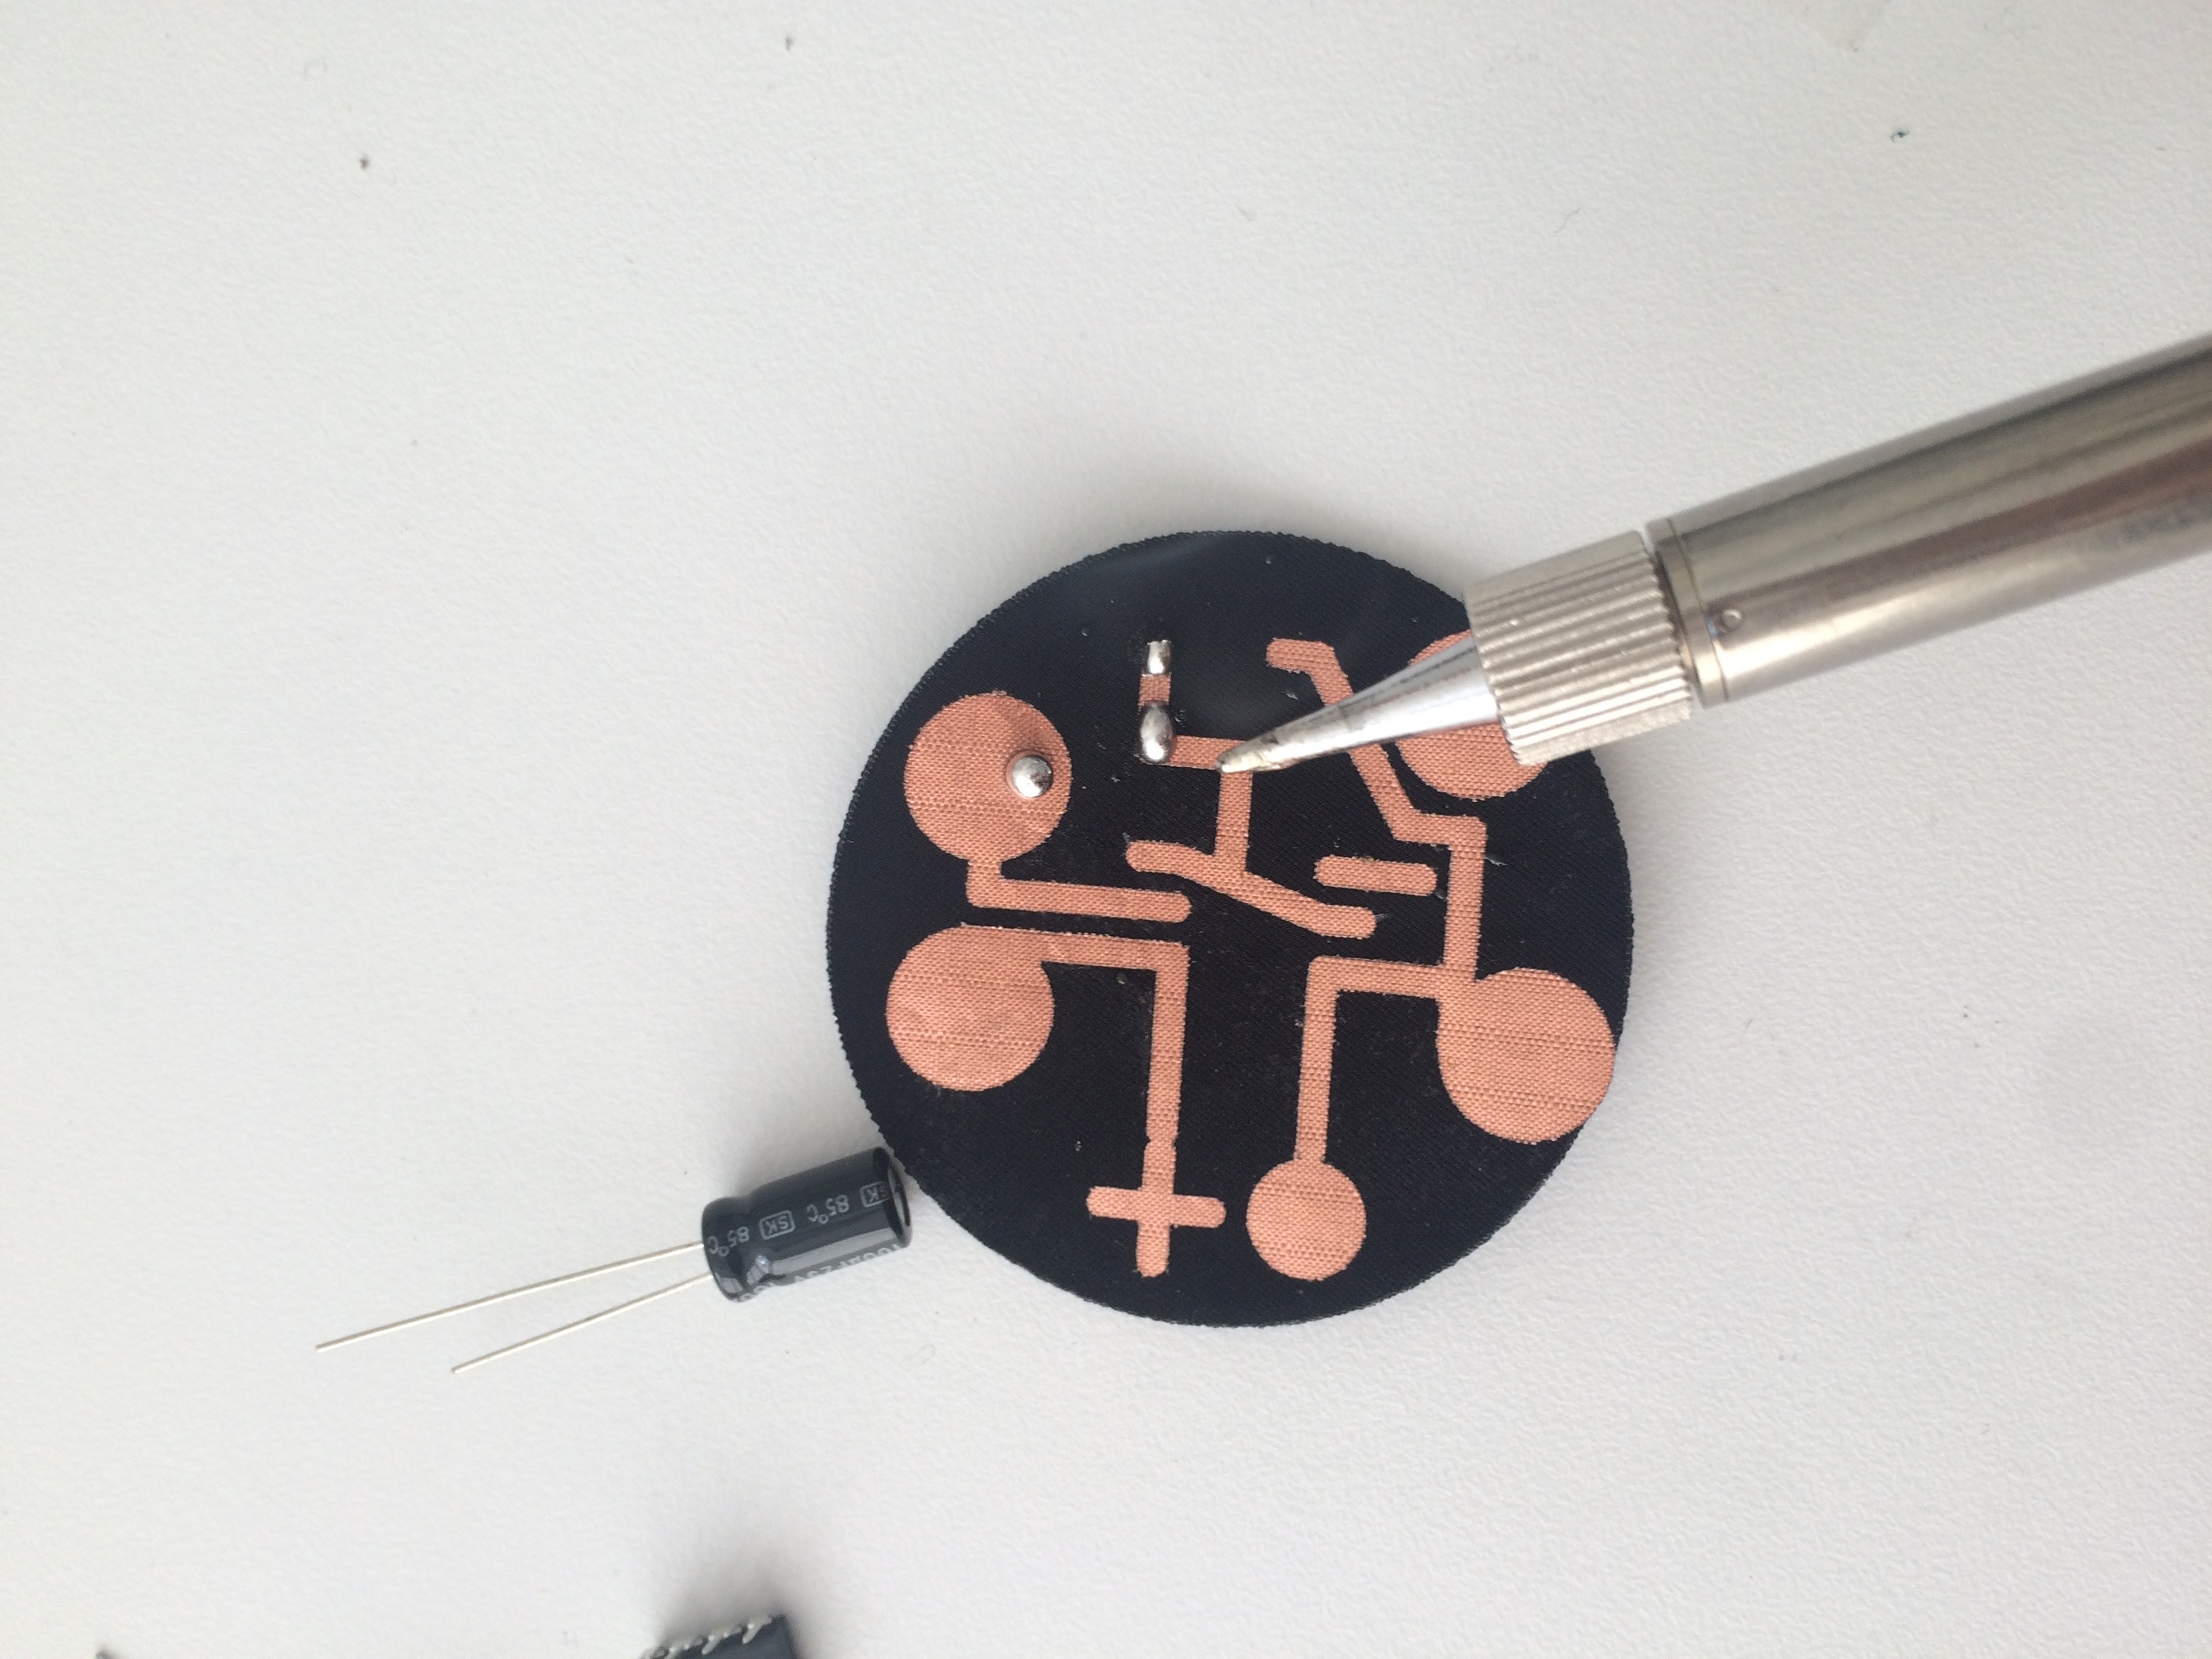
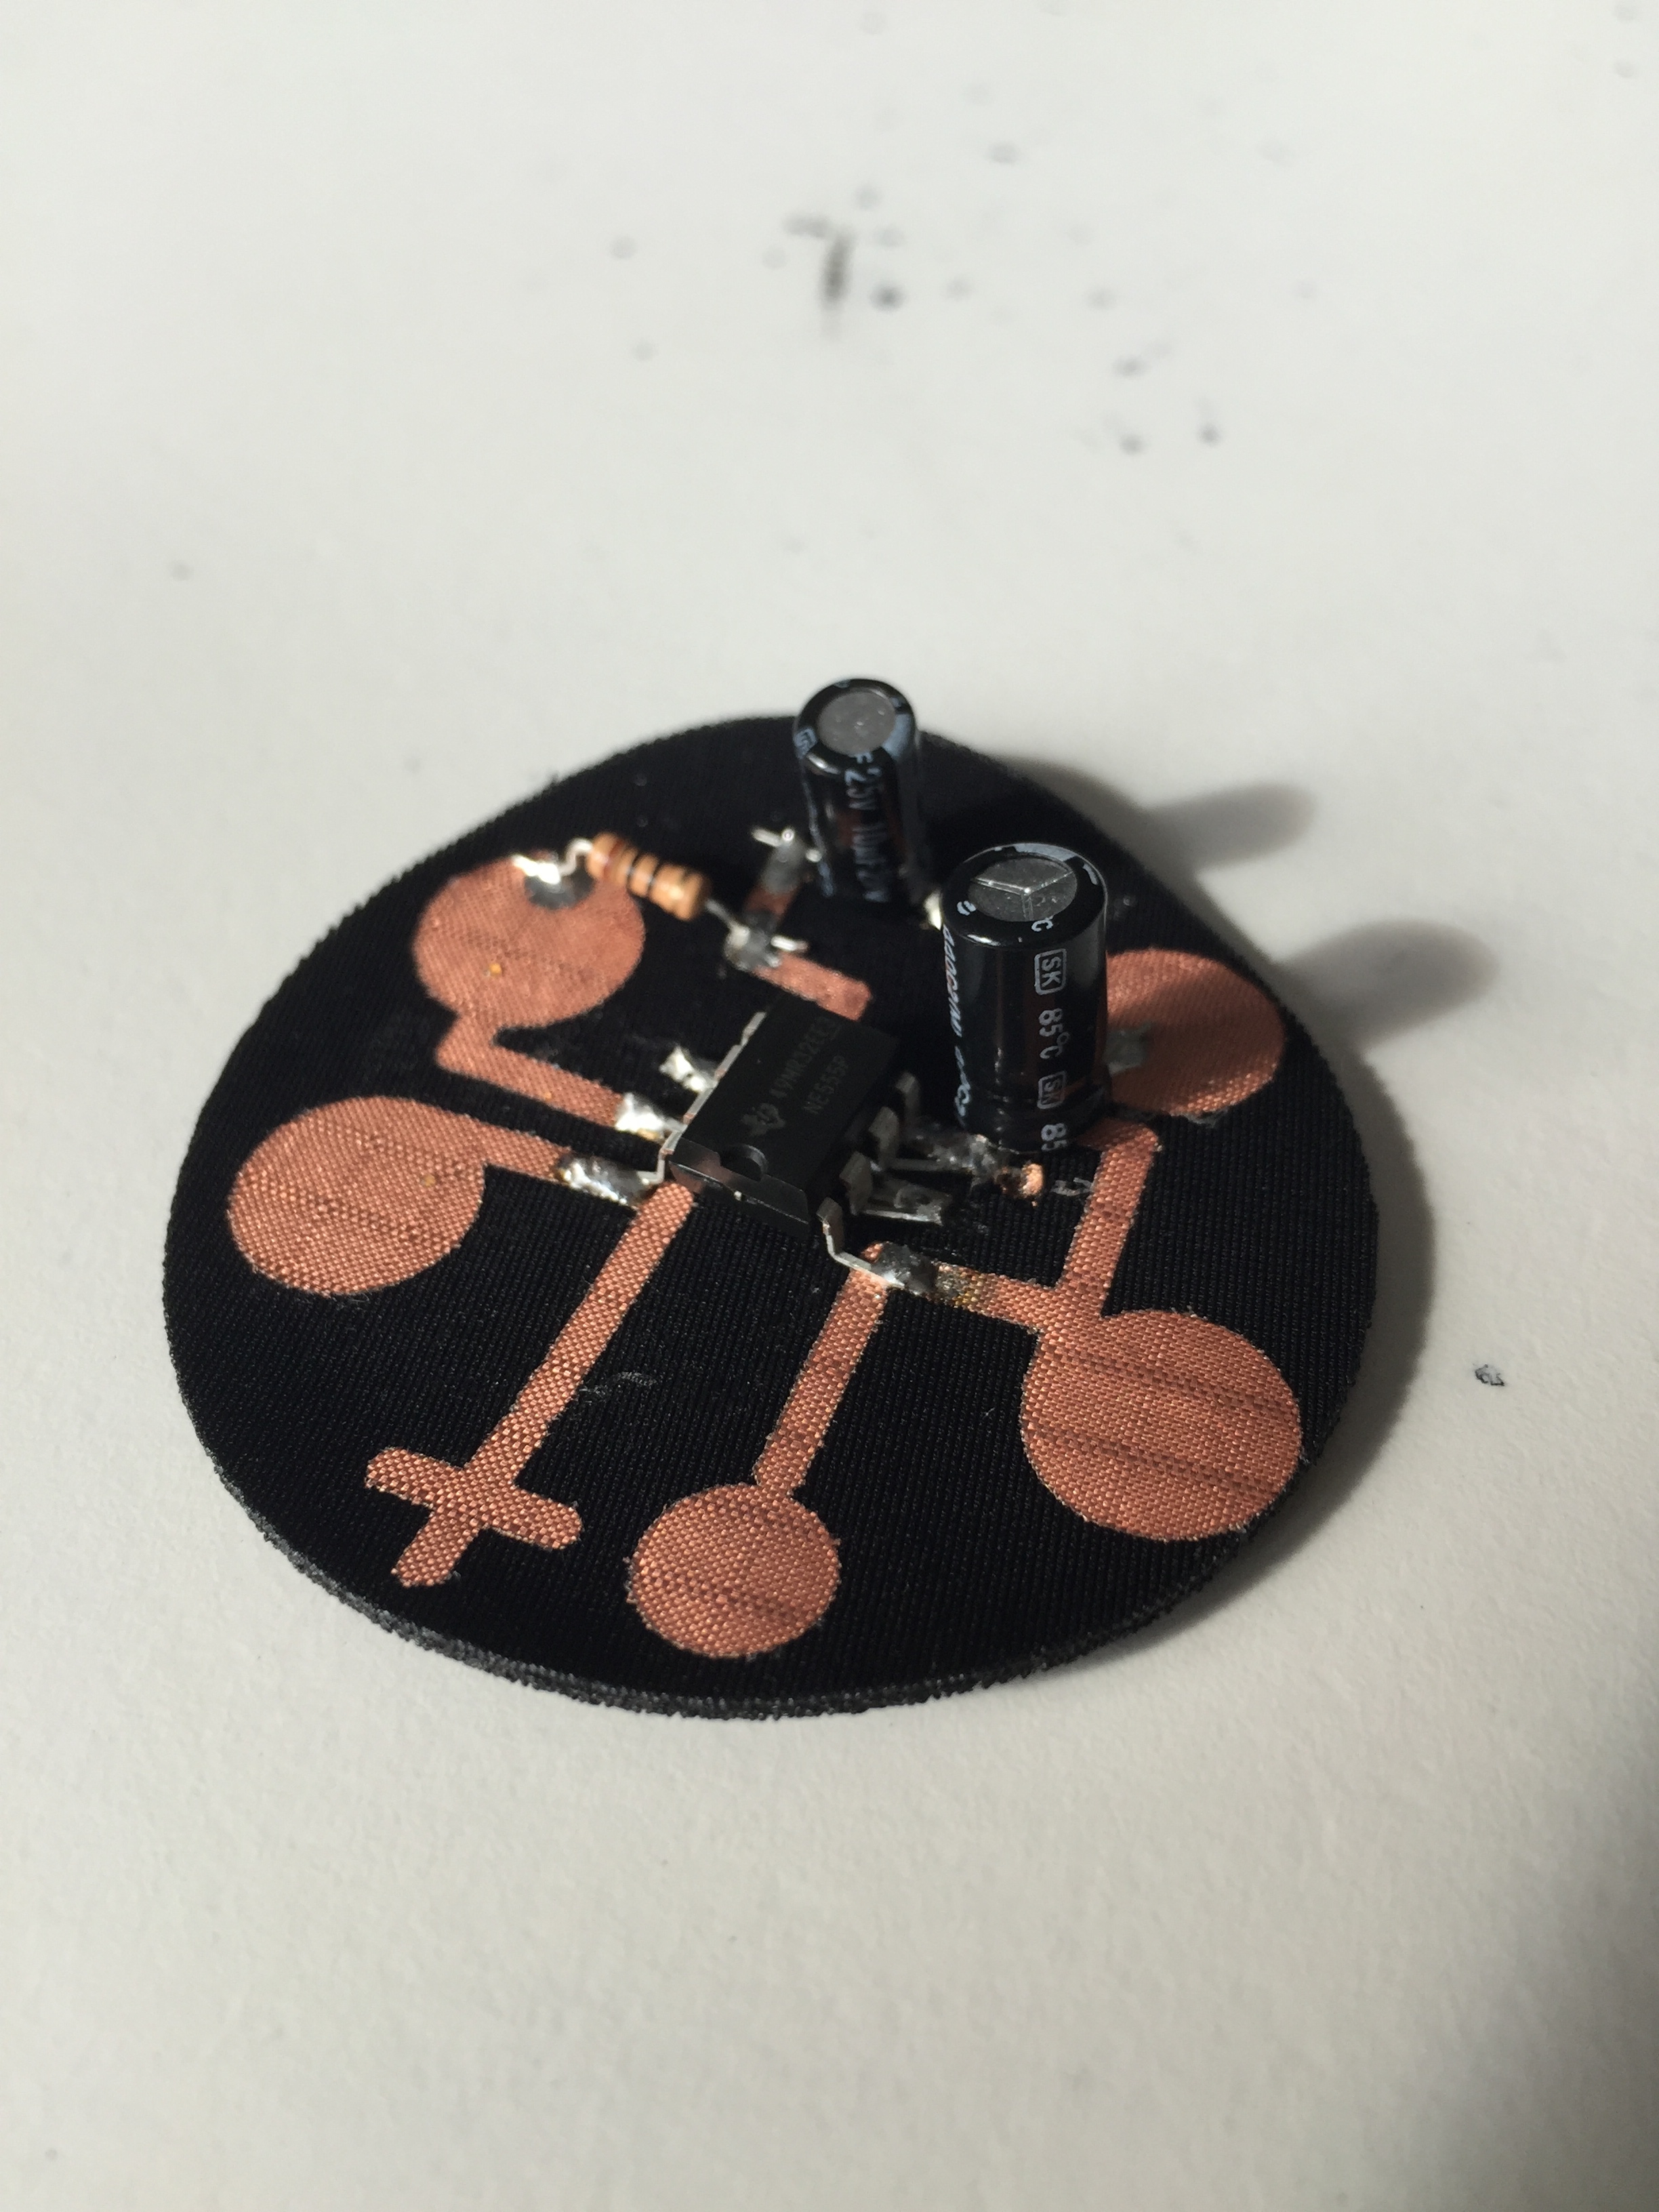
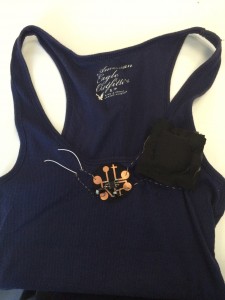
After securing the textilo fabric onto the neoprene, I soldered. OR at least attempted! Honestly, I struggle with soldering. I actually have experience with it from an engineering camp in middle school, but I had a hard time then, and I guess I still do.


My attempt at soldering all the components.

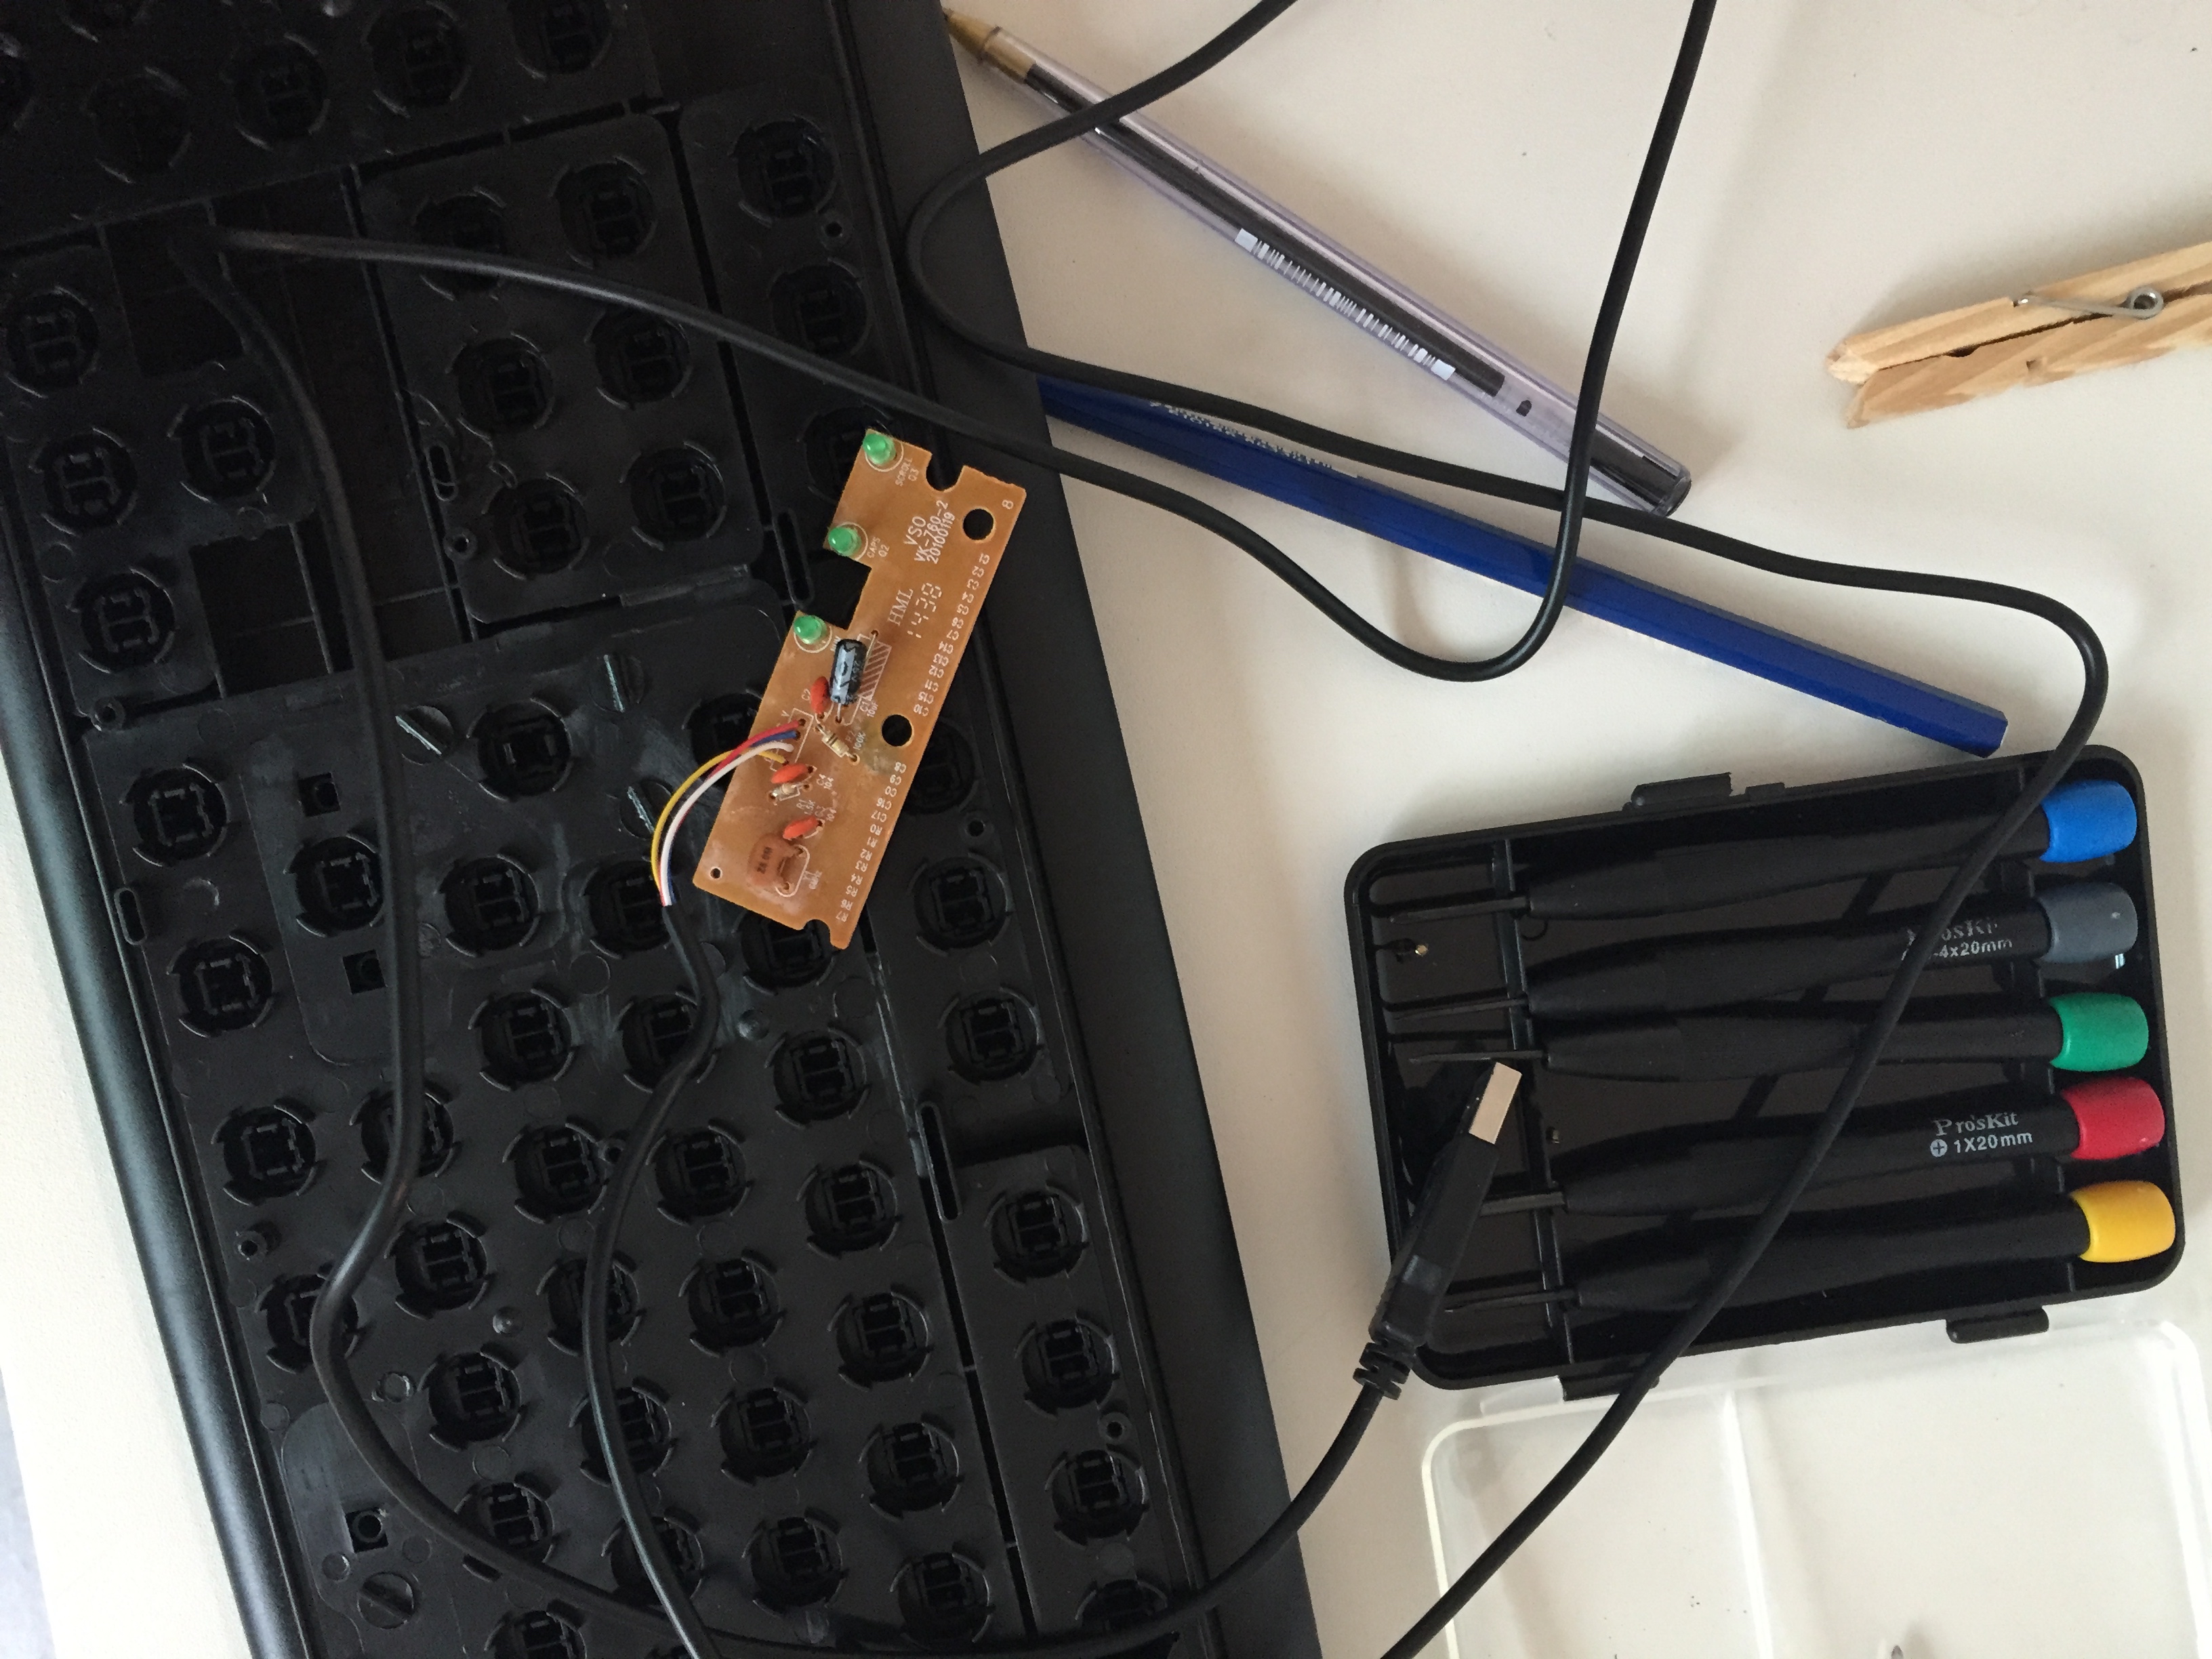
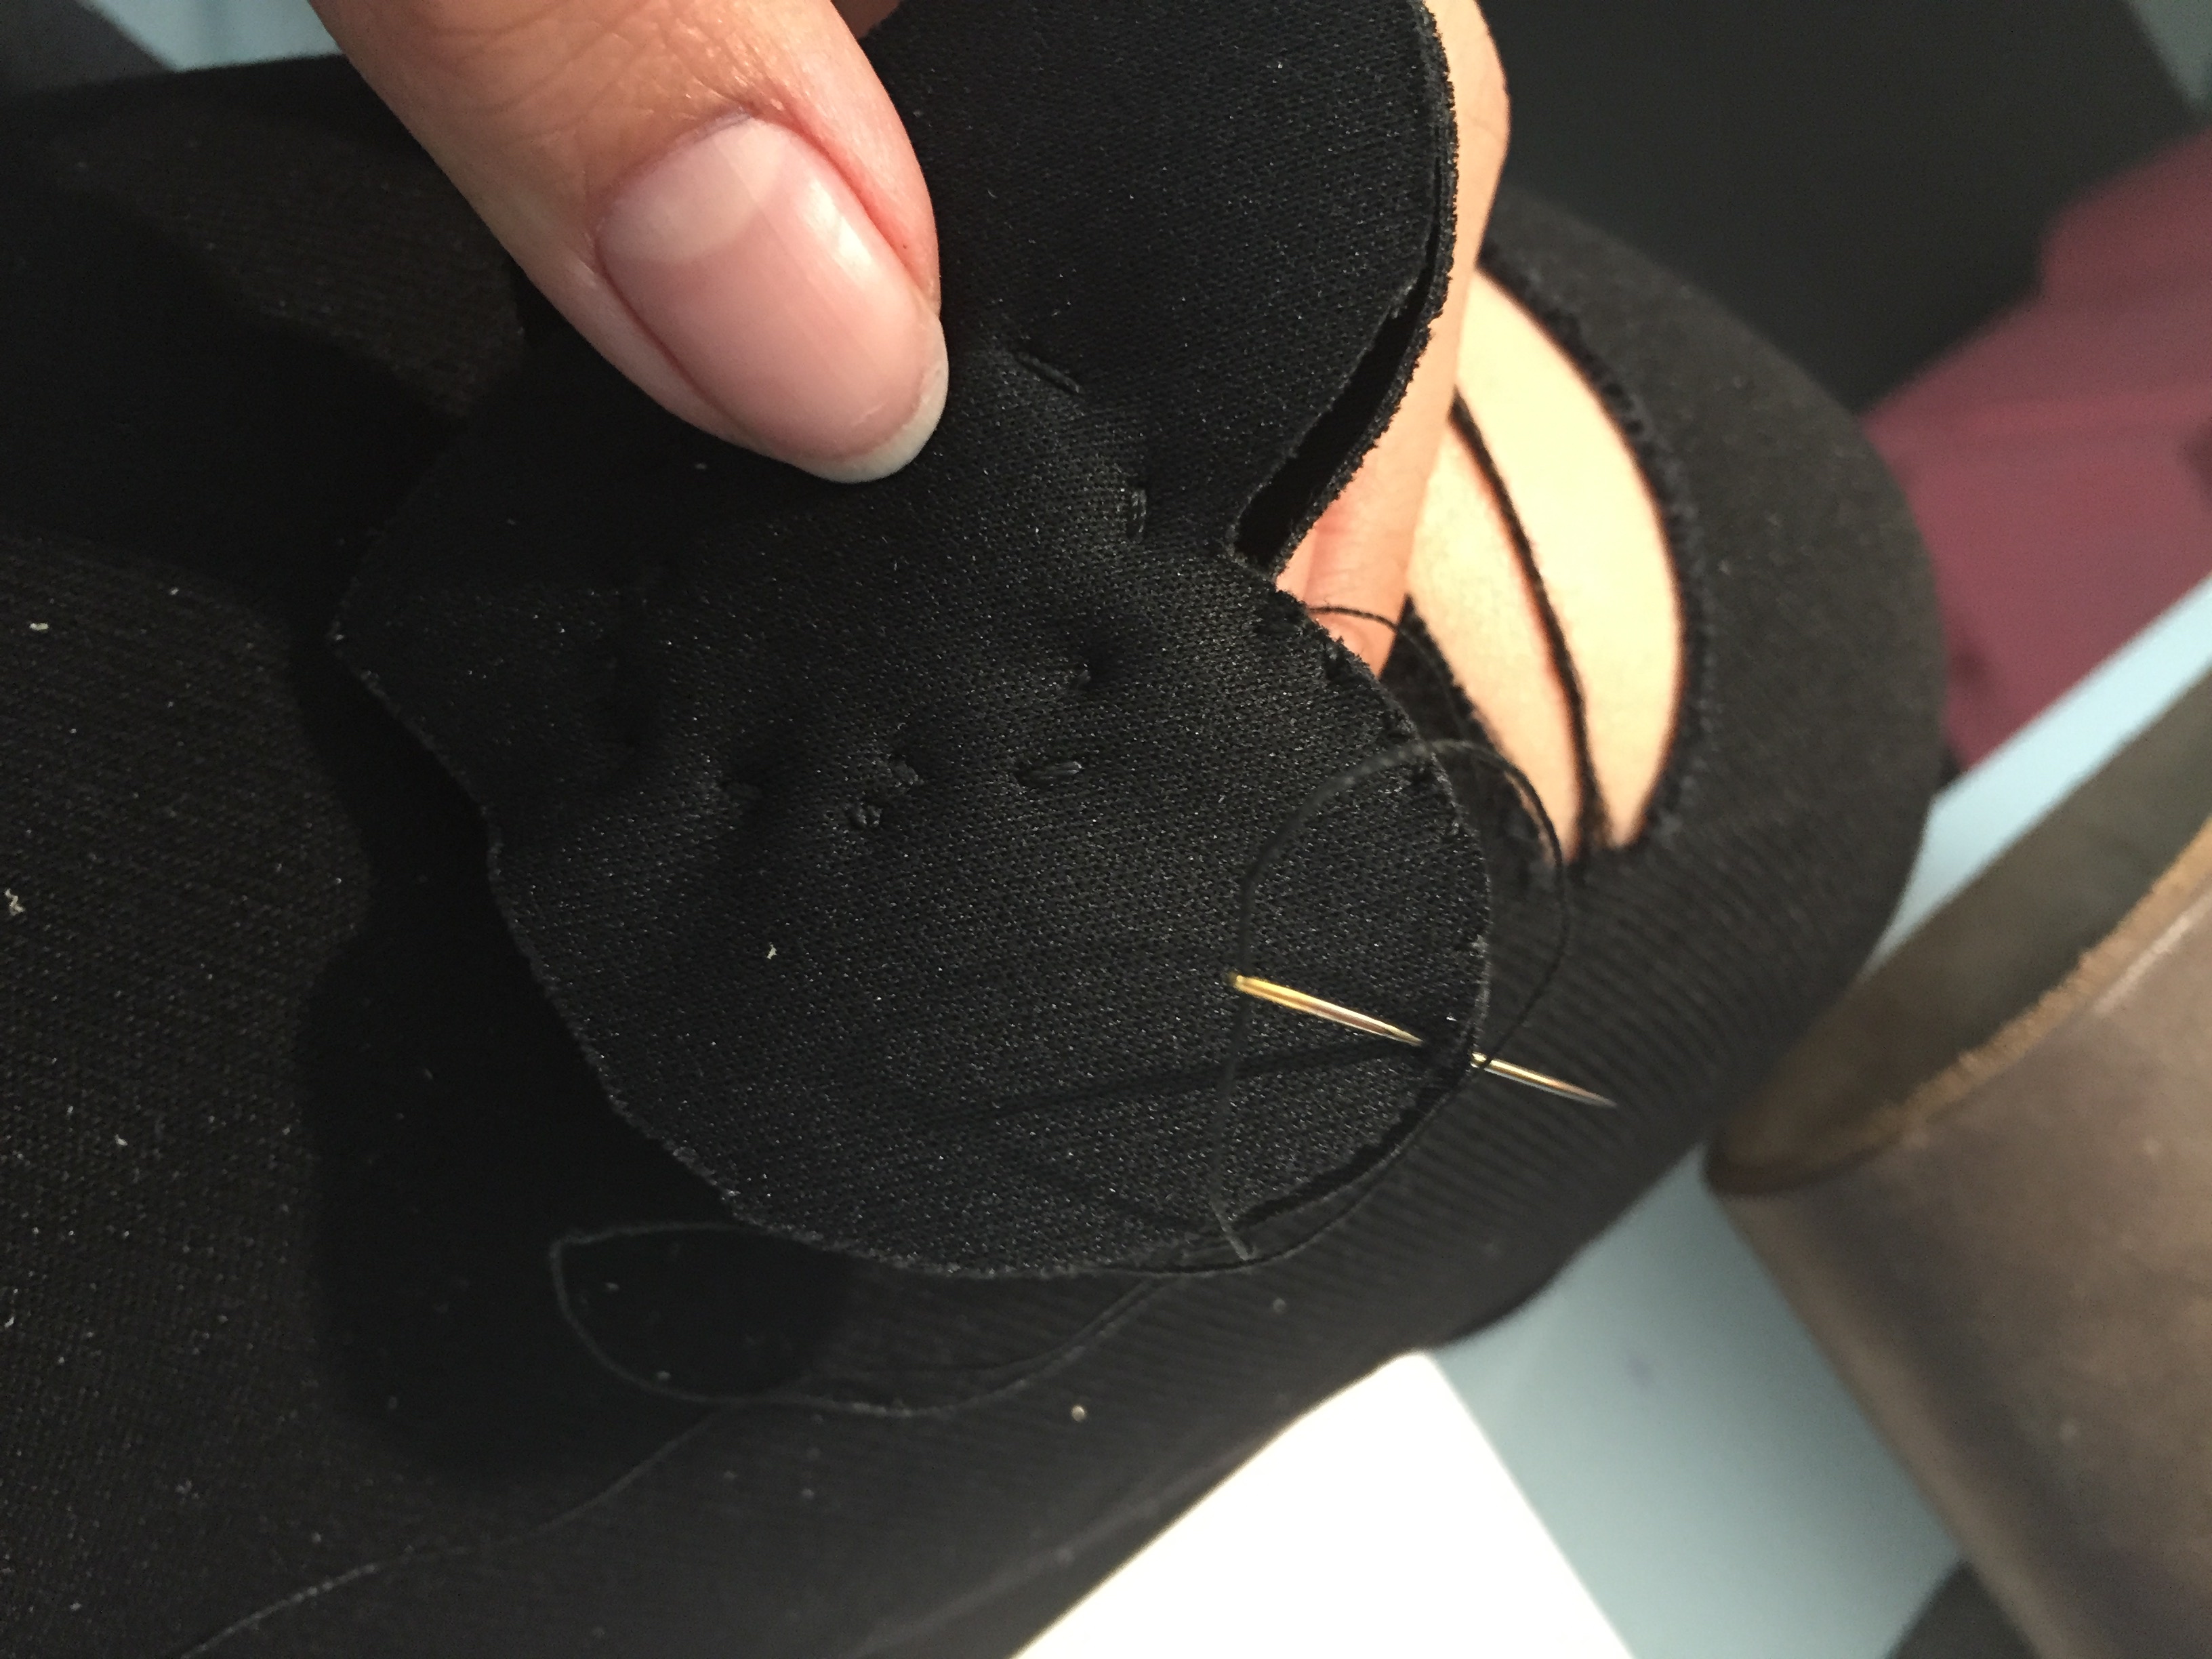
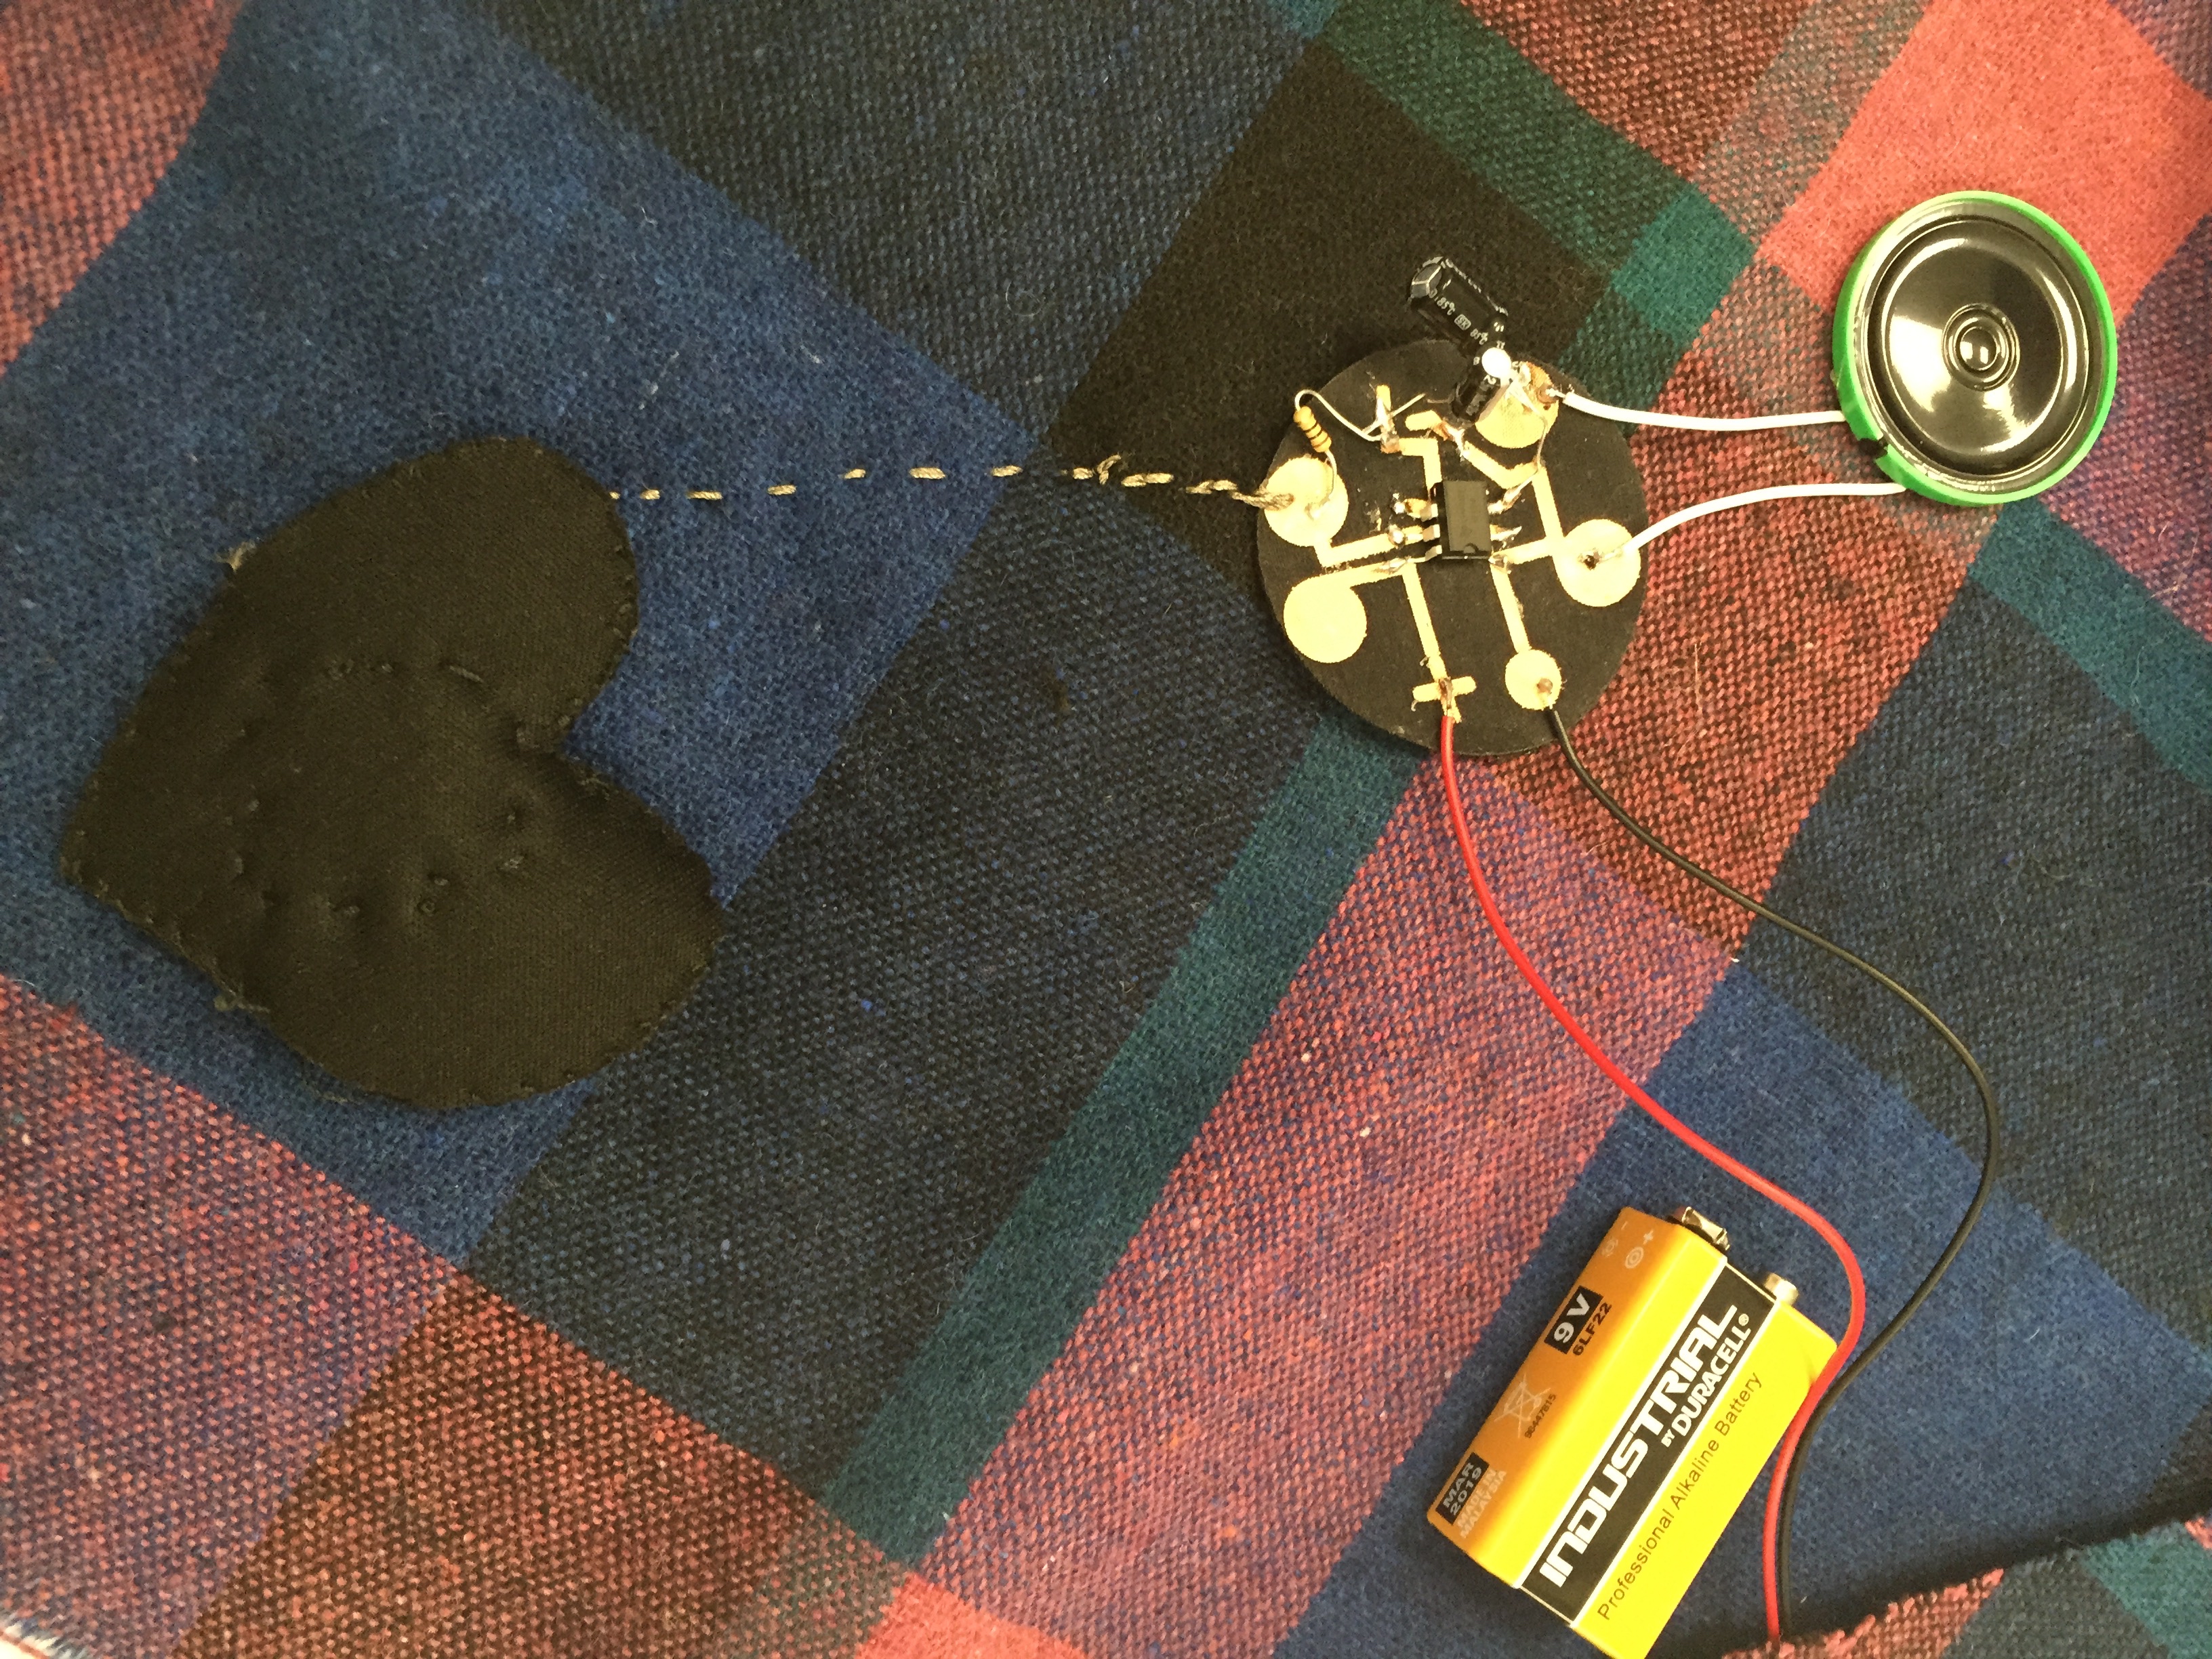
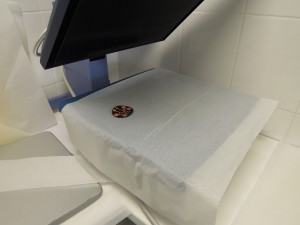
Anyway, I tried my best with this, and it turned out that some of the connections were broken on the board, or just not soldered as fully as they could have. I first tried to connect the broken connections with connective thread, but that still didn’t work!  

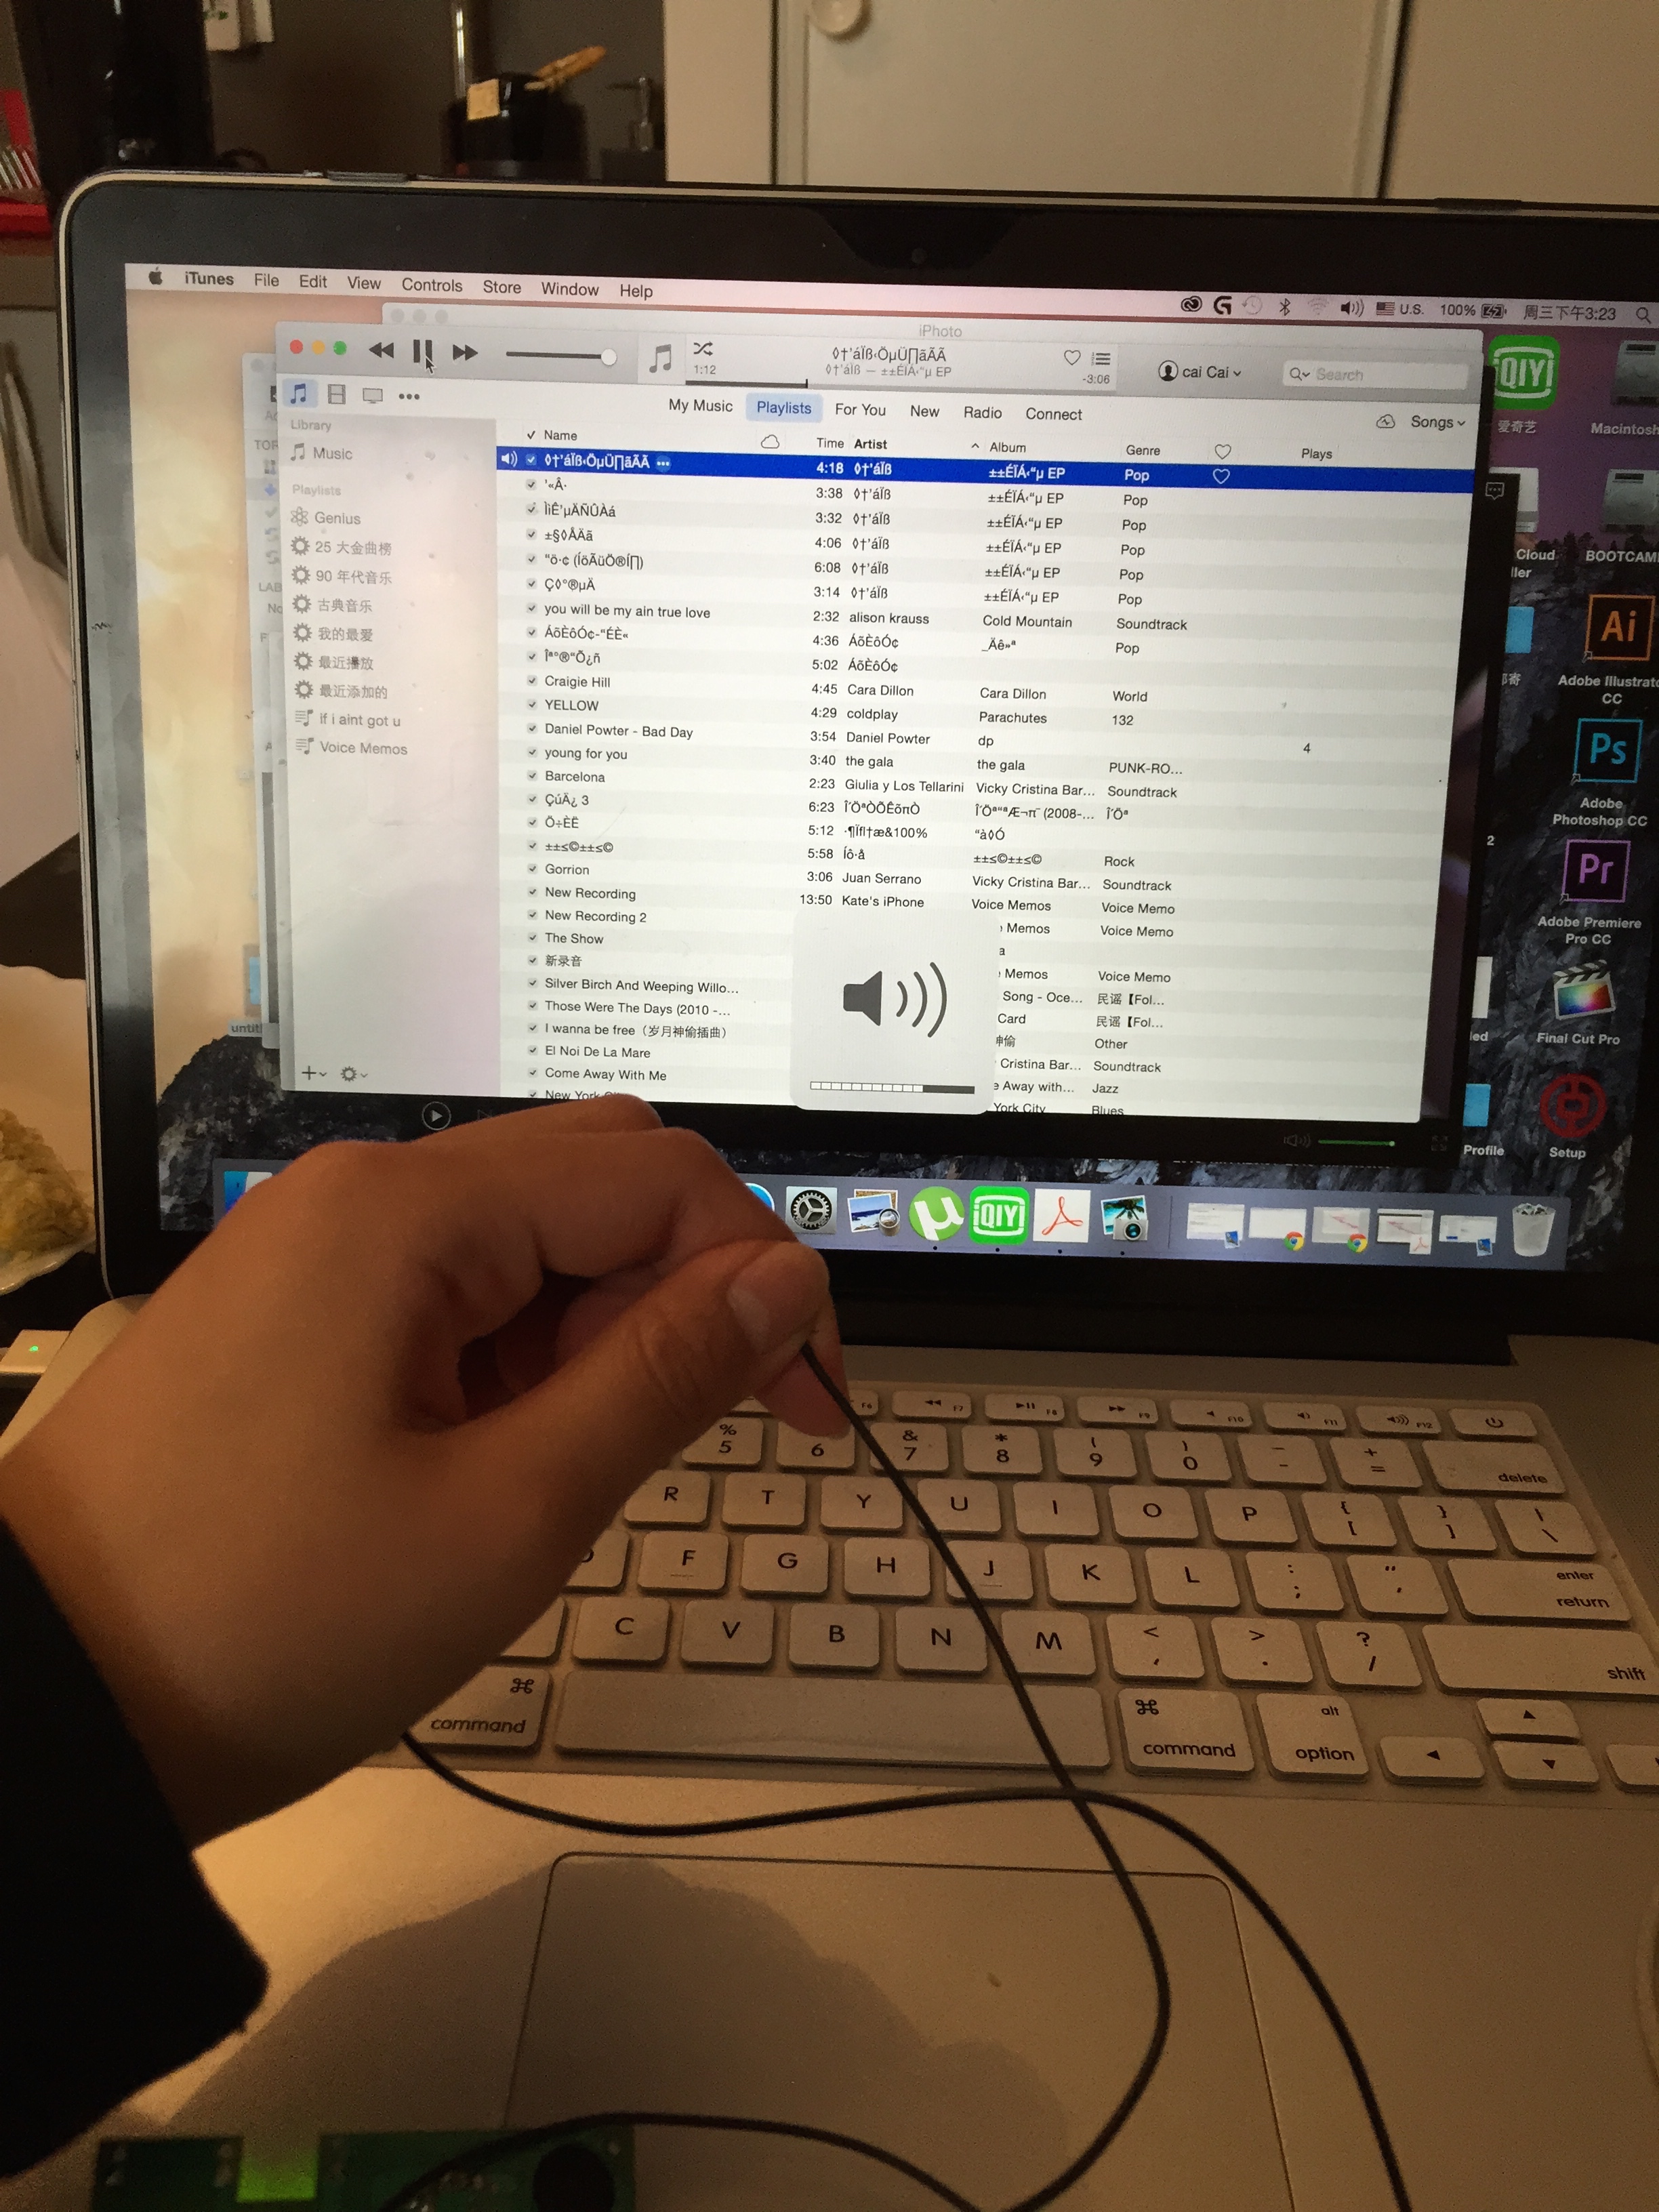
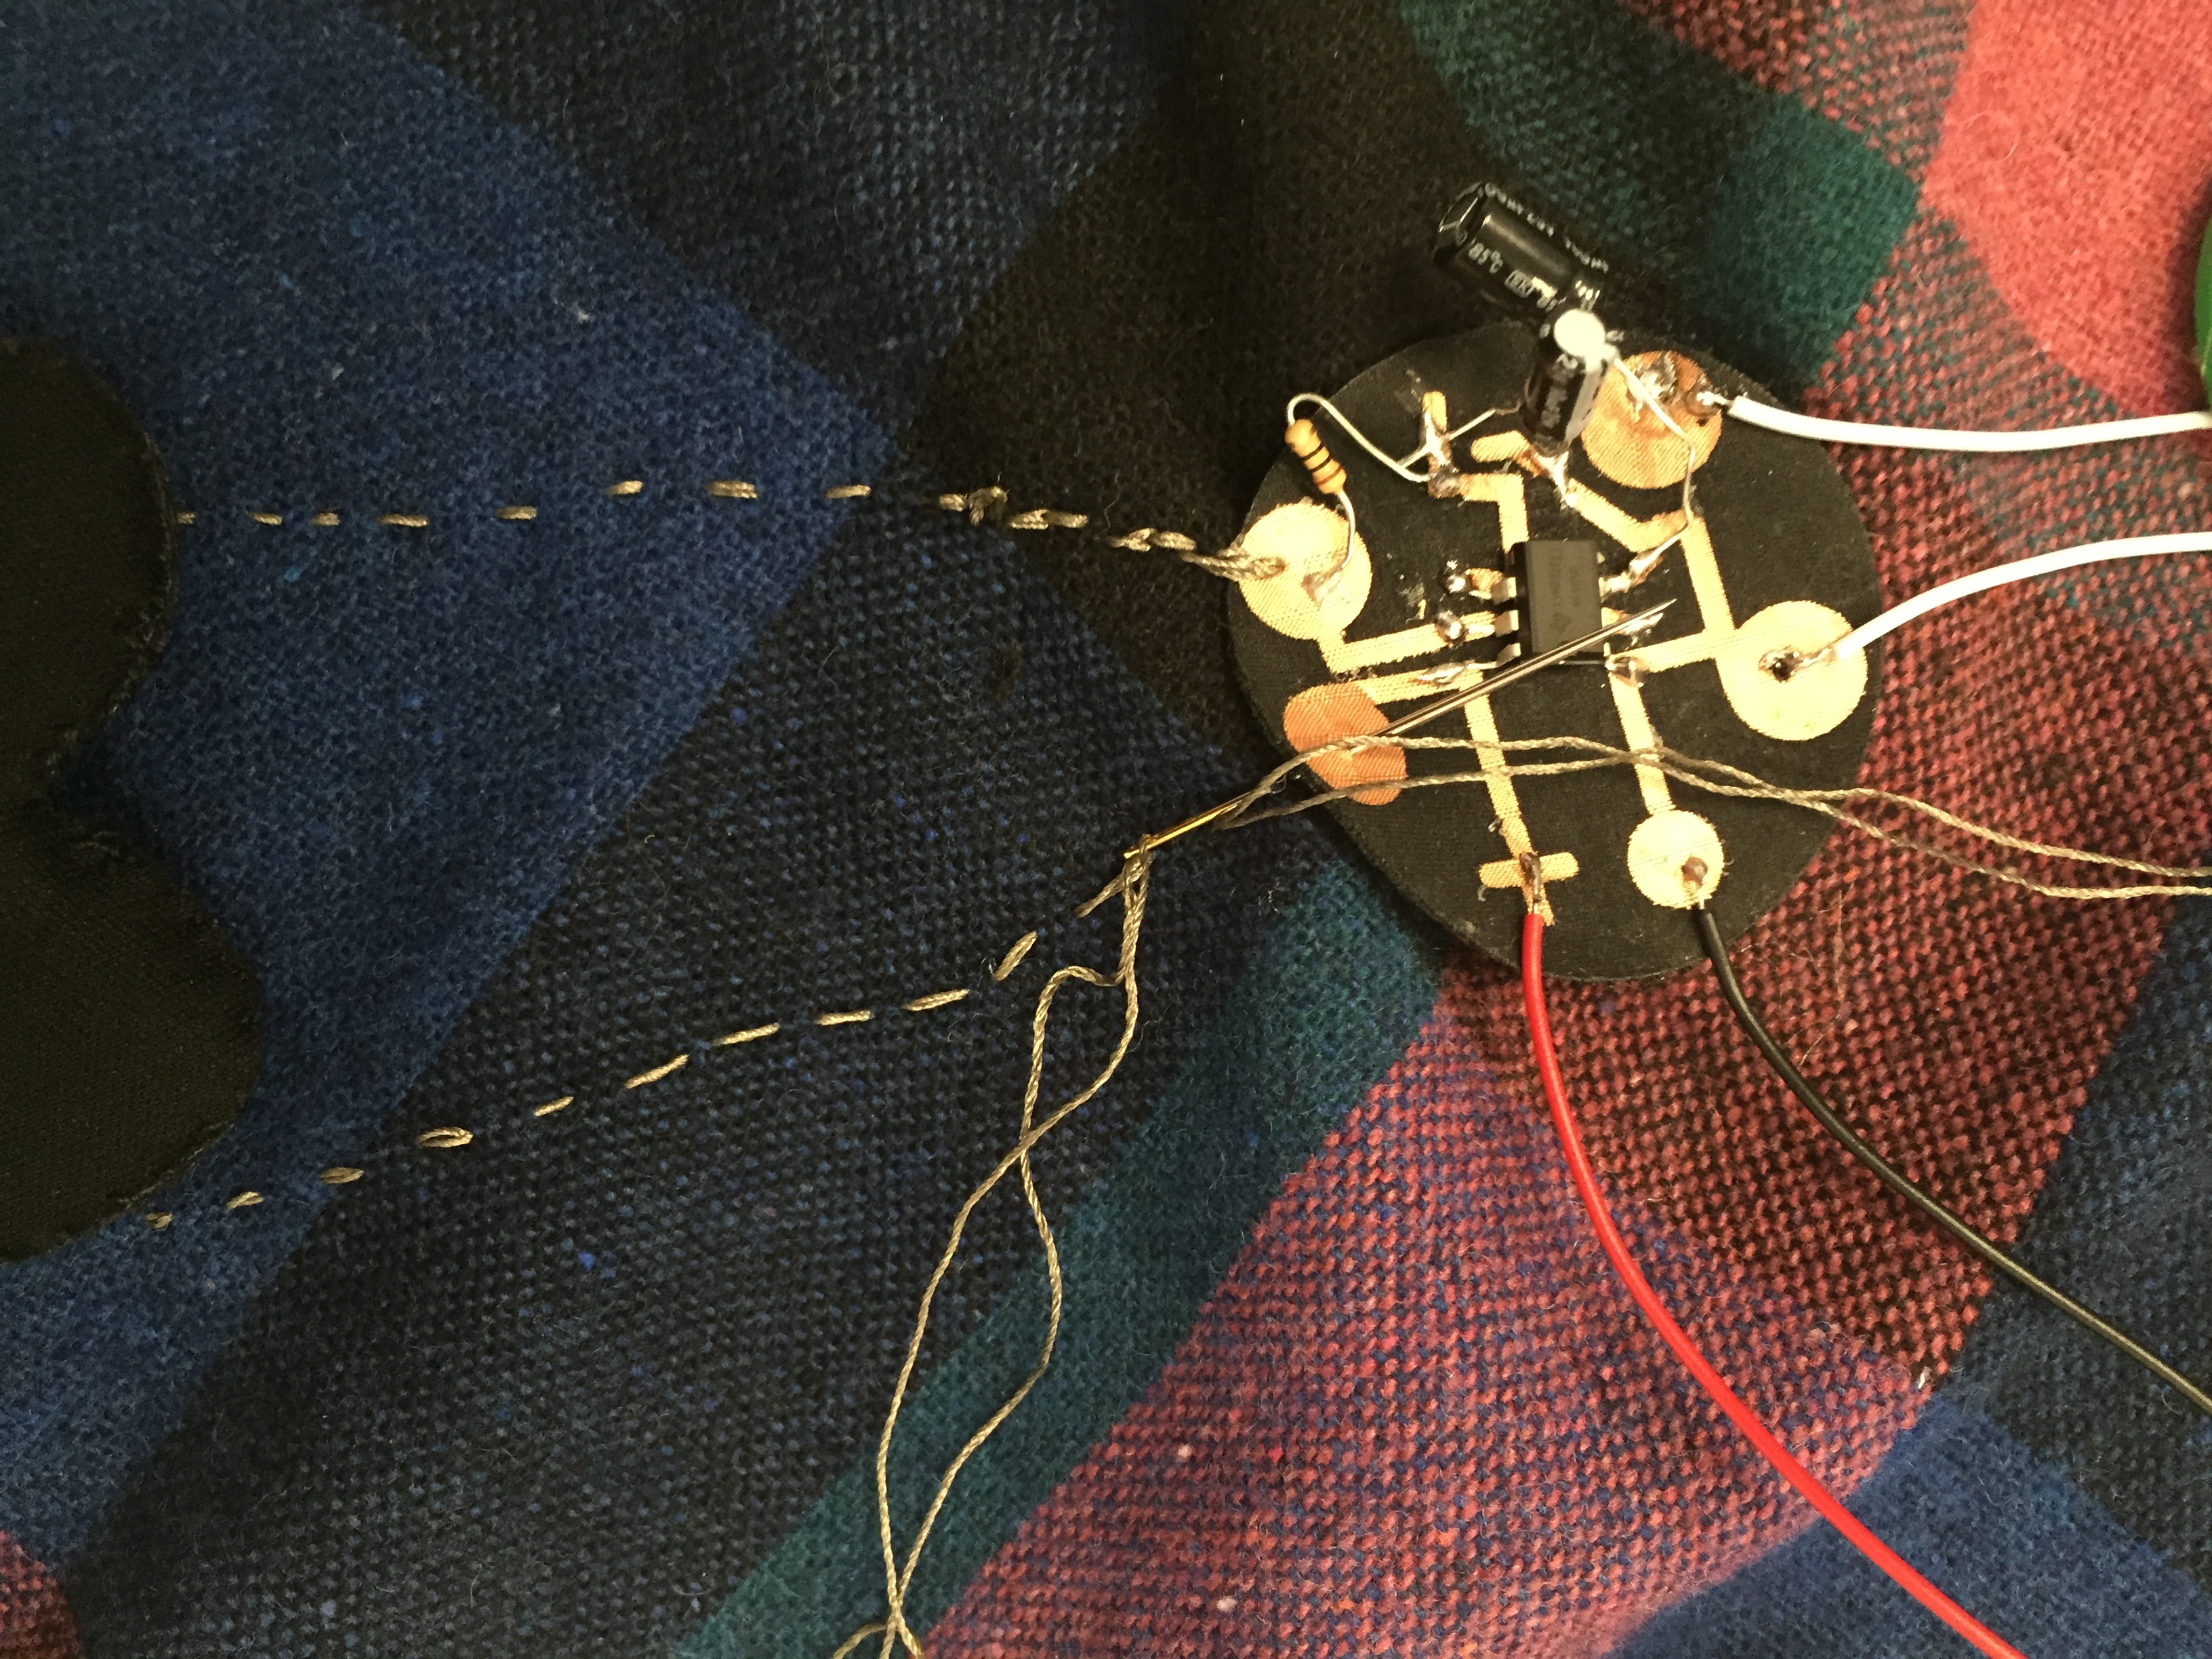
You can see where I tried to connect the two with the connective thread above. But it did not work after I kept testing it (second picture)
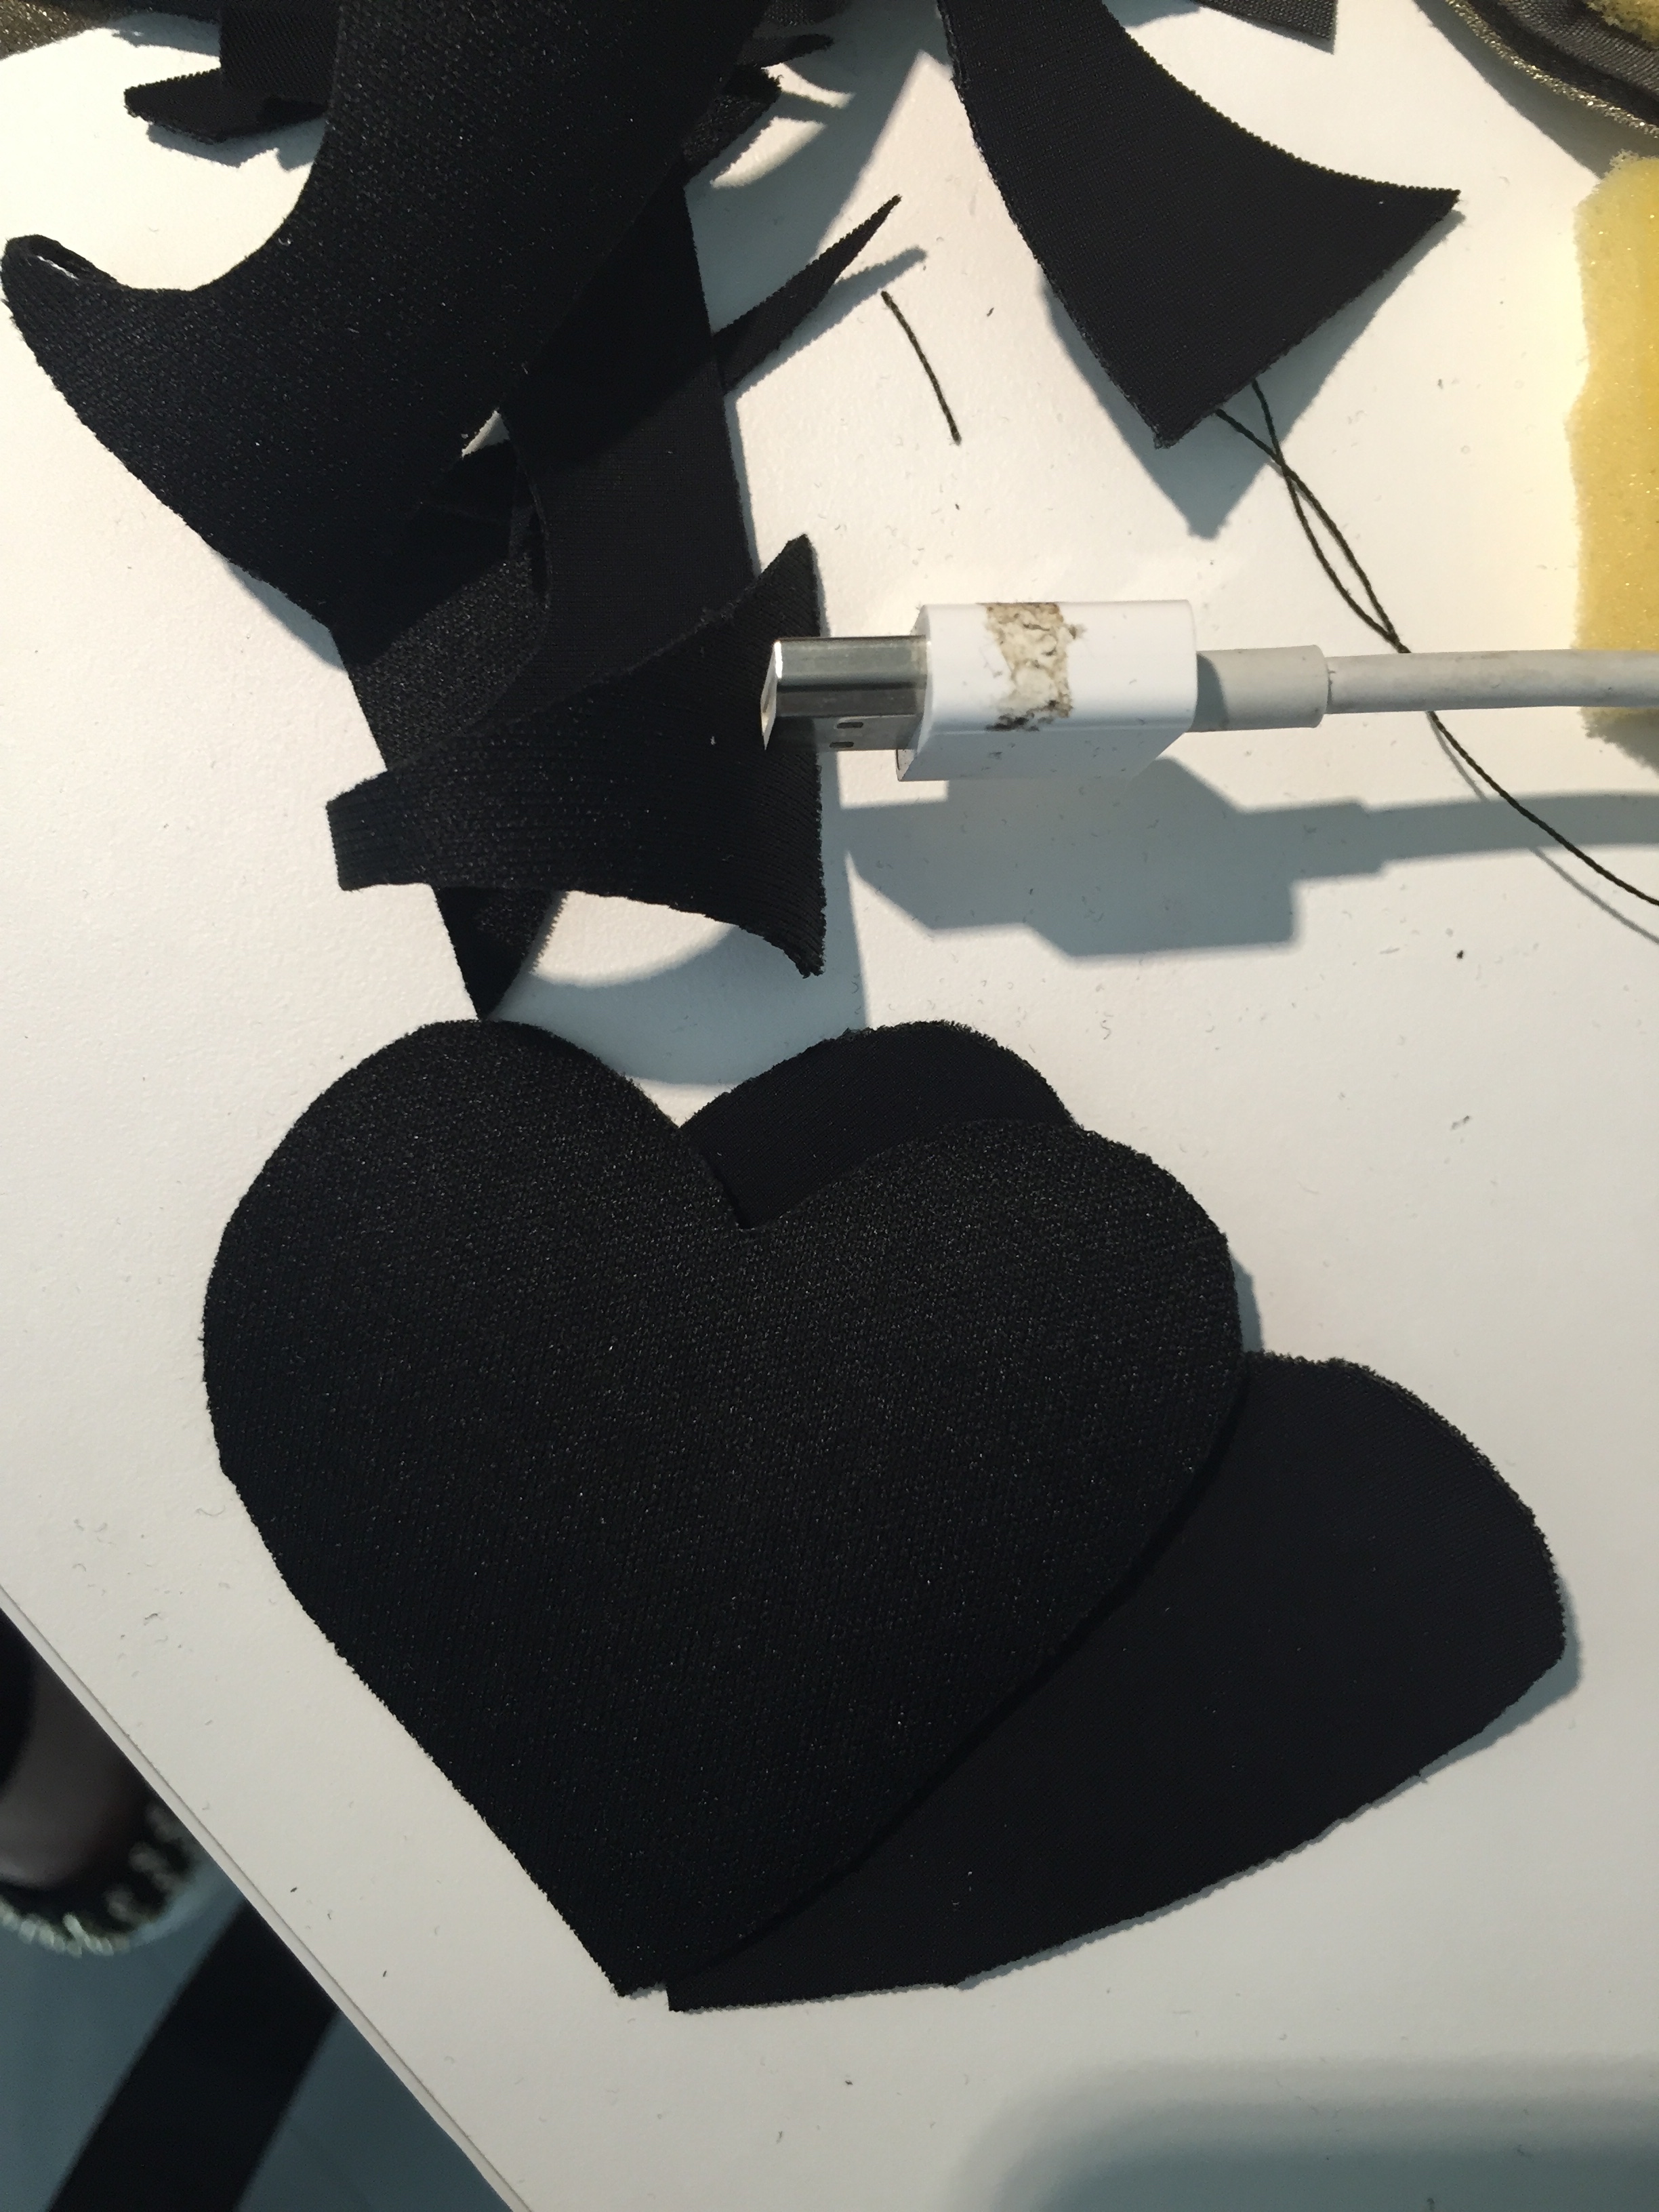
More testing

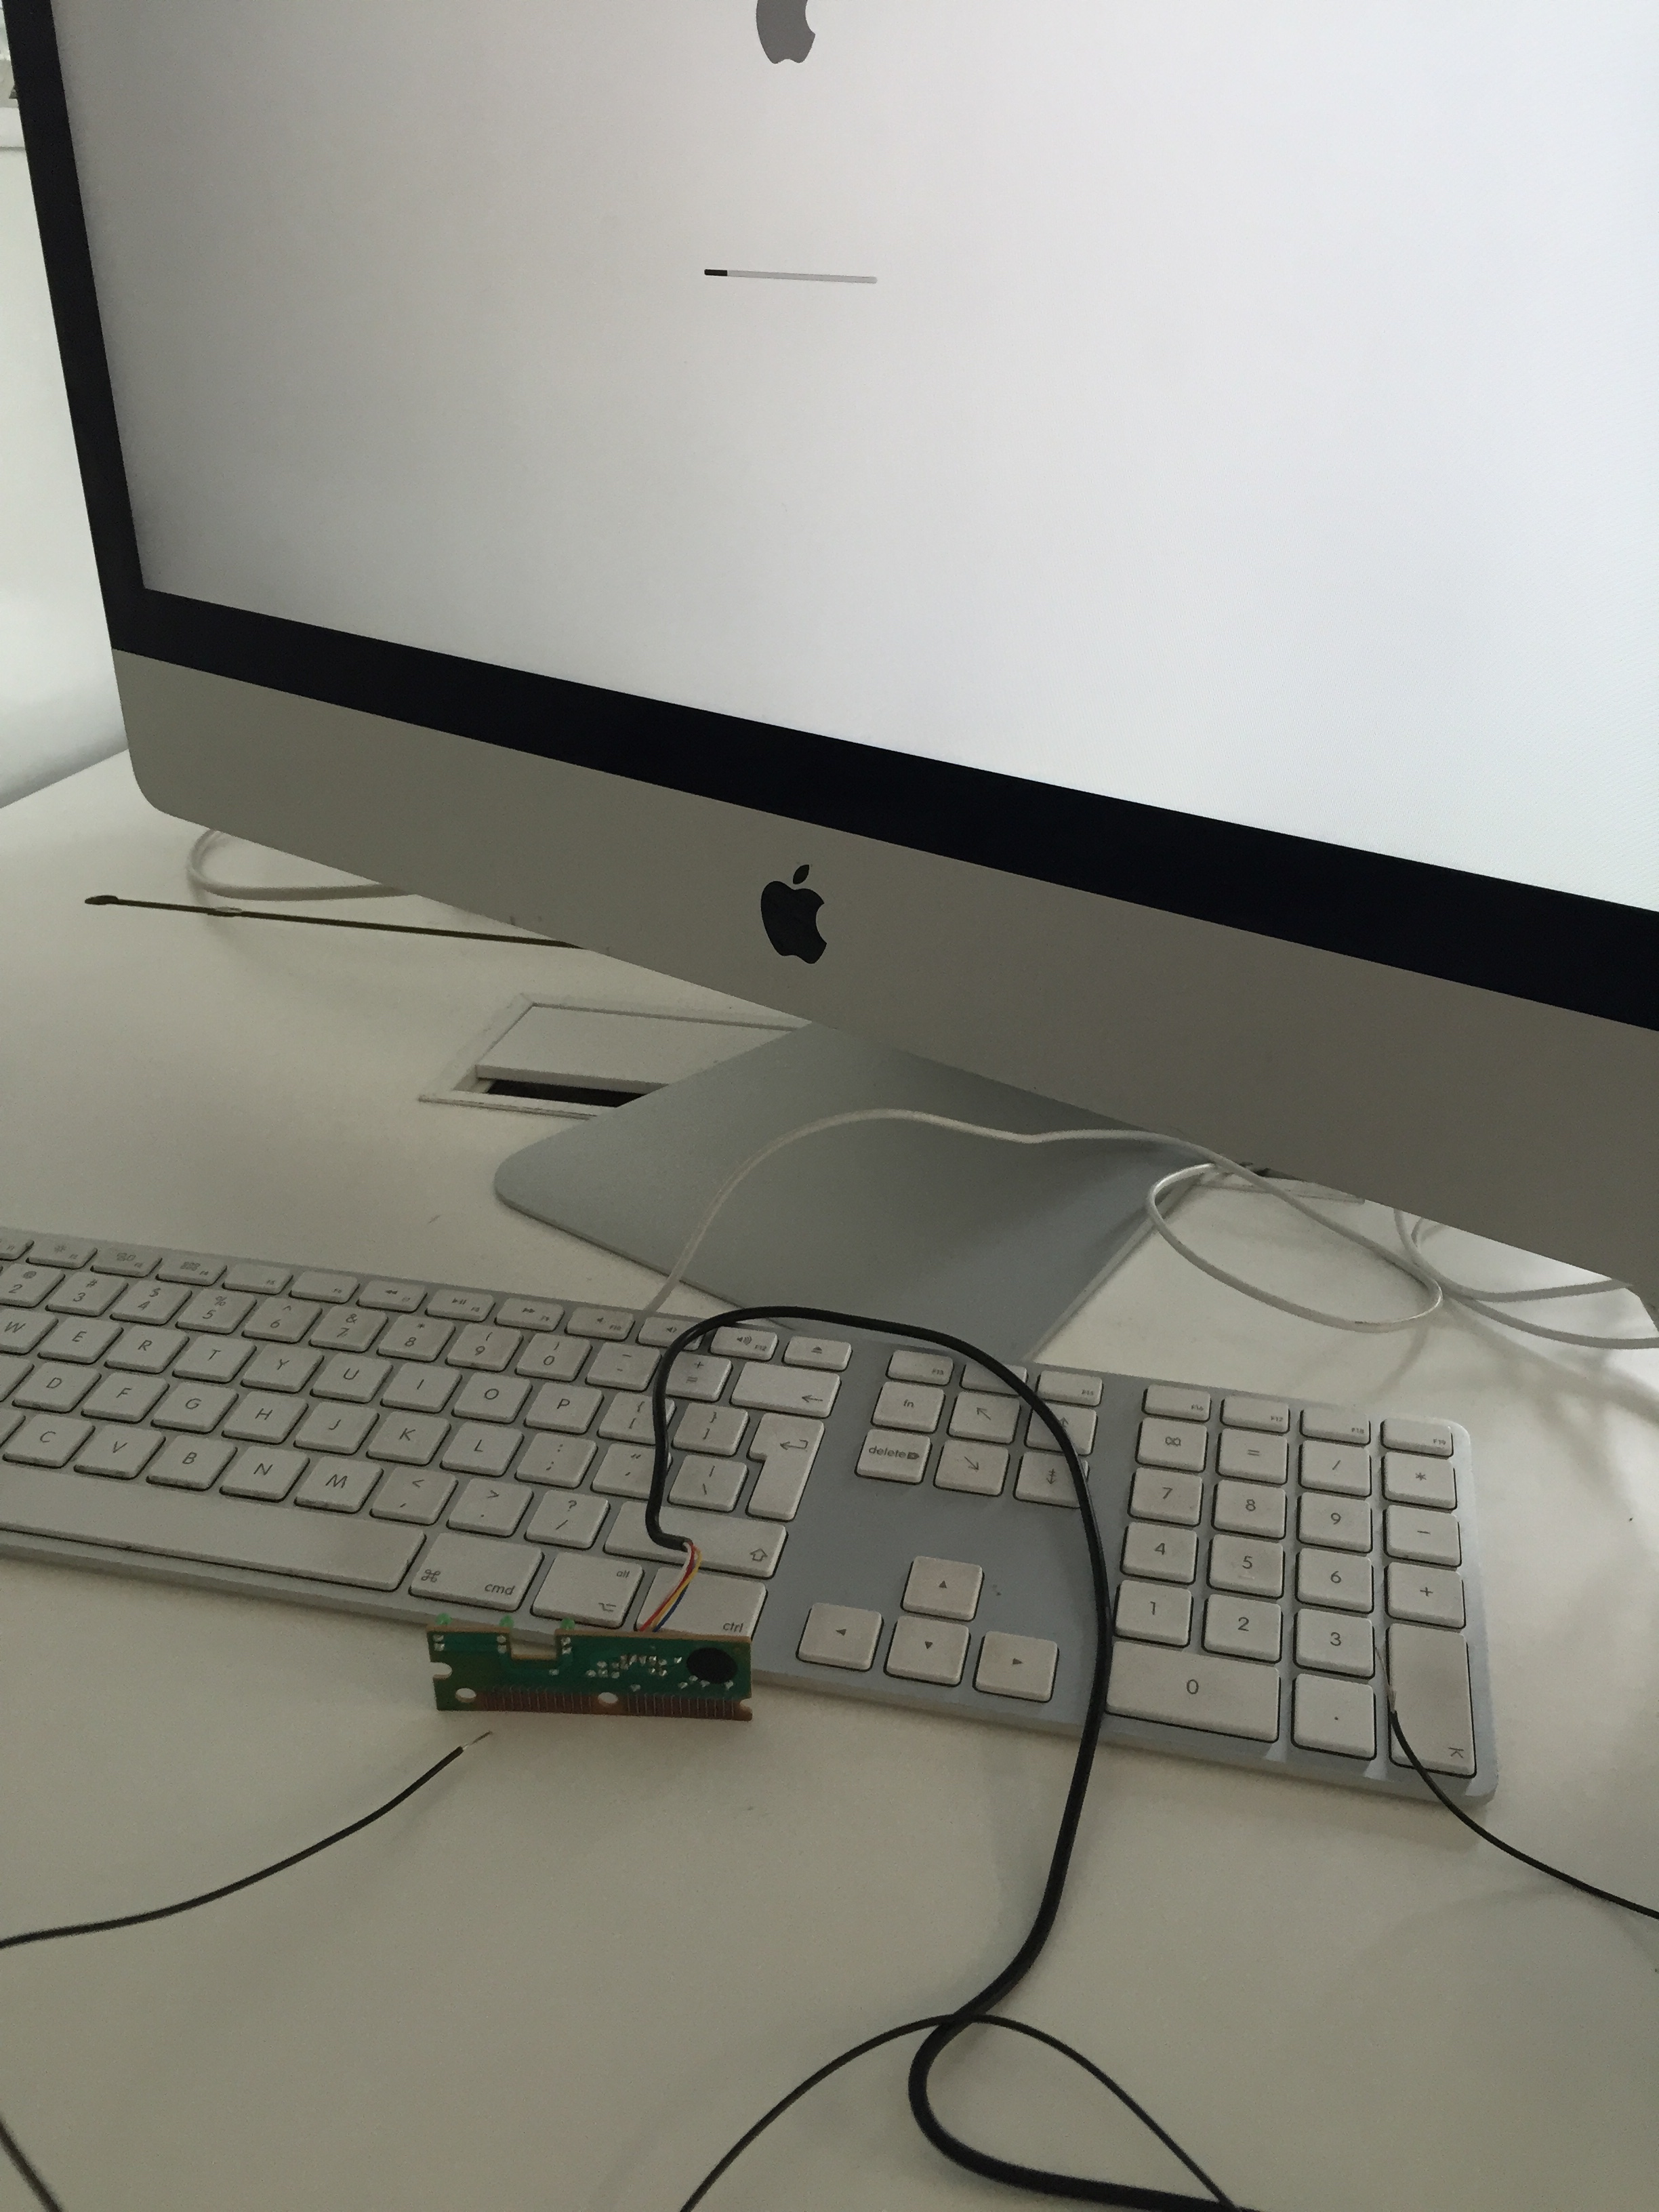
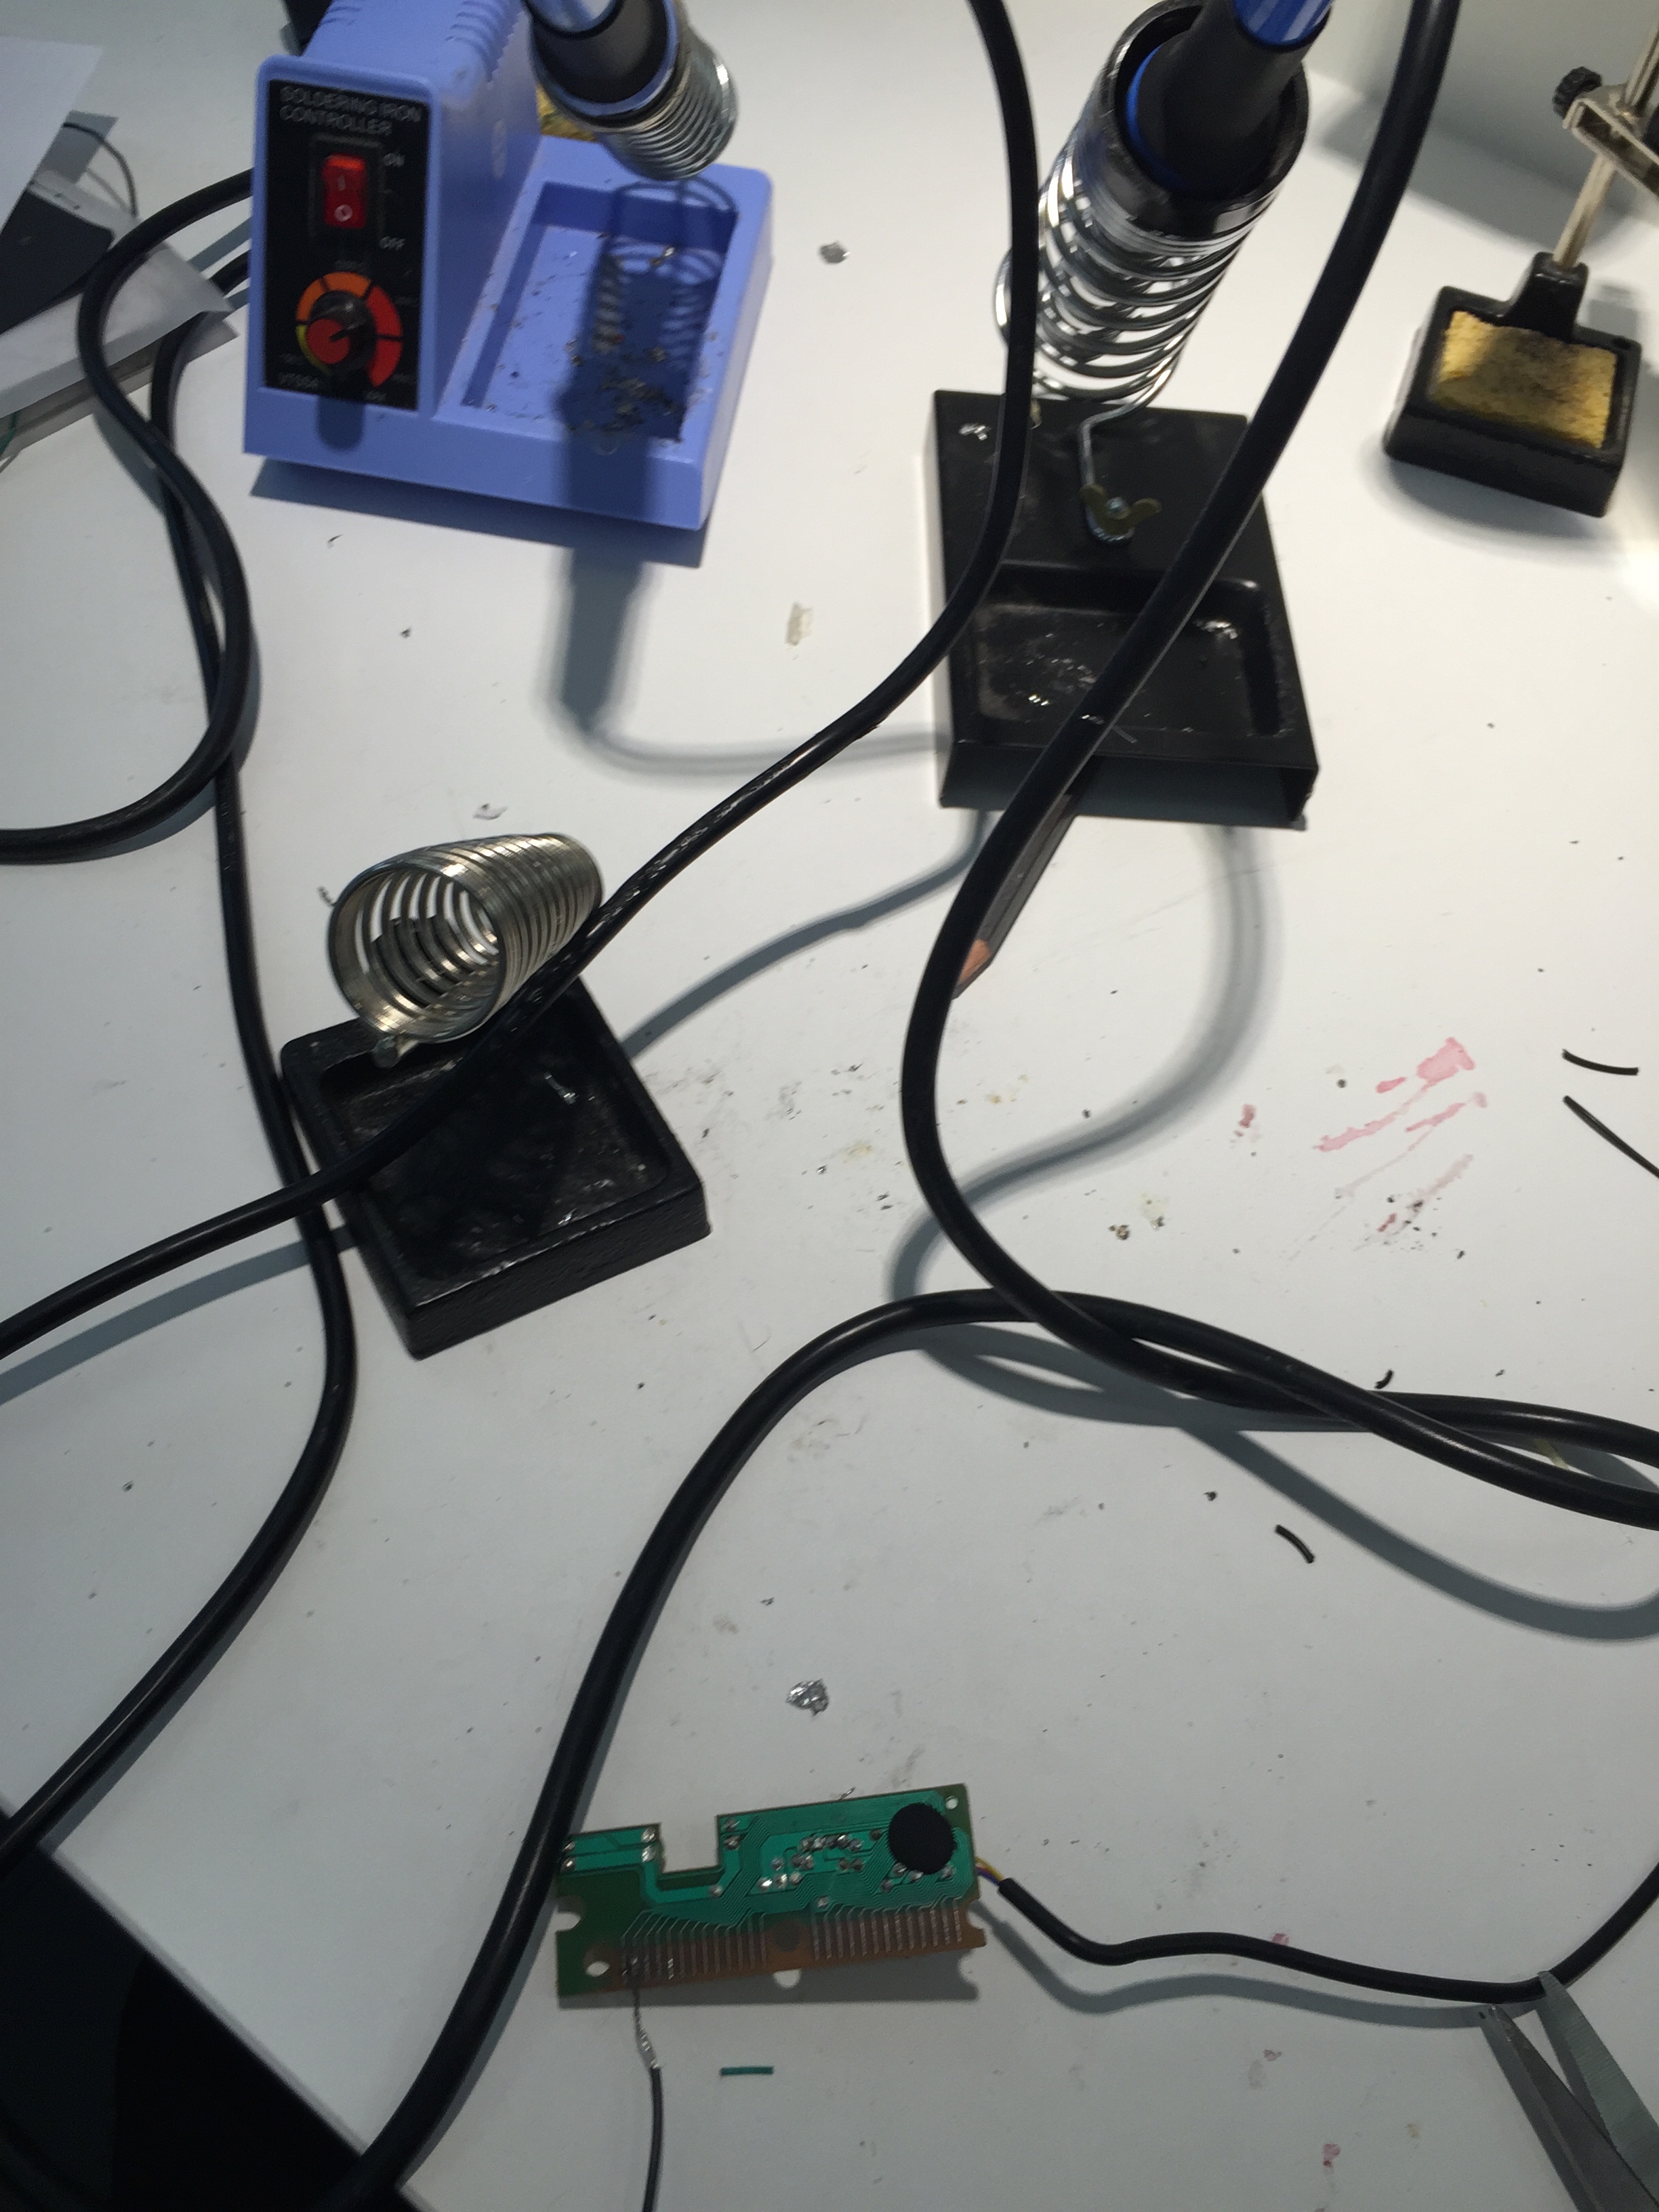
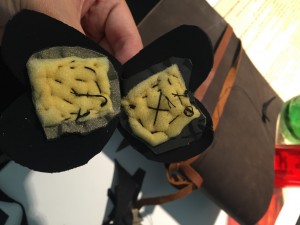
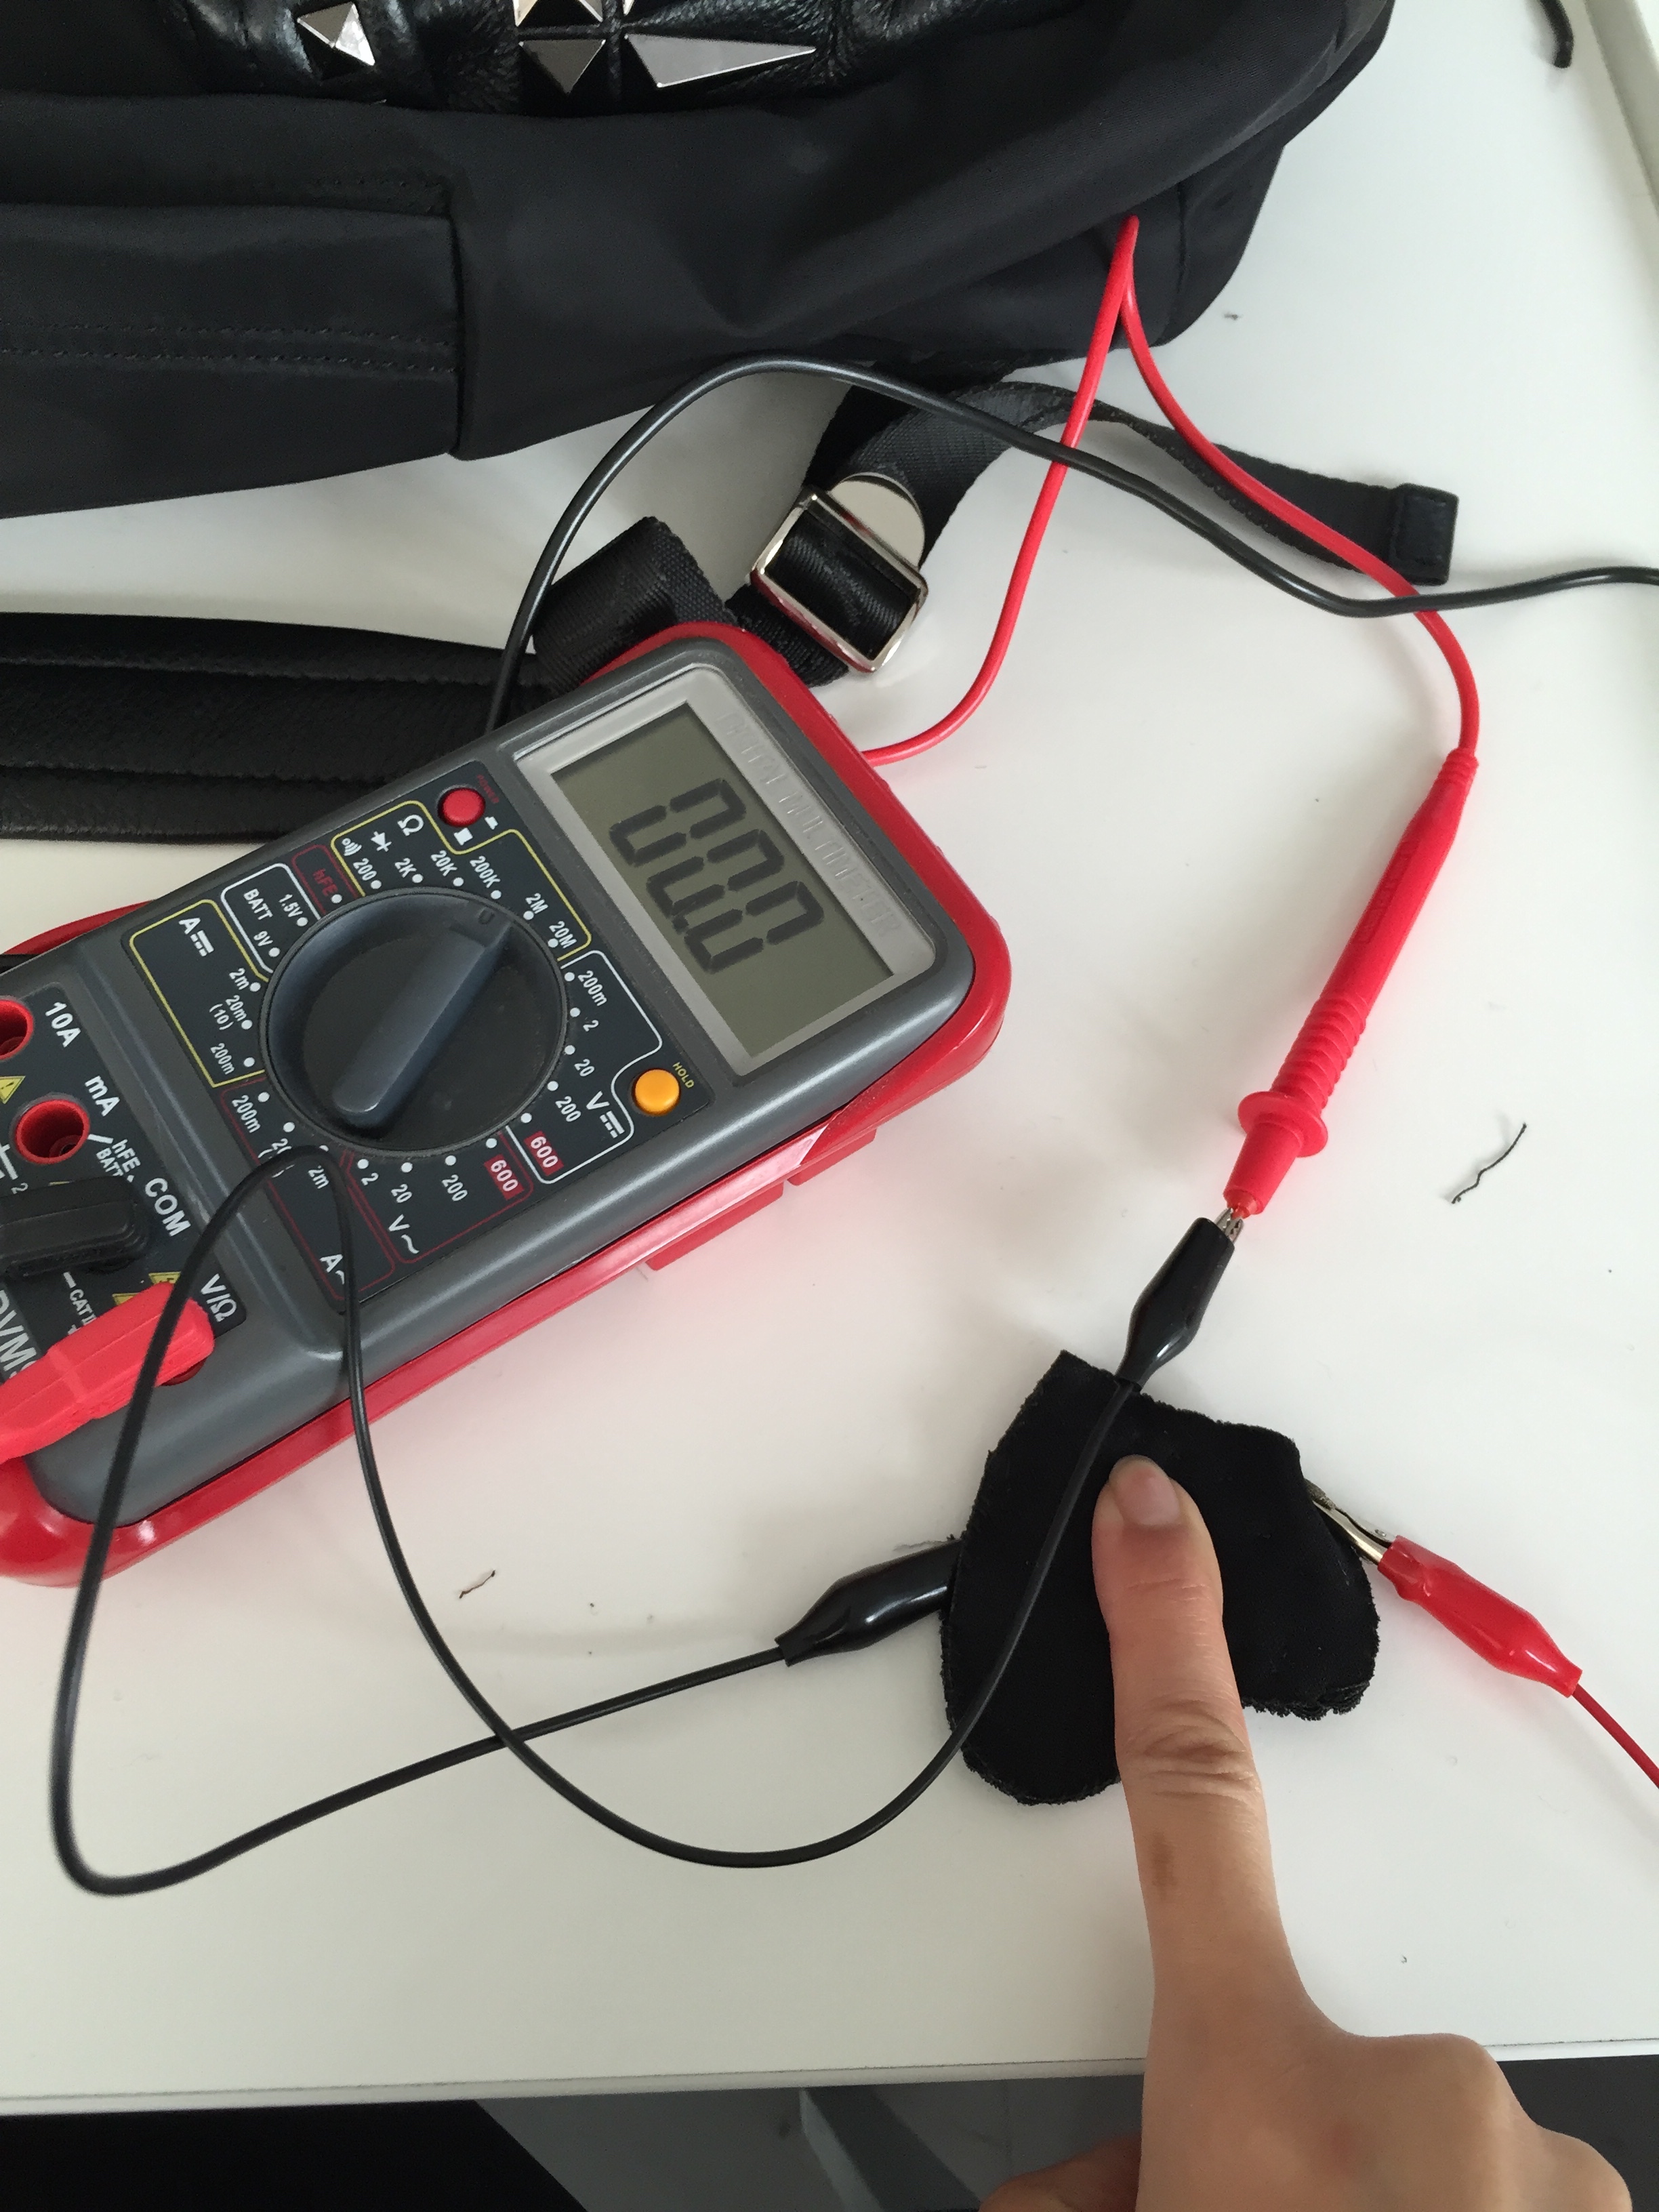
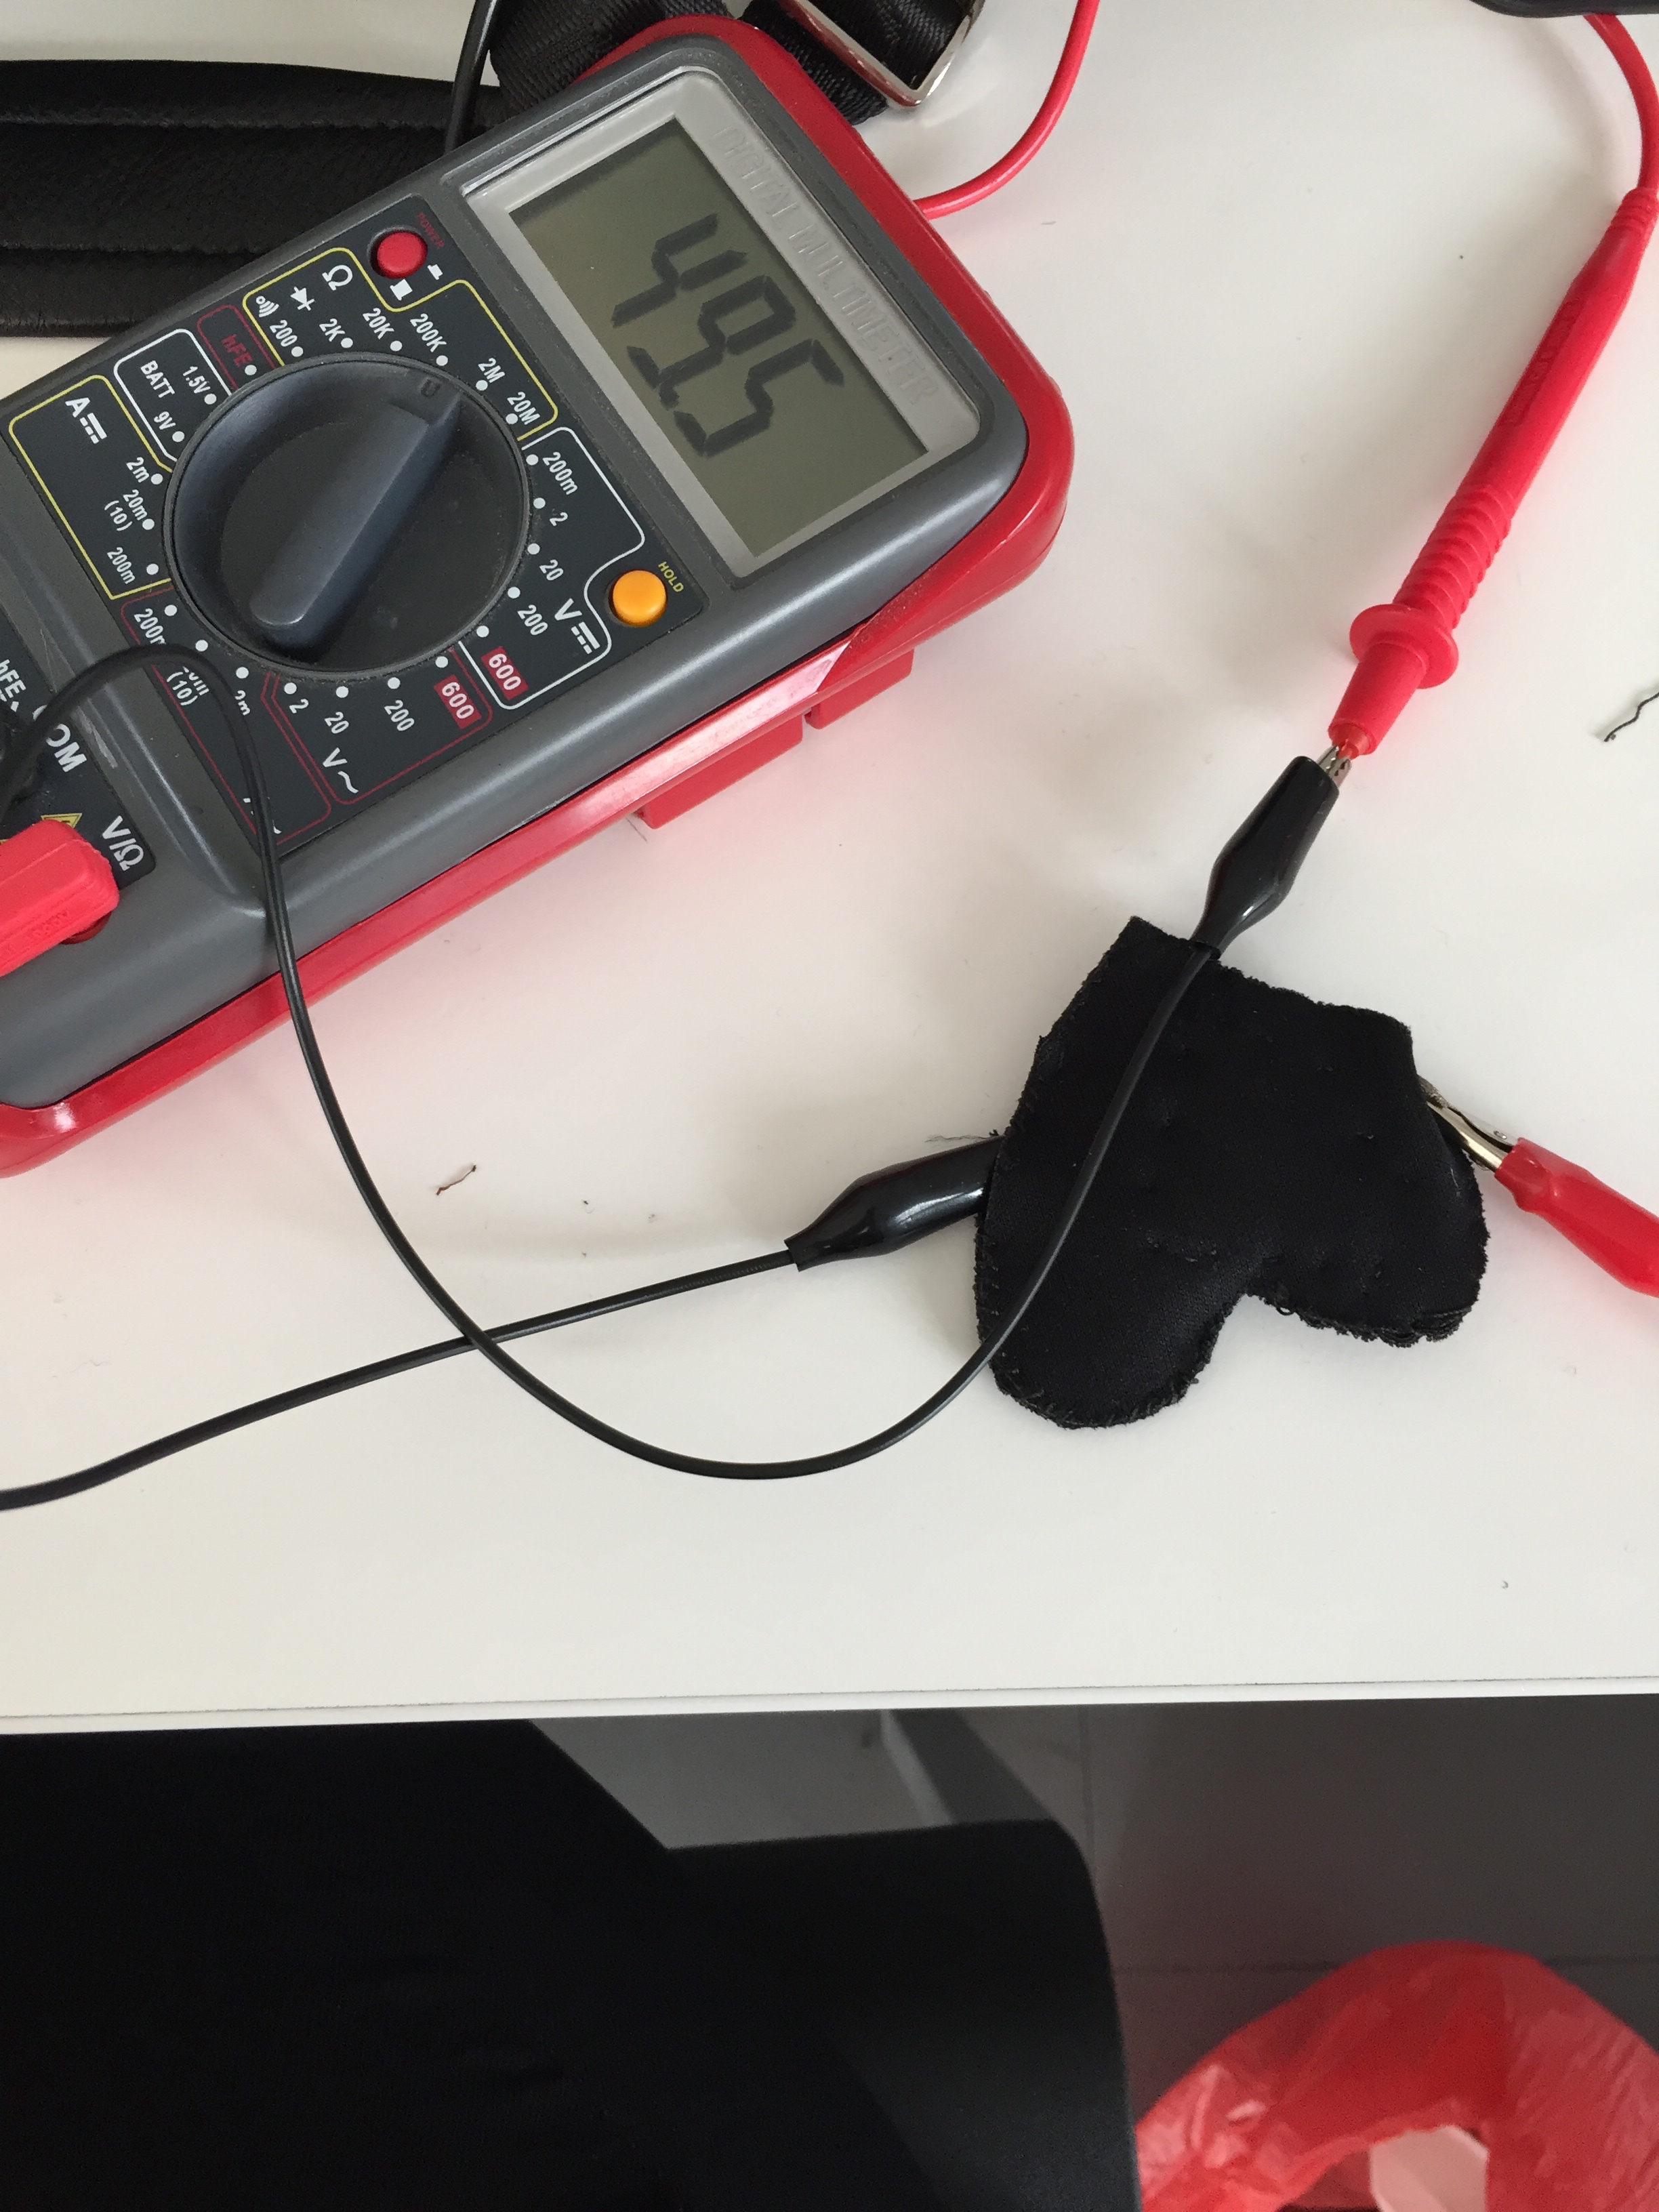
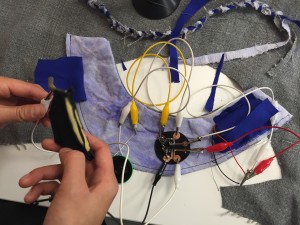
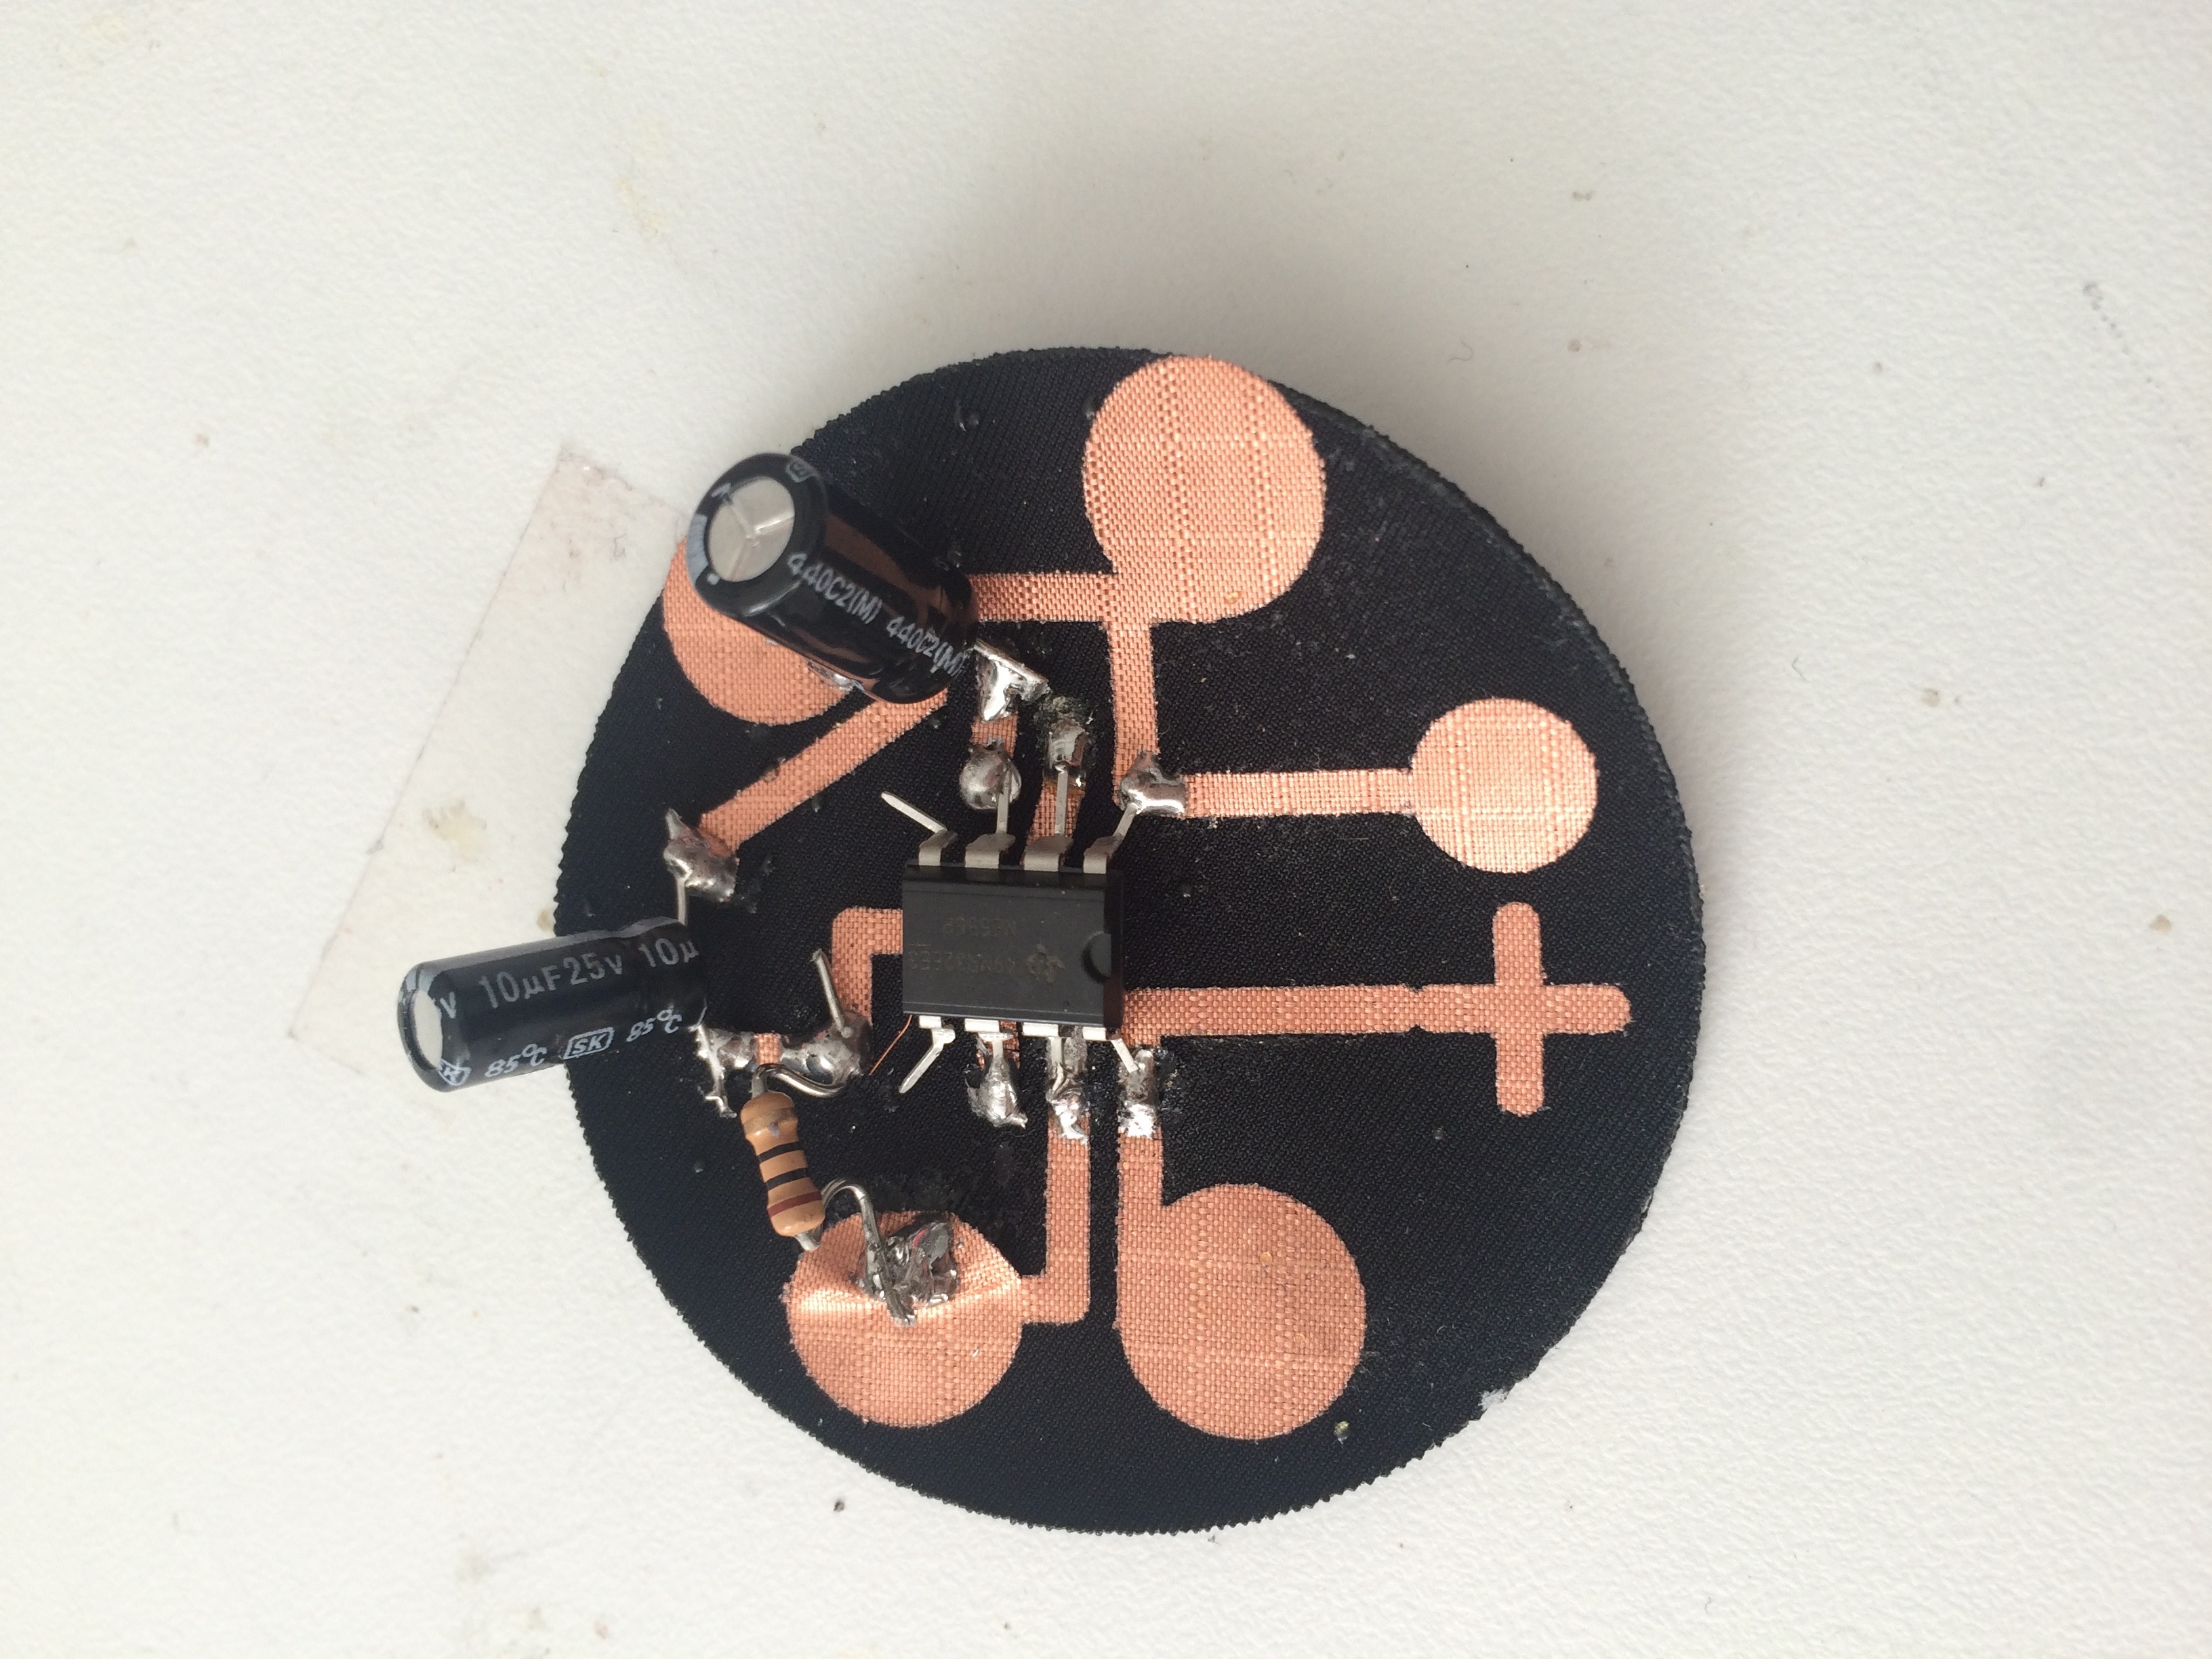
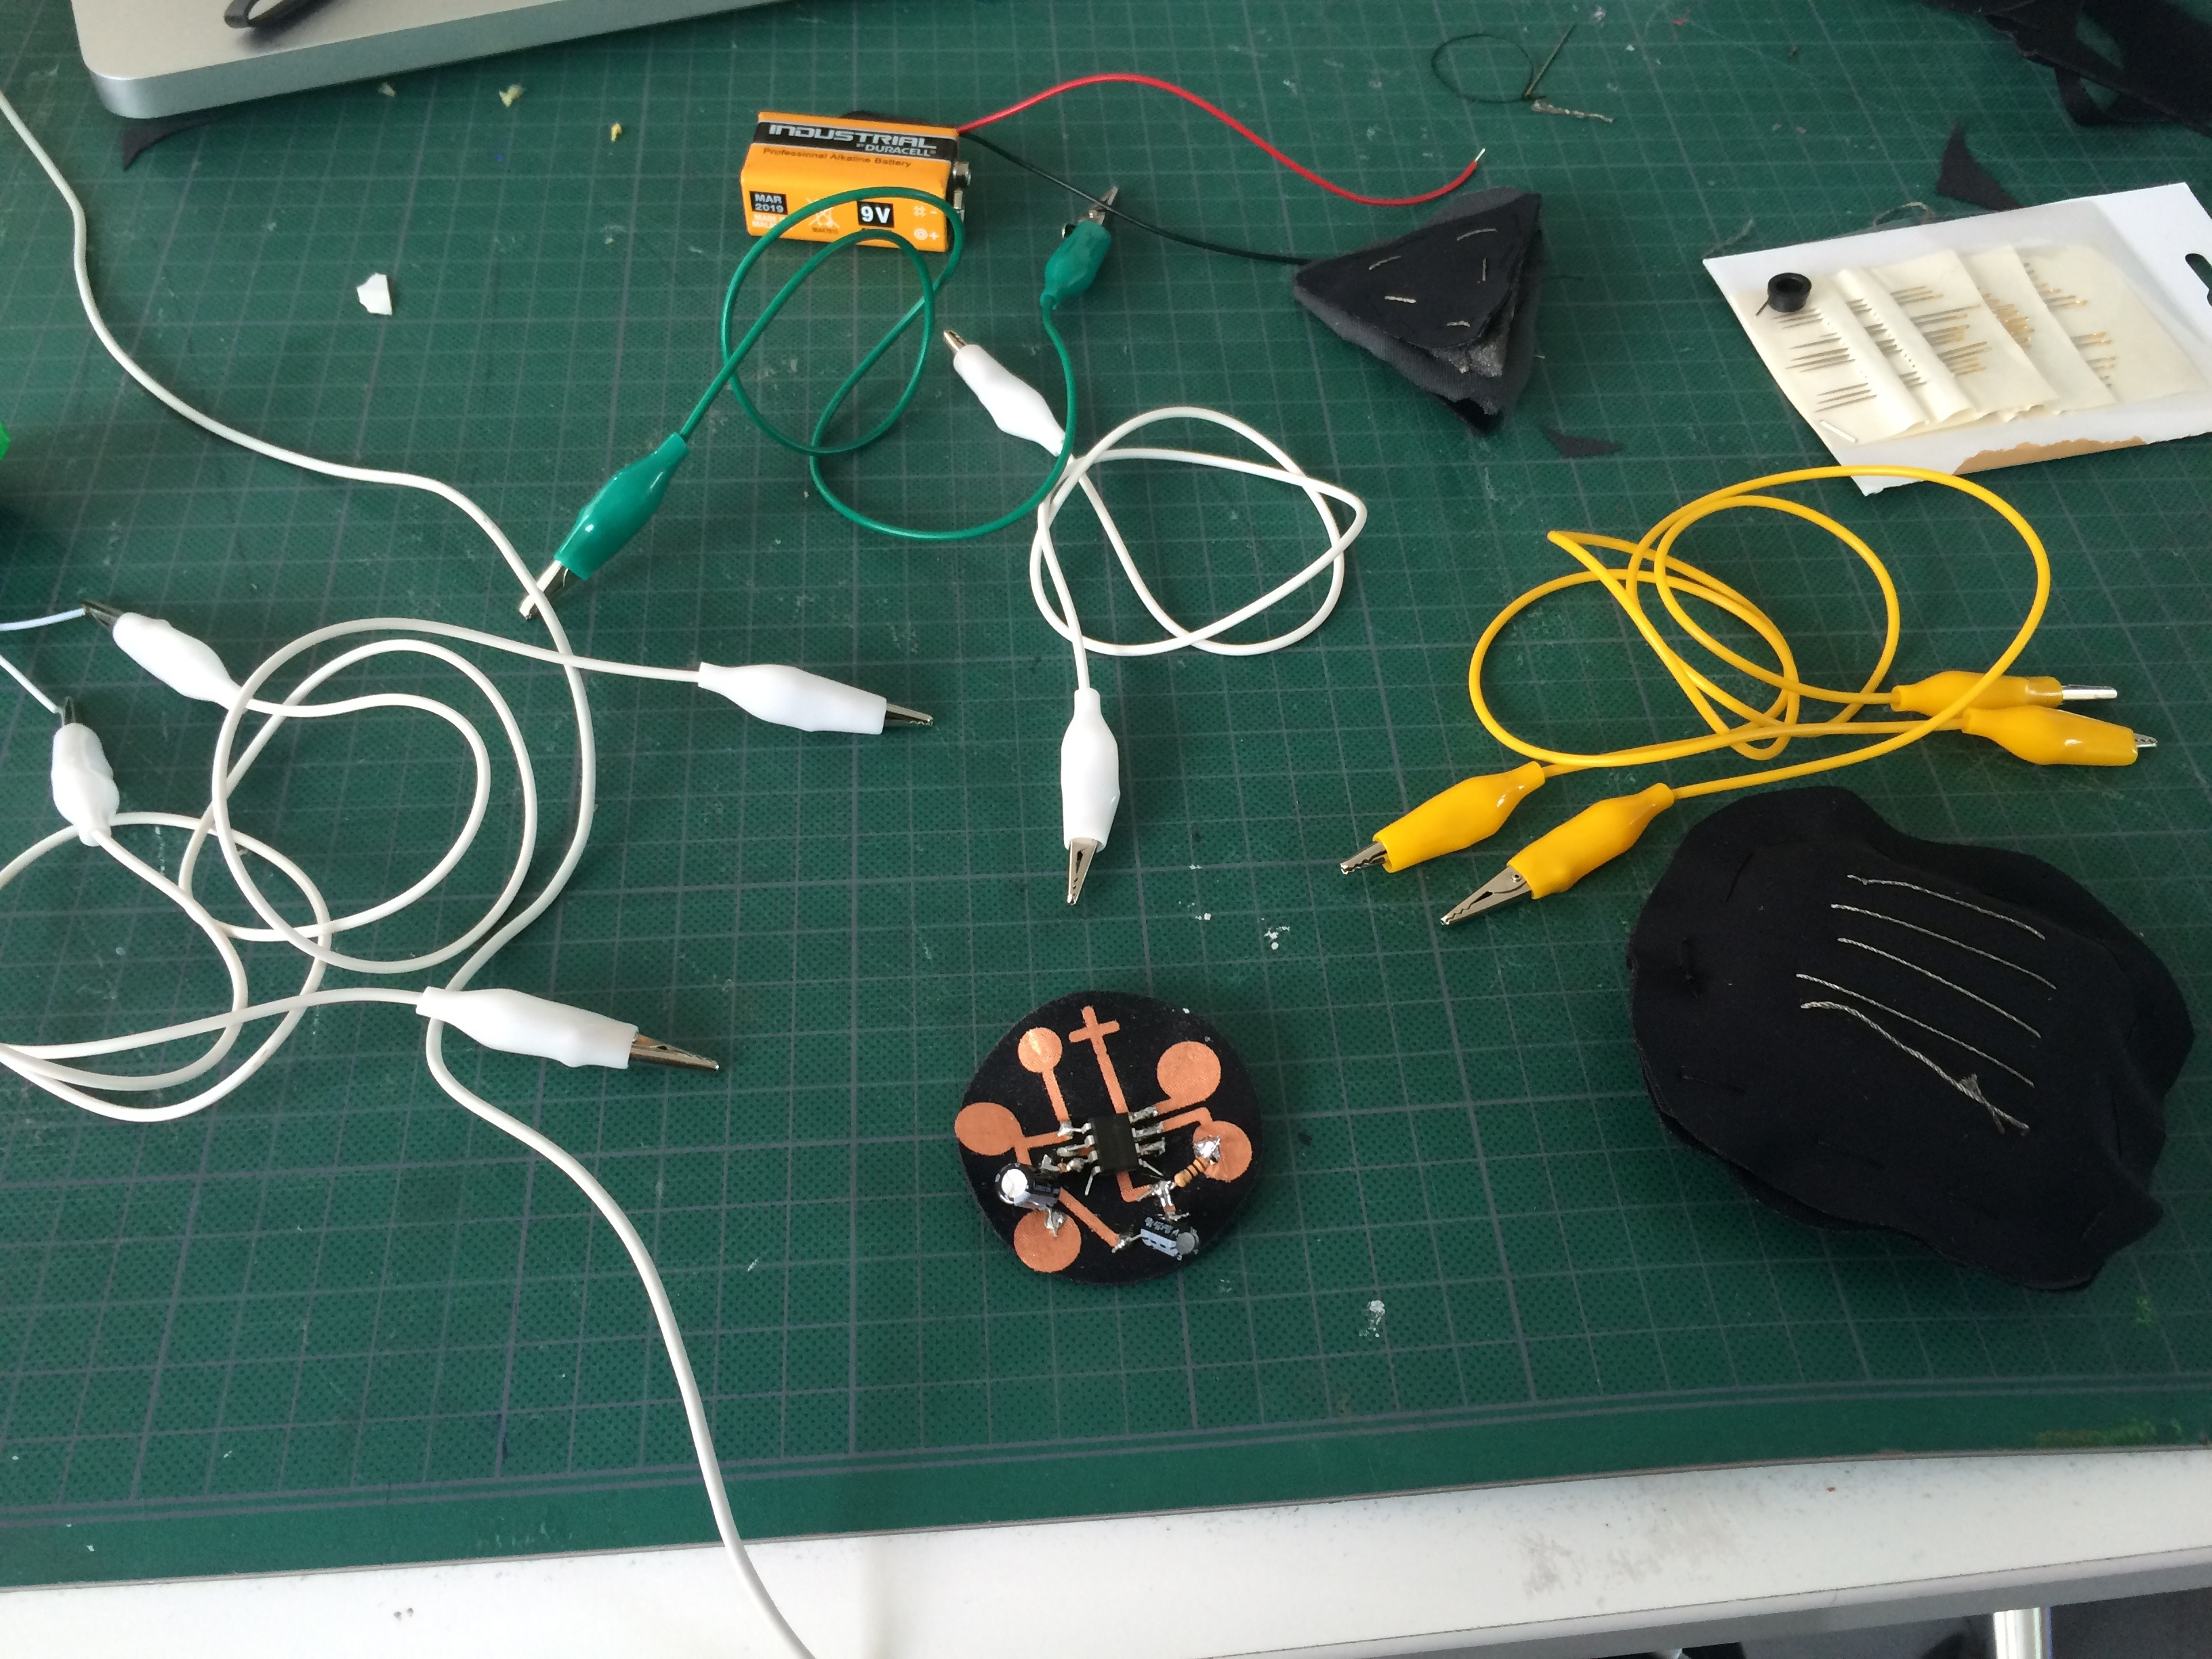
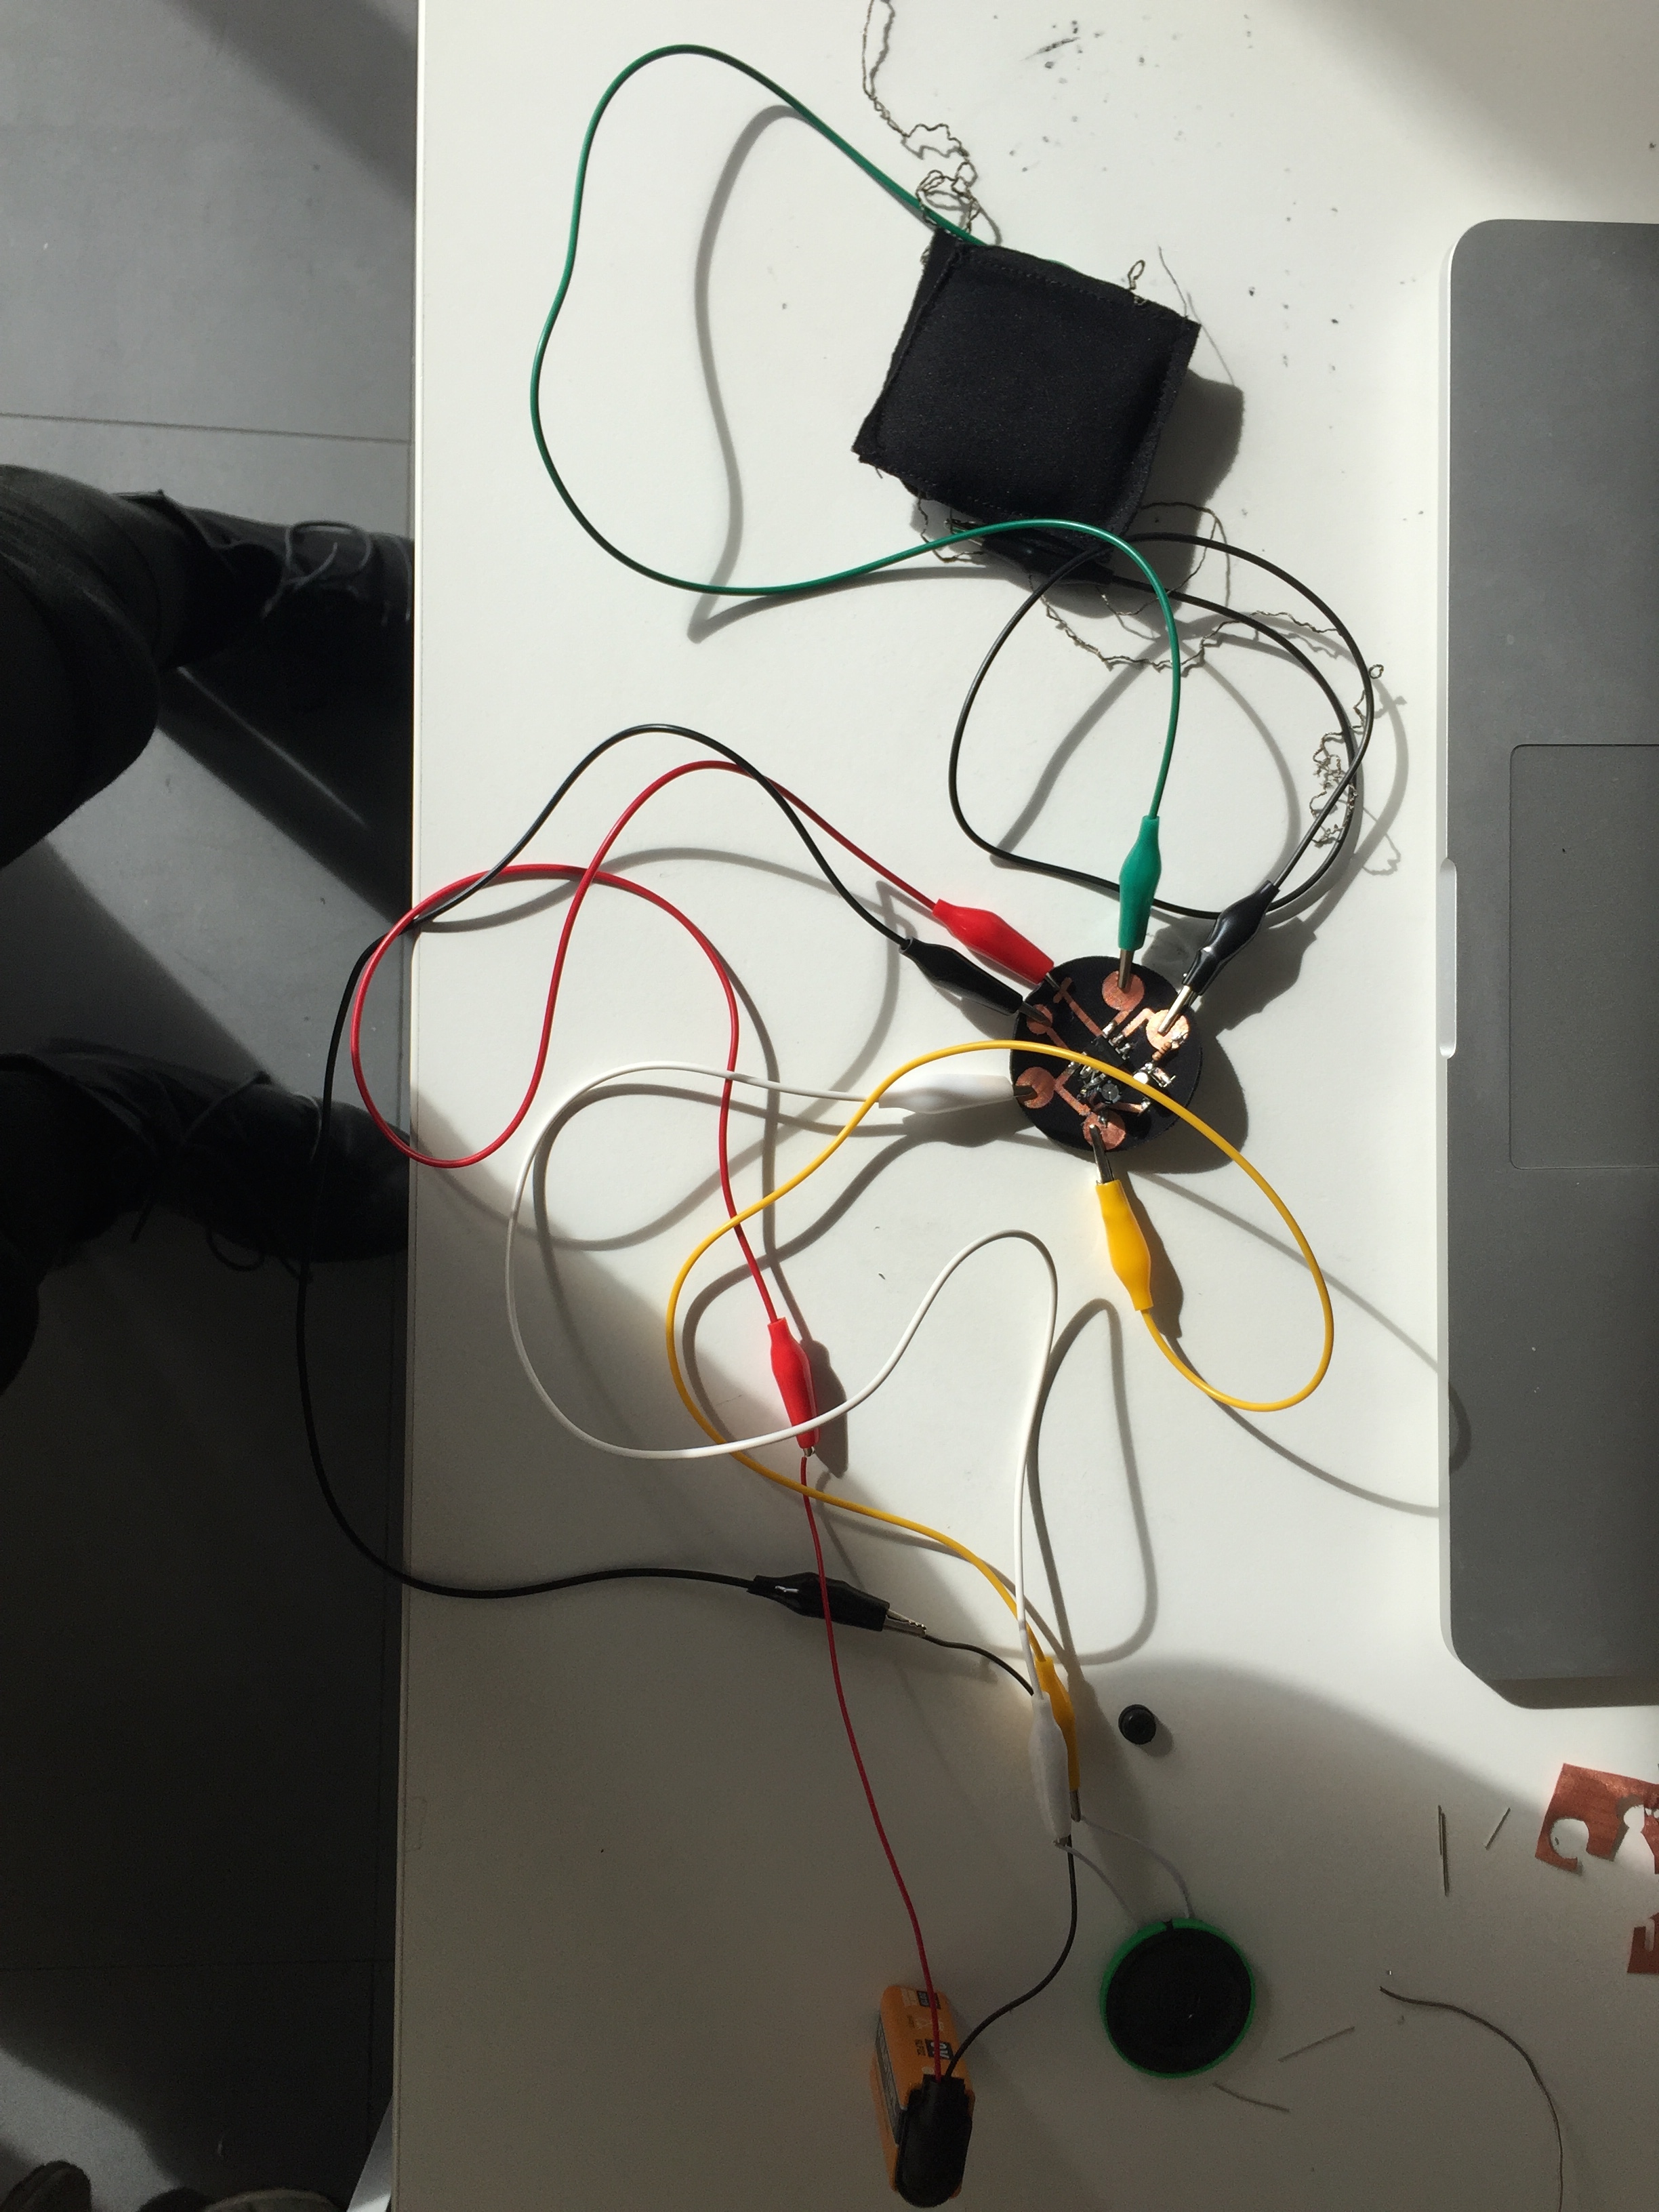
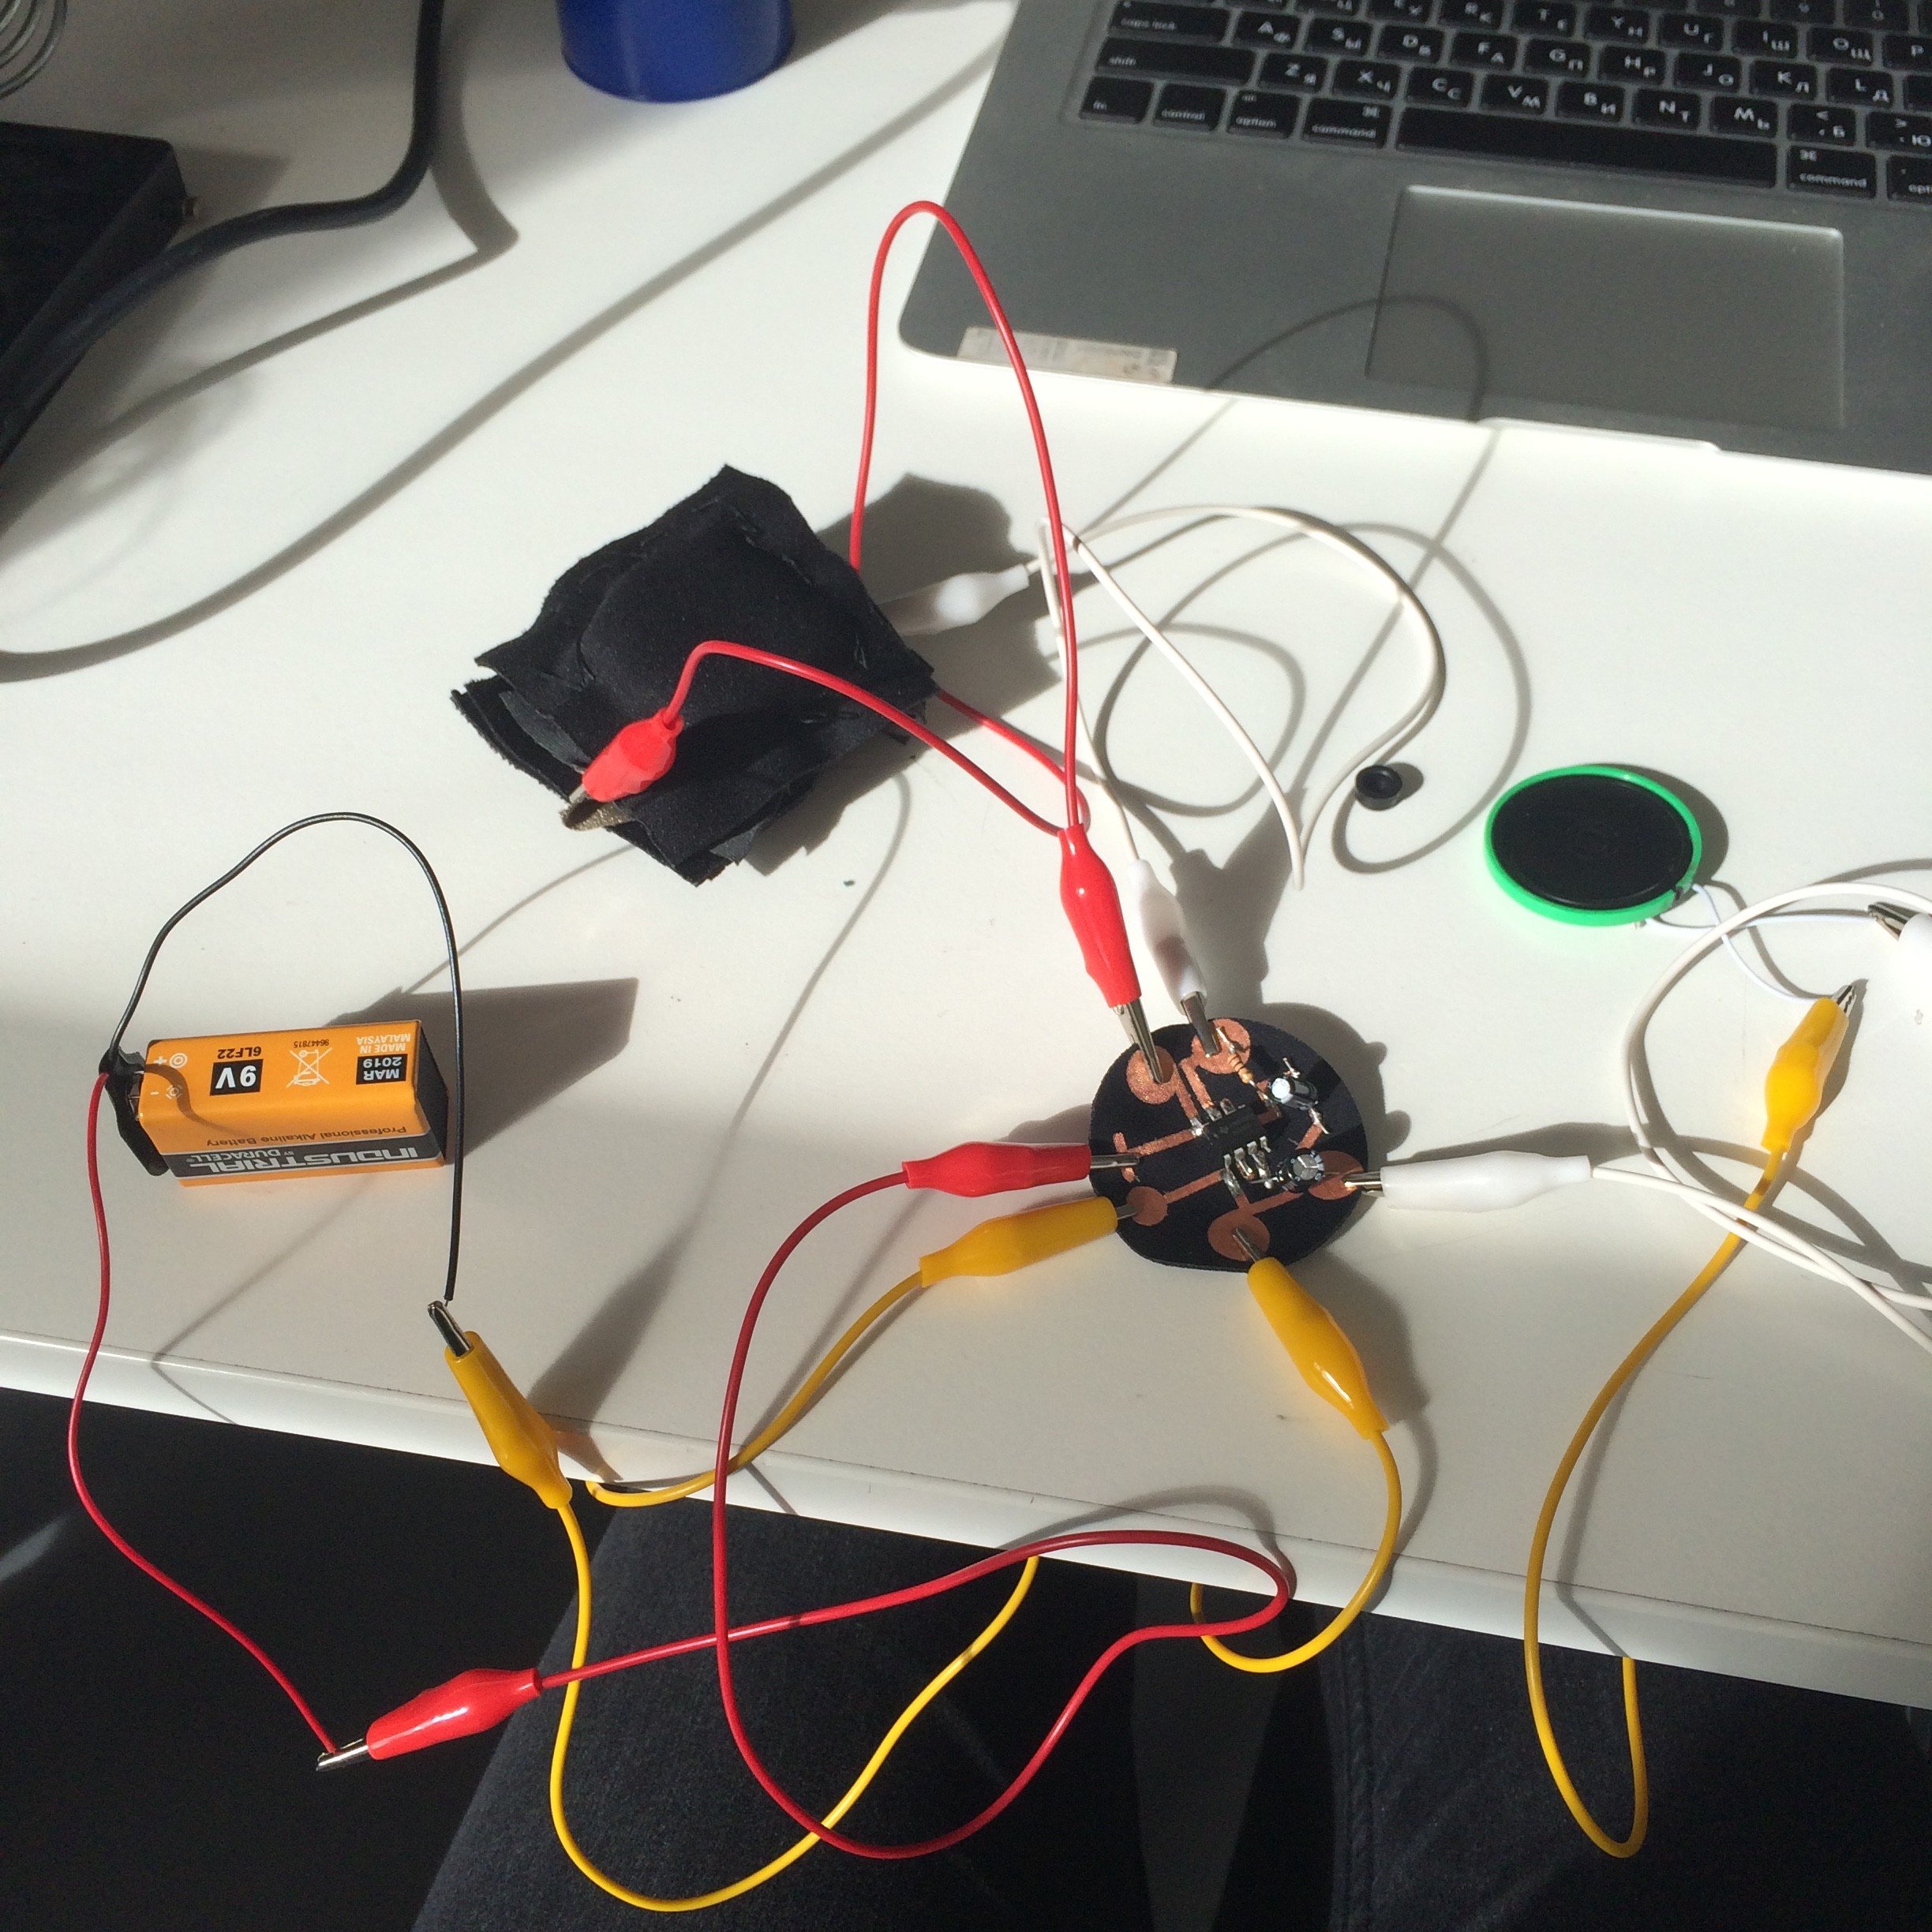
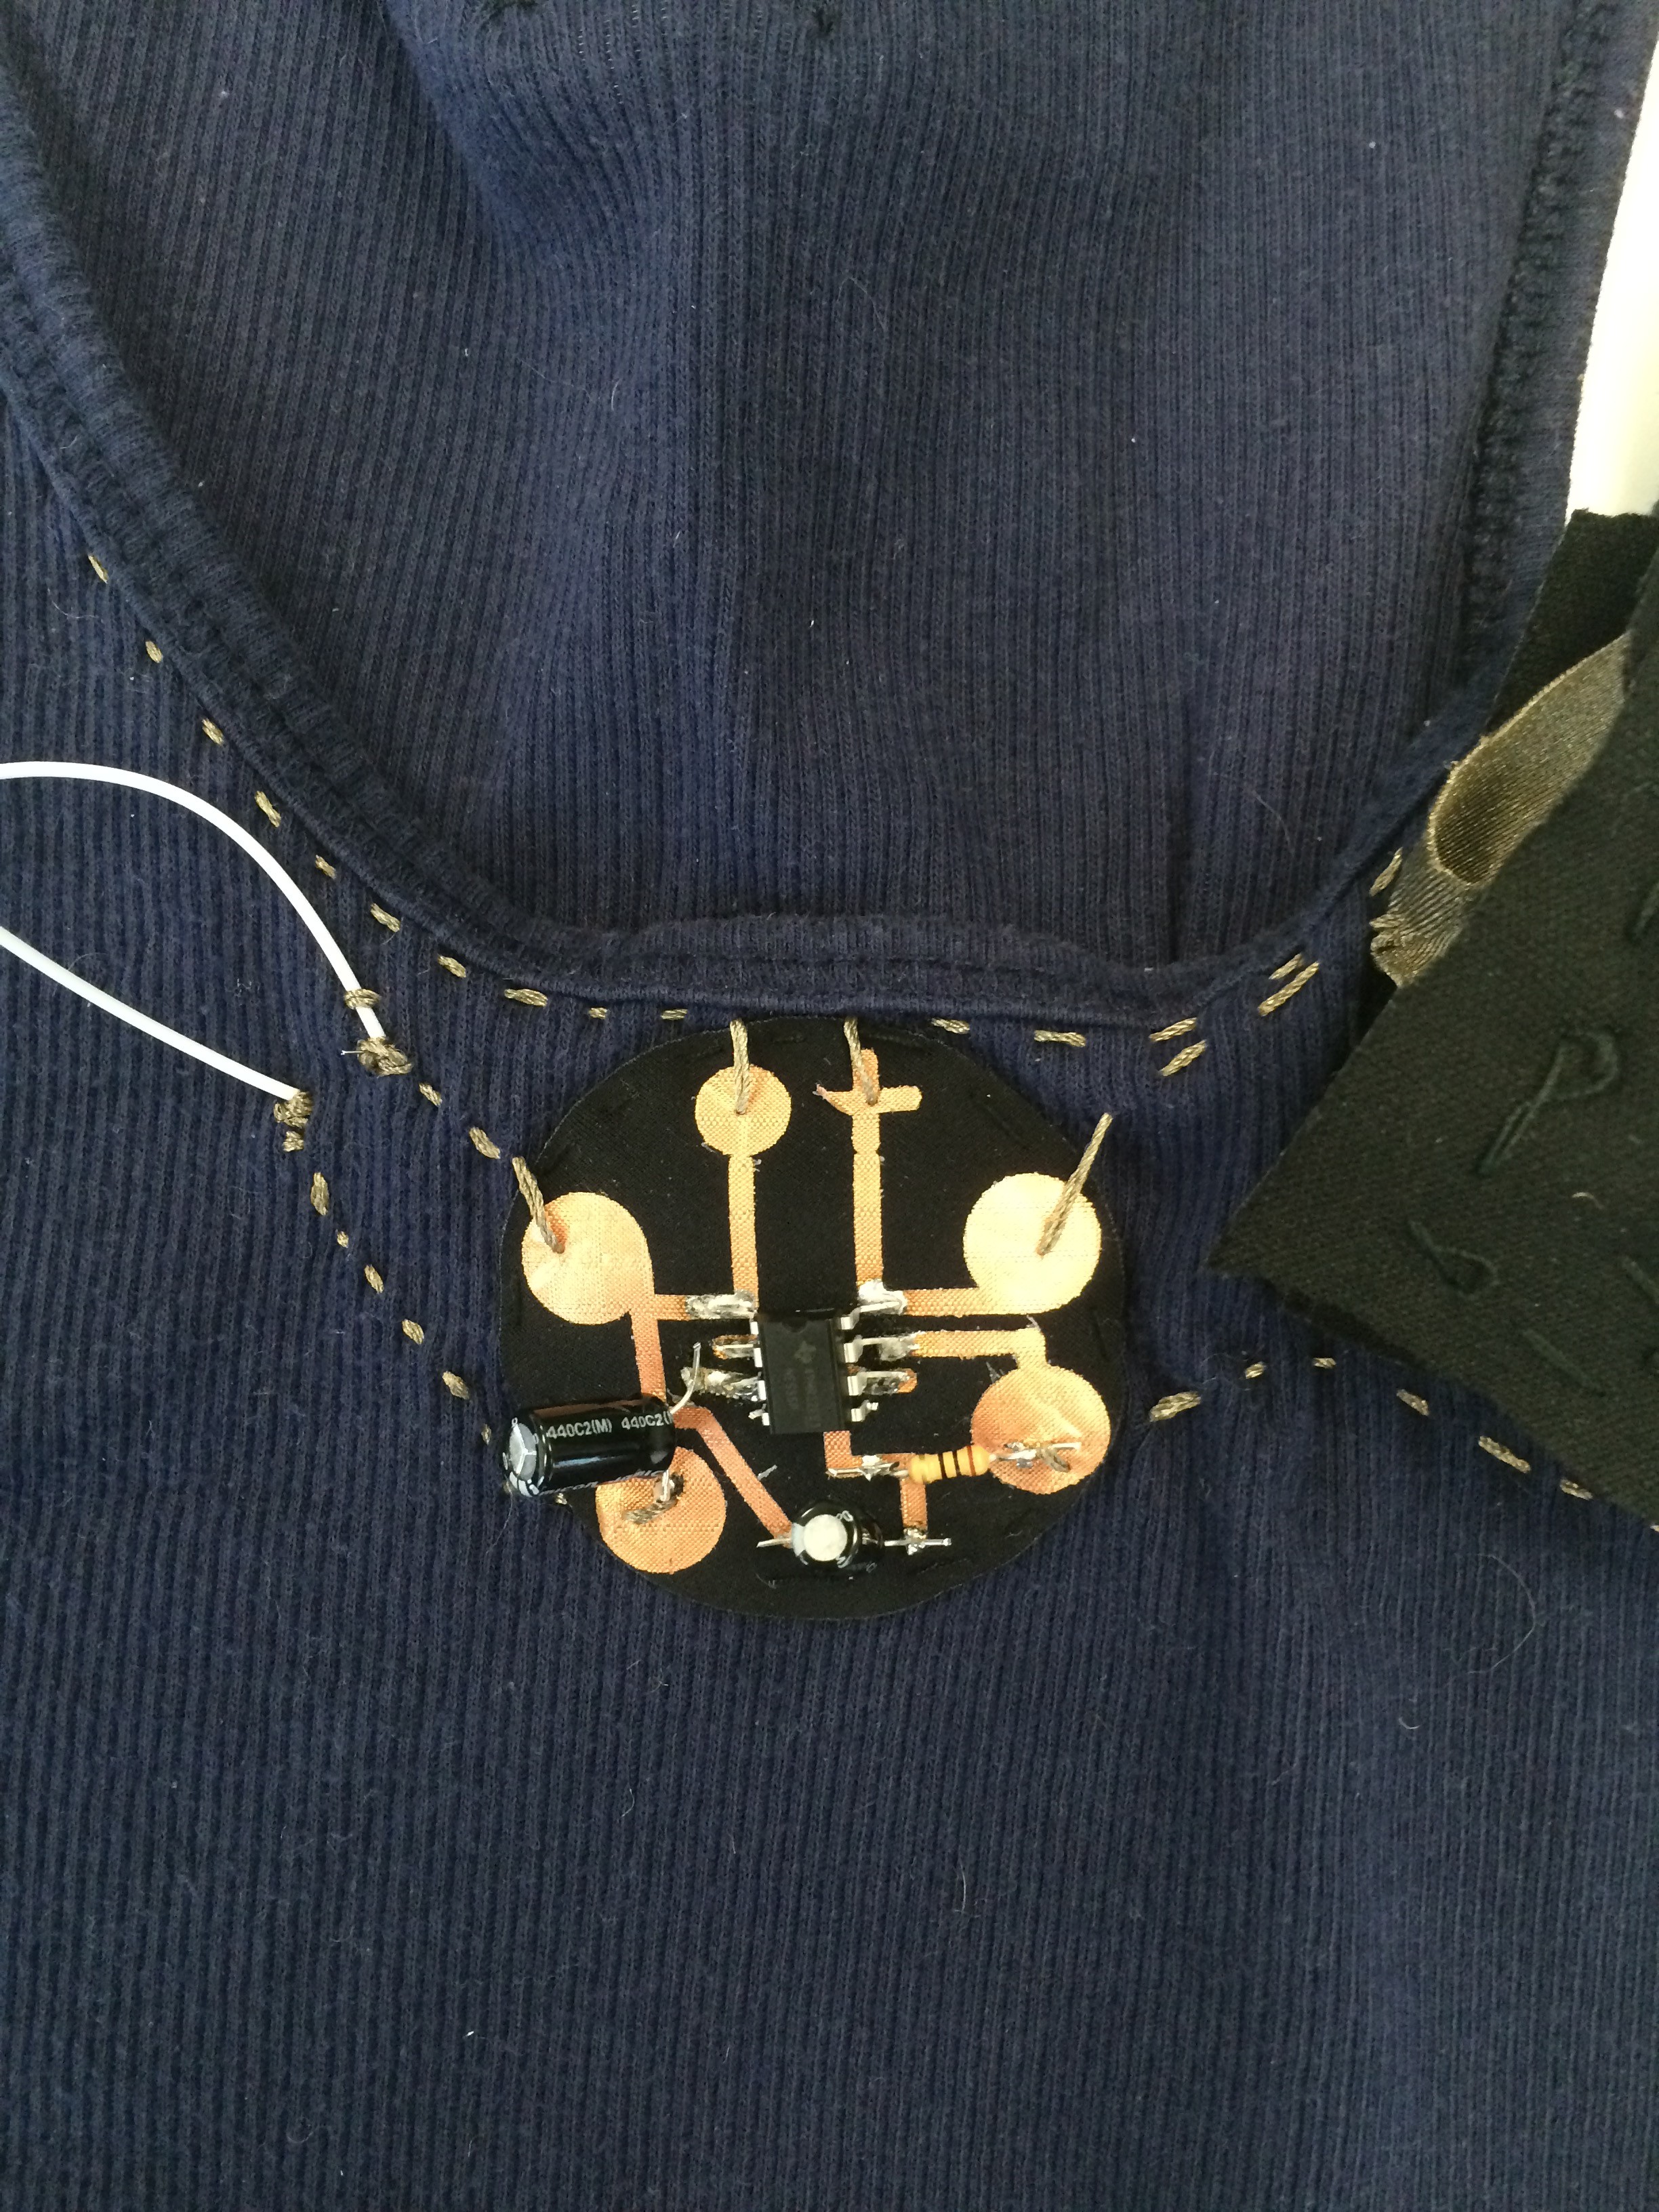
So, Martin (thanks so much Martin!) helped me to solder the connections correctly. I also cut the wires on each component so they would be shorter, so they did not interfere with other connections. Even after this, however, my sensor did not work when we tested it. We tested it with the multimeter, with an official sensor, and we still got nothing. Eventually, we figured out that one of the alligator clips were broken! That just shows that sometimes things will go wrong, and you just have to keep investigating to figure out what the problem really is.

Using a sensor to test and see what was actually wrong

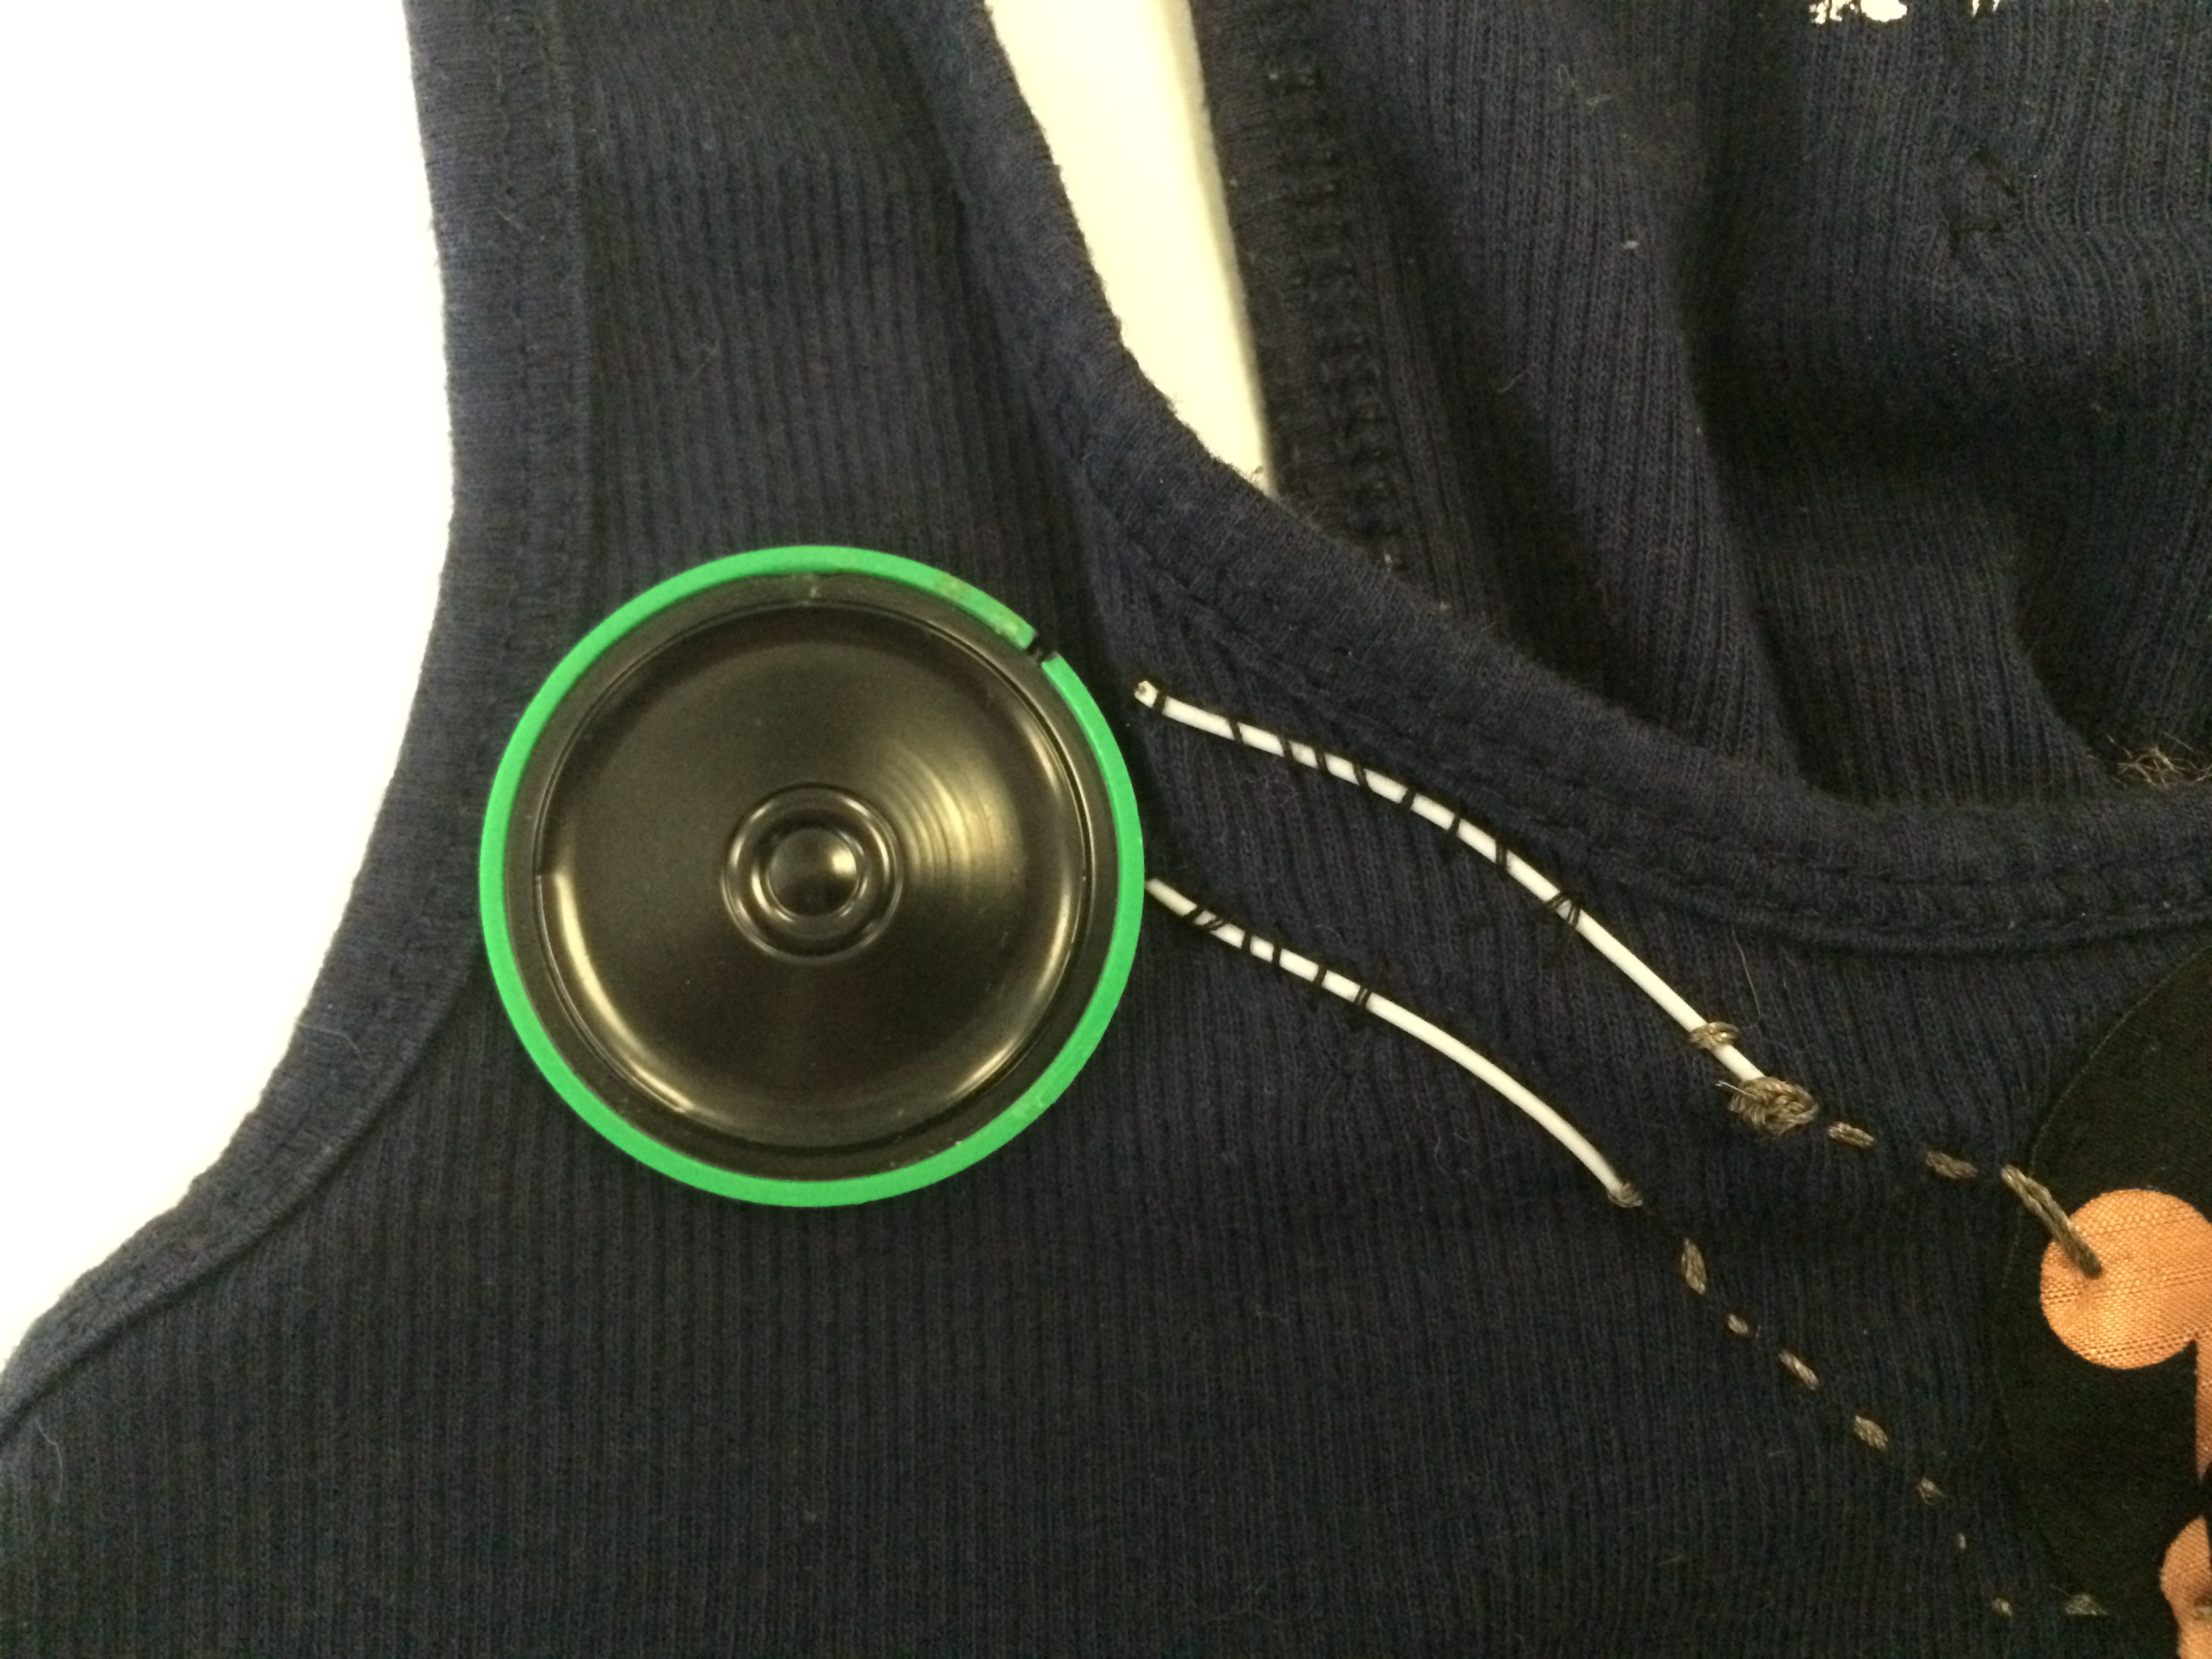
After Martin helped solder and correctly sewing the connective thread
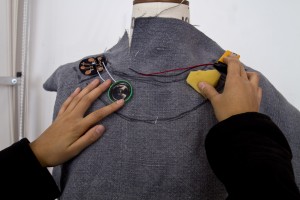
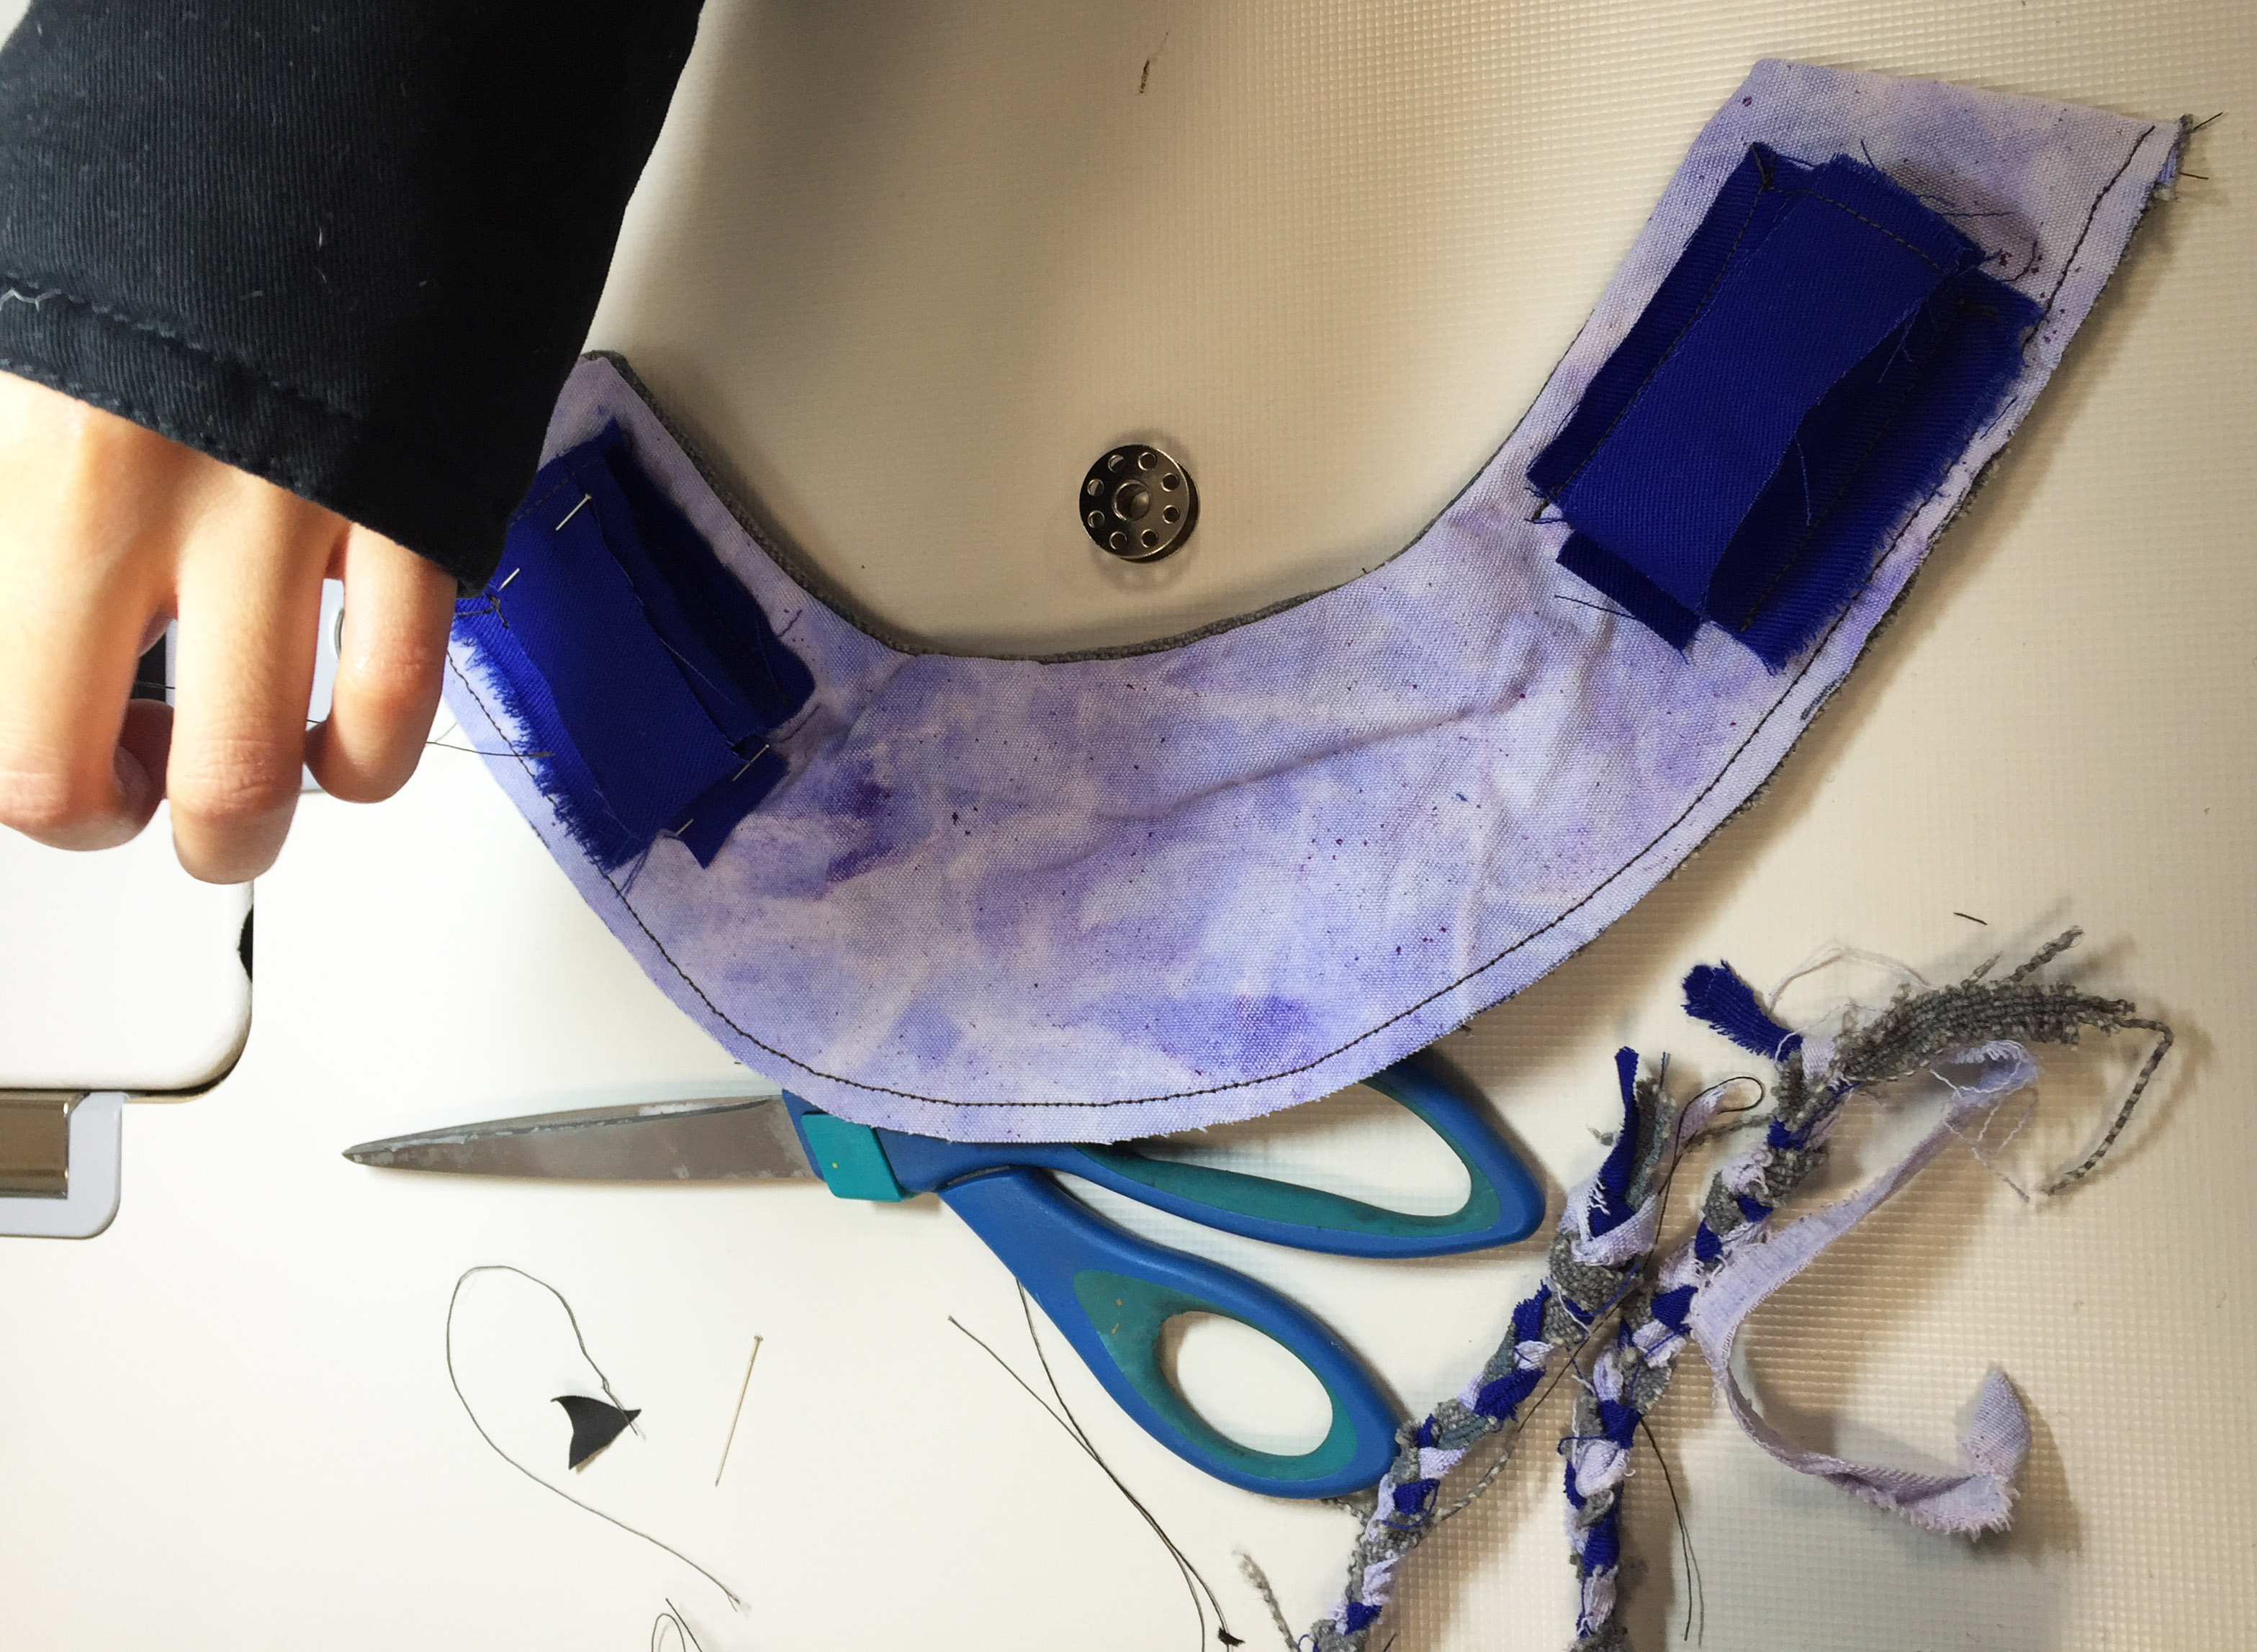
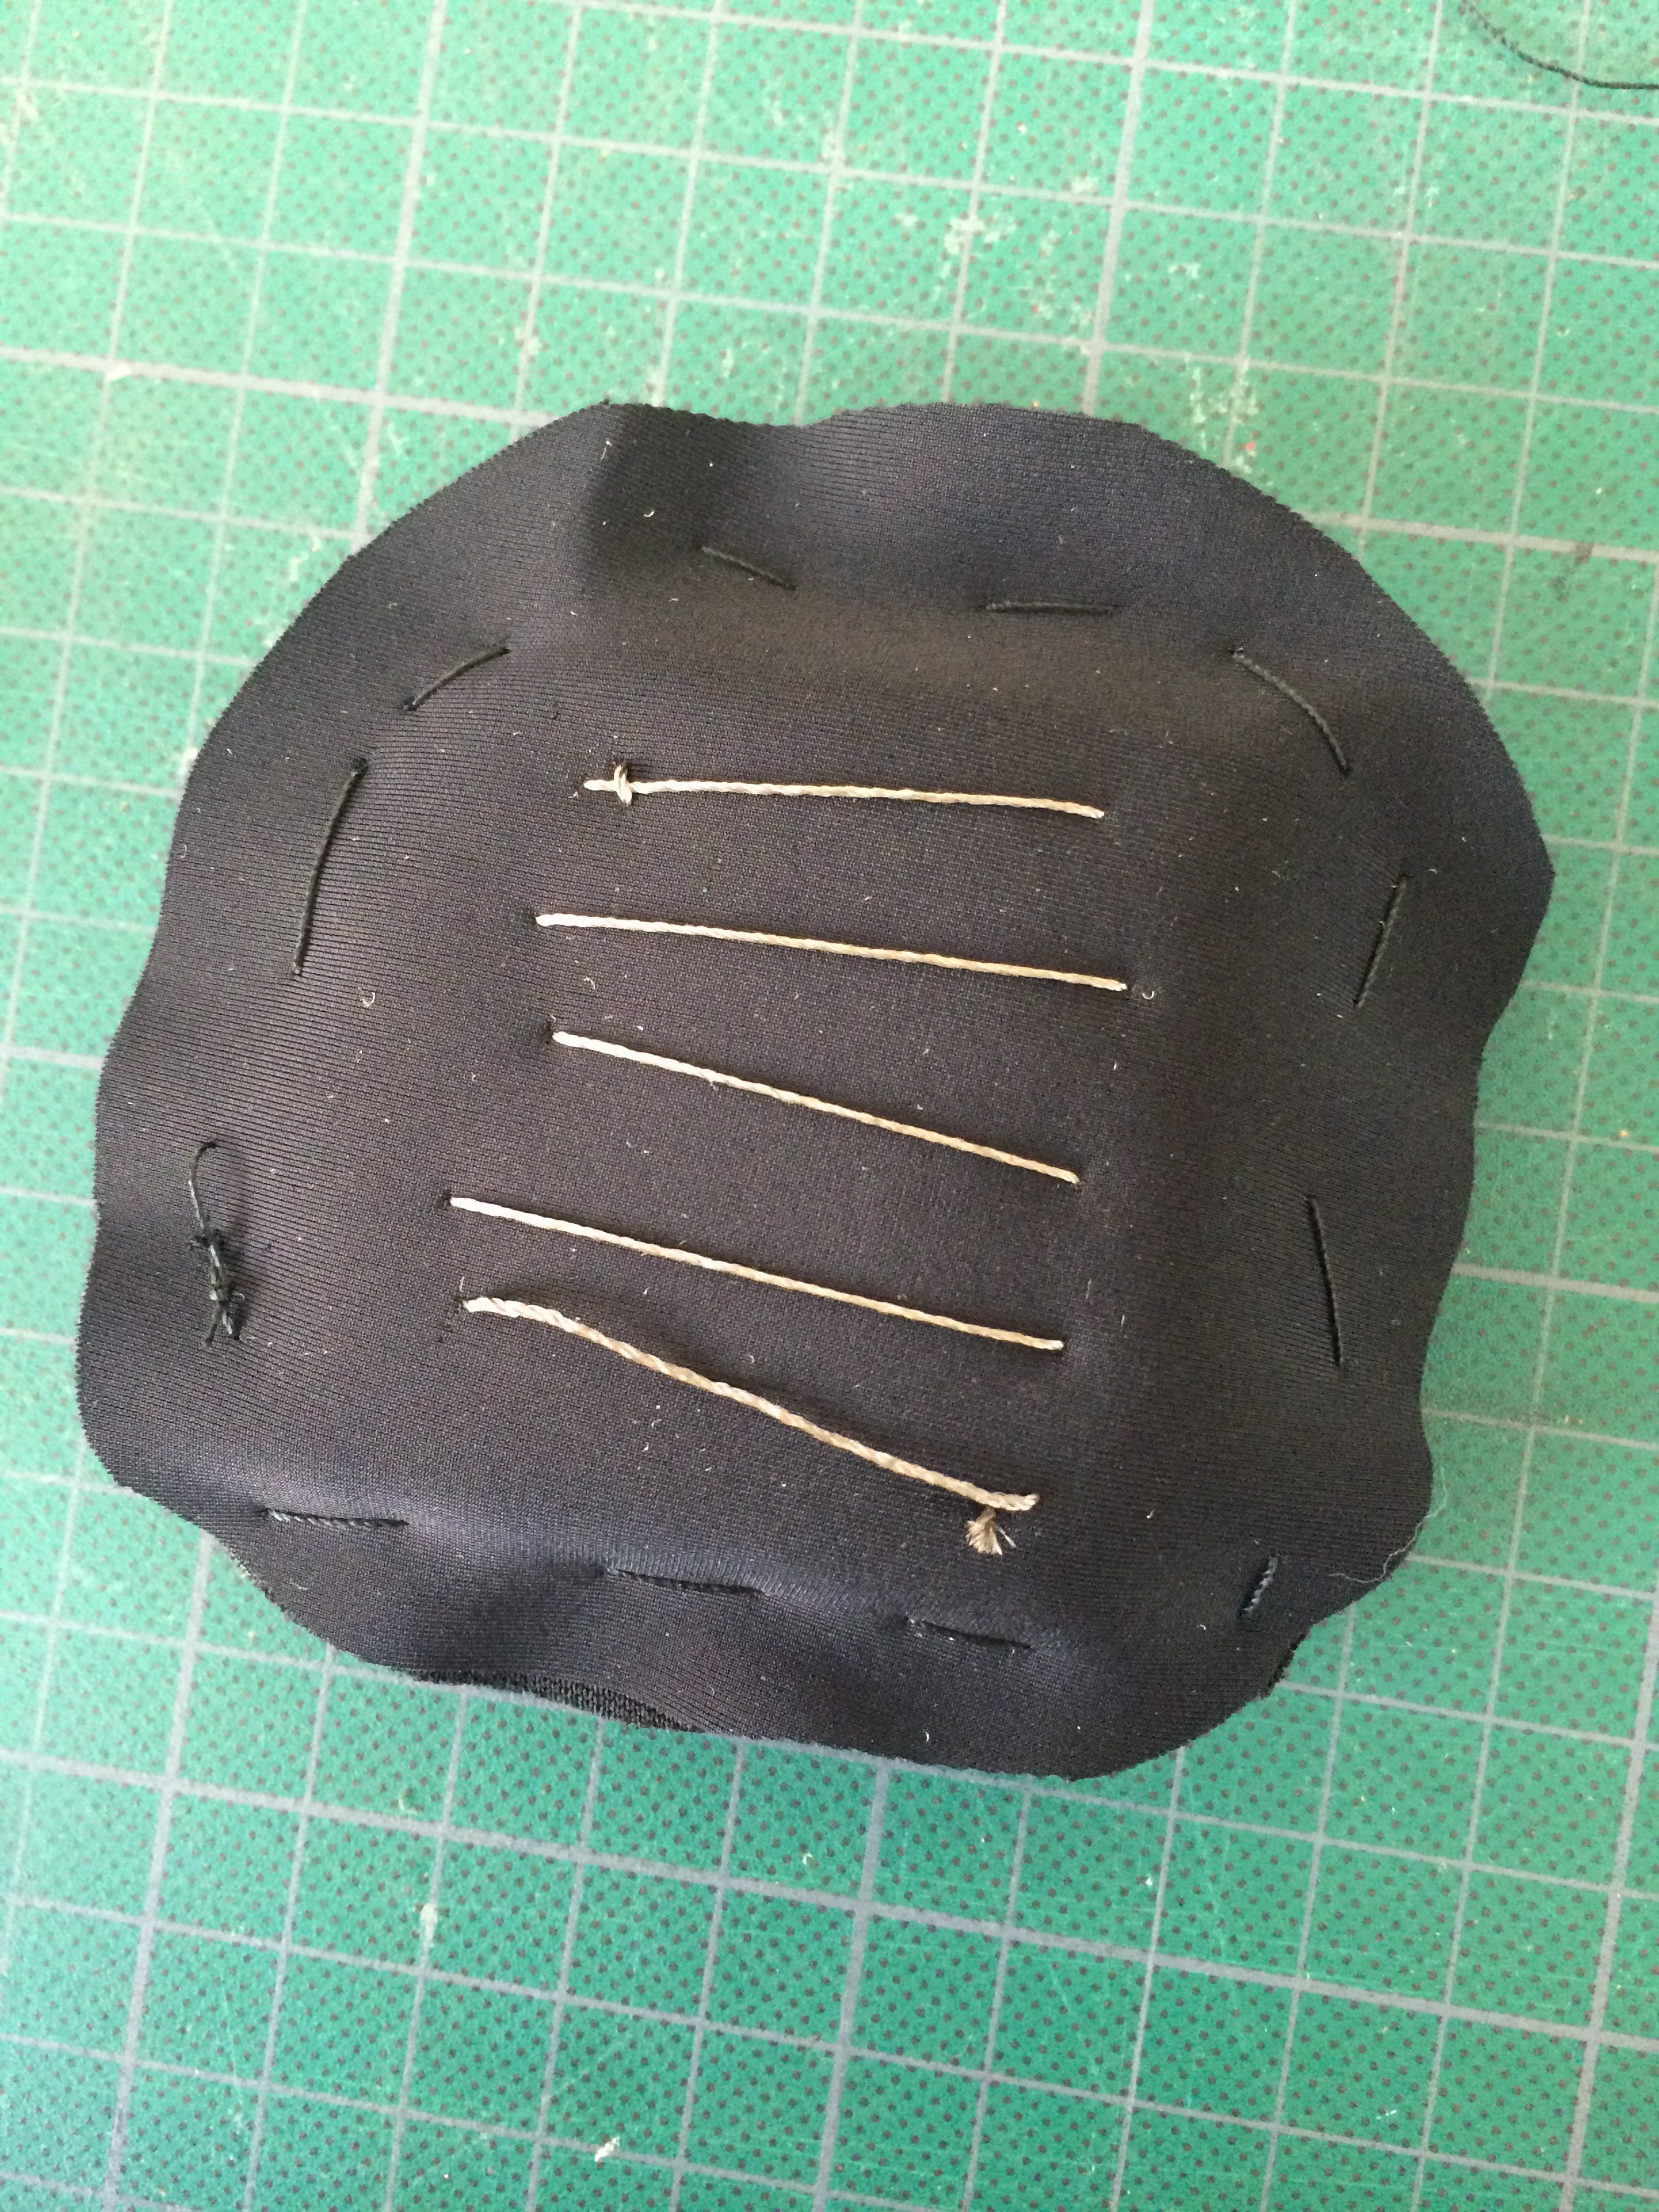
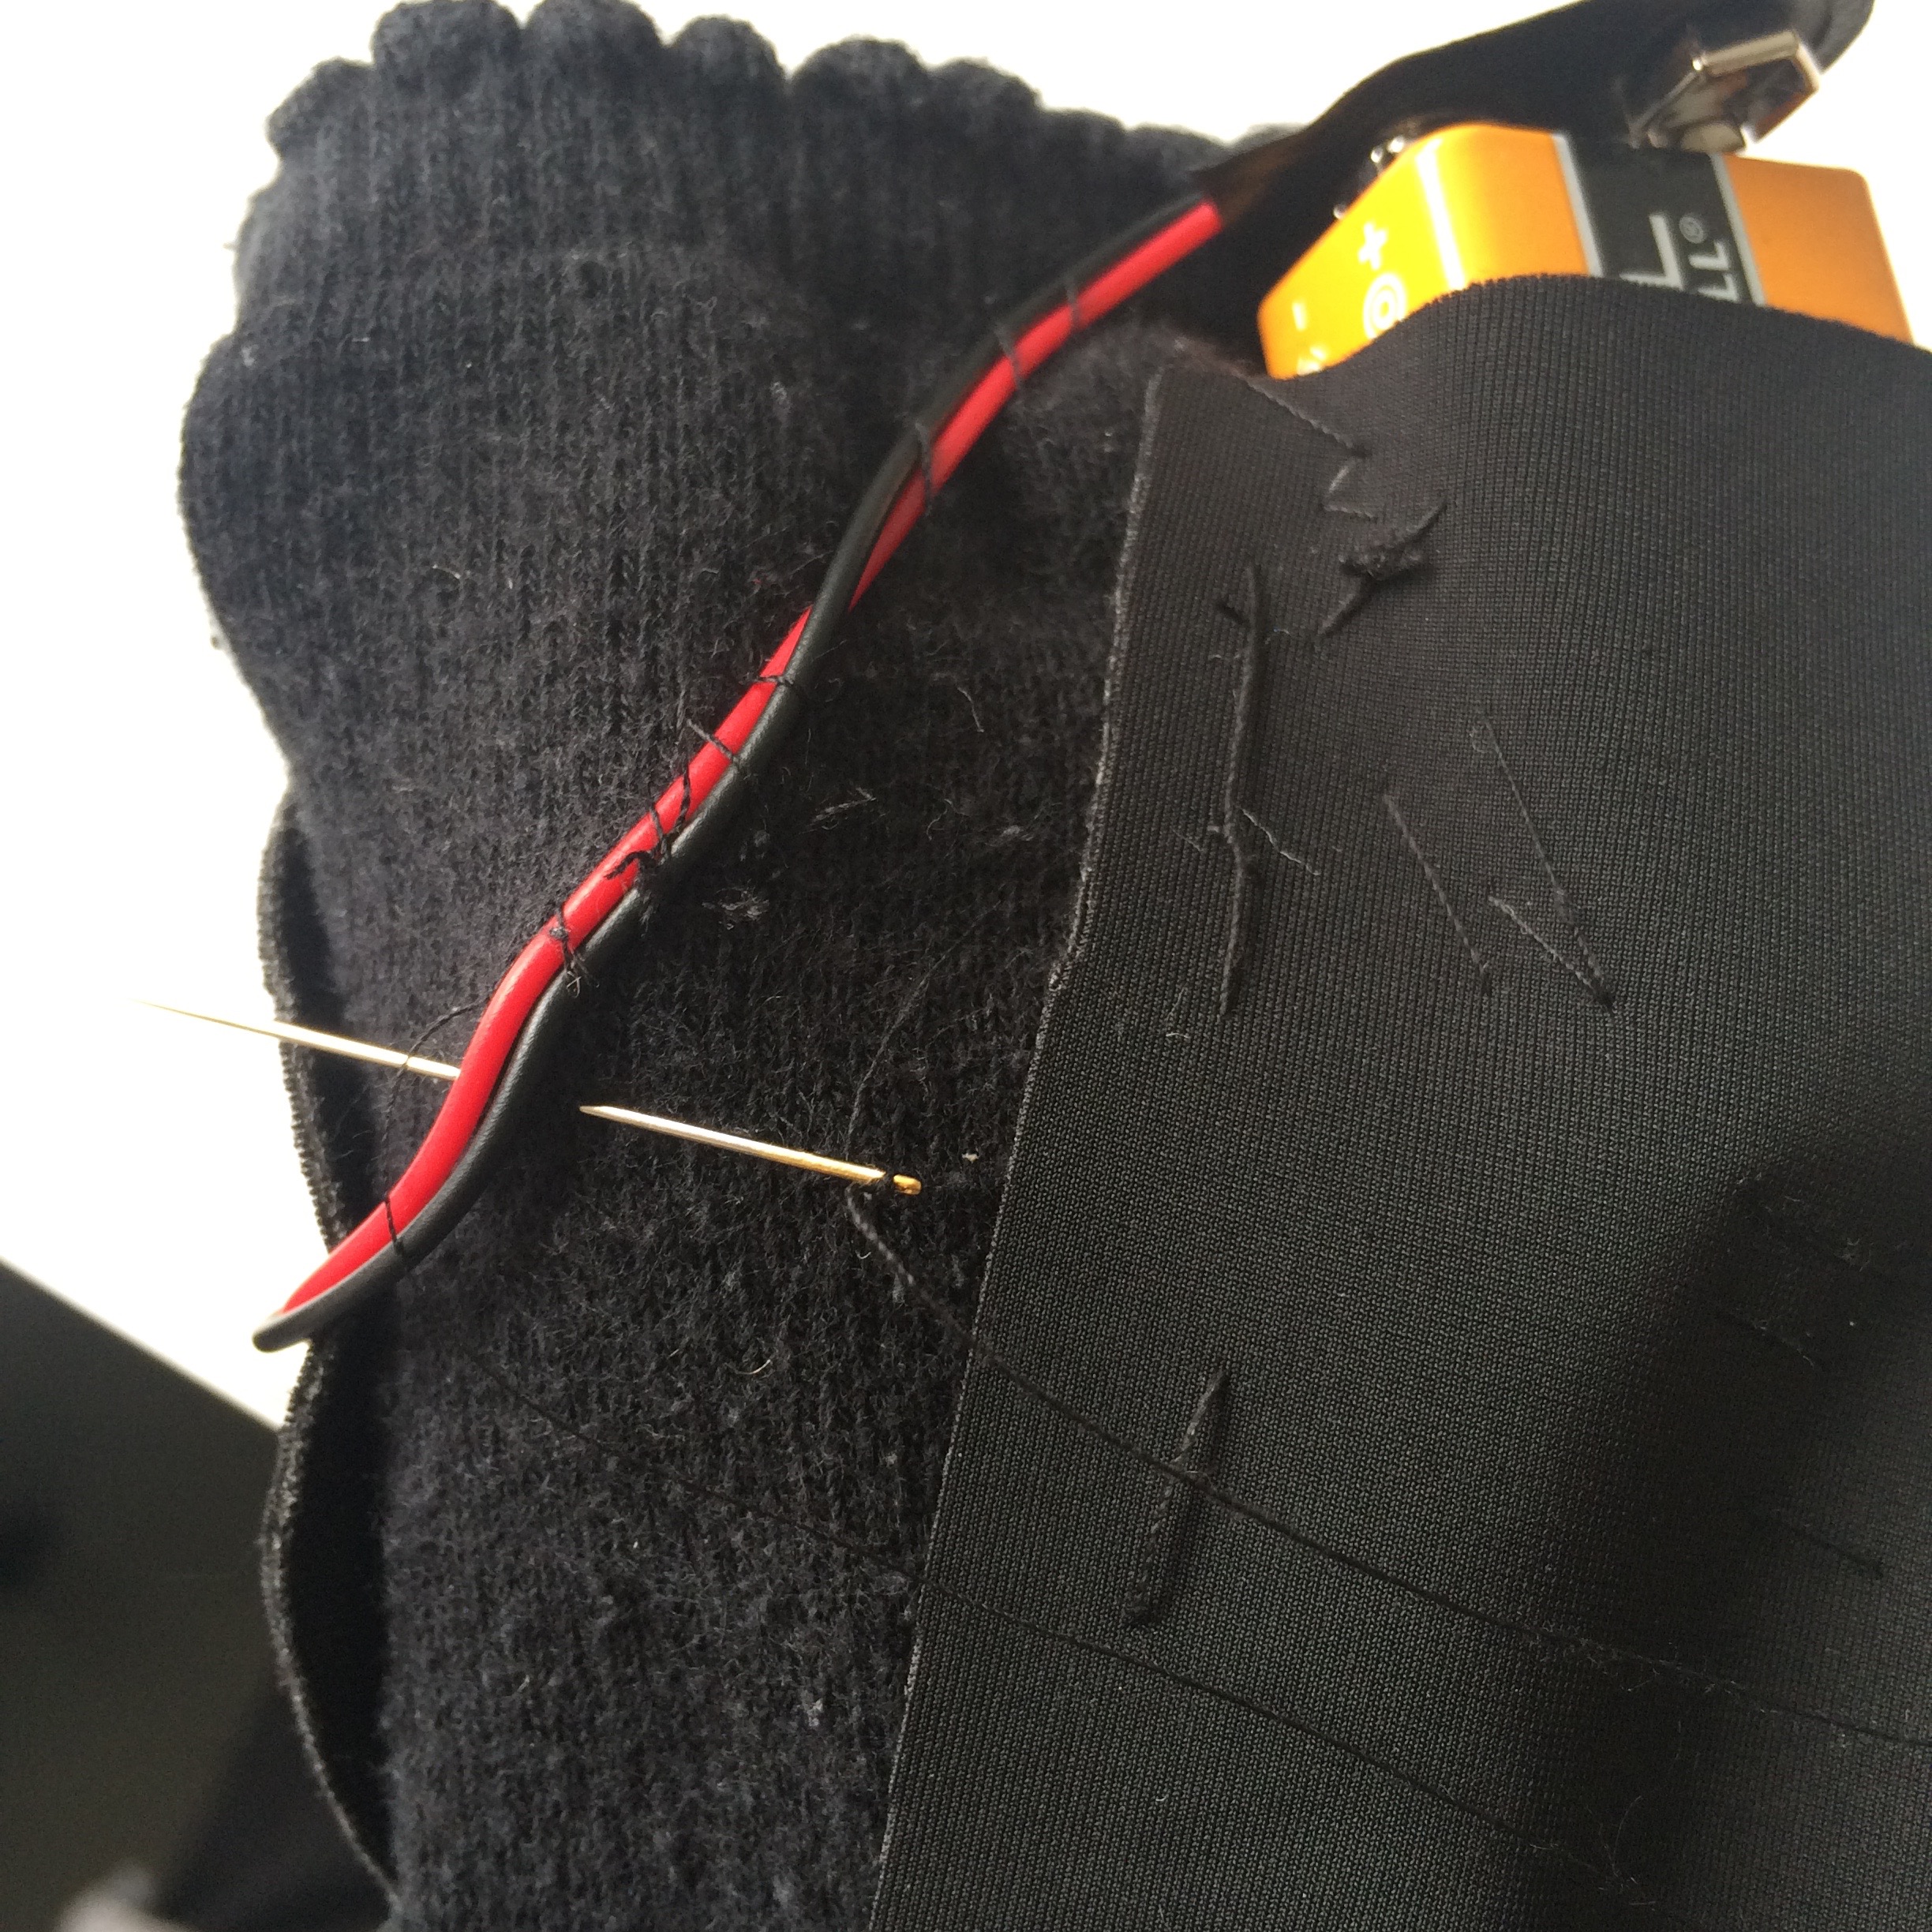
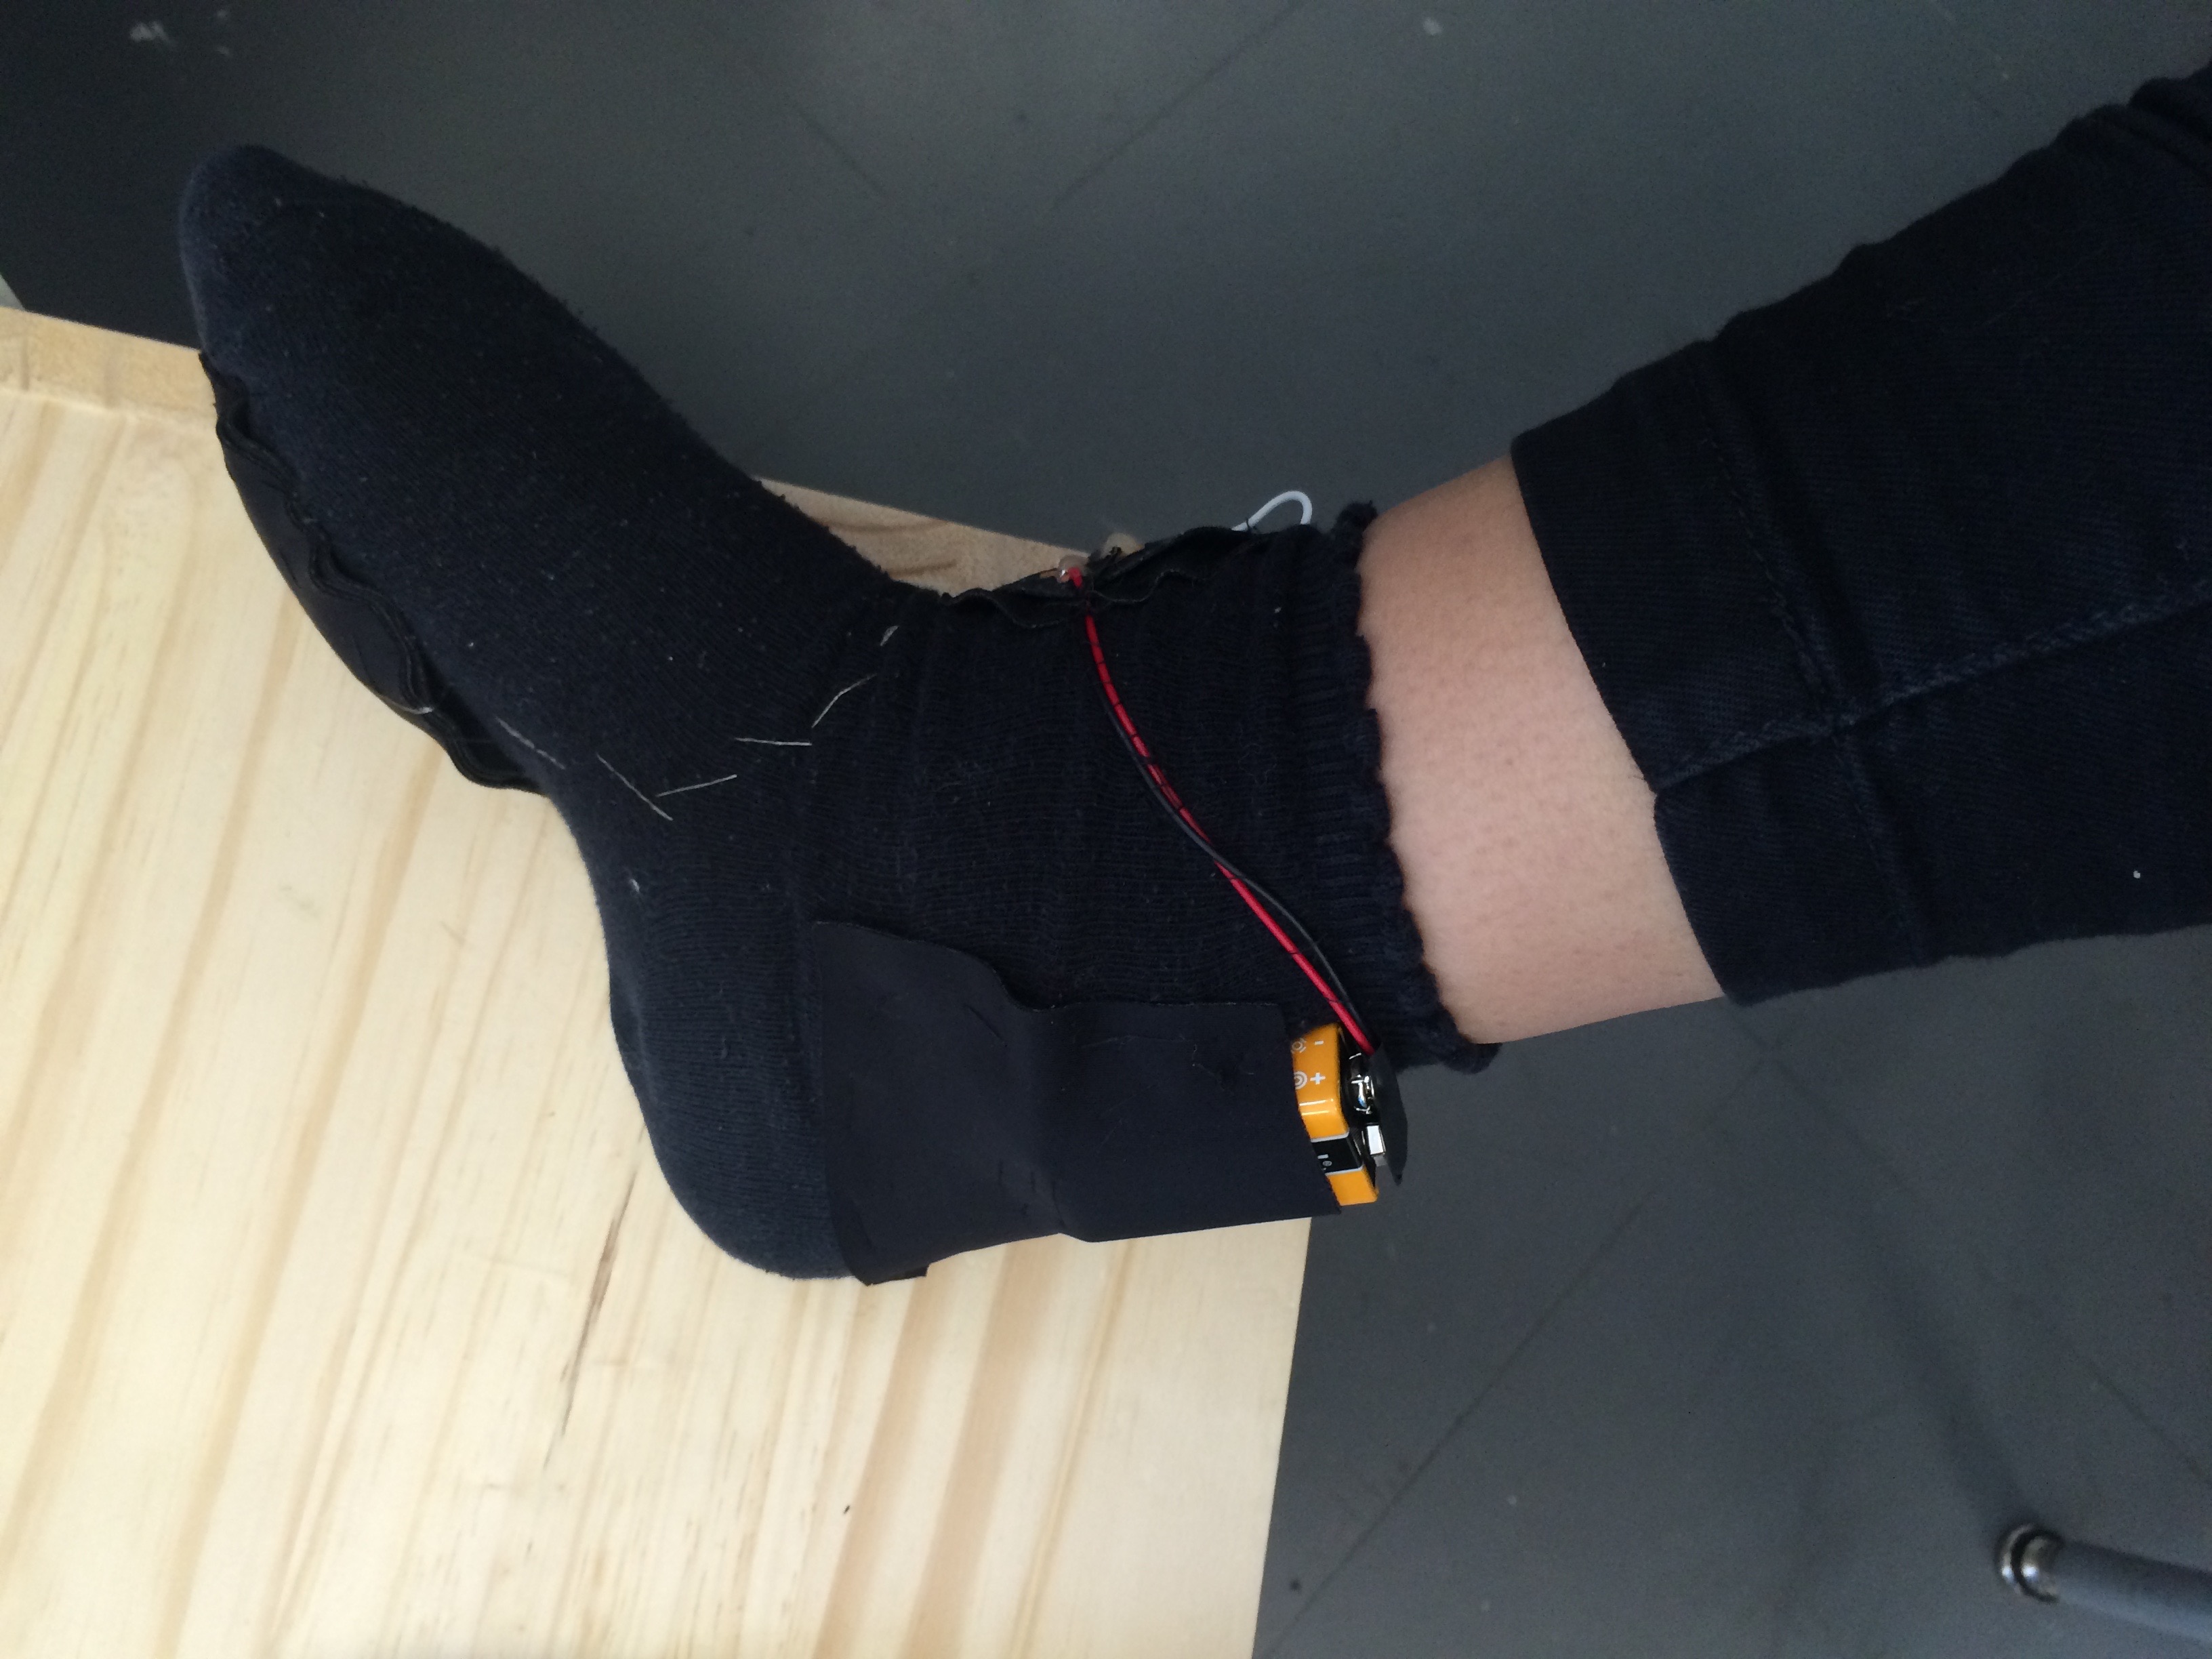
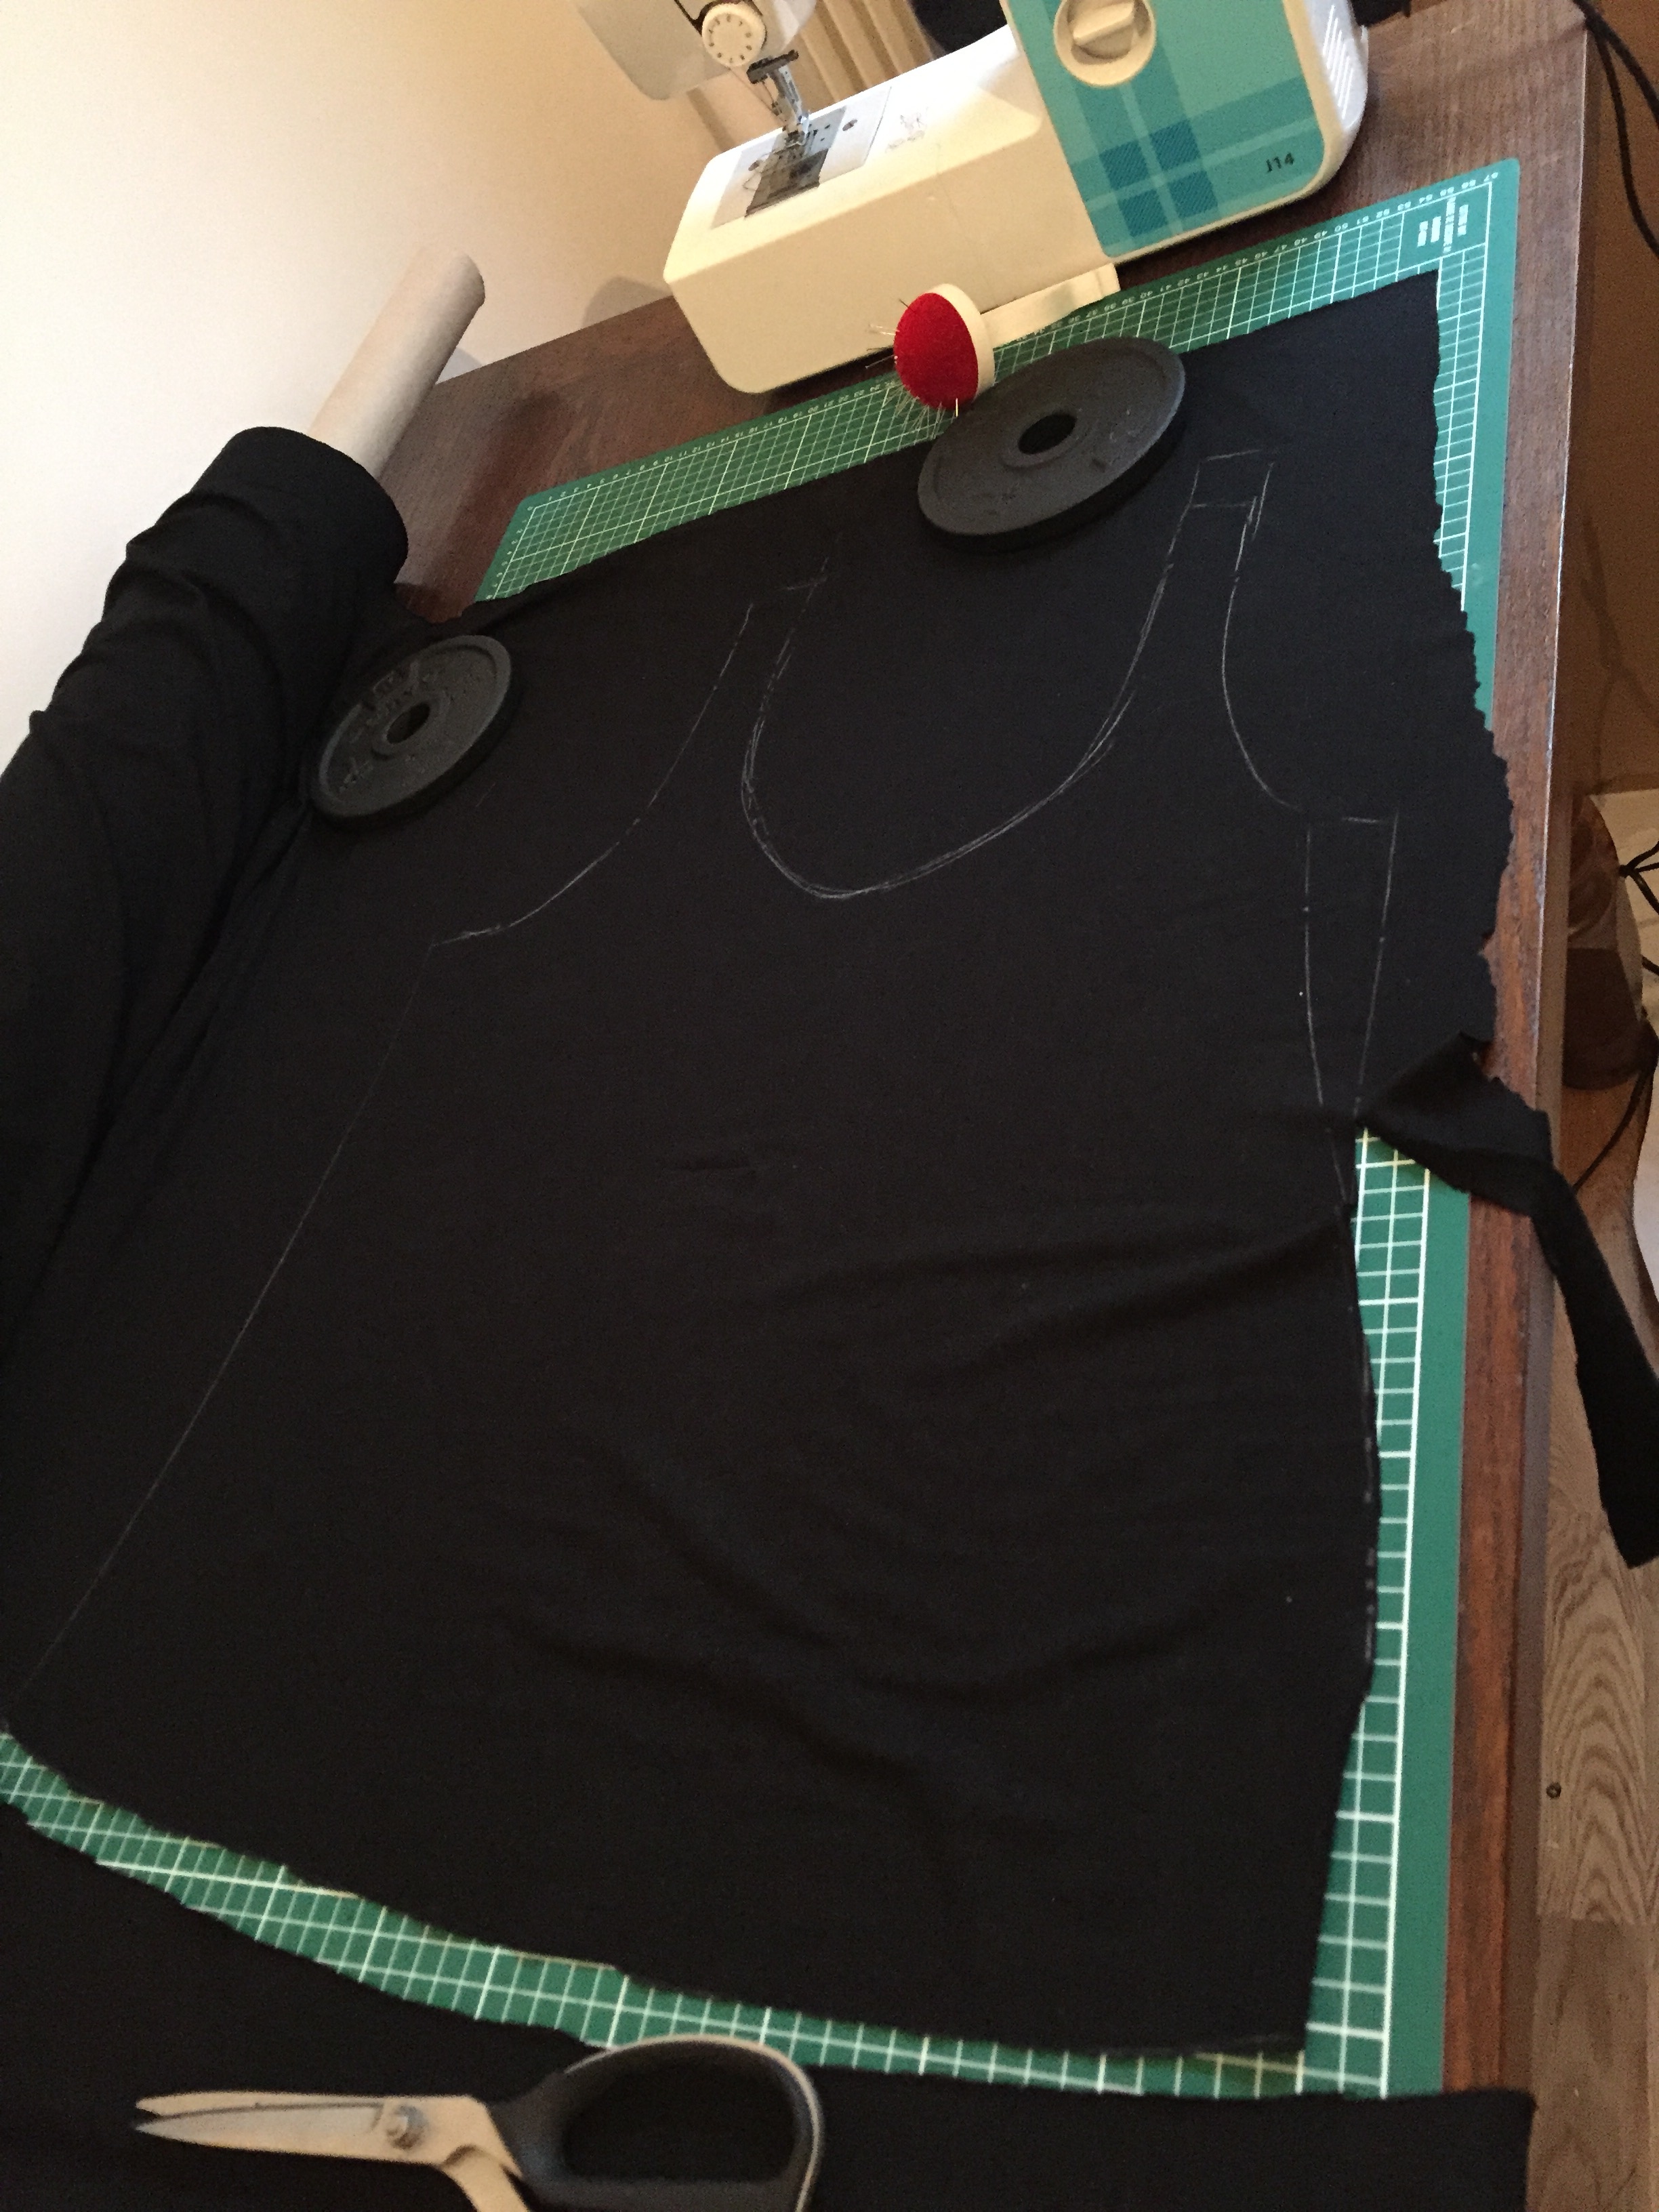
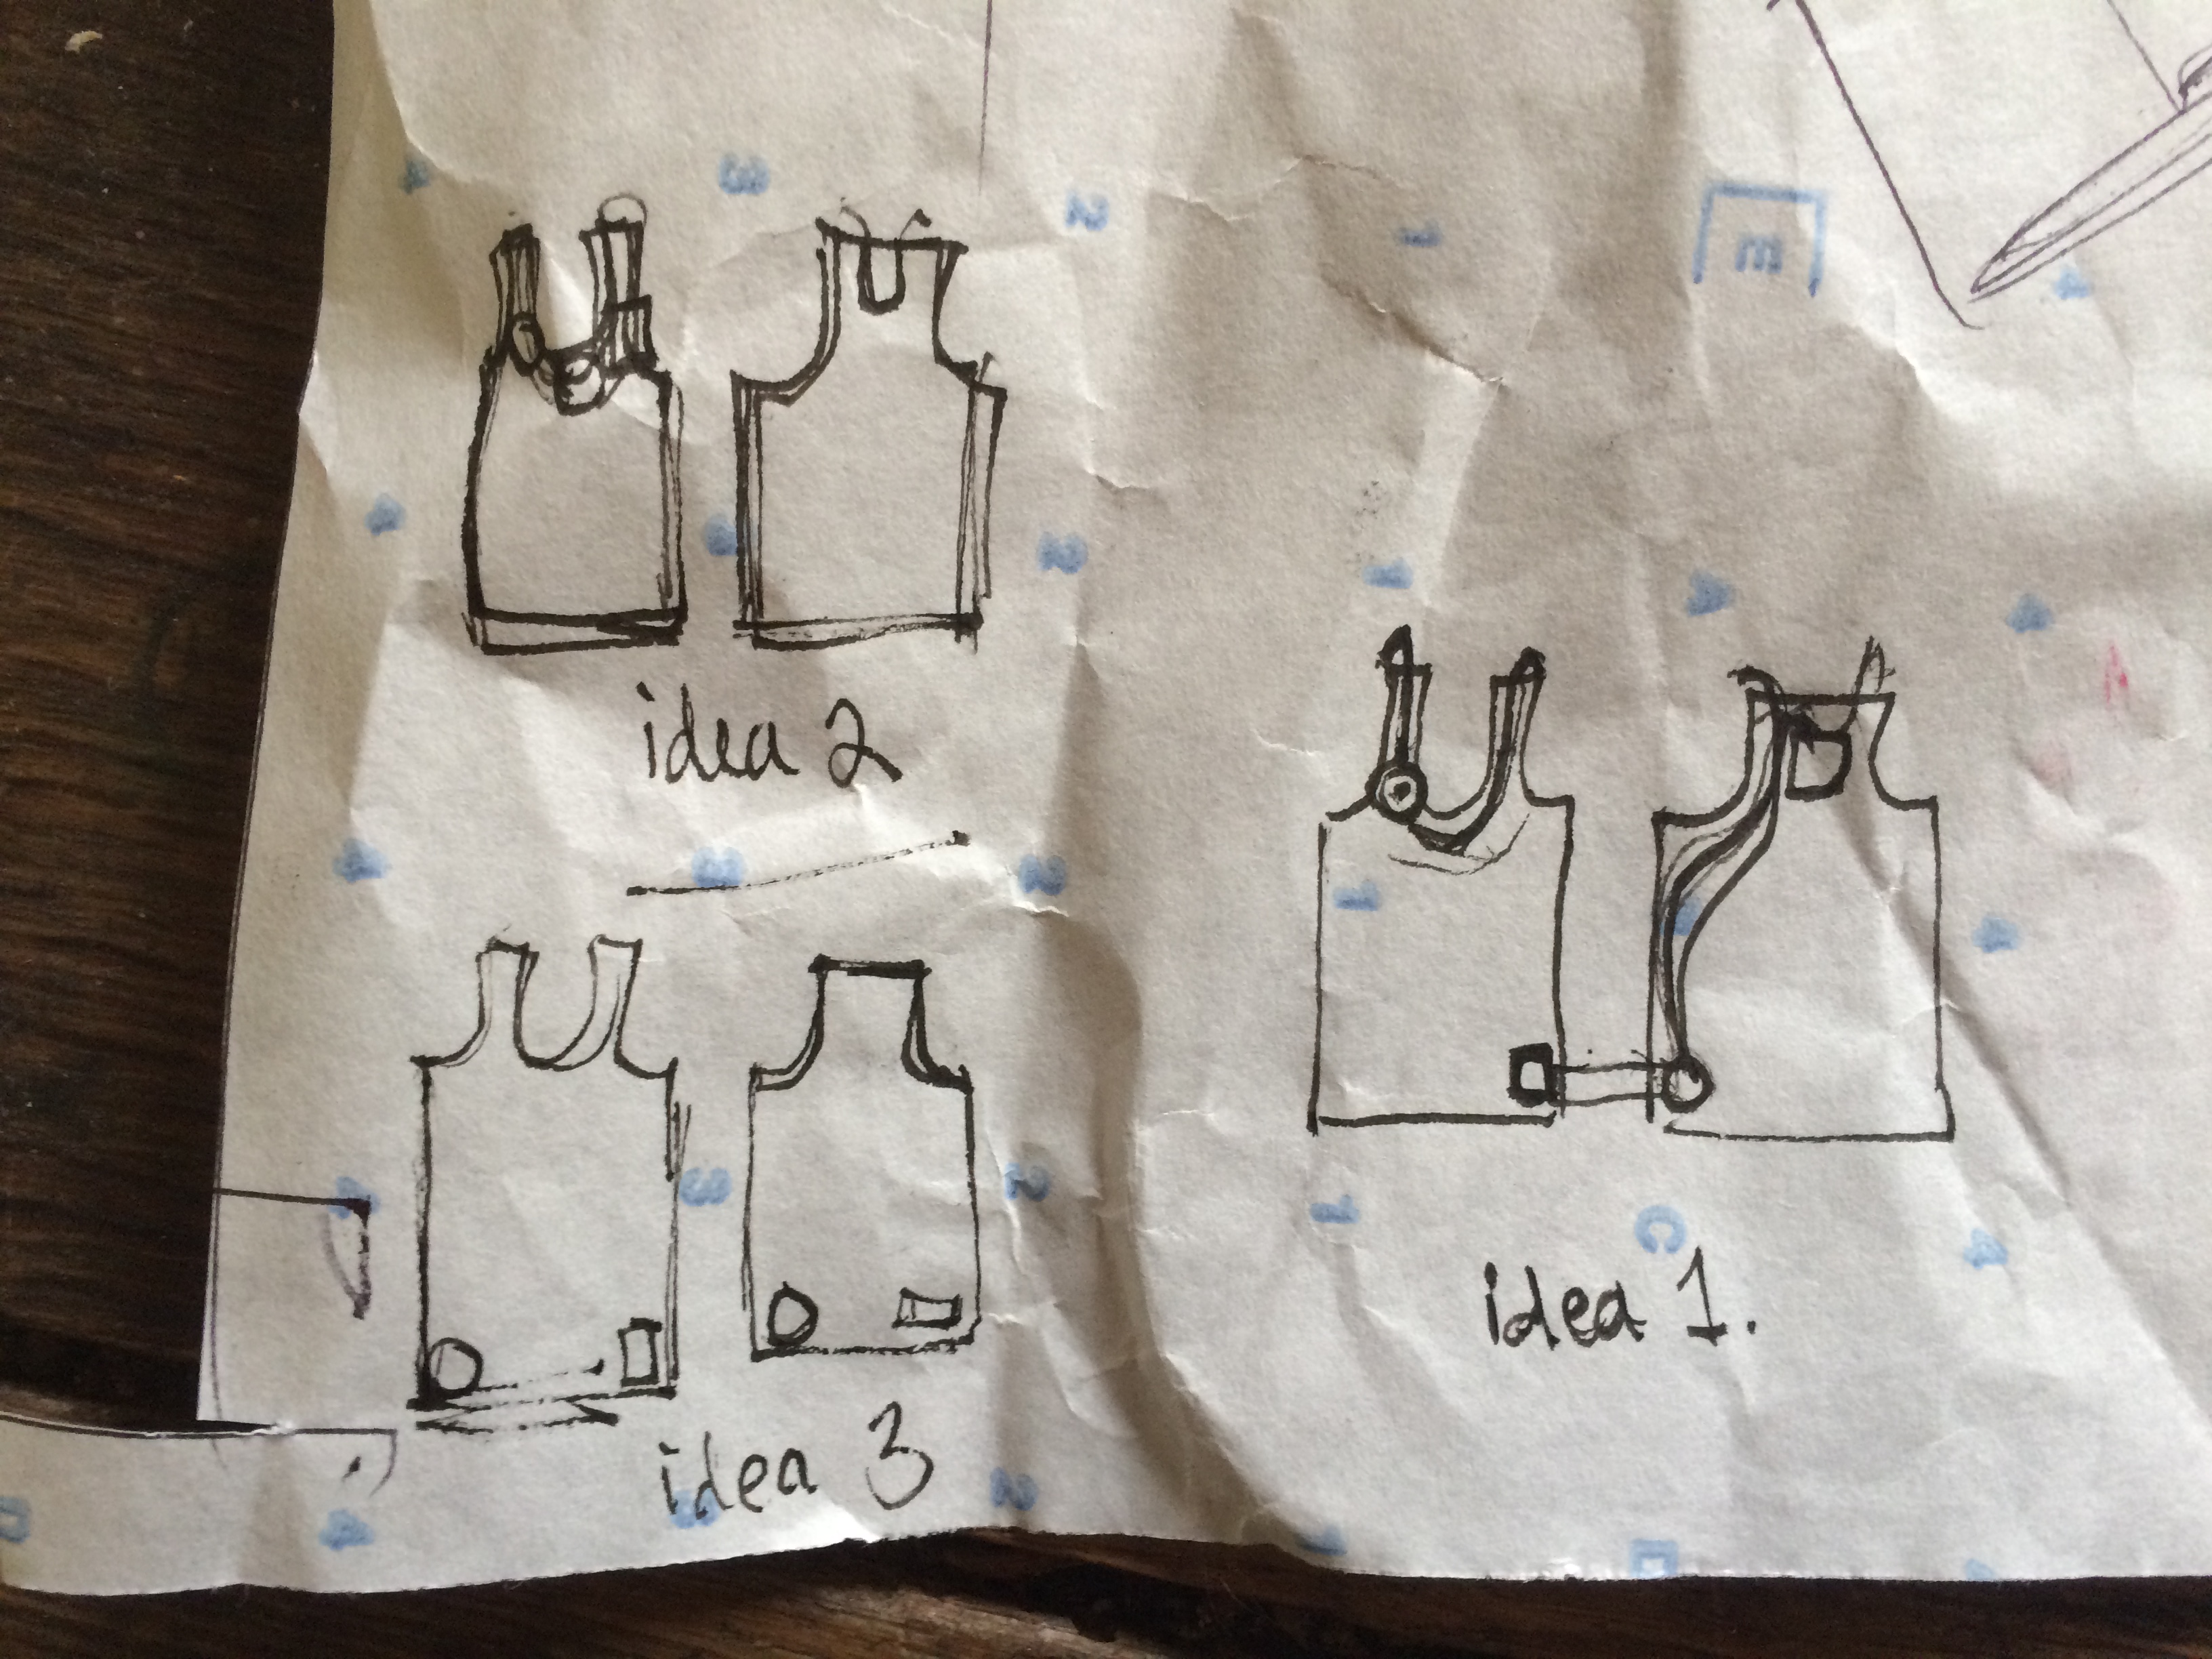
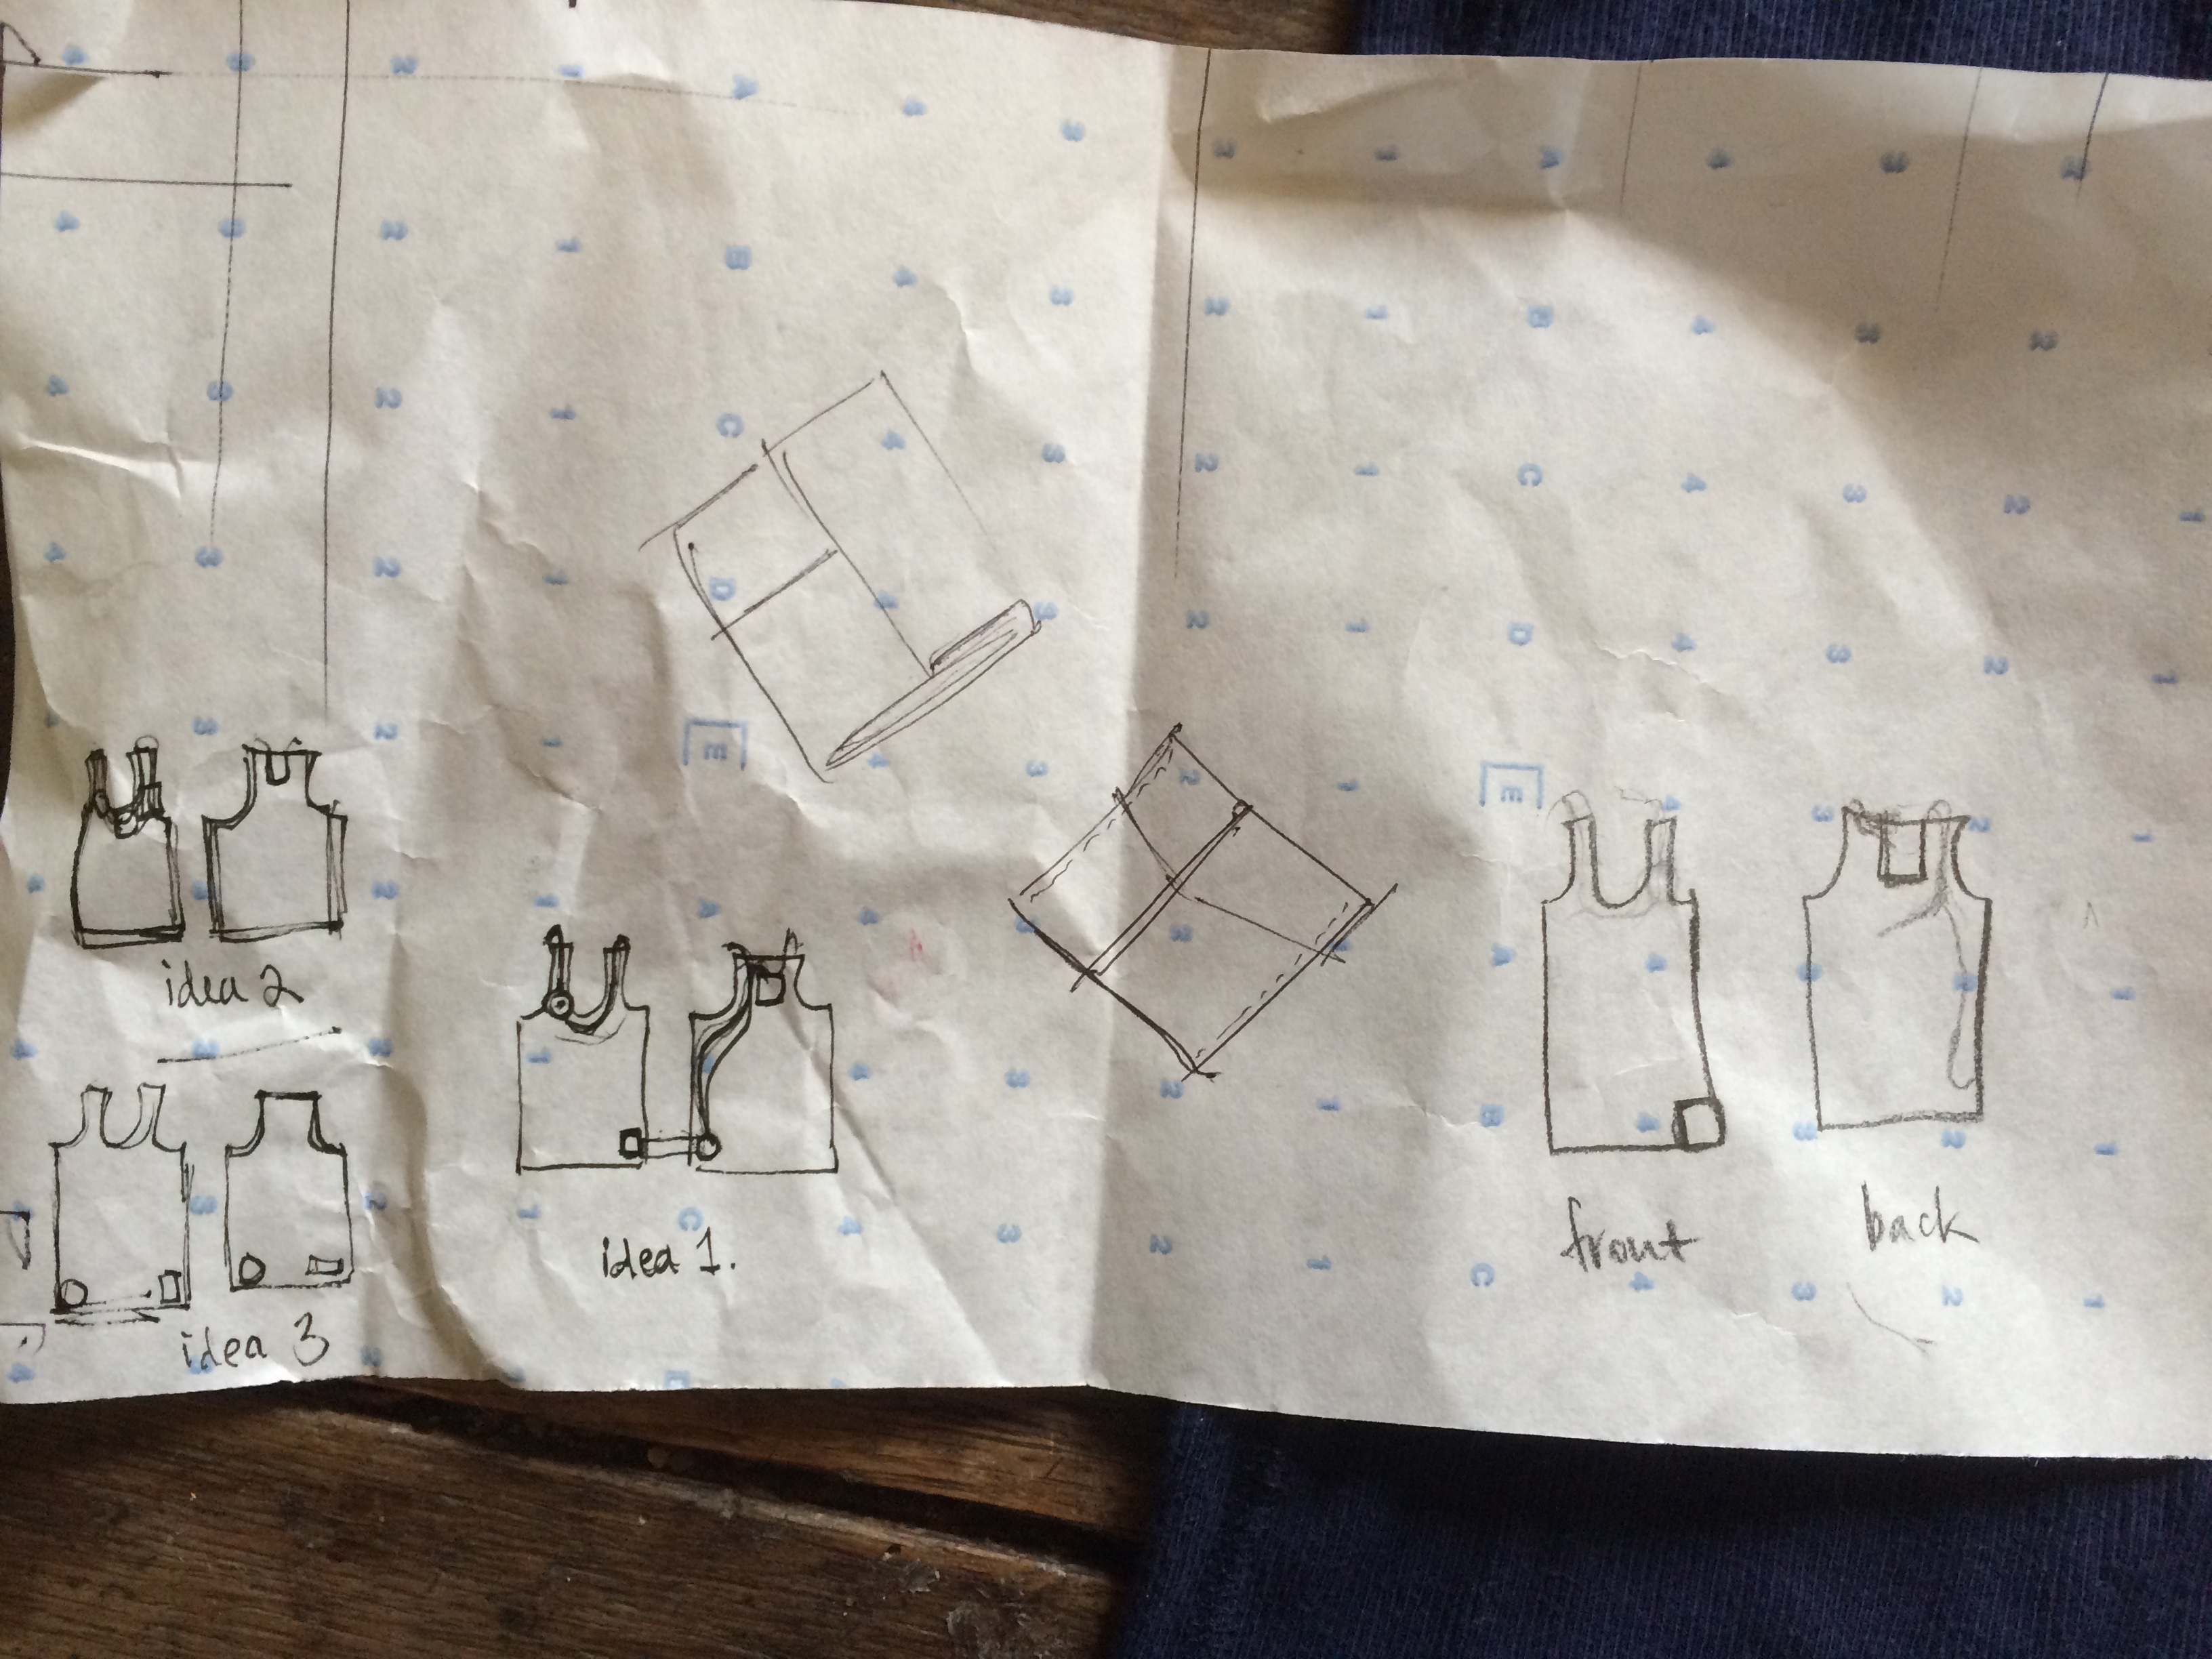
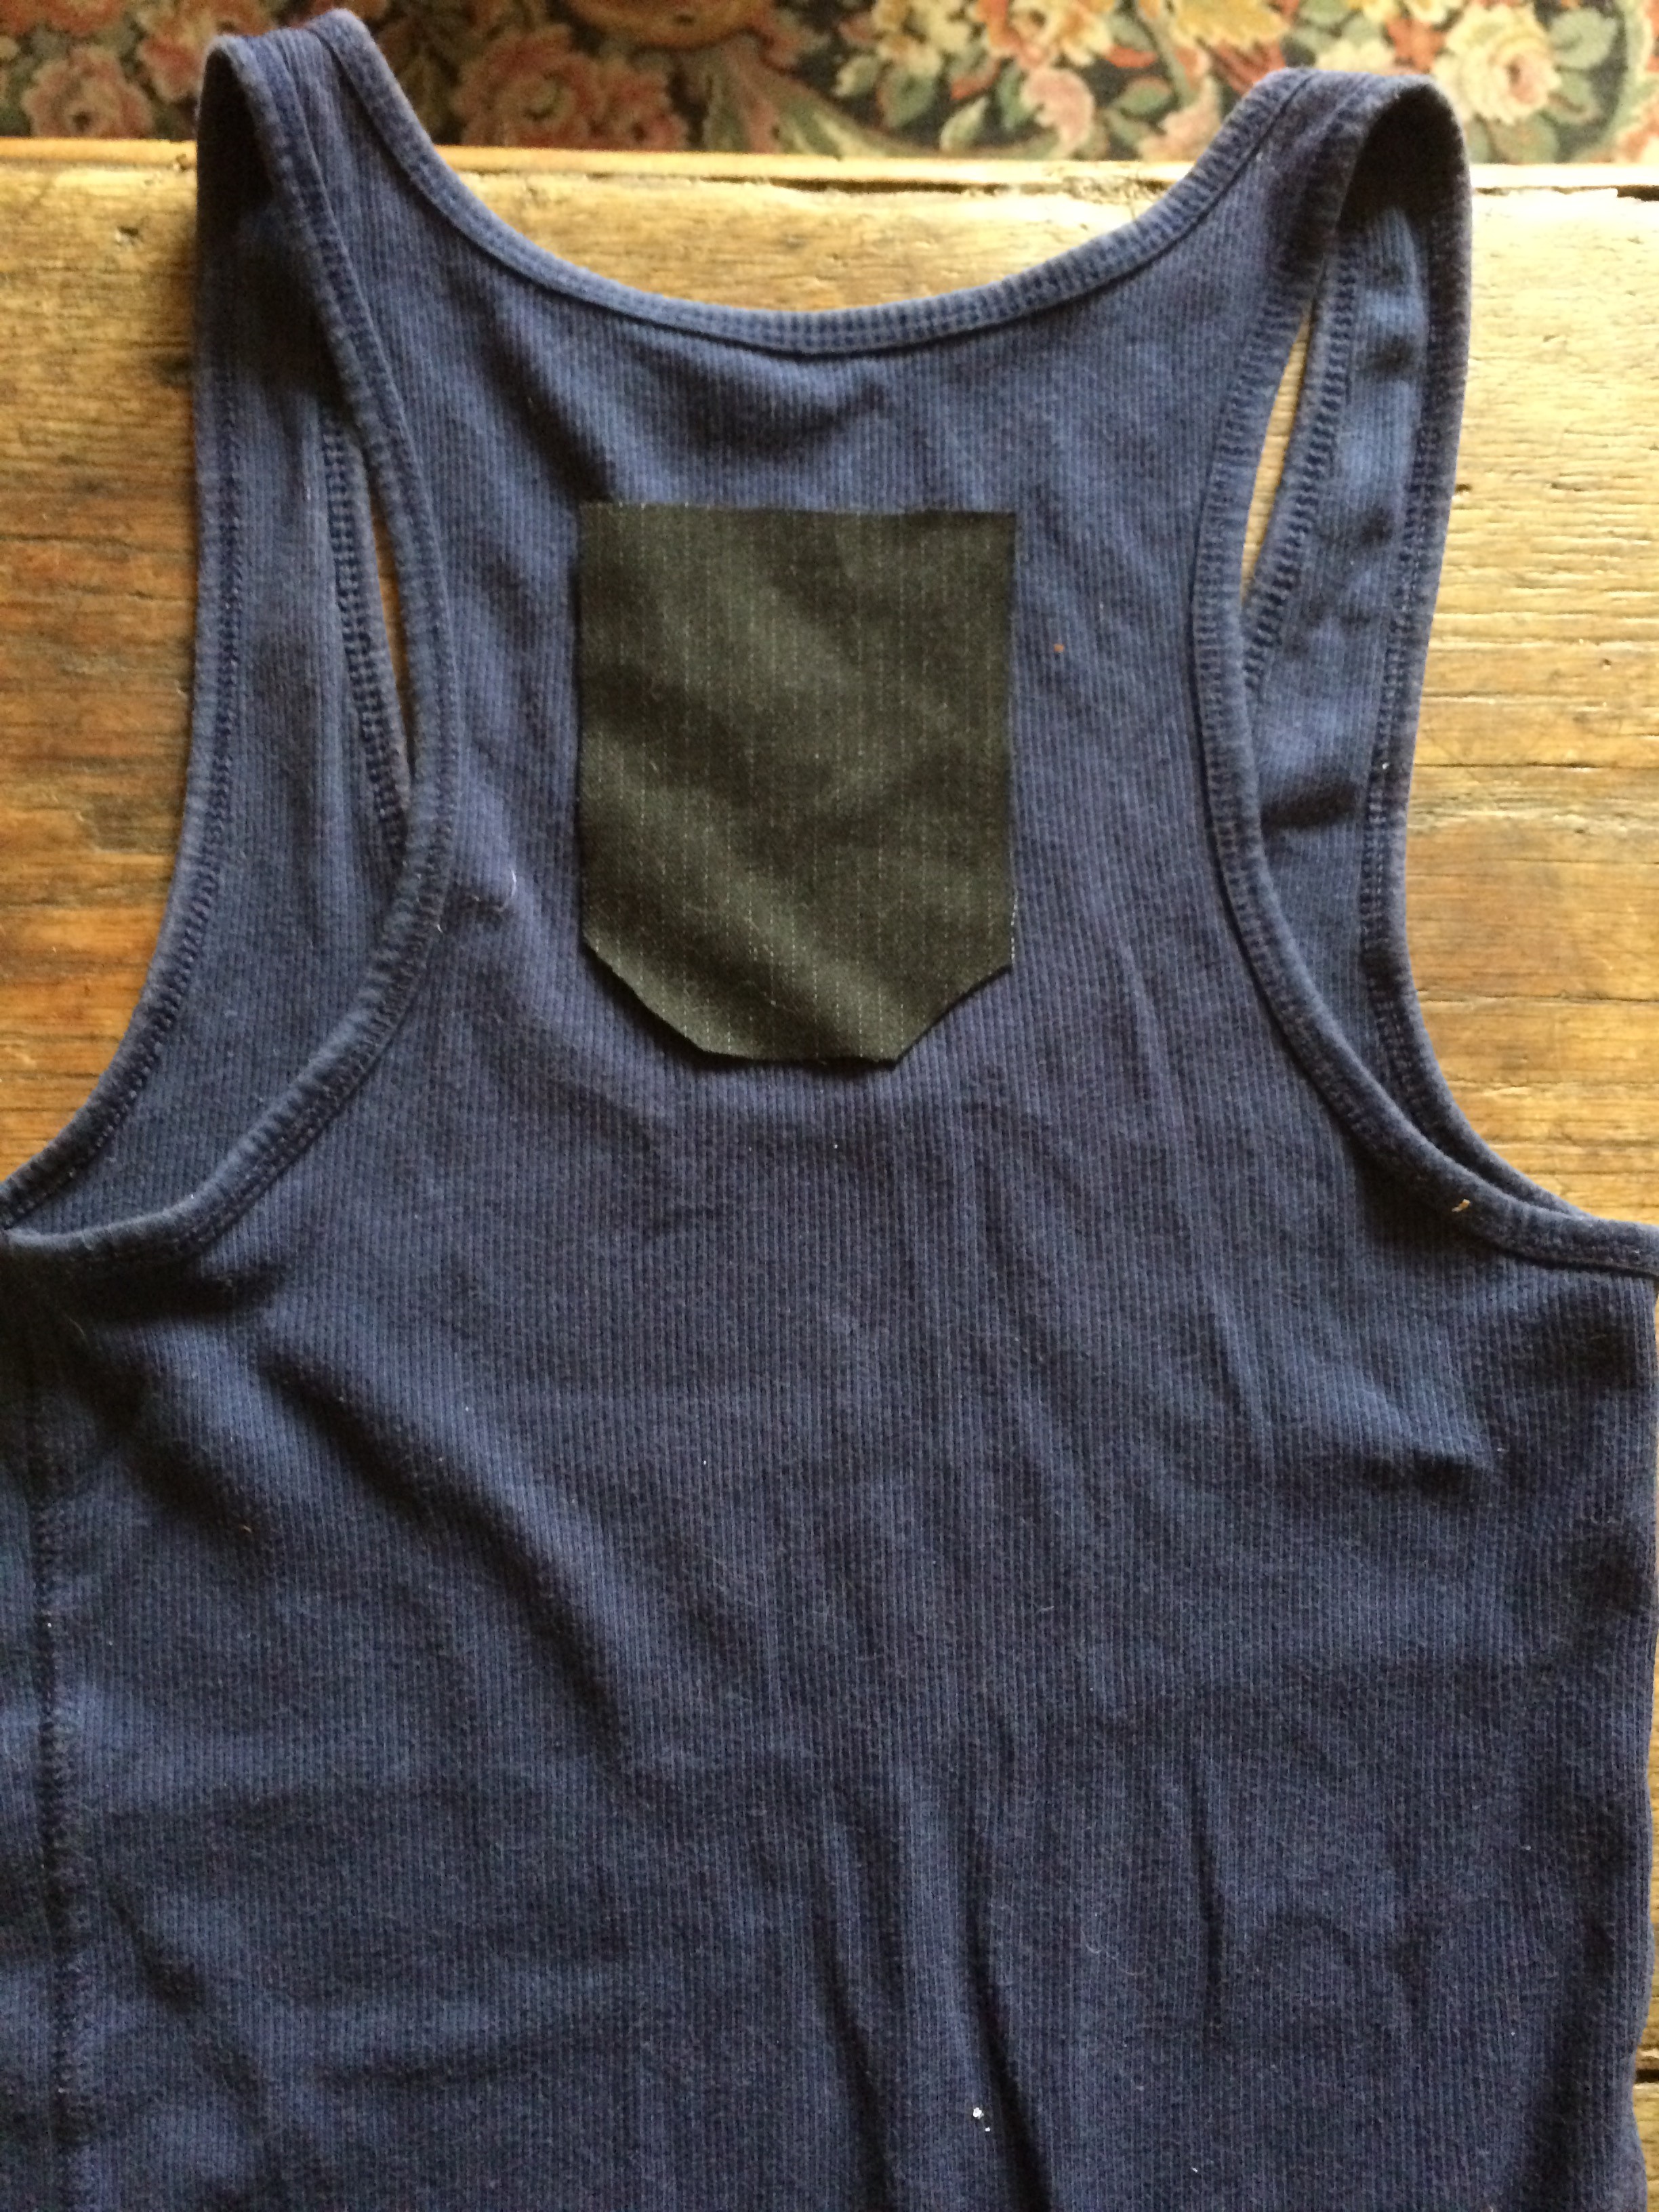
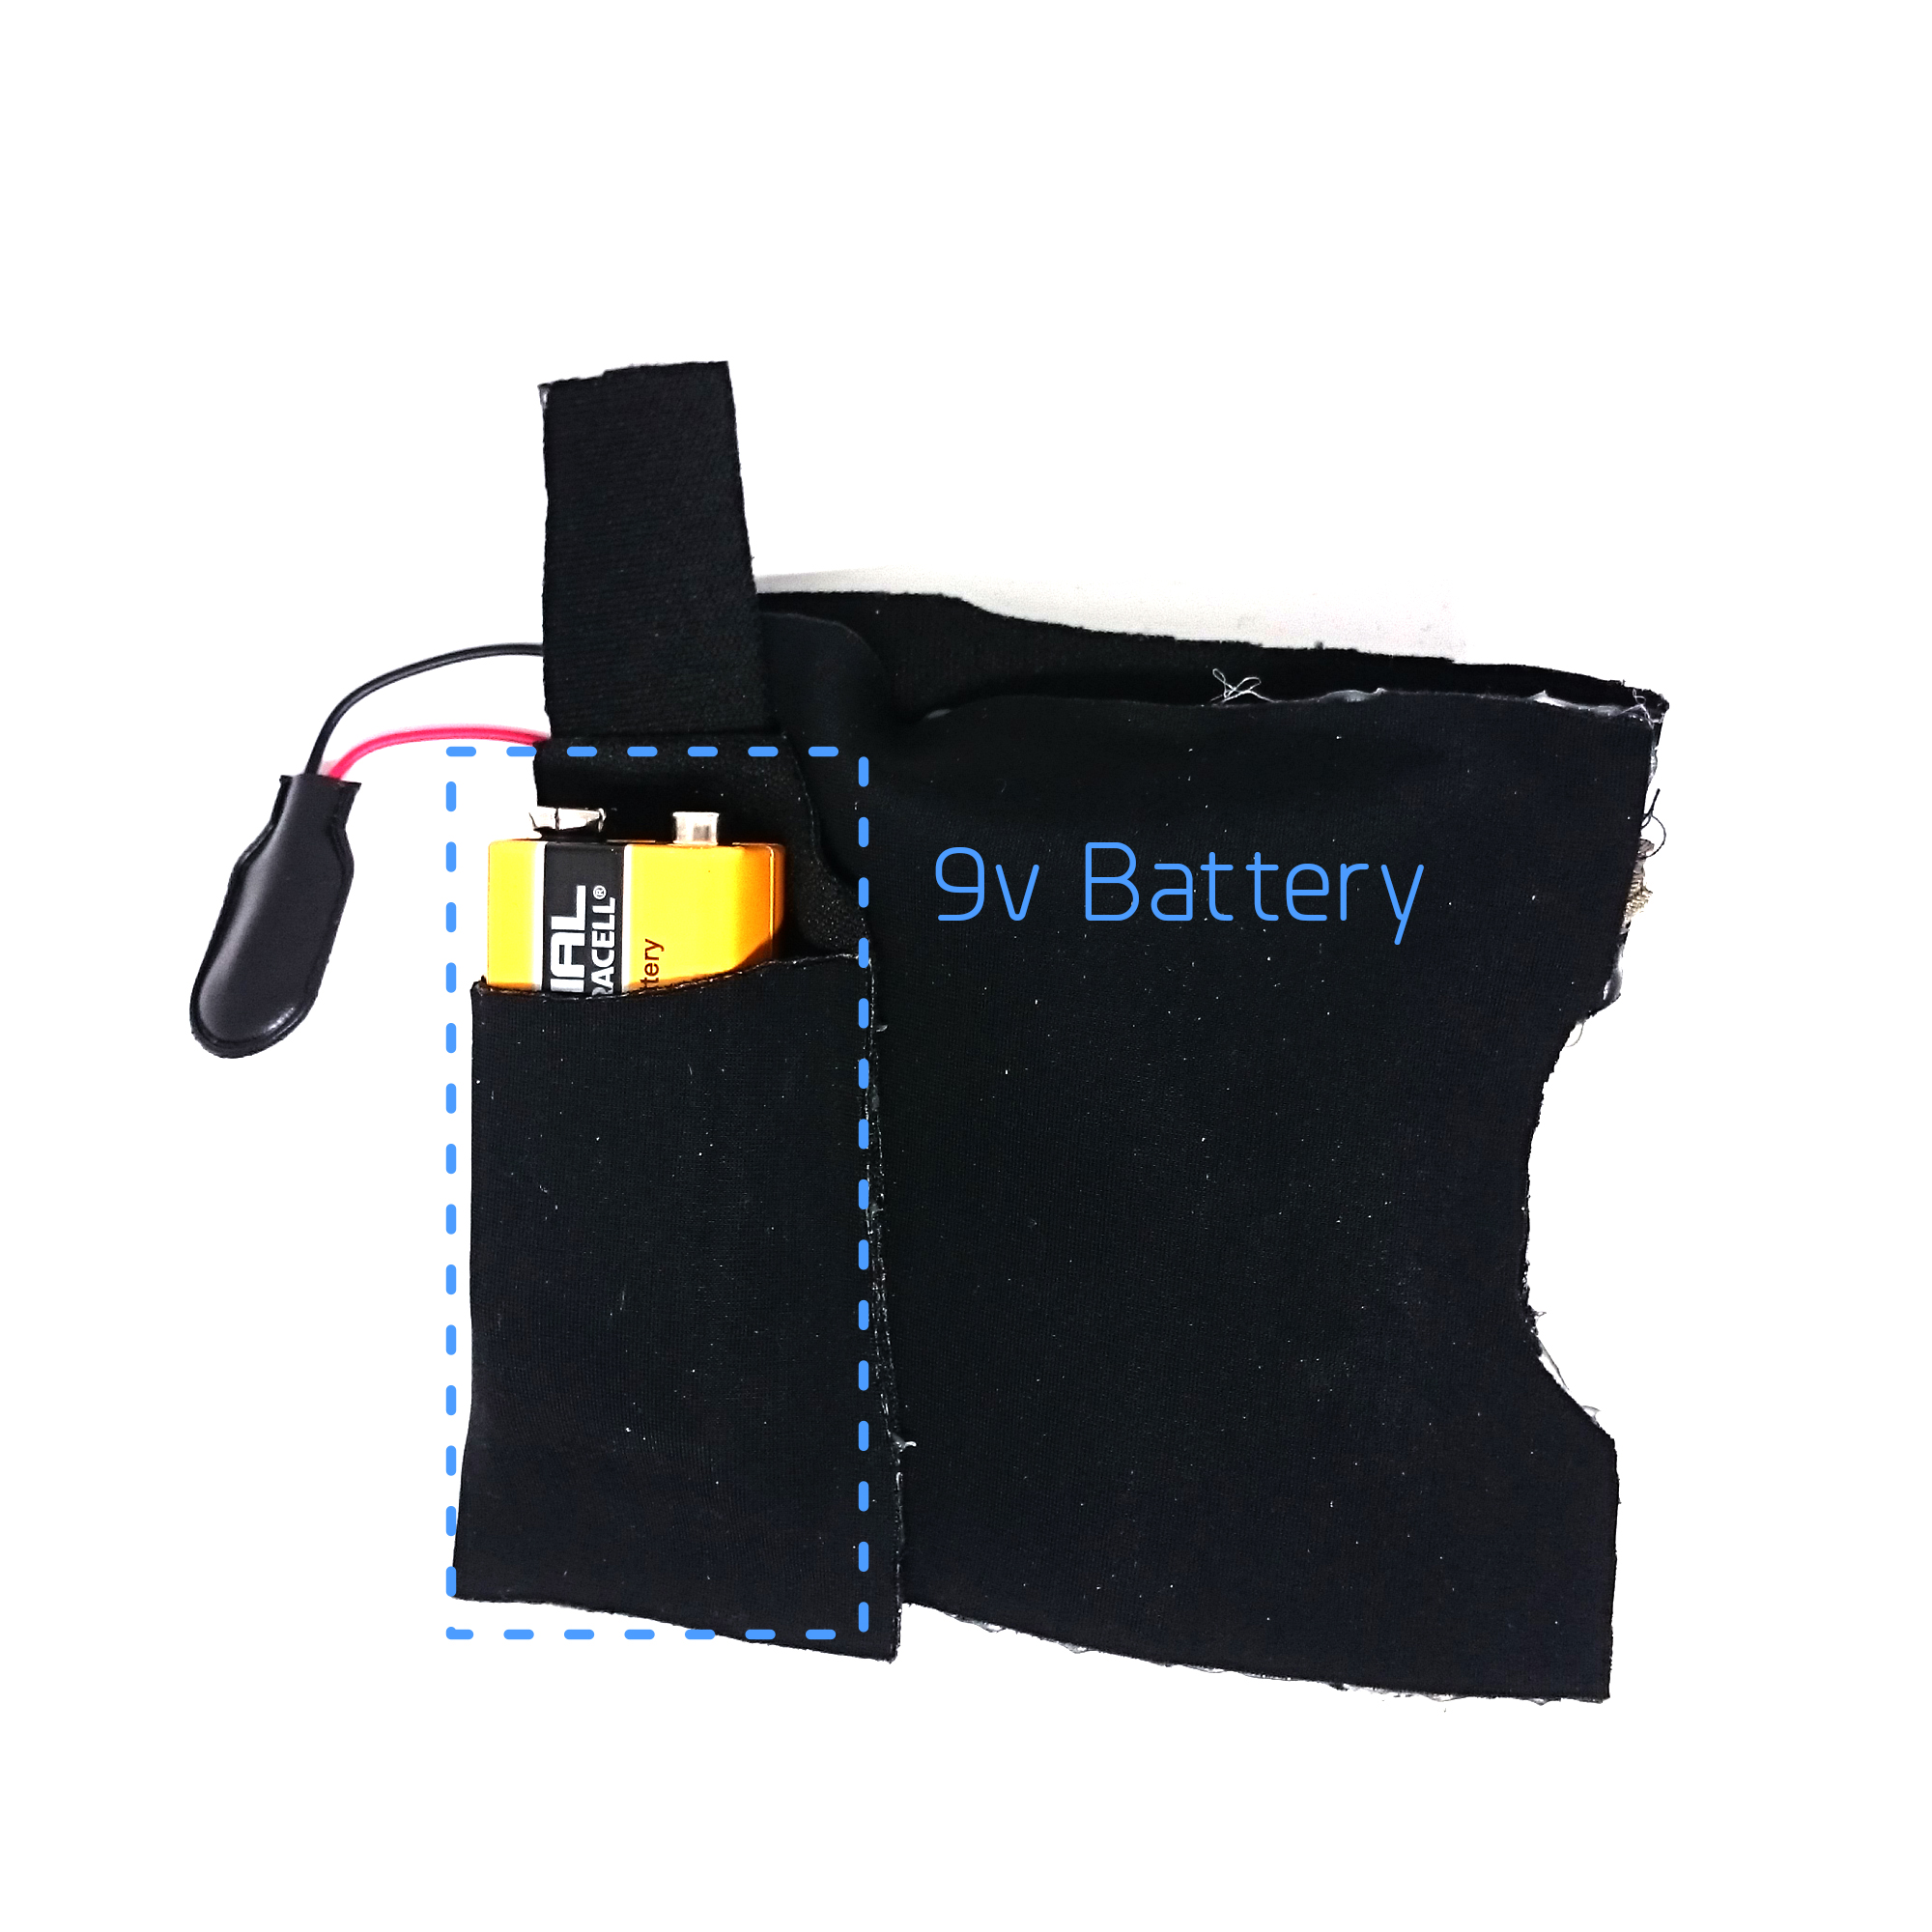
So, after getting help and soldering my board, I figured out how I was going to position everything on my garment. I created a pocket to store the battery (which is huge, but I wanted to make sure I would have enough room). I originally wanted it to work so that when you press the pocket that would be on your stomach, it would make the speaker sound-like your stomach was rumbling. However, I had more issues than I thought, so I just had to make it simple, and the textilo and battery fit inside the pocket, but the sensor is on the outside of the pocket.

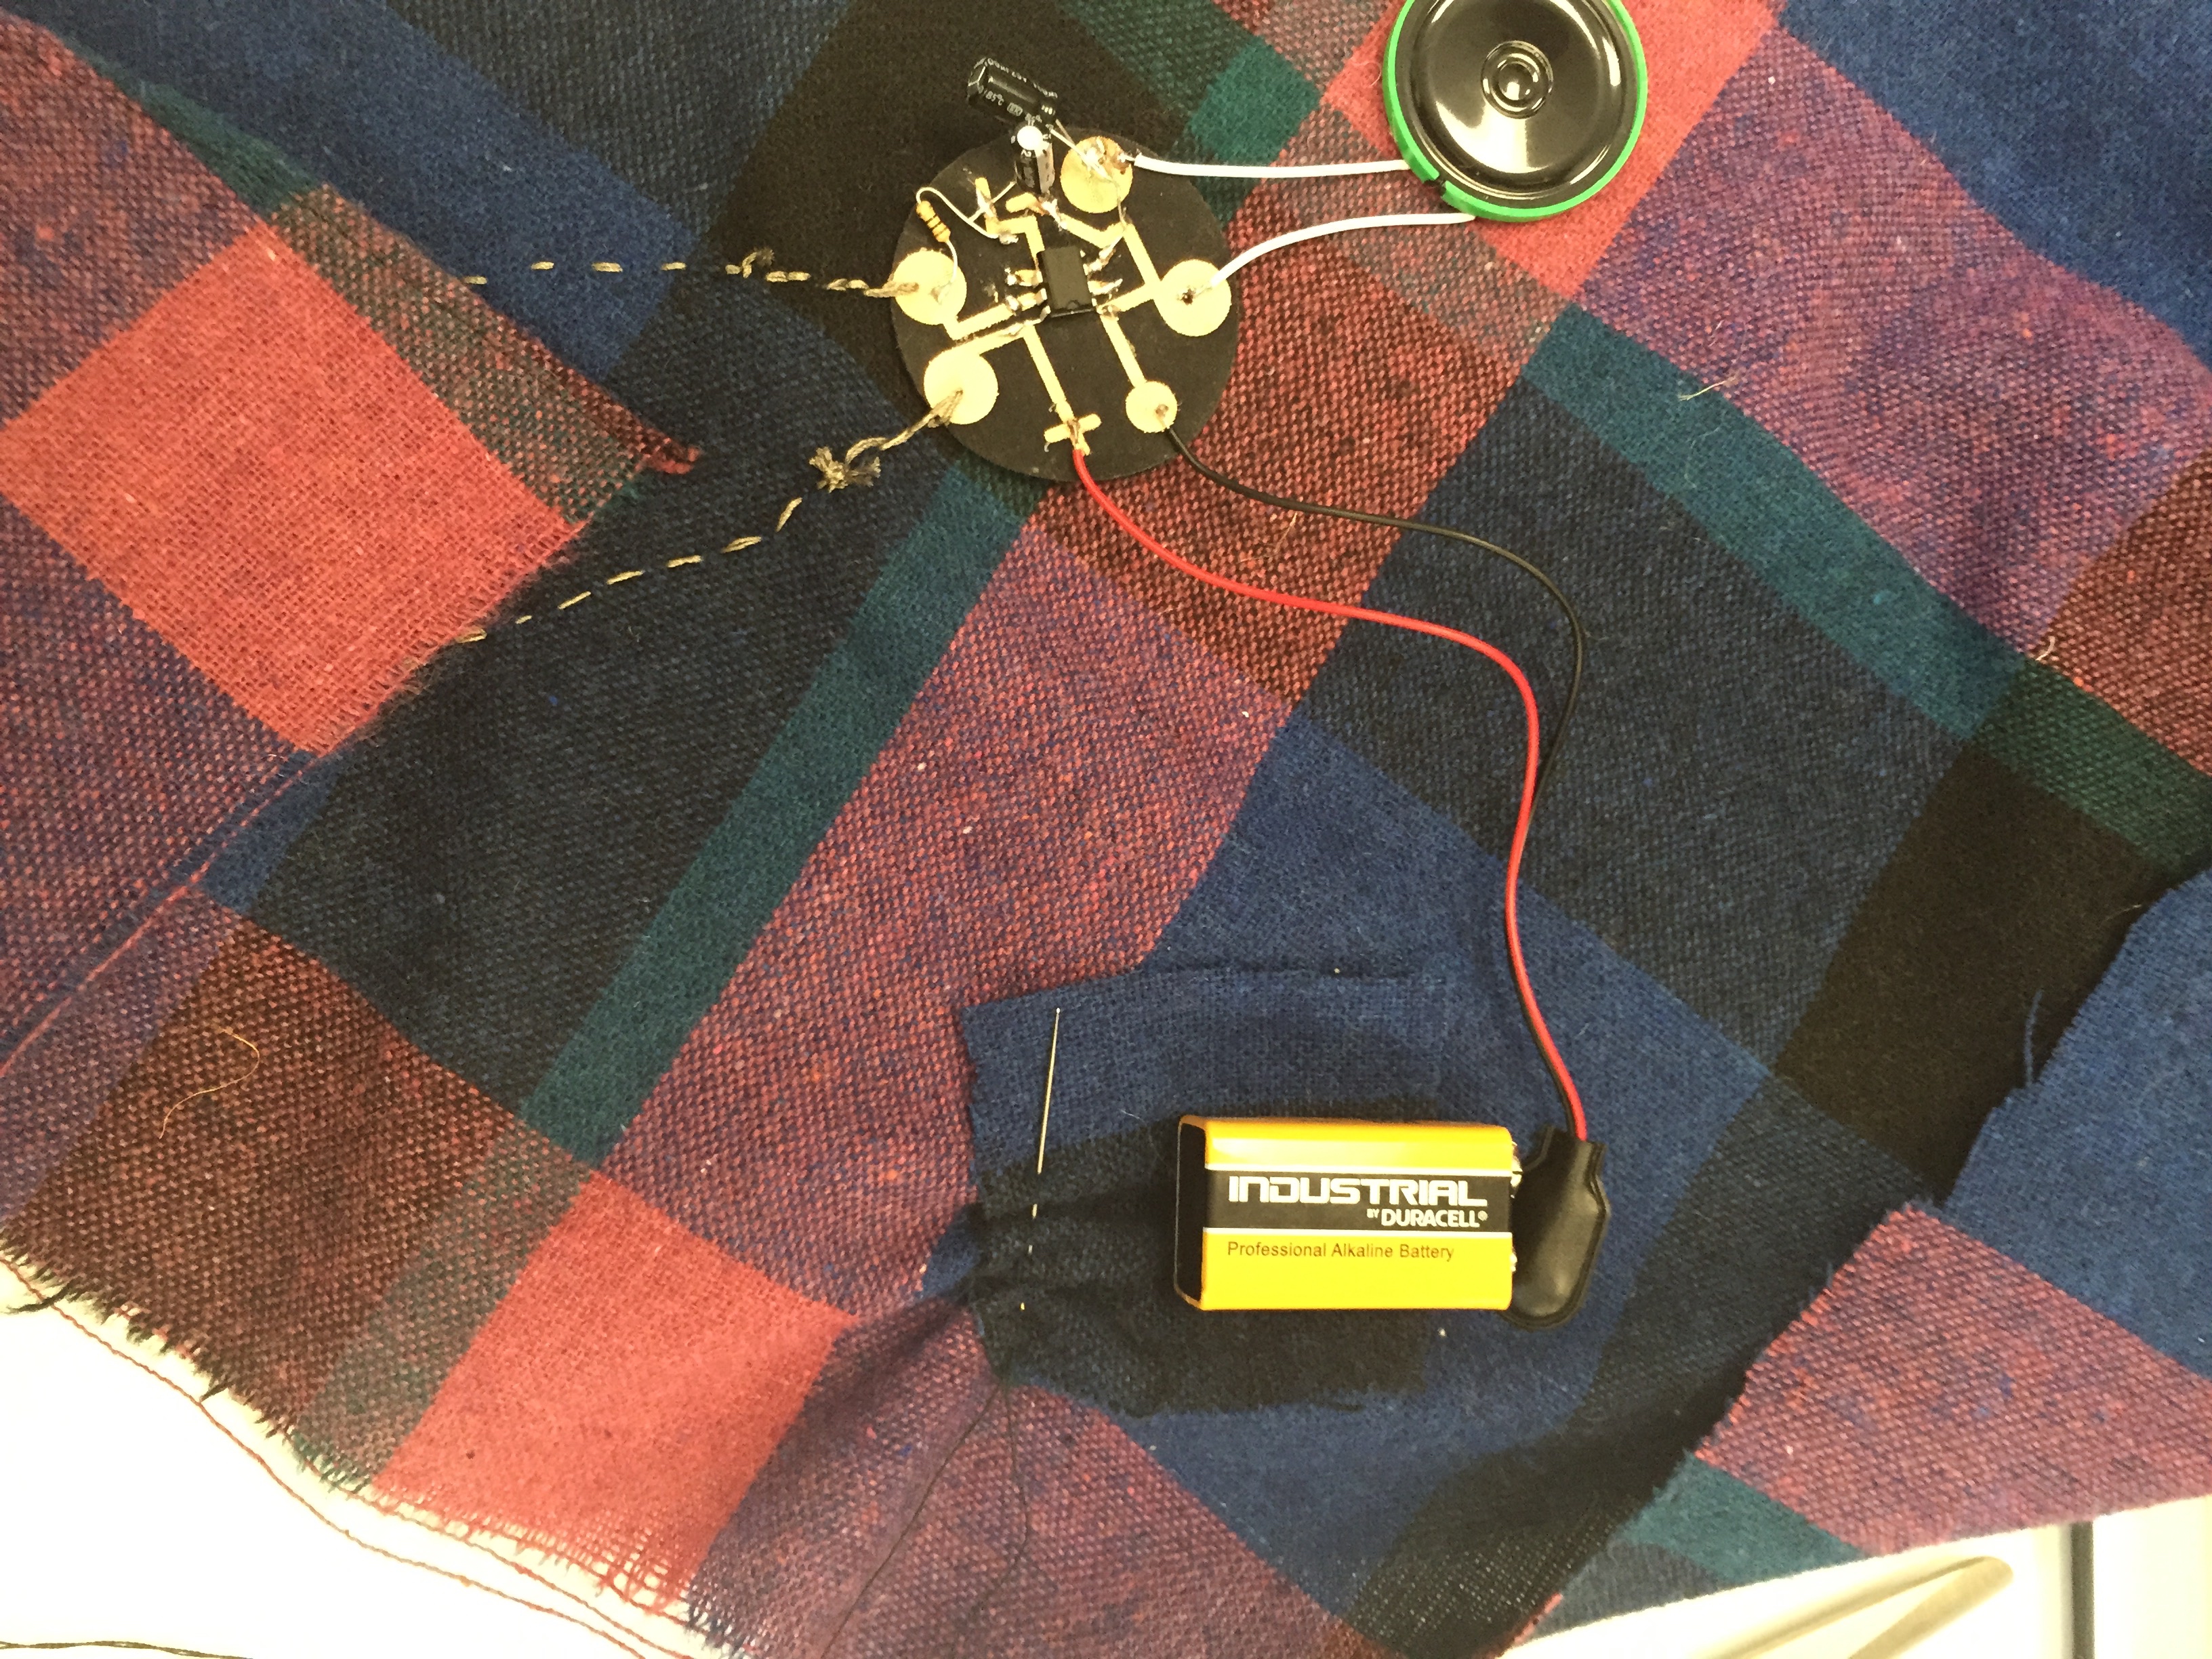
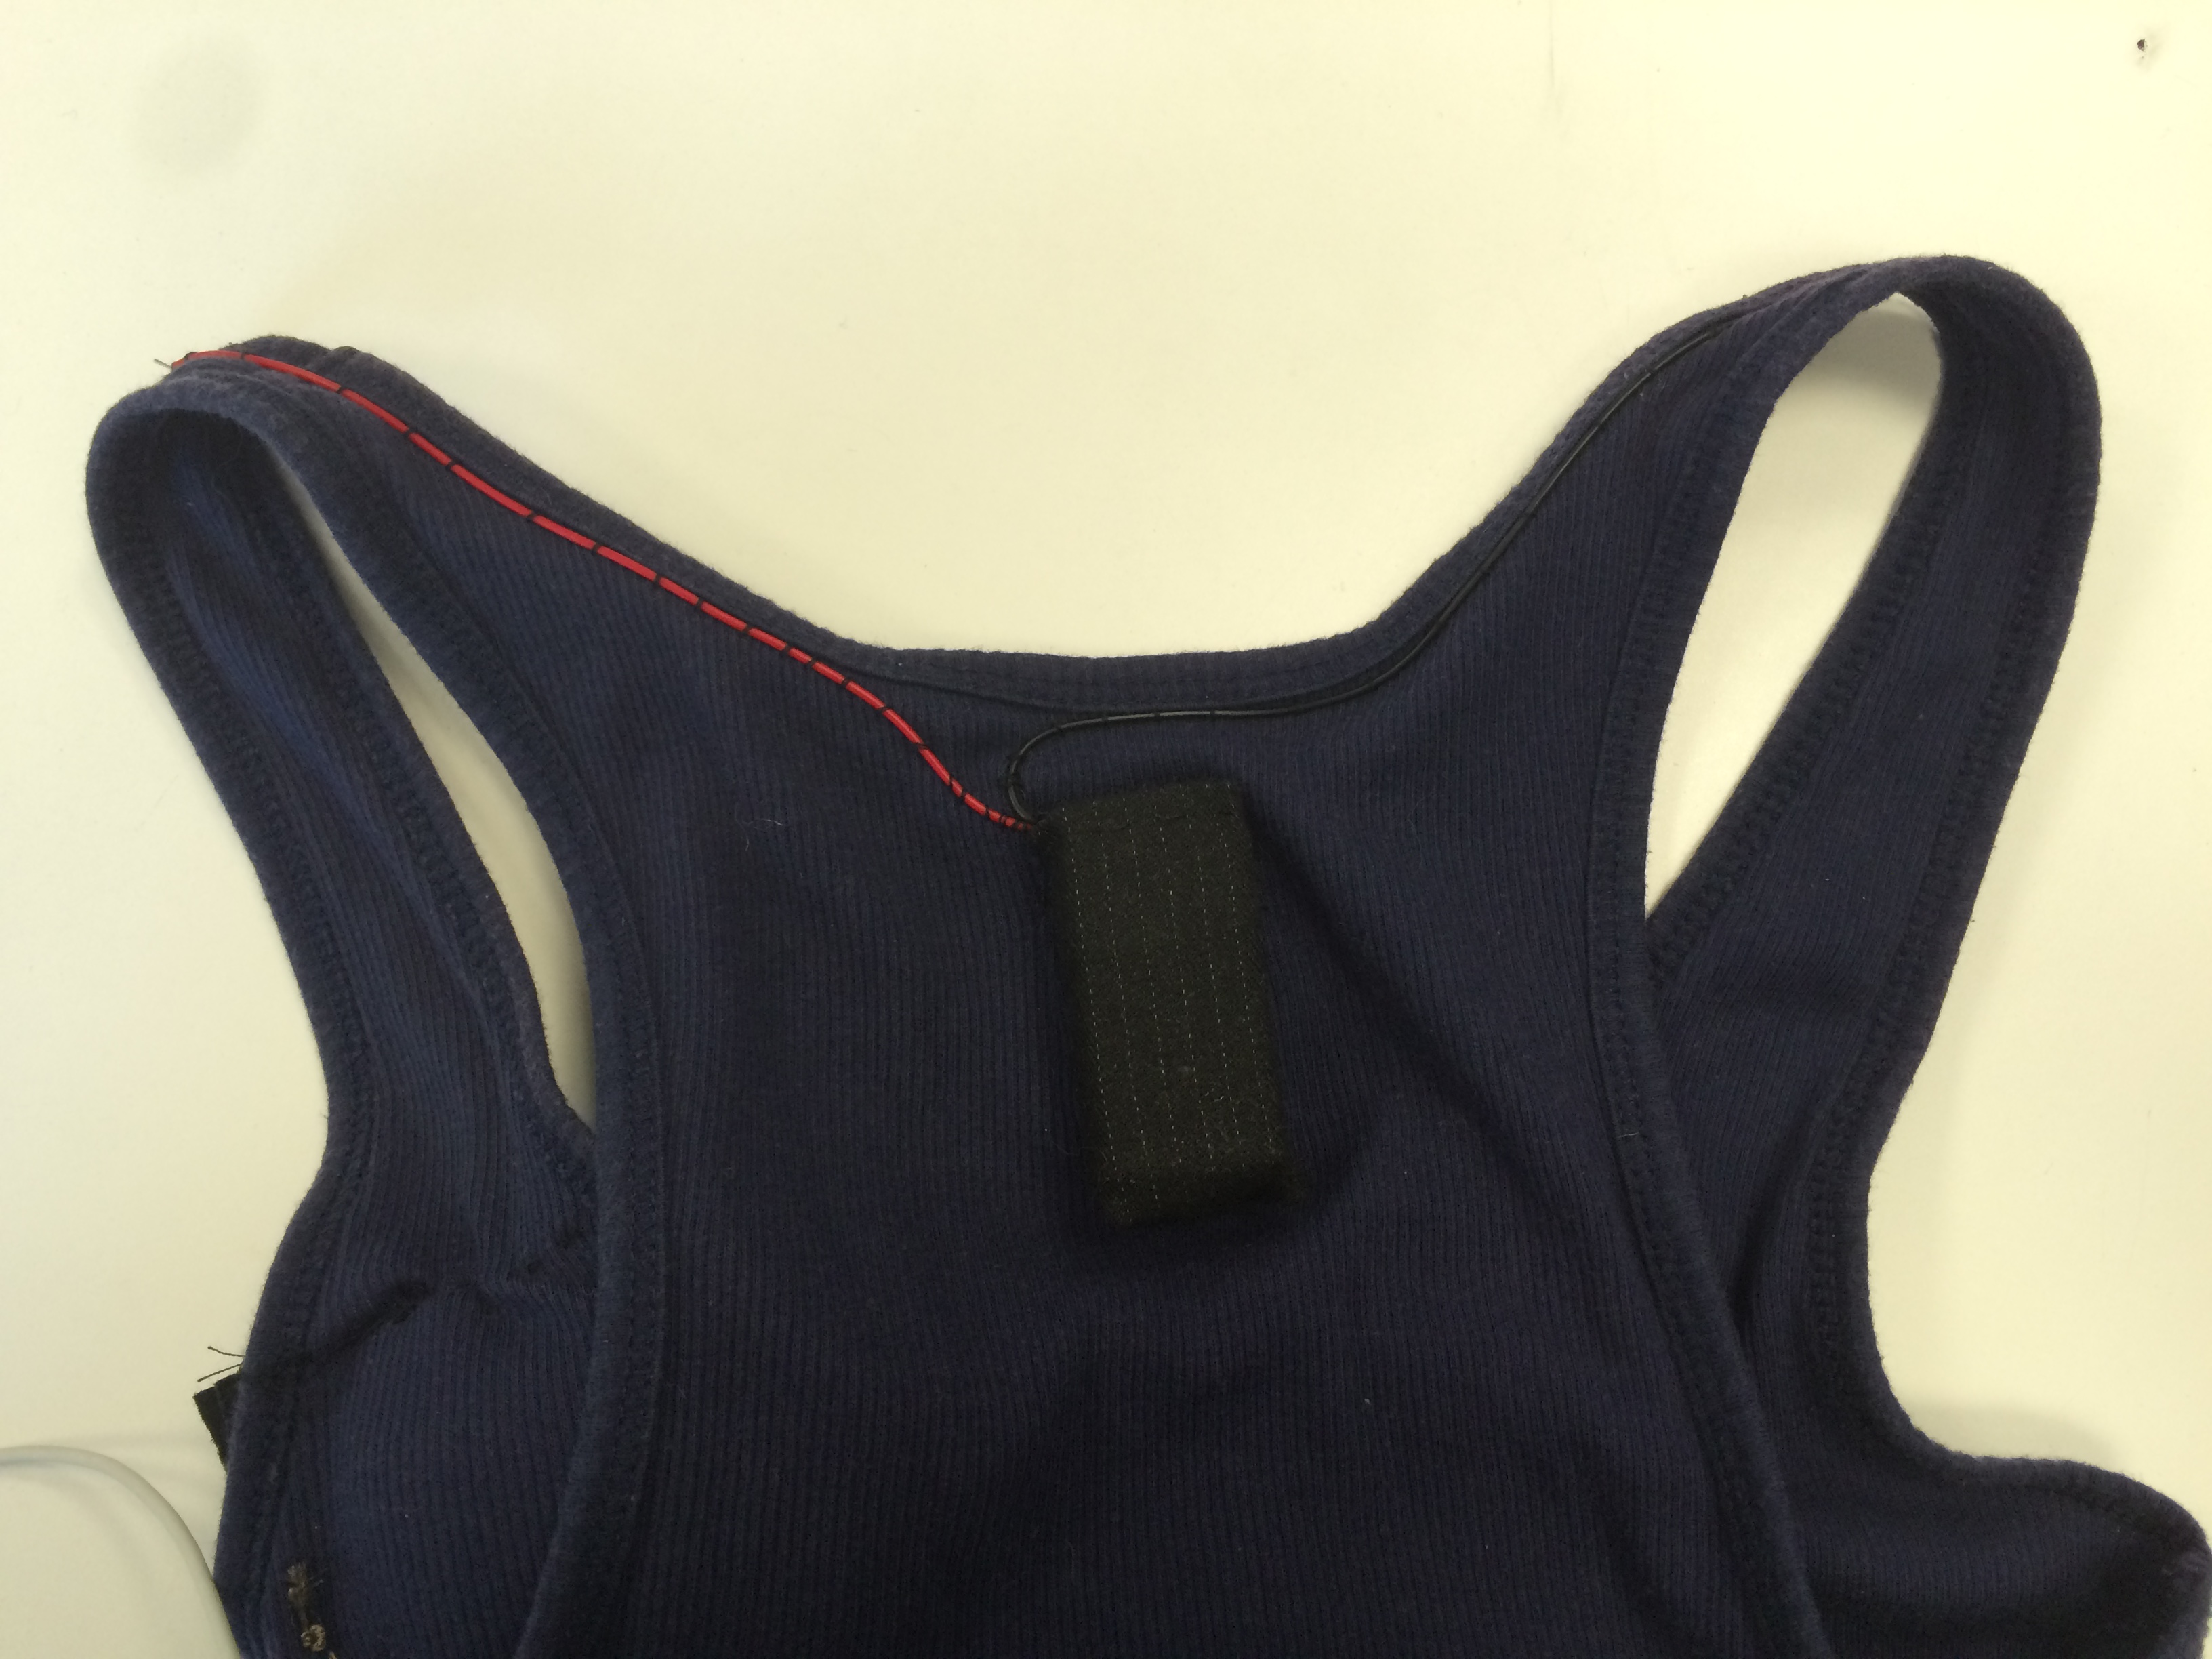
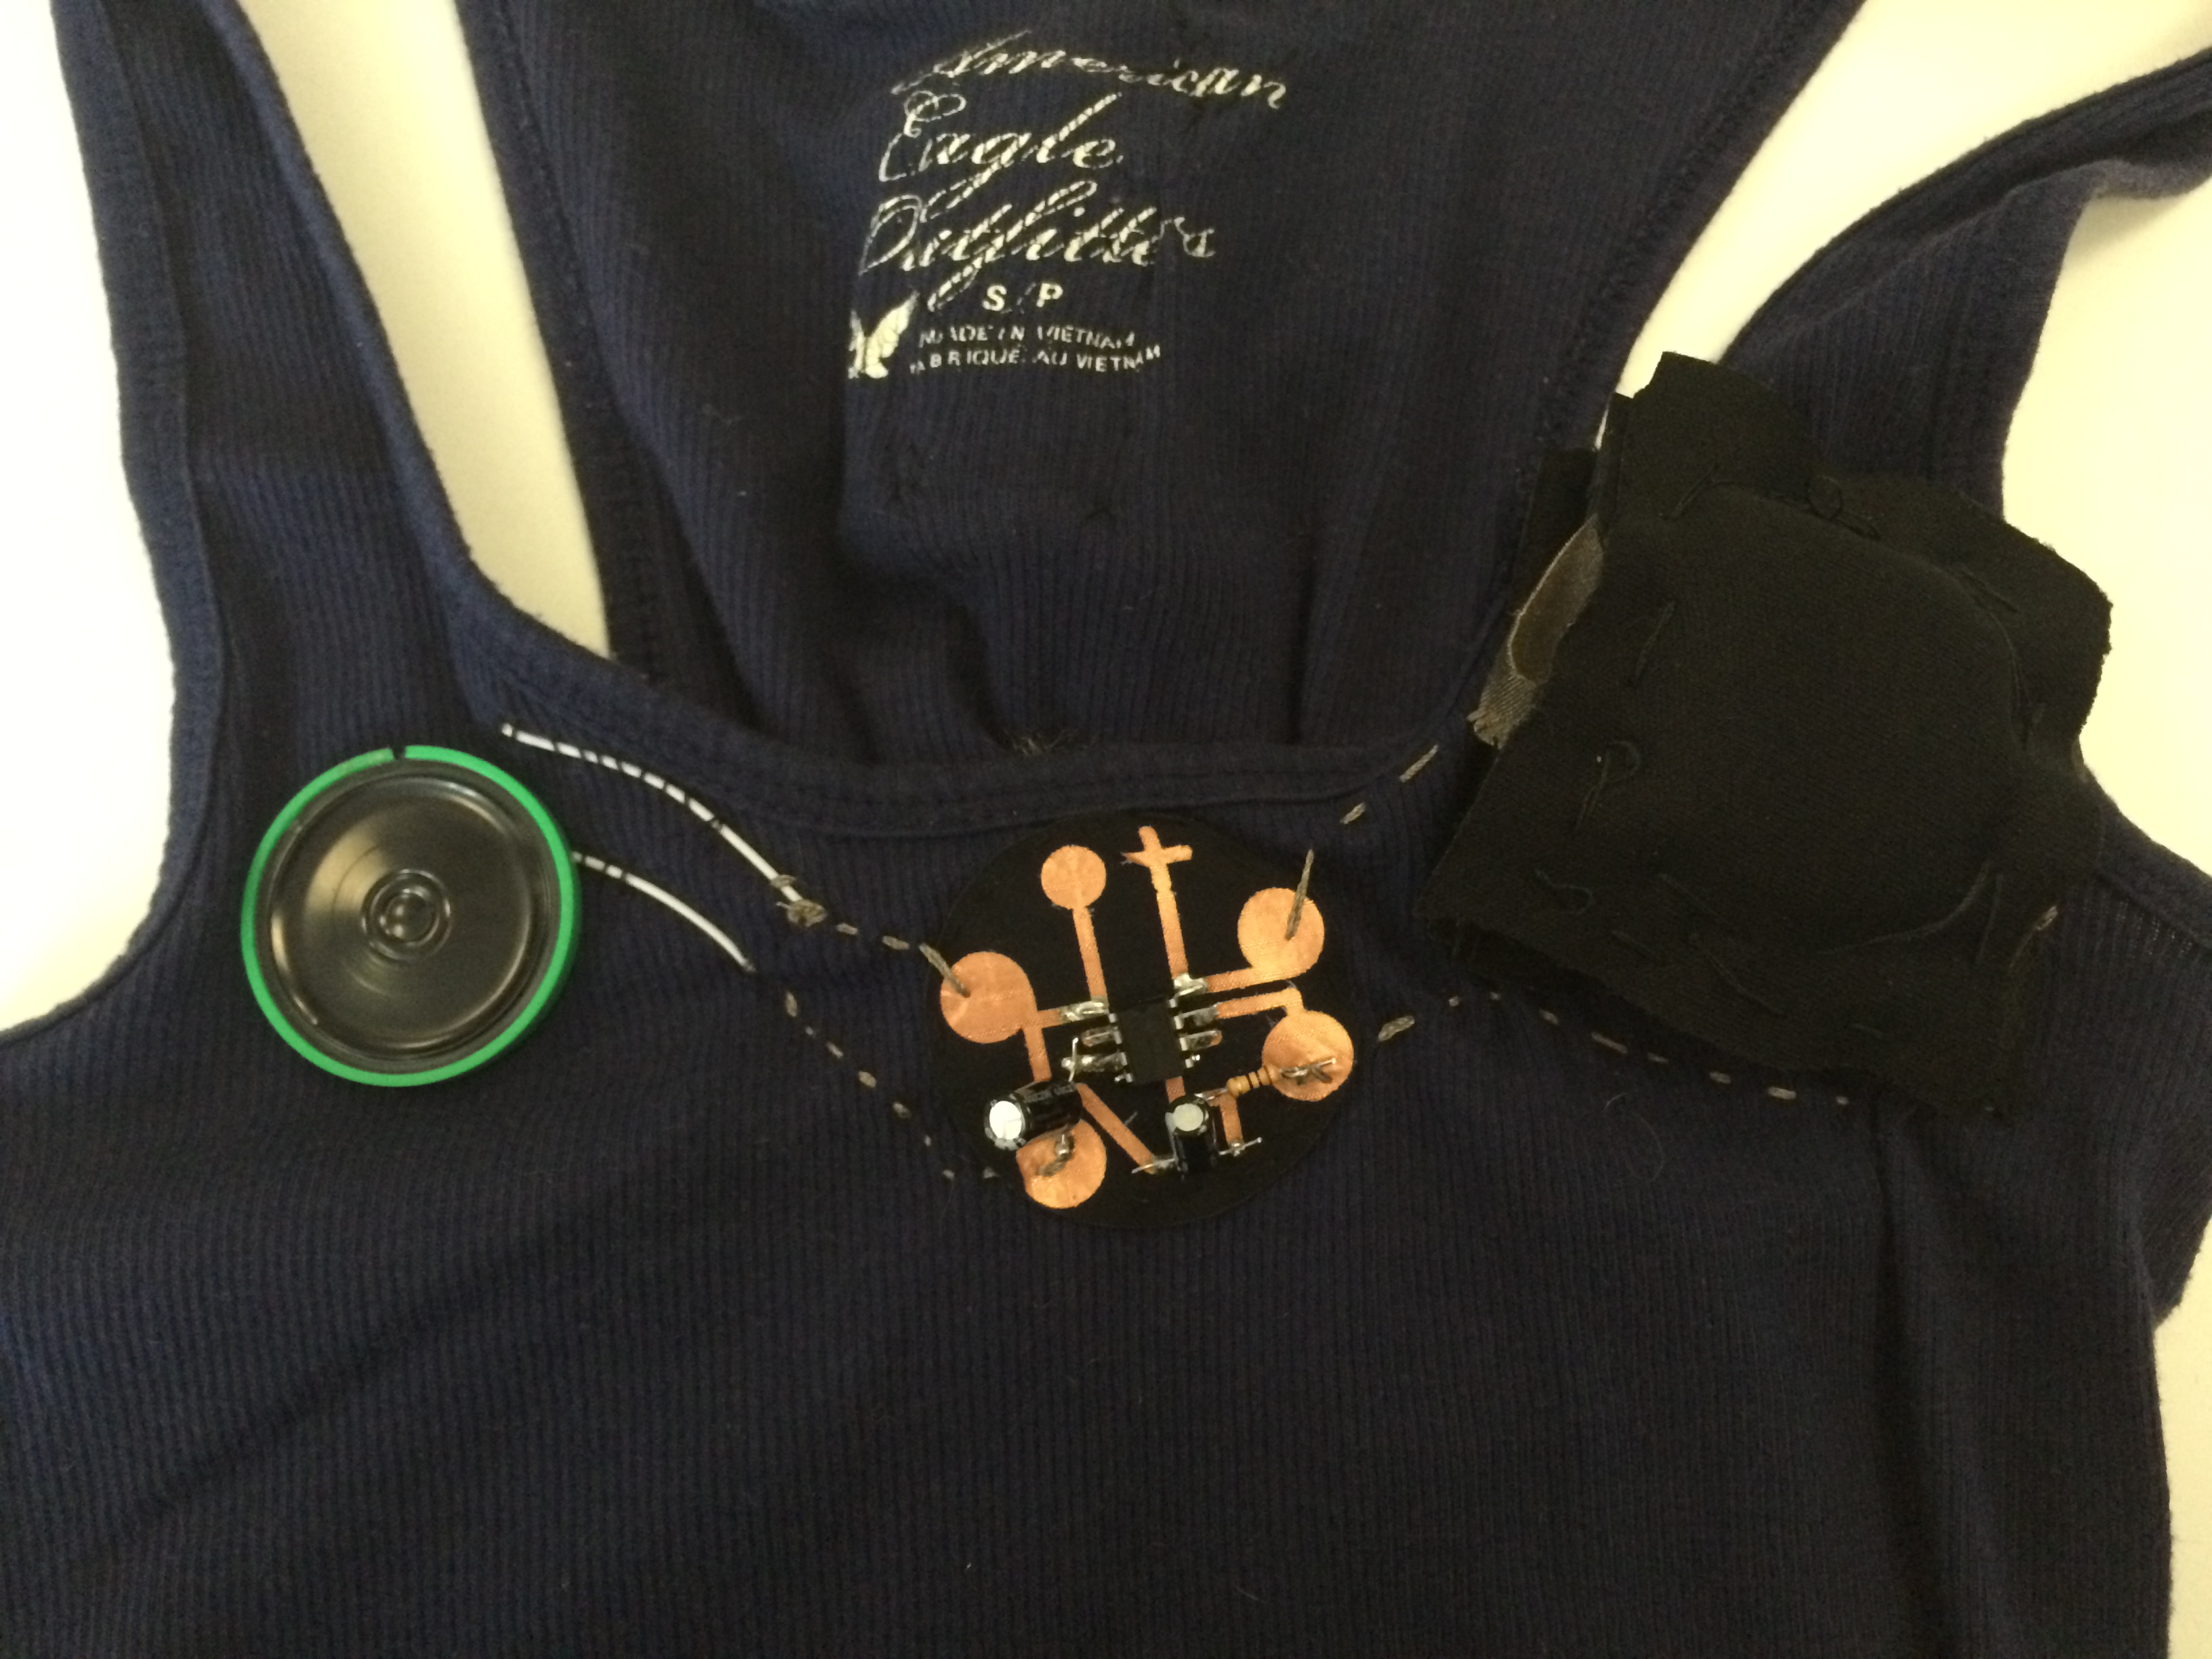
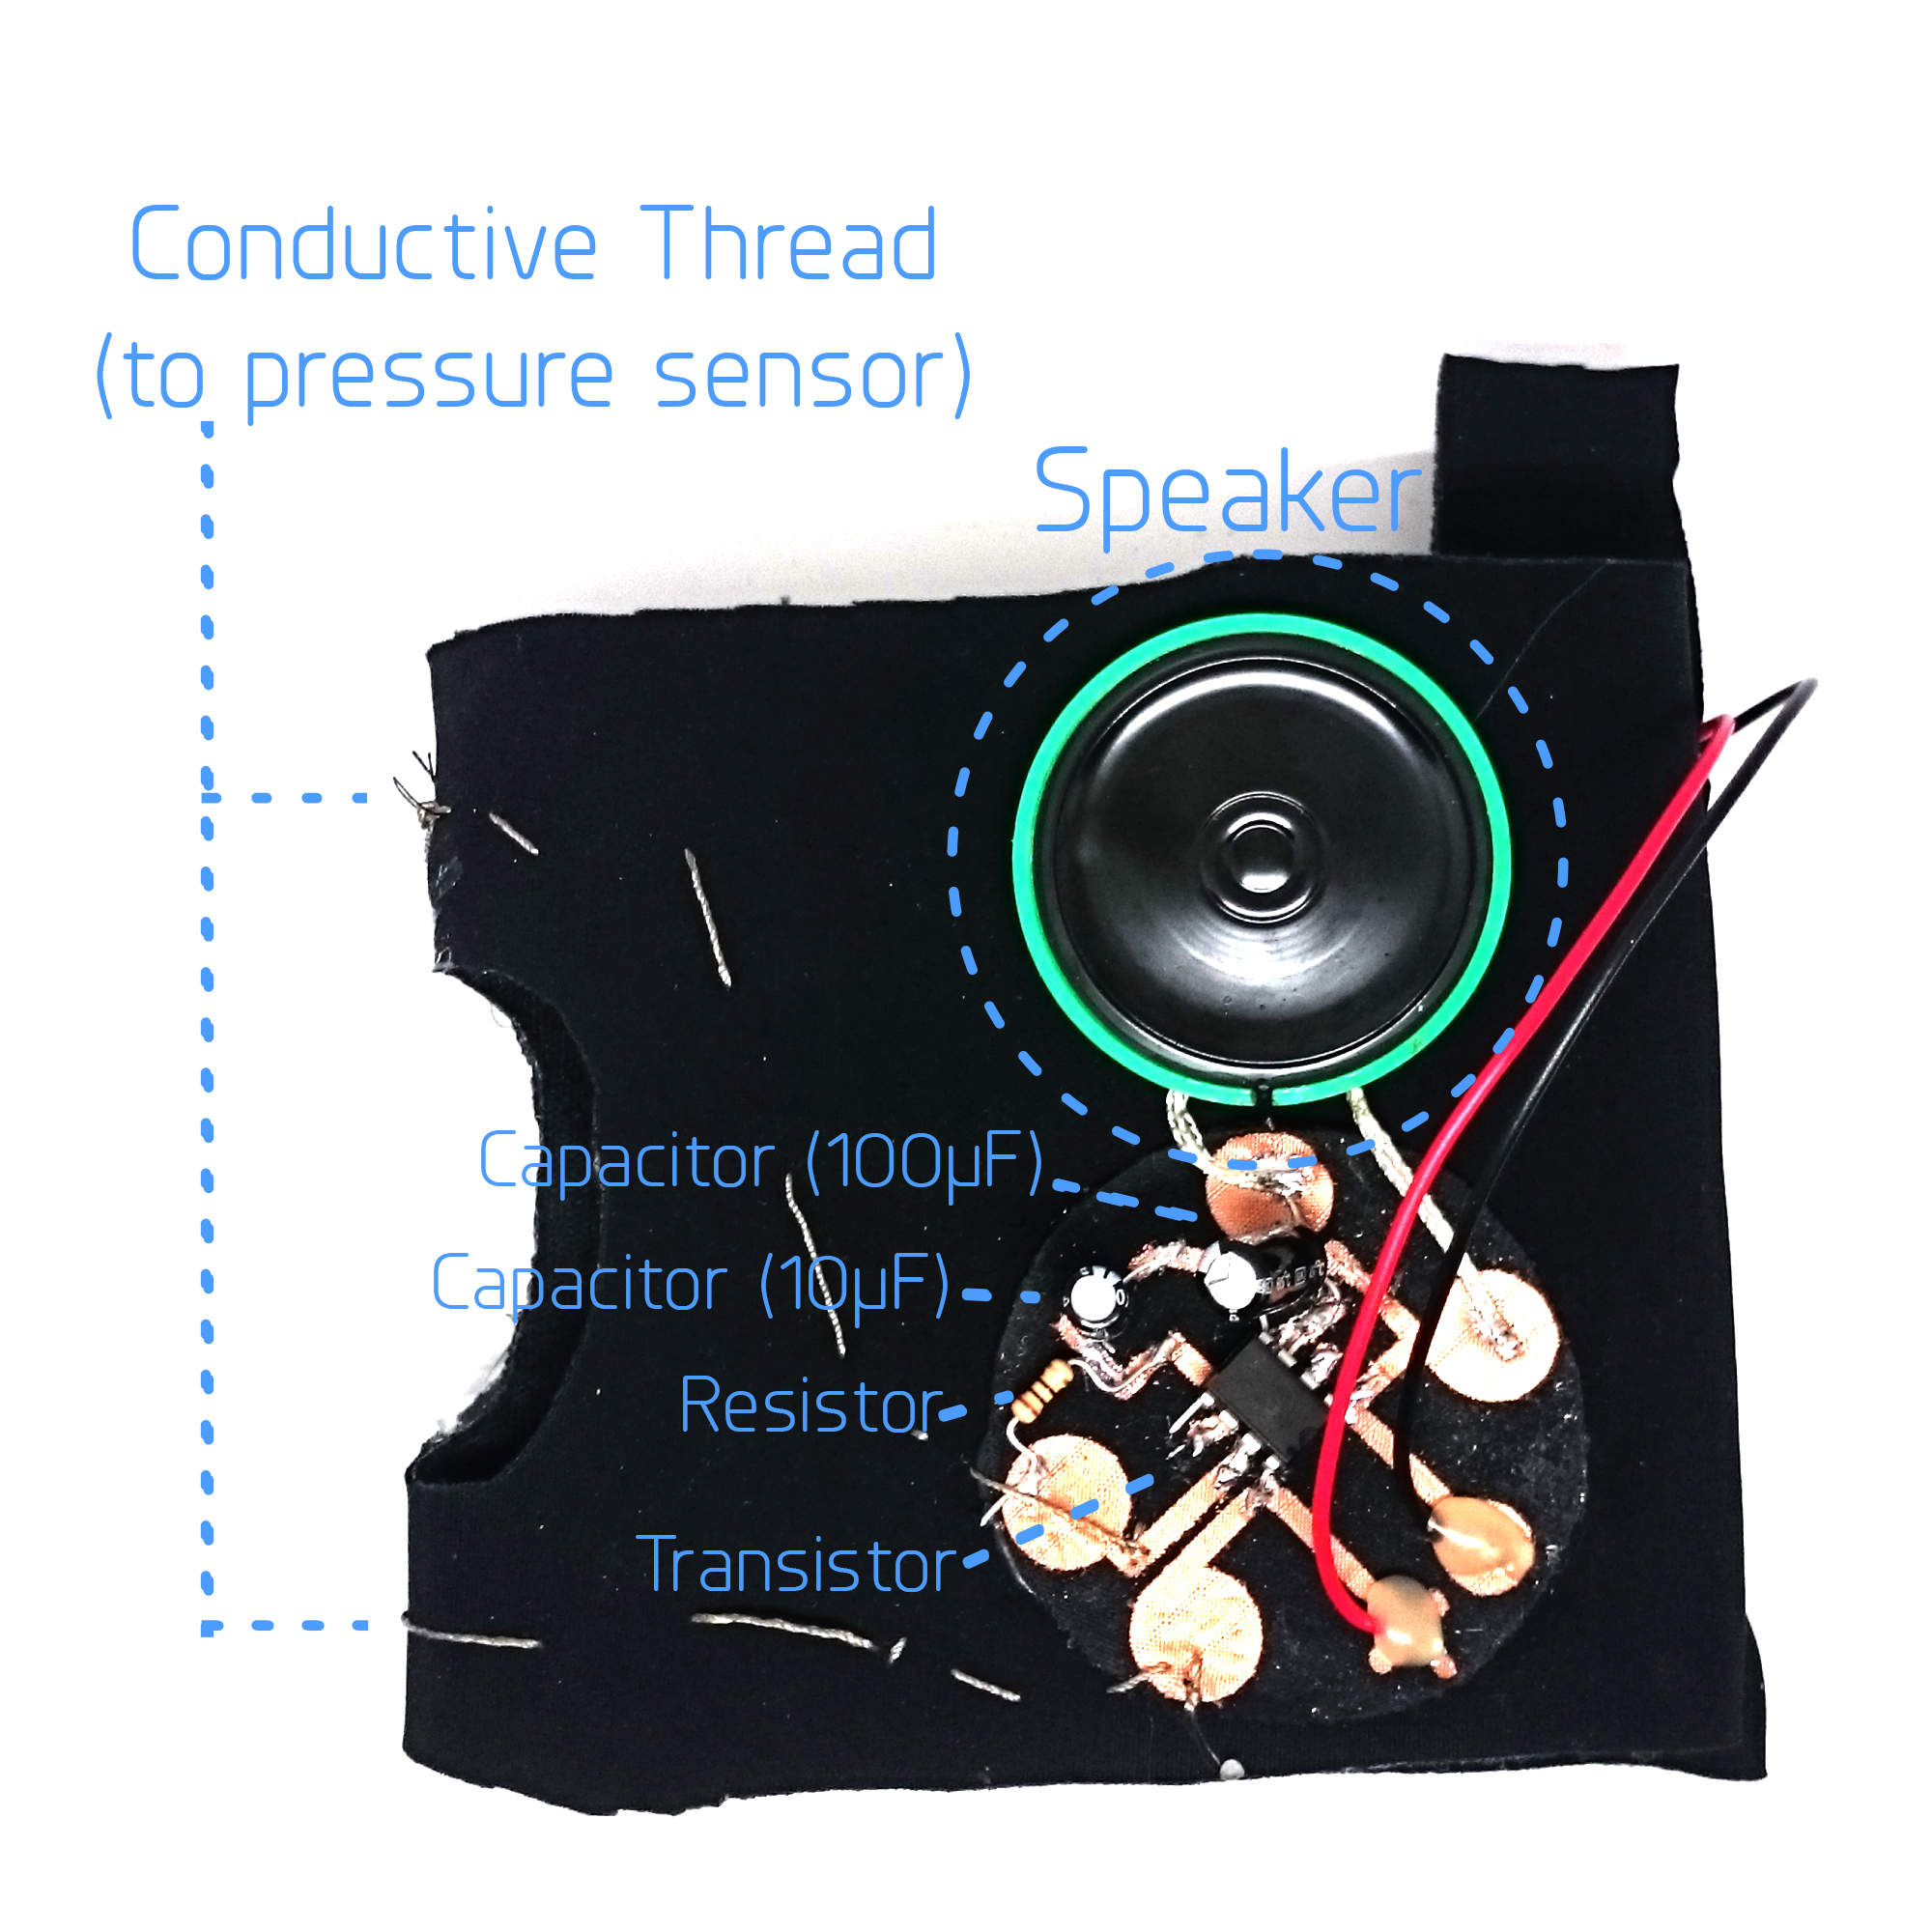
So, after sewing the pocket and finally figuring out what the problem was with my board and got the speaker to work, I soldered the speaker and battery wires to the board. I tried to sew them on, but I was extremely unsuccessful and just decided to try soldering. It seemed to all work, except when I tried to solder the positive red wire connected to the battery onto the textilo. The solder burnt the connection, and so I tried to solder it closer to the center of the board, but I think that is what created the short circuit.

My soldering of the battery and speaker…you can see the positive red wire is soldered in the wrong place (at least I think that is what caused my issue).
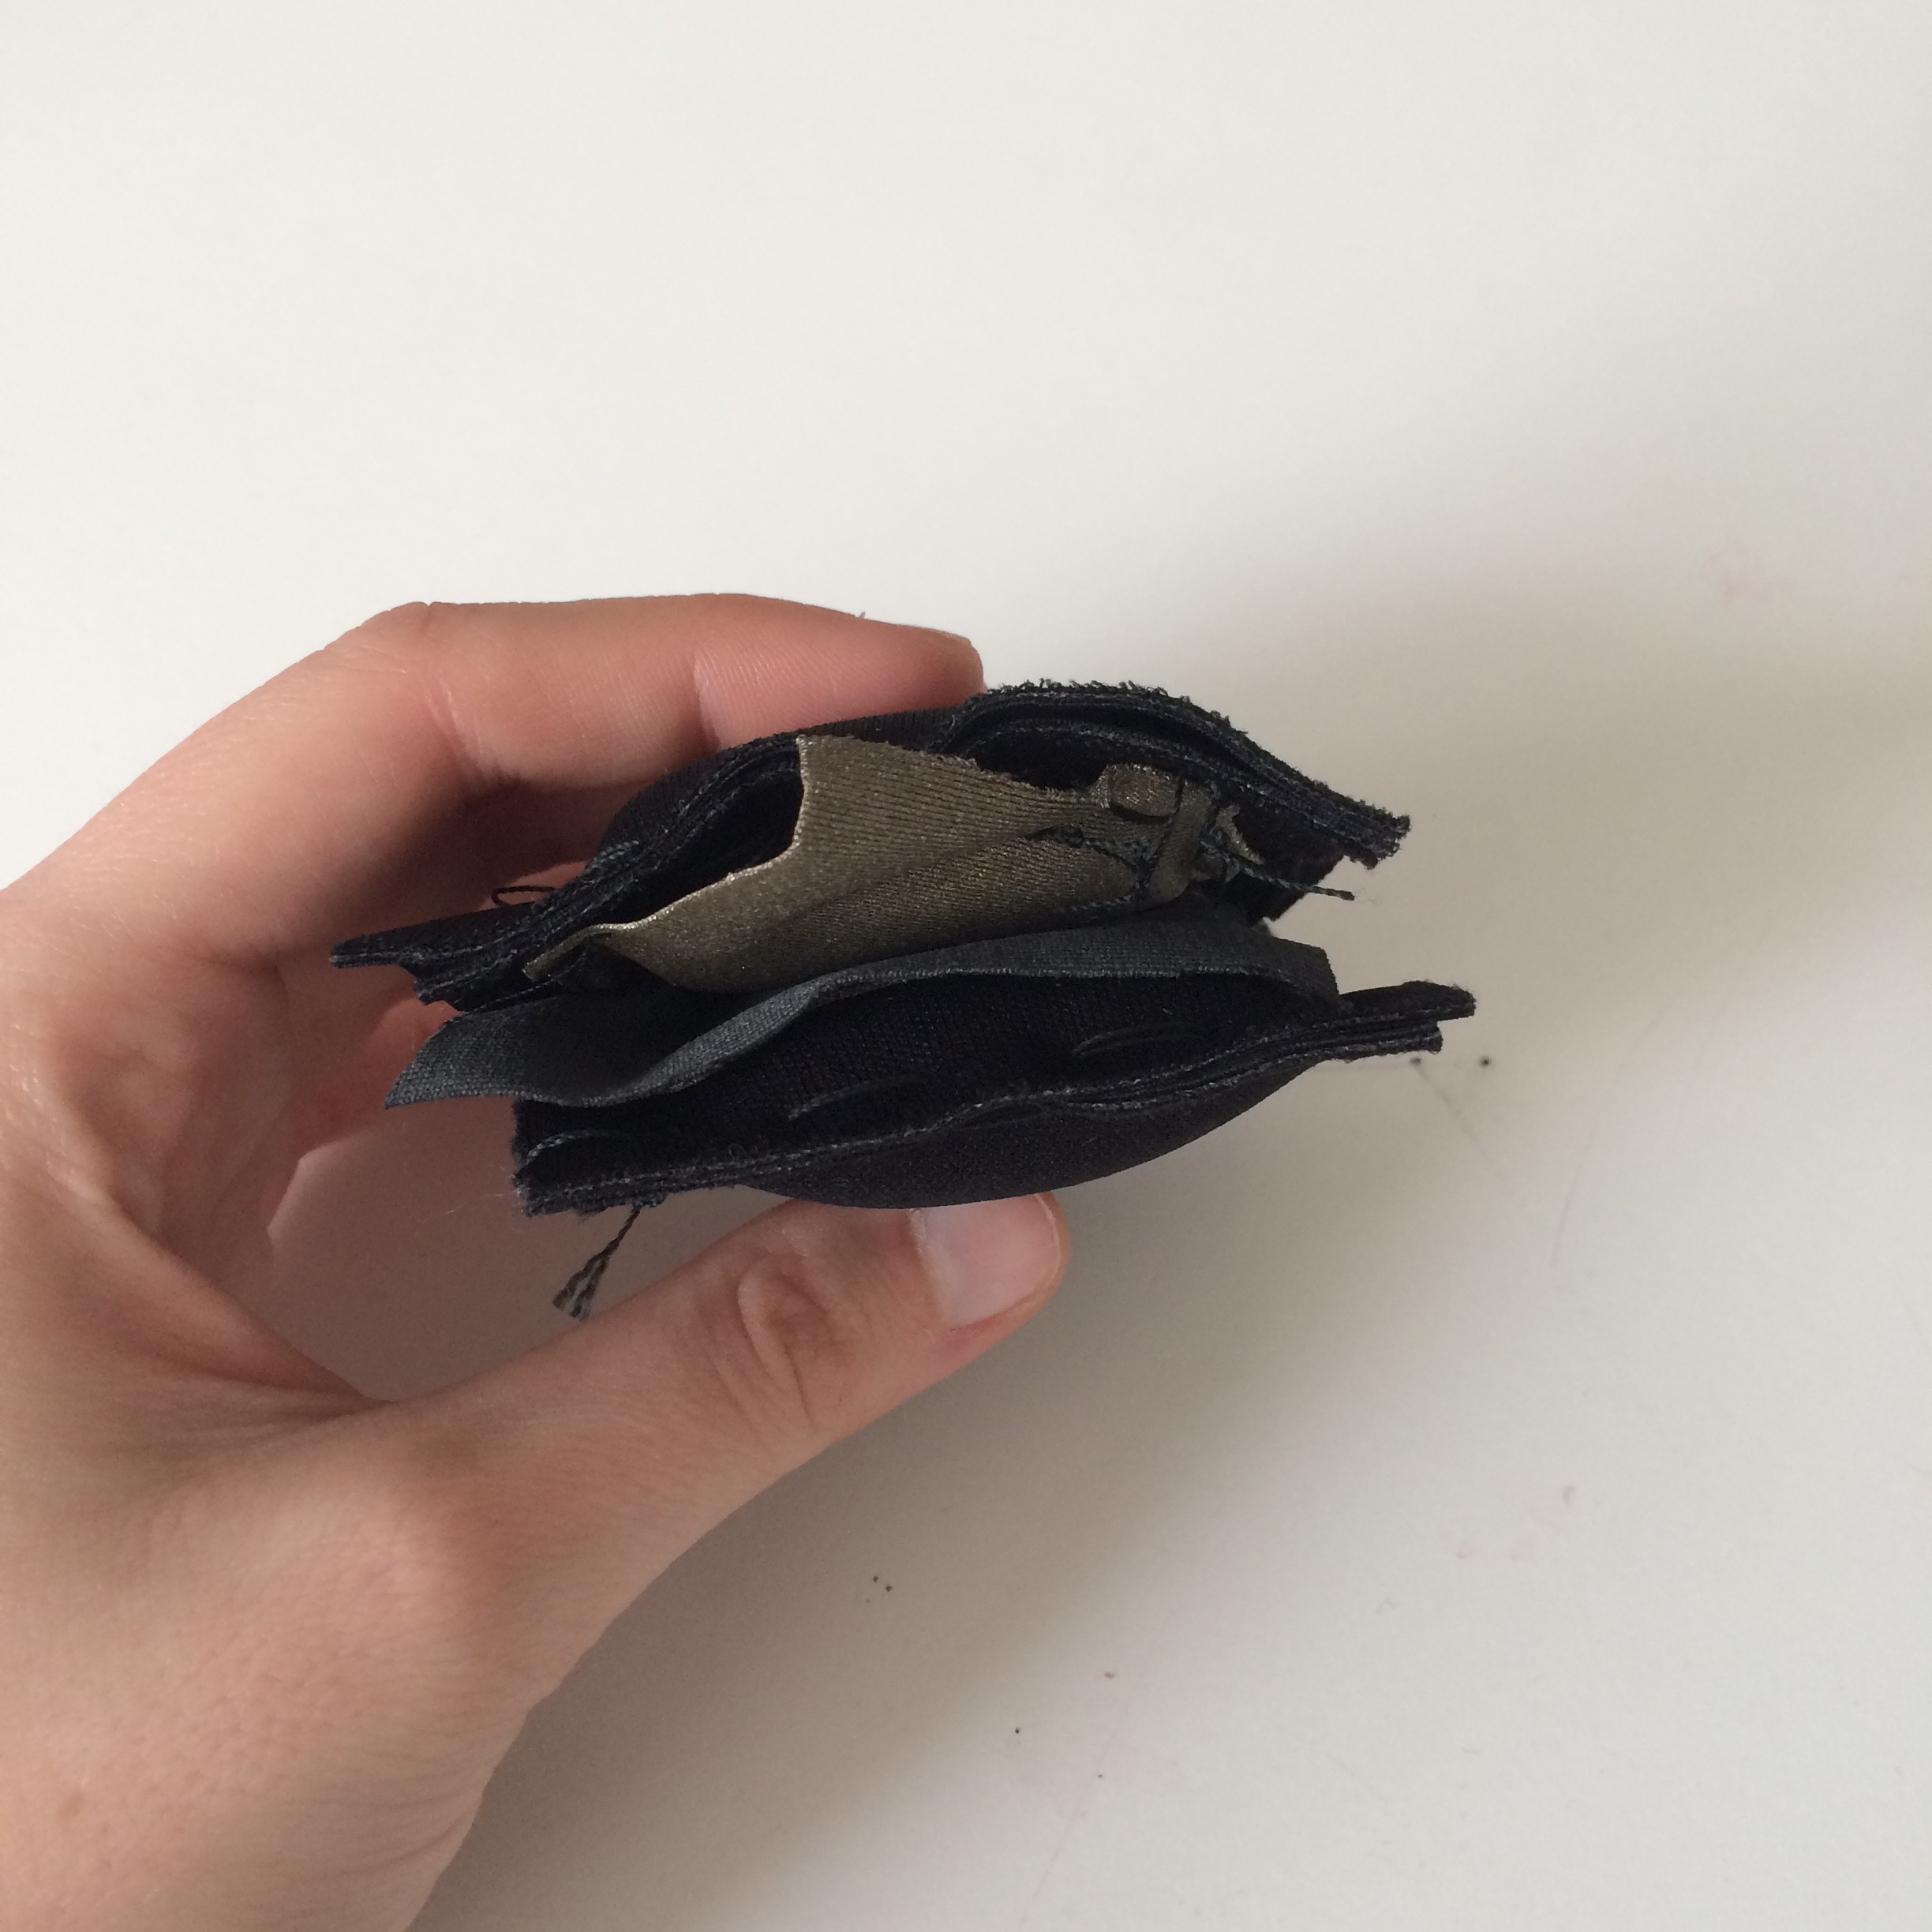
Close up view

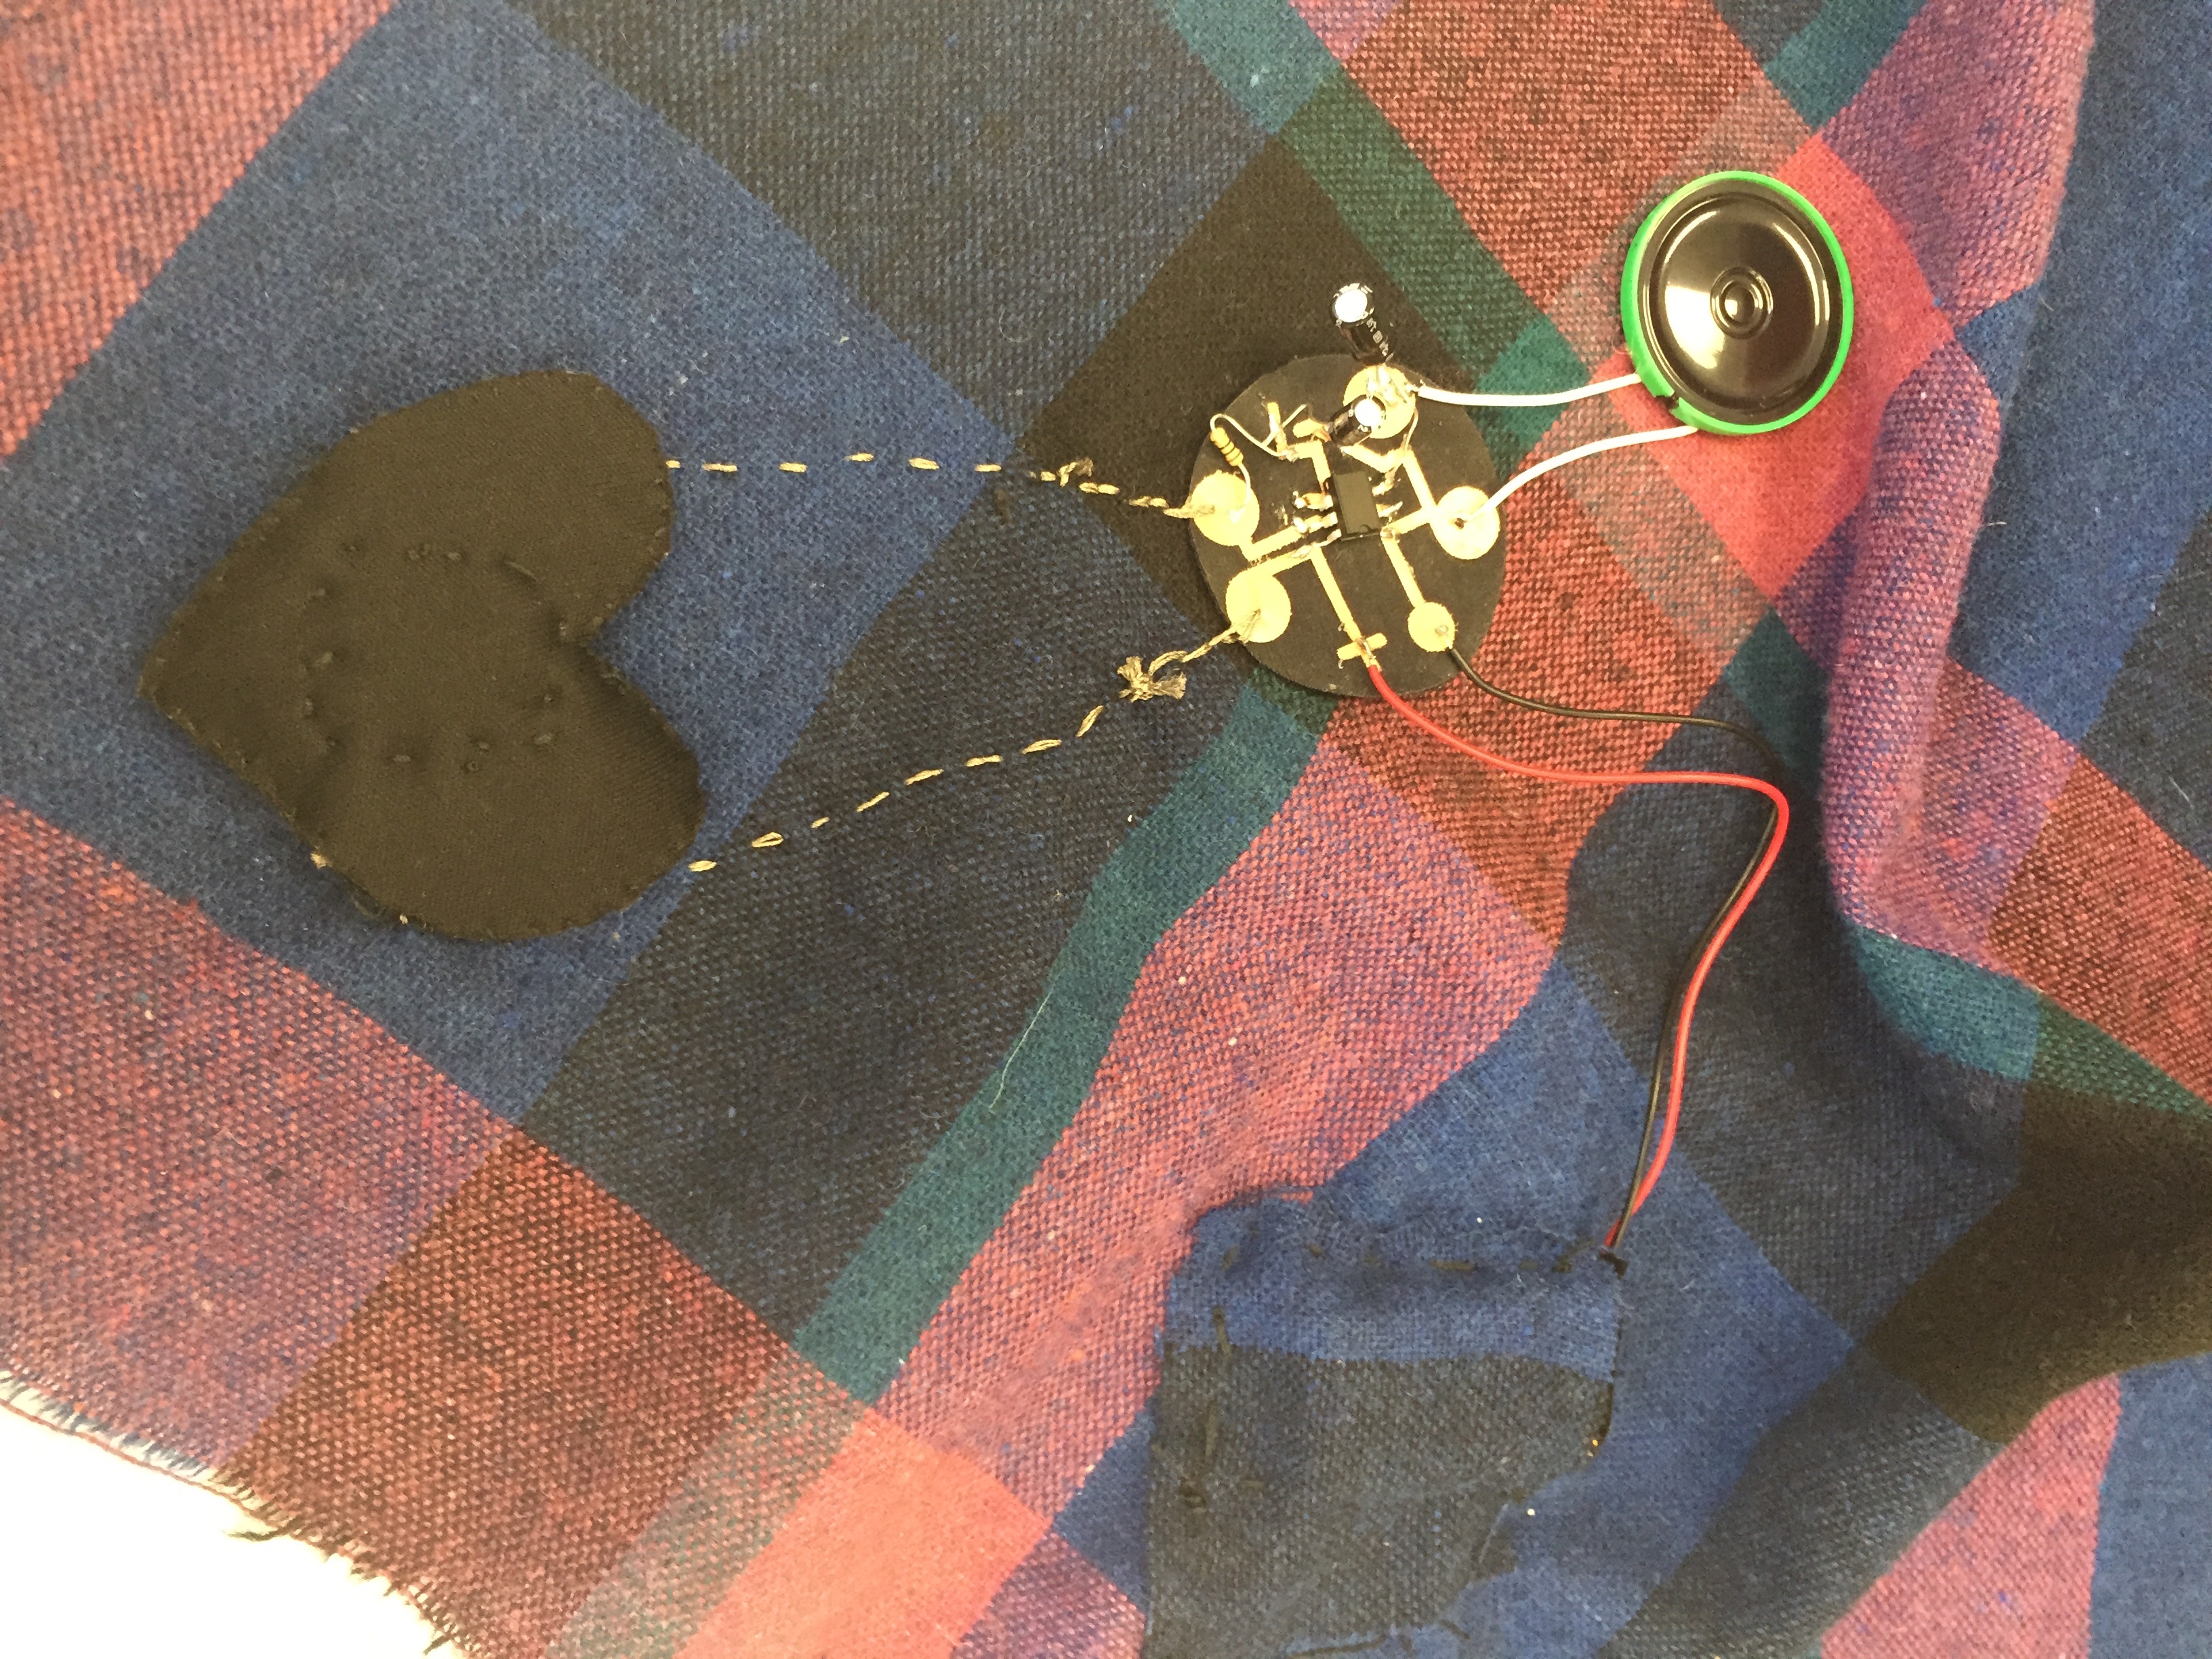
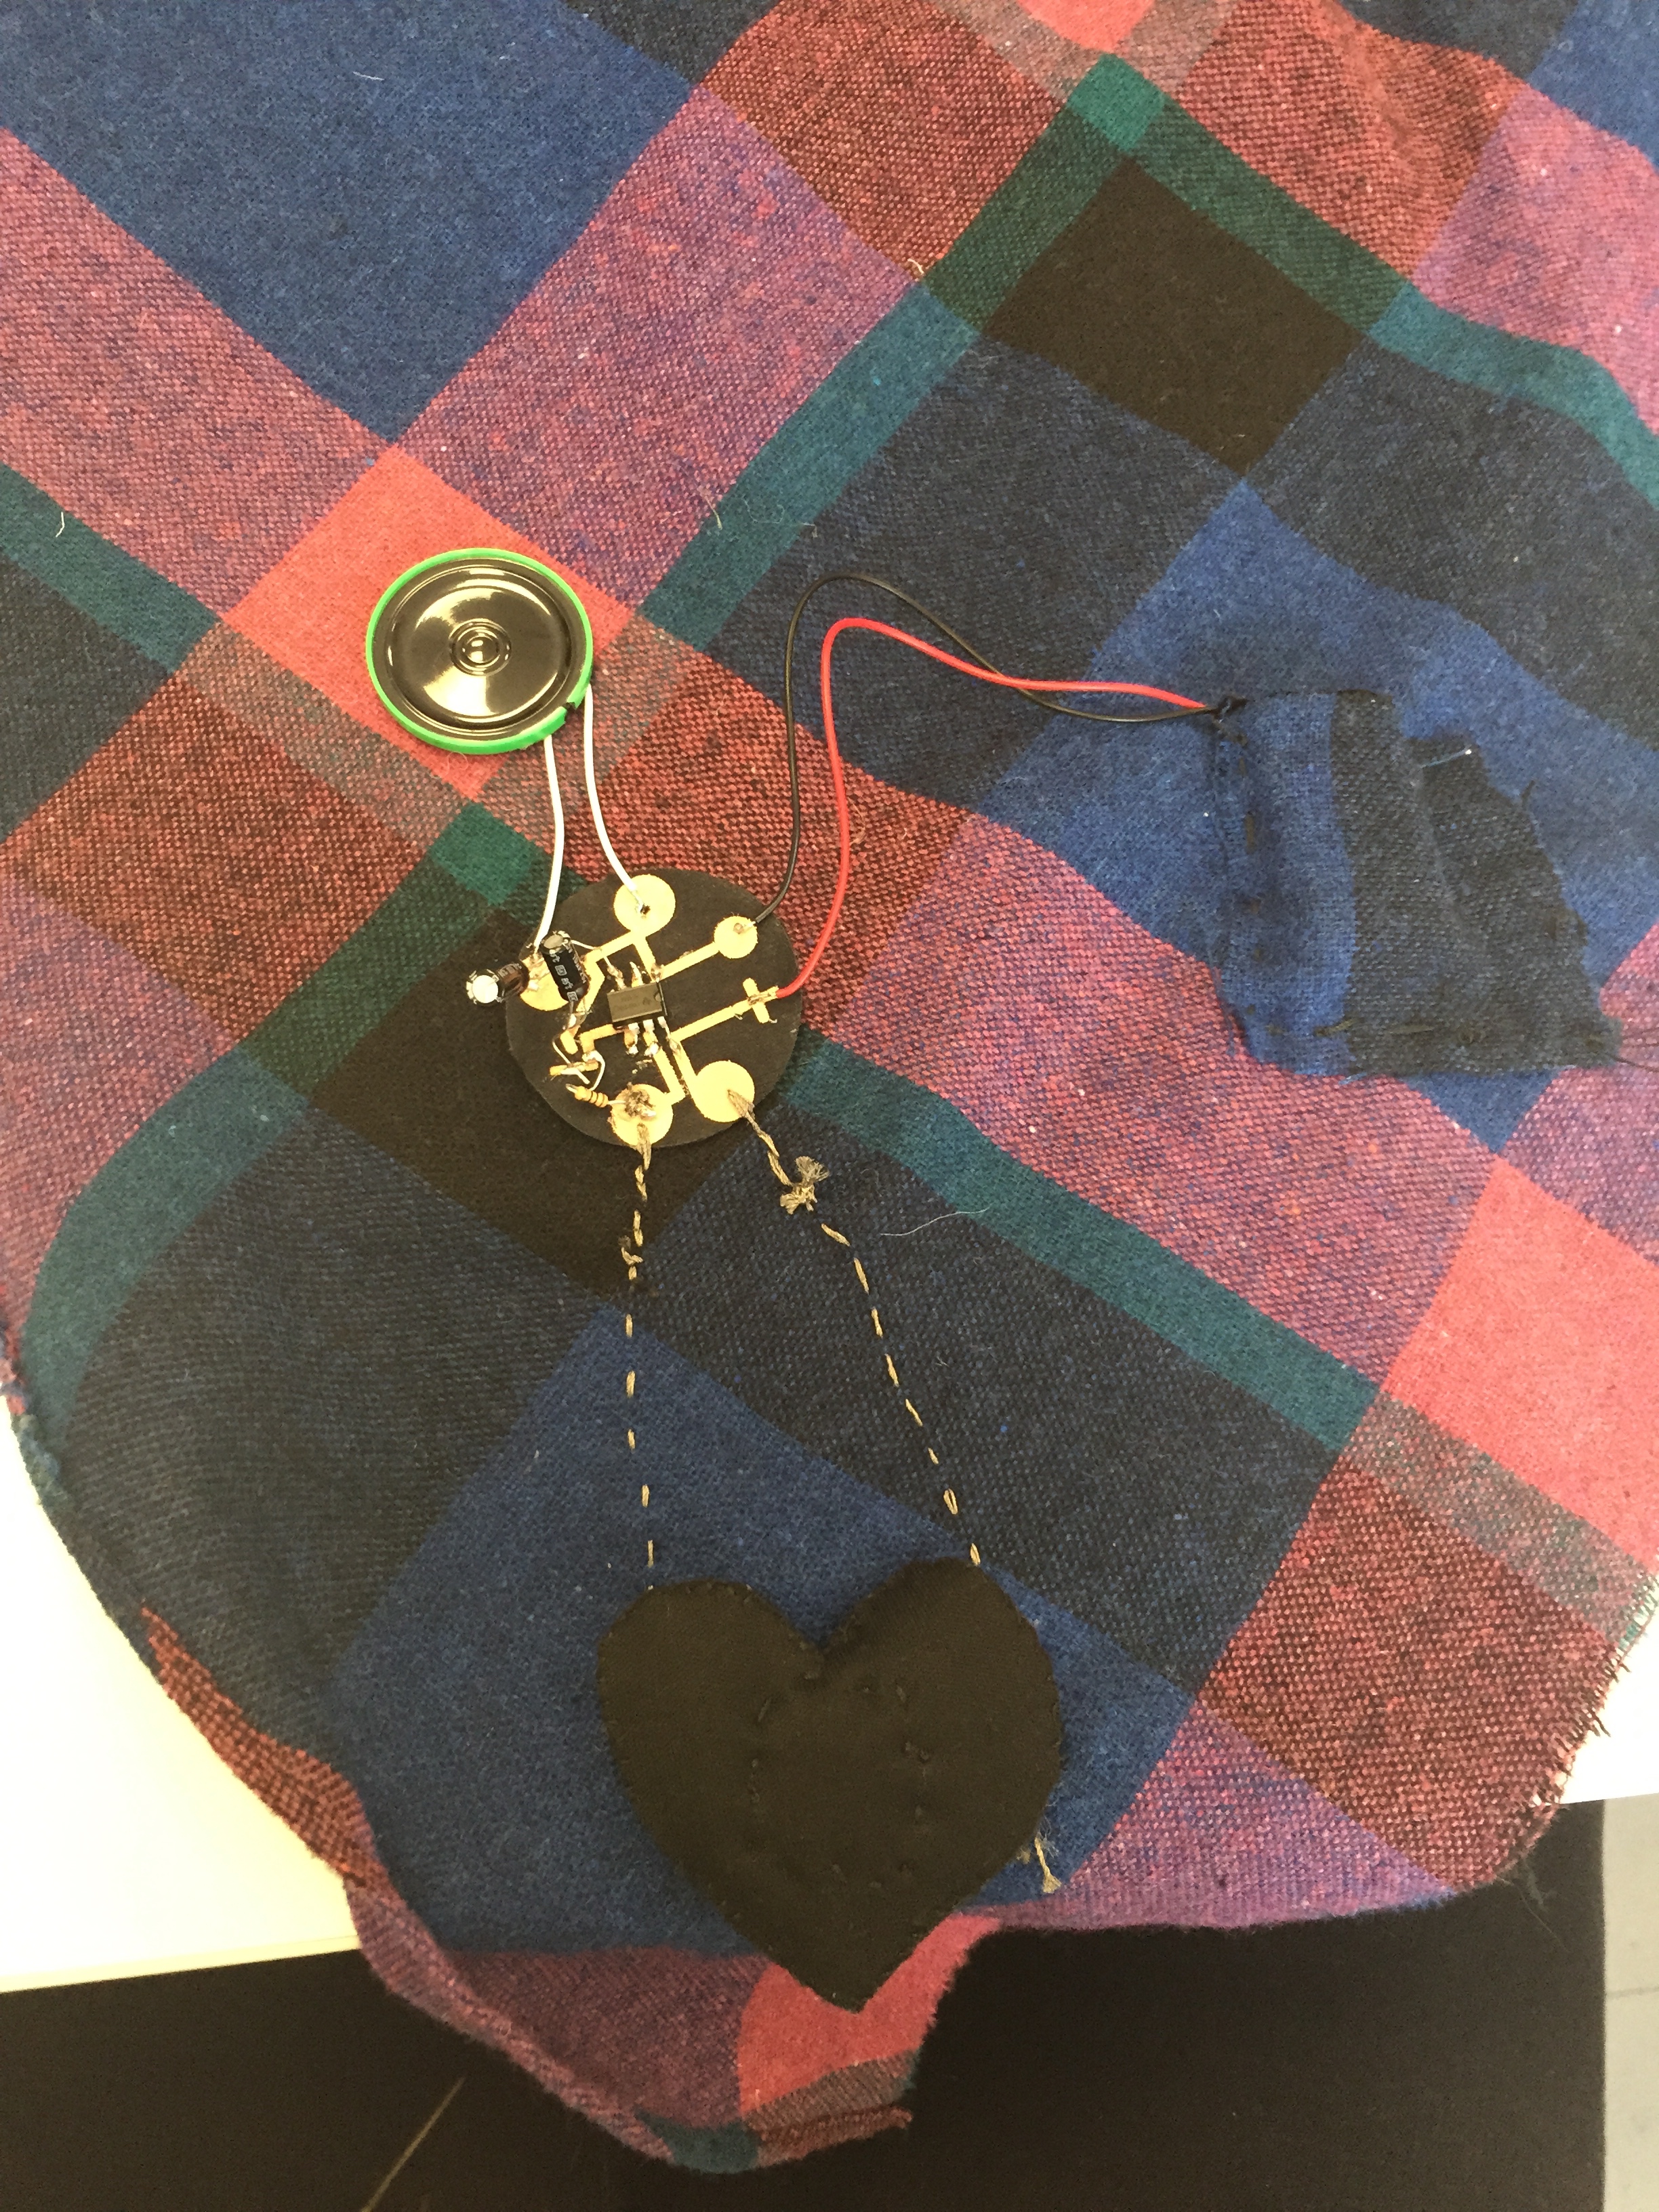
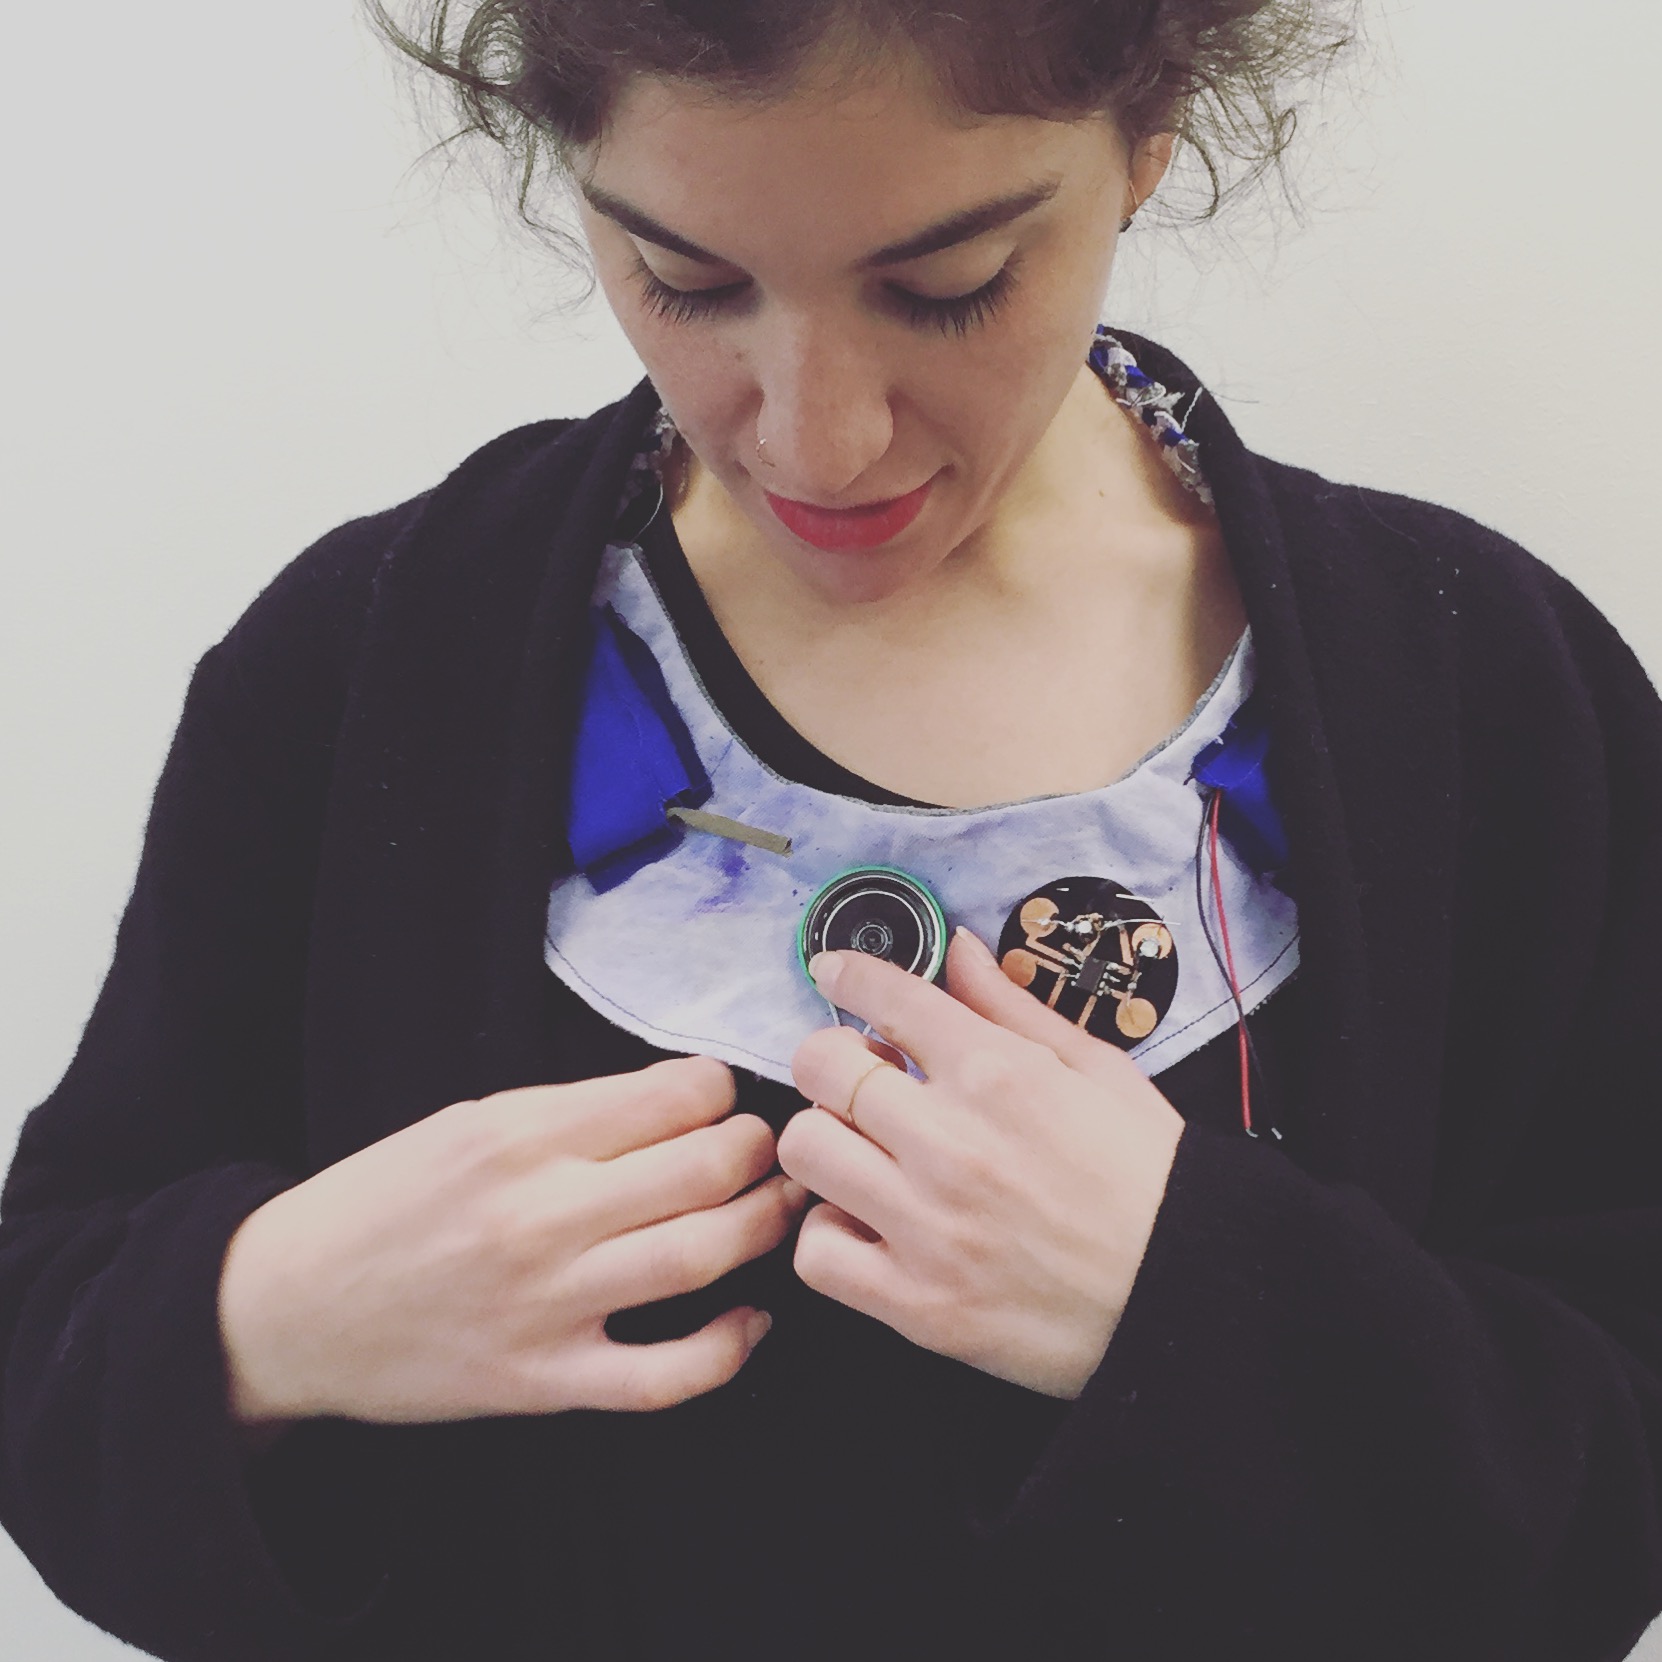
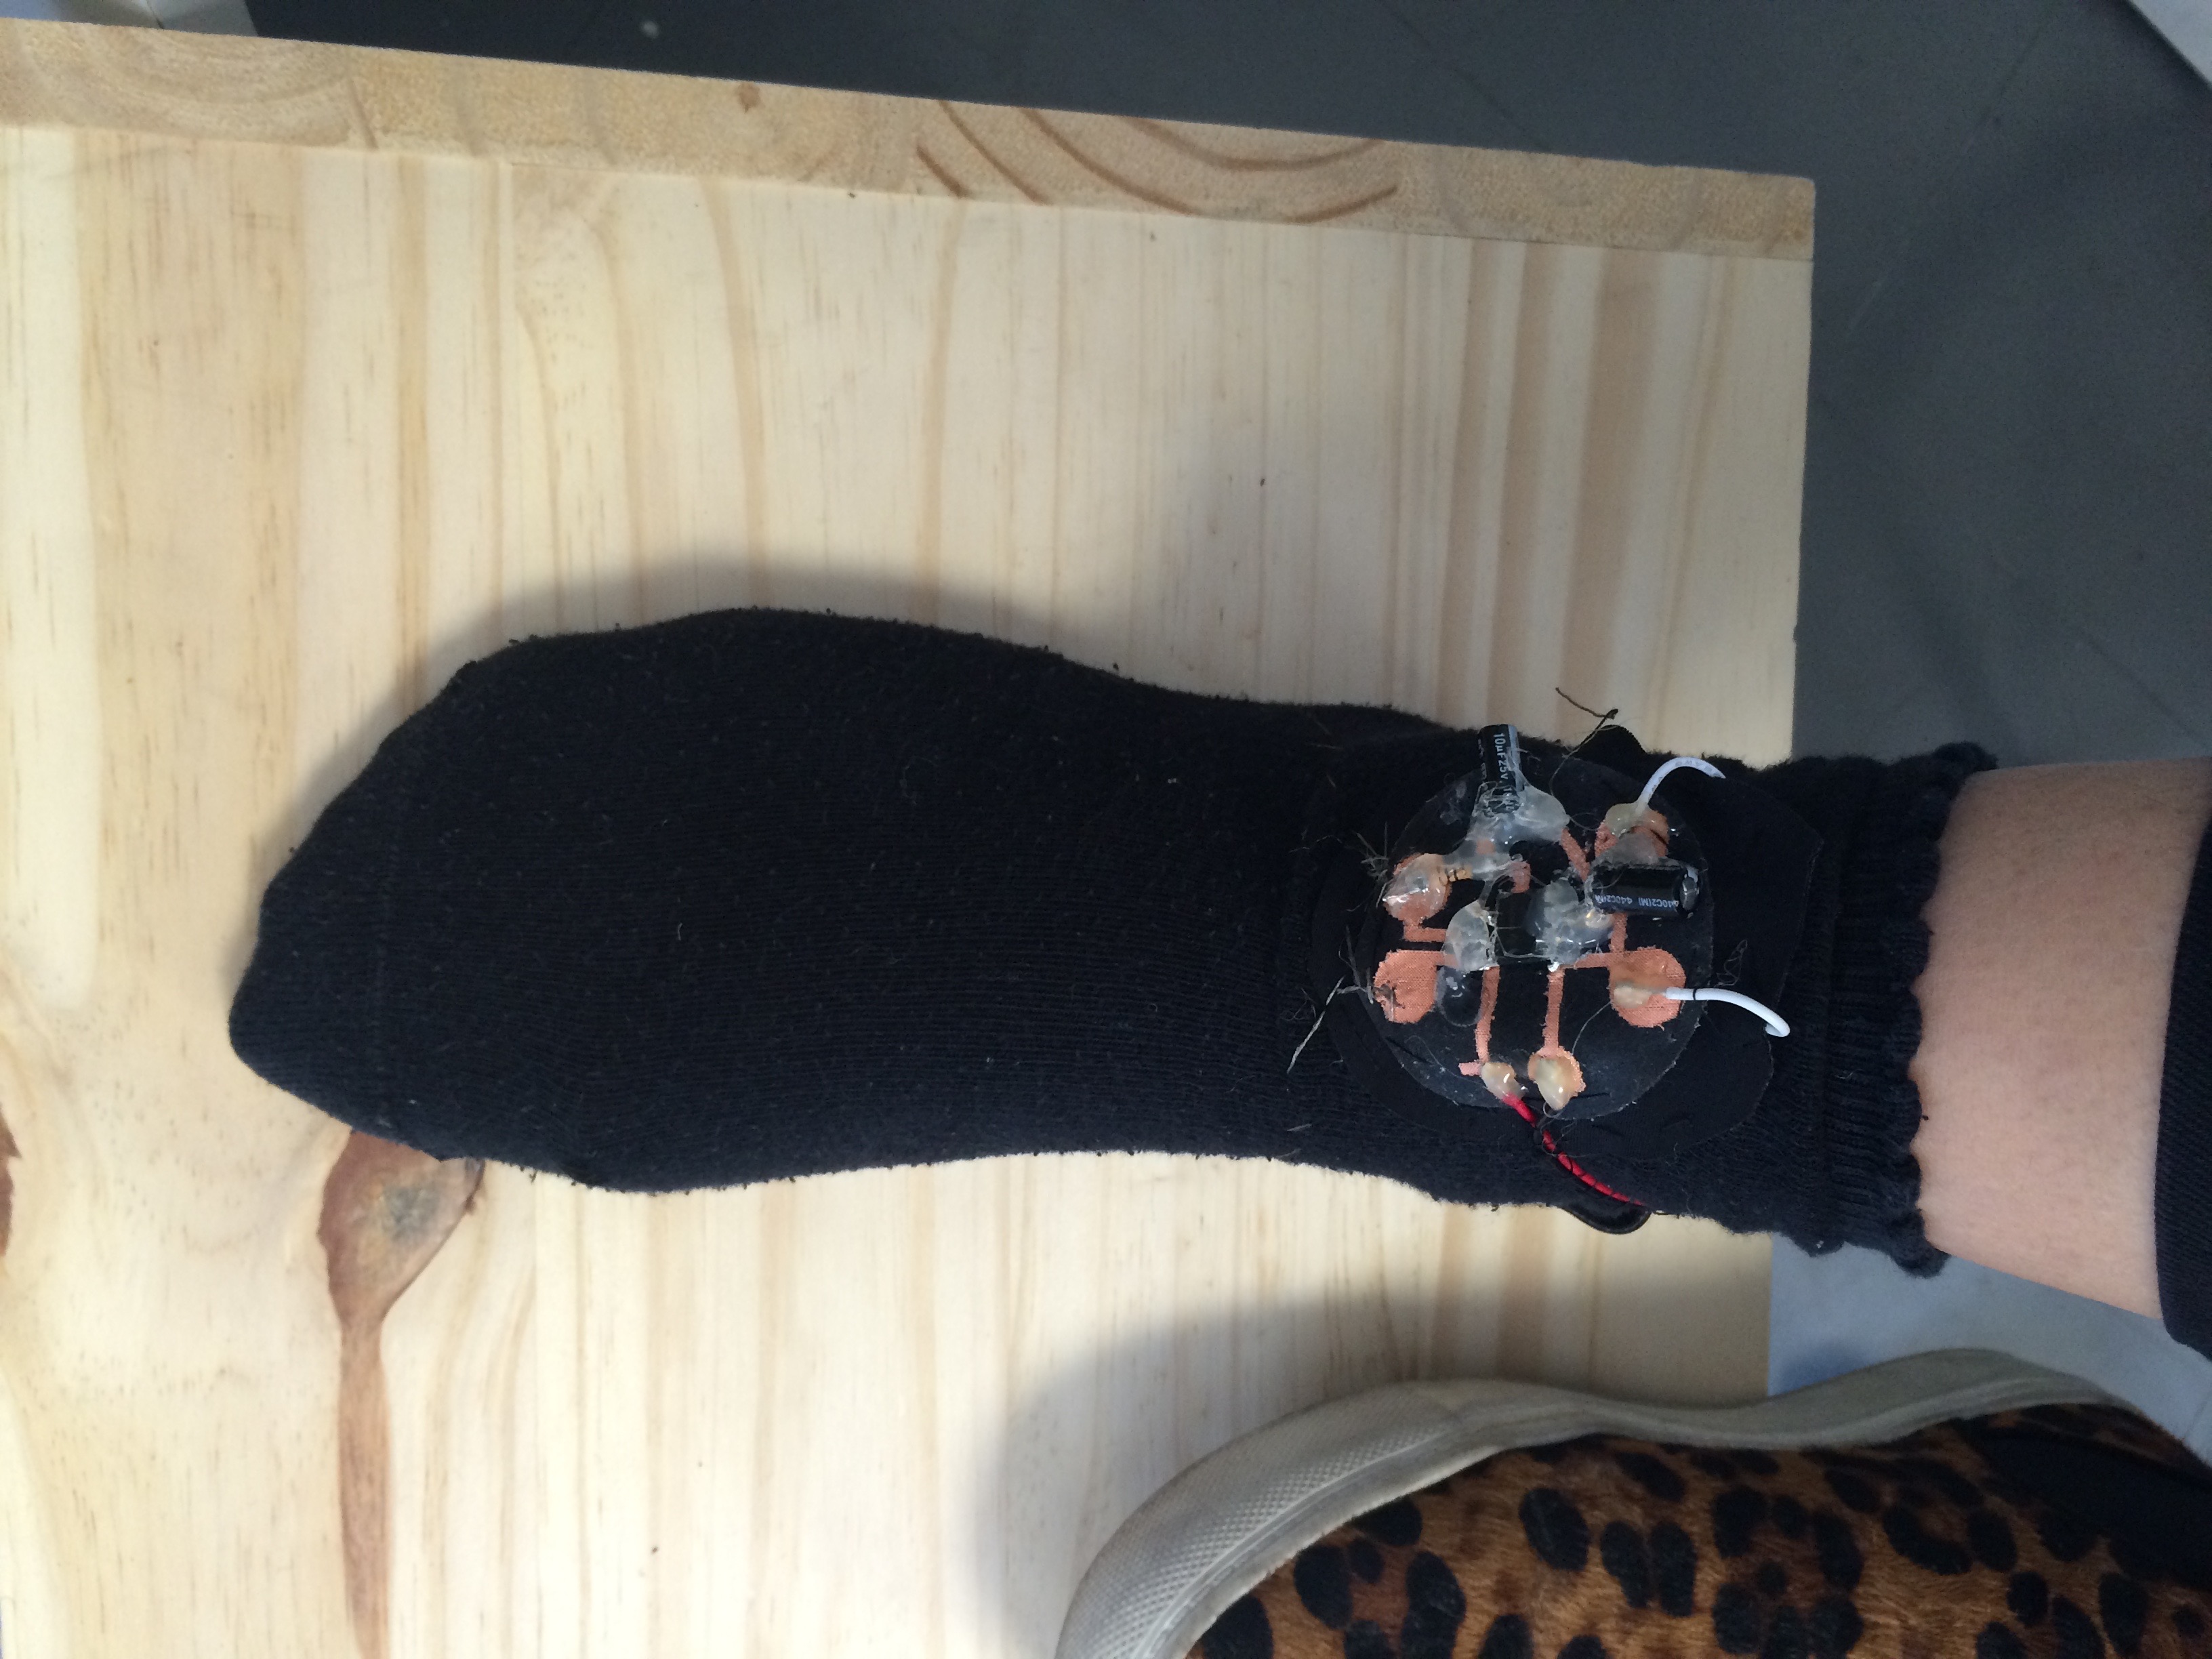
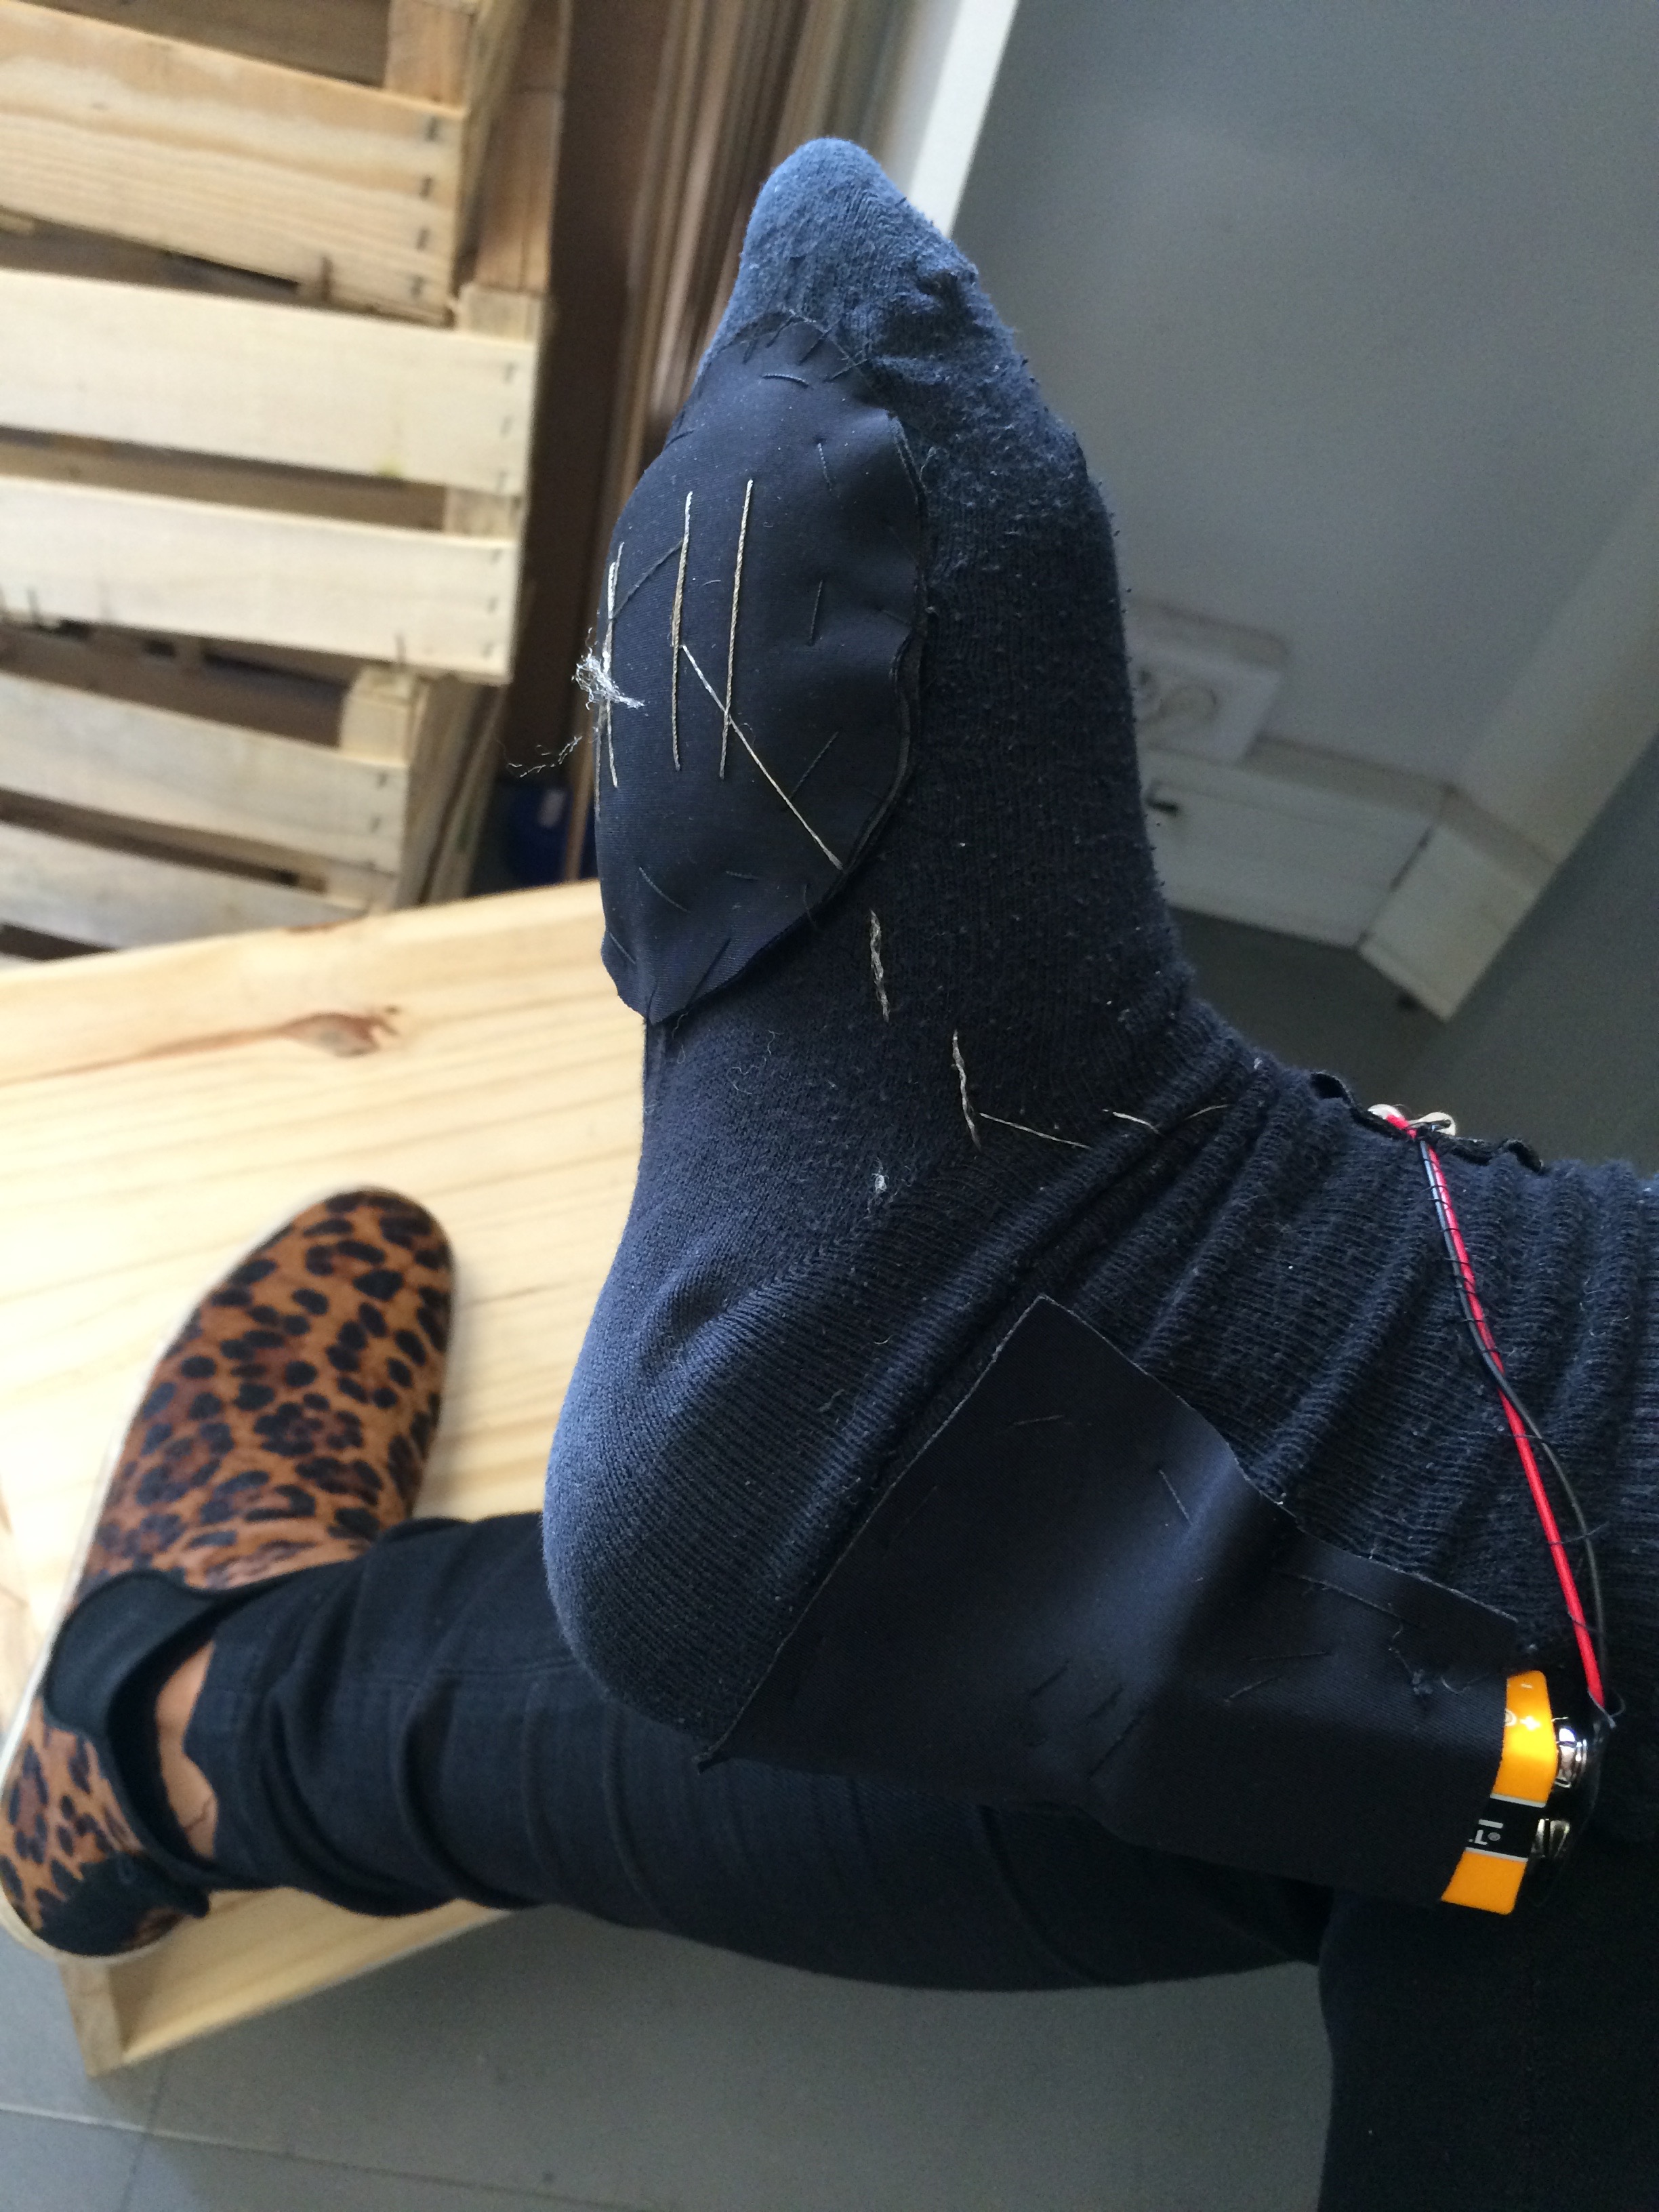
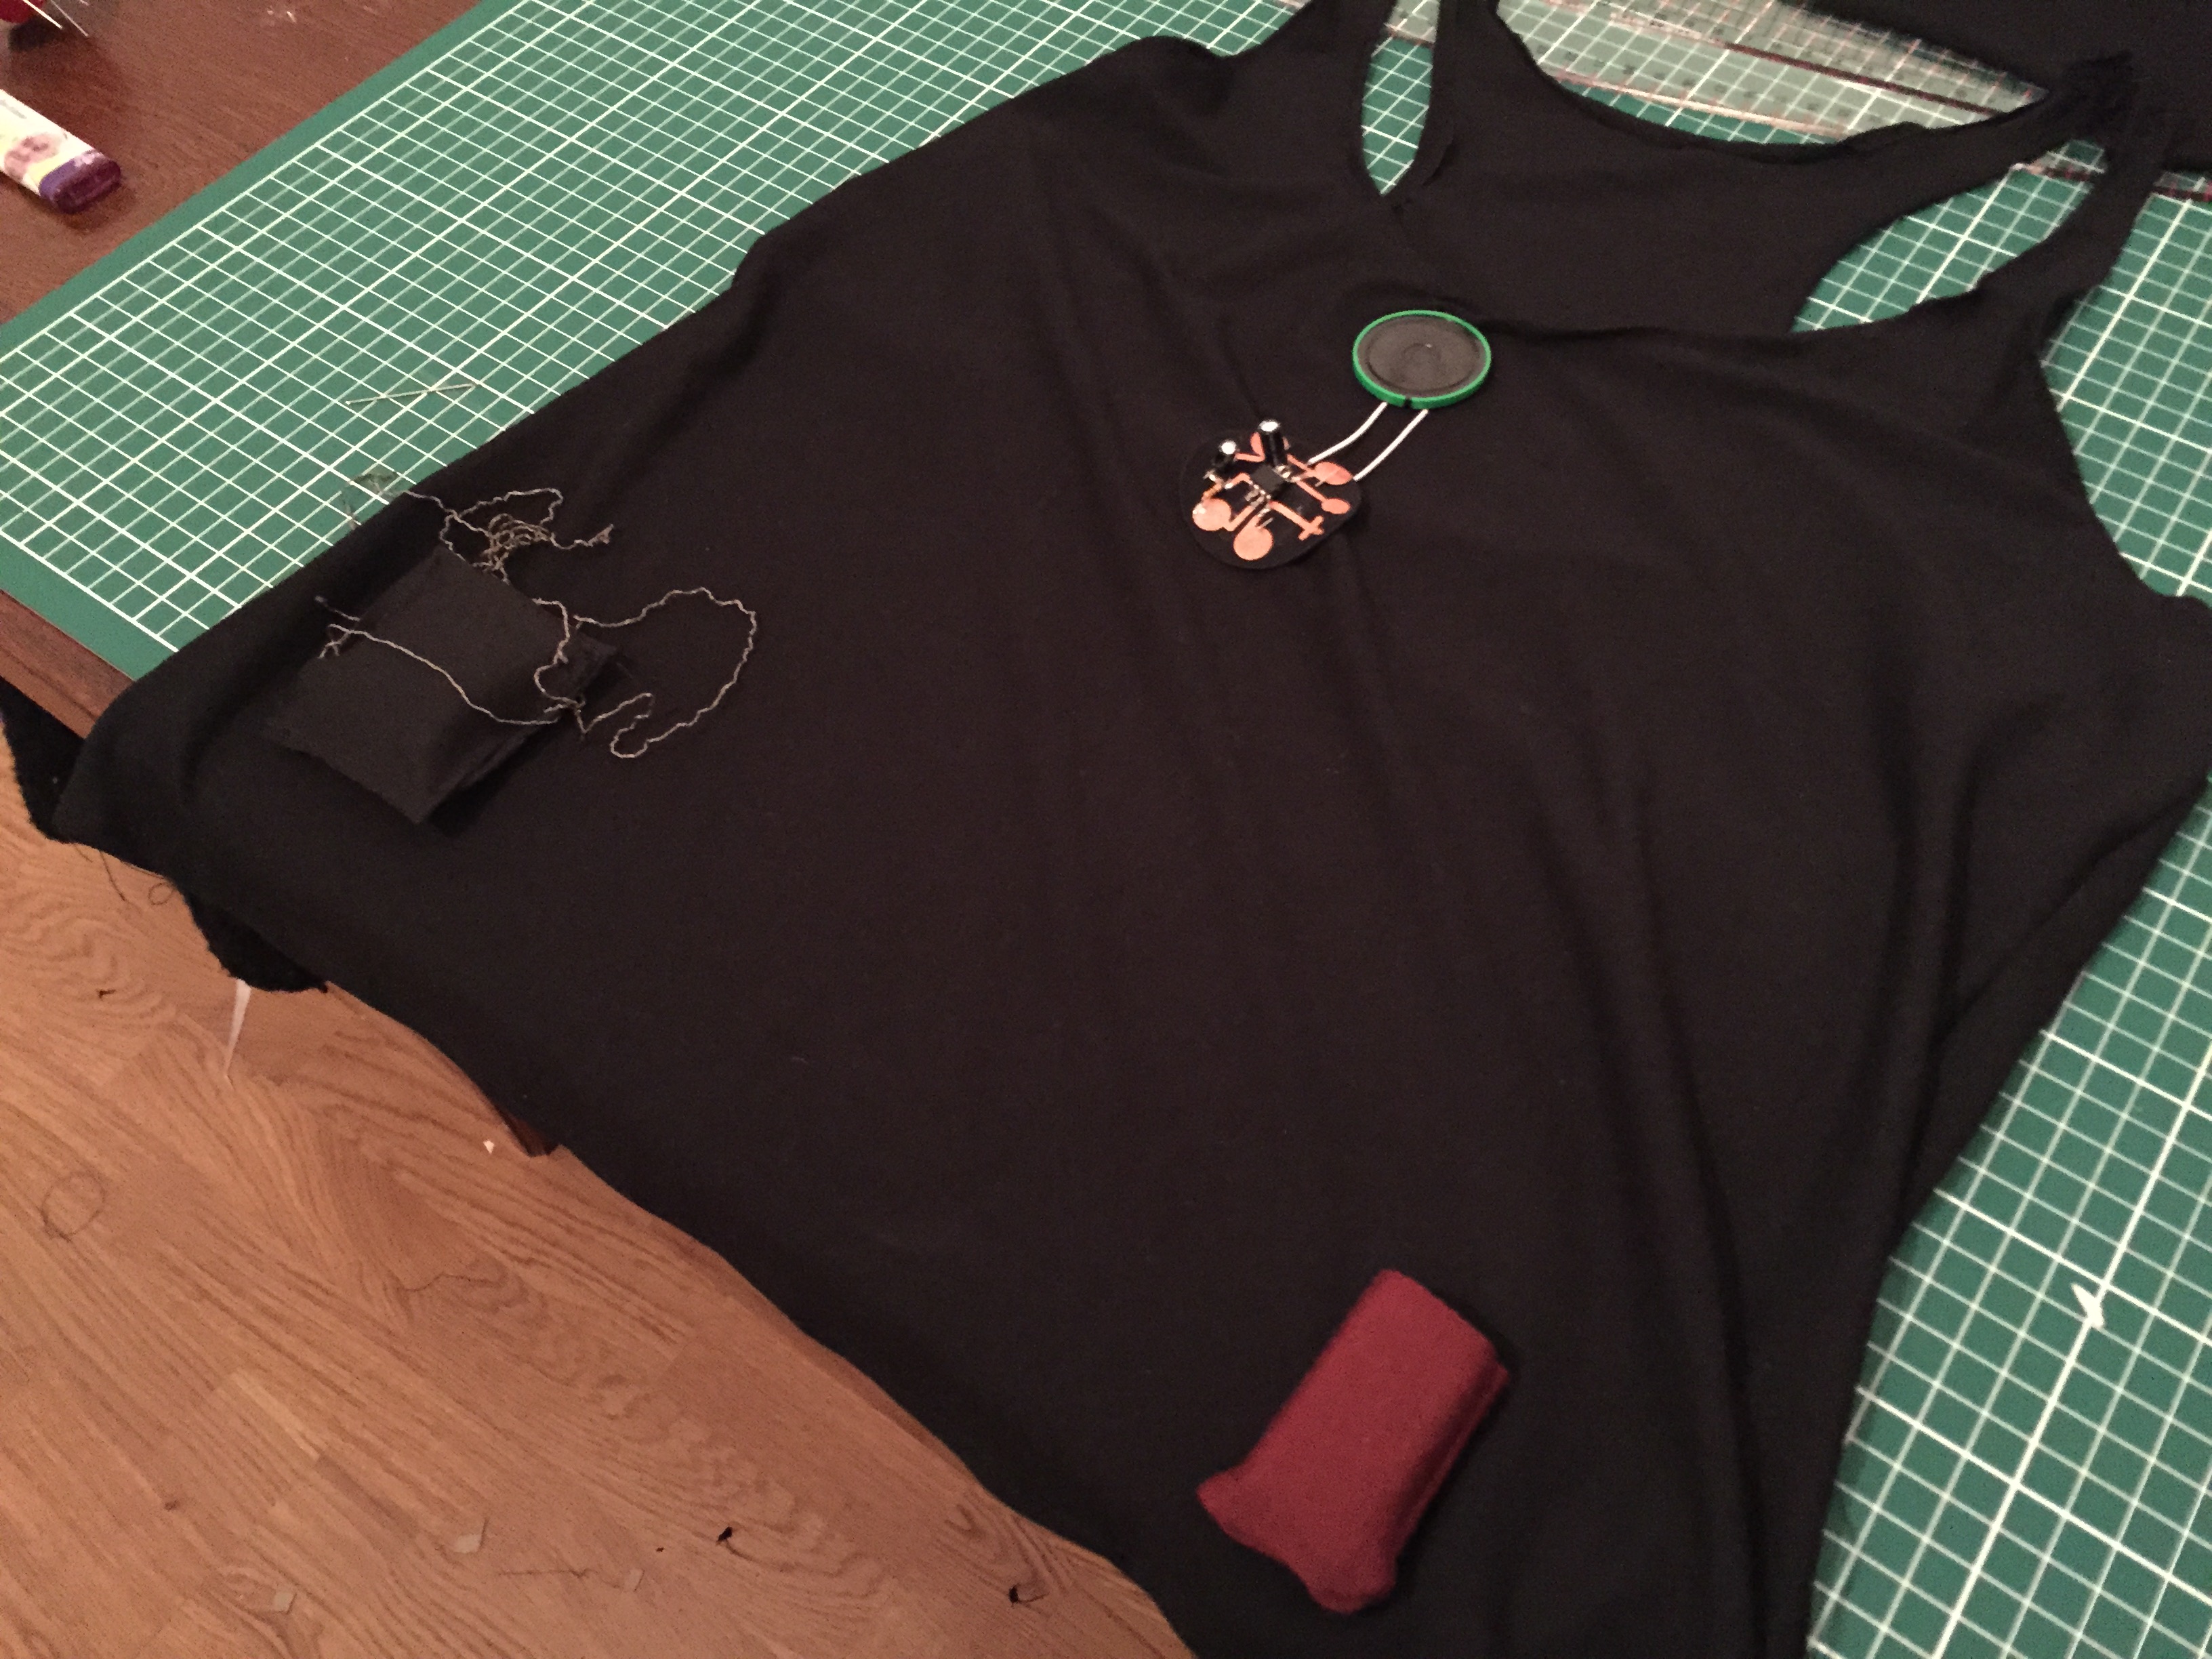
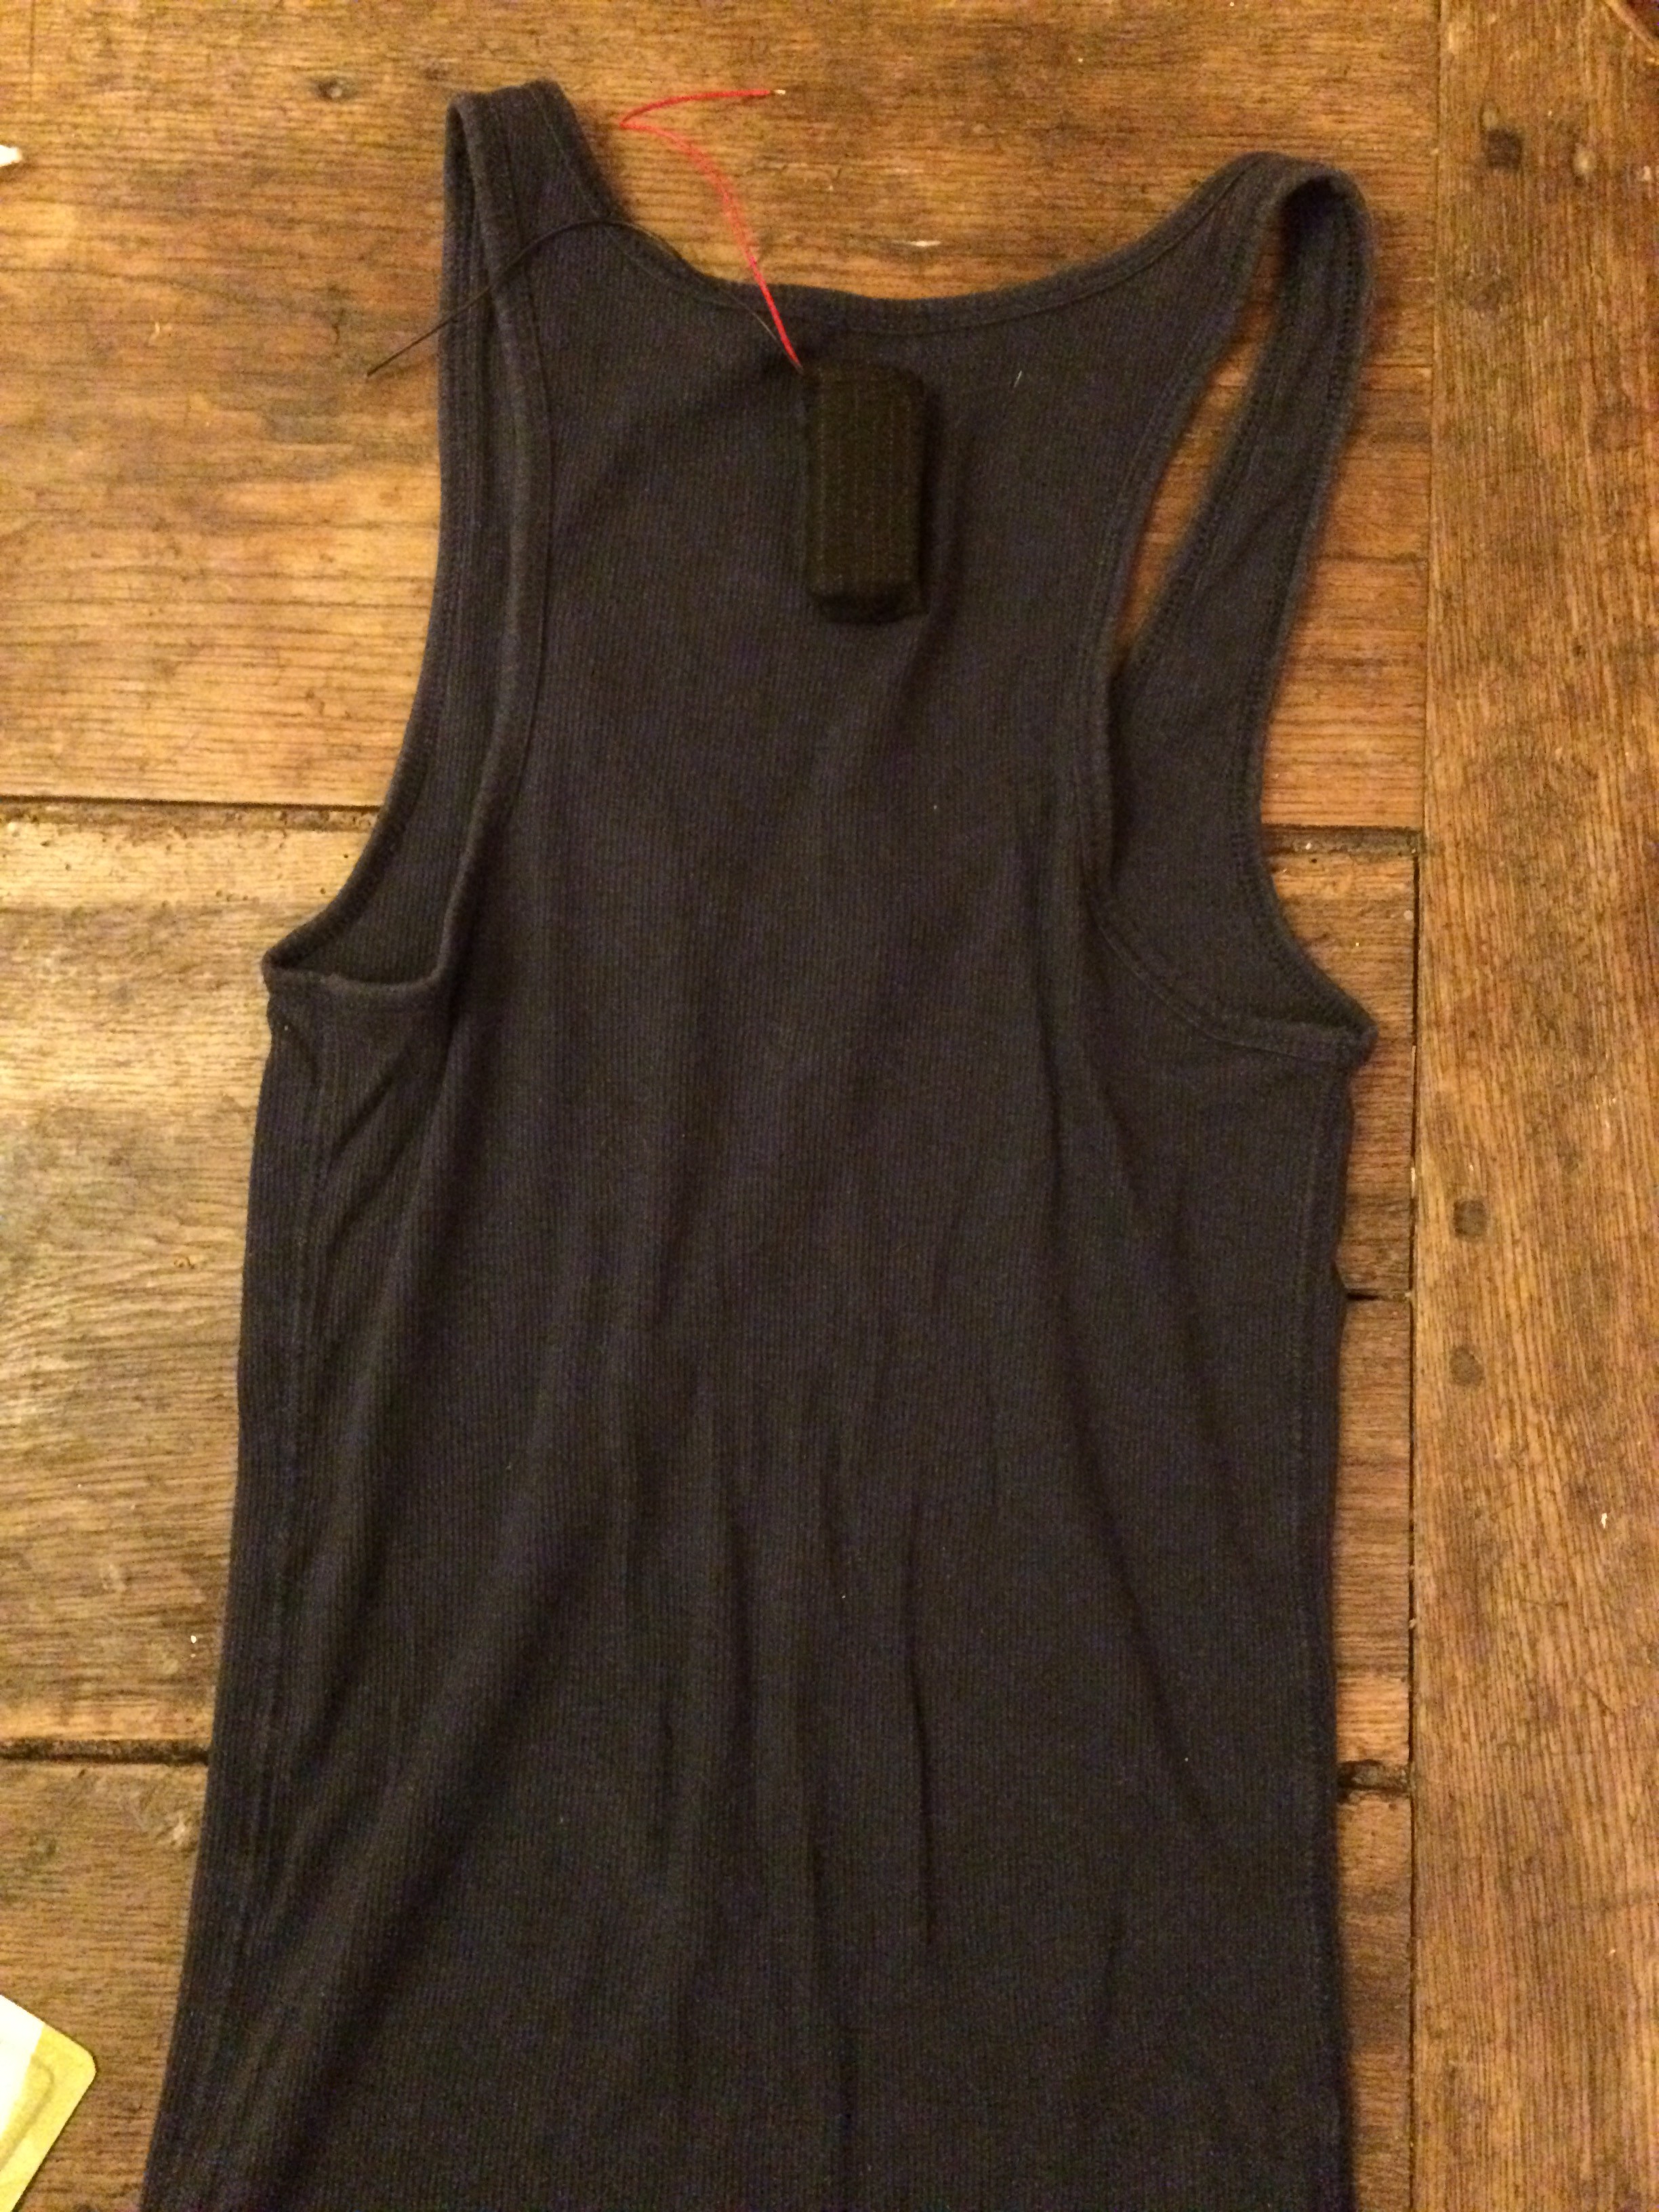
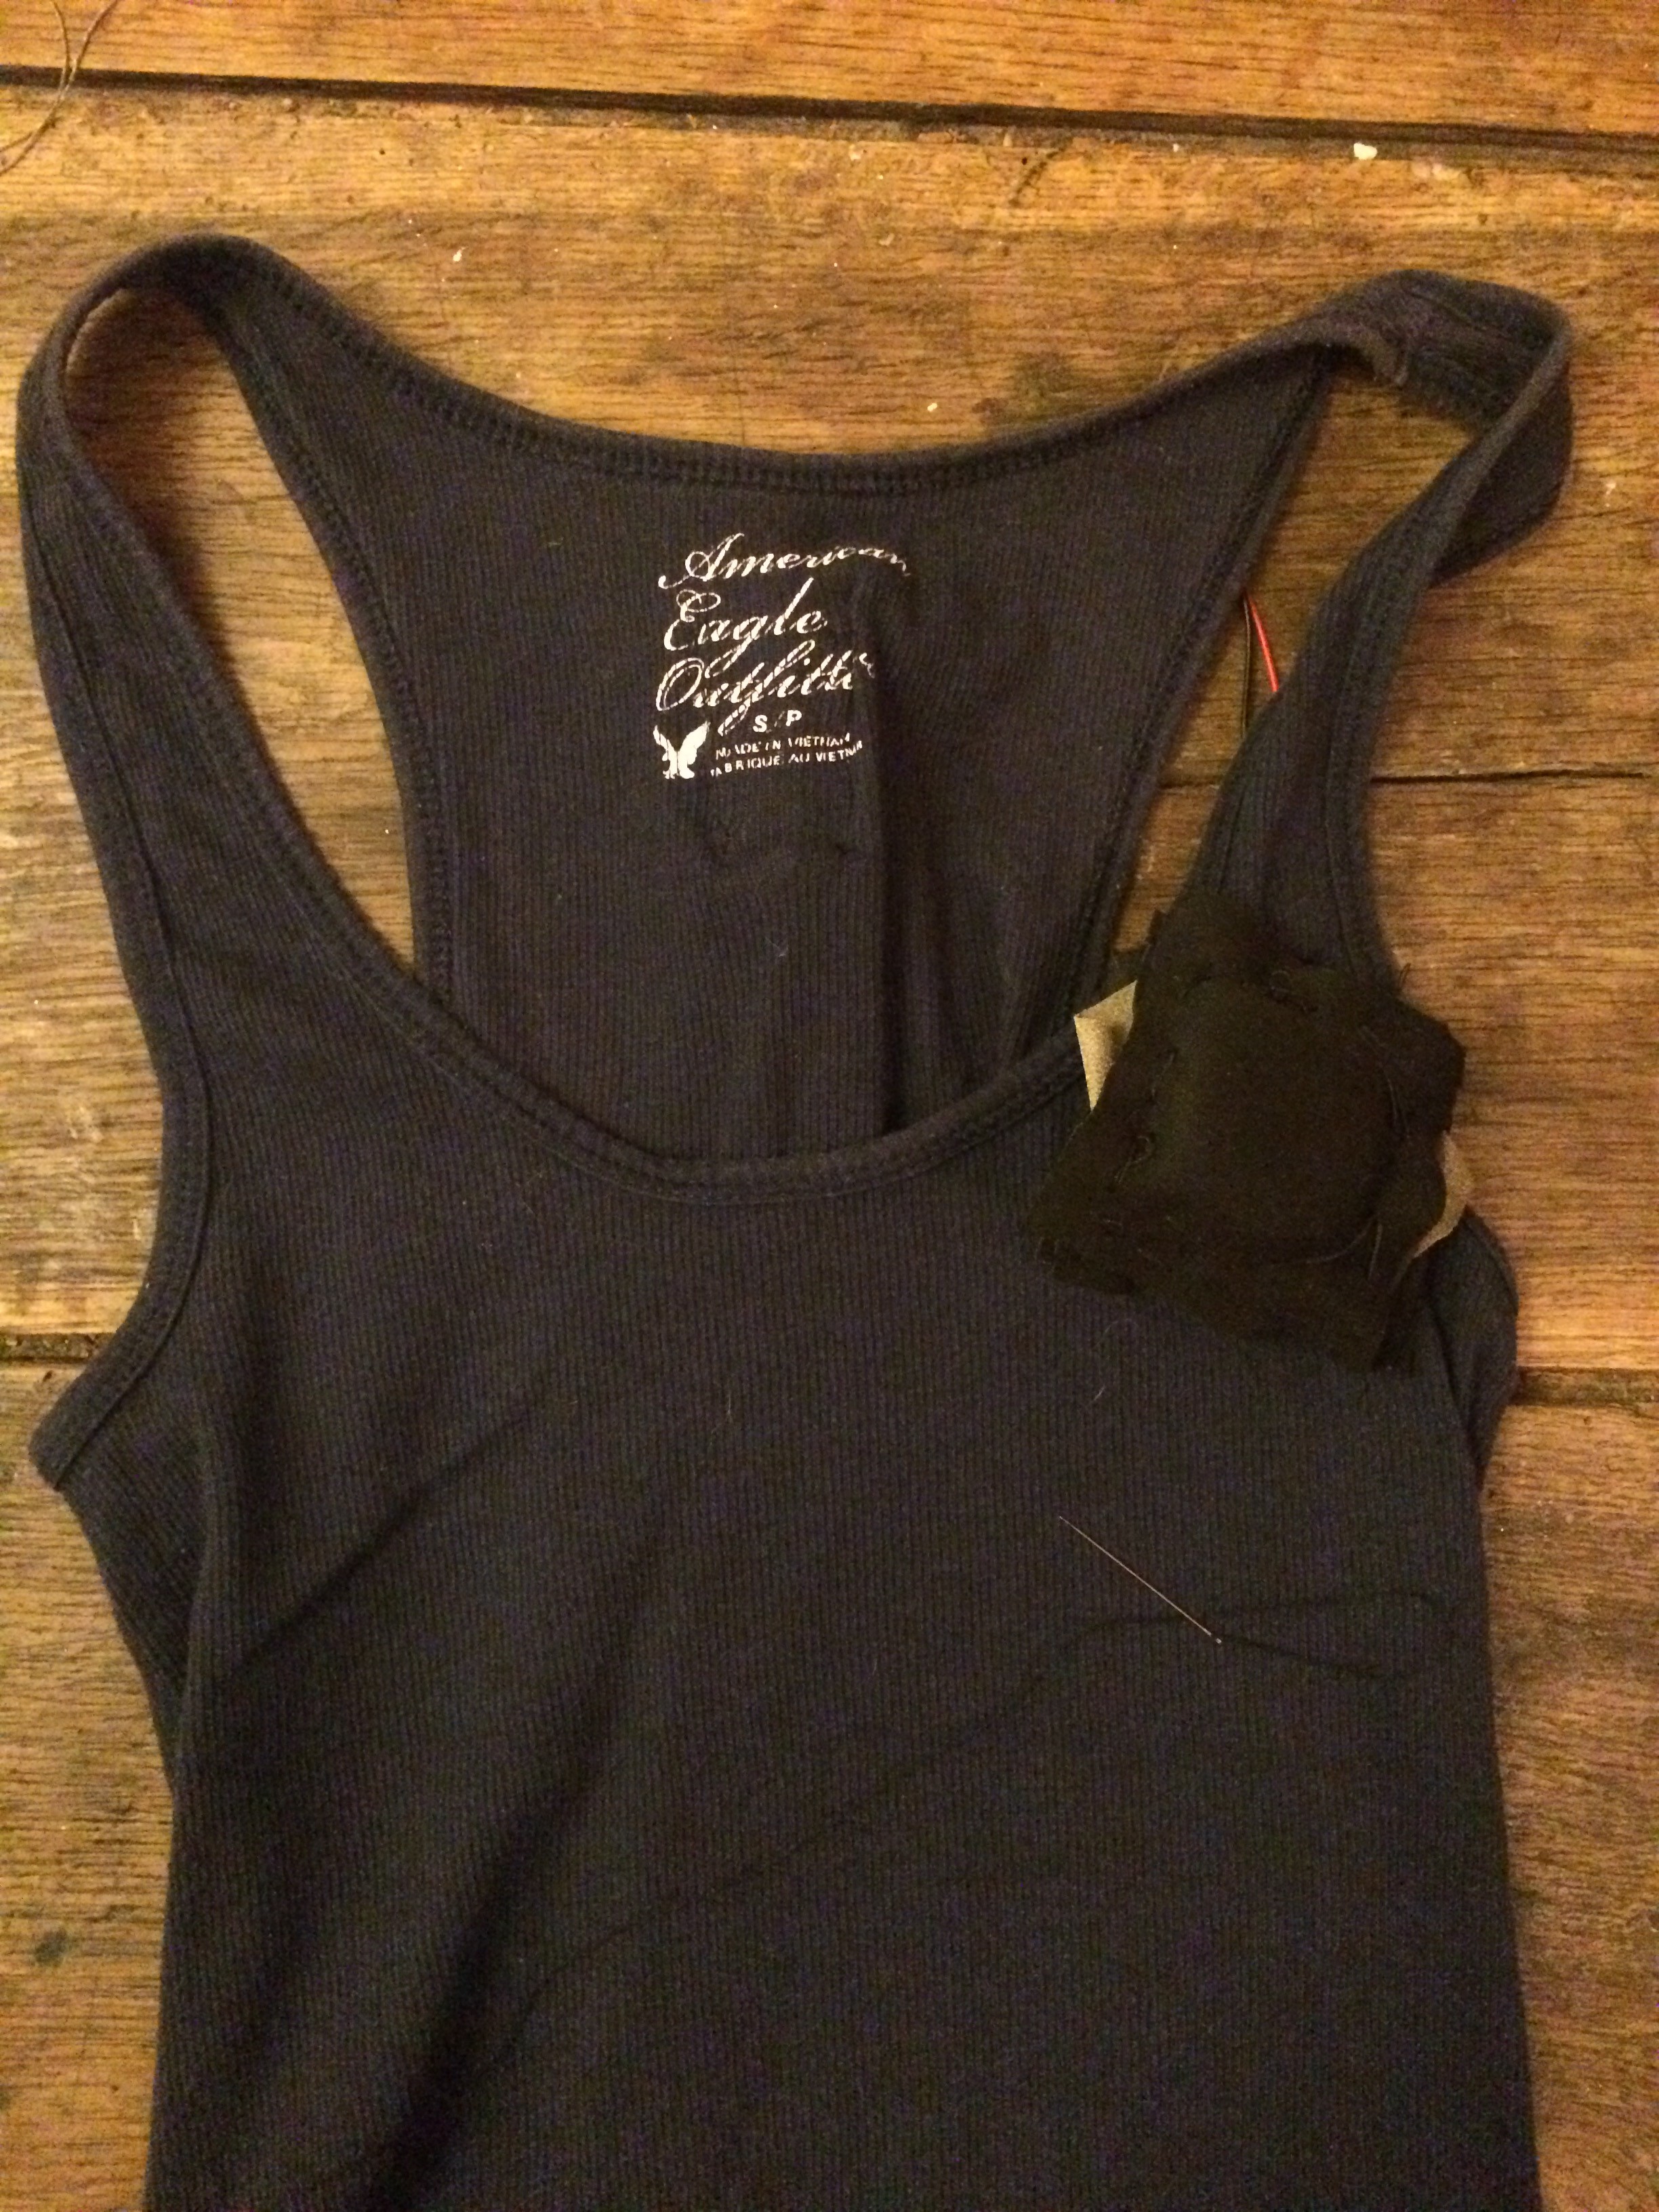
However, I still kept pushing forward, and sewed my garment together to create a full project. I sewed my sensor on with connective thread, and the textilo board onto the shirt above the pocket. In the end, the short circuit made the 555 component heat up, so I had to unplug the battery. Though it may not work now, I do understand how it would work and I have a video of it when it all worked:

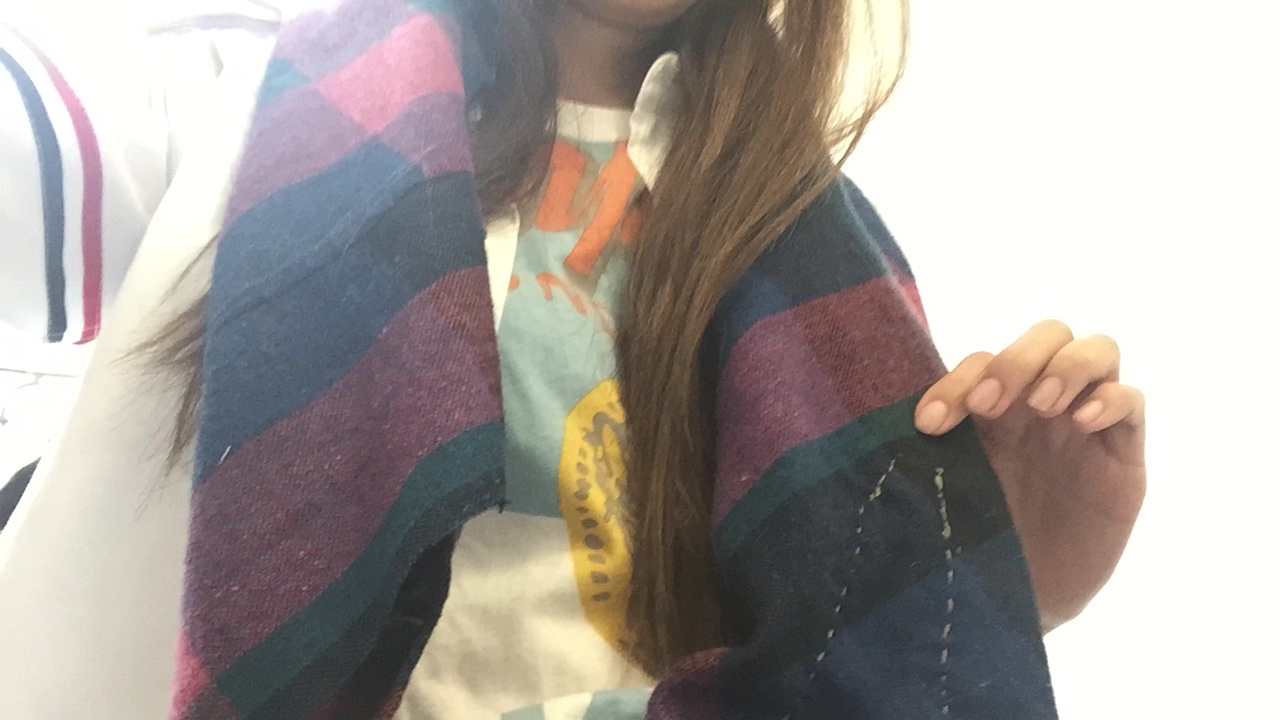
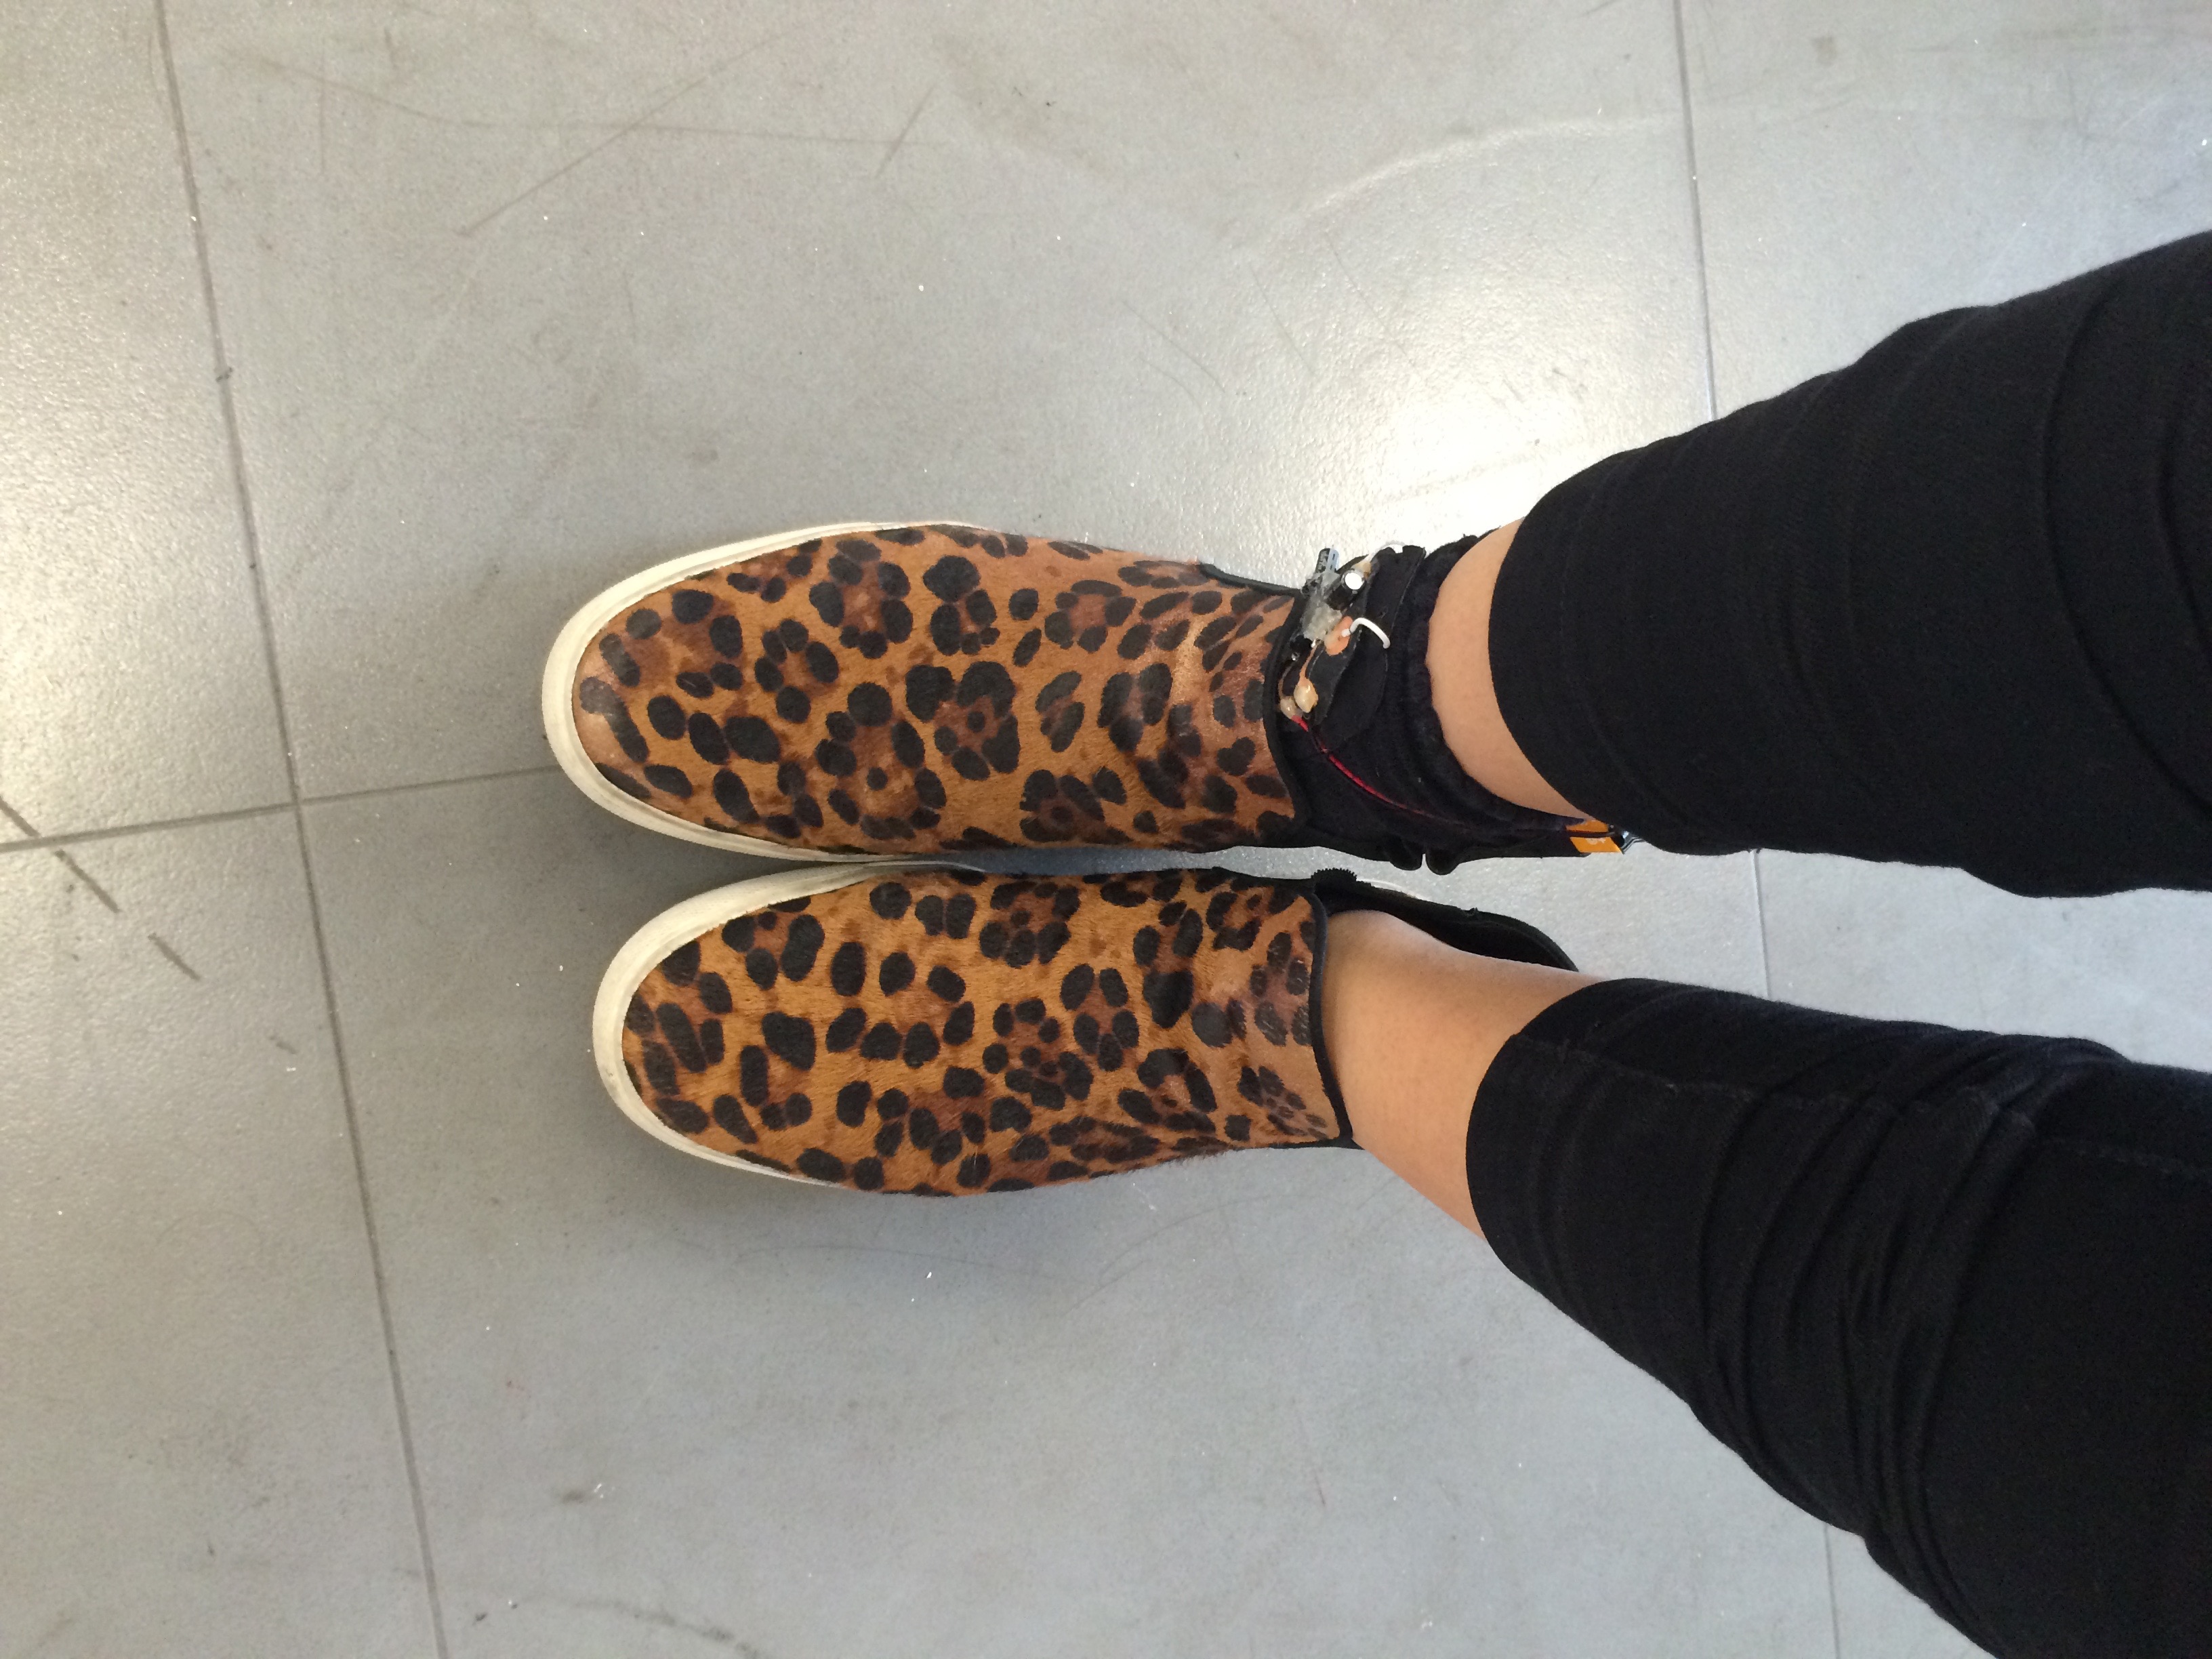
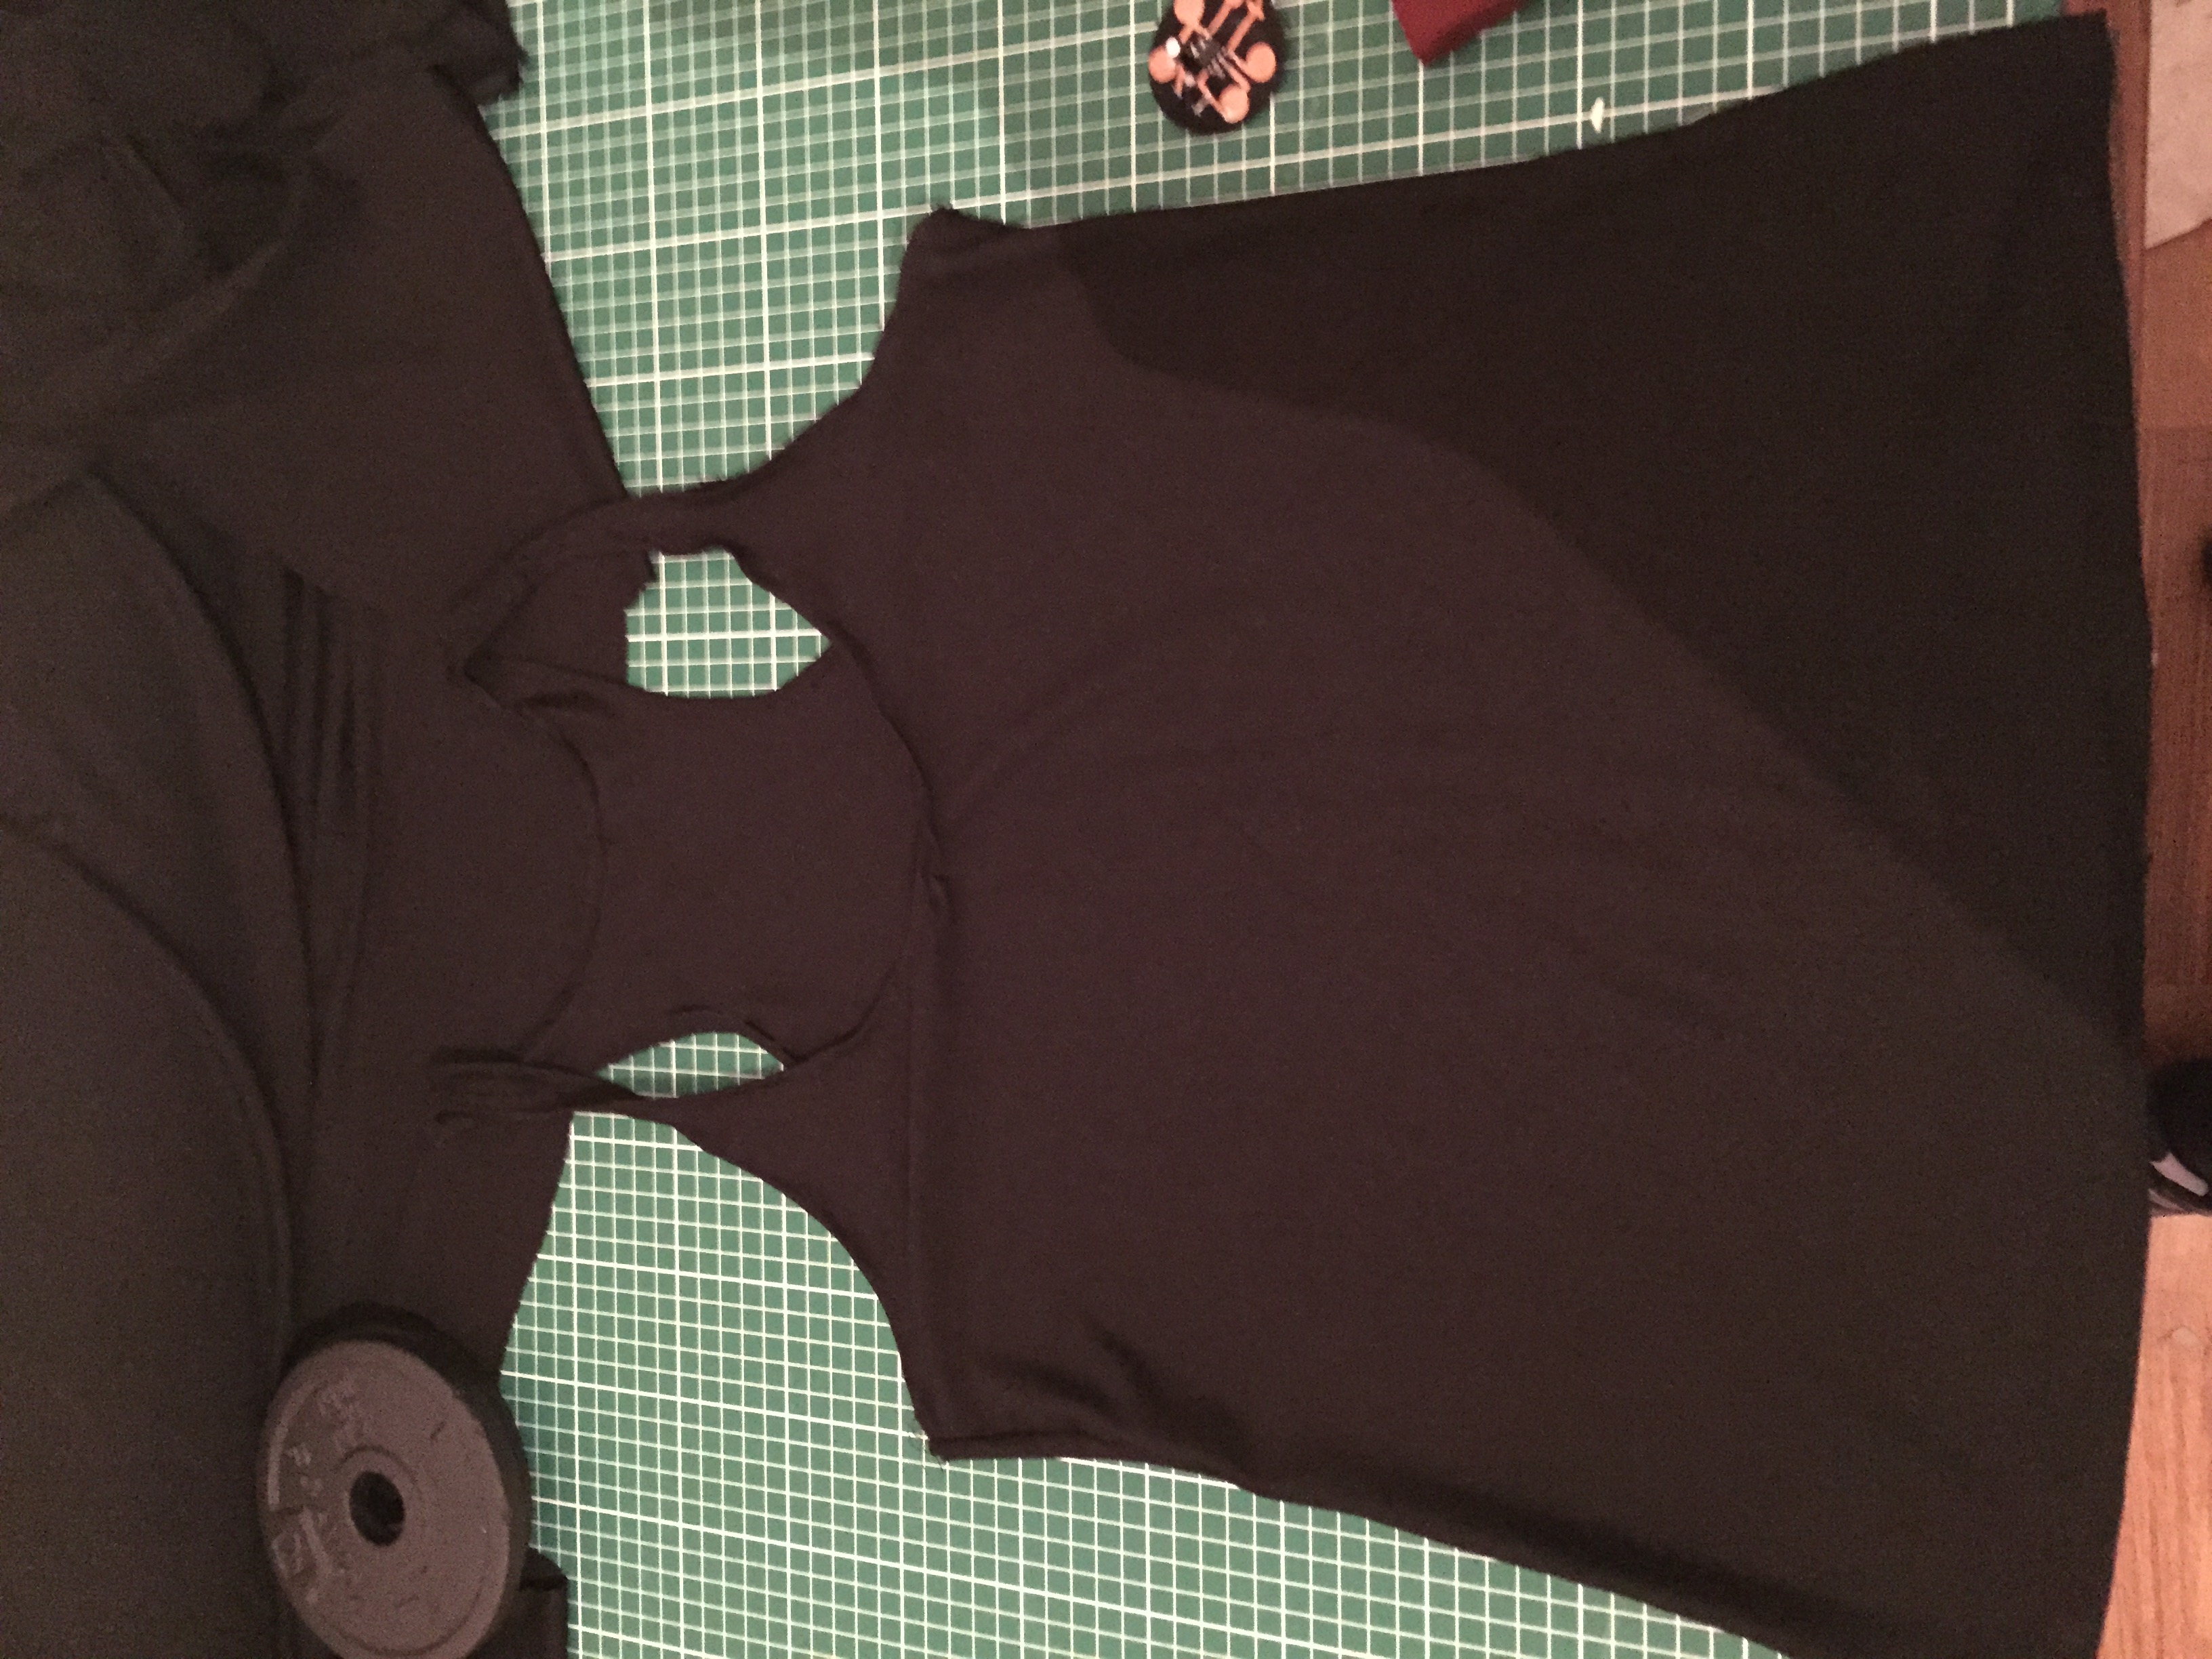
And here is the shirt after everything was sewed on:


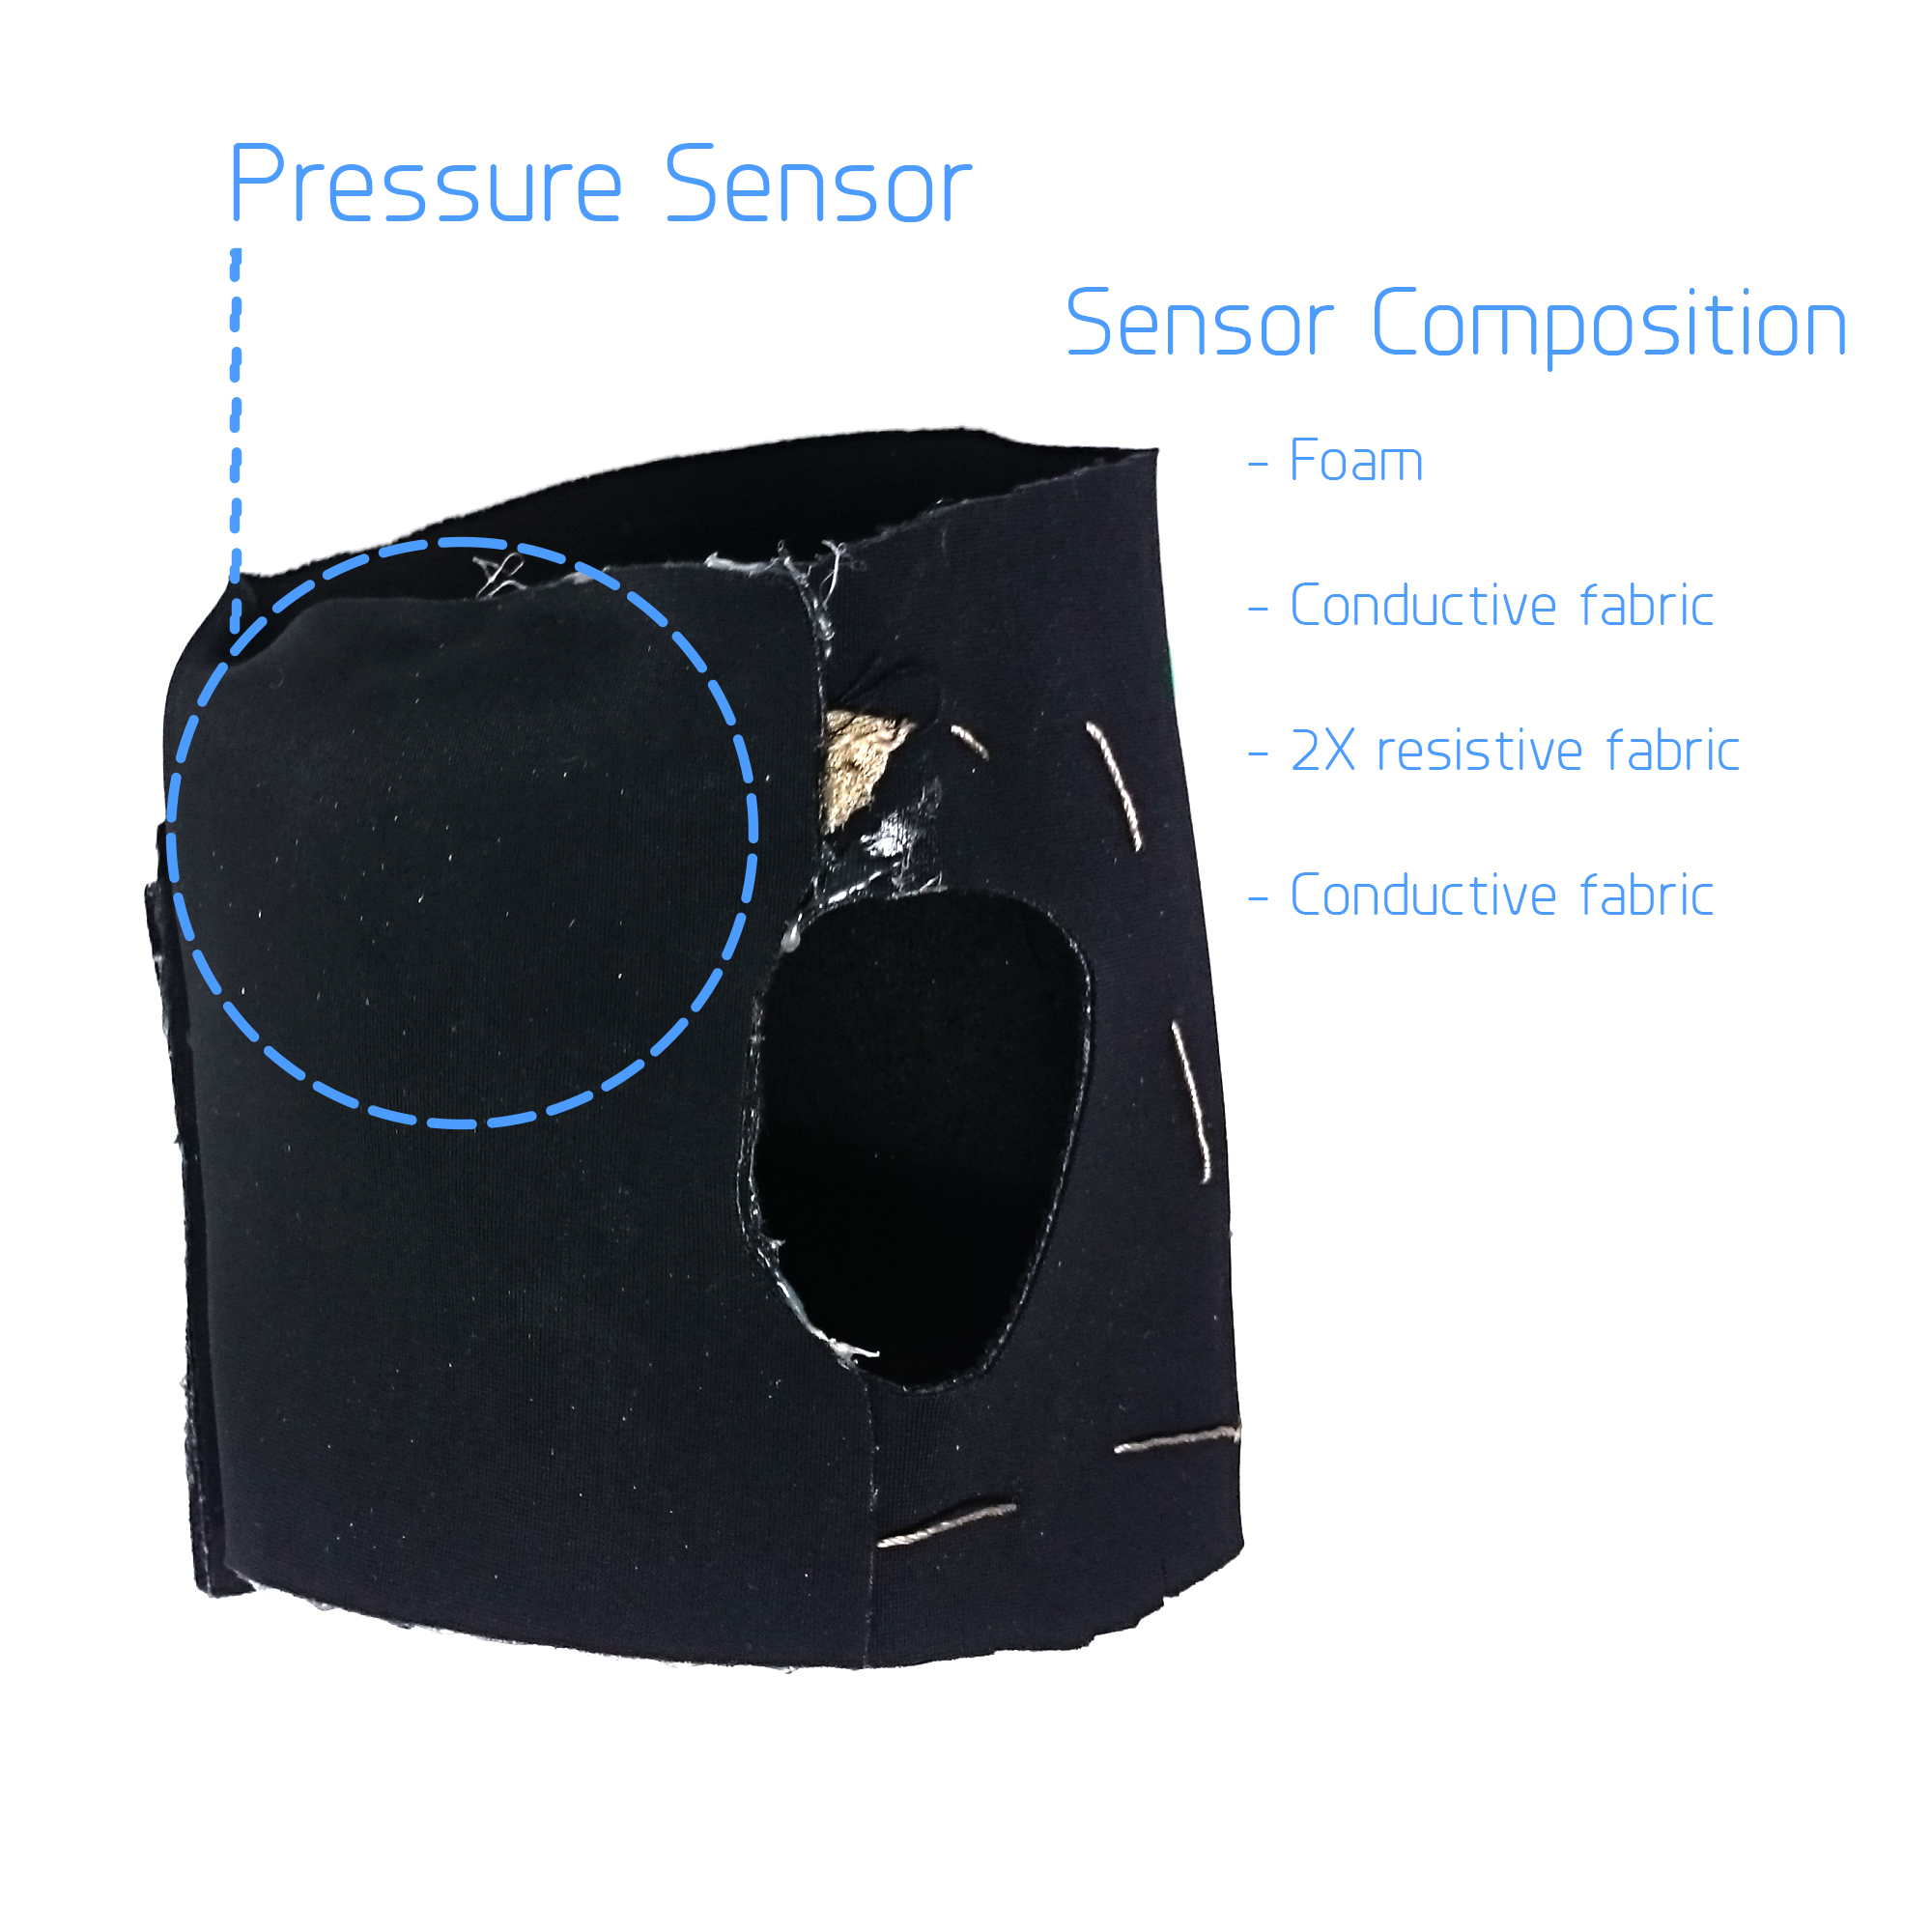
I used connective thread to connect the sensor to the board, but there was a short circuit, so it did not correctly work in the end. It made sound, but not in the way I wanted it to. I did get it to work at one time, and I learned a lot so I will definitely work on my soldering skills in the future.

Touch Sensor Tank Top


IMG_5960

First I gathered the materials to make a touch sensor: foam, neoprene, a bit of resistive fabric, two pieces of conductive fabric, and conductive thread.

IMG_5961

To create the touch sensor you have to sandwich the resistive fabric between the pieces of conductive fabric. When you press down, the resistive fabric condenses and decreases the space between the bits of conductive fabric so that a current can pass through and the circuit can be completed. It’s very important to make sure the bits of conductive fabric are not otherwise touching, or else there will be a shortcut and the sensor won’t work.

IMG_5962

I then sewed a bit of conductive thread to each side of conductive fabric so that I would later be able to connect it with my circuit.

Sew everything inside of neoprene to keep it all together.

IMG_6036

I then created a small circuit to connect the battery, speakers, and sensor. We laser cut the pattern of the circuit onto copper fabric and ironed it on to a laser cut neoprene circle using ironing paper.  You can also iron the circuit directly onto a piece of clothing.

IMG_6038

After making the parts, I connected all of the elements together to test it.

IMG_6418

I was feeling creative and decided to sew my own tank top, so I traced the pattern of a tank top I already had onto black viscose, then sewed the pieces together with my domestic sewing machine. I also made a tiny pocket for the battery, which I later added with fabric glue to my tank top.

IMG_6419

All done!

IMG_6421

I then placed everything on to the tank top.  I sewed in the circuit with regular thread and attached the speaker above it with hot glue.  I sewed in the sensor to the bottom left and glued the battery to the bottom right.

IMG_6422

I sewed the conductive fabric into the tank top and connected it with the circuits.  I soldered the speaker wires and the wires from the battery cap to the circuit as well.


And it works! I originally intended to cover the components with a fabric panel, but now I like being able to see them.

Textilo+Speaker: Experiment.

The first part of creating a t-shirt that would make screaming sounds using a textilo and a speaker was to create a button. This button has 3 parts to it: neoprene fabric with two pieces of sponge on both ends of the button, two pieces of conductive fabric that had 2 sides that went outside of the button and were used to connect it to textilo and, finally, one piece of resistive fabric in between.

IMG_4857 IMG_4858

The next step was laser cutting and gluing the textilo. Then soldering the NE555 and 10uF and 100uF capacitors. Once the textilo was made, I attached a speaker, battery and the button to it with alligator clips to make sure that it works.

IMG_4860

And it did!

Afterwards I started thinking about how I can attach all of these things to a shirt, so I made a couple of drawings and chose the shirt that I would be working with.

IMG_4978 IMG_4977 IMG_4975

First, I decided to attach the battery, because I was sure of where I wanted to position it. I had to make a pocket and attach it on the back of the shirt.

IMG_4979 IMG_4983

Then I decided on the placement of the button and sewed it on the shirt.

IMG_4986

Finally, I sewed on the textilo and the speaker. To connect the all the components with the textilo I used conductive thread.

IMG_4996 IMG_4993

I ran into a problem as I was working on the shirt – my speaker fell off, so I had to solder it back on.IMG_4992 IMG_4995   IMG_4988 IMG_4991IMG_4990

IMG_4998

Once everything was sewed on, I had another issue with the shirt, because it would only work when you press one of the capacitors into a certain position:

Here is the final version: