
So this past week, we decided to create a three-dimensional light-up paper pyramid. This group was made up of Sheena, Ice, and Lanie. We originally thought that a pyramid would be a simple shape to create and add an electronic component/circuitry to, but it was much more complicated than we expected! However, we figured all of our problems out and completed the project very successfully.
First, we started by creating the pyramid template to ultimately fold into the 3-dimensional pyramid shape. We researched different sizes and designs, but we decided on a simple, small three-dimensional pyramid template. We researched many different sizes online, and then copied one we found onto paper, measuring so the lines would all match up as you can see below:
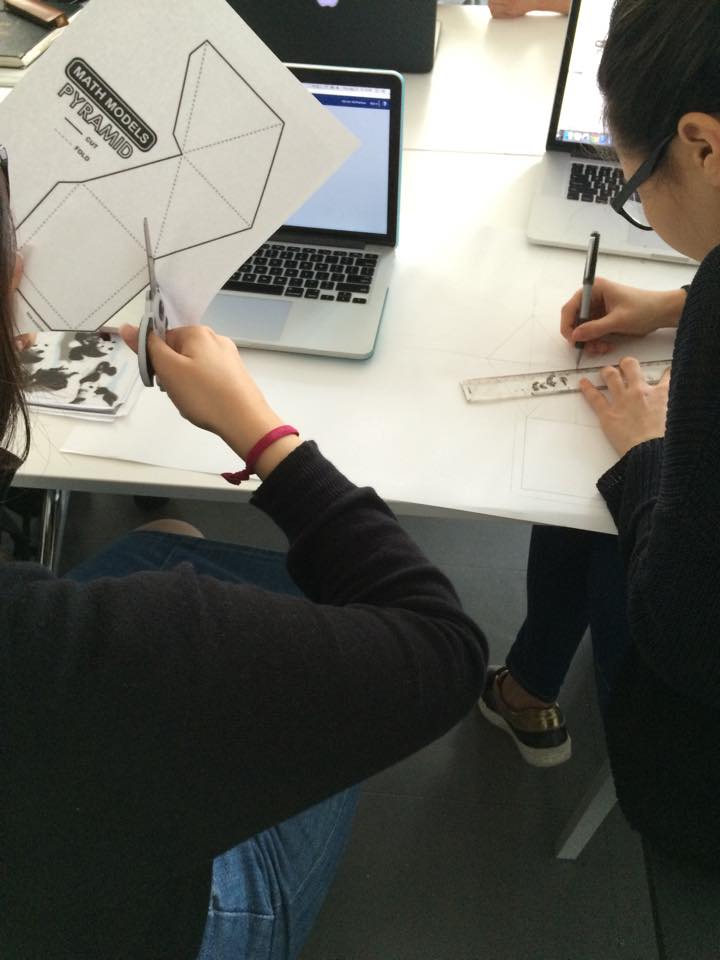

We also decided to print out an already created template, and use that as a practice pyramid to see what ours would look like in the end (you can see Sheena cutting that out in the first image). However, we created our own template from our research, and I traced it out in Illustrator, so someone could recreate it again with the vinyl cutter if they wanted to.
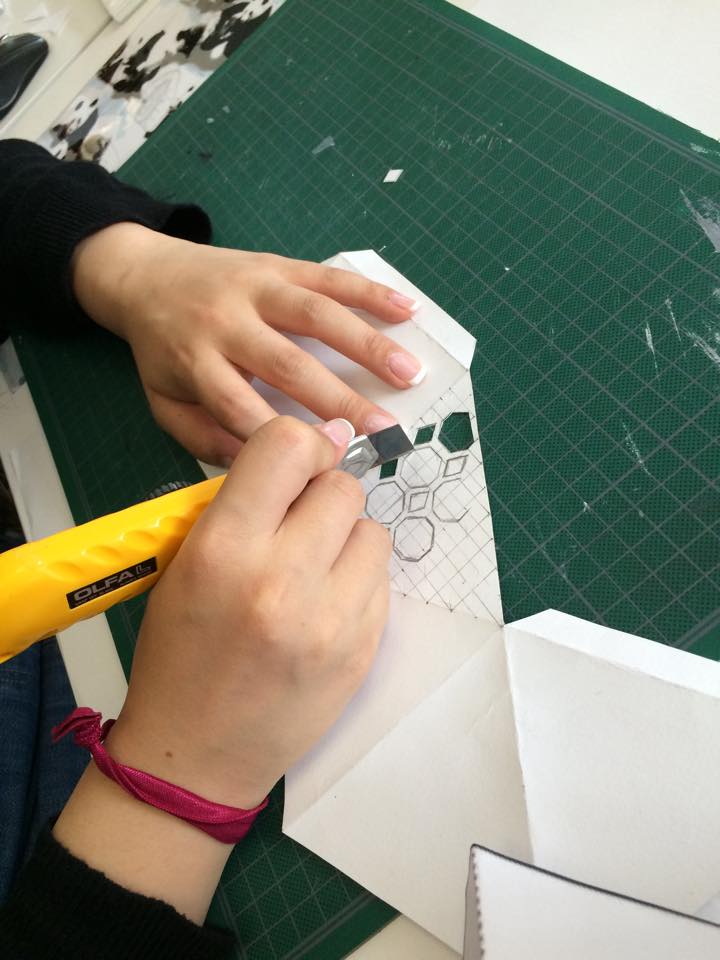
We cut out a geometric pattern to add a little flair to the simple pyramid, and here you can see Sheena cutting out the shapes:
And here is the Illustrator (screenshot) of the reproduce-able template I created in Illustrator with fold marks in purple:
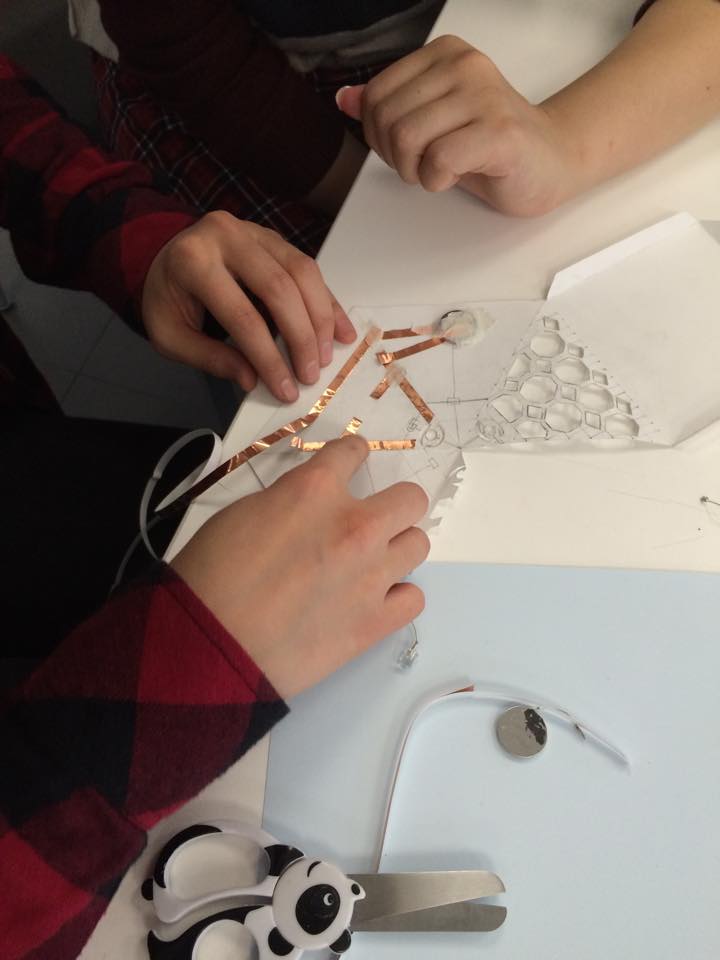
So, after we sketched out our pyramid design, we created the circuit pattern to connect the battery to light up our LED in the pyramid. We used copper tape in the interior of the pyramid, connecting the power source (battery) to the light (LED).
Here’s Sheena and Ice figuring out where everything should be placed:
Once we figured out a successful design for the LED, we soldered:
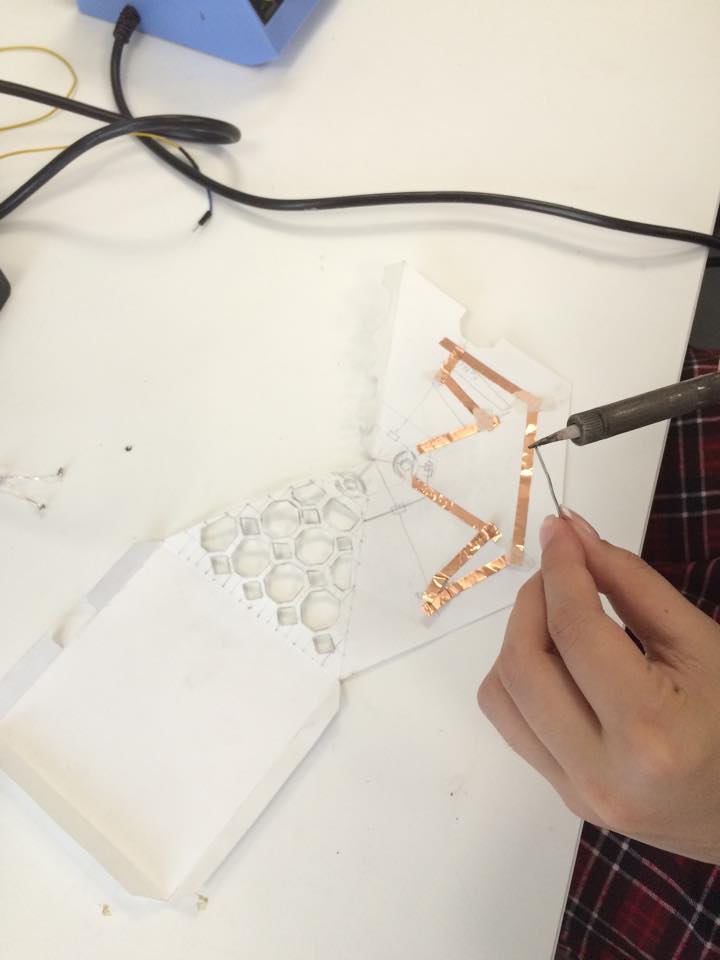
So we soldered the LED and the battery onto the copper tape in order to complete the circuit. You can see this above and below Sheena is soldering the copper tape together to complete the circuit.
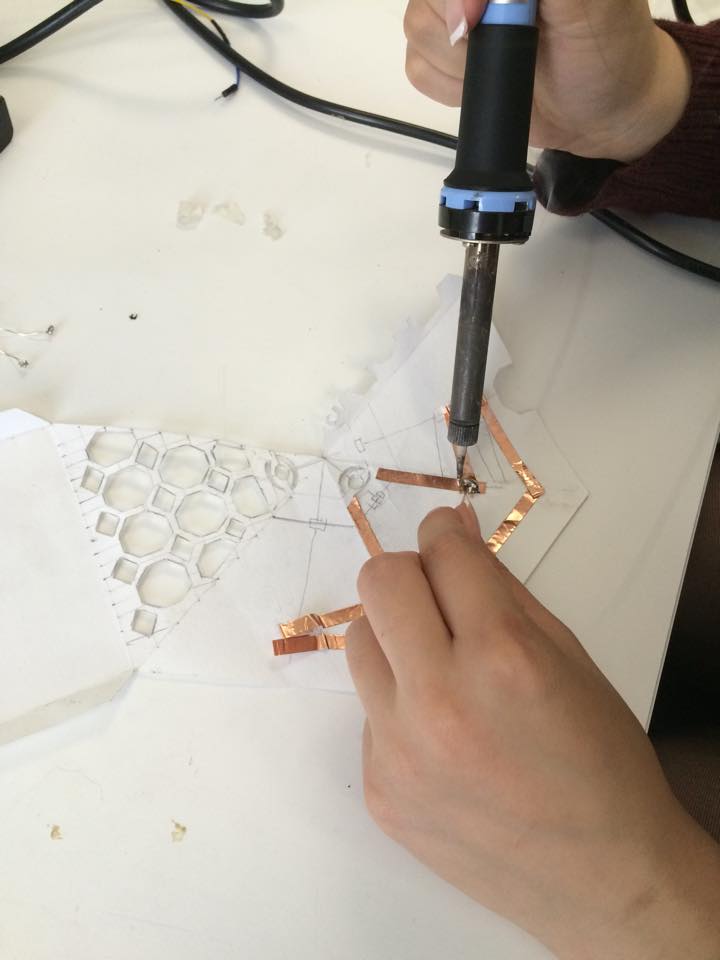
So, we soldered the copper tape together, and created a switch with the copper tape and the battery was then soldered on the left side (where there are two pieces of copper tape sticking up in the picture) and then the LED was attached where it says “LED”.
So in the end, after soldering and folding it back to the three-dimensional pyramid shape, this is the final pyramid (in the dark to emphasize the LED aspect):