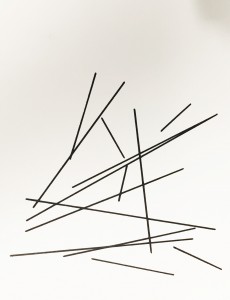
For the flip flop project I programmed a pulse sensor to initiate a processing sketch. The concept of this project was to emulate an internal self portrait. The idea is that you are drawing with your heart.
Step 1. Connect the heart sensor to an Arduino, and begin working on the code. The pulse sensor I used can be found here [you can also find the code to get started on their site]. To connect the pulse sensor, connect the black wire into ground, and the red into 5V, and the purple into A3.
Step 2. Once the pulse sensor is detected and you are able to receive information in the console, link to processing.
Step 3. Creating a sketch in processing. I really wanted the sketch to be minimal so I decided to do a simple sketch. For every heart beat detected, a random line is drawn.
Step 4. I quickly learned that the pulse sensor was not the most accurate sensor, so in order to get rid of ghost heart beats, I put in a line of code to filter out phantom beats.
Now that the code is all set it was time to add another element of flipping and flopping. Initially we have a physical interaction of a person wearing a pulse sensor – which is also a digital experience. We take the measure of the physical world and interpret it via a sketch, and lastly we take the sketch and bring it back into the physical world. You can find the steps for that below:
Step 1: Wear the pulse sensor and begin drawing with your pulse.
Step 2: Open the automatically saved PDF, from your code’s folder, and import it into Illustrator.
Step 3: In Illustrator expand, rasterize and image trace your file.
Object > Expand
Object > Rasterize
Object > Image Trace > Make and Expand
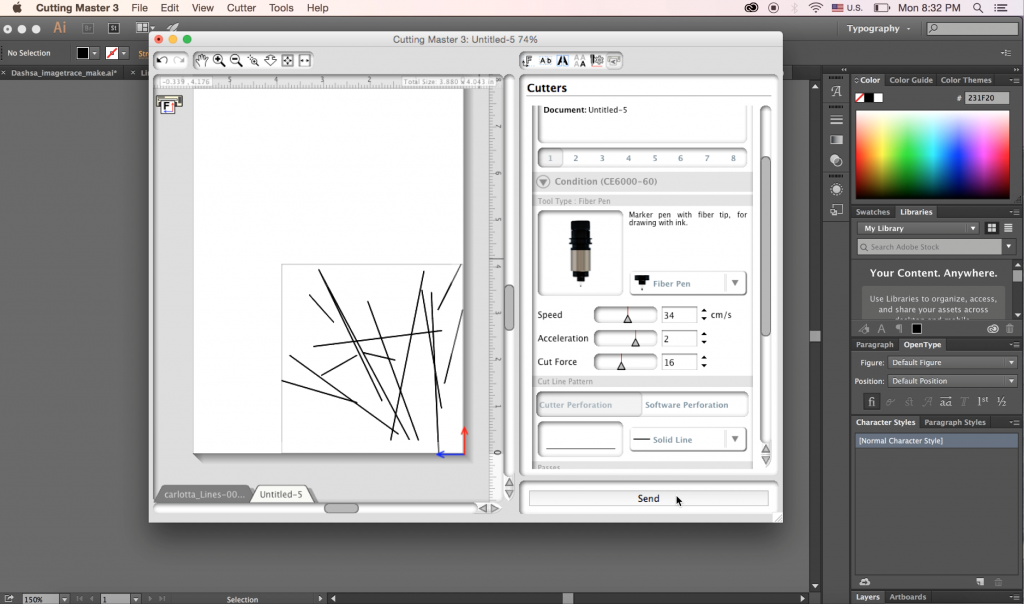
Step 4; Print on Cutting Master 3 with any type of writing utensil . In this case I used a fine point Staedtler pen. Below are the settings I used; speed: 34, acceleration: 2, cut force: 16.
Below is a quick video demonstrating the plotter in action!


