Conductive Objects Experiment

IMG_2641 IMG_2642

IMG_2634 IMG_2635


IMG_2637 IMG_2639 IMG_2638 IMG_2636IMG_2643


Group members:

Asher

Lanie

Ice


We’ve tried two items for their conductivity: a potato and a kiwi

The potato is more conductive than the kiwi.

One of the LED lights did not light up for an unknown reason.

Copper tape + Electric paint experiment:

Copper tape circuit worked really well, meanwhile electric paint did not.

We had to wait for it to dry for it to work.


Ice: Textilo Experiment


IMG_3017IMG_3018

Two attempts, one almost success.

The first time I made a textilo, it worked perfectly, all that was left is to sew everything on a T-Shirt, and I did.

However, later on things started falling apart: wires falling off, the circuit ripping in various places, etc.


I decided to remake everything, from the very beginning.

The second textilo worked just as perfectly as the first one.

I sewed it on the t-shirt and it was ticking very quietly, but it was still making at least some sound (better than nothing).

Overall, it did work at some stages, but the results were not satisfying.


Arduino Lilypad Project: Photo Booth

Source


Materials:

Arduino Lilypad

3-4 Alligator clips

1 Pressure sensor

1 Resistor


Software:

Processing

Arduino

Webcam


Processing:

import cc.arduino.*;
import org.firmata.*;
import processing.video.*;
import processing.serial.*;
Serial myPort; // Create object from Serial class
int val; // Data received from the serial port

Capture video;
int a = 1024; // width of window
int b = 768; // height of window
int x = 100; // x- position text
int y = 700; // y- position text
int capnum = 0;
int countdowntimer = 10;
int globalframecount = 0;
PImage aj;
PImage bj;
PImage cj;
PImage dj;
color black = color(0);
color white = color(255);
int numPixels;

void setup() {
String portName = Serial.list () [2];
myPort = new Serial (this, portName, 9600);
print(Serial.list ());
frameRate (25);
size(1024, 768); // Change size to 320 x 240 if too slow at 640 x 480
strokeWeight(5);

// This the default video input, see the GettingStartedCapture
// example if it creates an error
video = new Capture(this, width, height, 30);

// Start capturing the images from the camera
video.start();

numPixels = video.width * video.height;
noCursor();
smooth();
}

void draw() {
if ( myPort.available() > 0) {
val = myPort.read();
}
if (val>0) {
globalframecount = 1;
}
println(val);
if (video.available()) {
video.read();
video.loadPixels();
int threshold = 127;
float pixelBrightness;
loadPixels();
for (int i = 0; i<numPixels; i++) {
pixelBrightness = brightness(video.pixels[i]);
if (pixelBrightness > threshold) {
pixels [i] = white;
} else {
pixels[i] = black;
}
}
updatePixels();
int testValue = get(mouseX, mouseY);
float testBrightness = brightness(testValue);
if (testBrightness > threshold) { // If the test location is brighter than
fill(black); // the threshold set the fill to black
} else { // Otherwise,
fill(white); // set the fill to white
}

}

PFont fontA = loadFont(“Serif-48.vlw”);
textFont(fontA);
noFill();

switch(val) {

case ‘s’:
globalframecount = 1;
// background(0);

break;

case ‘t’:
//null
break;
default:
//println(“Zulu”); // Prints “Zulu”
break;
}

if (globalframecount == 25) {
countdowntimer = 9;
}
if (globalframecount == 50) {
countdowntimer = 8;
}
if (globalframecount == 75) {
countdowntimer = 7;
}
if (globalframecount == 100) {
countdowntimer = 6;
}
if (globalframecount == 125) {
countdowntimer = 5;
}
if (globalframecount == 150) {
countdowntimer = 4;
}
if (globalframecount == 175) {
countdowntimer = 3;
}
if (globalframecount == 200) {
countdowntimer = 2;
}
if (globalframecount == 225) {
countdowntimer = 1;
}
// image (video, 0, 0);

if ((globalframecount < 250) & (globalframecount > 0)) {
textFont(fontA, 30);
fill(0);
text (“Preview! Get ready for your photo in “+str(countdowntimer), x+2, y);
text (“Preview! Get ready for your photo in “+str(countdowntimer), x, y+2);
text (“Preview! Get ready for your photo in “+str(countdowntimer), x-2, y);
text (“Preview! Get ready for your photo in “+str(countdowntimer), x, y-2);
textFont(fontA, 30);
fill(255);
text (“Preview! Get ready for your photo in “+str(countdowntimer), x, y);
//text (countdowntimer, width-250, y);
globalframecount++;
}

if ((globalframecount >= 250) & (globalframecount < 500)) {
// image (video, 0, 0);

if ((globalframecount > 250) & (globalframecount < 311))
{
textFont(fontA, 100);
fill(0);
text (str(countdowntimer), width/2+2, height/2);

text (str(countdowntimer), width/2, height/2+2);

text (str(countdowntimer), width/2-2, height/2);

text (str(countdowntimer), width/2, height/2-2);

fill(255);
text (str(countdowntimer), width/2, height/2-2);
}
if (globalframecount == 250)
{
countdowntimer = 3;
}

if (globalframecount == 270)
{
countdowntimer = 2;
}

if (globalframecount == 290)
{
countdowntimer = 1;
}

if (globalframecount == 312) {
background(255);
}
if (globalframecount == 313) {
saveFrame(capnum+”.jpeg”);
aj = loadImage(capnum+”.jpeg”);
capnum++;
}

if ((globalframecount > 314) & (globalframecount < 373))
{
textFont(fontA, 100);
fill(0);
text (str(countdowntimer), width/2+2, height/2);

text (str(countdowntimer), width/2, height/2+2);

text (str(countdowntimer), width/2-2, height/2);

text (str(countdowntimer), width/2, height/2-2);

fill(255);
text (str(countdowntimer), width/2, height/2-2);
}
if (globalframecount == 314)
{
countdowntimer = 3;
}

if (globalframecount == 335)
{
countdowntimer = 2;
}

if (globalframecount == 355)
{
countdowntimer = 1;
}

if (globalframecount == 374) {
background(255);
}

if (globalframecount == 375) {
saveFrame(capnum+”.jpeg”);
bj = loadImage(capnum+”.jpeg”);
capnum++;
}

if ((globalframecount > 375) & (globalframecount < 436))
{
textFont(fontA, 100);
fill(0);
text (str(countdowntimer), width/2+2, height/2);

text (str(countdowntimer), width/2, height/2+2);

text (str(countdowntimer), width/2-2, height/2);

text (str(countdowntimer), width/2, height/2-2);

fill(255);
text (str(countdowntimer), width/2, height/2-2);
}
if (globalframecount == 376)
{
countdowntimer = 3;
}

if (globalframecount == 401)
{
countdowntimer = 2;
}

if (globalframecount == 420)
{
countdowntimer = 1;
}

if (globalframecount == 438) {
background(255);
}

if (globalframecount == 439) {
saveFrame(capnum+”.jpeg”);
cj = loadImage(capnum+”.jpeg”);
capnum++;
}

if ((globalframecount > 440) & (globalframecount < 497))
{
textFont(fontA, 100);
fill(0);
text (str(countdowntimer), width/2+2, height/2);

text (str(countdowntimer), width/2, height/2+2);

text (str(countdowntimer), width/2-2, height/2);

text (str(countdowntimer), width/2, height/2-2);

fill(255);
text (str(countdowntimer), width/2, height/2-2);
}
if (globalframecount == 440)
{
countdowntimer = 3;
}

if (globalframecount == 460)
{
countdowntimer = 2;
}

if (globalframecount == 480)
{
countdowntimer = 1;
}

if (globalframecount == 497) {
background(255);
}

if (globalframecount == 498) {
saveFrame(capnum+”.jpeg”);
dj = loadImage(capnum+”.jpeg”);
capnum++;
}

if (globalframecount == 499) {
fill(255);
background(0);
rect(width/11, height/10, (width-240), (height-100));
image(aj, width/8, height/8, width/3, height/3);
image(bj, 4*(width/8), height/8, width/3, height/3);
image(cj, width/8, 4*(height/8), width/3, height/3);
image(dj, 4*(width/8), 4*(height/8), width/3, height/3);
fill(0);
text (“take a picture it will last longer”, x, y);
saveFrame(“multipage”+capnum+”.jpeg”);
globalframecount = -1;
}
//delay(50);
globalframecount++;
}
}


Arduino:

int buttonPin = A2; // the number of the pushbutton pin
int buttonState = 0; // variable for reading the pushbutton status

void setup() {
pinMode(buttonPin, INPUT);
Serial.begin(9600);
}

void loop() {

buttonState = digitalRead(buttonPin);
Serial.write(buttonState);
delay(100);
}

IMG_3540


FINAL PROJECT: LED Light show + Projection Mapping

Final Project Proposal:

Led light show + Projection (Mapping)

I want to make an installation that is not too interactive and is more of a visual experience.

Materials:

  1. – 12 wood panels (6 = 35×35 cm, 6 = 26×26 cm)

    – 2 LED Strips (60 LEDS each)

    – Paper (Poster) Panels

    – Arduino Uno + USB cable (Type A to B)

    – Wires

    – 400 ohm resistor

    – Super Glue

    – Tape

    – Scissors

    – Wire cutters

    – Soldering Iron + Soldering Wire

    – Copper tape

    – 5 (9V) batteries or a battery with ~45 V

    – Projector (Optional: Tripod)

    – Optional: Speakers

    – Laptop

    Software:

    1. Processing 3 & 2 (Syphon doesn’t work with Processing 3)

    2. Arduino

    3. Movie Editing Software (iMovie, Final Cut Pro, Sony Vegas, etc)

    4. Projection Mapping Software (HeavyM, VPT7, MadMapper, TouchDesigner)


  2. IMG_3664IMG_3663
    IMG_3665

    Installation Plan

    LED Strip connection to the arduino

Make your own box

box-20151203_064912_3086673049

box-20151203_063118_598724

LED movement plan

Where to get code for the LED lights:

https://learn.adafruit.com/adafruit-neopixel-uberguide/overview


Hippity Hoppity Final Project Conclusion

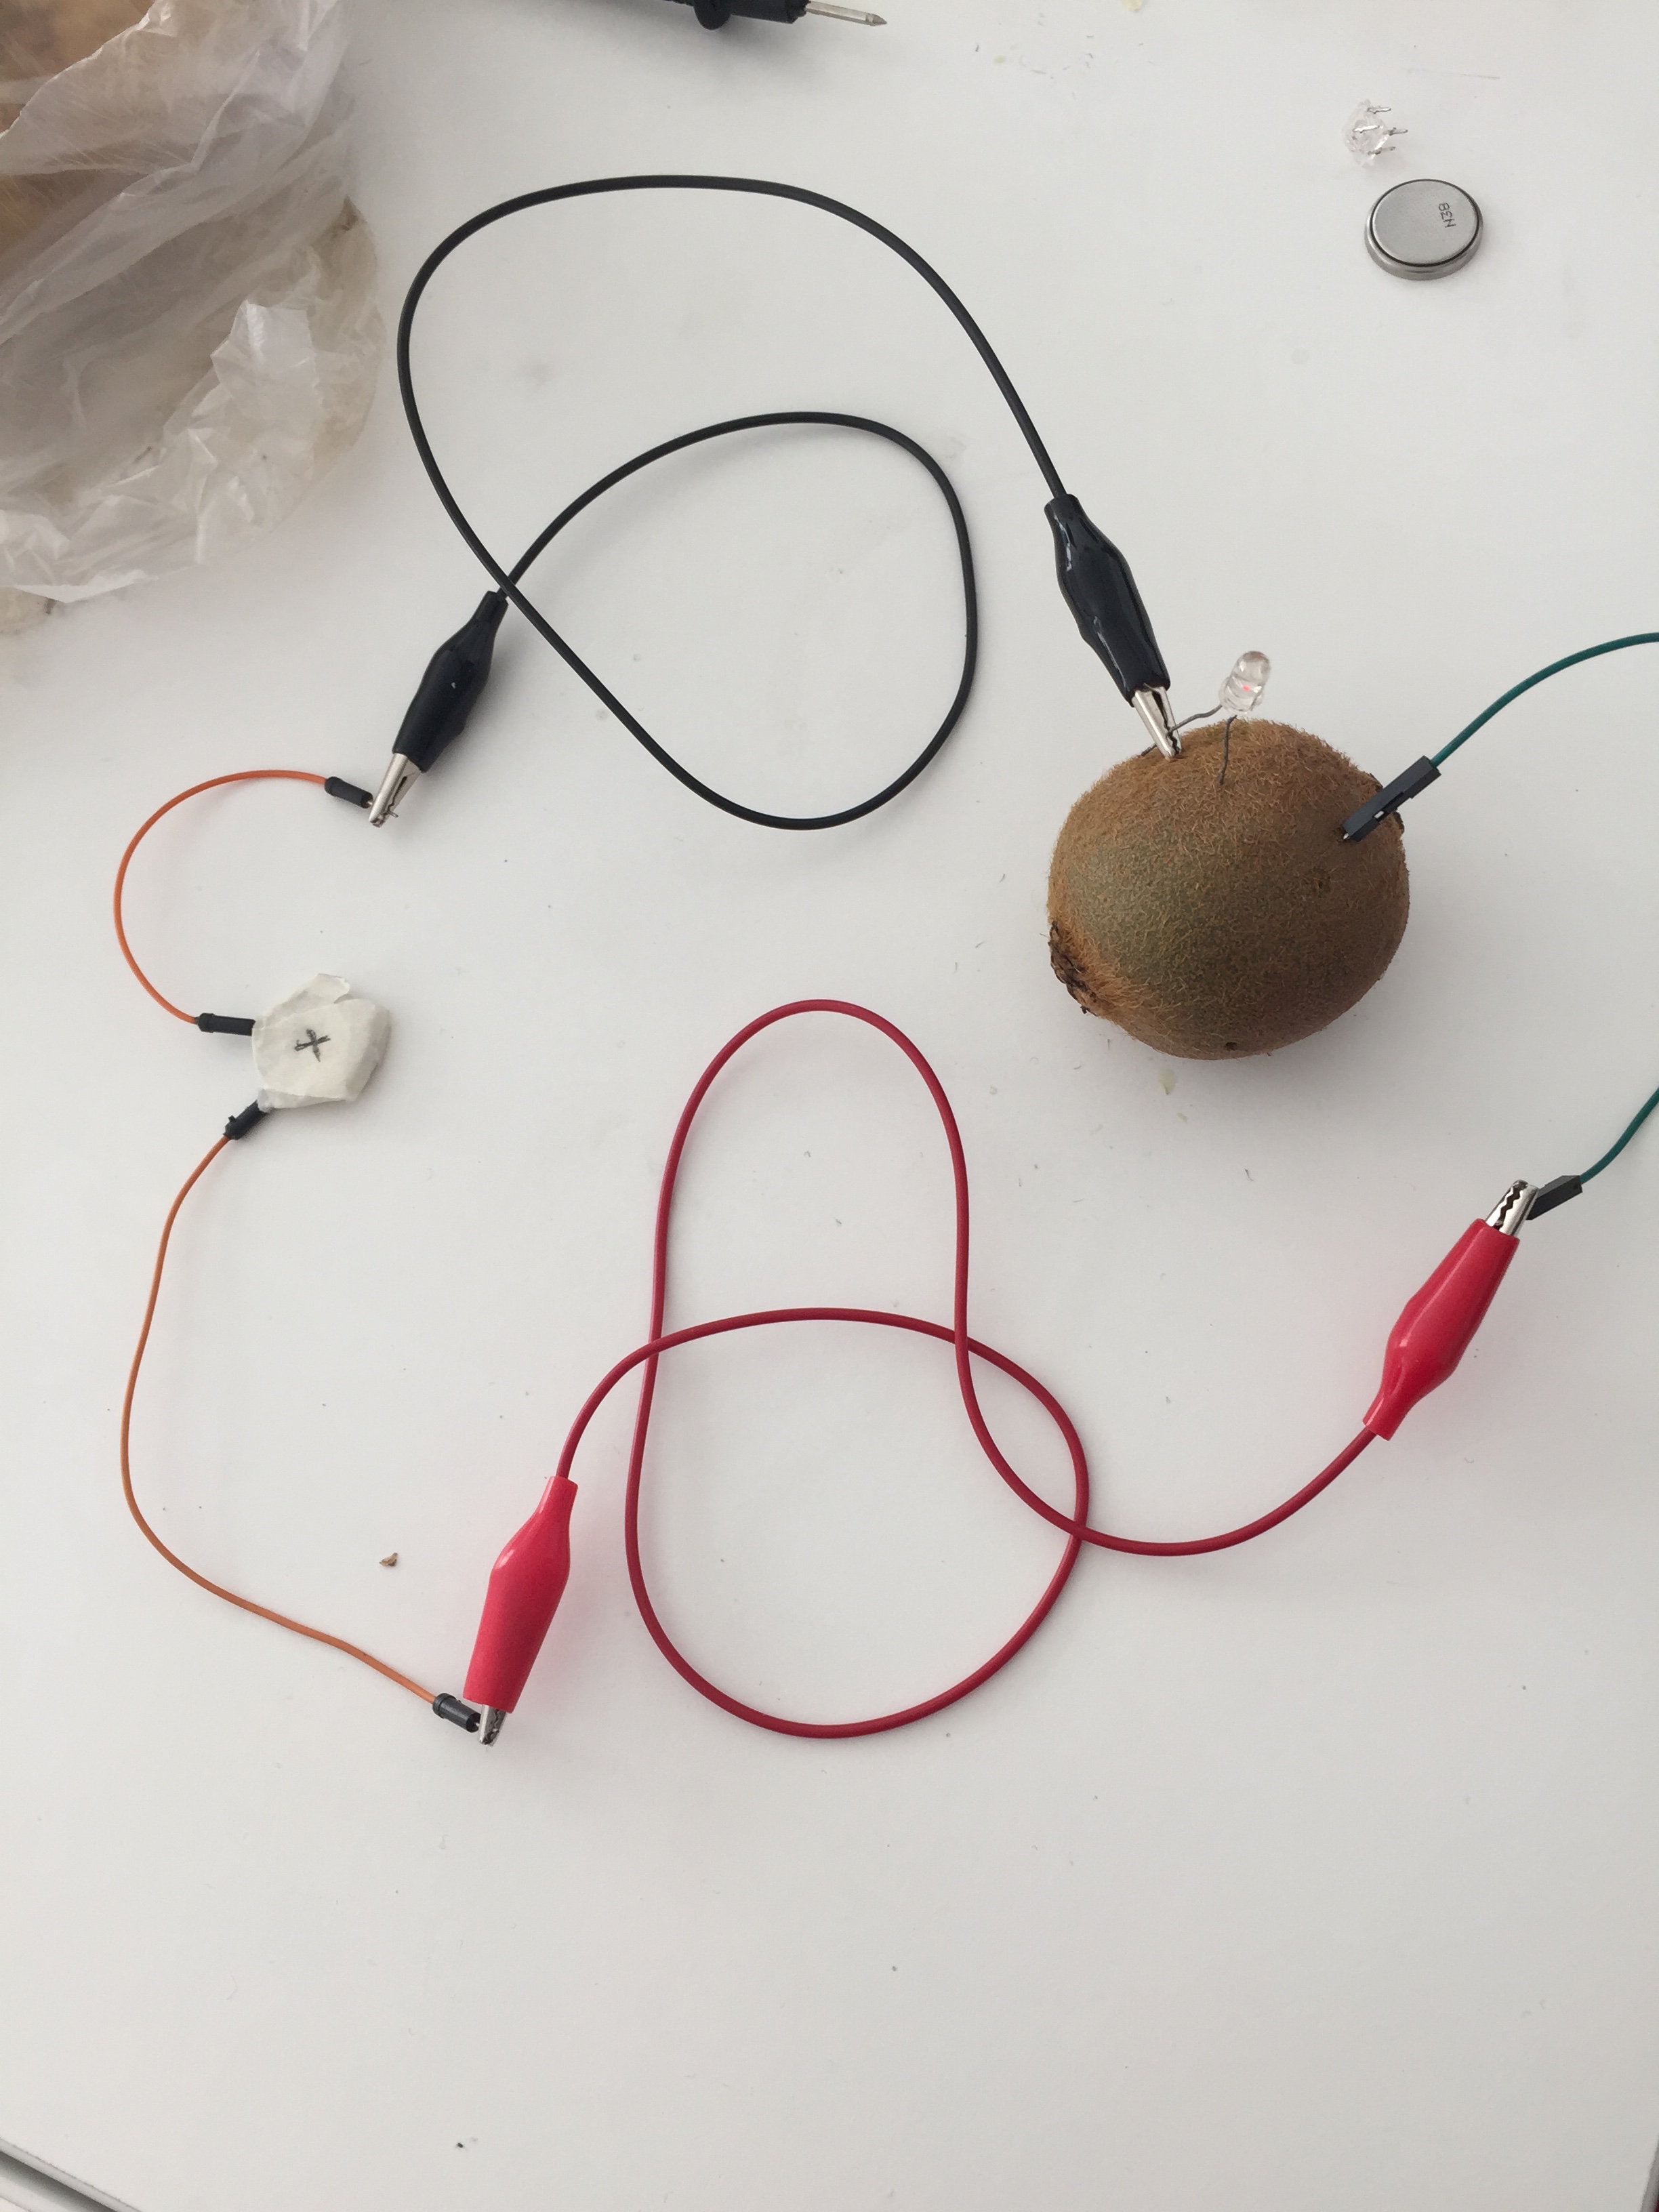
The project was fun to make and it was something I have never done before.

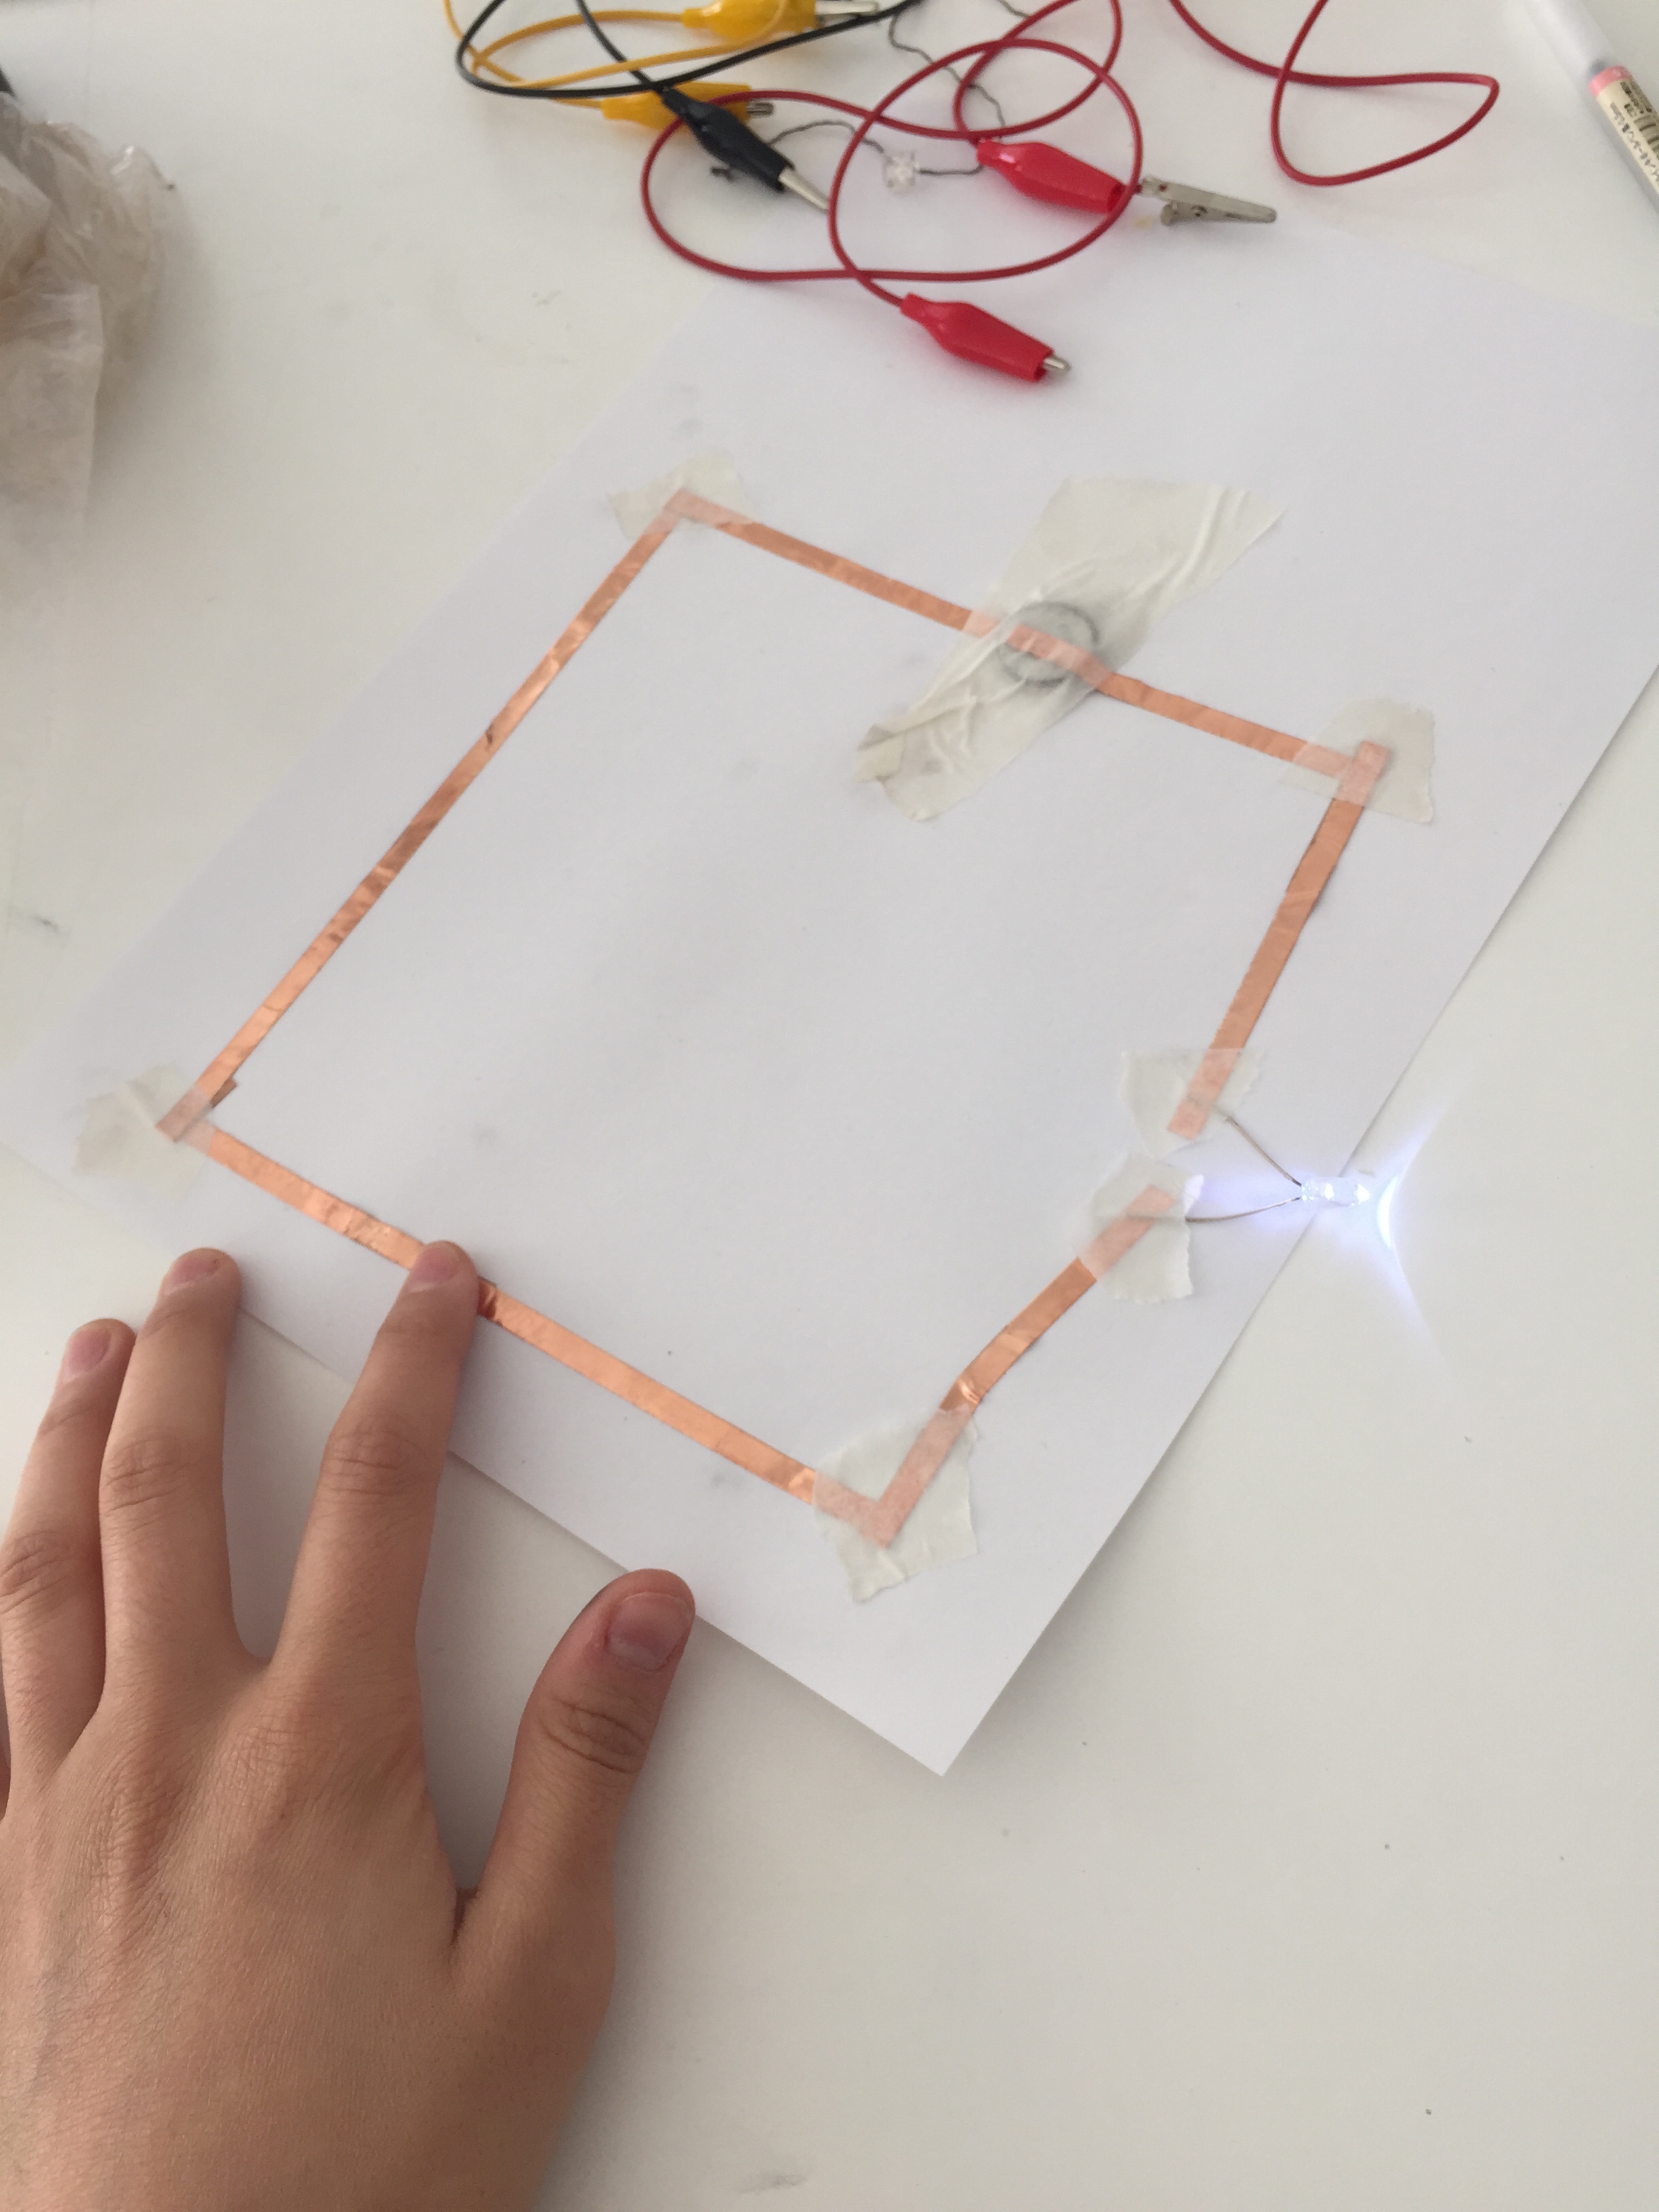
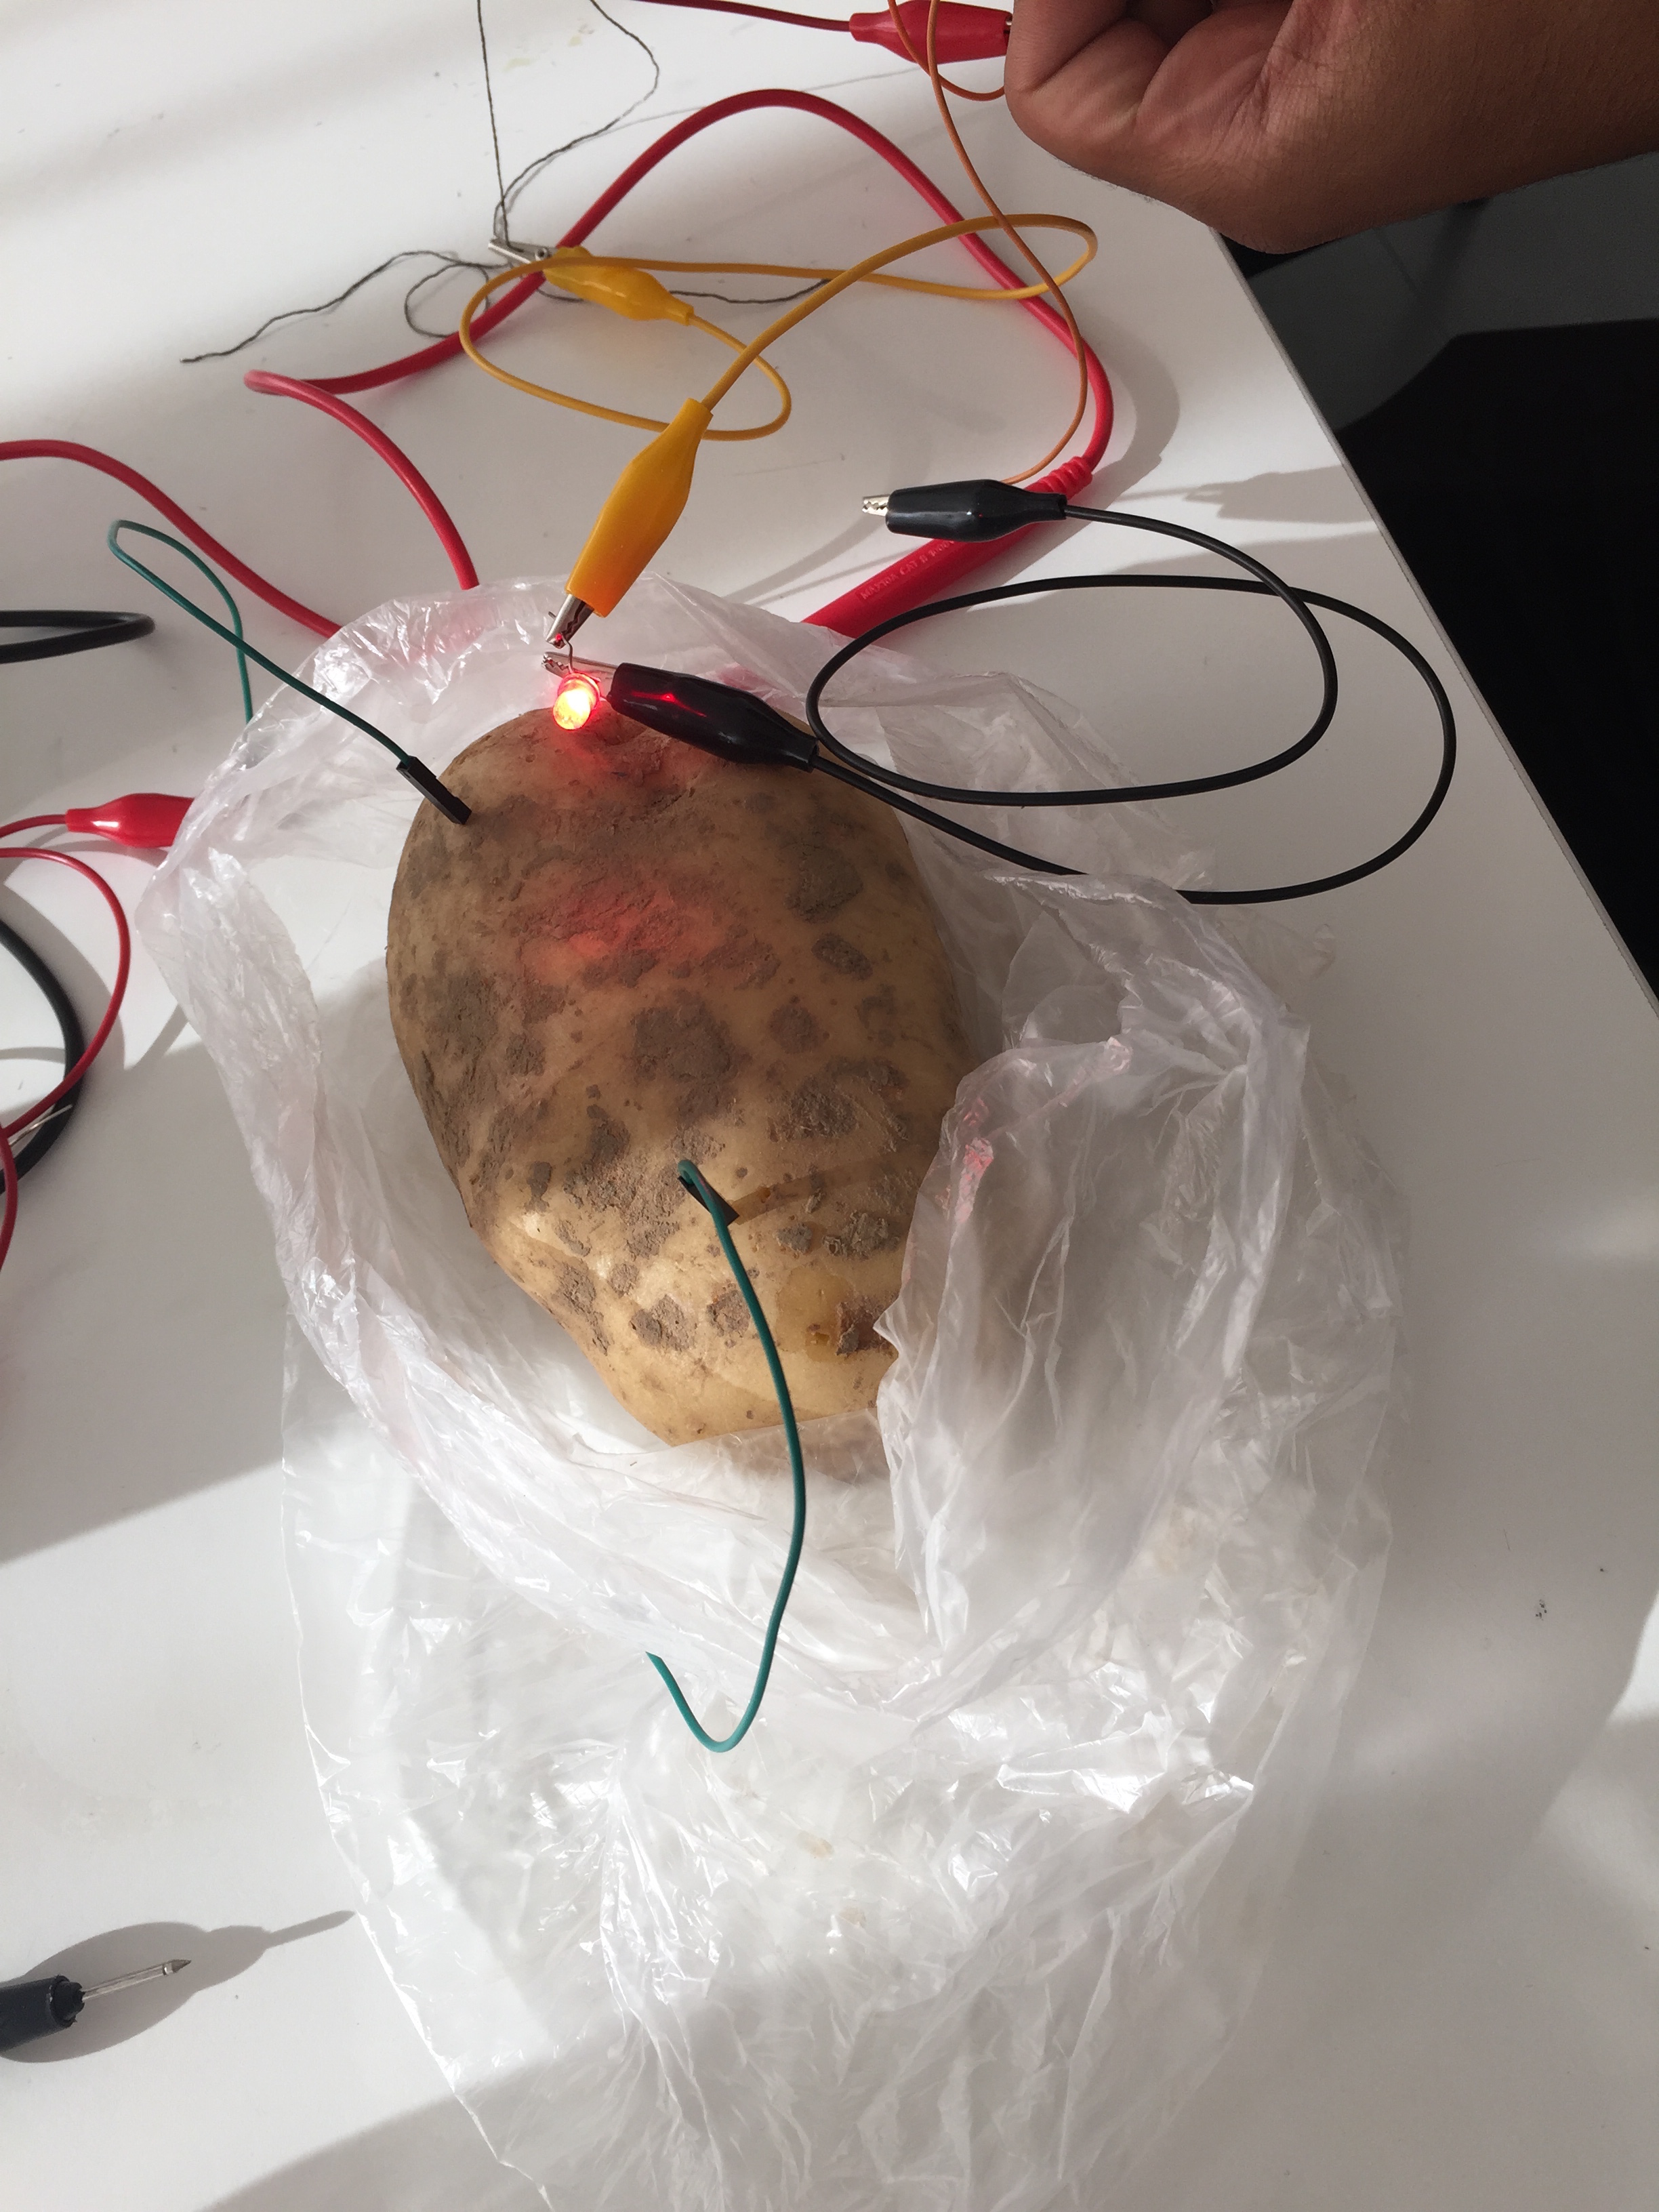
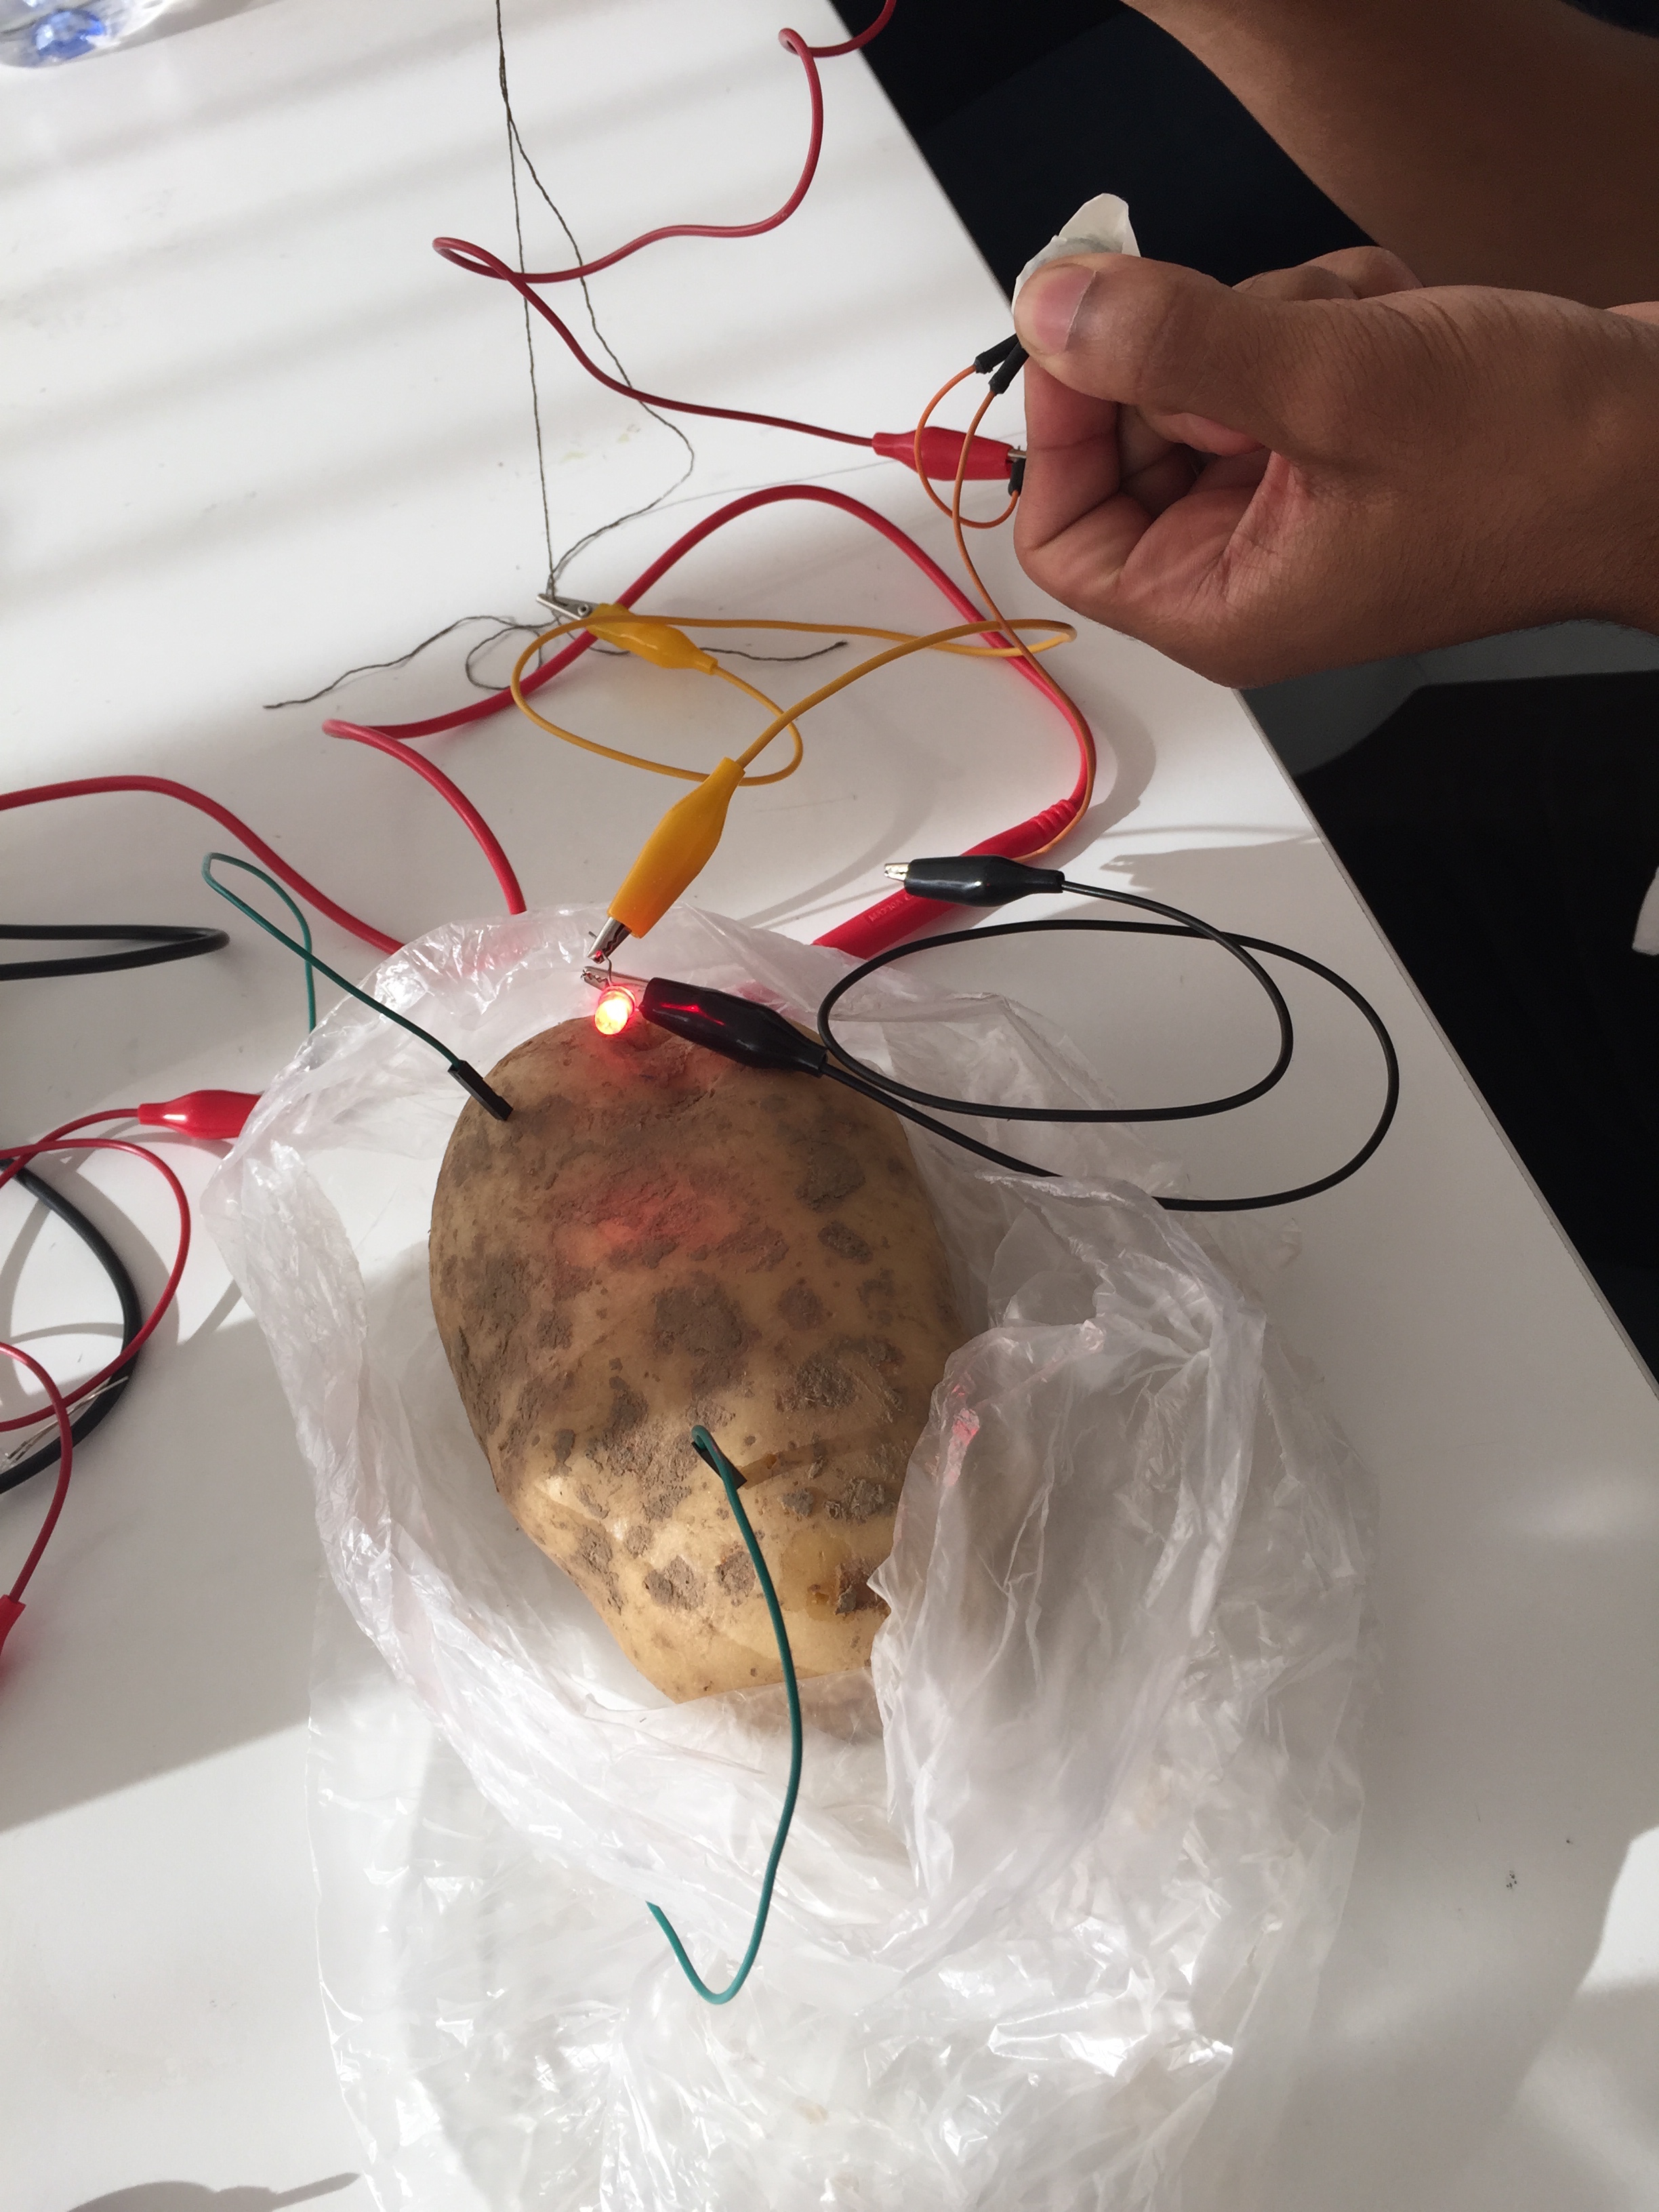
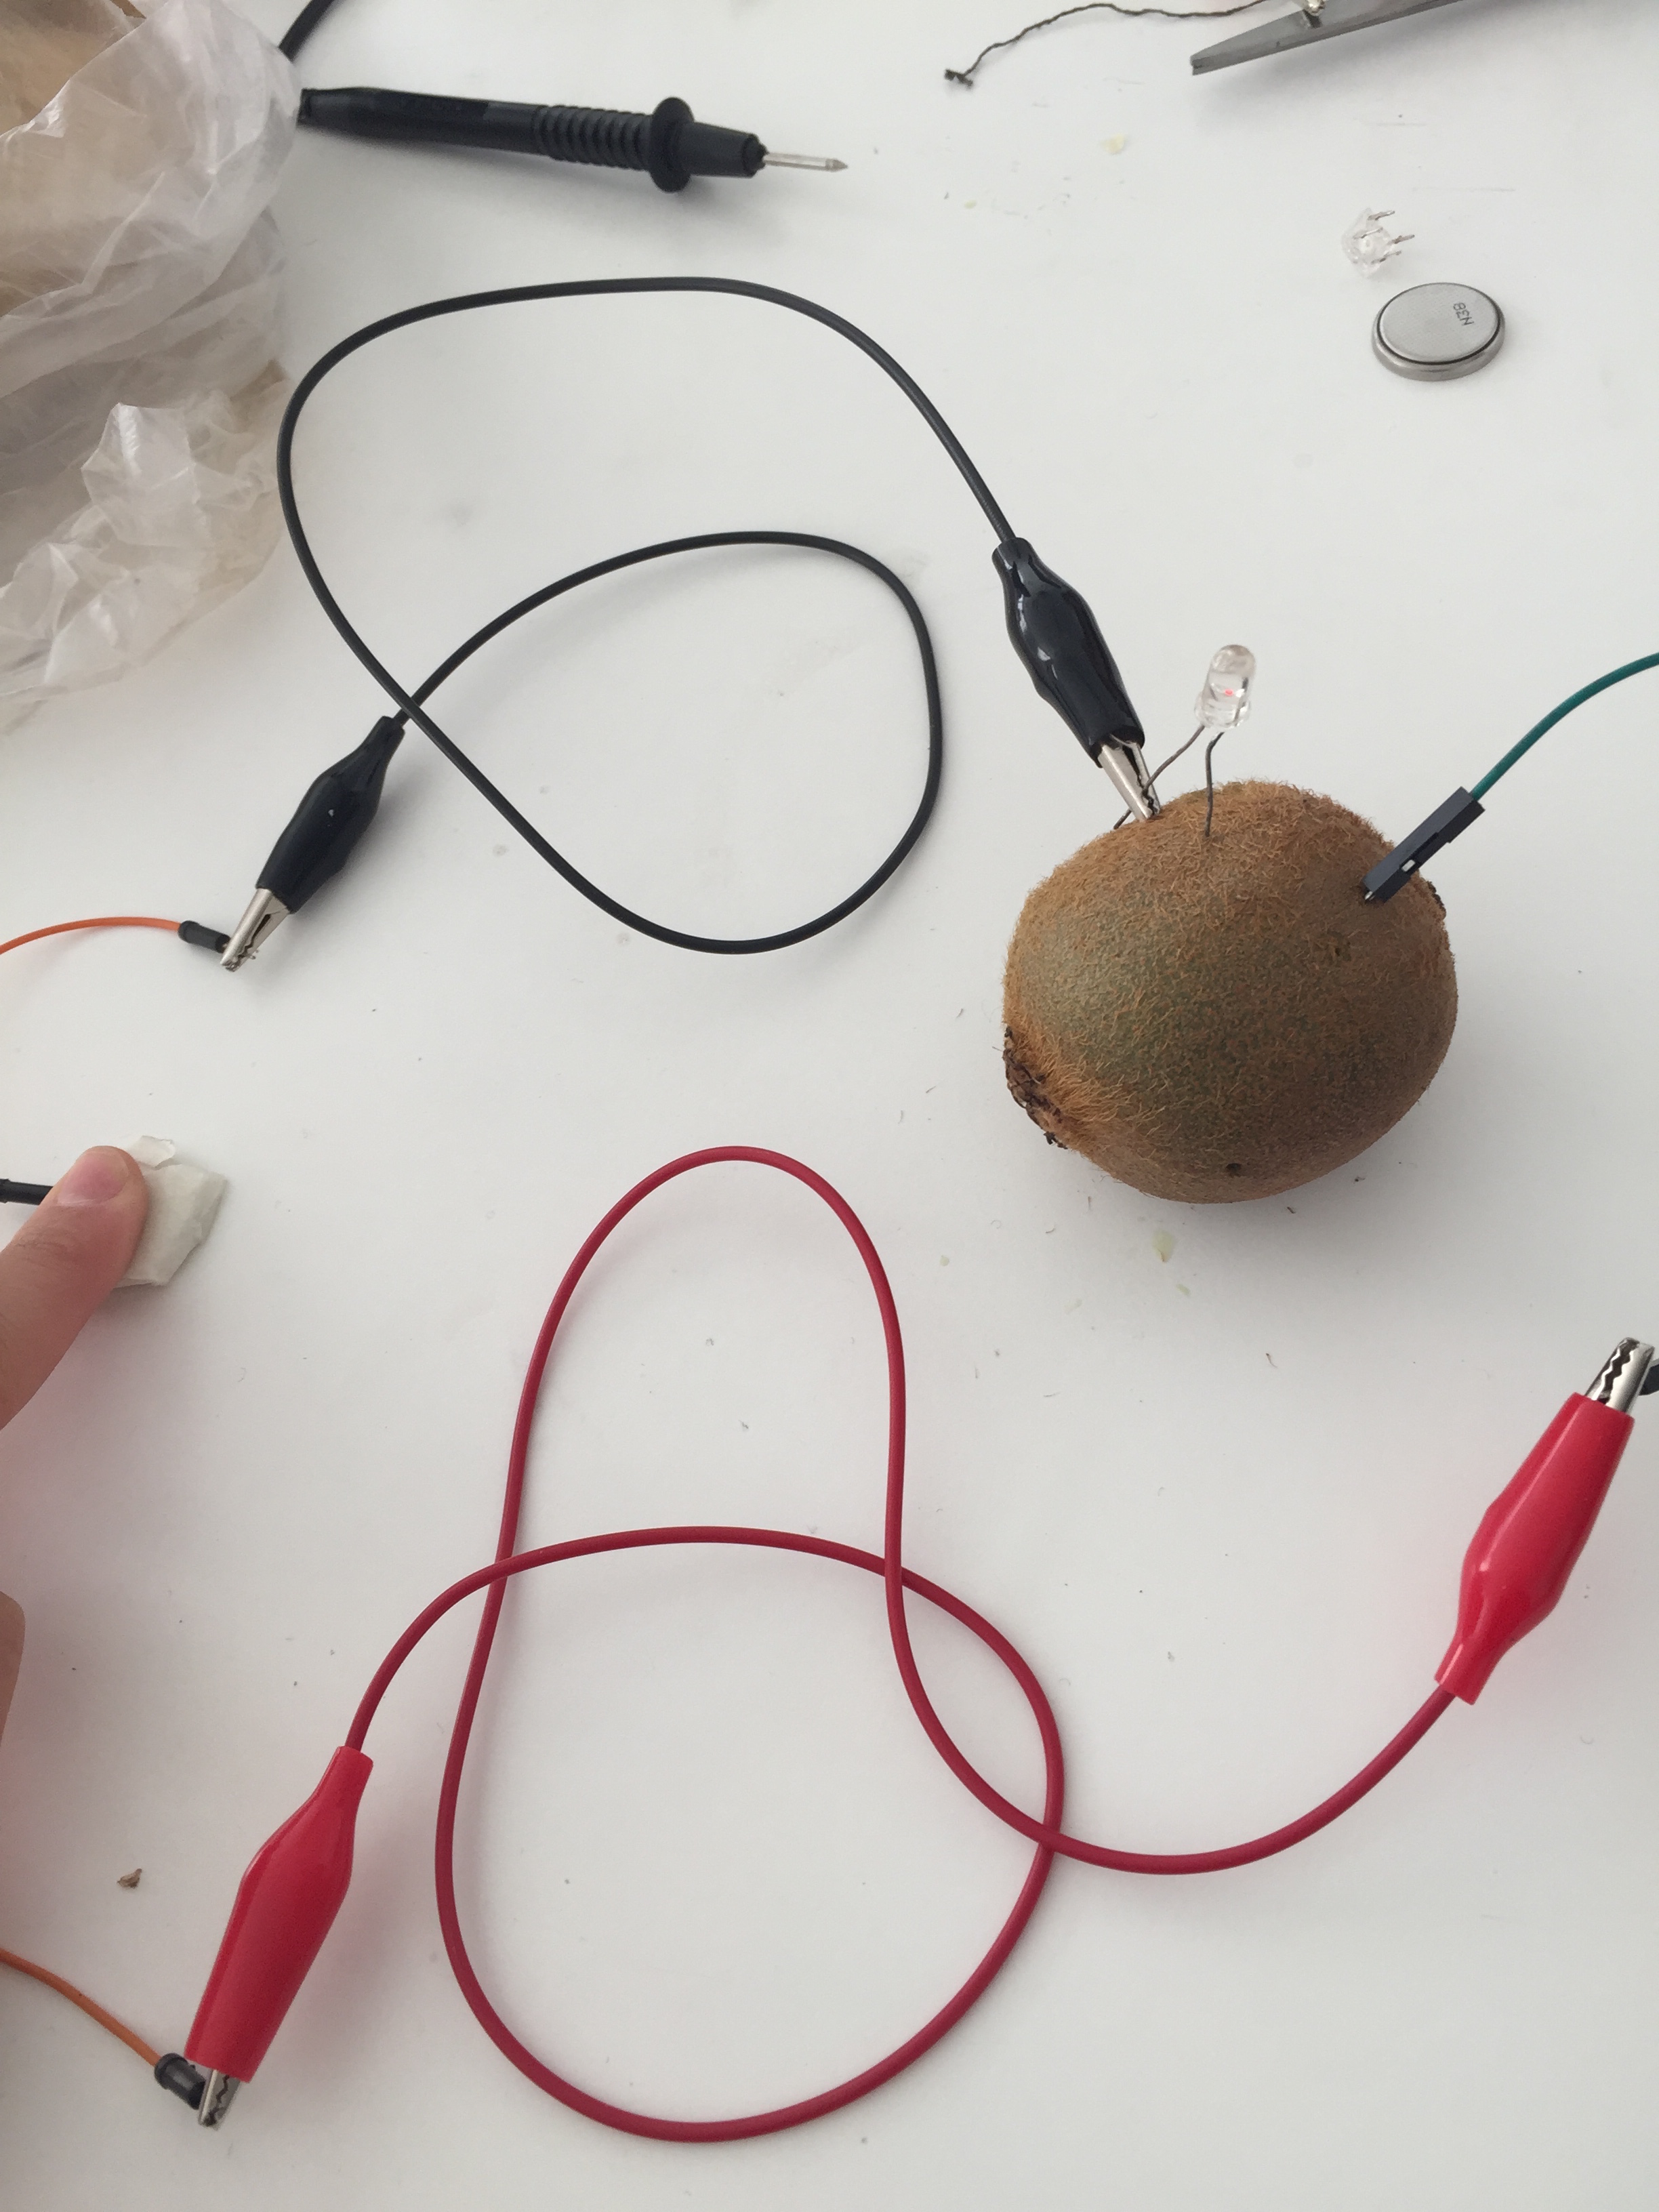
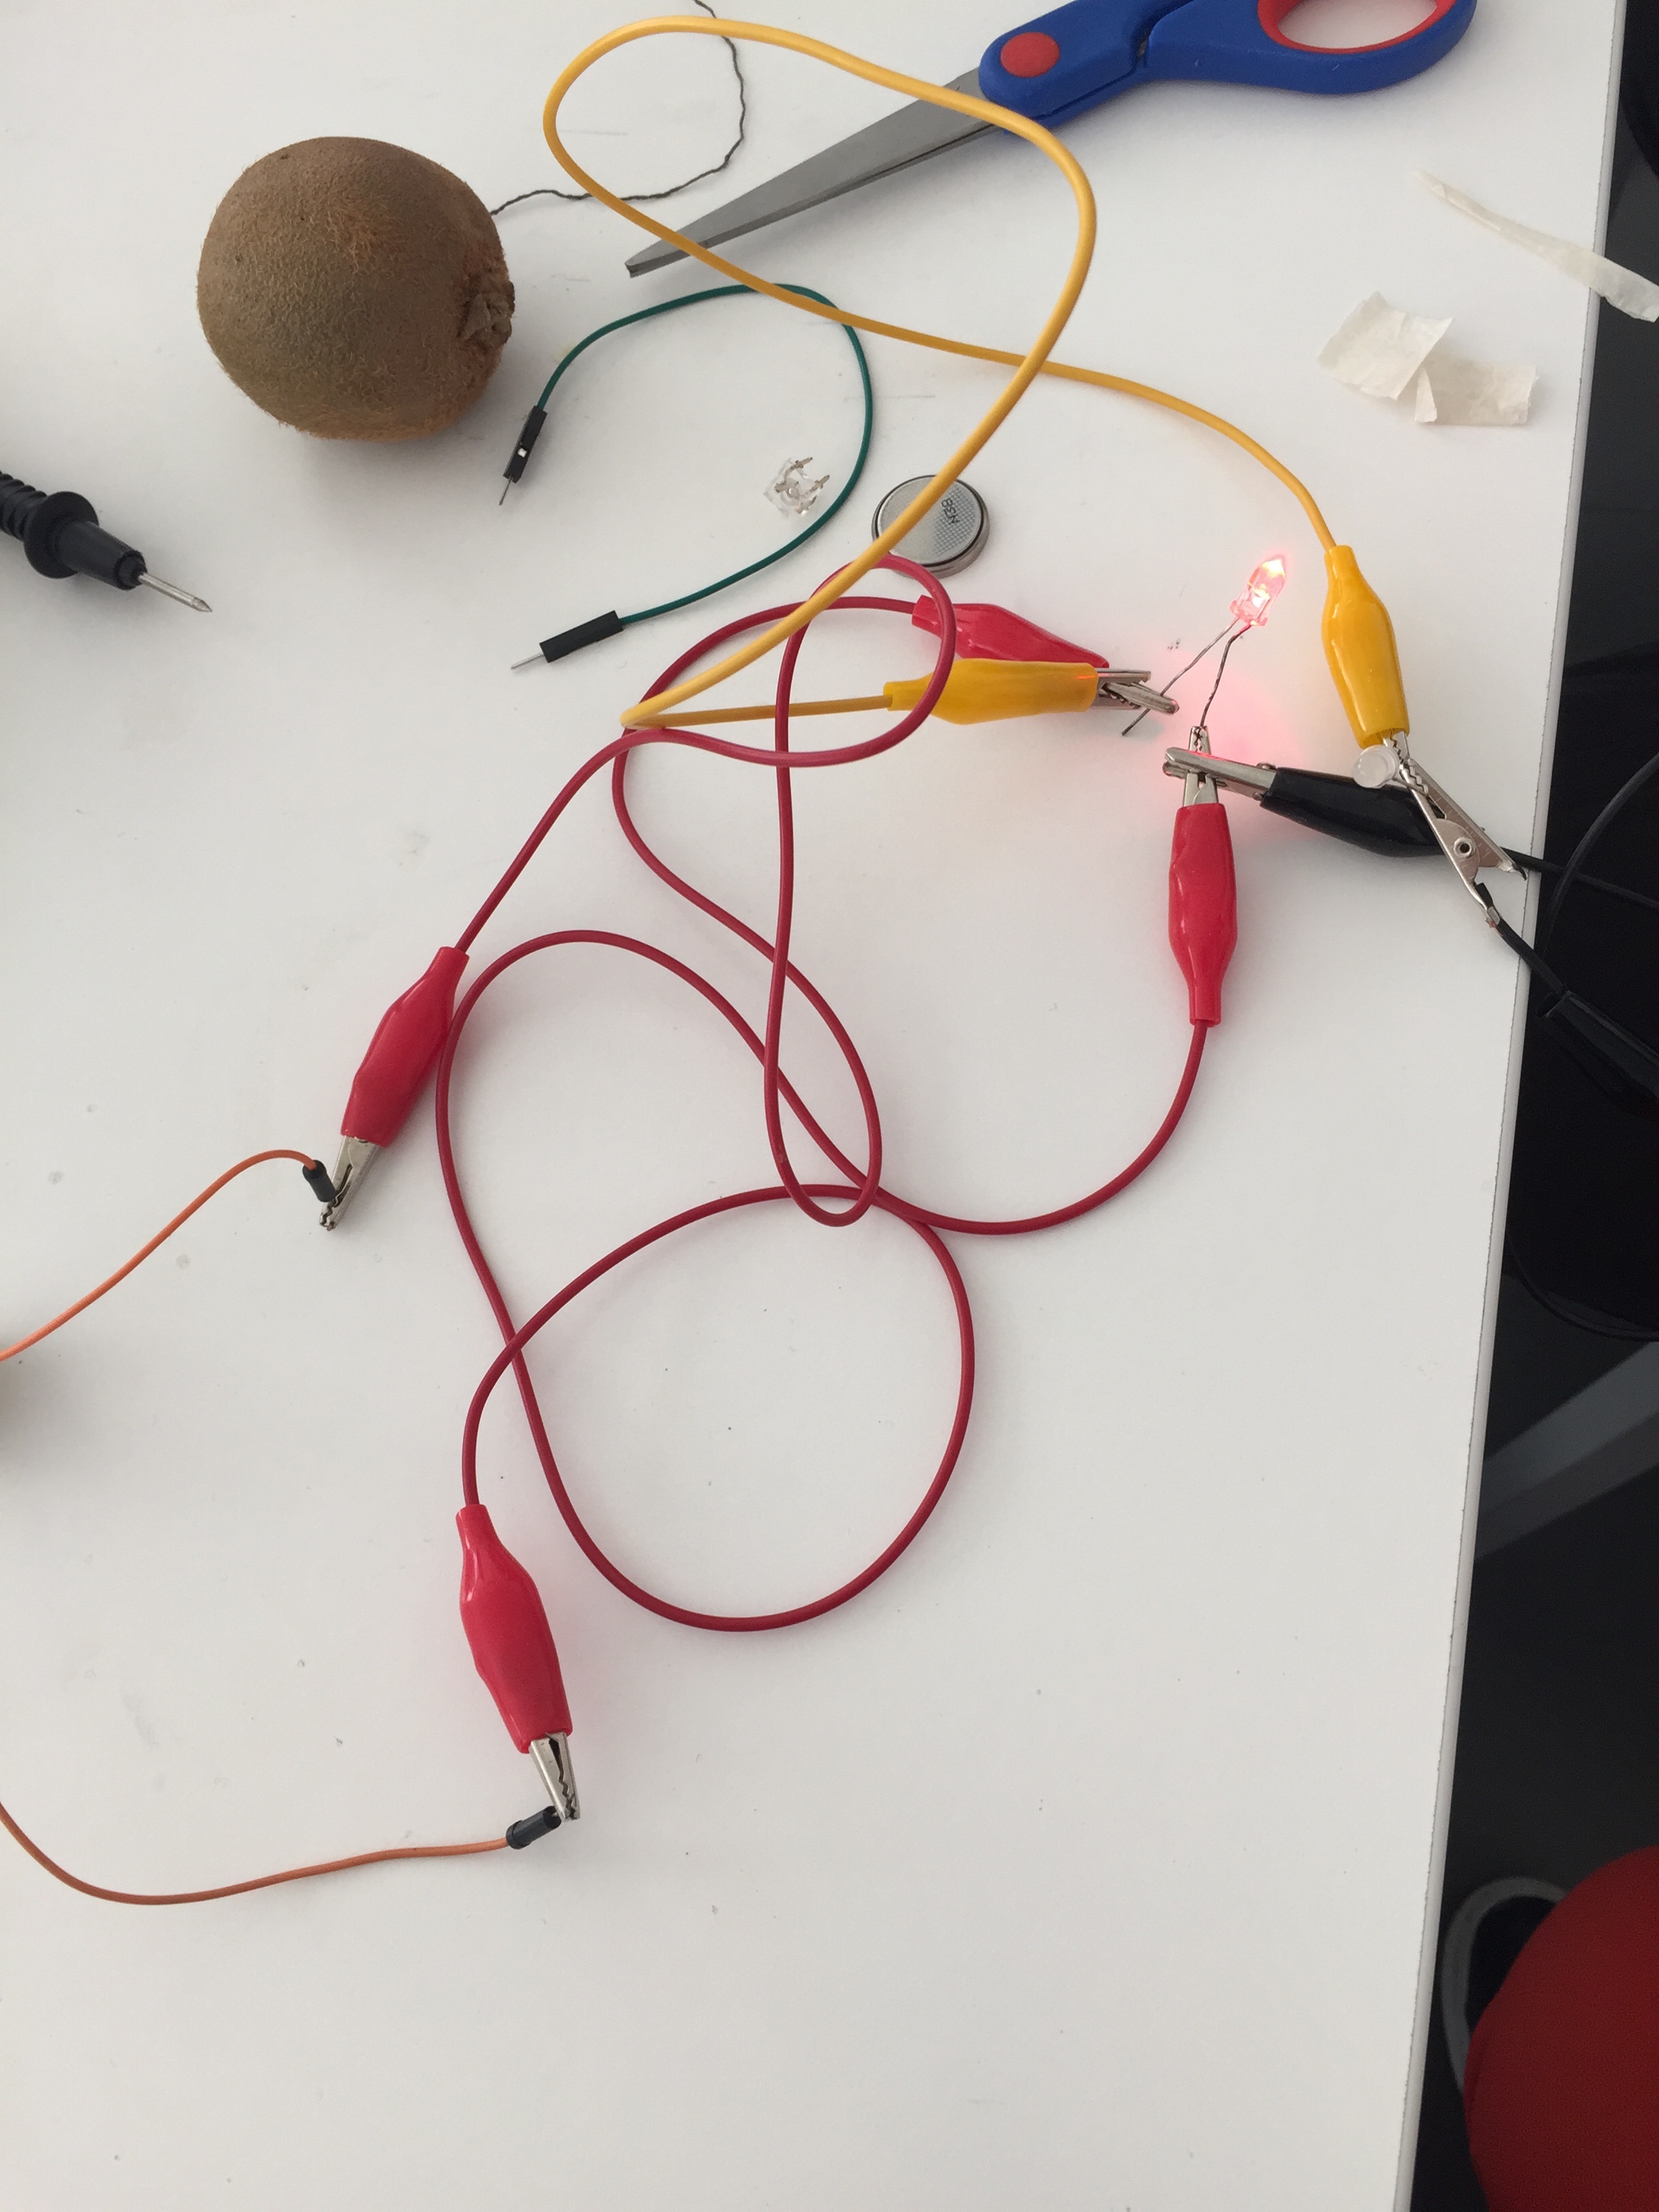
Working with LED lights is a fun activity and I am planning on furthering my studies on that, as well as on projection mapping.

Next time, I will try to sync the LED lights with the projections to add more of the wow factor to the project. Perhaps, interactivity is also going to be the next step.

There were problems with syphon library in Processing, but it got resolved. The processing part was fairly easy to make, but the next step for me is going to be syncing all three parts (leds, processing, and the clip) together.

All steps of the project see here (INSTRUCTABLES)