diamond button


IMG_1379

materials:

ruler, sketchbook, scissors, foam, any type of fabric, conductive fabric, and resistive fabric, sewing needle, thread

Step 1. Choose a shape, sketch, scale and cut out materials accordingly. Do not cut one large shape and sew together. It is crucial to create two parts which we will later sew together to create the one shape.

IMG_1378

Step 2.  Layer your materials in order of regular fabric, conductive fabric, restive fabric and lastly foam. Sew layers together and repeat.

IMG_1382

Step 3. Sew the two halves of your shape together.

IMG_1383

Step 4. Admire your button.

IMG_1385

Triangle Soft Sensor

Material:

  • conductive fabric
  • resistive fabric
  • normal fabric (neoprene)
  • conductive thread
  • regular thread
  • foam

Steps:

  • Create two separate shapes of your choice (I decided to make a triangle), because we’ll work on two layers of conductive fabric and they shouldn’t touch each other.
  • Follow this order: regular fabric, conductive fabric, restive fabric and foam. Sew them with conductive thread twice.
  • IMG_5274
  • Sew the two layers together with regular thread.

IMG_5281

  • Your sensor is ready to be used!

IMG_5278

Touch Sensor

So this past week, we worked on touch sensors made out of textiles. It was interesting to learn that you can create electronics from seemingly simple fabric, but the possibilities are endless with conductive fabric.

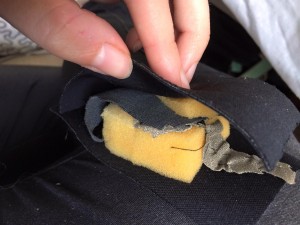
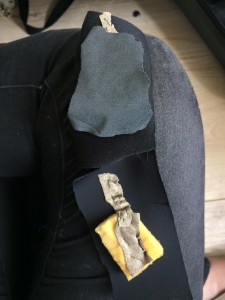
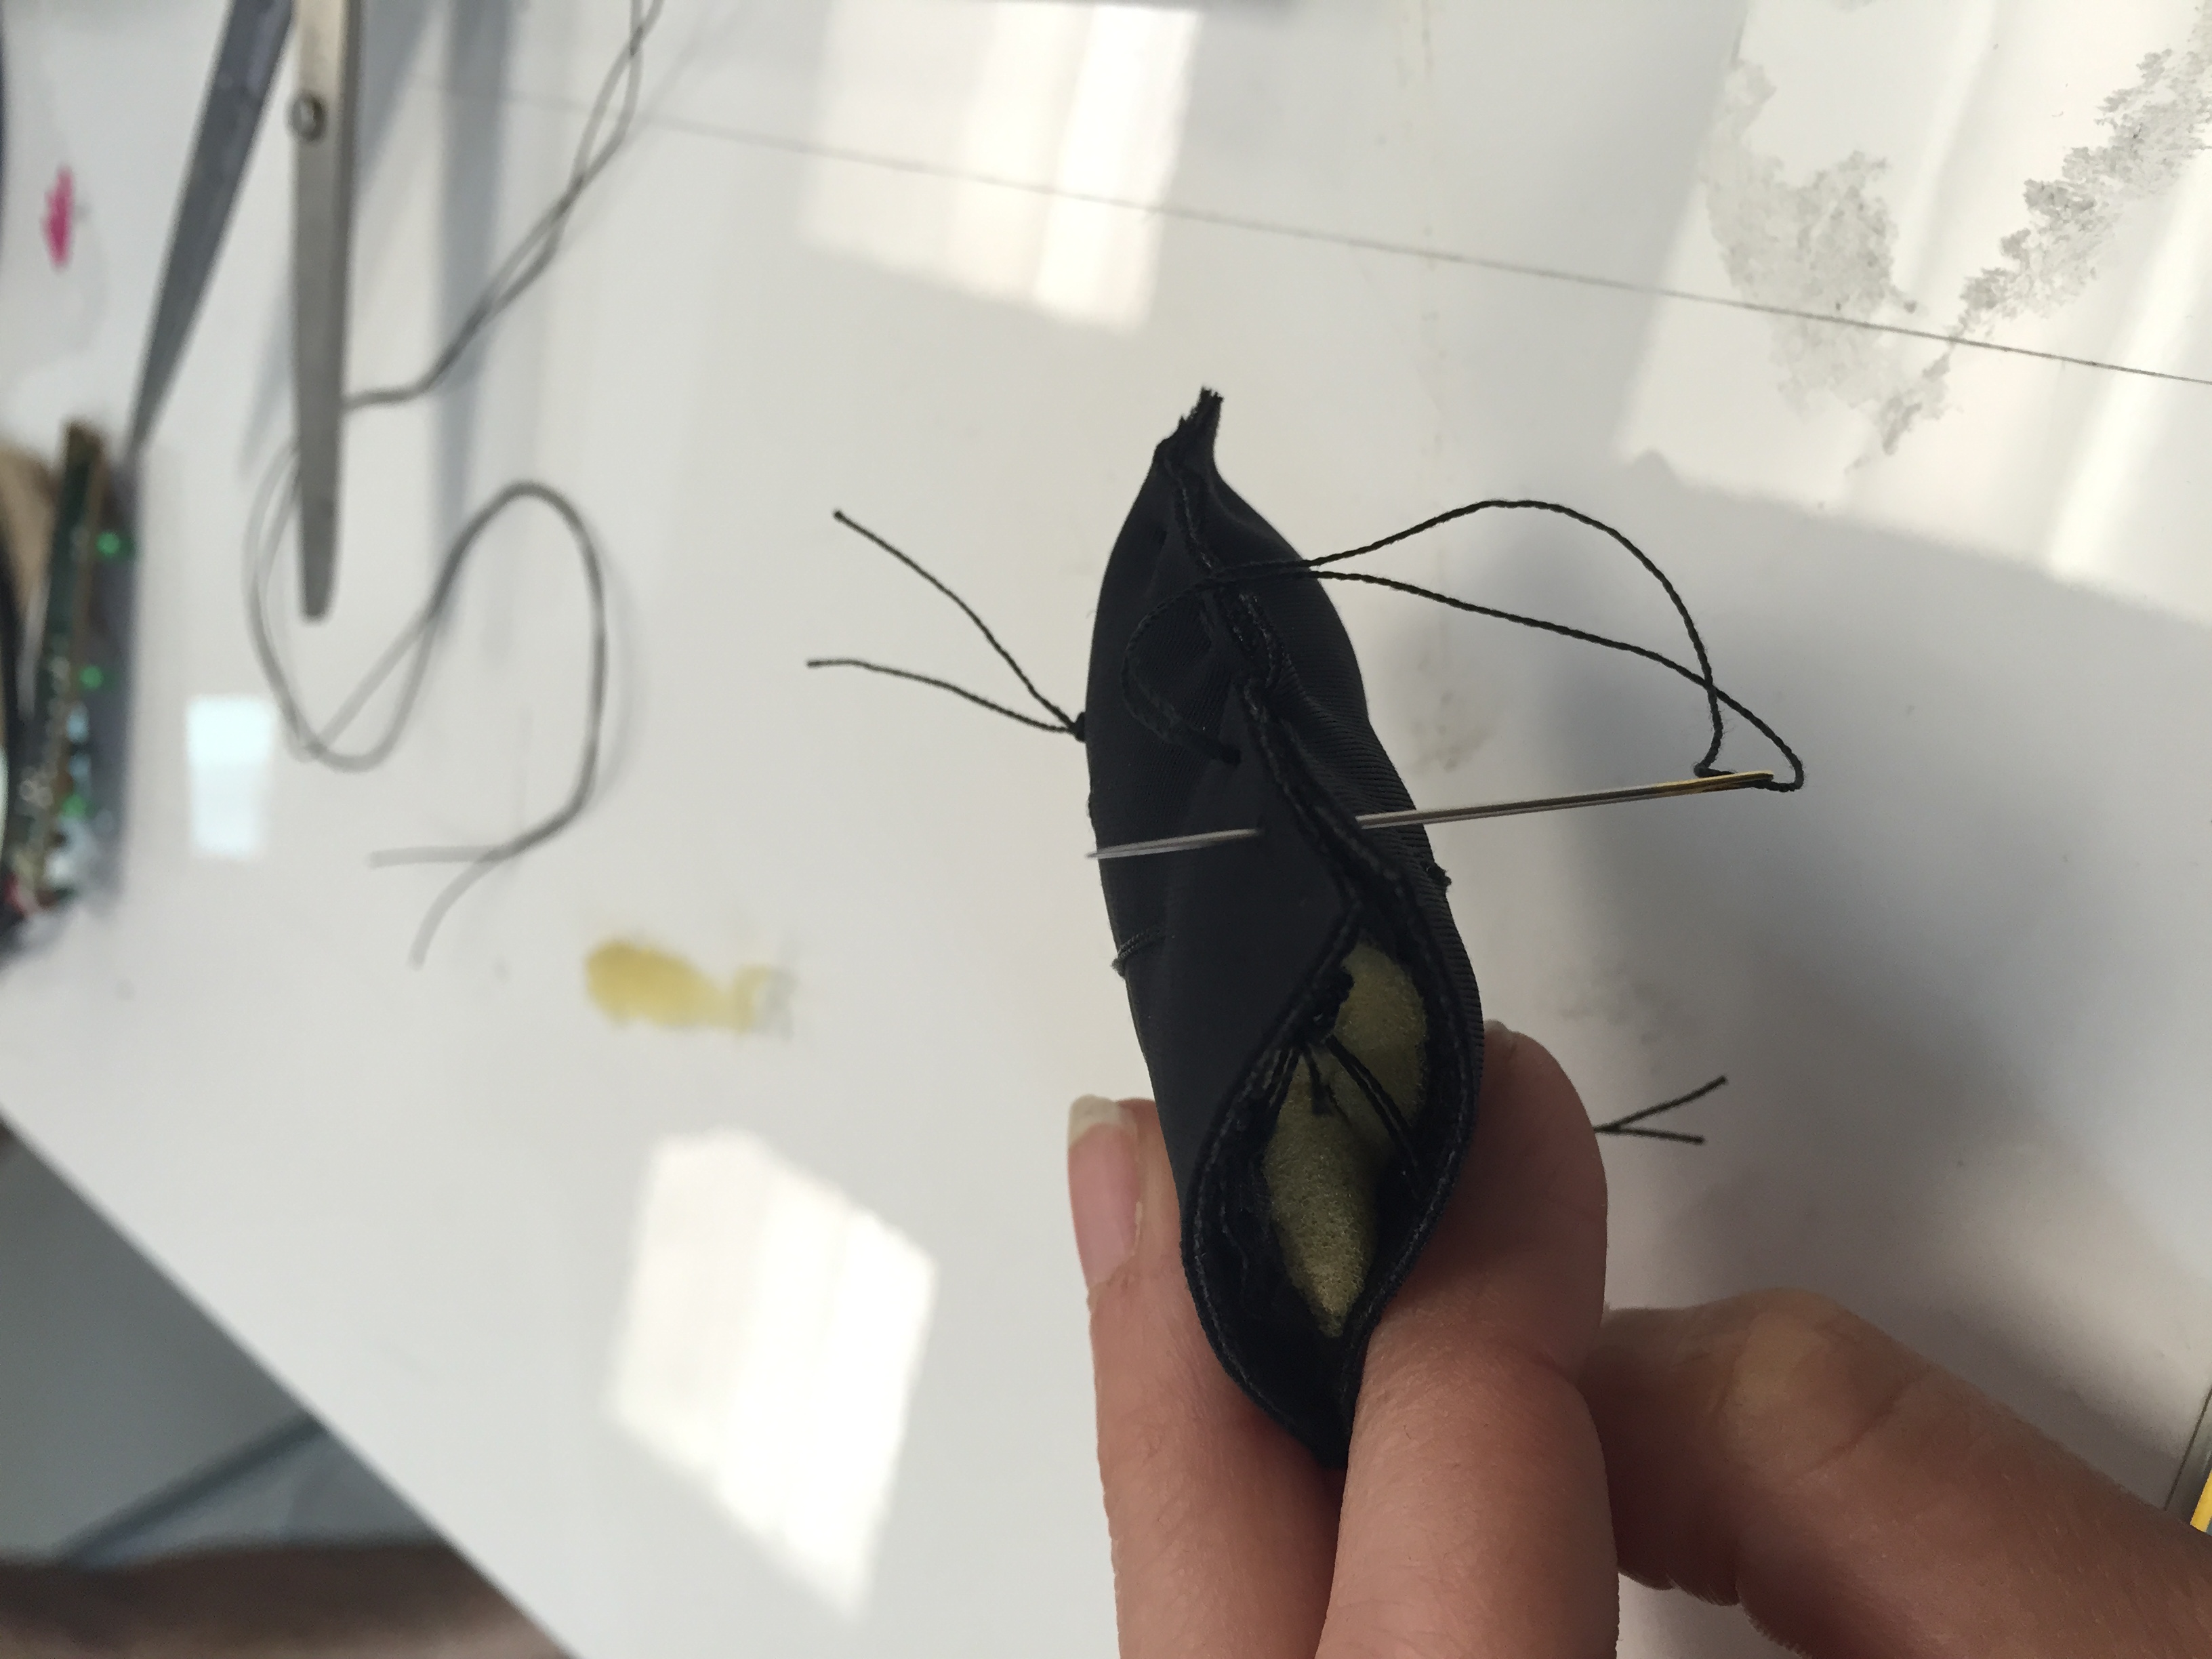
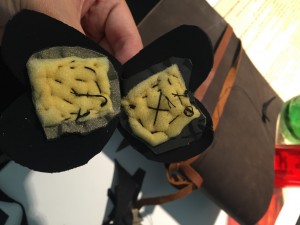
So for this project, I layered my fabric and sponges and sewed it all together (except for the main resistive piece in the middle because I was unsure where exactly to sew it, so I left it so I could move in the right position).

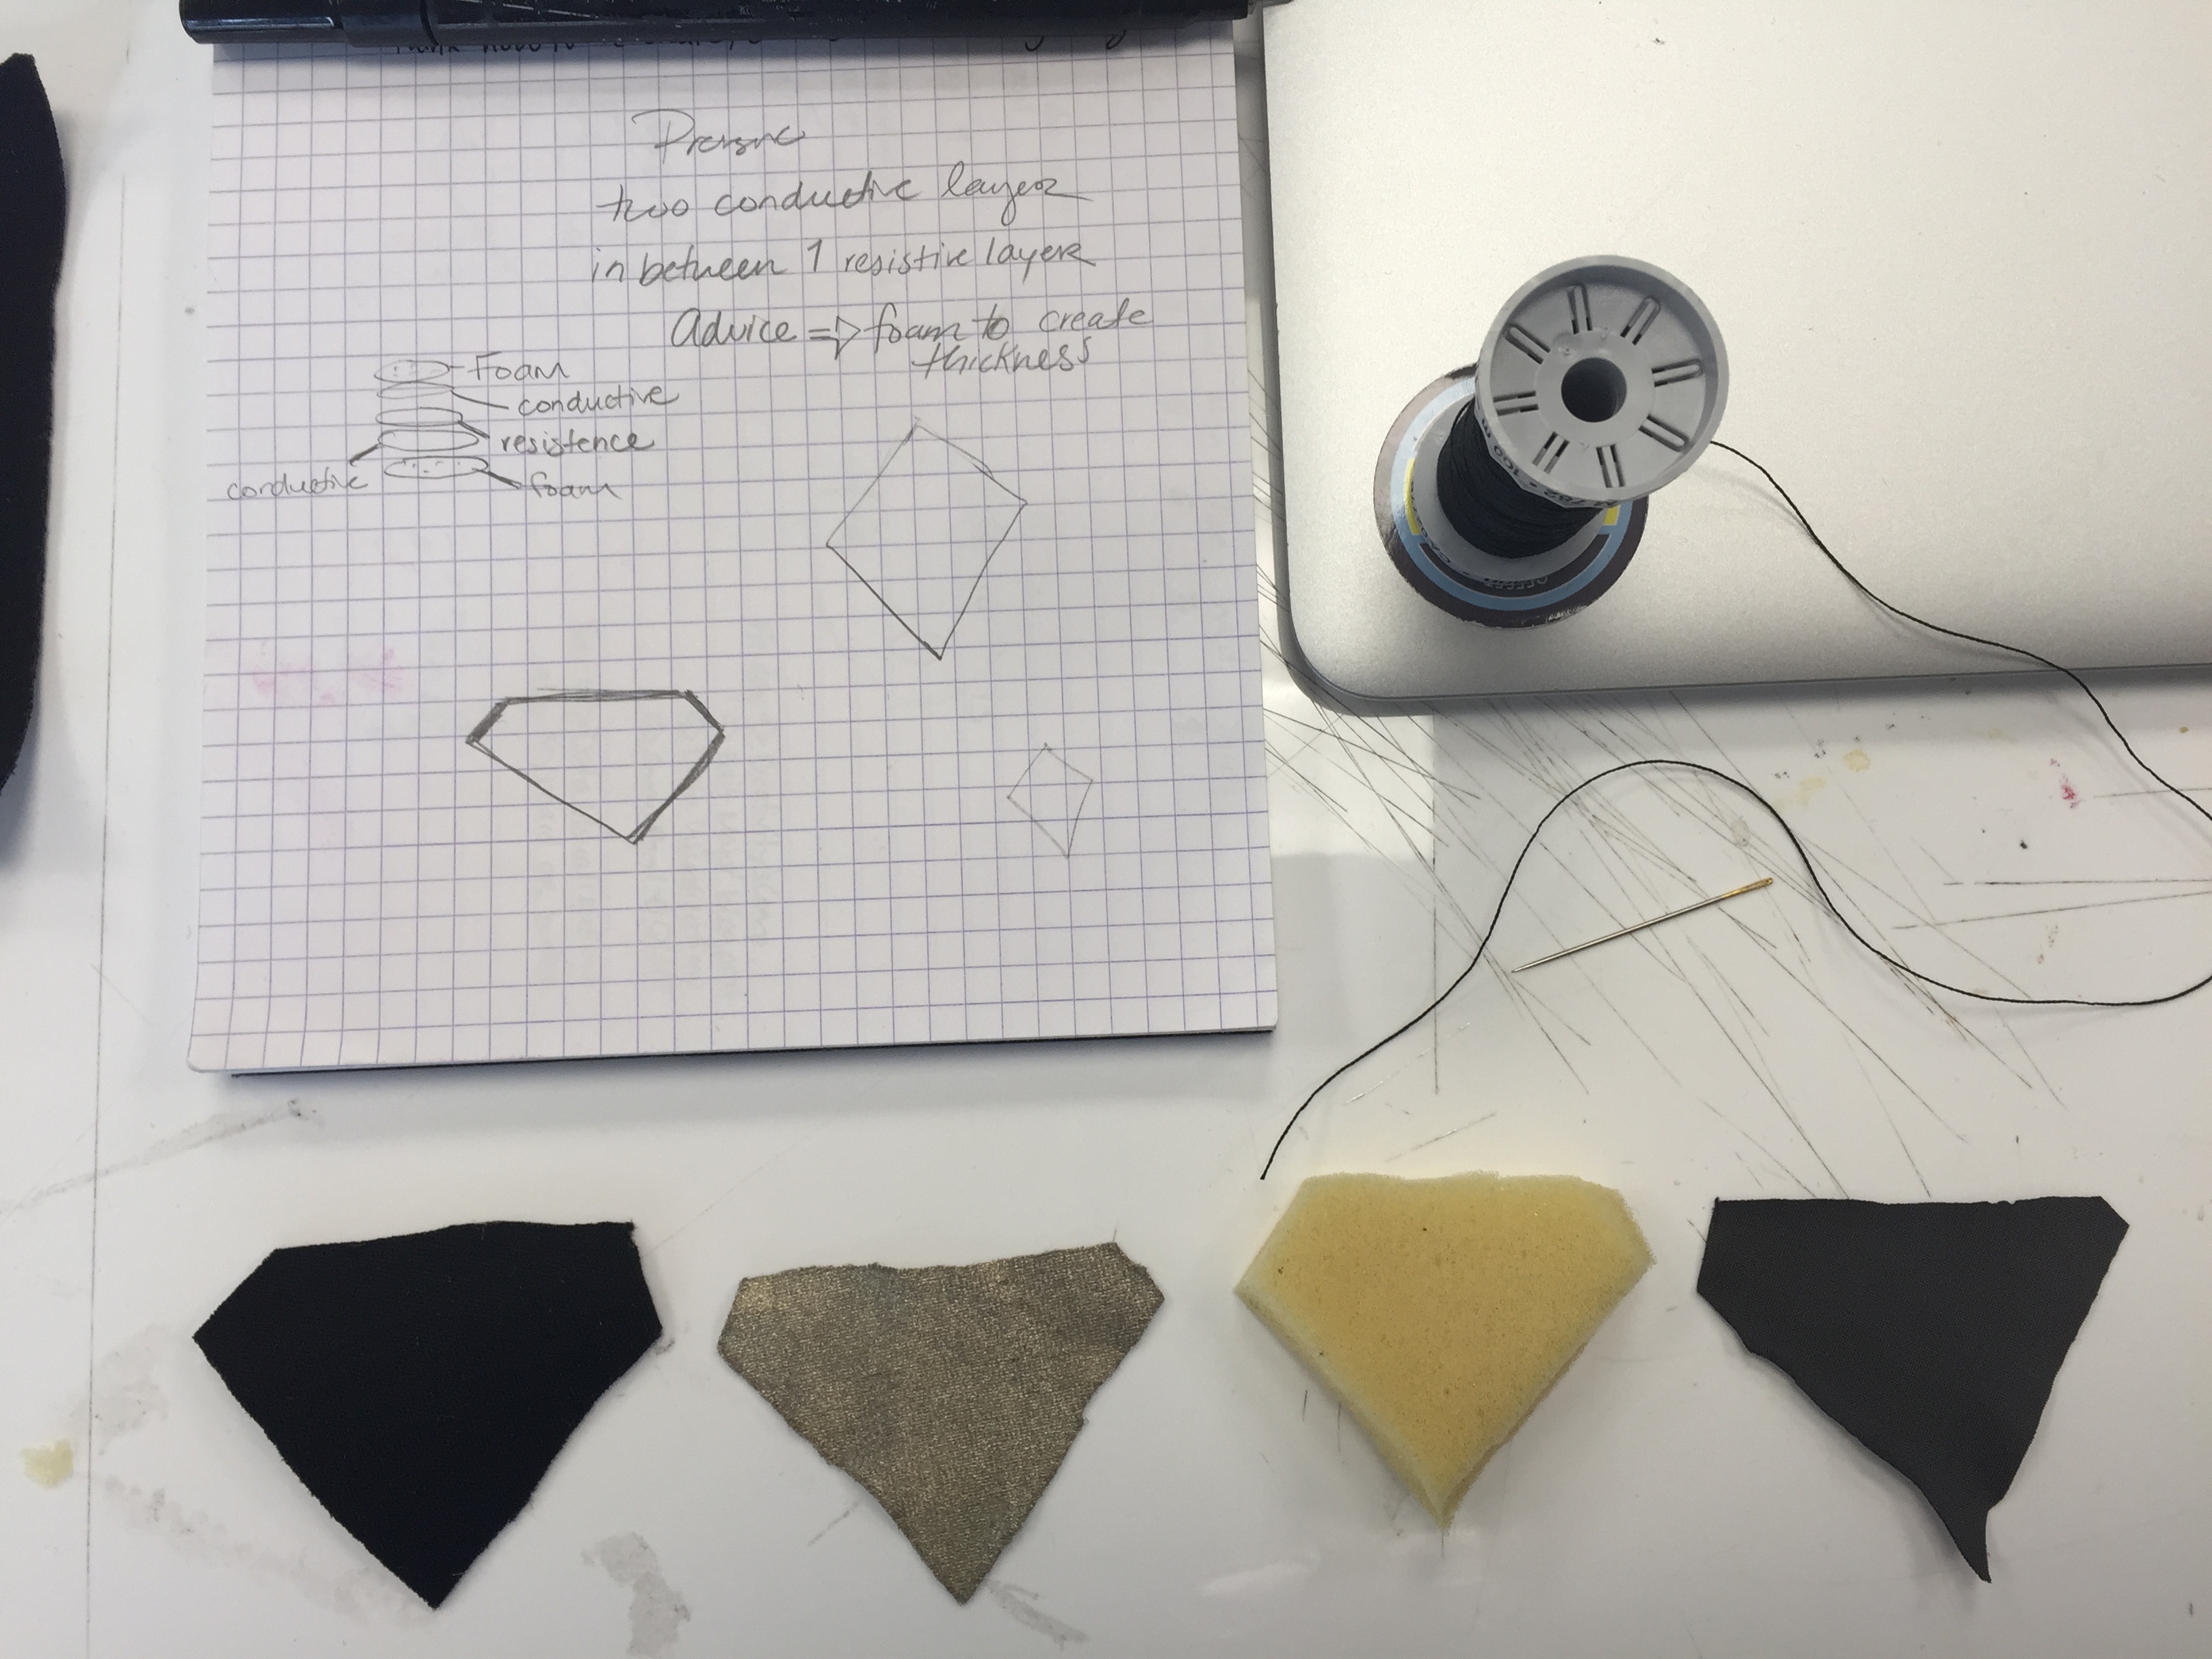
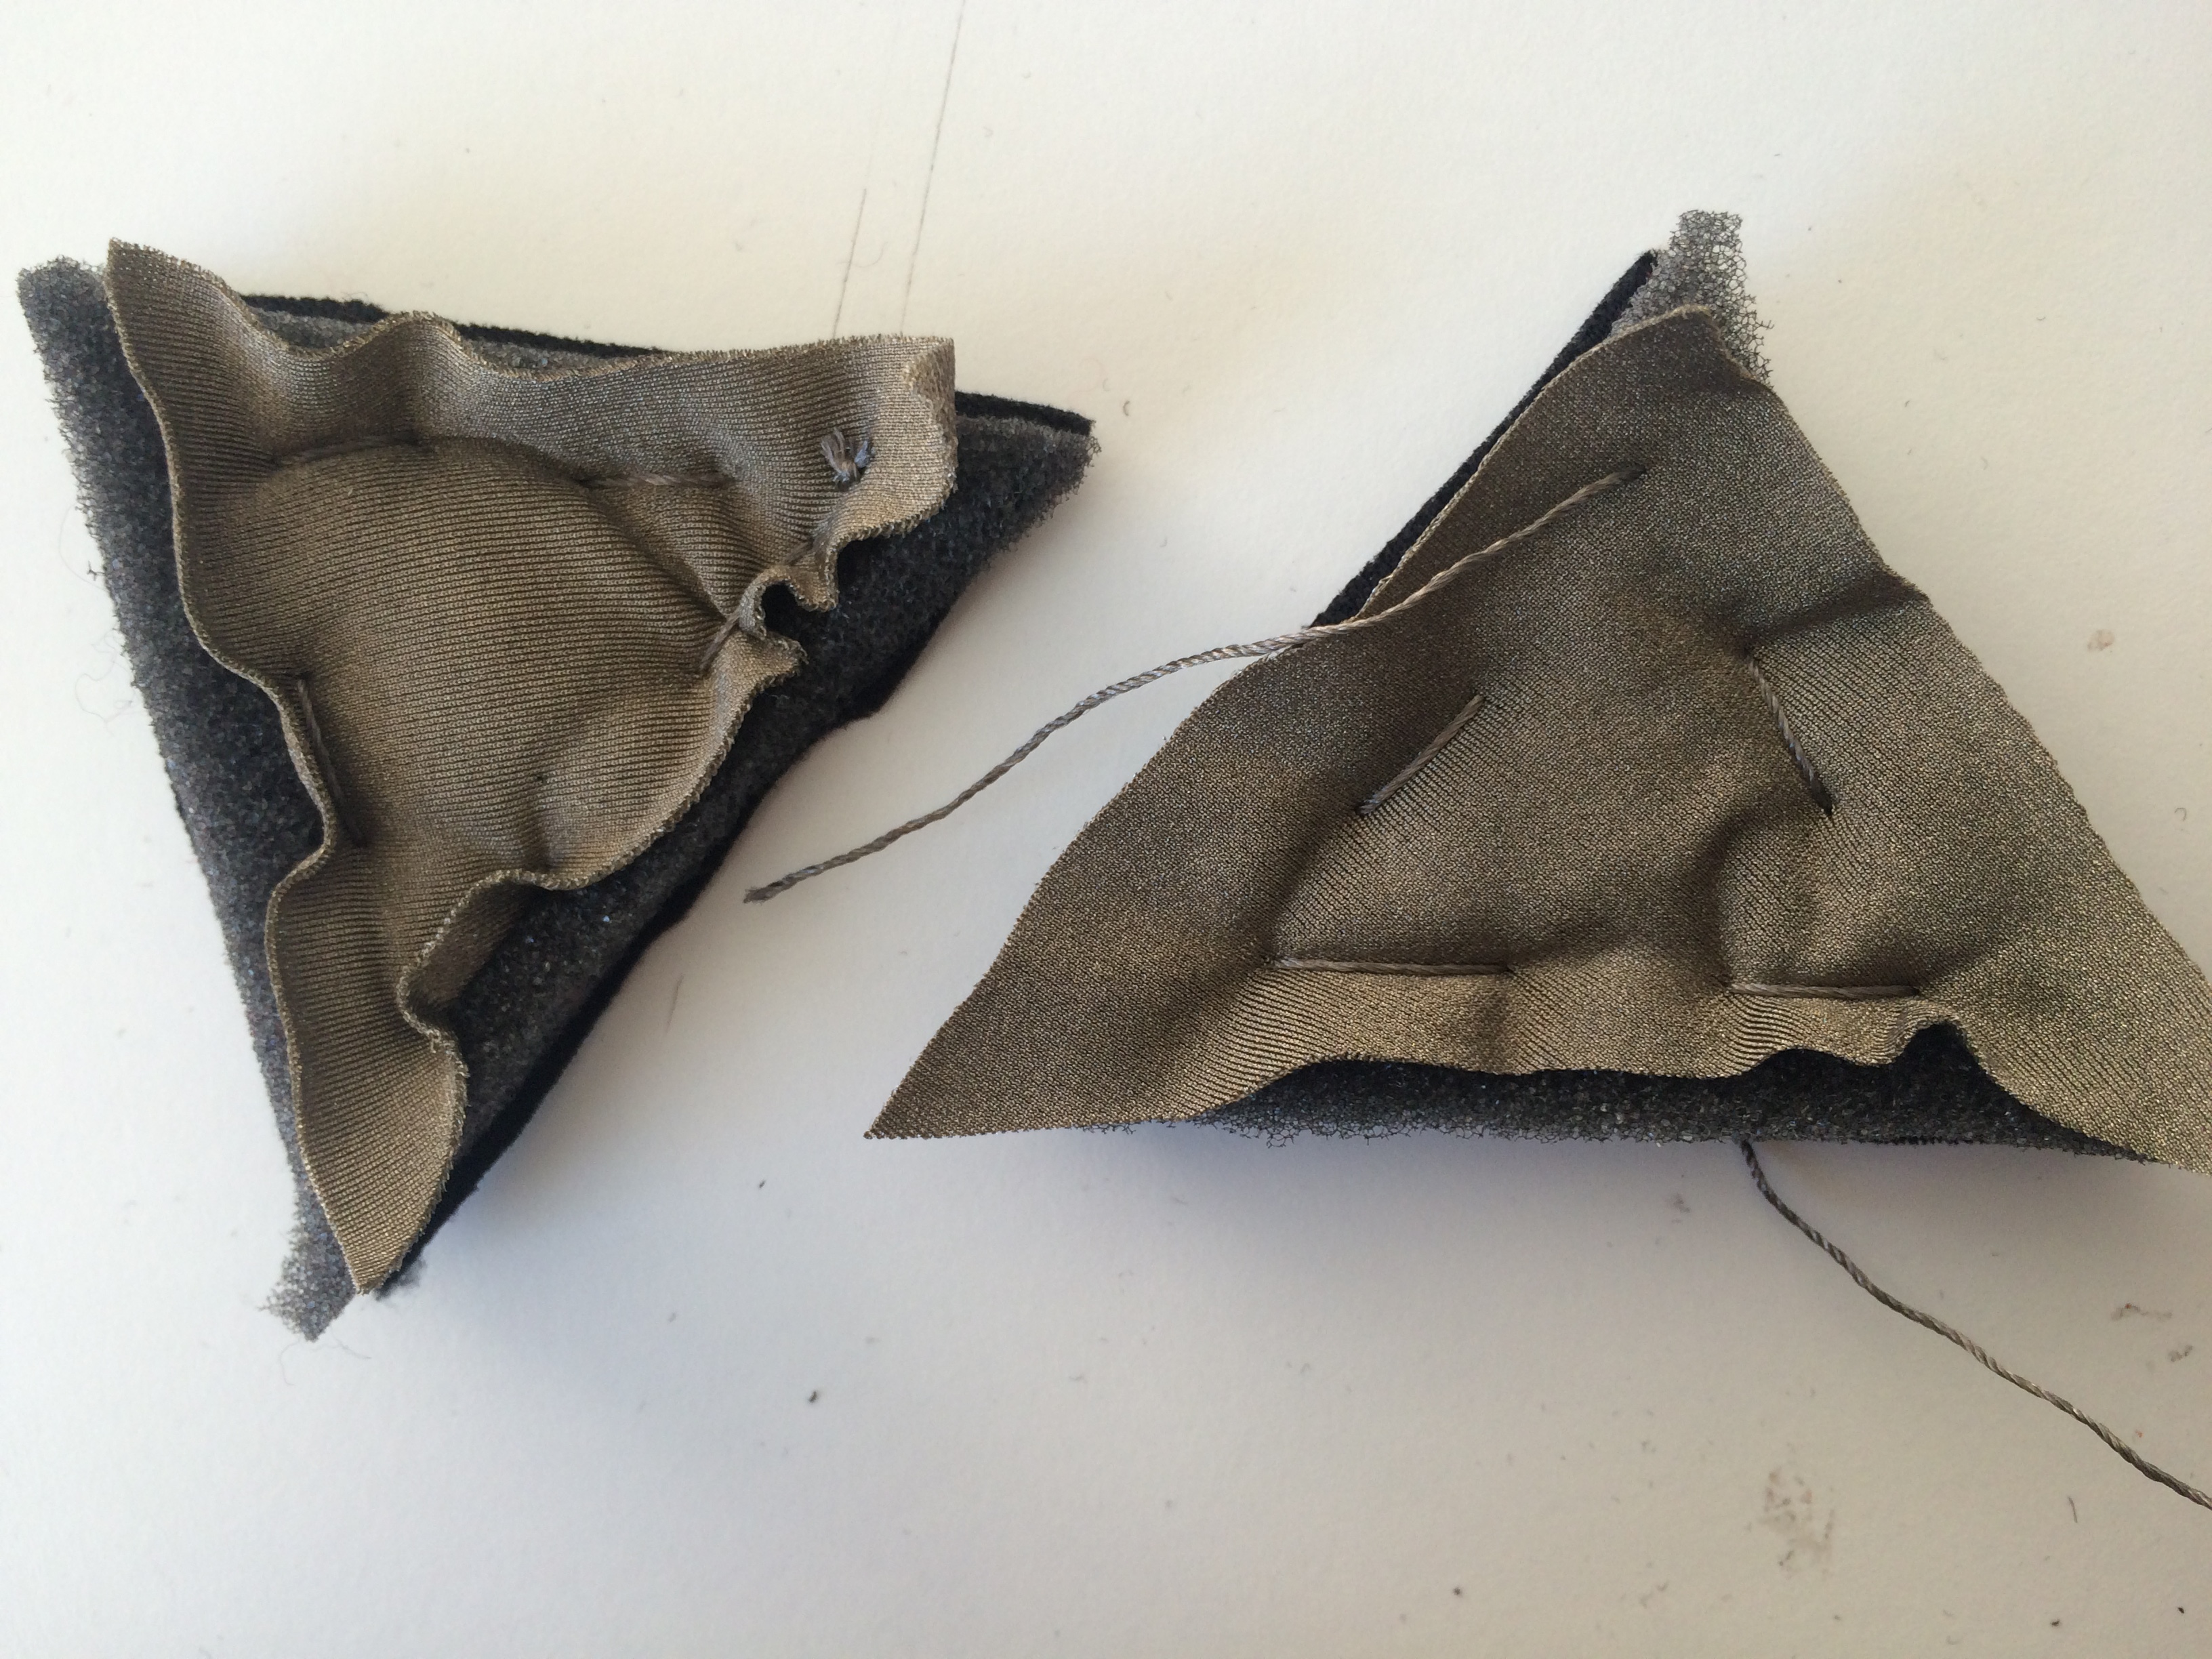
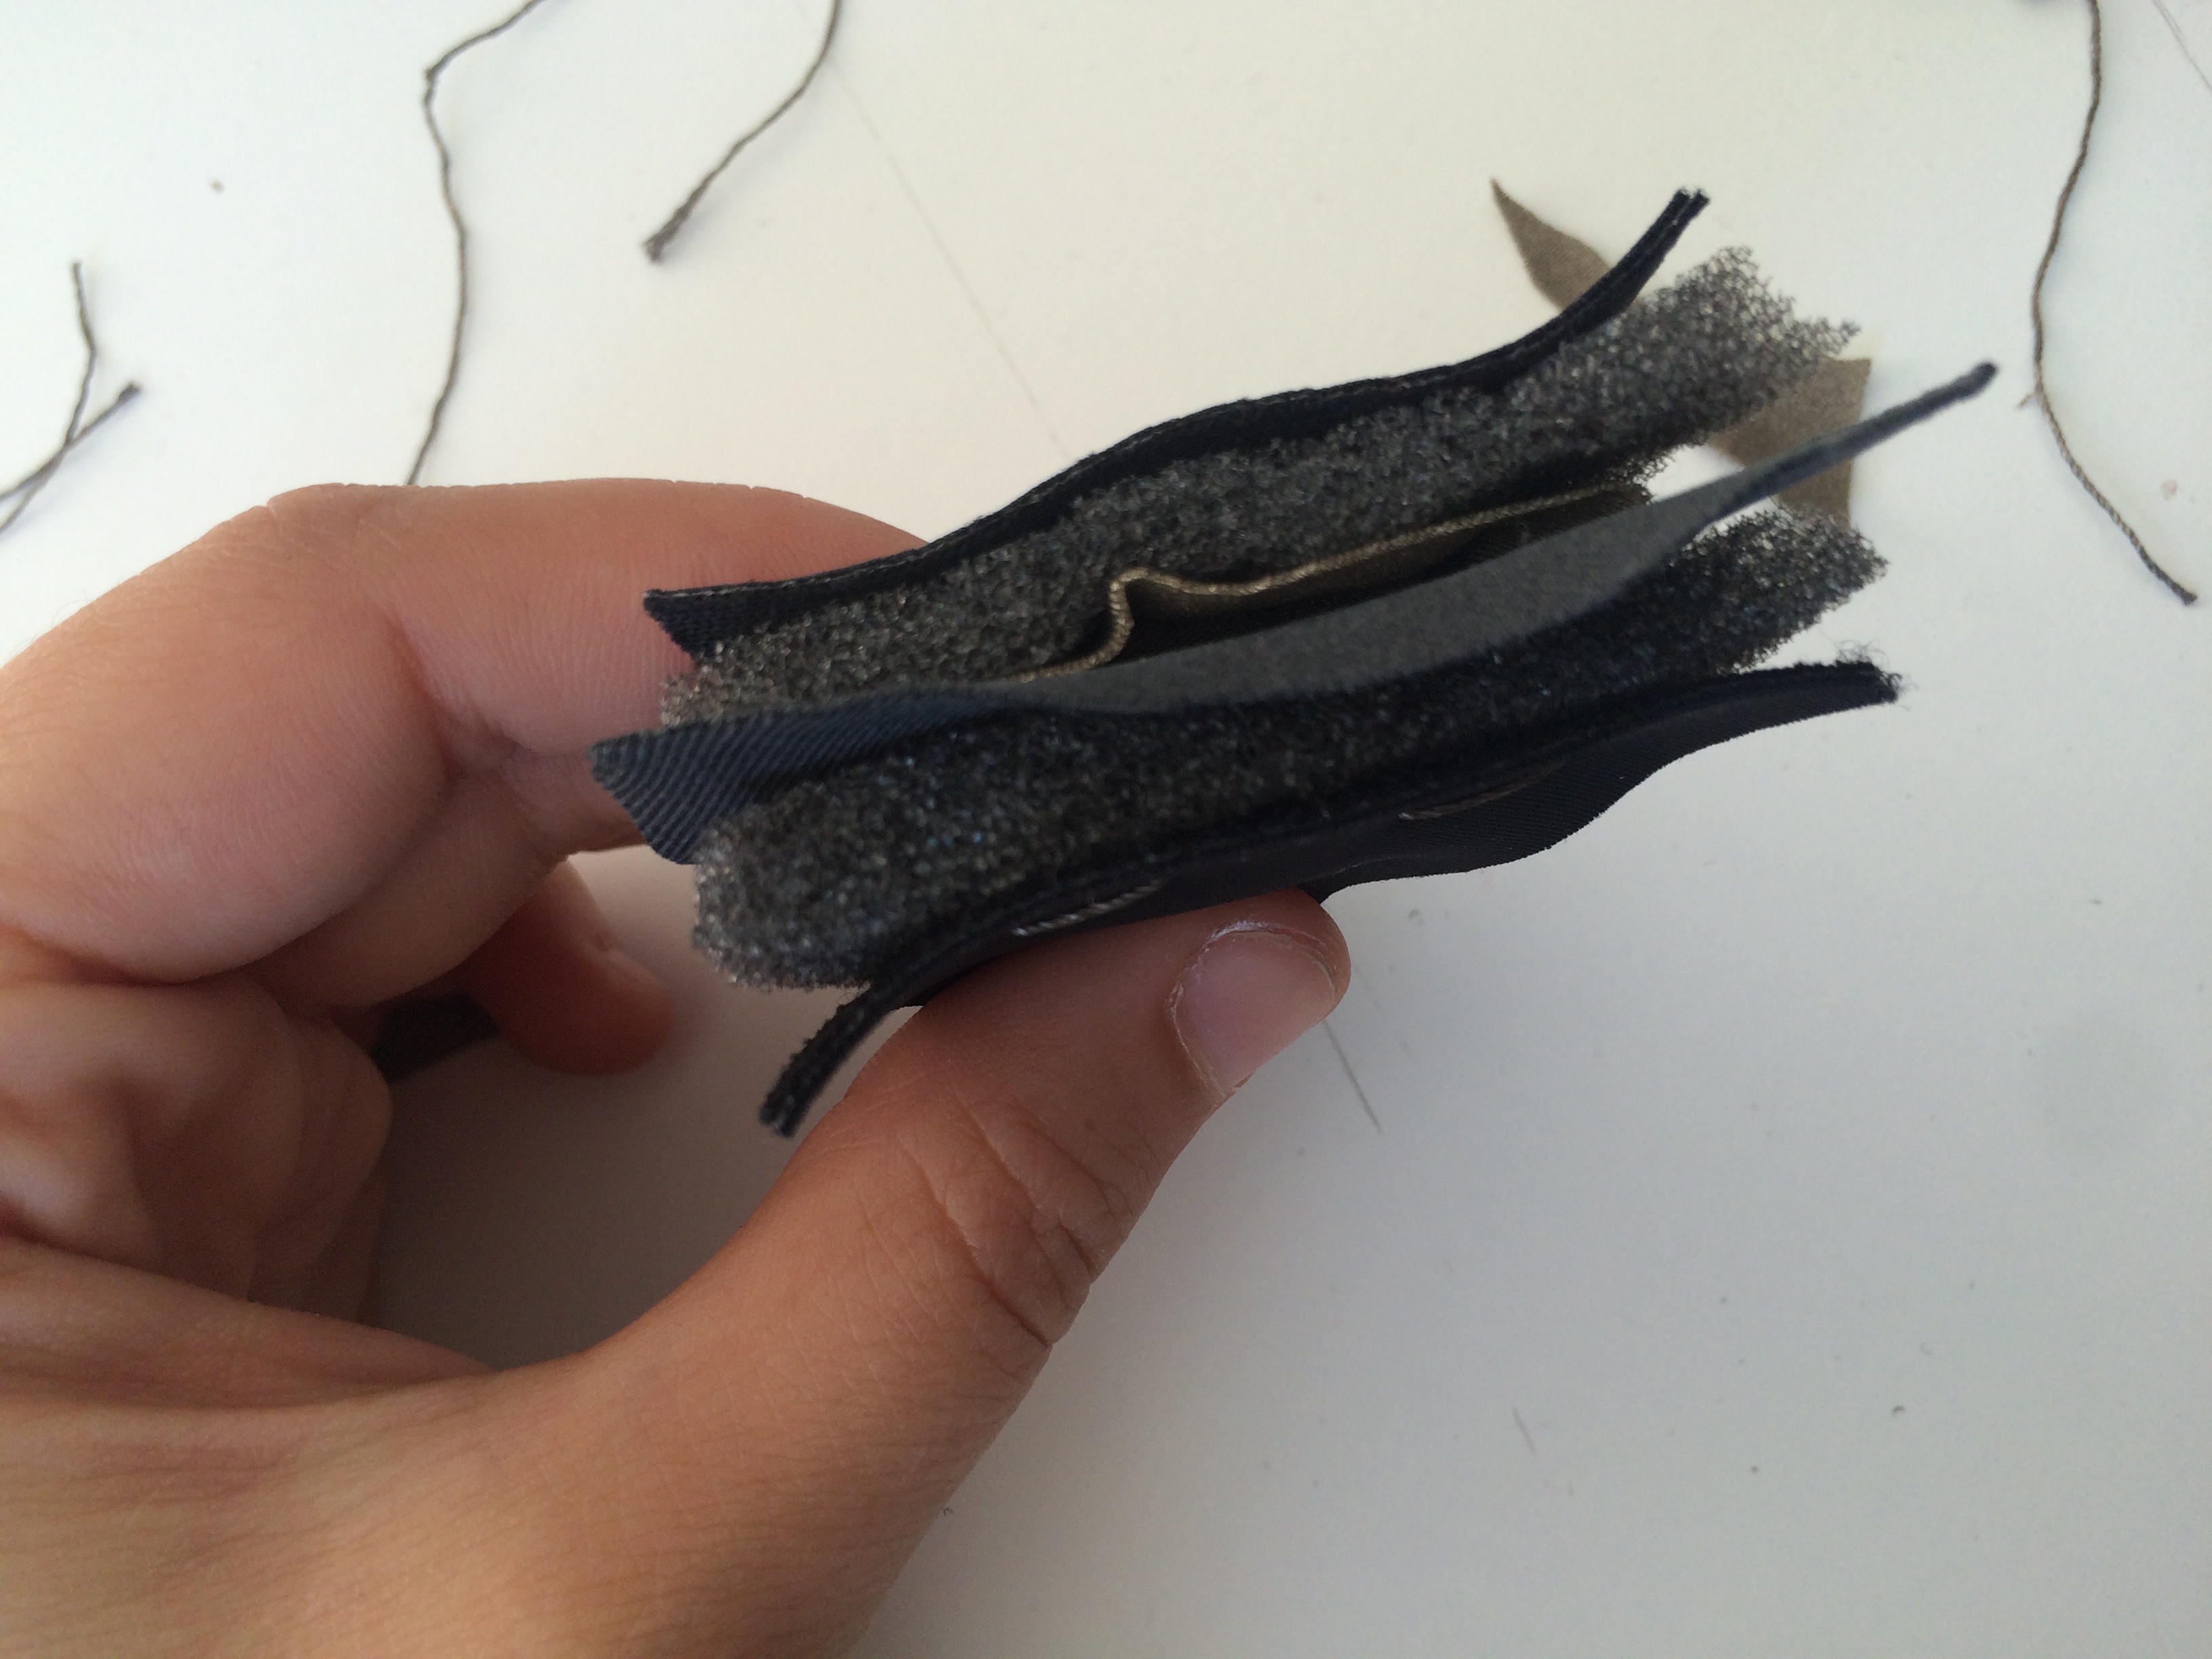
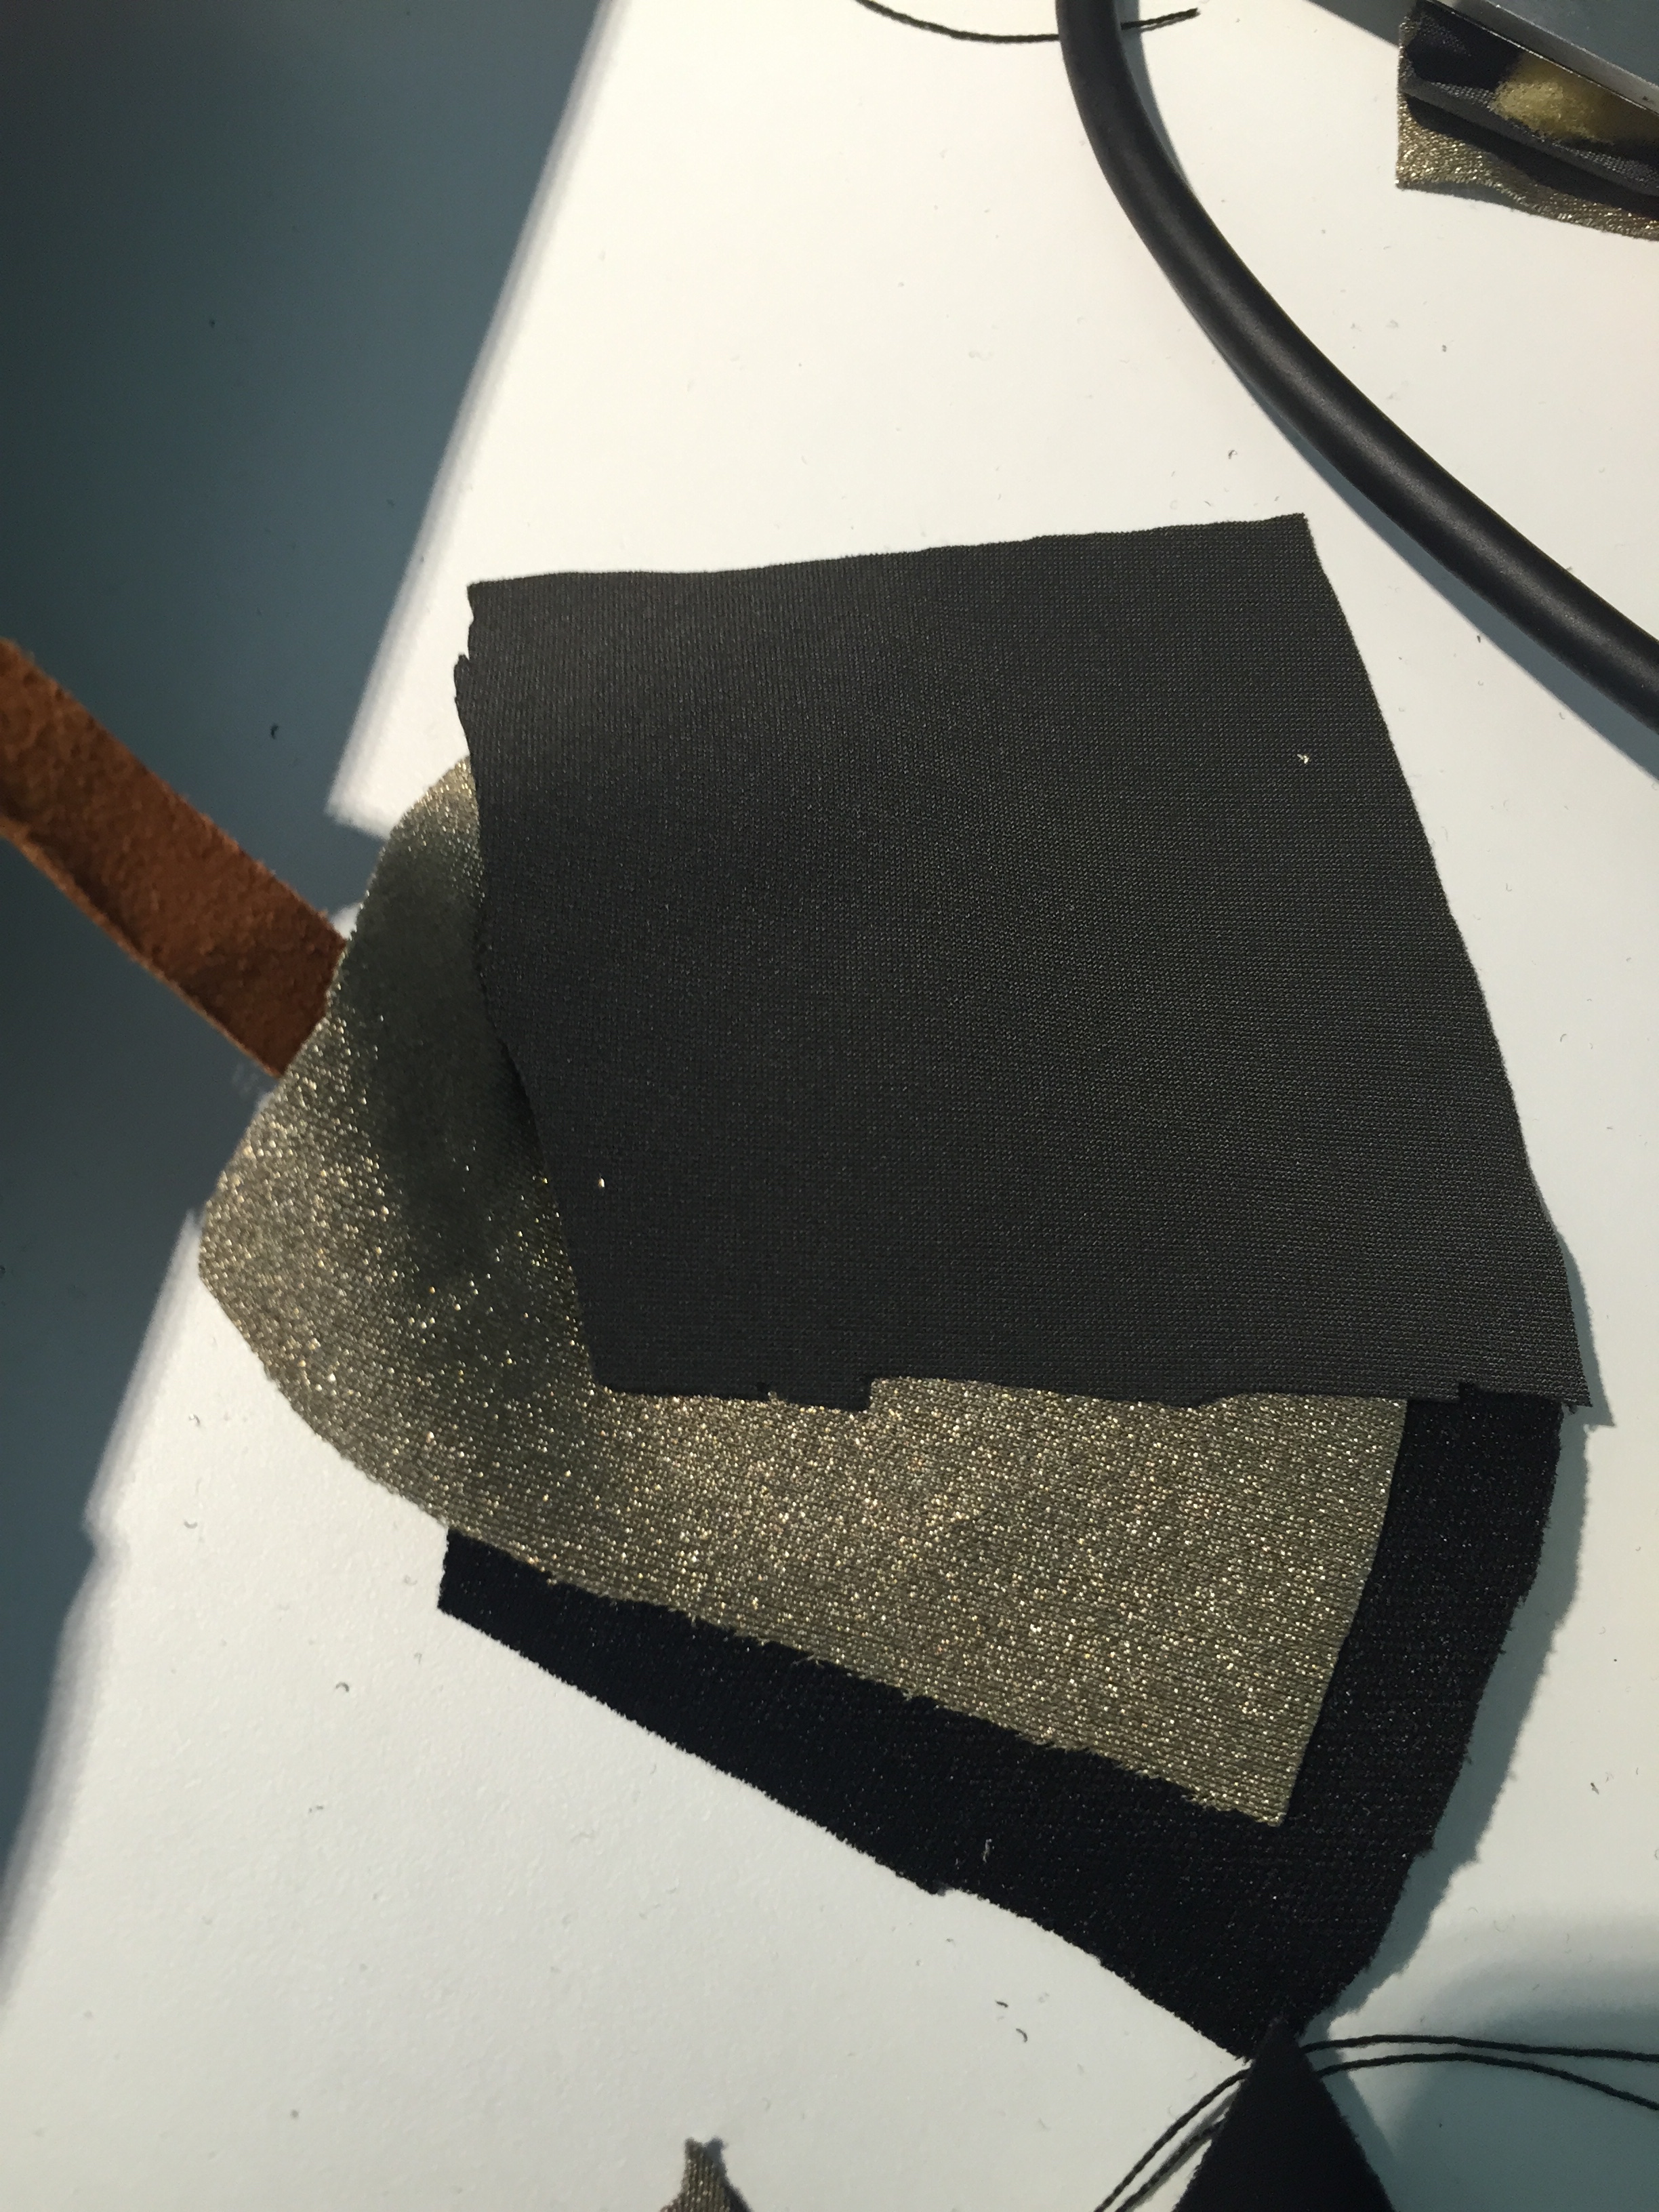
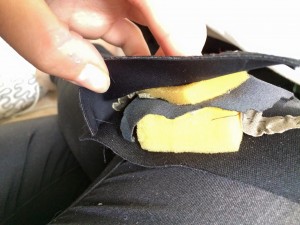
The first layer is nonconductive outside of two pieces of lycra, two pieces of foam, and then two pieces of (4 altogether) conductive silver fabric on top of the sponge, with the resistive piece of fabric right in the middle of it all, touching both sides of the conductive fabric.

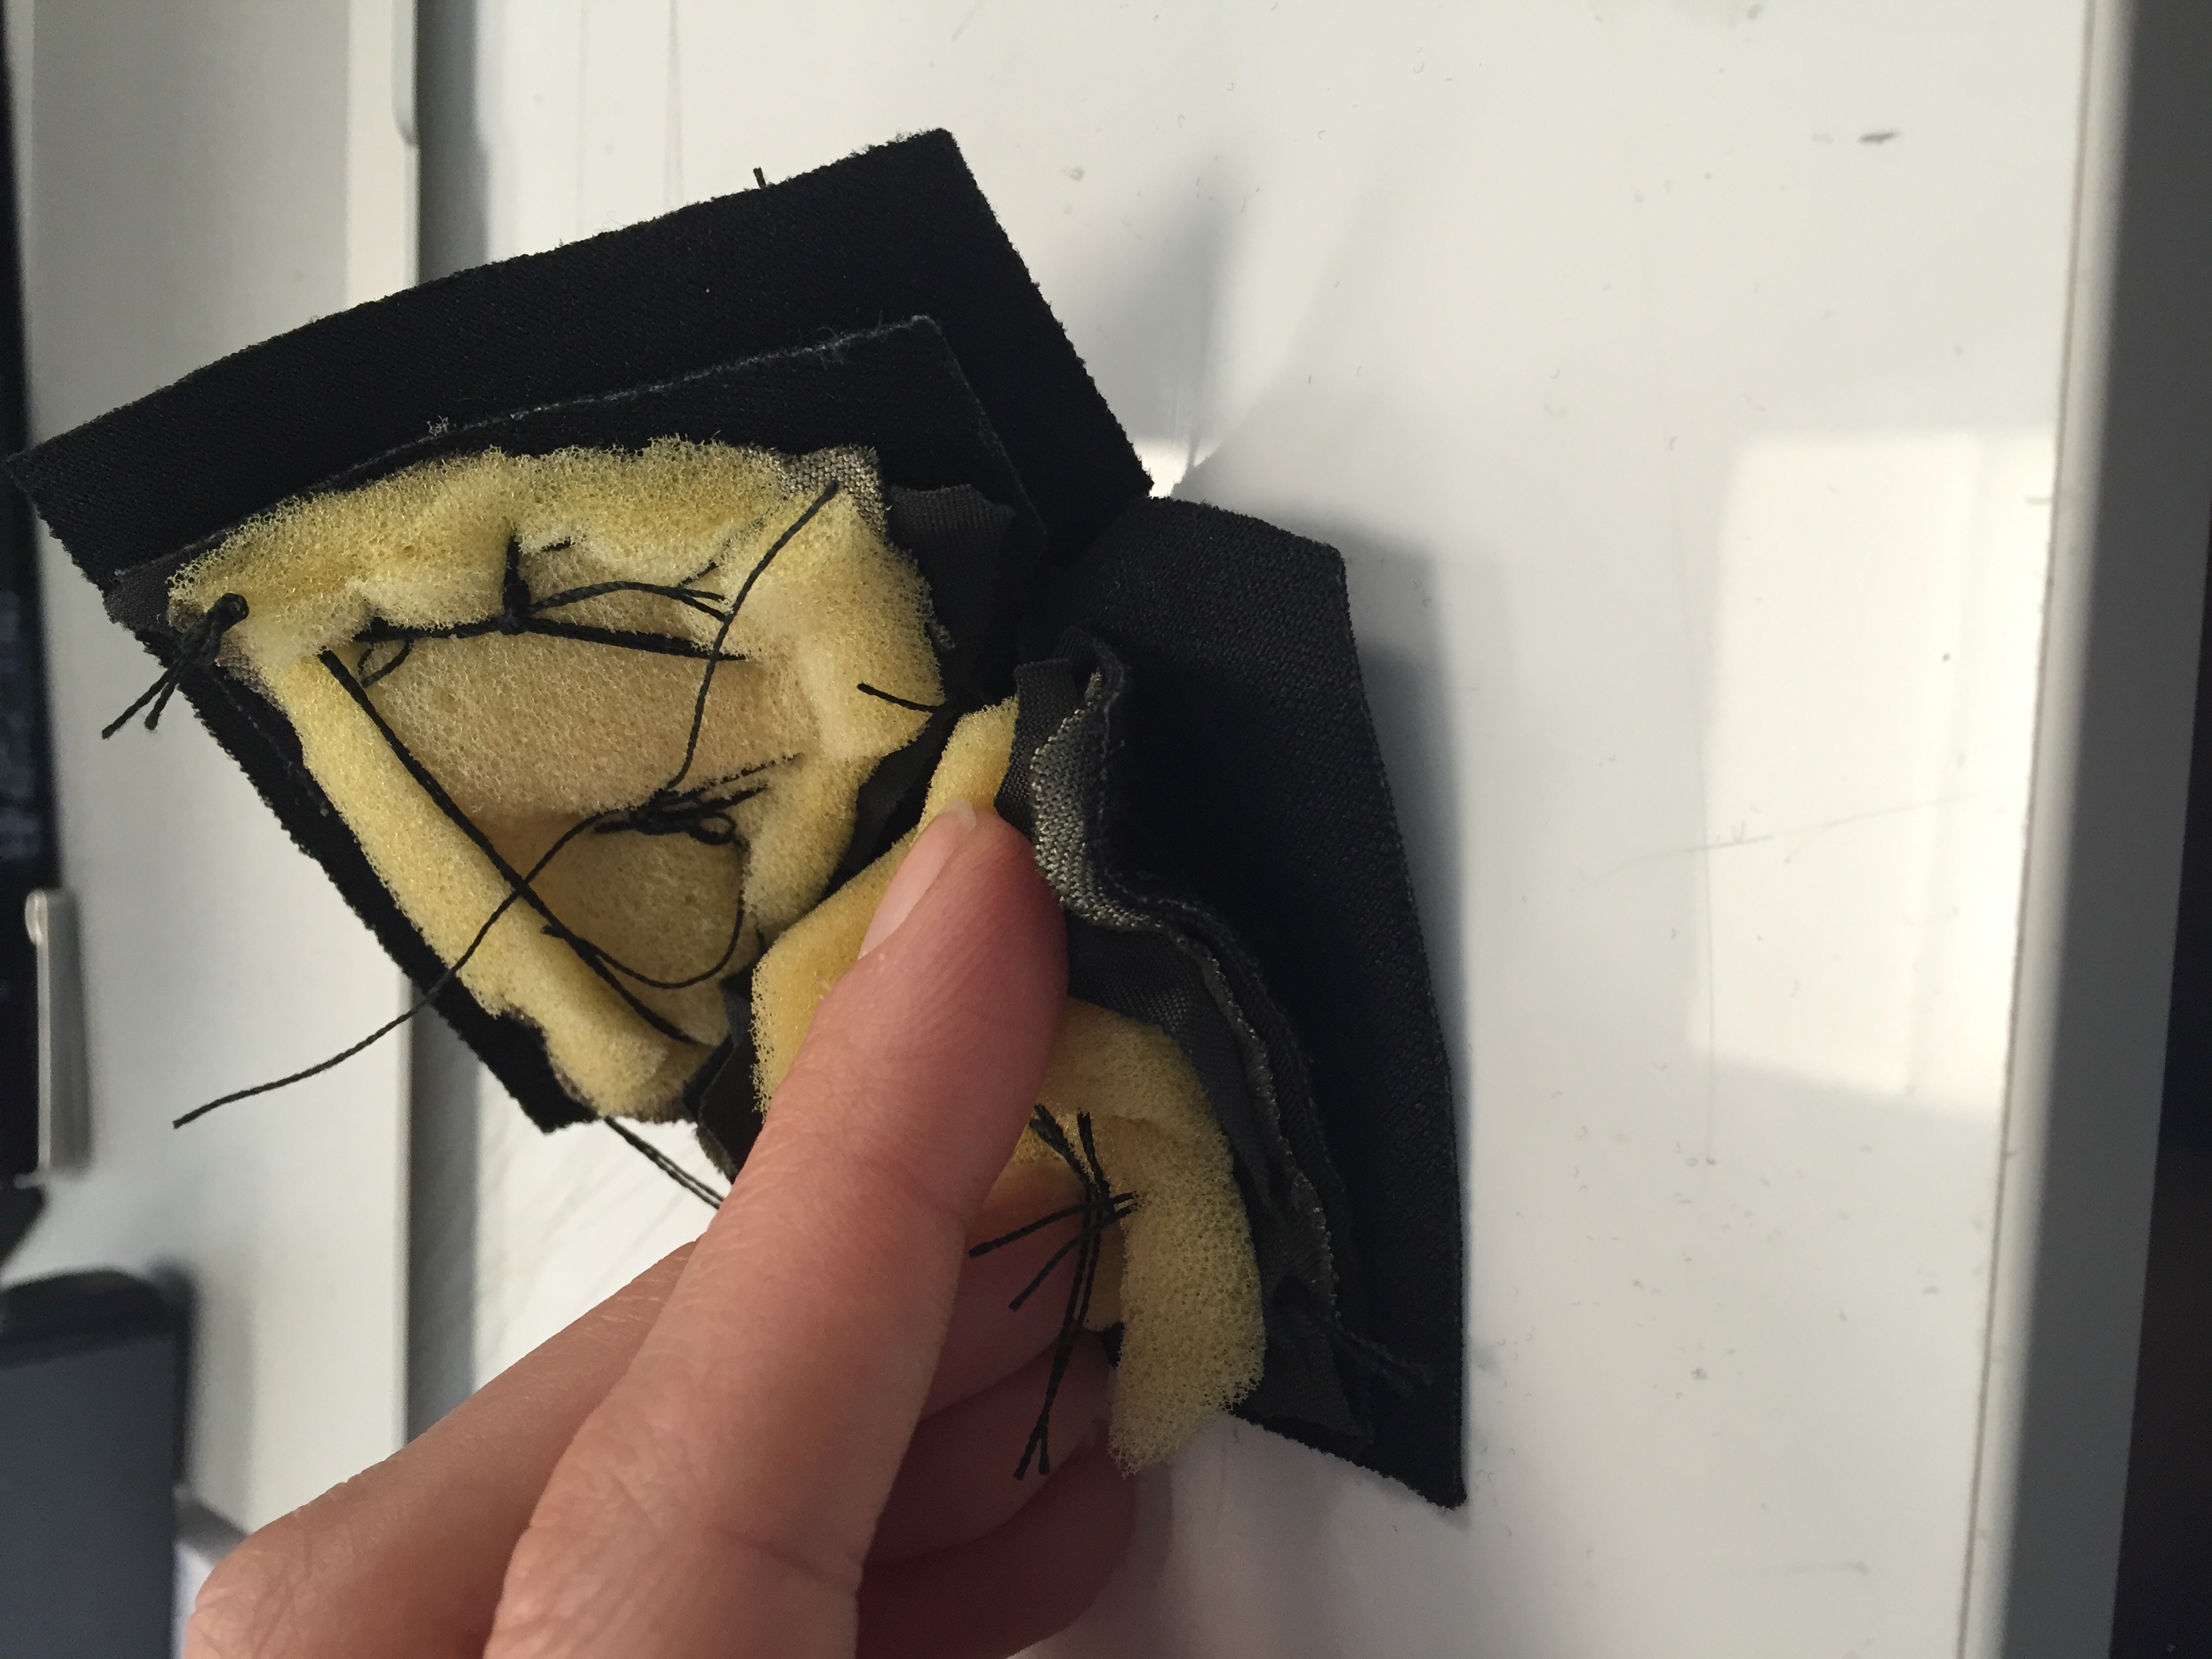
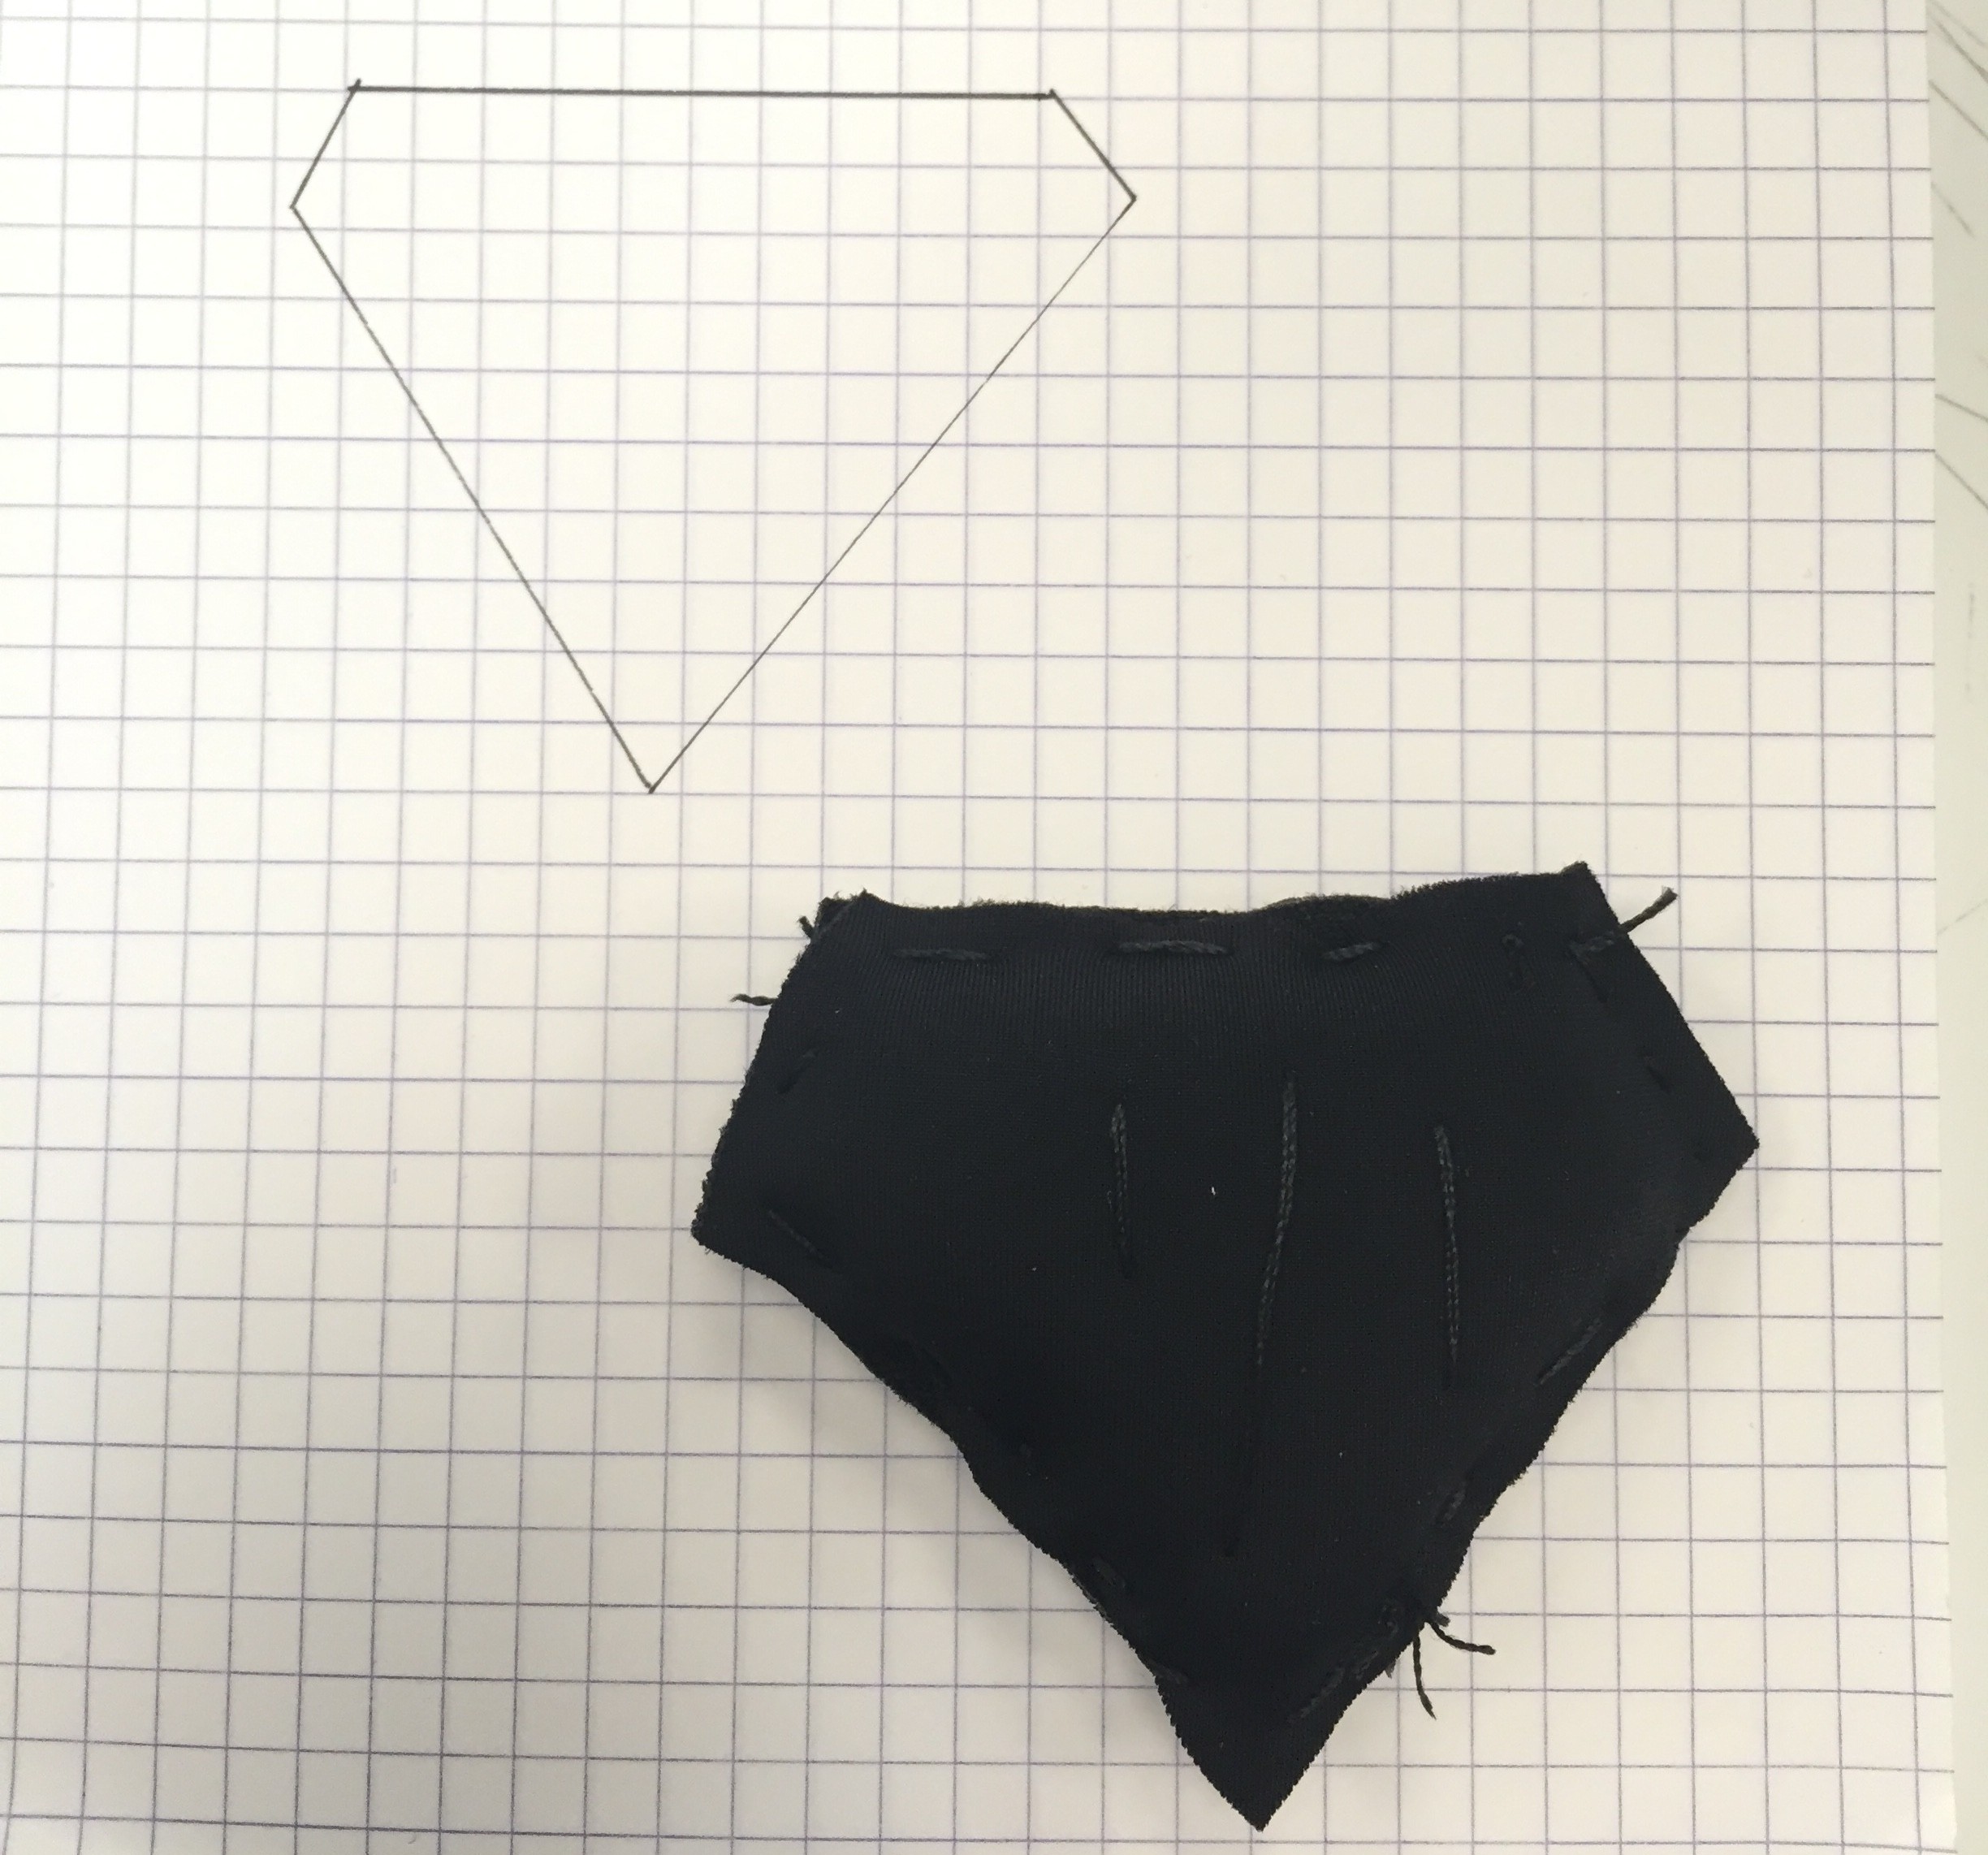
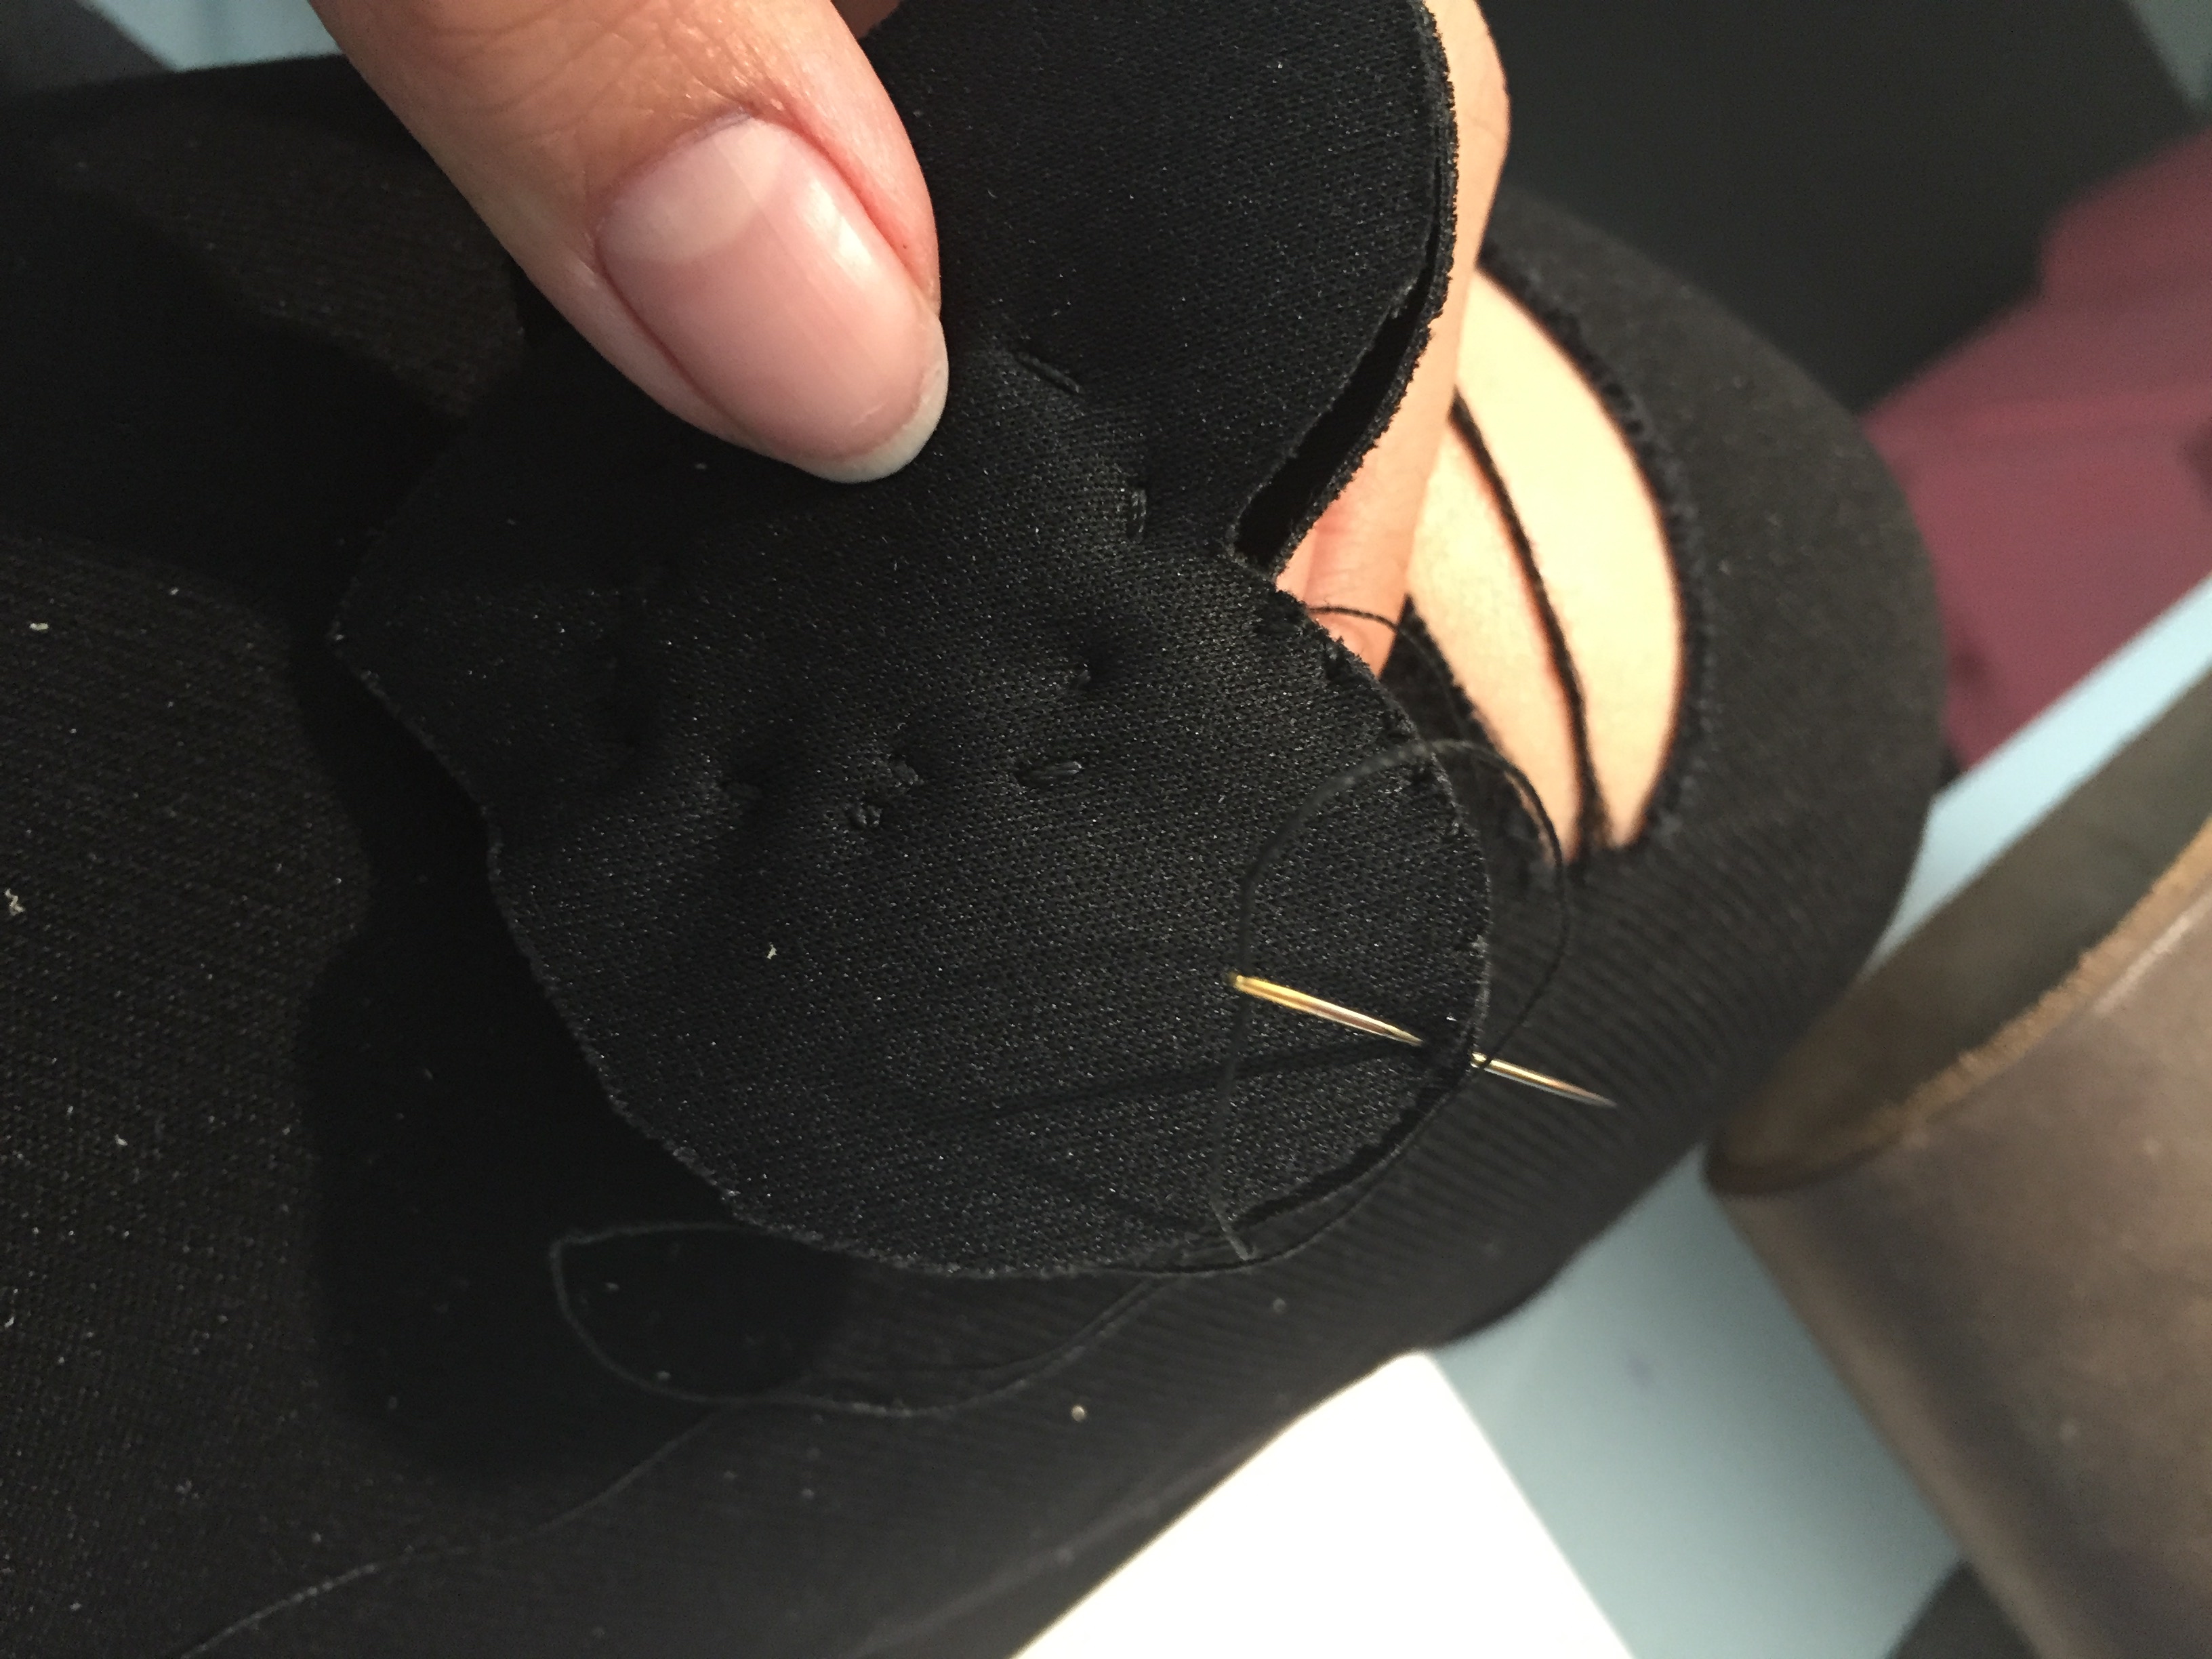
Here’s what it looked like (I know my sewing skills could use some work, but it is all attached as I wanted):

12068948_10207797091067743_6232345222274803902_o


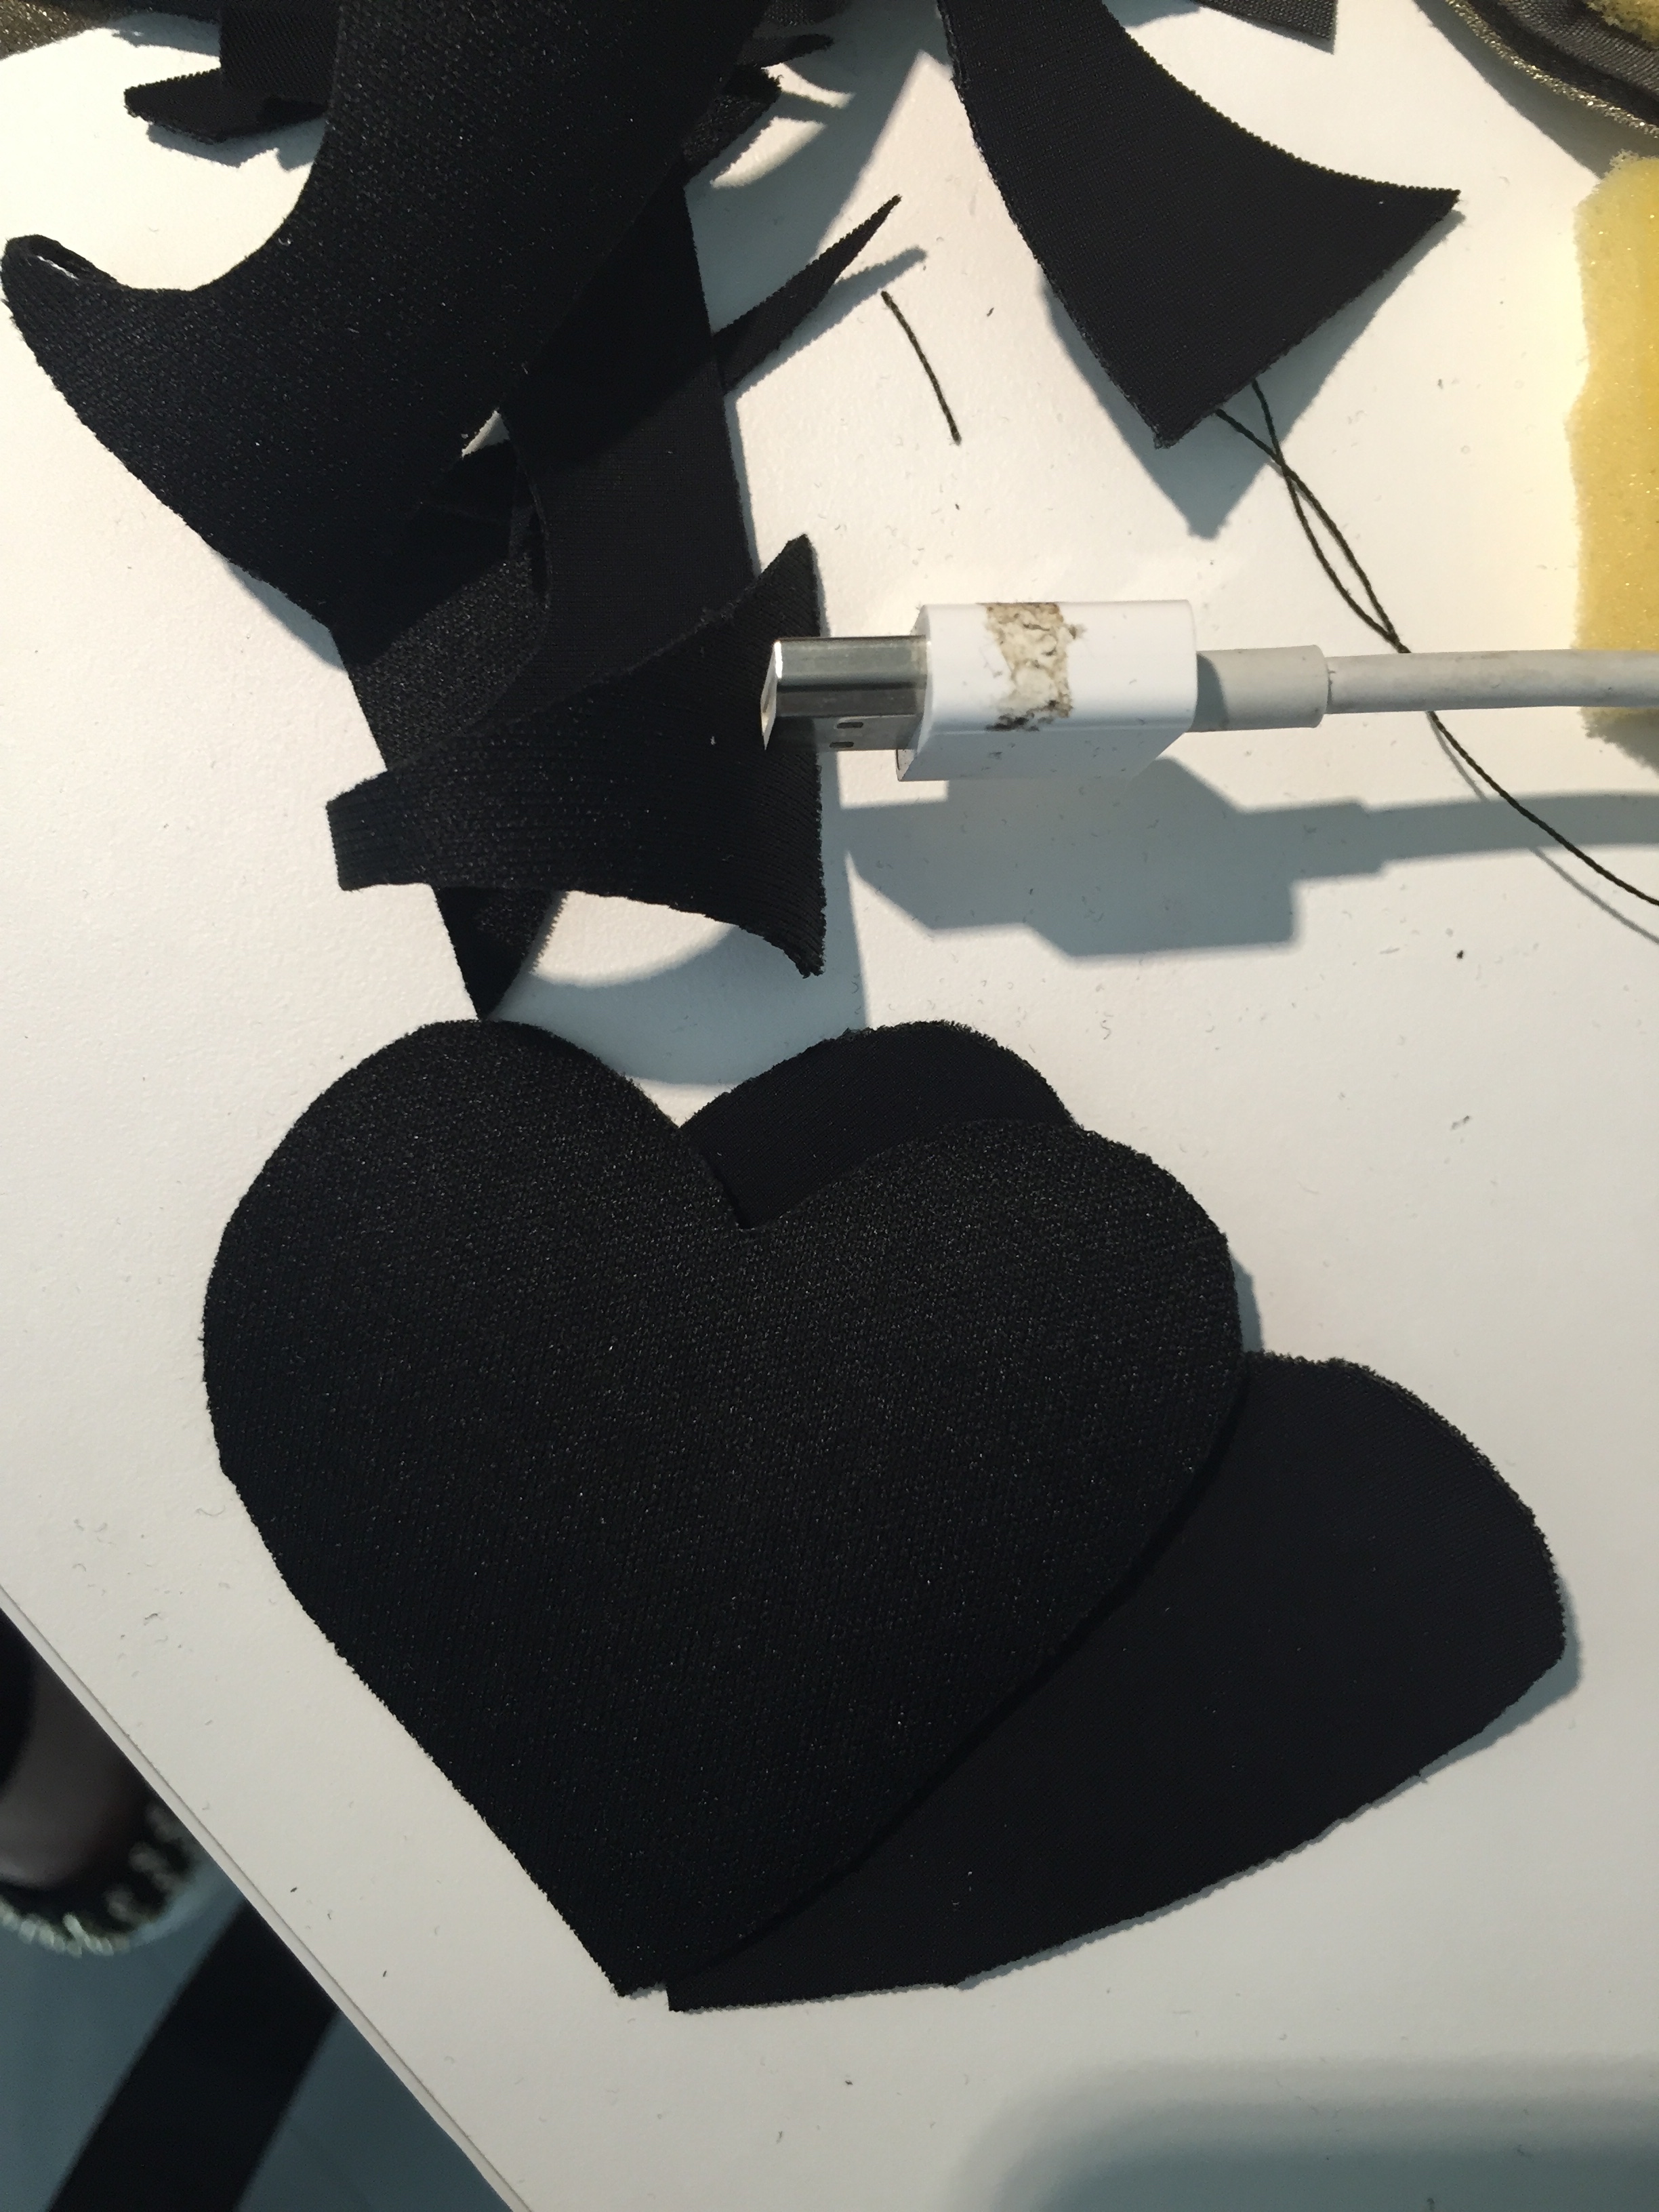
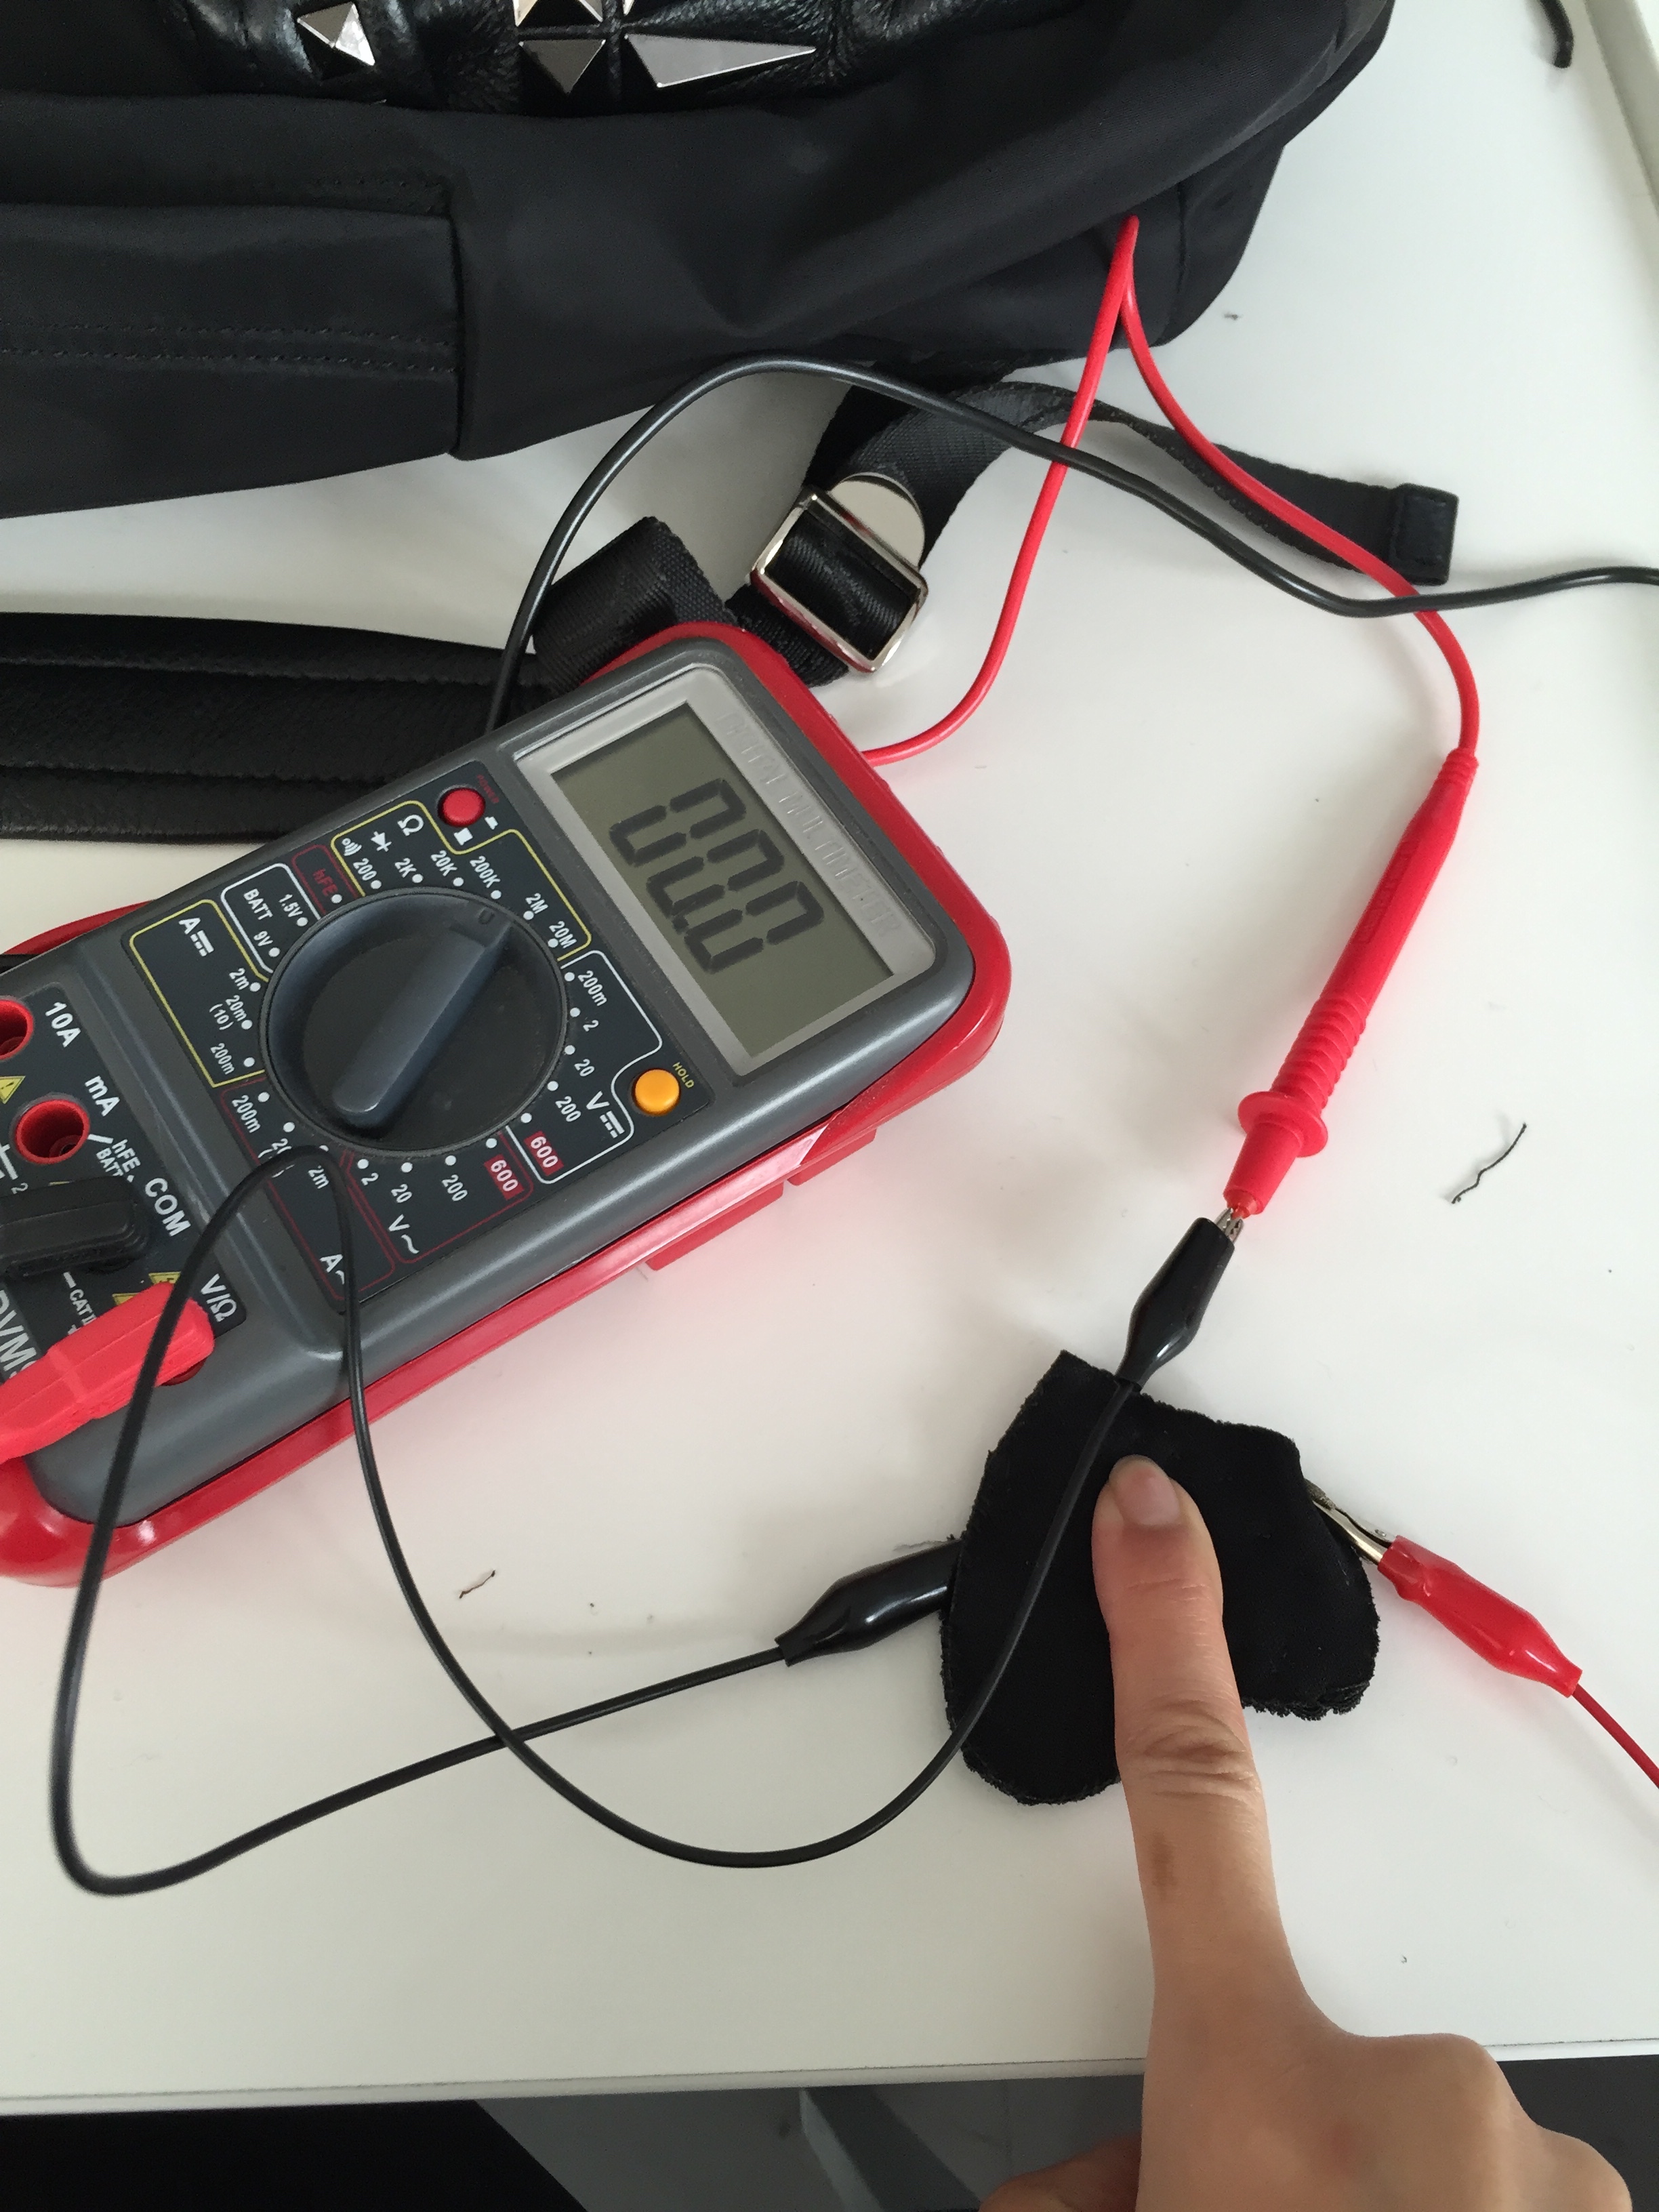
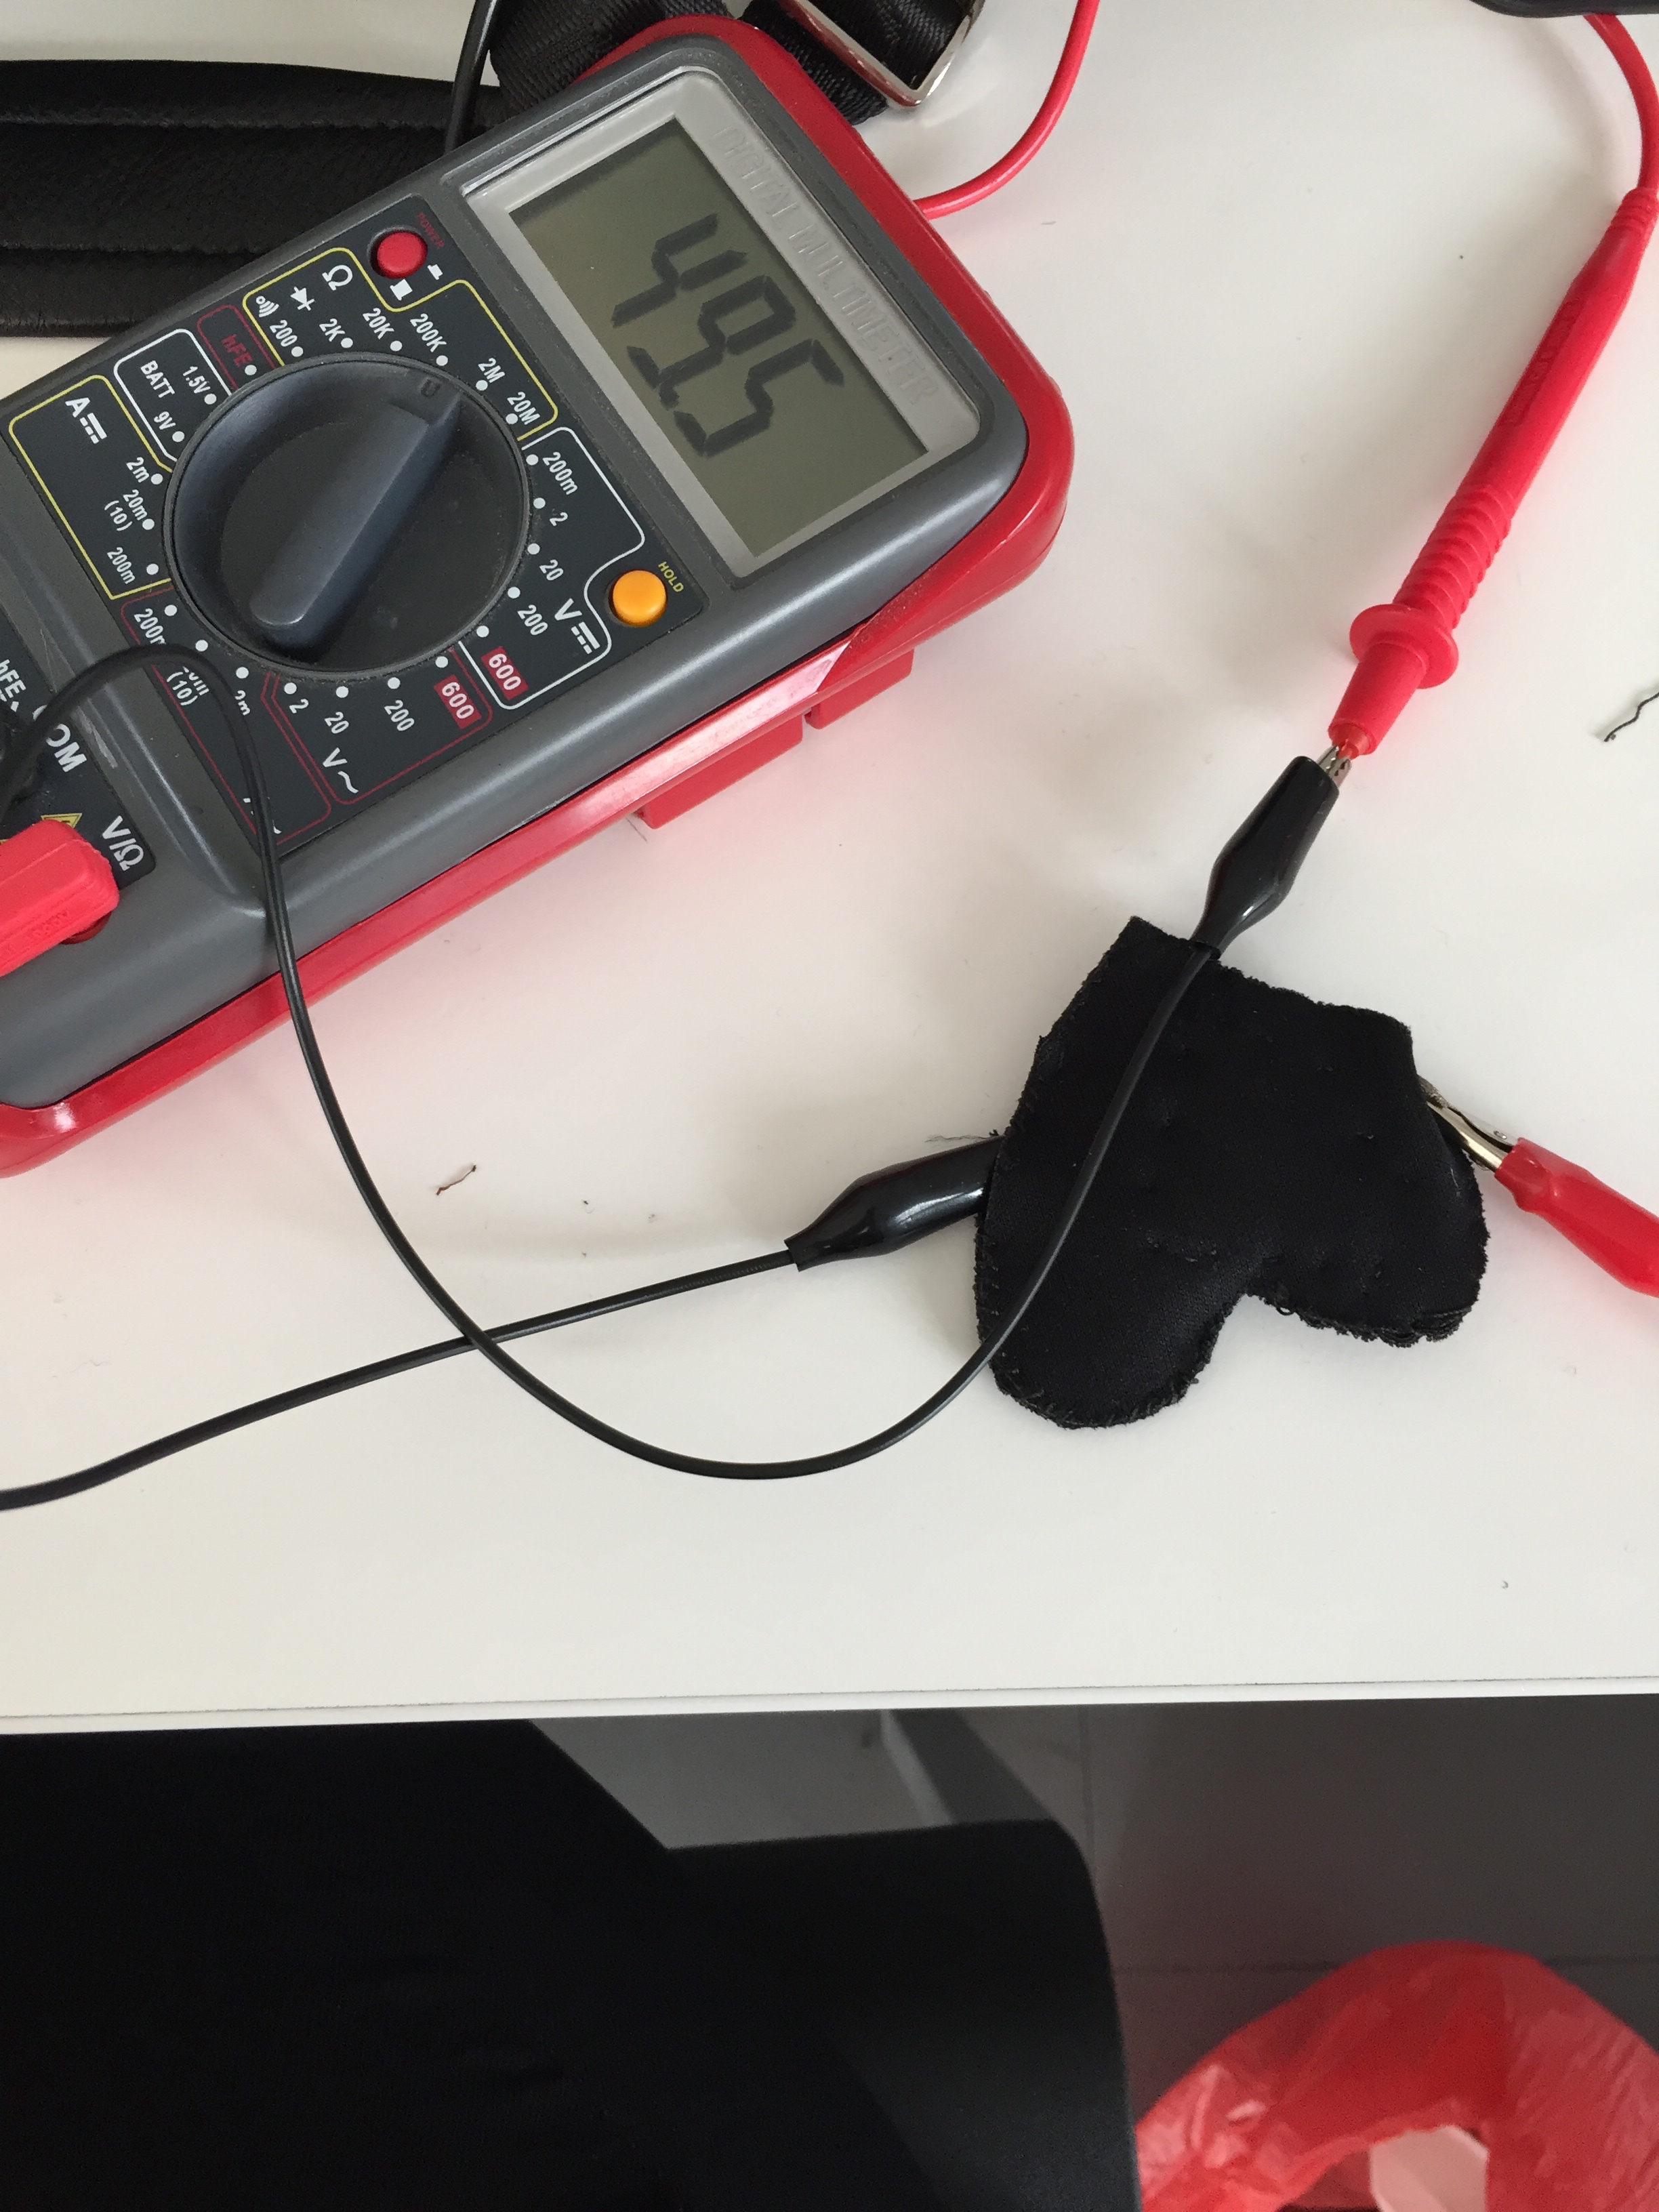
So, that’s the touch sensor before I sewed it-I wanted to make sure it worked, so I did not sew it right away. So, when I checked it, it worked! So then I sewed all the pieces together.

12120028_10207797092147770_5808177875846047479_o              12068712_10207797092347775_1184436129594527801_o


Heart sensor

This week we are going to make a sensor. Since i like lovely little things i decide to make a heart shape sensor.

1.Clean up the materials and cut them into right size square : conductive fabric,resistive fabric,normal fabric (neoprene),conductive thread,regular thread,foam.


IMG_7327


2. Cut a heart shape

IMG_7329

3 Put the materials in order of regular fabric, conductive fabric, restive fabric and lastly foam. Sew the materials all together .

IMG_7328


IMG_7336

4 Cut off the bigger part of the conductive fabric, restive fabric and lastly foam. Make sure the normal fabric covered all of them.

IMG_7337    IMG_7334

5 Repeat on the other side.

IMG_7330

6 Sew the two halves of the shape together.


IMG_7338

IMG_7340

IMG_7344

7 Test the sensor and it works!!!

IMG_7387

IMG_7384