Epaper And Origami——Shinning star By Lin Teng& Summer

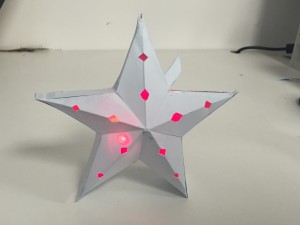
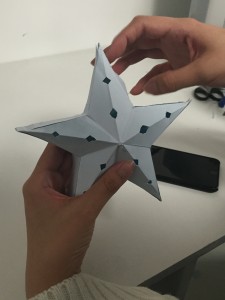
This week,Summer and I became a team. And we decided to make a shinning star for the Electronic Paper& origami Project.

1 We researched different sizes and designs of the pyramid shapes. Then decide to make a clean but 3D star.

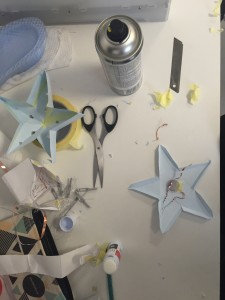
2 Then we printed out the pyramid model and cut off the star shape. Glue the different part together to make a star shape.

IMG_6502

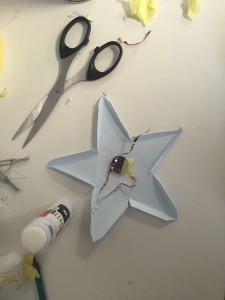
3 Put the battery on the middle of the backside and find the best position to glue it.

4 Try several ways to connect the light and the battery, then find the best way and connect it.

5Created a switch with the copper tape.

IMG_6504

IMG_6505

6 After make sure everything works well inside of the star. We started to connect the outside part…

7 Before we glue the front side back side together. We made little angel patterns on the front side, so the light will come through.

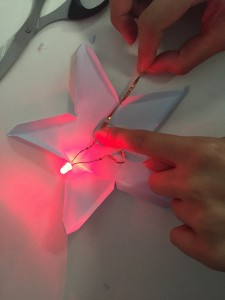
8 Make sure leave a part of the copper tape outside. And buy pull the copper tape in and out we got a switch on and off button.

IMG_6510

8 Then by pull the copper tape in you will turn on the  light. We have a shinning star!

IMG_6512

9 HERE WE ARE A SHINNING STAR…


Silent mode


This week for the keyboard hacking, i decide to make a silent mode button. So whenever we are watching video and music we can easily stop it by push a button.

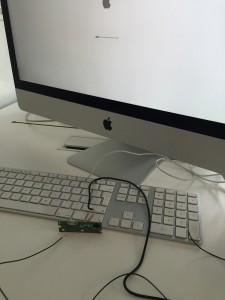
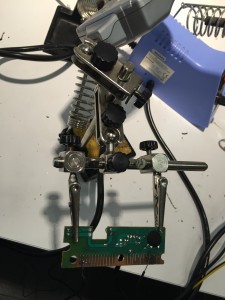
  1. I opened a keyboard and took the circuit board that I would use to create a switch button that would pause silent and play music.


2

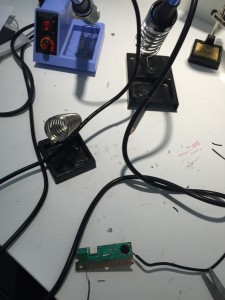
2 Took the part that i needed.

4

3 Test the key on the computer to find out which one is the silent key.

5

4 I find out  not only the silent key but also the” paste key deleted key….”

6

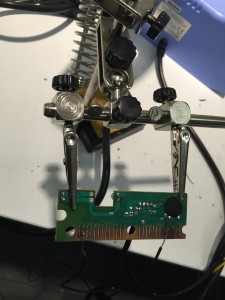
5 Figured out what combination made a the “silent” button and soldered the cables to it.

7.jpg

6 Because my keyboard is smaller than others so it took me more time to solder the line on it.

9

7 But finally i made it.

IMG_7361

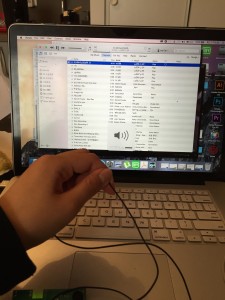
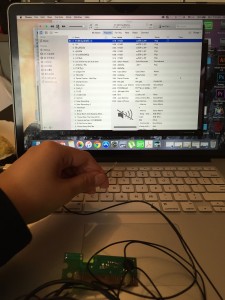
8 Plug in the keyboard on a computer and then connect the two side together and the silent button worked.

9 Test it on my computer and it all worked!

11

12


Heart sensor

This week we are going to make a sensor. Since i like lovely little things i decide to make a heart shape sensor.

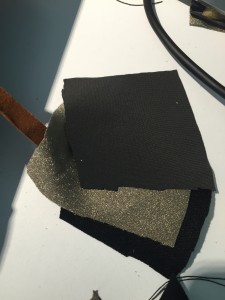
1.Clean up the materials and cut them into right size square : conductive fabric,resistive fabric,normal fabric (neoprene),conductive thread,regular thread,foam.


IMG_7327


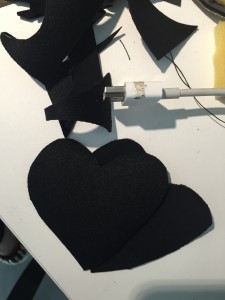
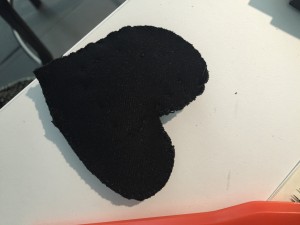
2. Cut a heart shape

IMG_7329

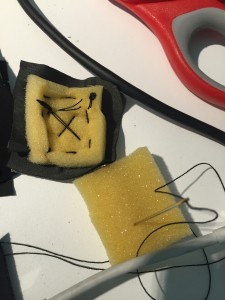
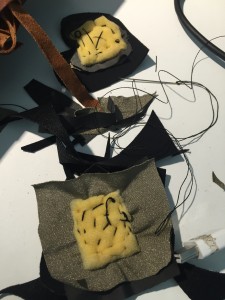
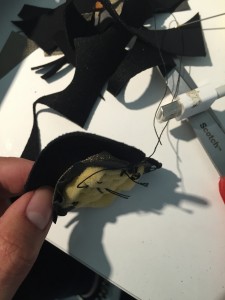
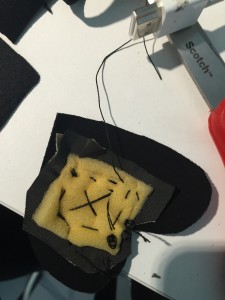
3 Put the materials in order of regular fabric, conductive fabric, restive fabric and lastly foam. Sew the materials all together .

IMG_7328


IMG_7336

4 Cut off the bigger part of the conductive fabric, restive fabric and lastly foam. Make sure the normal fabric covered all of them.

IMG_7337    IMG_7334

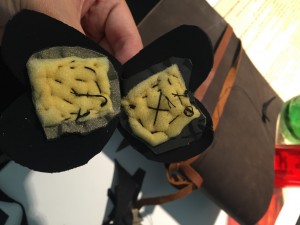
5 Repeat on the other side.

IMG_7330

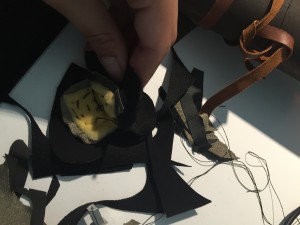
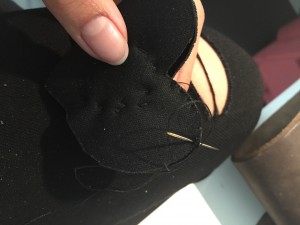
6 Sew the two halves of the shape together.


IMG_7338

IMG_7340

IMG_7344

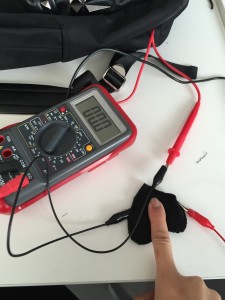
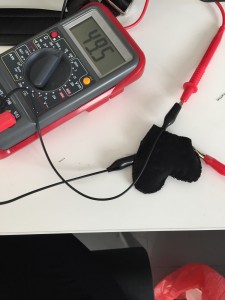
7 Test the sensor and it works!!!

IMG_7387

IMG_7384

Screaming Scarf_Textilo

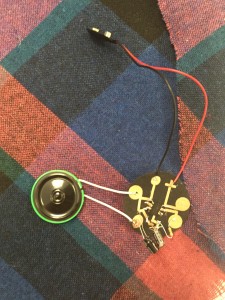
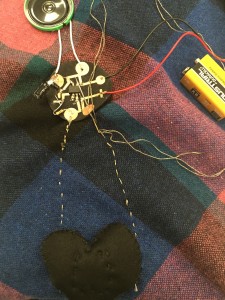
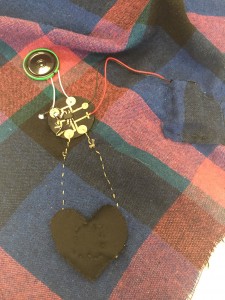
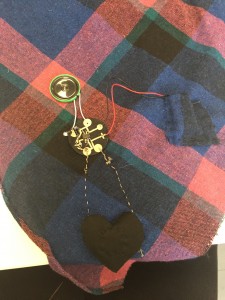
This week i decide to make a screaming scarf with Textilo. So when we walk on the street in a freezing day and tired of saying ” Pardon ” when people blocked our way , we can  just easily push the button and make our scarf screaming to get people’s attention. It is interesting and it helps us to saved a lot of time by saying “Pardon” in a freezing day.  >.<


(Since we did the first few steps together so i took the photos of the first few steps from the ppt.)

1 Cut a 5cm neoprene disc.

Screen Shot 2015-10-15 at 上午10.59.19

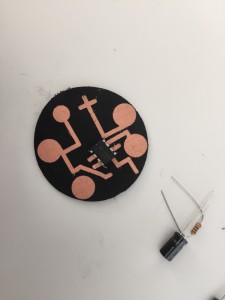
2 With a CNC machine cut the Flectron circuit following this schematic.

Screen Shot 2015-10-15 at 上午10.59.33

3 Remove the unwanted part of the circuit.

1

4 Place the circuit on the neoprene and iron it

Screen Shot 2015-10-15 at 上午10.59.11

2

5 Solder the 4 componetes (555 IC 100 ohms resistance, 10&100 mico capacitors) according to the schematics.

3

6 Test by placing a 3v to 15v battery on the PLUS& round pad undernearth it then a resistive sensor on the two upper pads(input) and then an actuator on the two lower pads(output).Screen Shot 2015-10-15 at 上午11.21.17

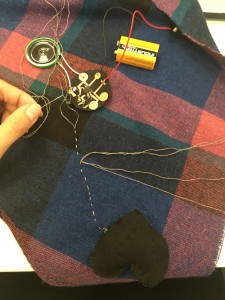
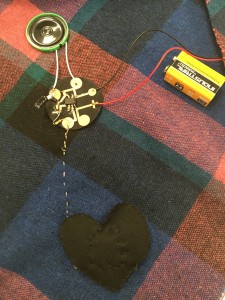
7 Find a comfortable fabric and cut it into scarf shape, placed the sensor sounder,pad, and battery in a right way. Solder the battery and sounder on the pad.

4

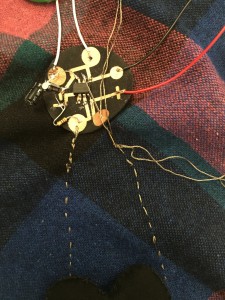
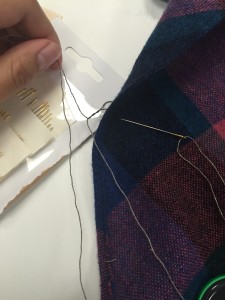
8 Sew the sensor on the pad.

5

9 Sew two different line from the sensor to negative and positive side of the pad.

6

7

8

9

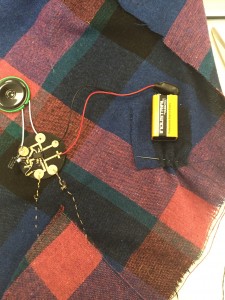
10 Cut down a small fabric to make a pocket for the battery and sew it on the scarf.

10

11 Sew it perfectly size for the battery and put the battery in it.

11

12 Check every part of the connects and sew the unstable part. Make sure everything connect well and works.

12

13 Finally sew the two side of the scarf together and here we are—- a beautiful but screaming scarf.

14

14 WEARING IT AND SCREAMING…..

13


Flower Vibe T-shirt Flip Flop

For this assignment I want to make a T-shirt full of flowers to create a spring vide T-shirt for the spring. When the winters coming springs are not far….

So by create a model of print picture with full of flowers i start with processing.


1 Draw a flower add a pot in the middle


strokeWeight (10.0);

stroke(color(255,0,0));


translate(50,50);

for(int i=0;i<10;i++){

rotate(TWO_PI/10);

line(0,0,30,0);

}

ellipse(0,0,15,15);


2 Add color


strokeWeight (10.0);

stroke(color(255,0,0));


translate(50,50);

for(int i=0;i<10;i++){

rotate(TWO_PI/10);

line(0,0,30,0);

}

strokeWeight(0);

fill(color(255,255,0));

ellipse(0,0,15,15);


3 Set up random color


int getRandomColor(){

return color(random(120,255),random(255),random(255));

}

void setup(){

strokeWeight (10.0);

stroke(getRandomColor());


translate(50,50);

for(int i=0;i<10;i++){

rotate(TWO_PI/10);

line(0,0,30,0);

}

strokeWeight(0);

fill(getRandomColor());

ellipse(0,0,15,15);

}


4 Set up the size of flower


int getRandomColor(){

return color(random(120,255),random(255),random(255));

}

void setup(){

float flowerSize = 15.0;

strokeWeight (flowerSize);

stroke(getRandomColor());


translate(50,50);

for(int i=0;i<10;i++){

rotate(TWO_PI/10);

line(0,0,3*flowerSize,0);

}

strokeWeight(0);

fill(getRandomColor());

ellipse(0,0,1.5*flowerSize,1.5*flowerSize);

}


5 Get a bigger canvas


int getRandomColor(){

return color(random(120,255),random(255),random(255));

}


void drawFlower(float x, float y, float flowerSize){

strokeWeight (flowerSize);

stroke(getRandomColor());


translate(x,y);

for(int i=0;i<10;i++){

rotate(TWO_PI/10);

line(0,0,3*flowerSize,0);

}

strokeWeight(0);

fill(getRandomColor());

ellipse(0,0,1.5*flowerSize,1.5*flowerSize);

}


void setup(){

drawFlower(20,50,5.0);


}


6 Set up random color


int getRandomColor(){

return color(random(120,255),random(255),random(255));

}


void drawFlower(float x, float y, float flowerSize){

strokeWeight (flowerSize);

stroke(getRandomColor());


translate(x,y);

for(int i=0;i<10;i++){

rotate(TWO_PI/10);

line(0,0,3*flowerSize,0);

}

strokeWeight(0);

fill(getRandomColor());

ellipse(0,0,1.5*flowerSize,1.5*flowerSize);

}


void setup(){

size(800,600);

background(0);

}

void draw(){

if(keyPressed == true){

drawFlower(random(width),random(height),random(5,25));

}

}


Then push play we have the print picture with full of flowers for the shirt.

Because the colors and sizes are random so every time we play it and get the print picture will look different, so each of the flower vibe T-shits will be one and only.

Screen Shot 2015-11-26 at 下午12.05.11


Then add more designs on the shirt . And print it out.


Screen Shot 2015-12-02 at 下午10.24.35

And here we are a unique “Flower Vibe” T-shirt.

Screen Shot 2015-12-02 at 下午10.19.00

Final Project: POP UP parsons paris card with LED


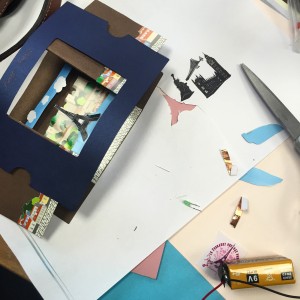
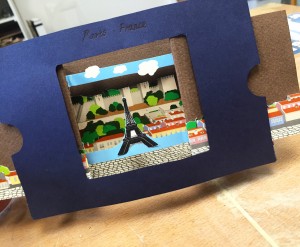
For the final project I want to make a pop up greeting card with light. For the topic of this greeting card i choose parsons and paris. For the past three month I been live and study at a different country for parsons paris. And it had gave me lots of great memories. I want to use these little memories and happiness in my life as elements for this greeting card. So when people see it, it is not only a card but also like a book with light and music that can telling the stories of my life .


To make my project  i will use the technologies I learn from our class include: Epaper And Origami for the light , Etextile And Soft Sensors for the music, Textilo for the light and music, switches & Simple Circuit for the turn on and off.

To use these technologies i will need the flowing materials:

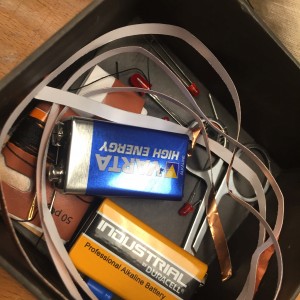
Epaper and small lights led lights.

2 Different kinds of paper for card design and pop up part.
3 Battery

4 wires Coated paper Jammed paper Kraft Paper,

5 3d Printing

6 PCB circuit board

7 iron and heater

See instructable steps here: instructables


Steps

1 Design the shape of the card and draw it on a jammed paper,

Then cut them off.

1

2

3

2

Assembled together

4

5

6

7


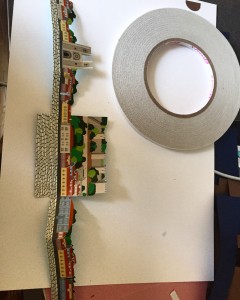
3 Design images about the places i love in Paris and the memories i had about parsons paris. Then print it out.
Cut it off.


8

4 Sticked it on the card


9

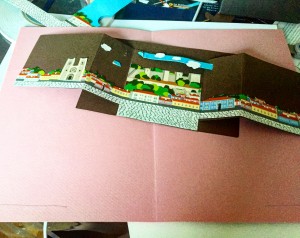
5  Make sure the pop up works Like a window

10

How it looks on the second page

11

How it looks on the first page

12

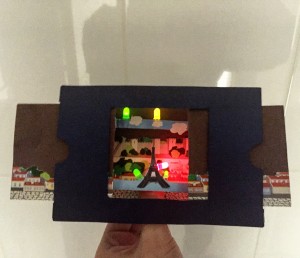
Add lights up and the fourth page is gonna be a pop up of parsons paris.

In processing…..

6 printed out the Eiffel tower stamp and stick it on the fourth page.


IMG_7154

7  Cut two slits , put the fourth page and cloud on the card.

IMG_7156

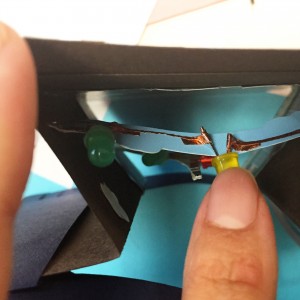
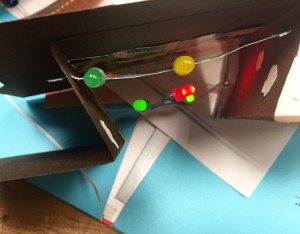
8 Add lights on.

Cut the lights to the right size and using Epaper to make wire lines for + -.

IMG_7159


IMG_7162

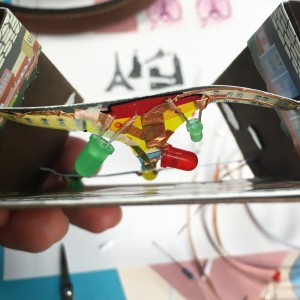
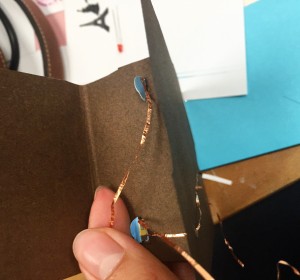
9 Make sure all the lights work, and use epaper to make wires.IMG_7163


10 connect the wires to the battery. Also hide all the wires to the back of the card

IMG_7167

11 Welding everything and make sure the connections are strong.

IMG_7164

12 Test again, make sure all the lights work well.

Then we are done.

IMG_7166