Superman for a while_Eden Tartour
Superman for a while
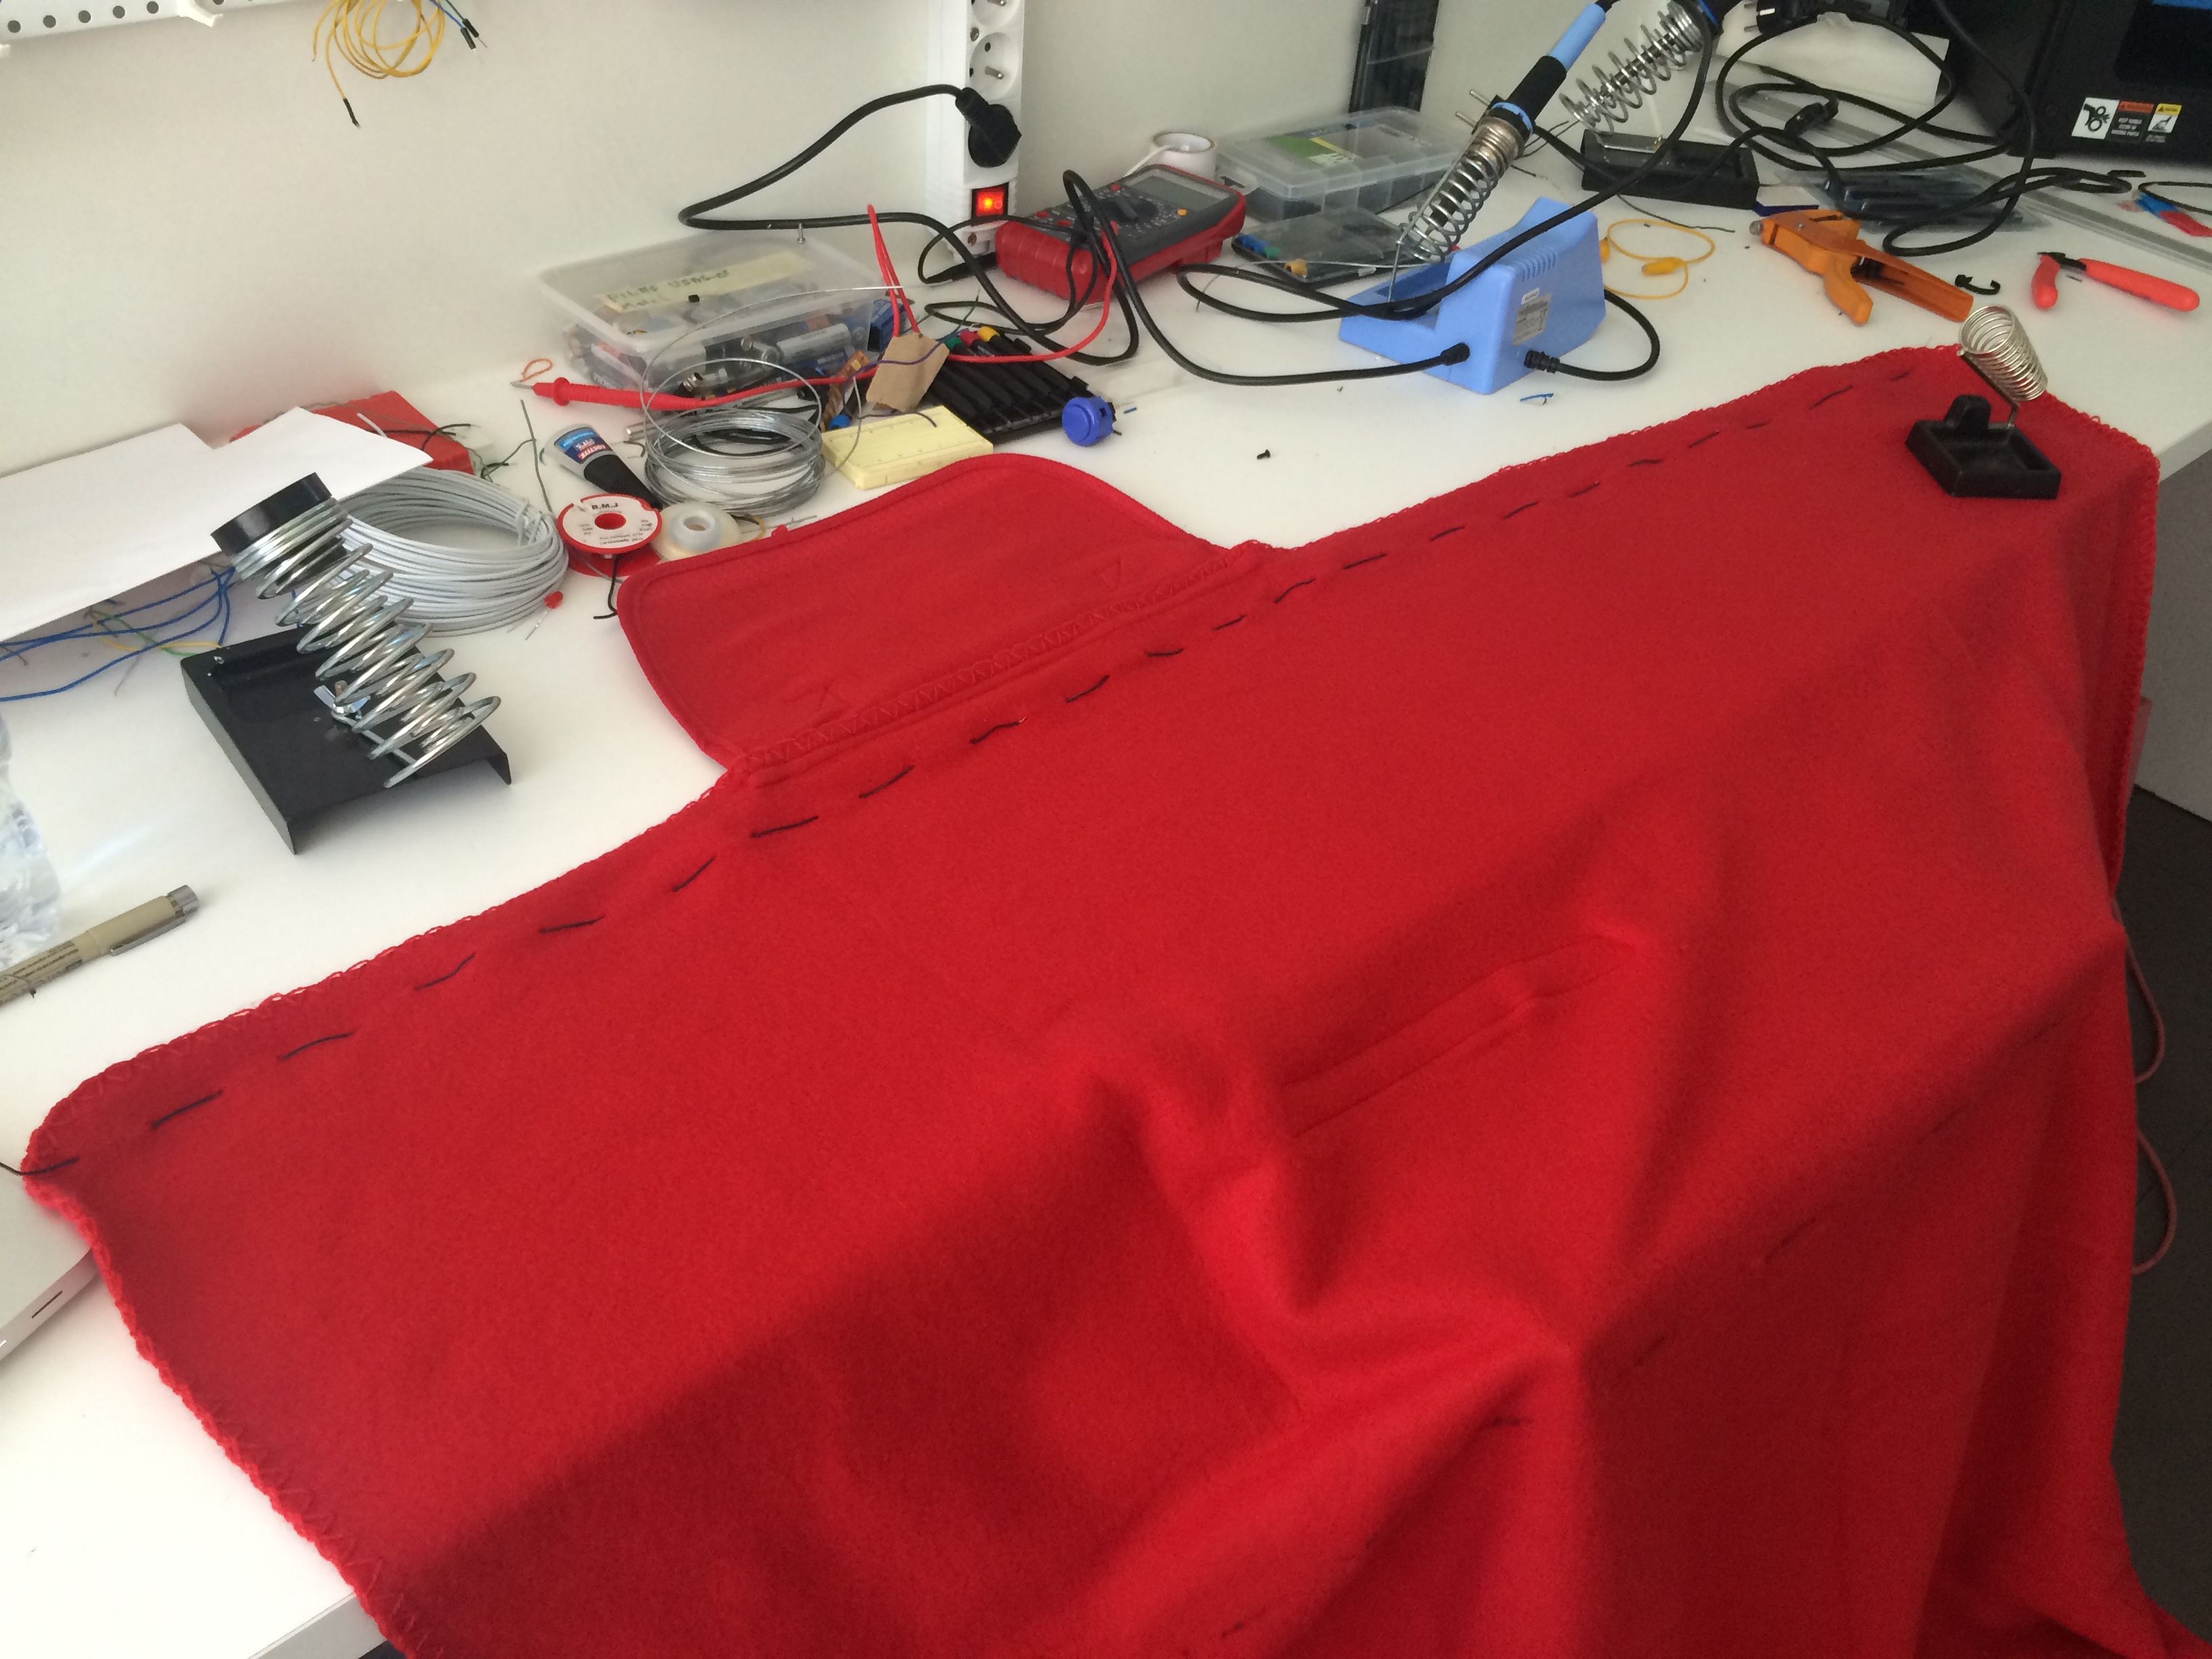
I decided to hack the key space of the keyboard I had, and I connected it to this red blanket which made me think of Superman’s mantle. To make it work the way I wanted, I create a code that would play the soundtrack of Superman original film and will show a picture of him. When the circuit isn’t closed, the song stops playing and the image disappear.
This video show the process I went through, and there’s a few images too.

BowlFlix: Bowl that controls Netflix with a keyboard circuit board
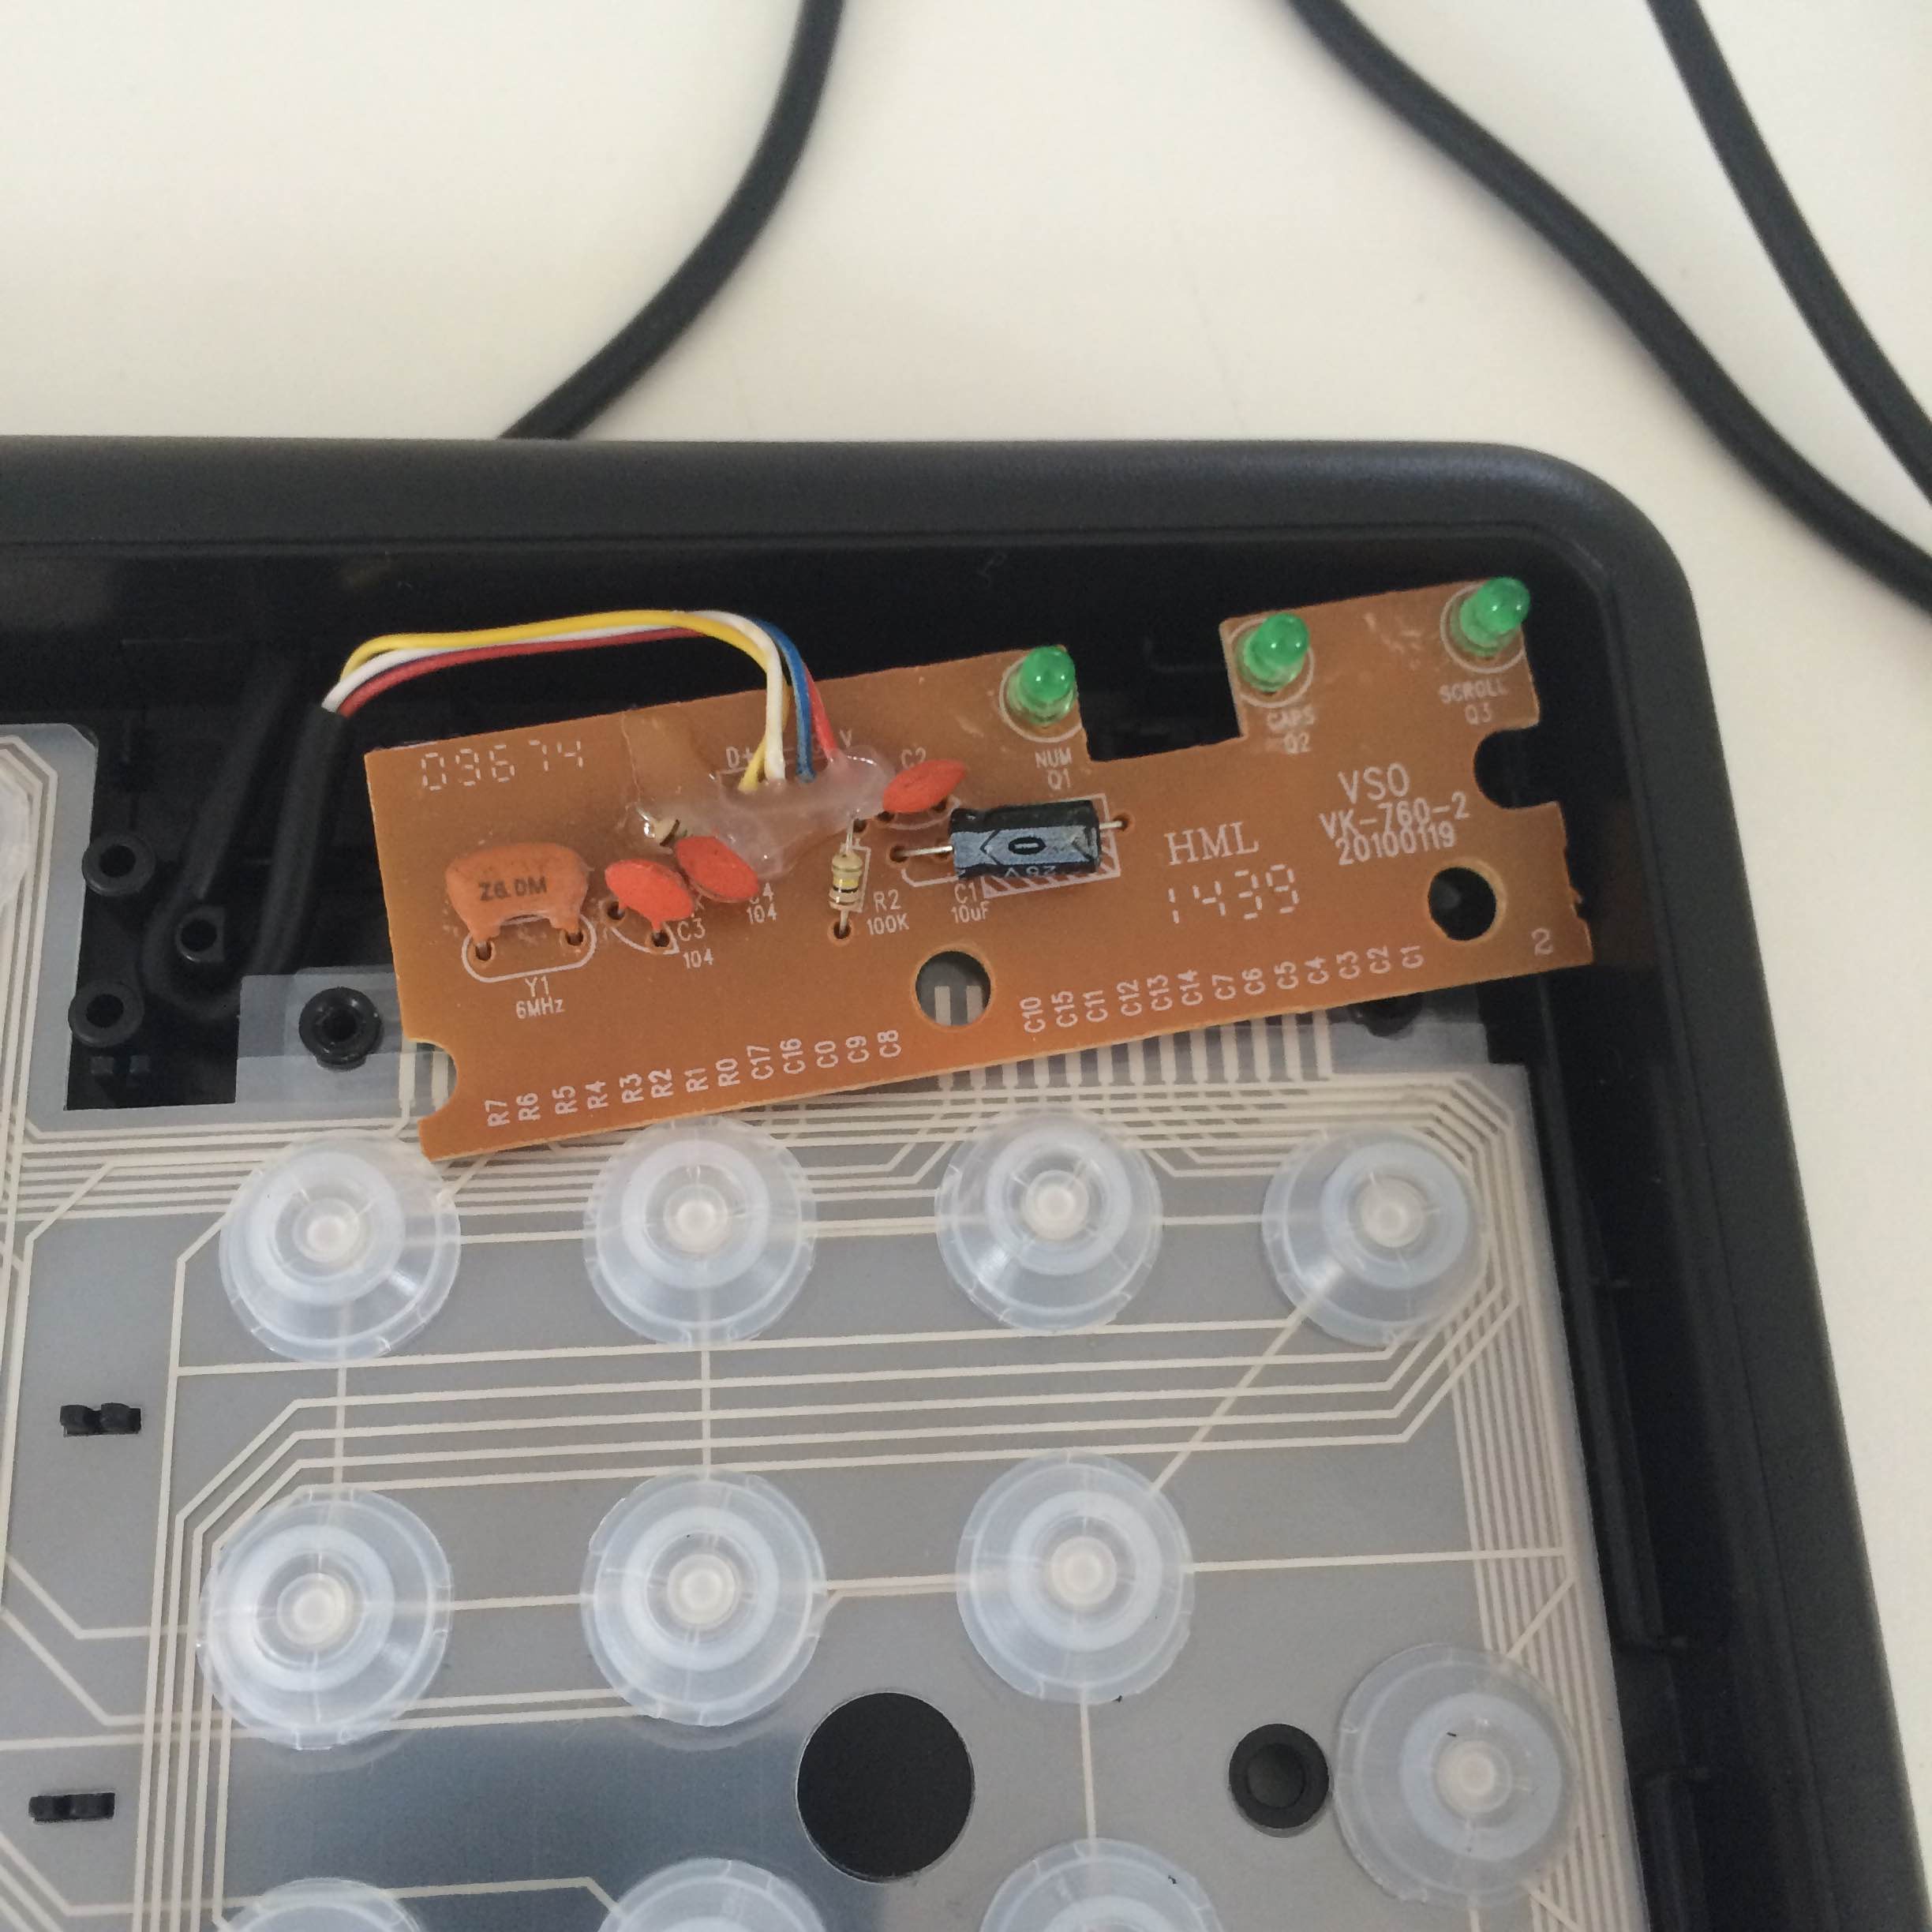
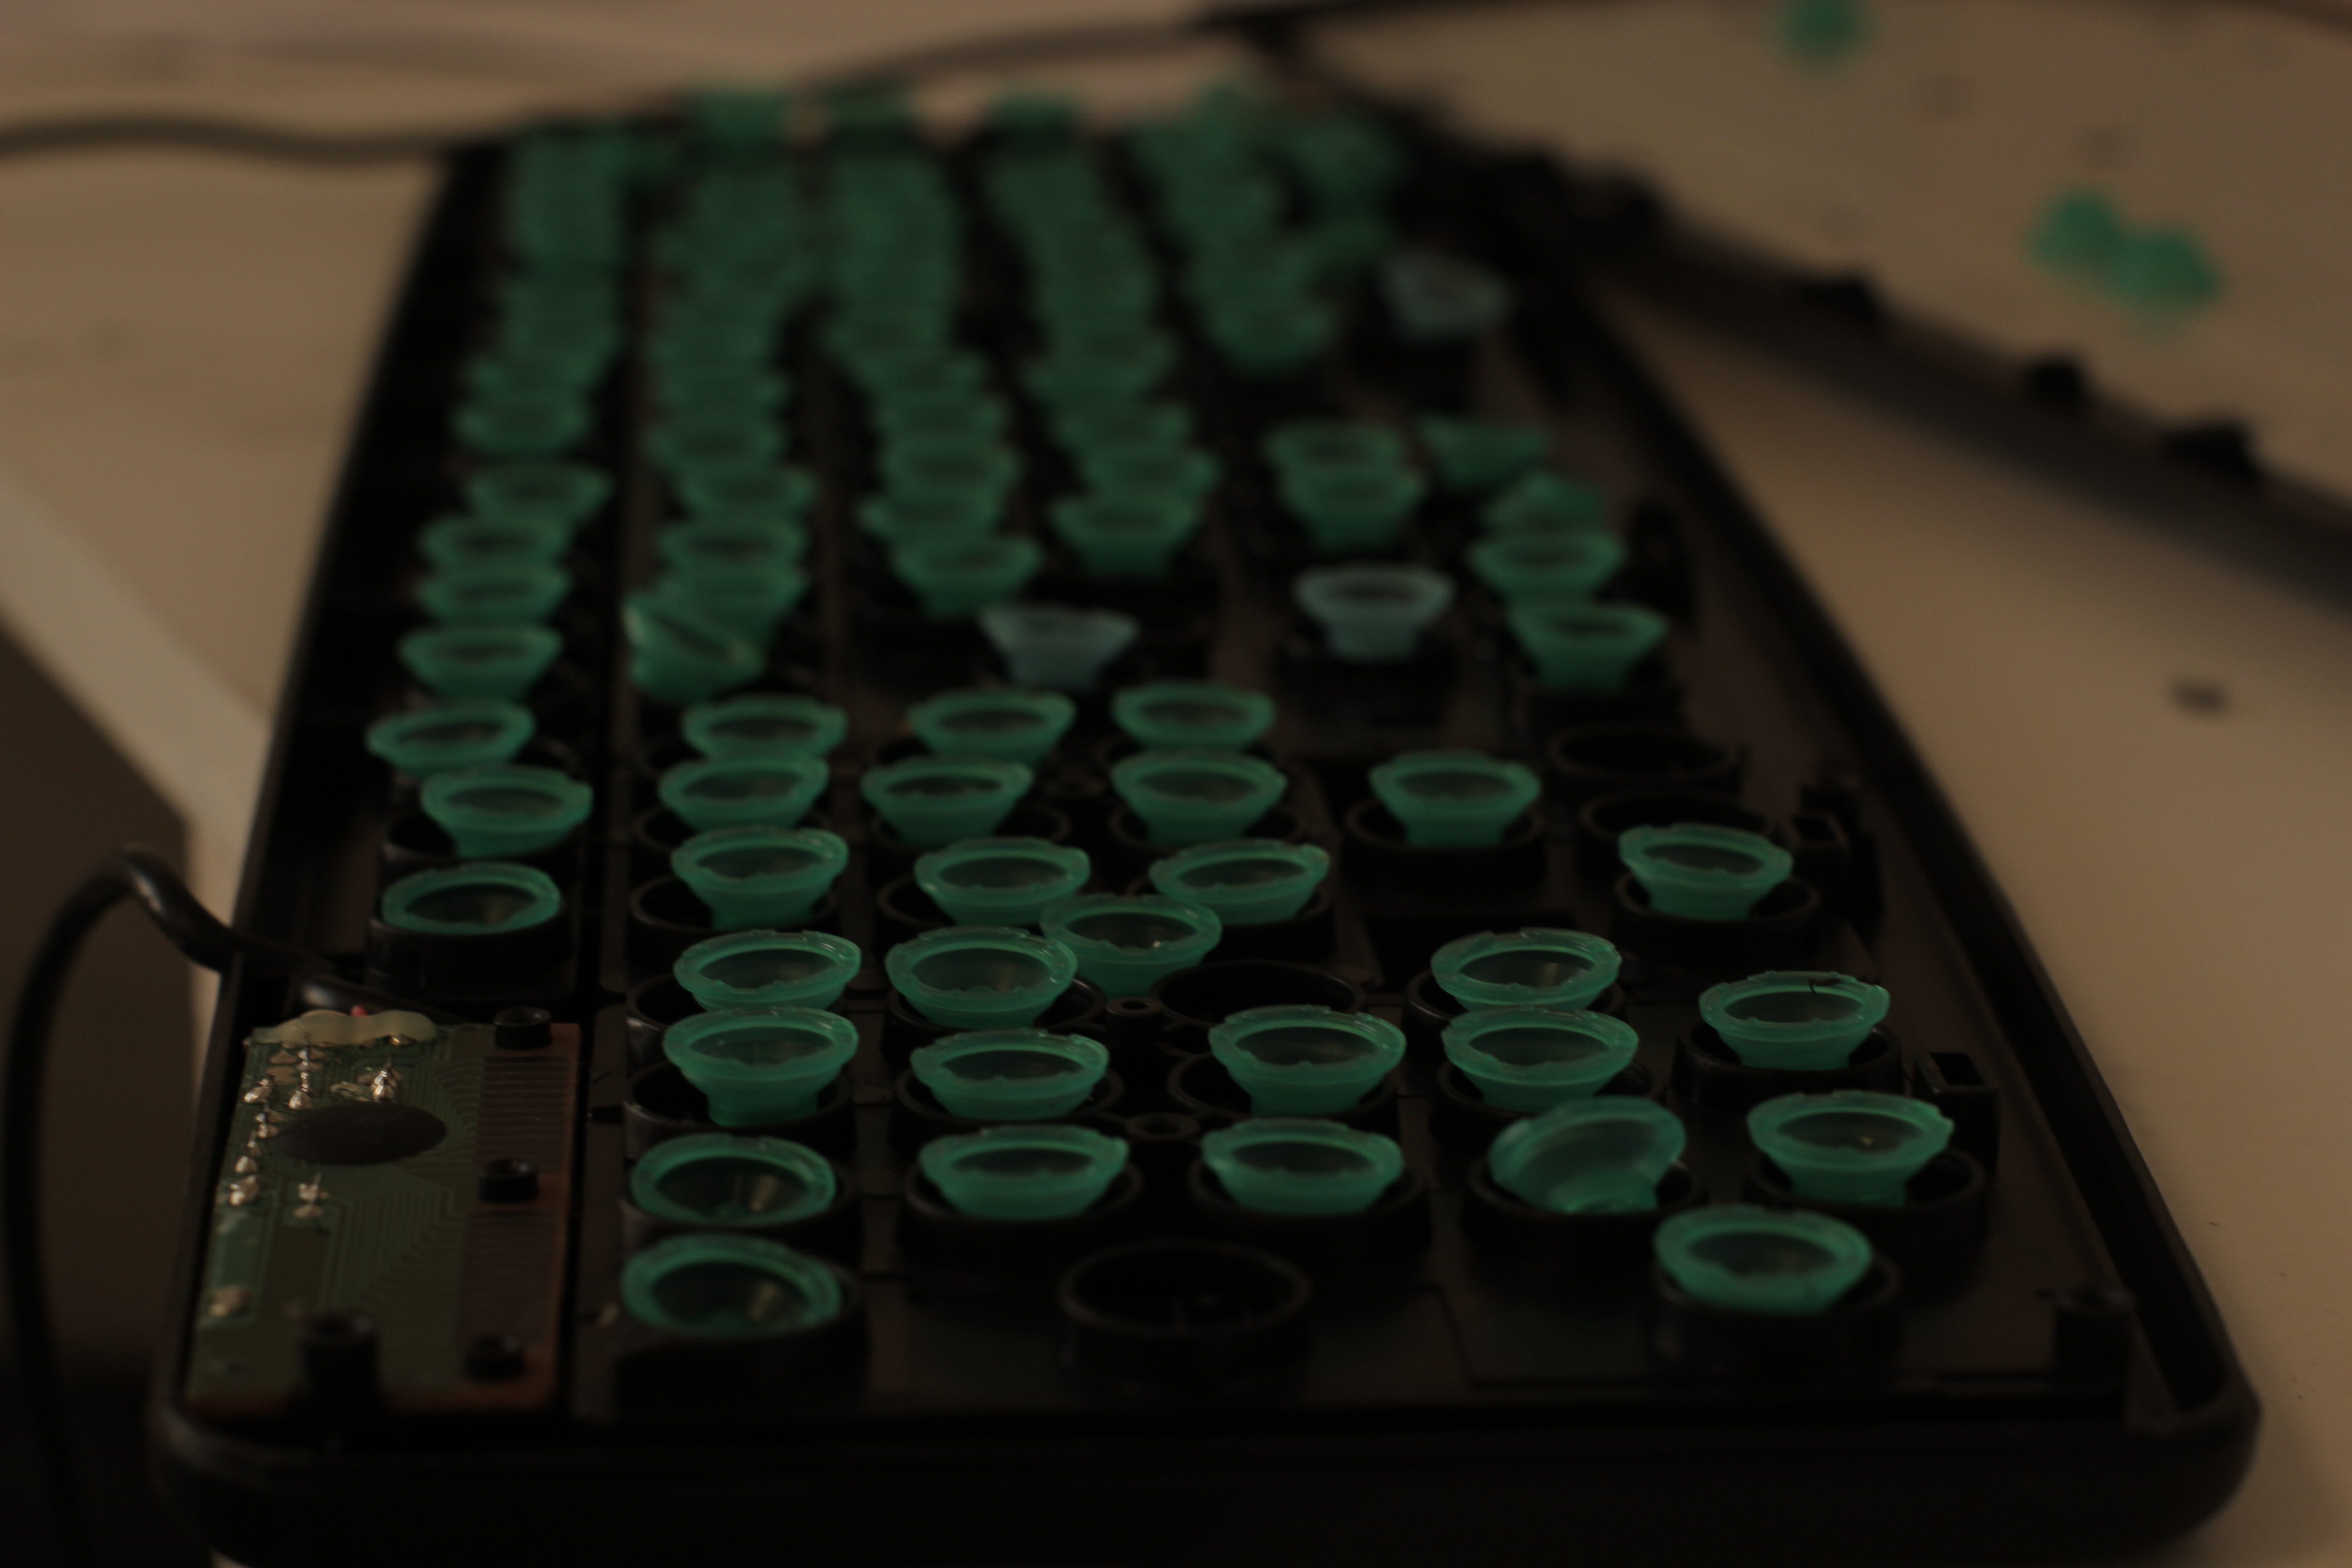
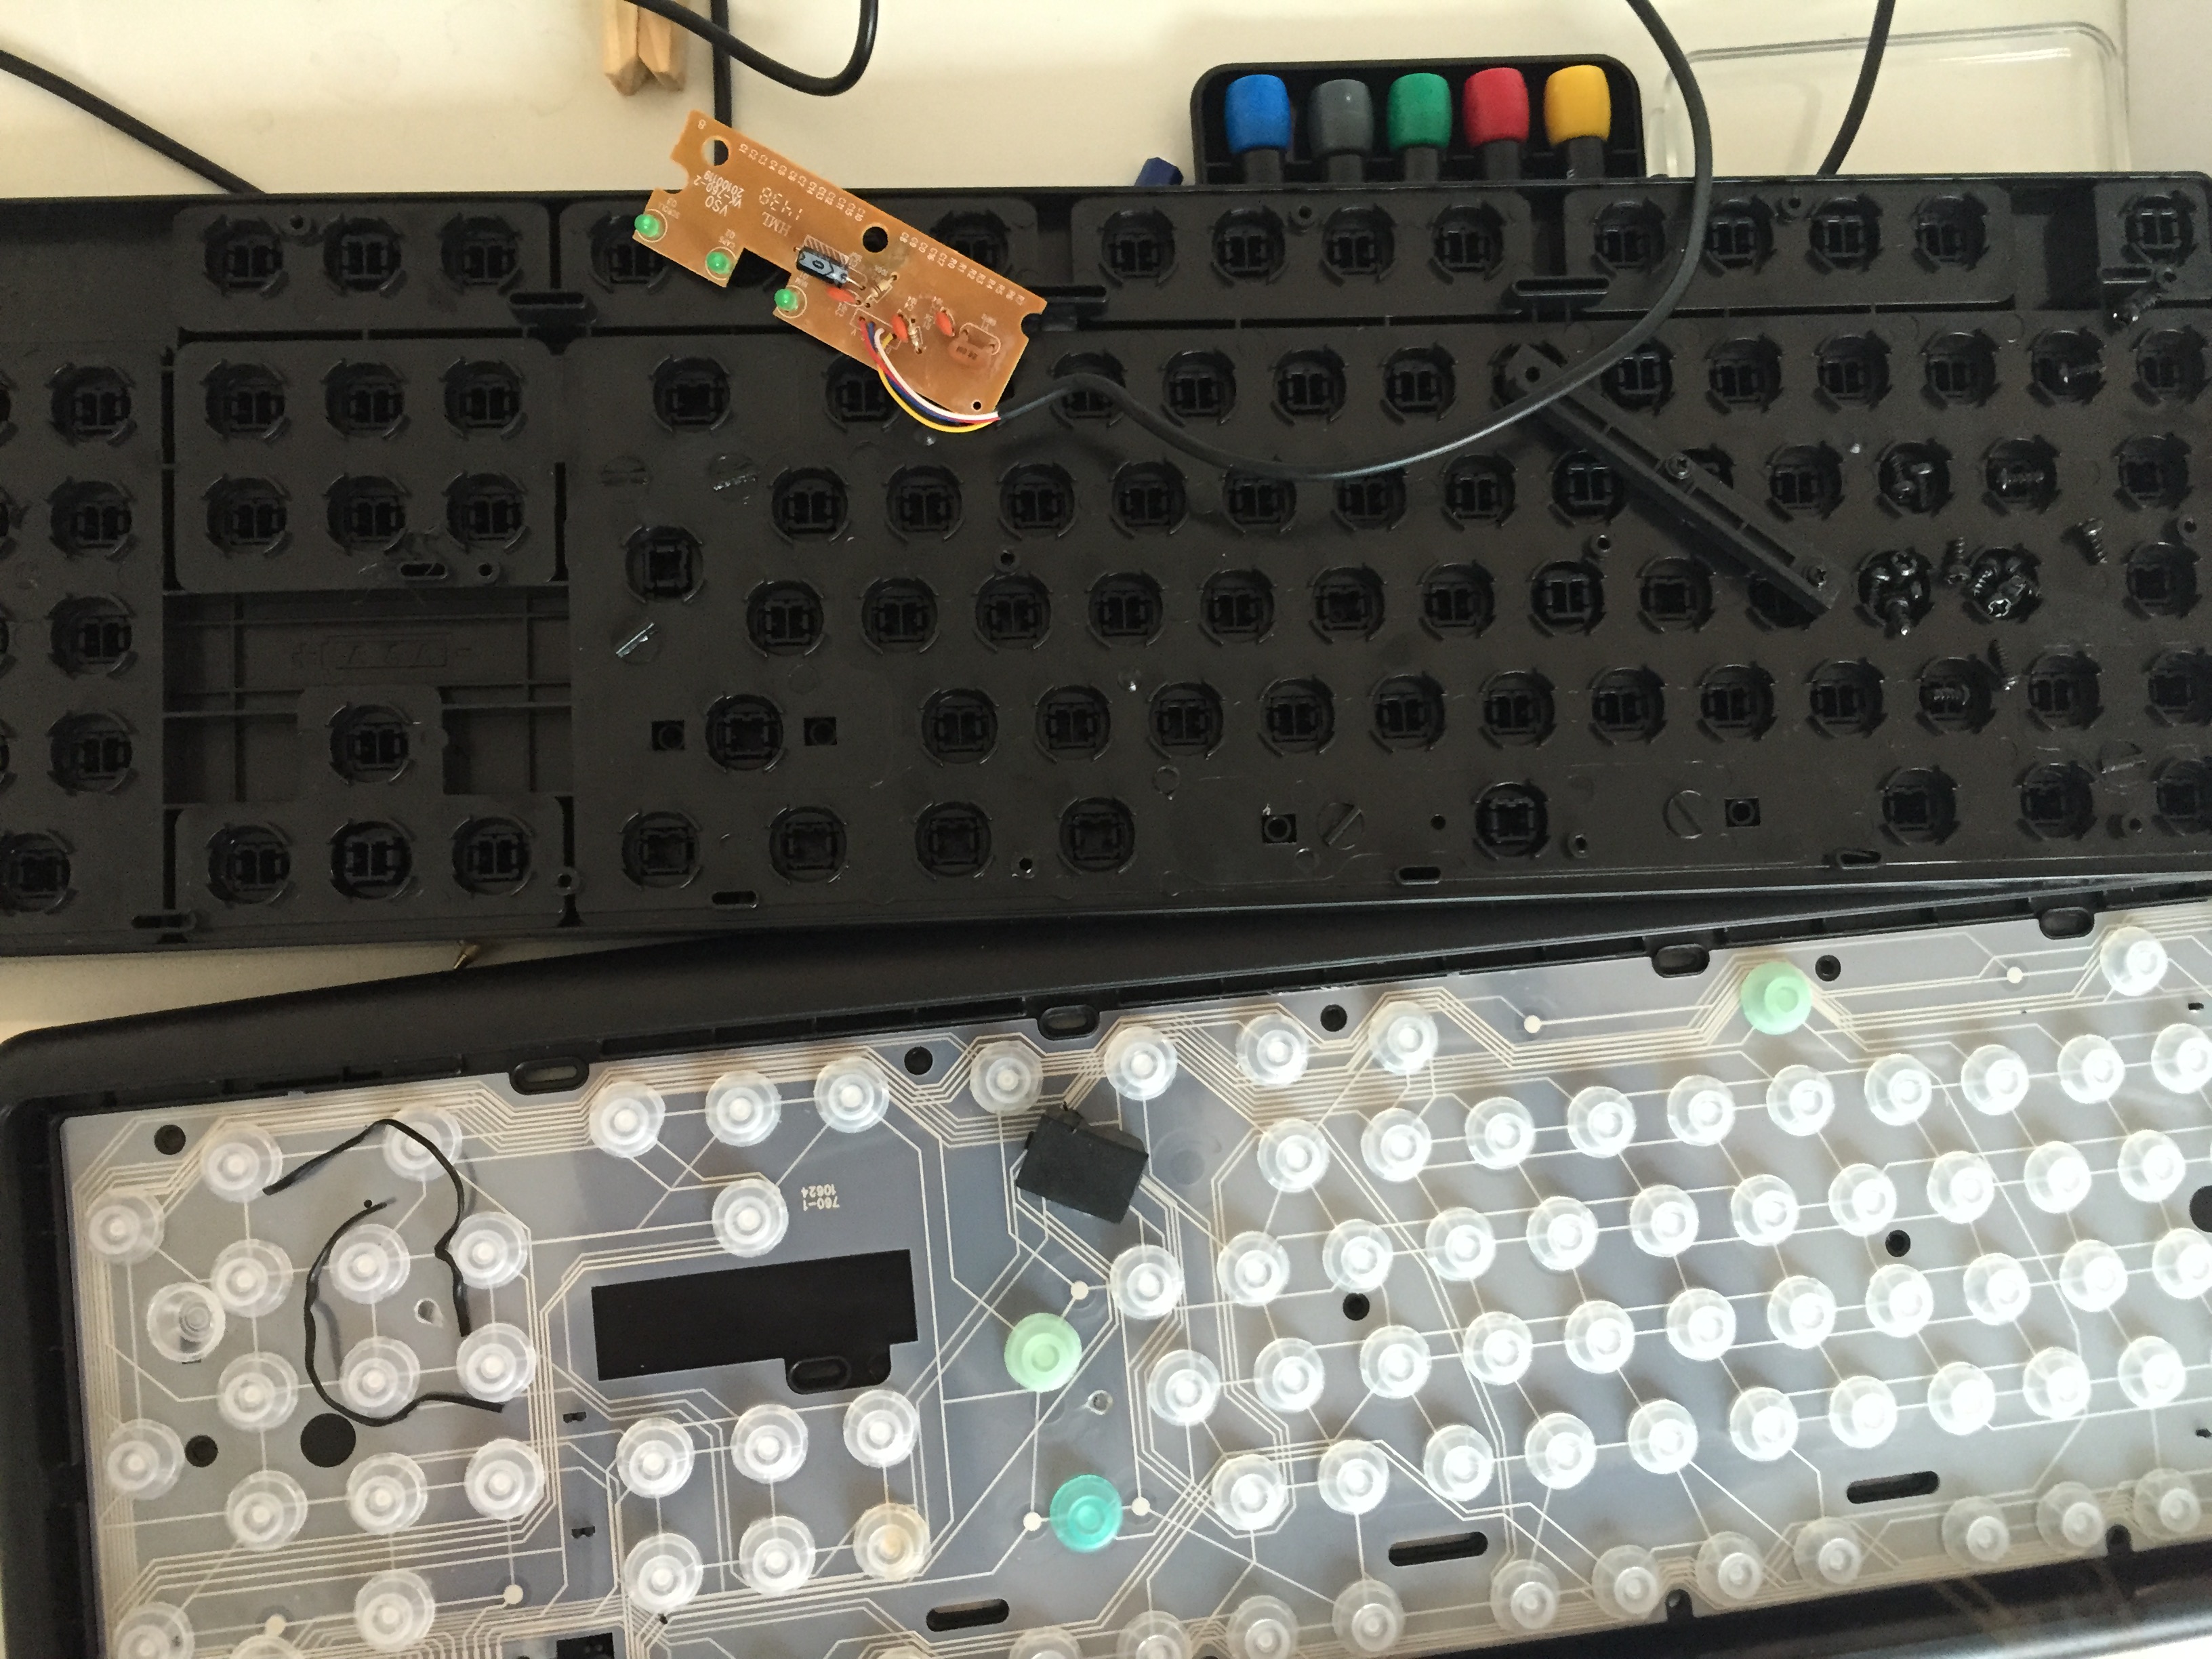
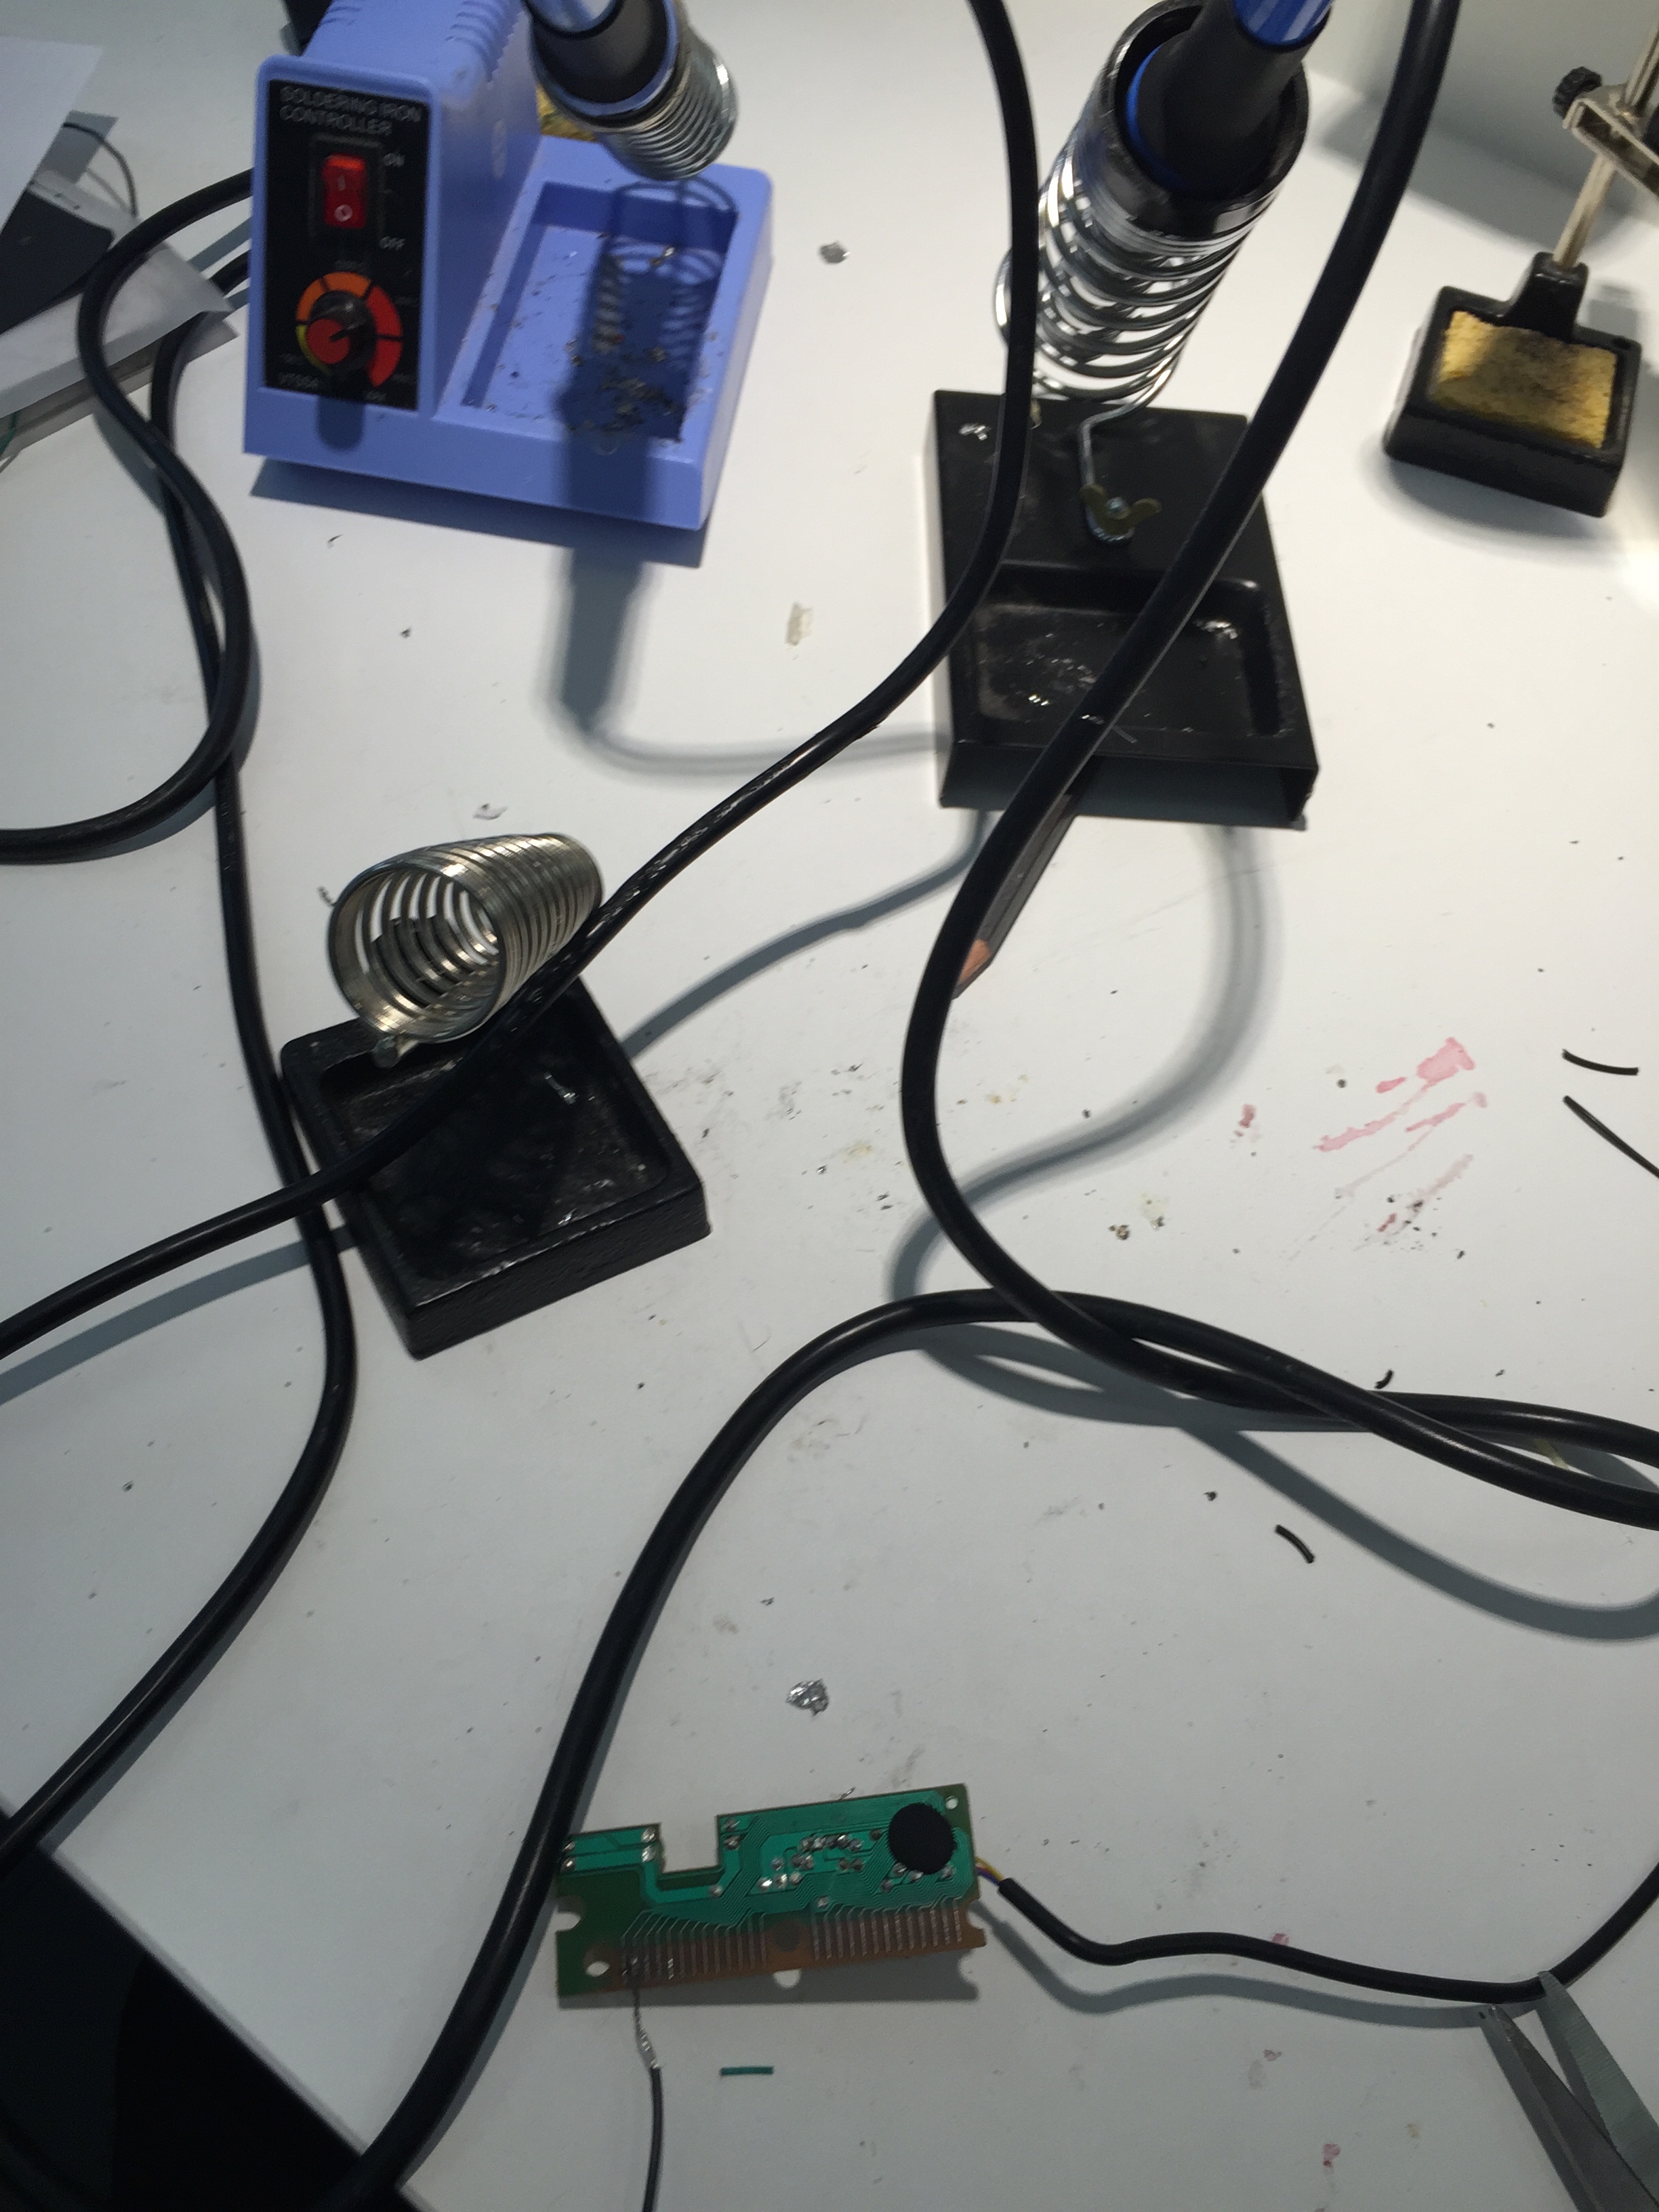
I started off this project by opening a keyboard to get out the circuit board that I would eventually use to create a bowl that would pause and play netflix.
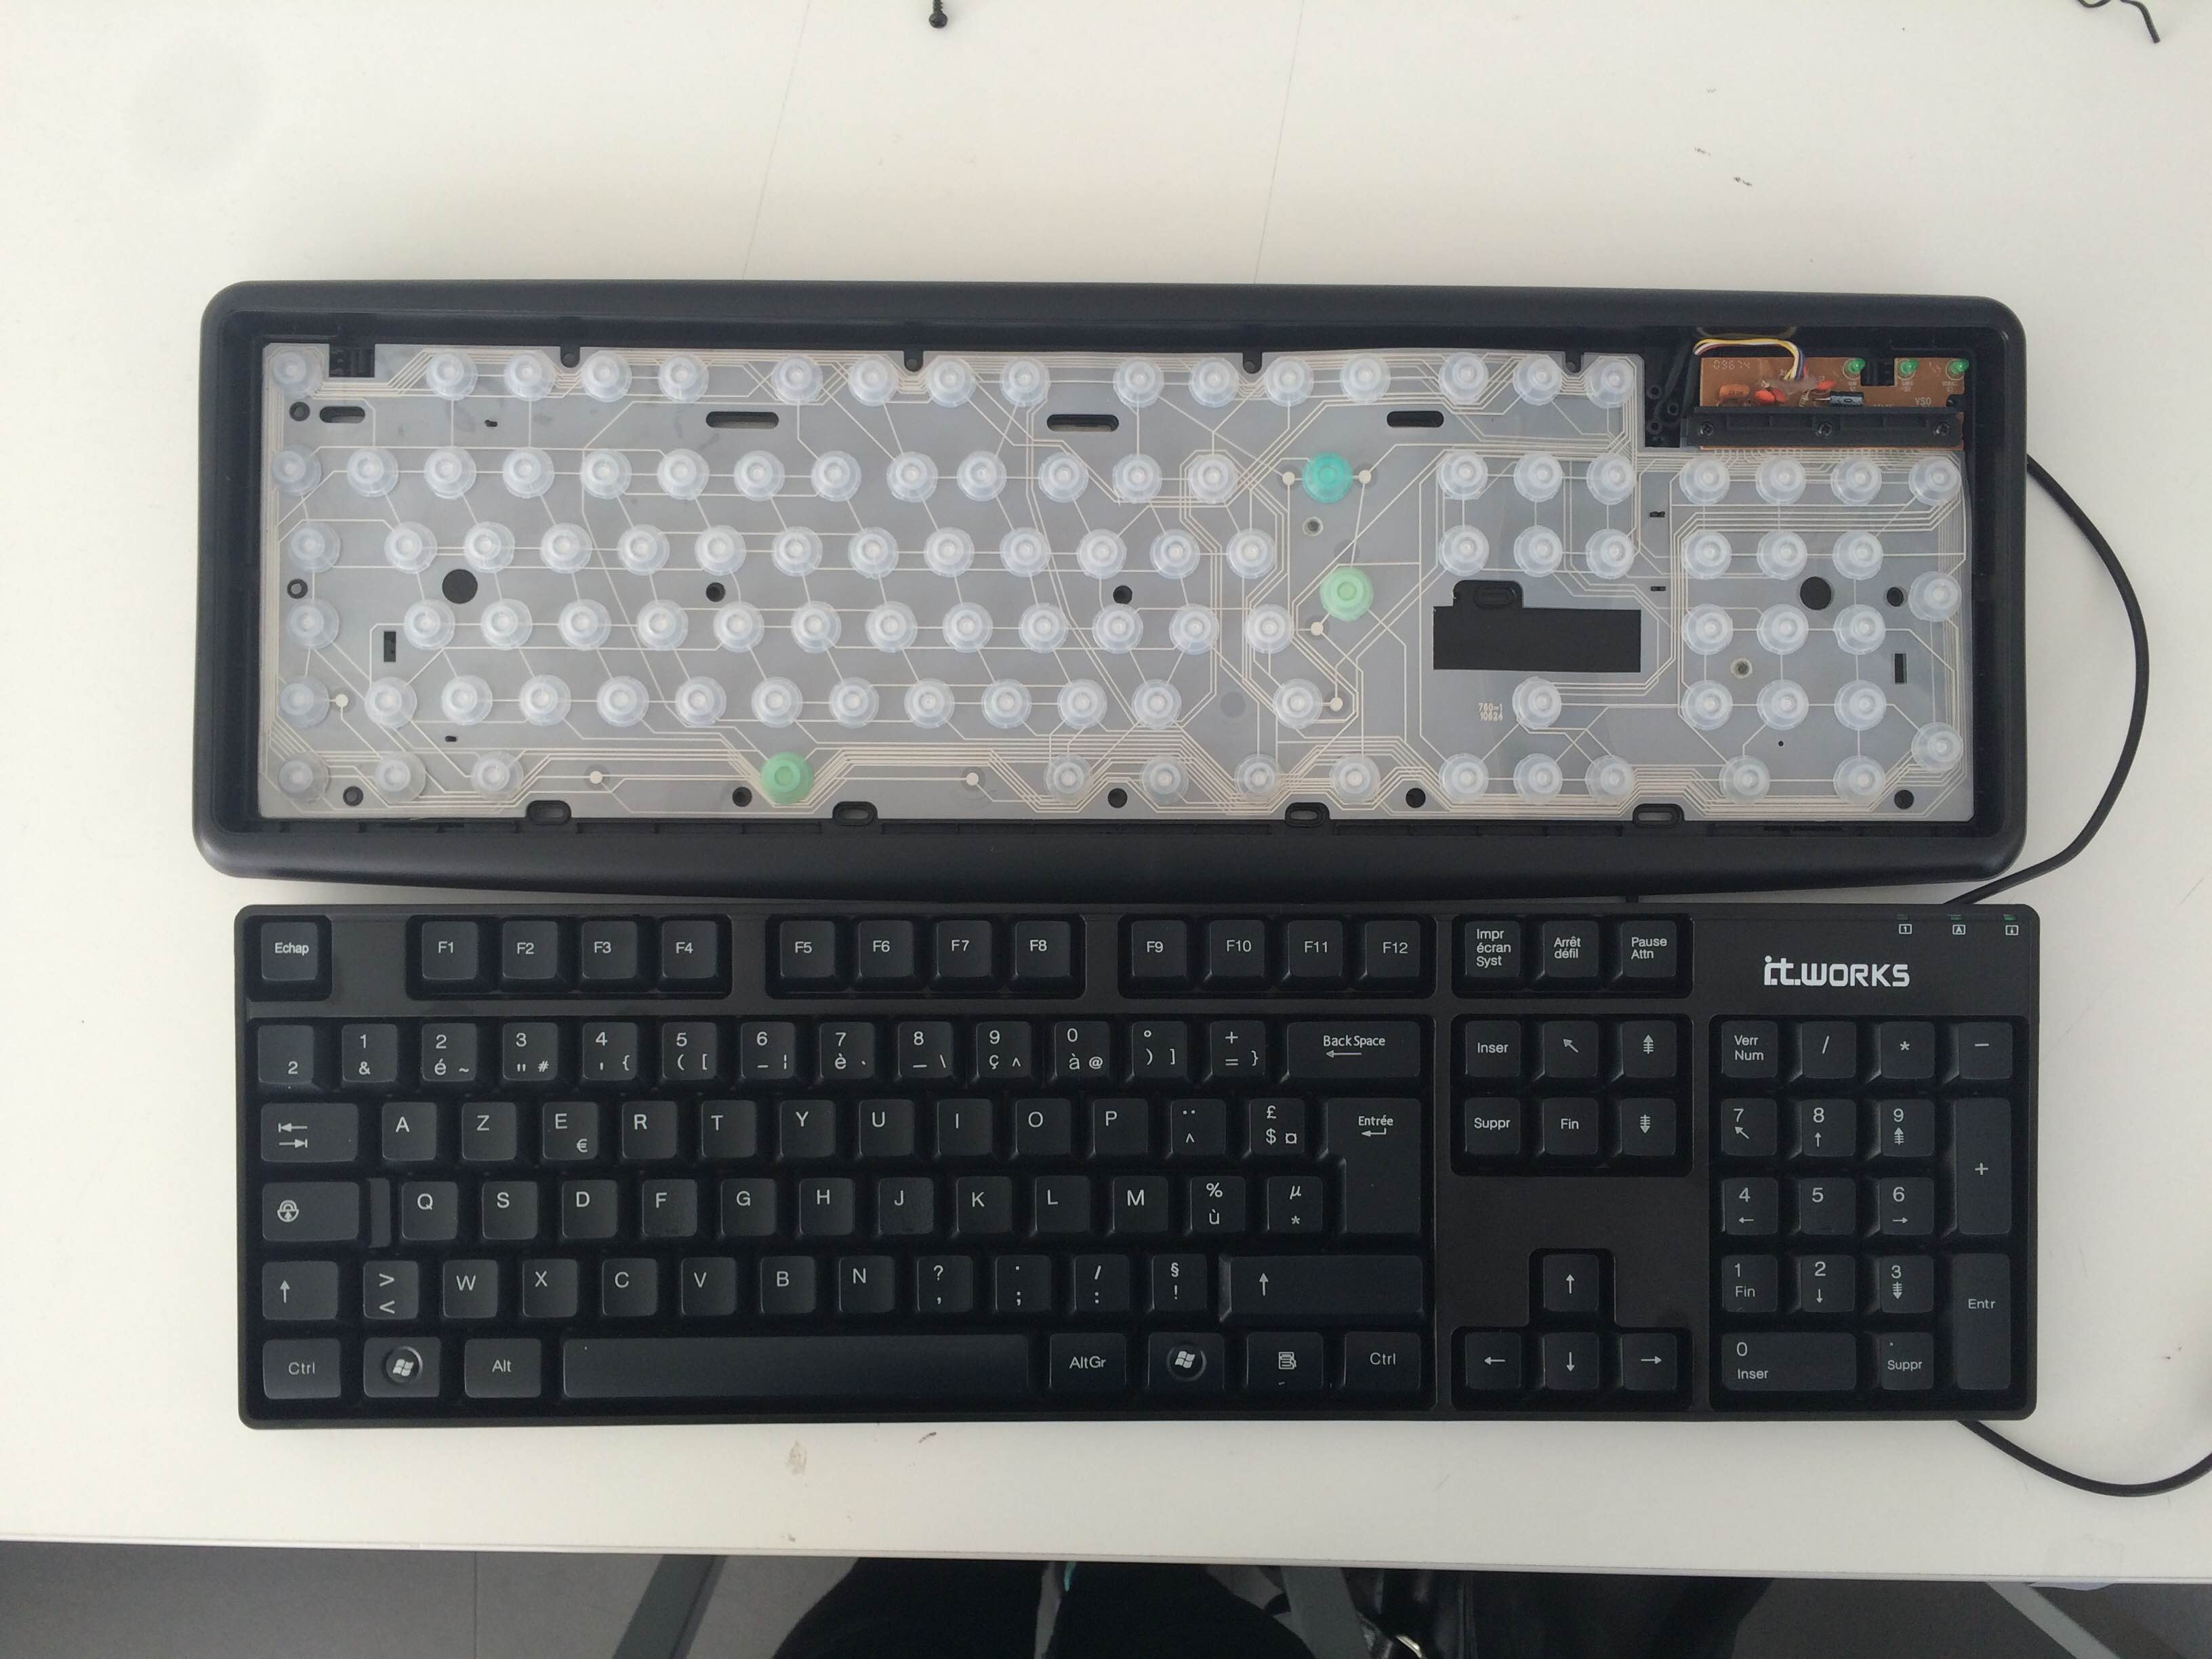
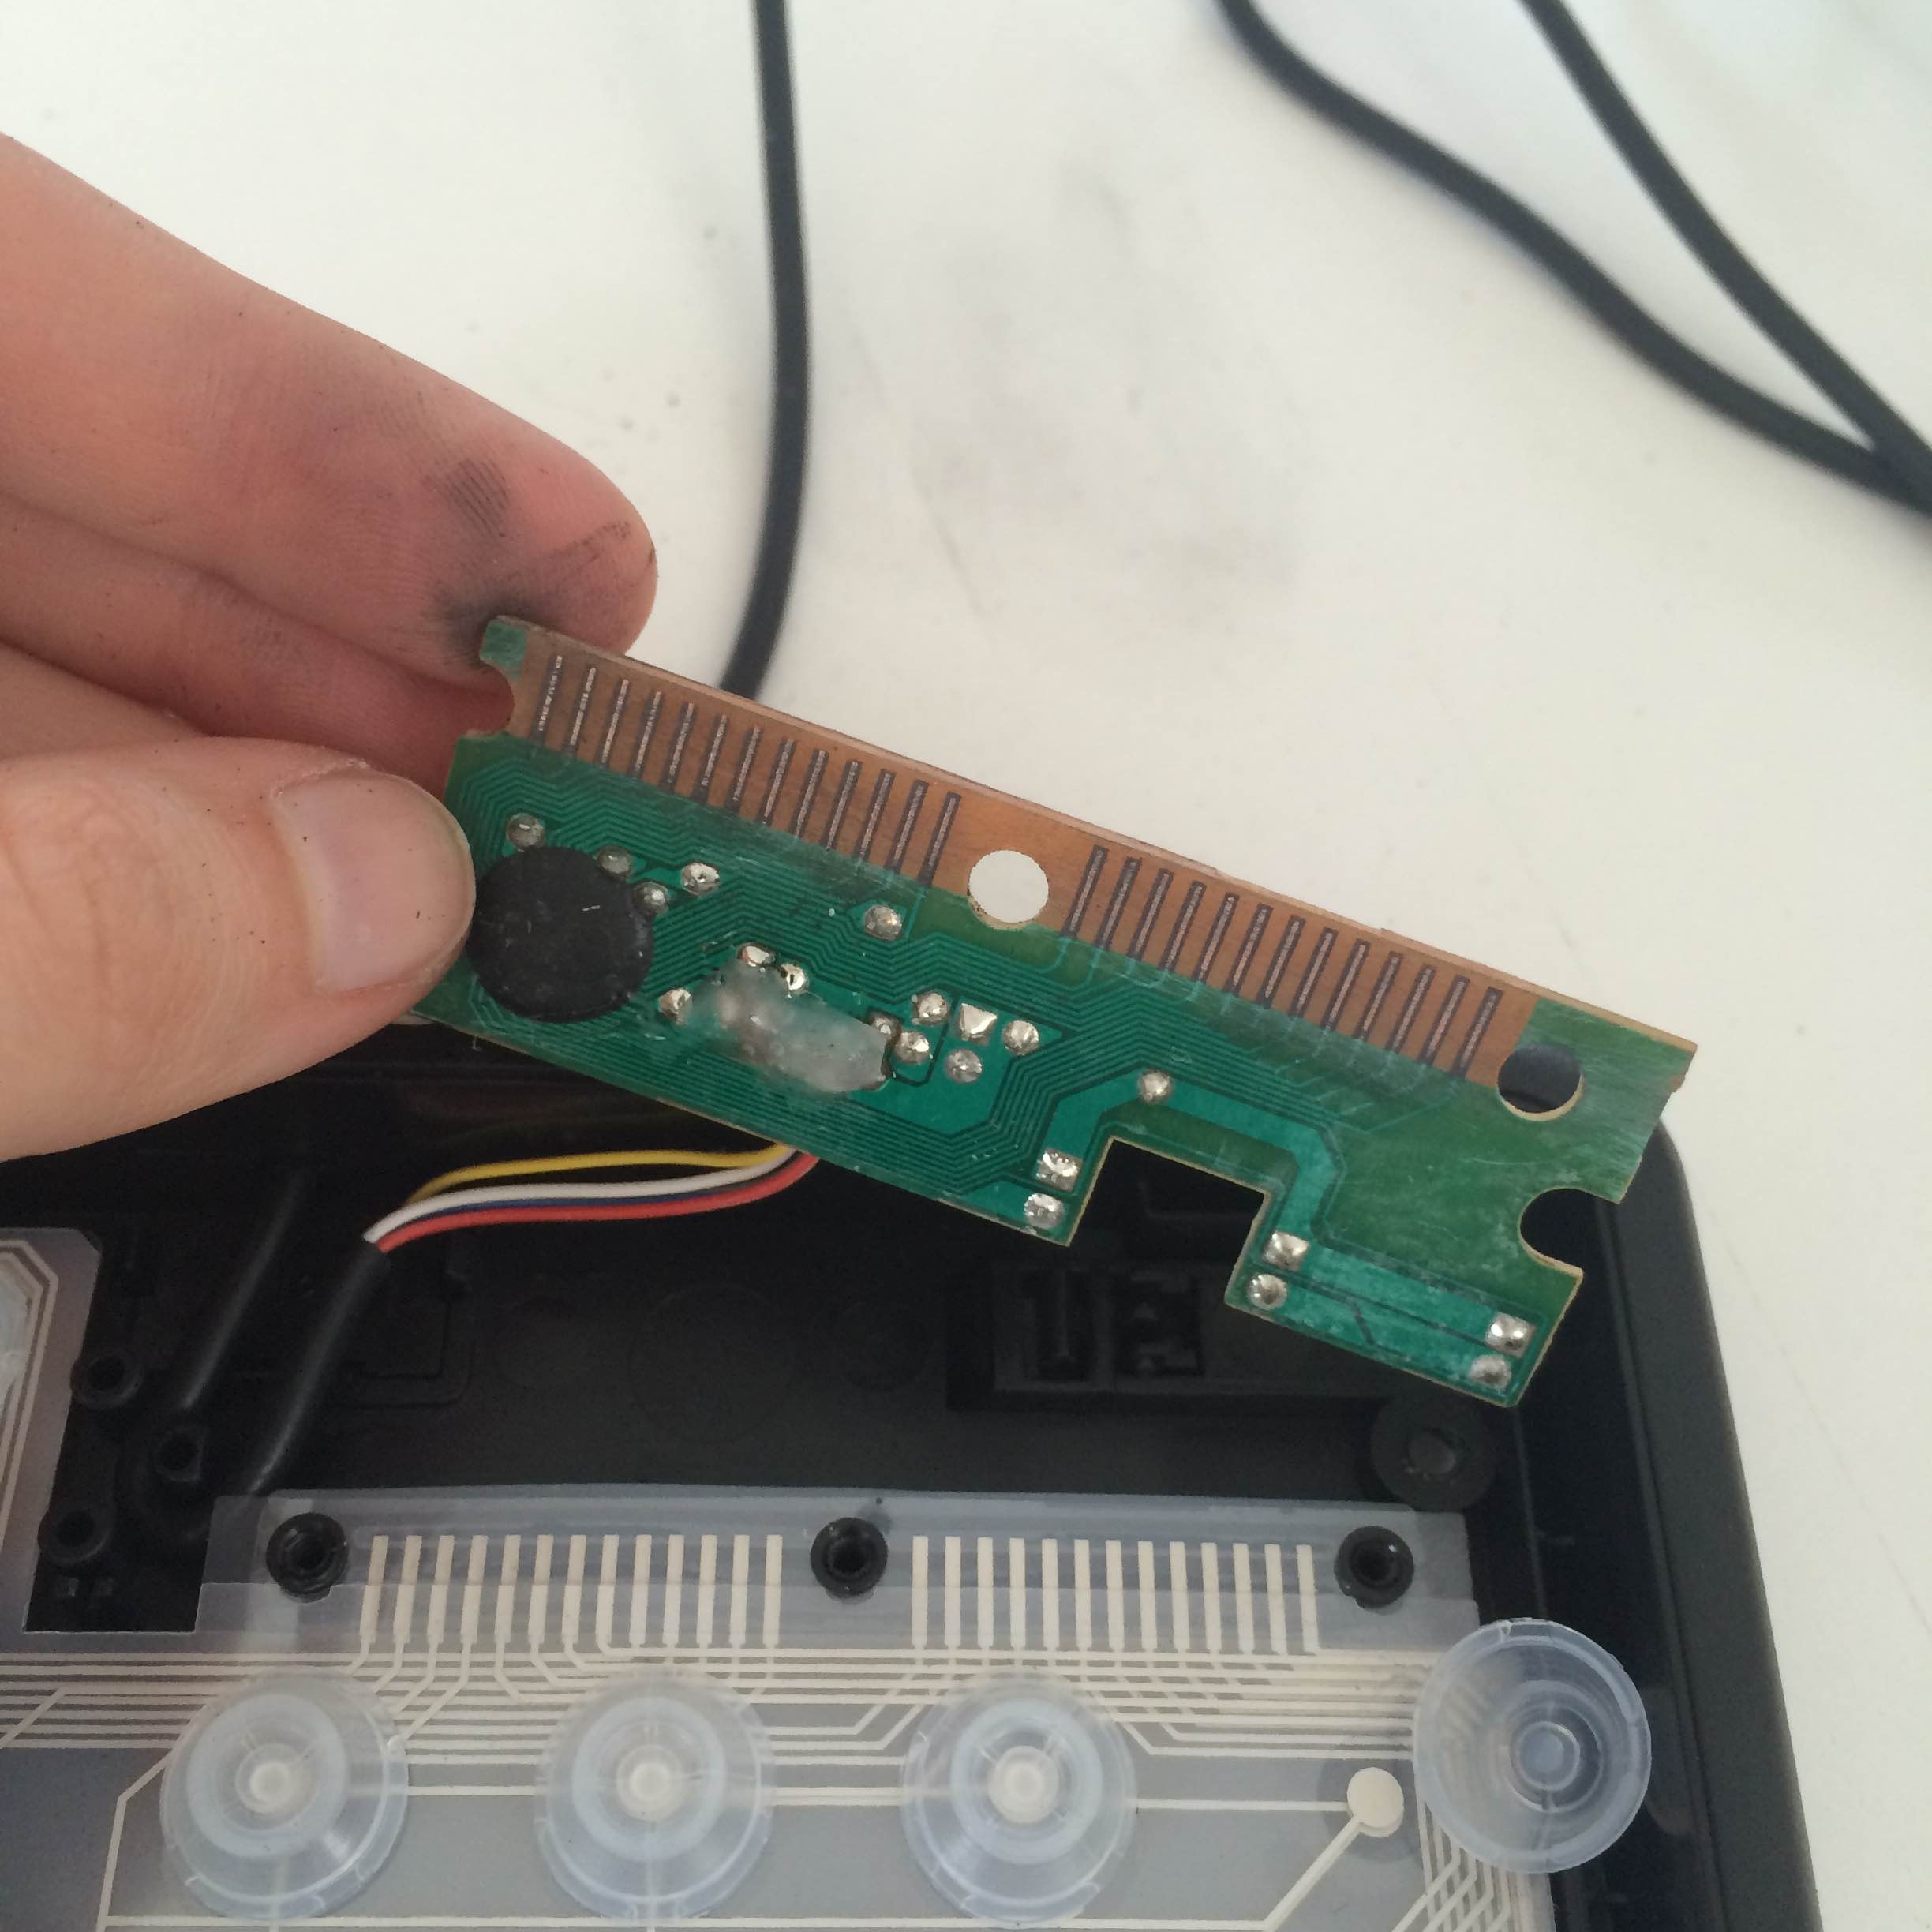
Once I opened the keyboard I had to sand the circuit board to then attach cables to it.
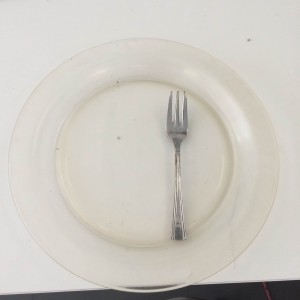
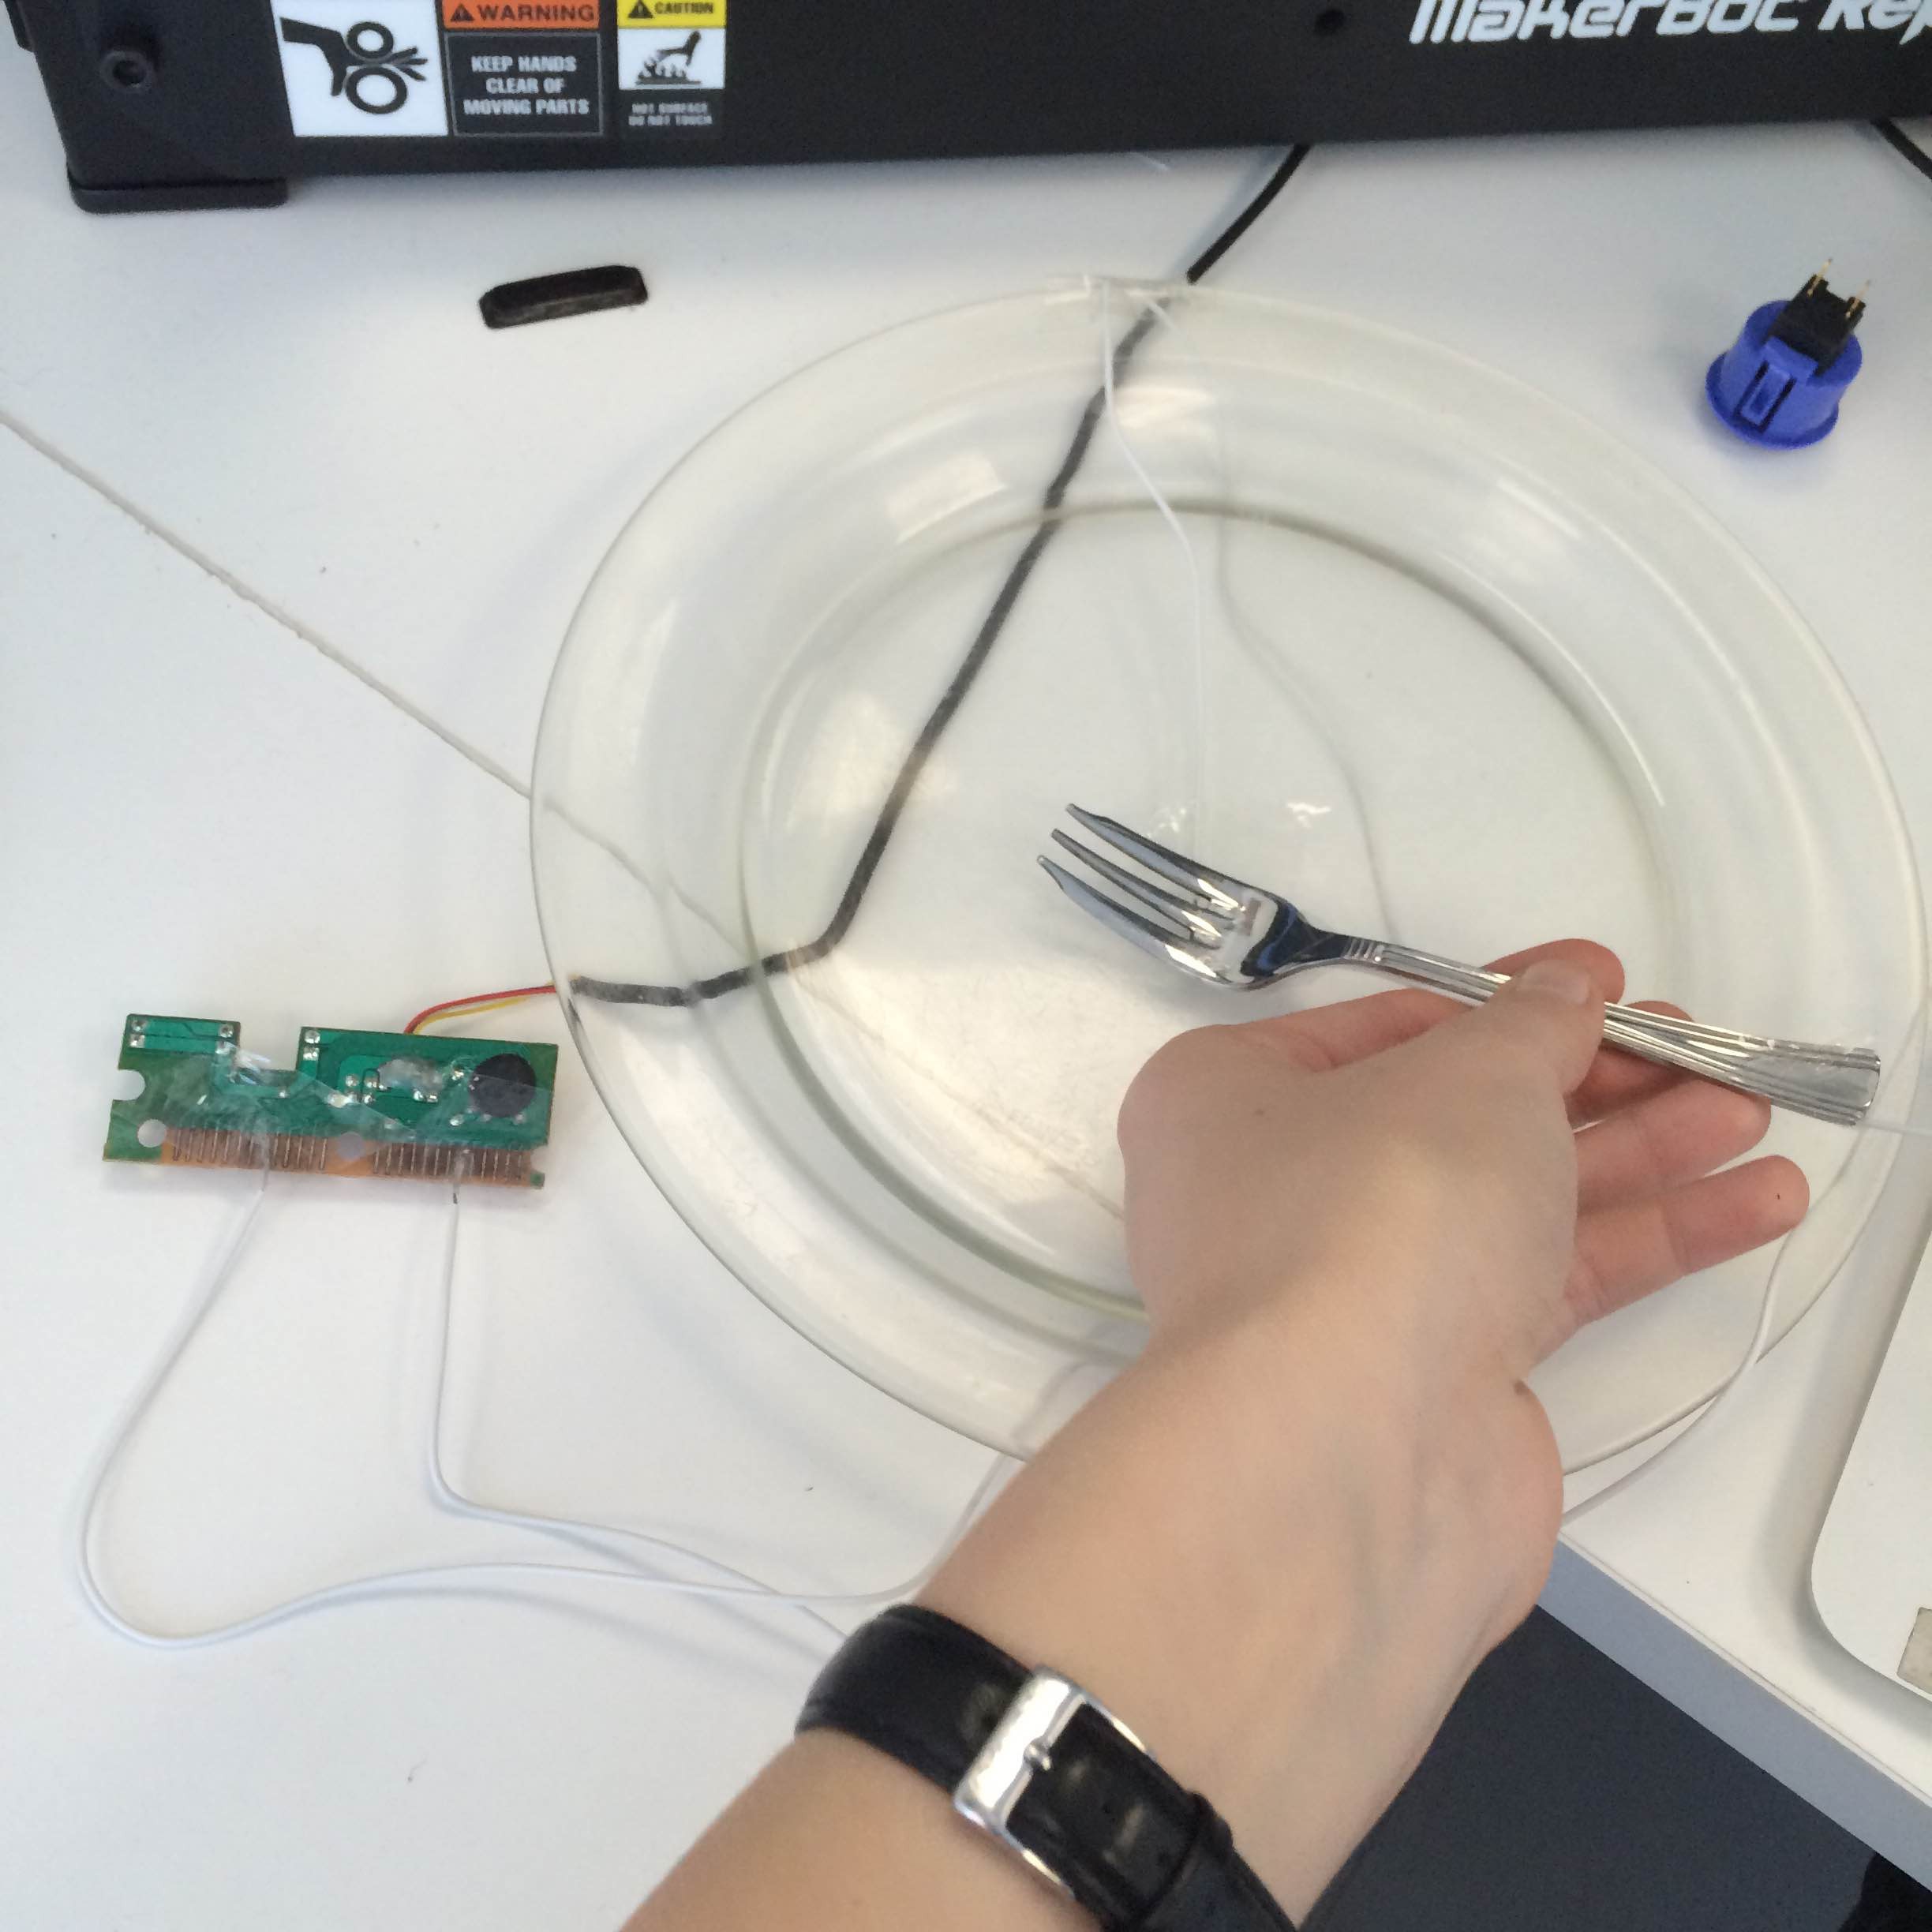
I used a plate and a fork to test out whether the connection would work.
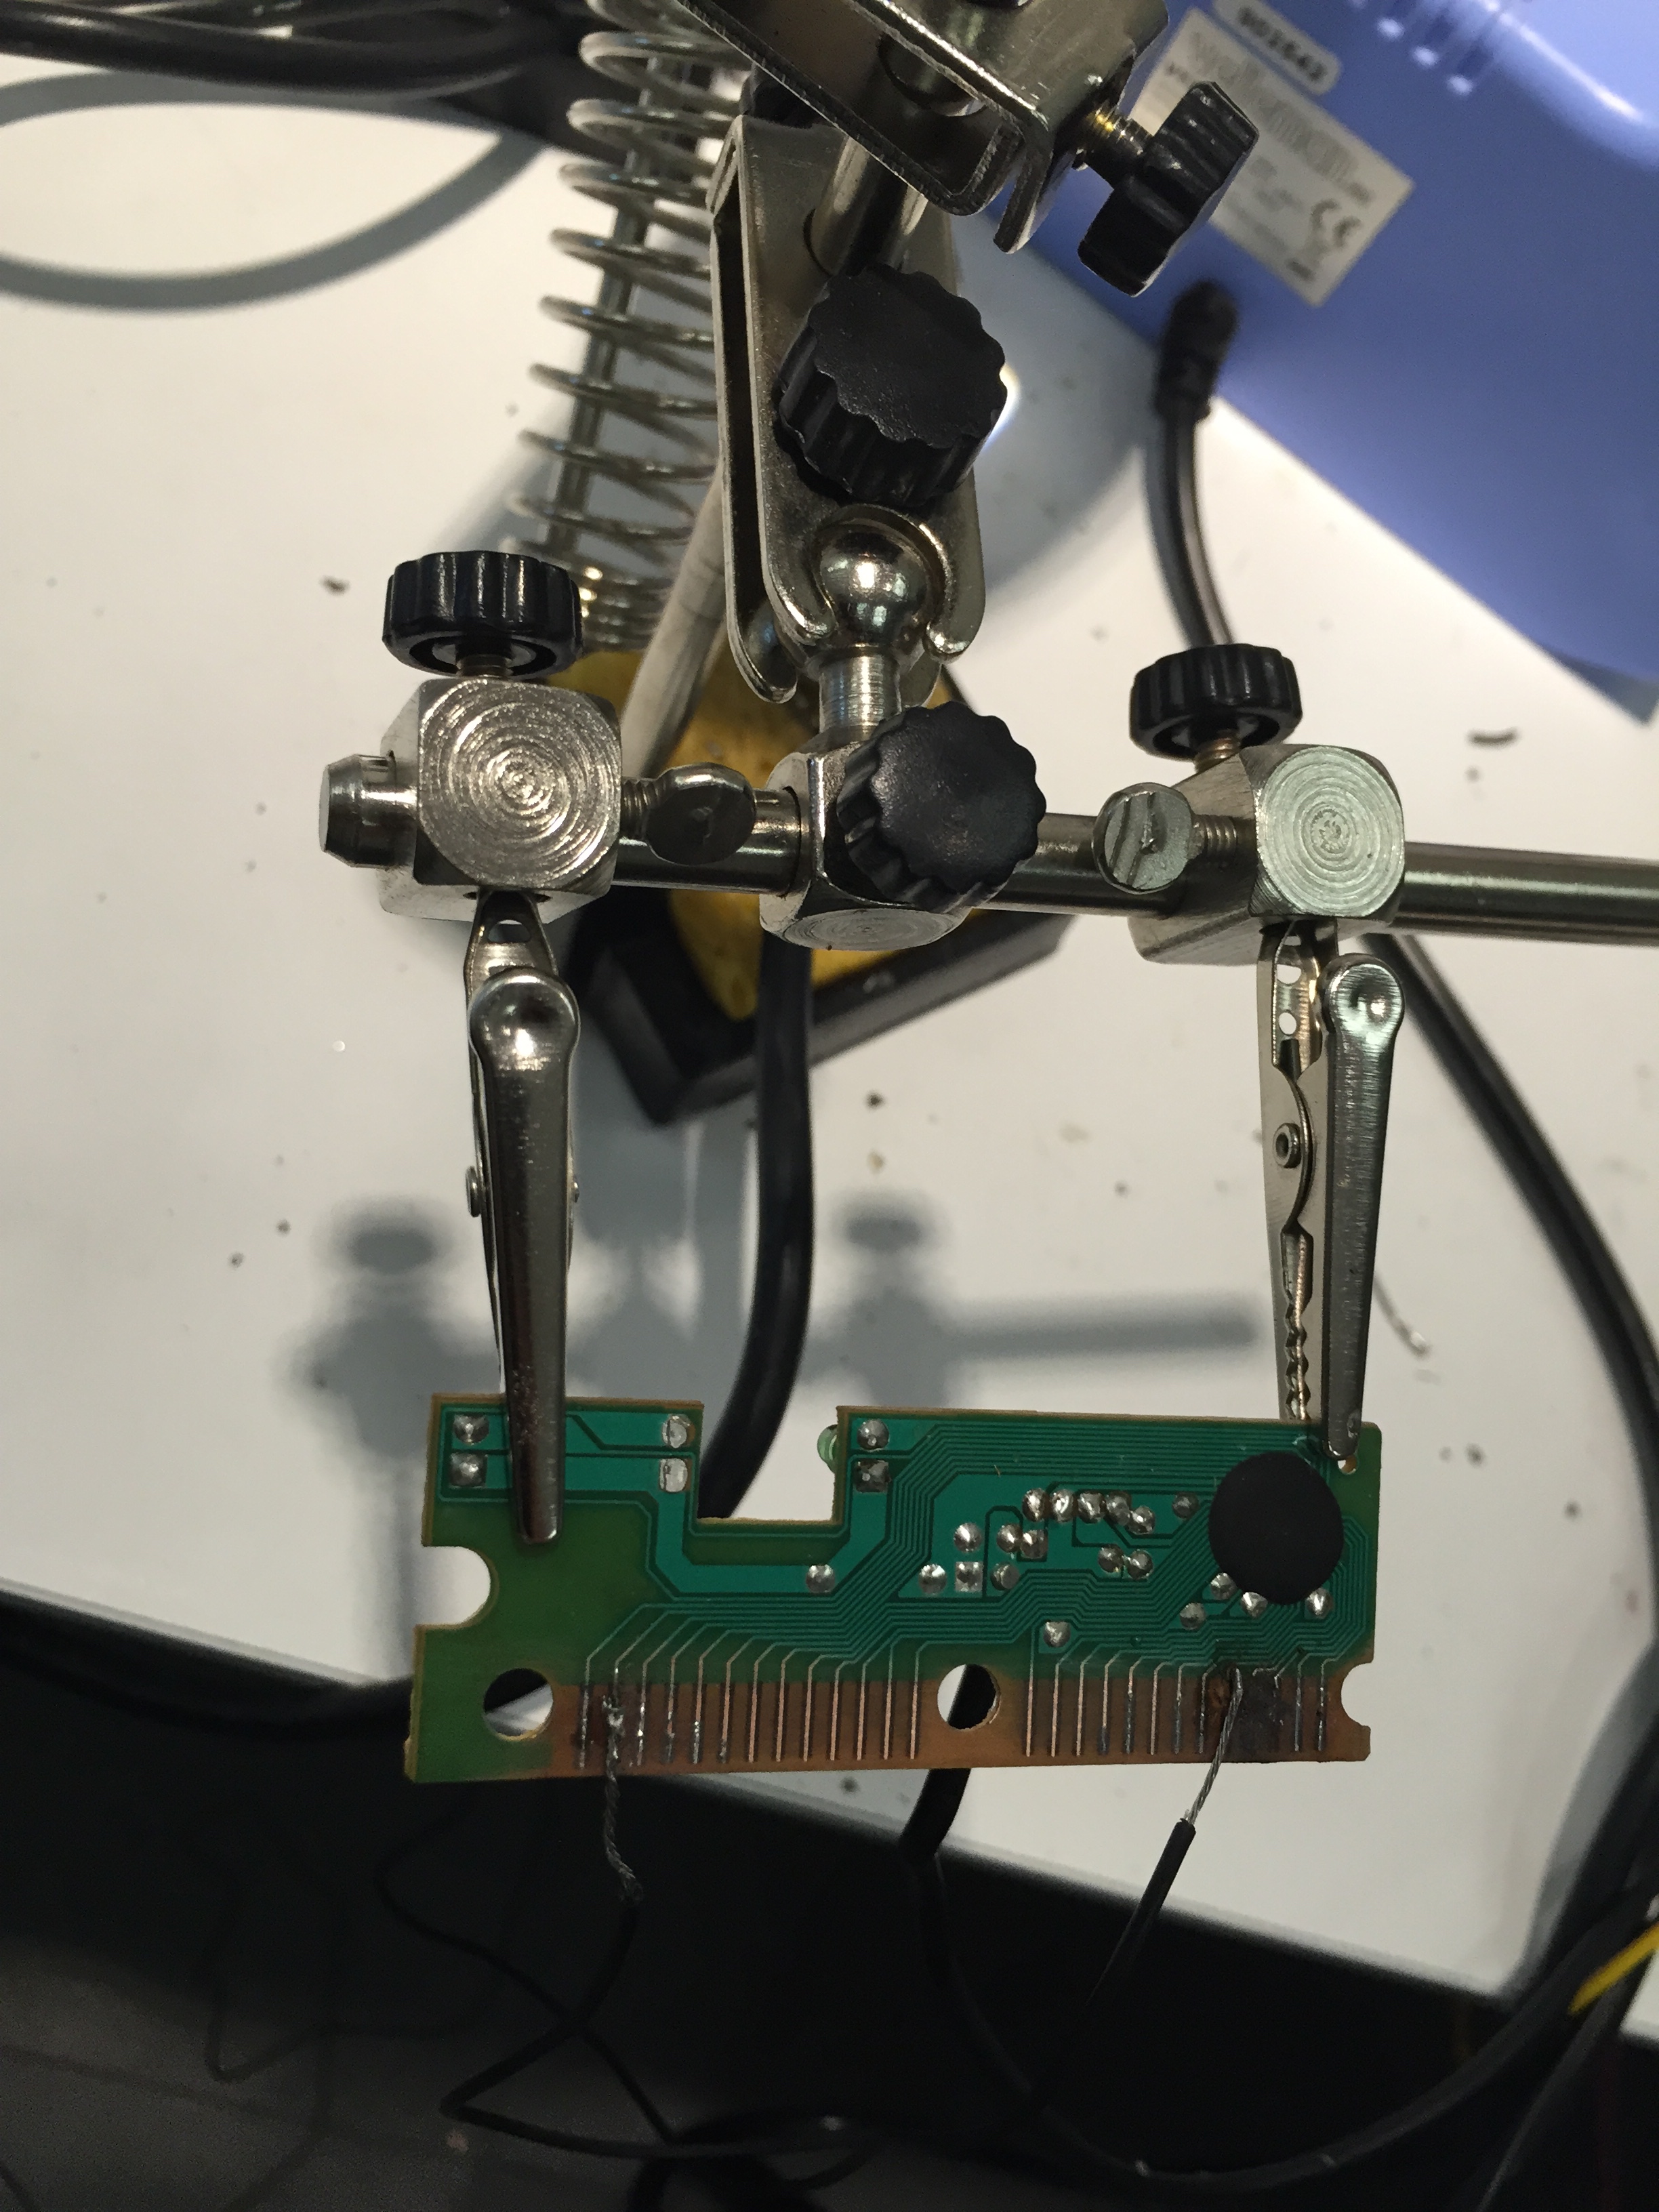
Then I figured out what combination made a the “enter” button and soldered the cables to it. 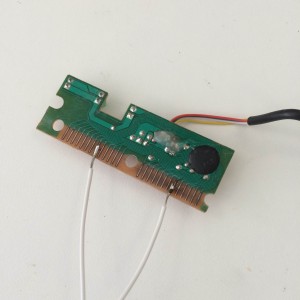
Finally I attached the cables to the plate and fork for a test run.
Then I used a bowl and a spoon and it all worked!


Here’s a video of how BowlFlix works without any contents in it:
Here is the final version of BowlFlix with cereal:
Party Shuffler ~ keyboard hack project
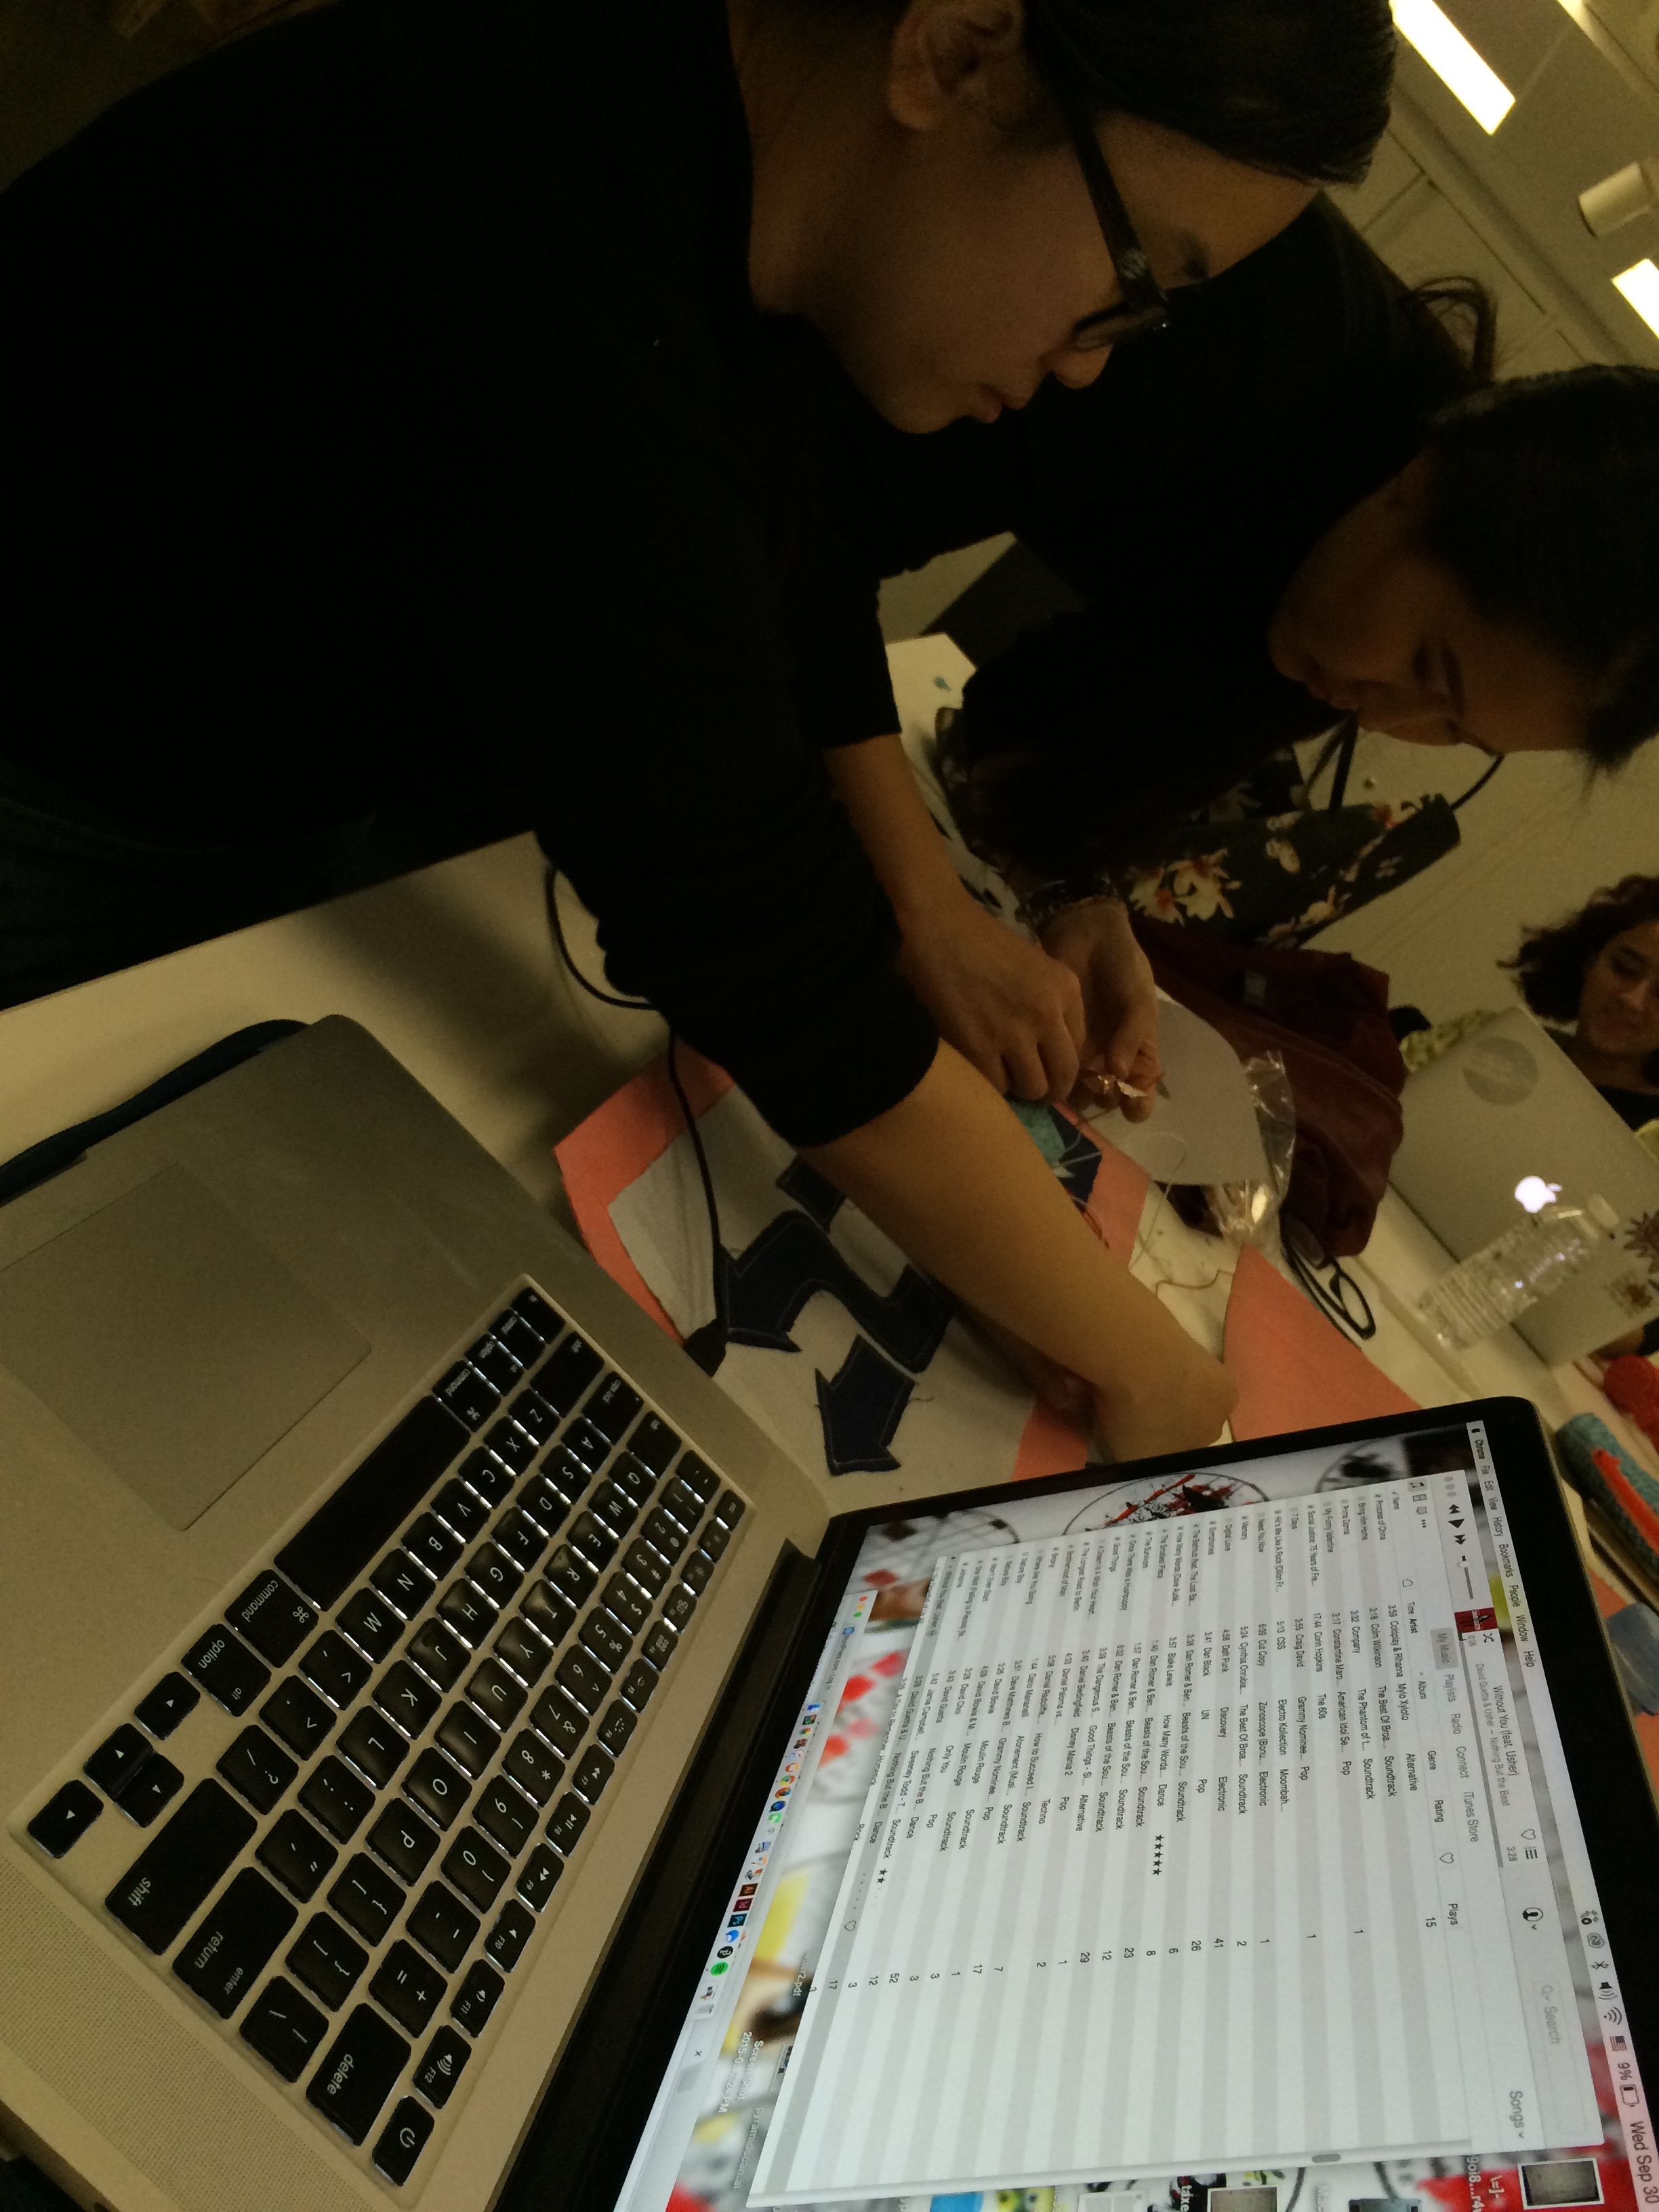
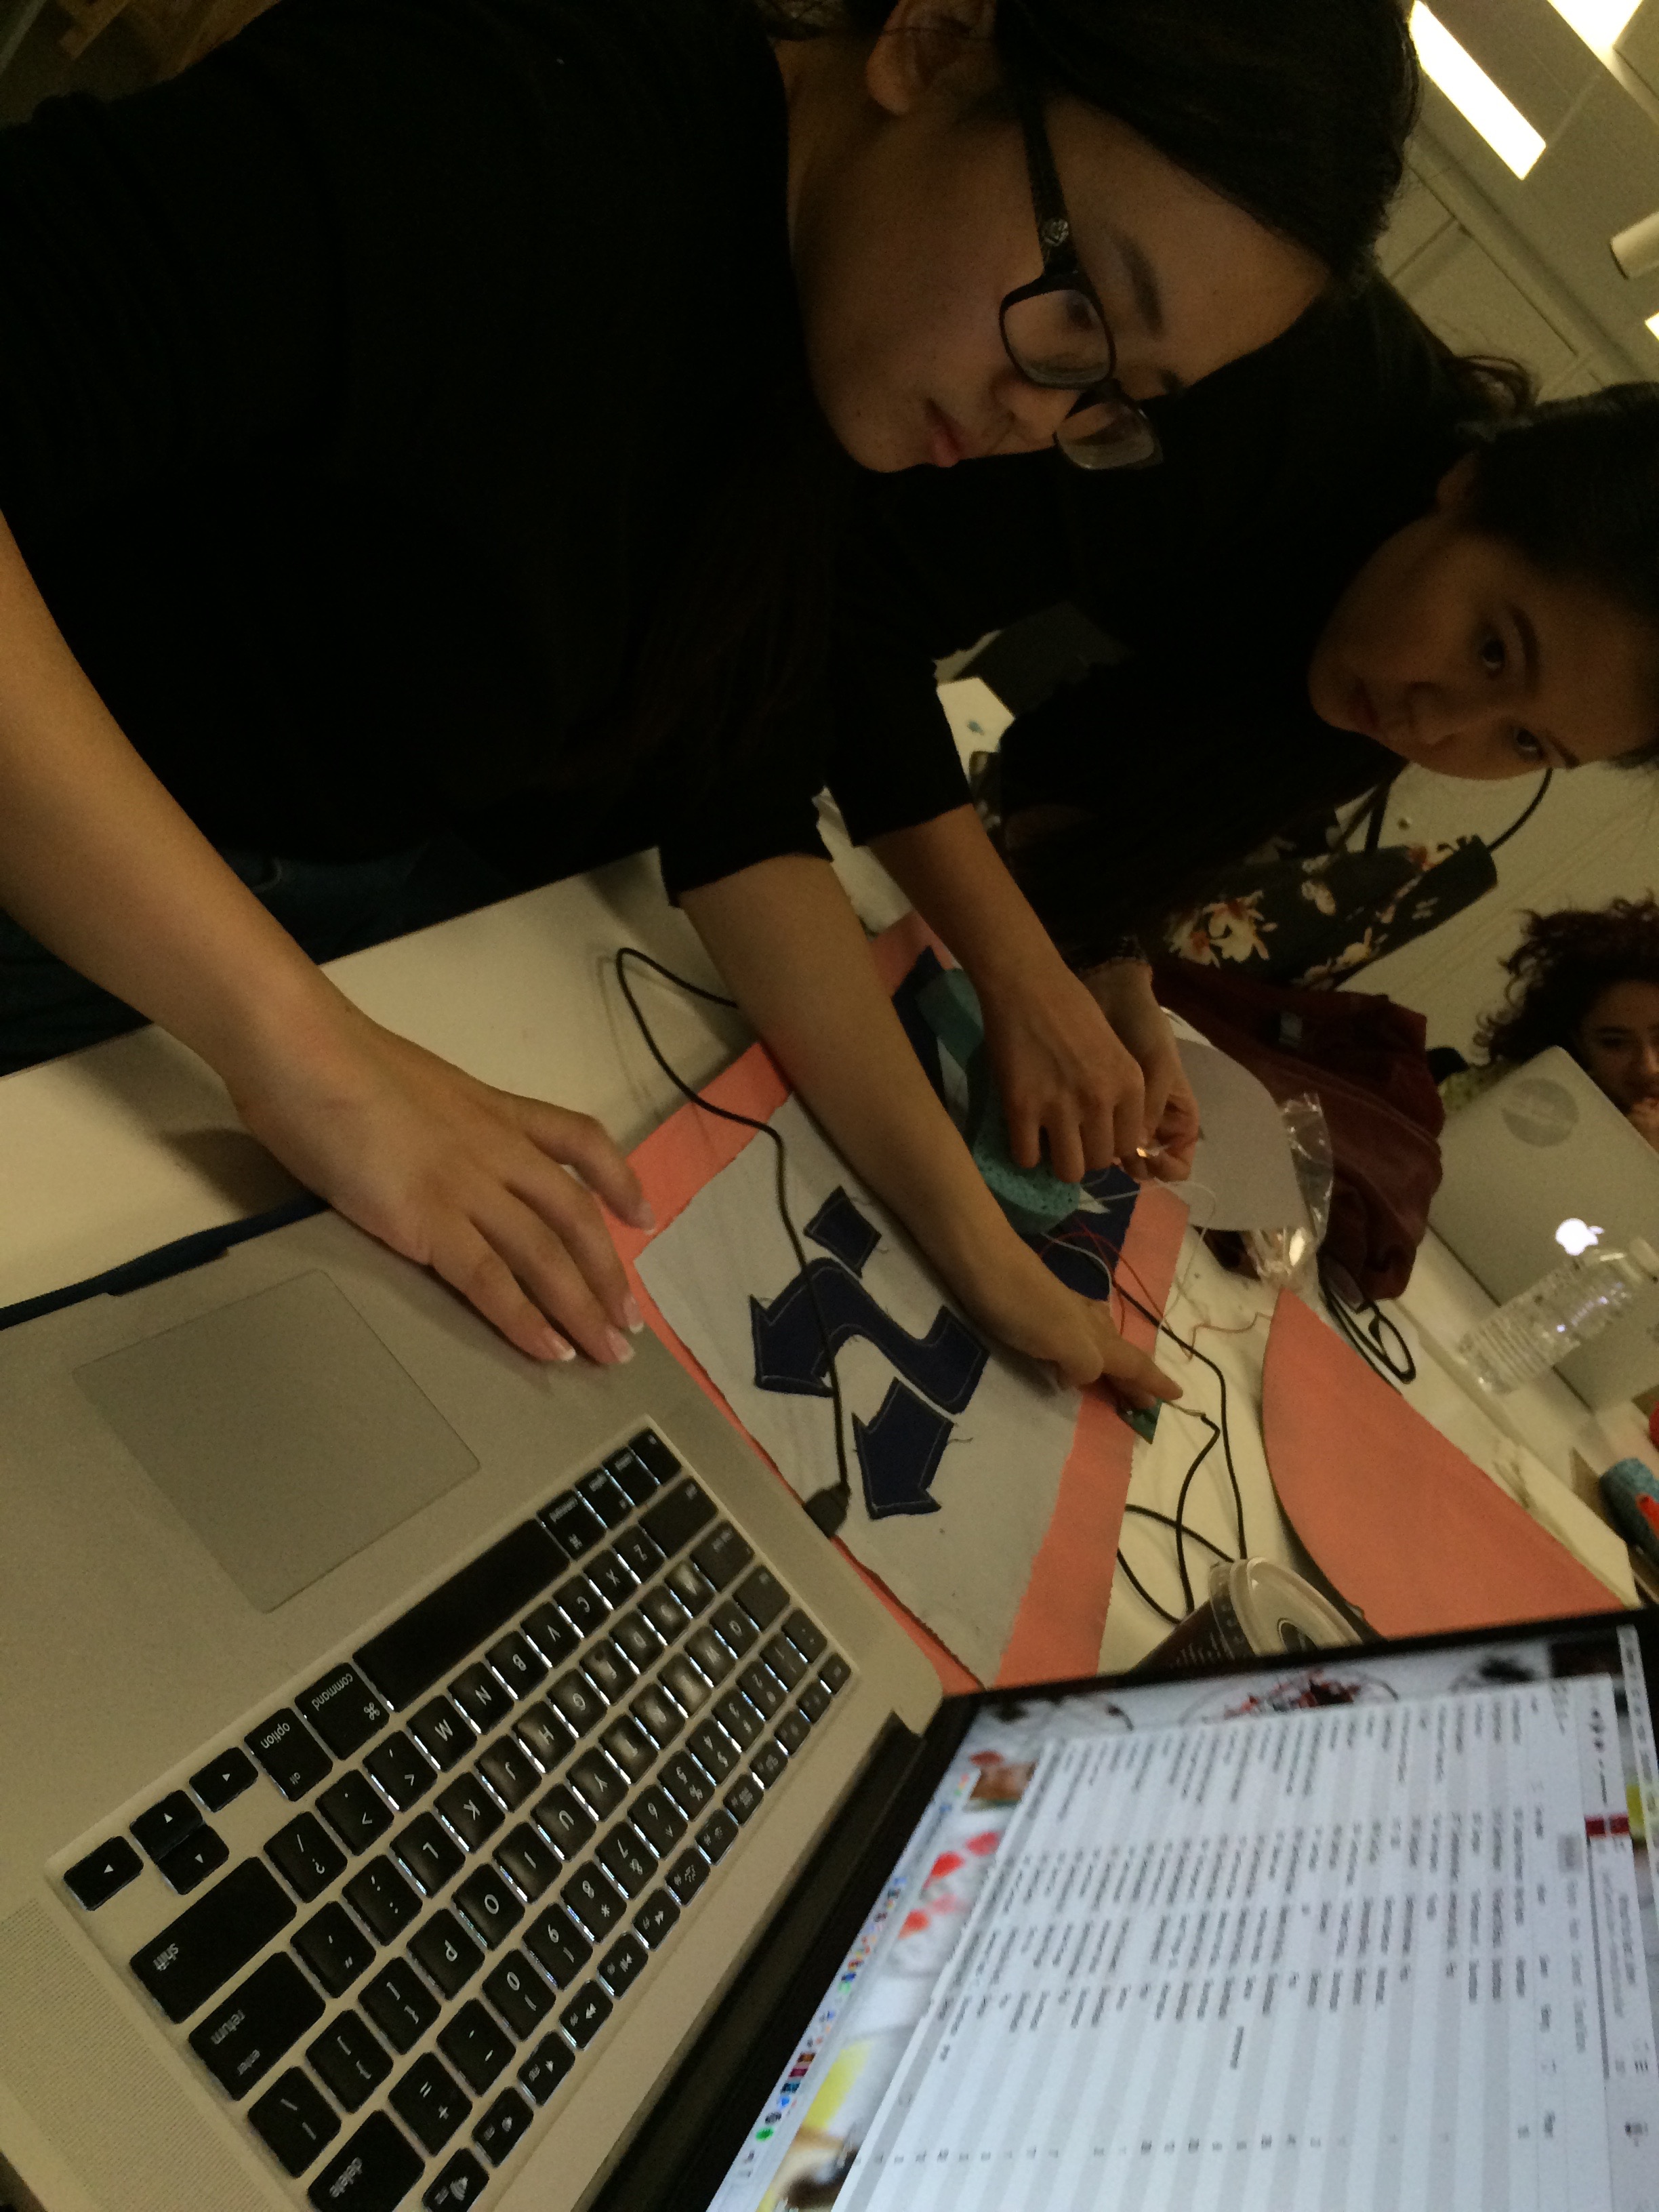
So this week, Sheena, Ice, and I (Lanie) hacked a keyboard (well, three technically, between all of us) and decided to create a party shuffle player for music. Essentially, one would tap the enter button to play the song, and then the shuffle button to play the next song.
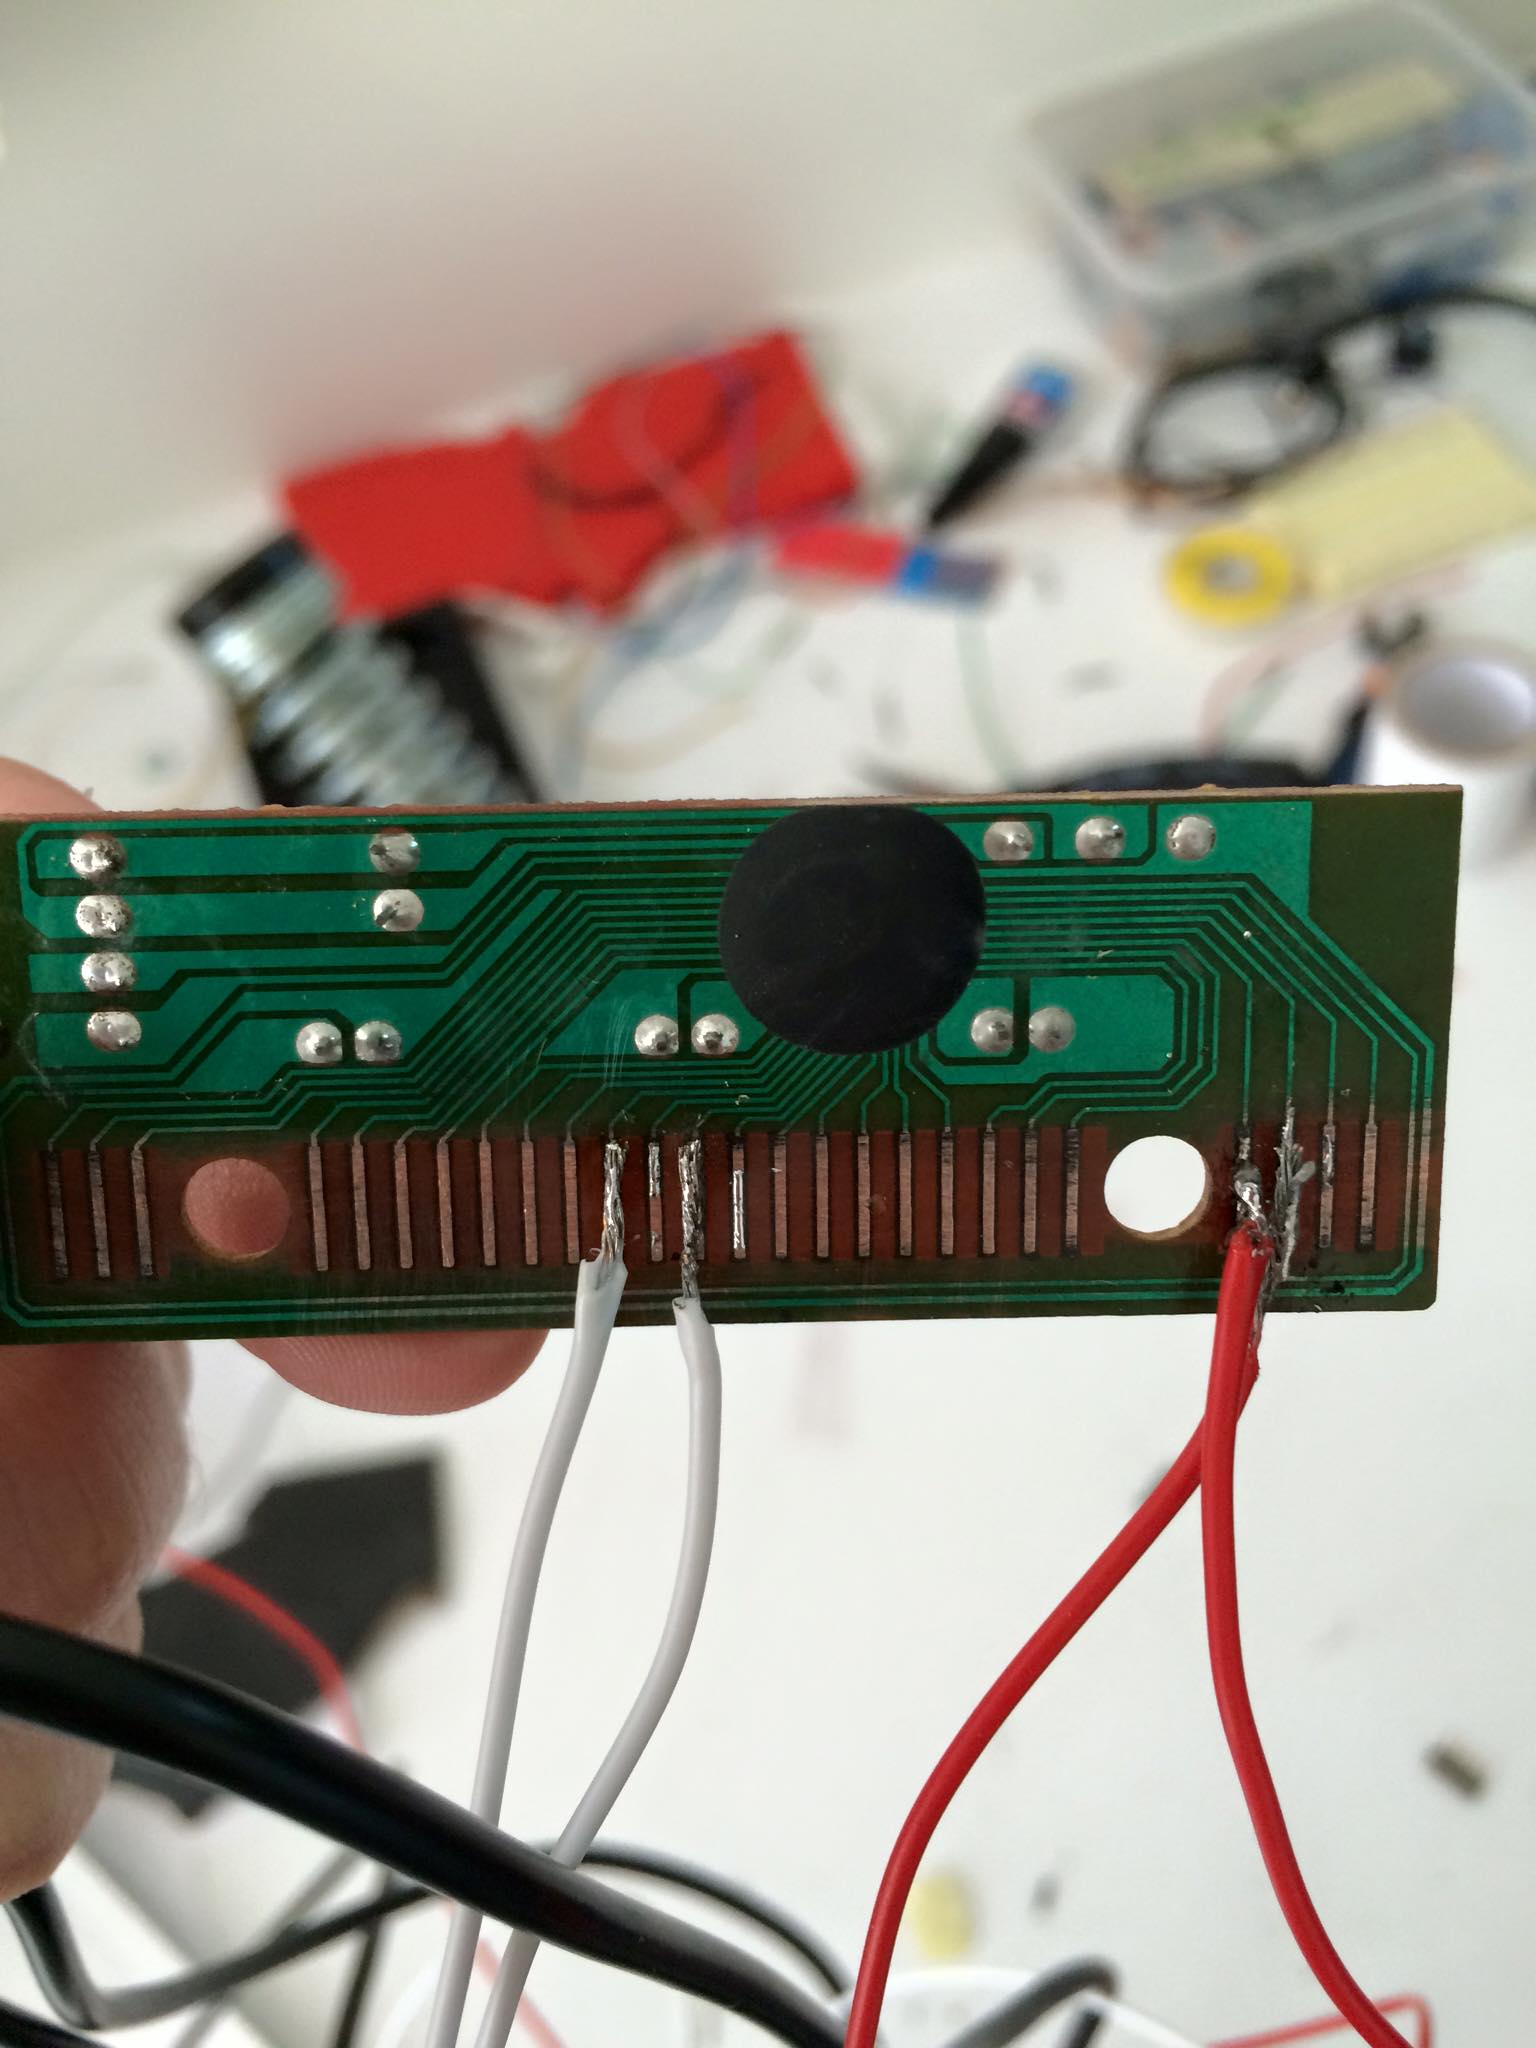
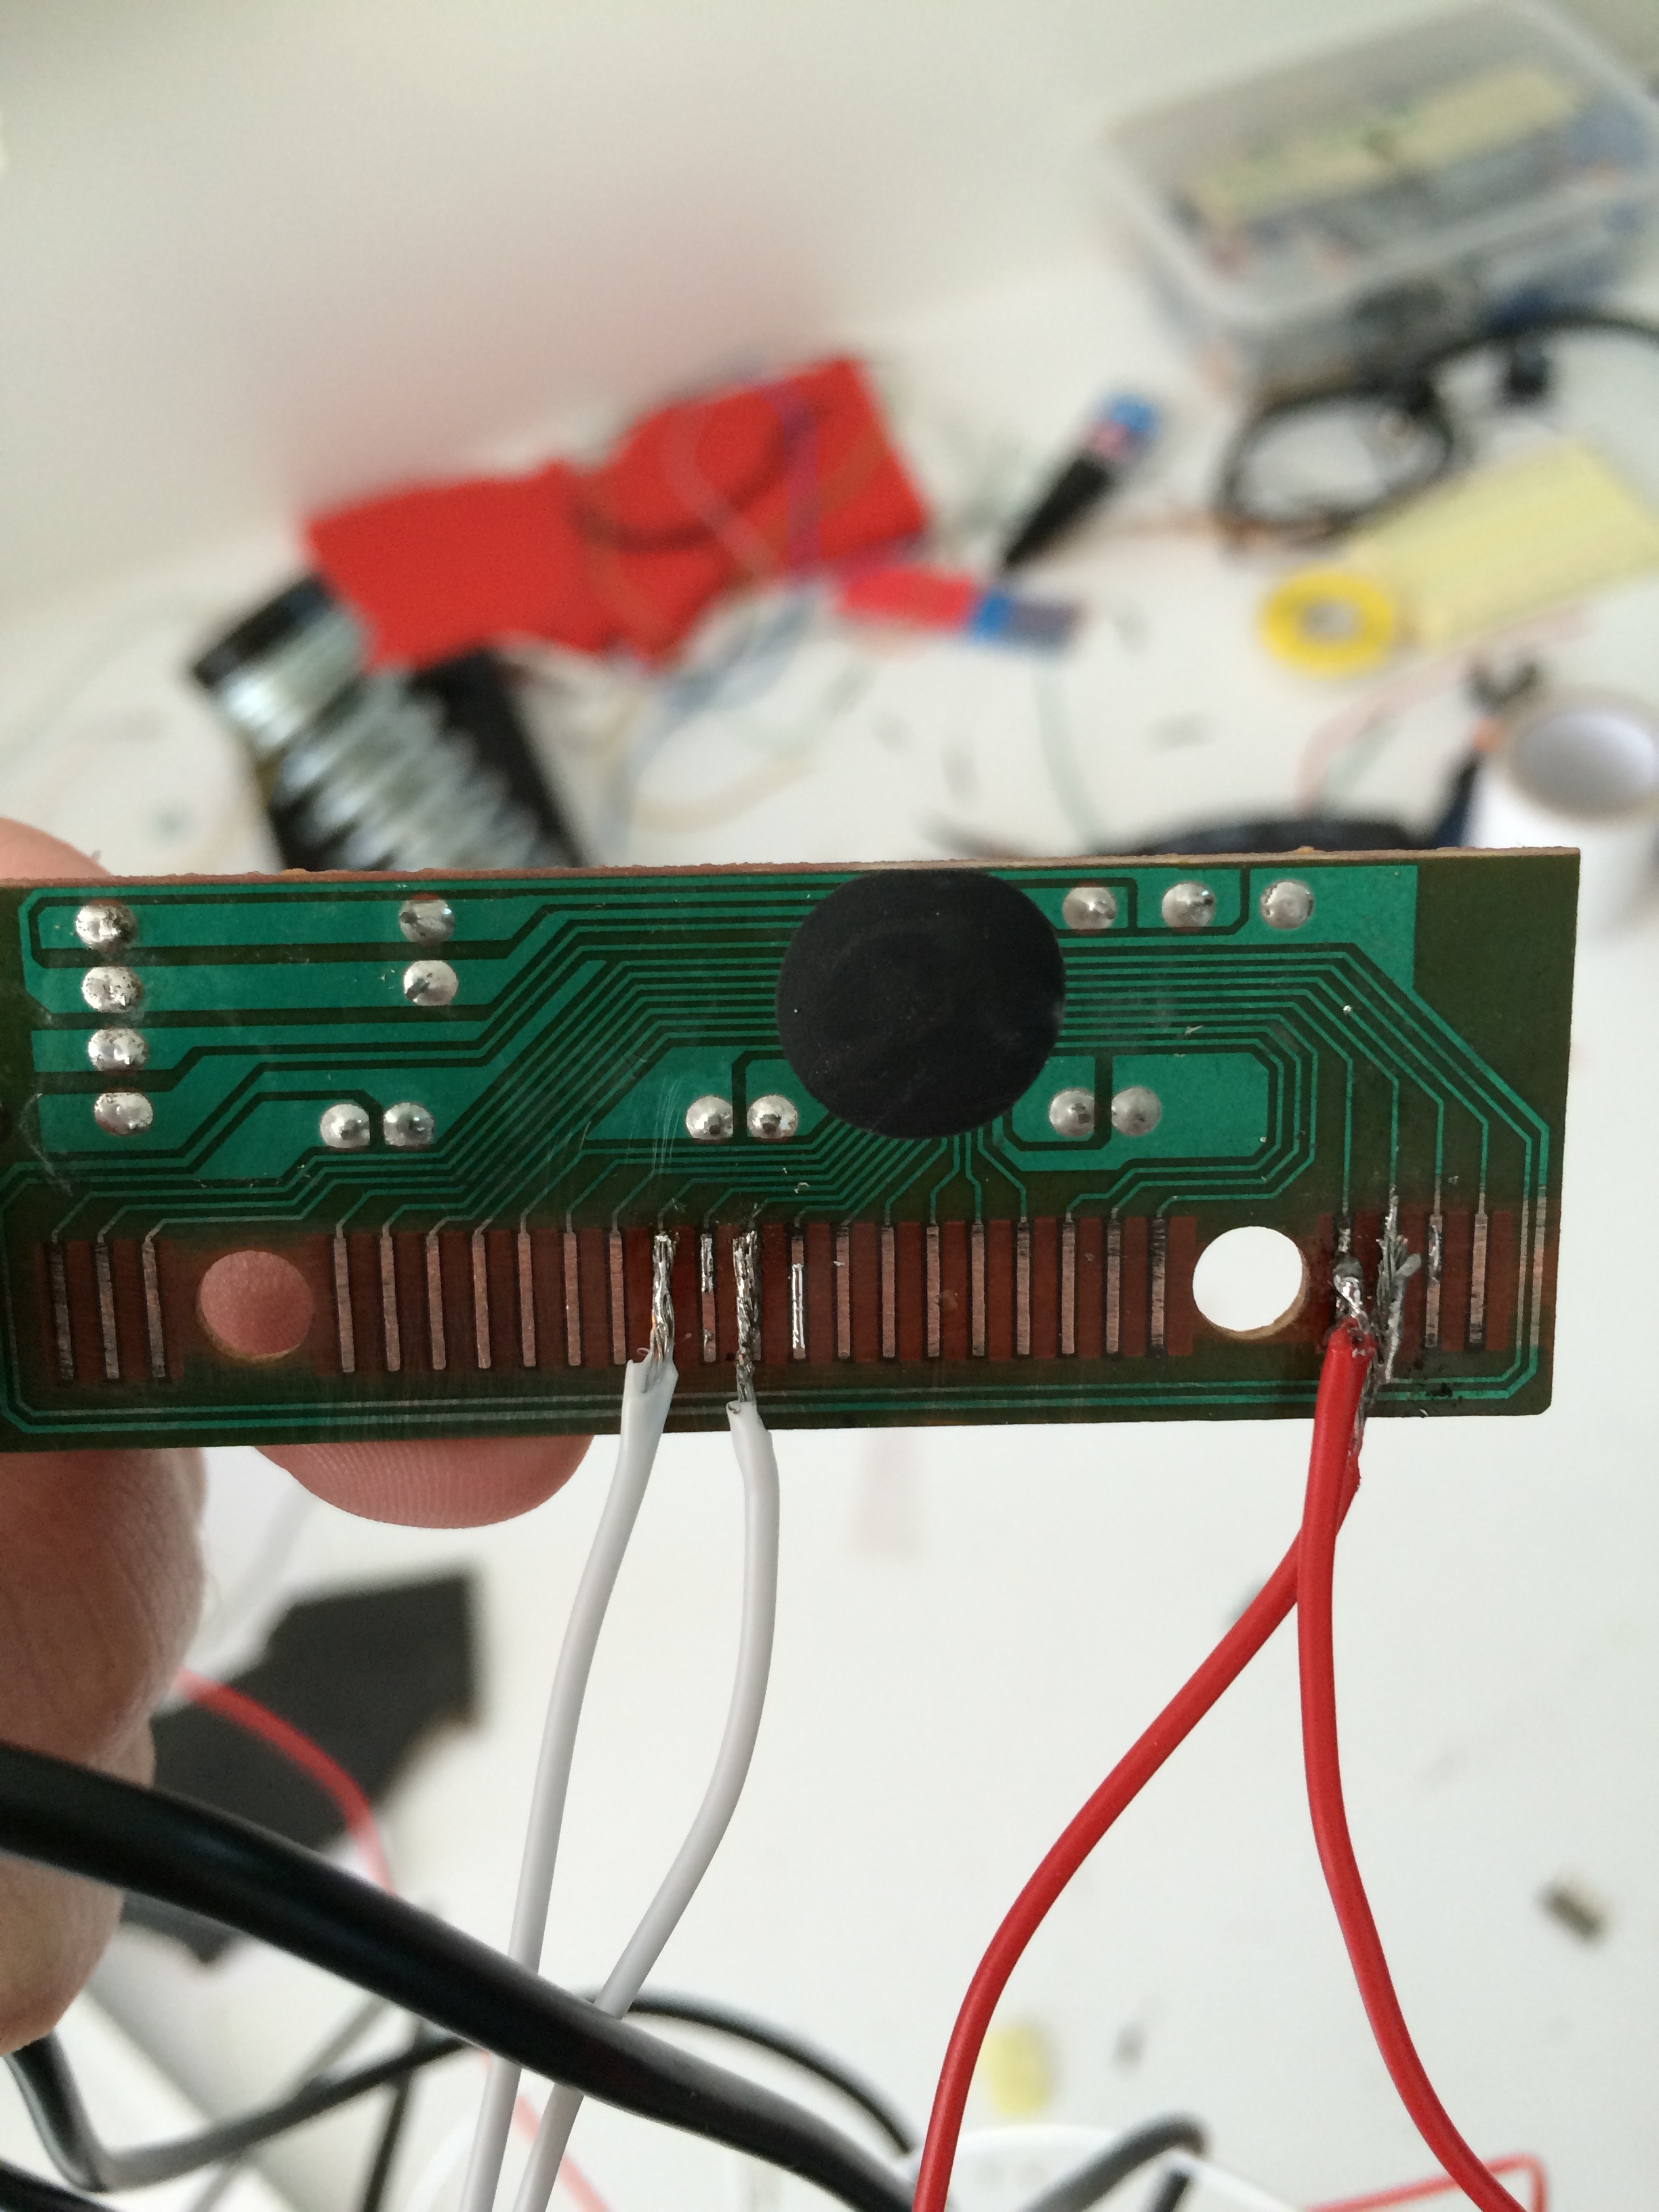
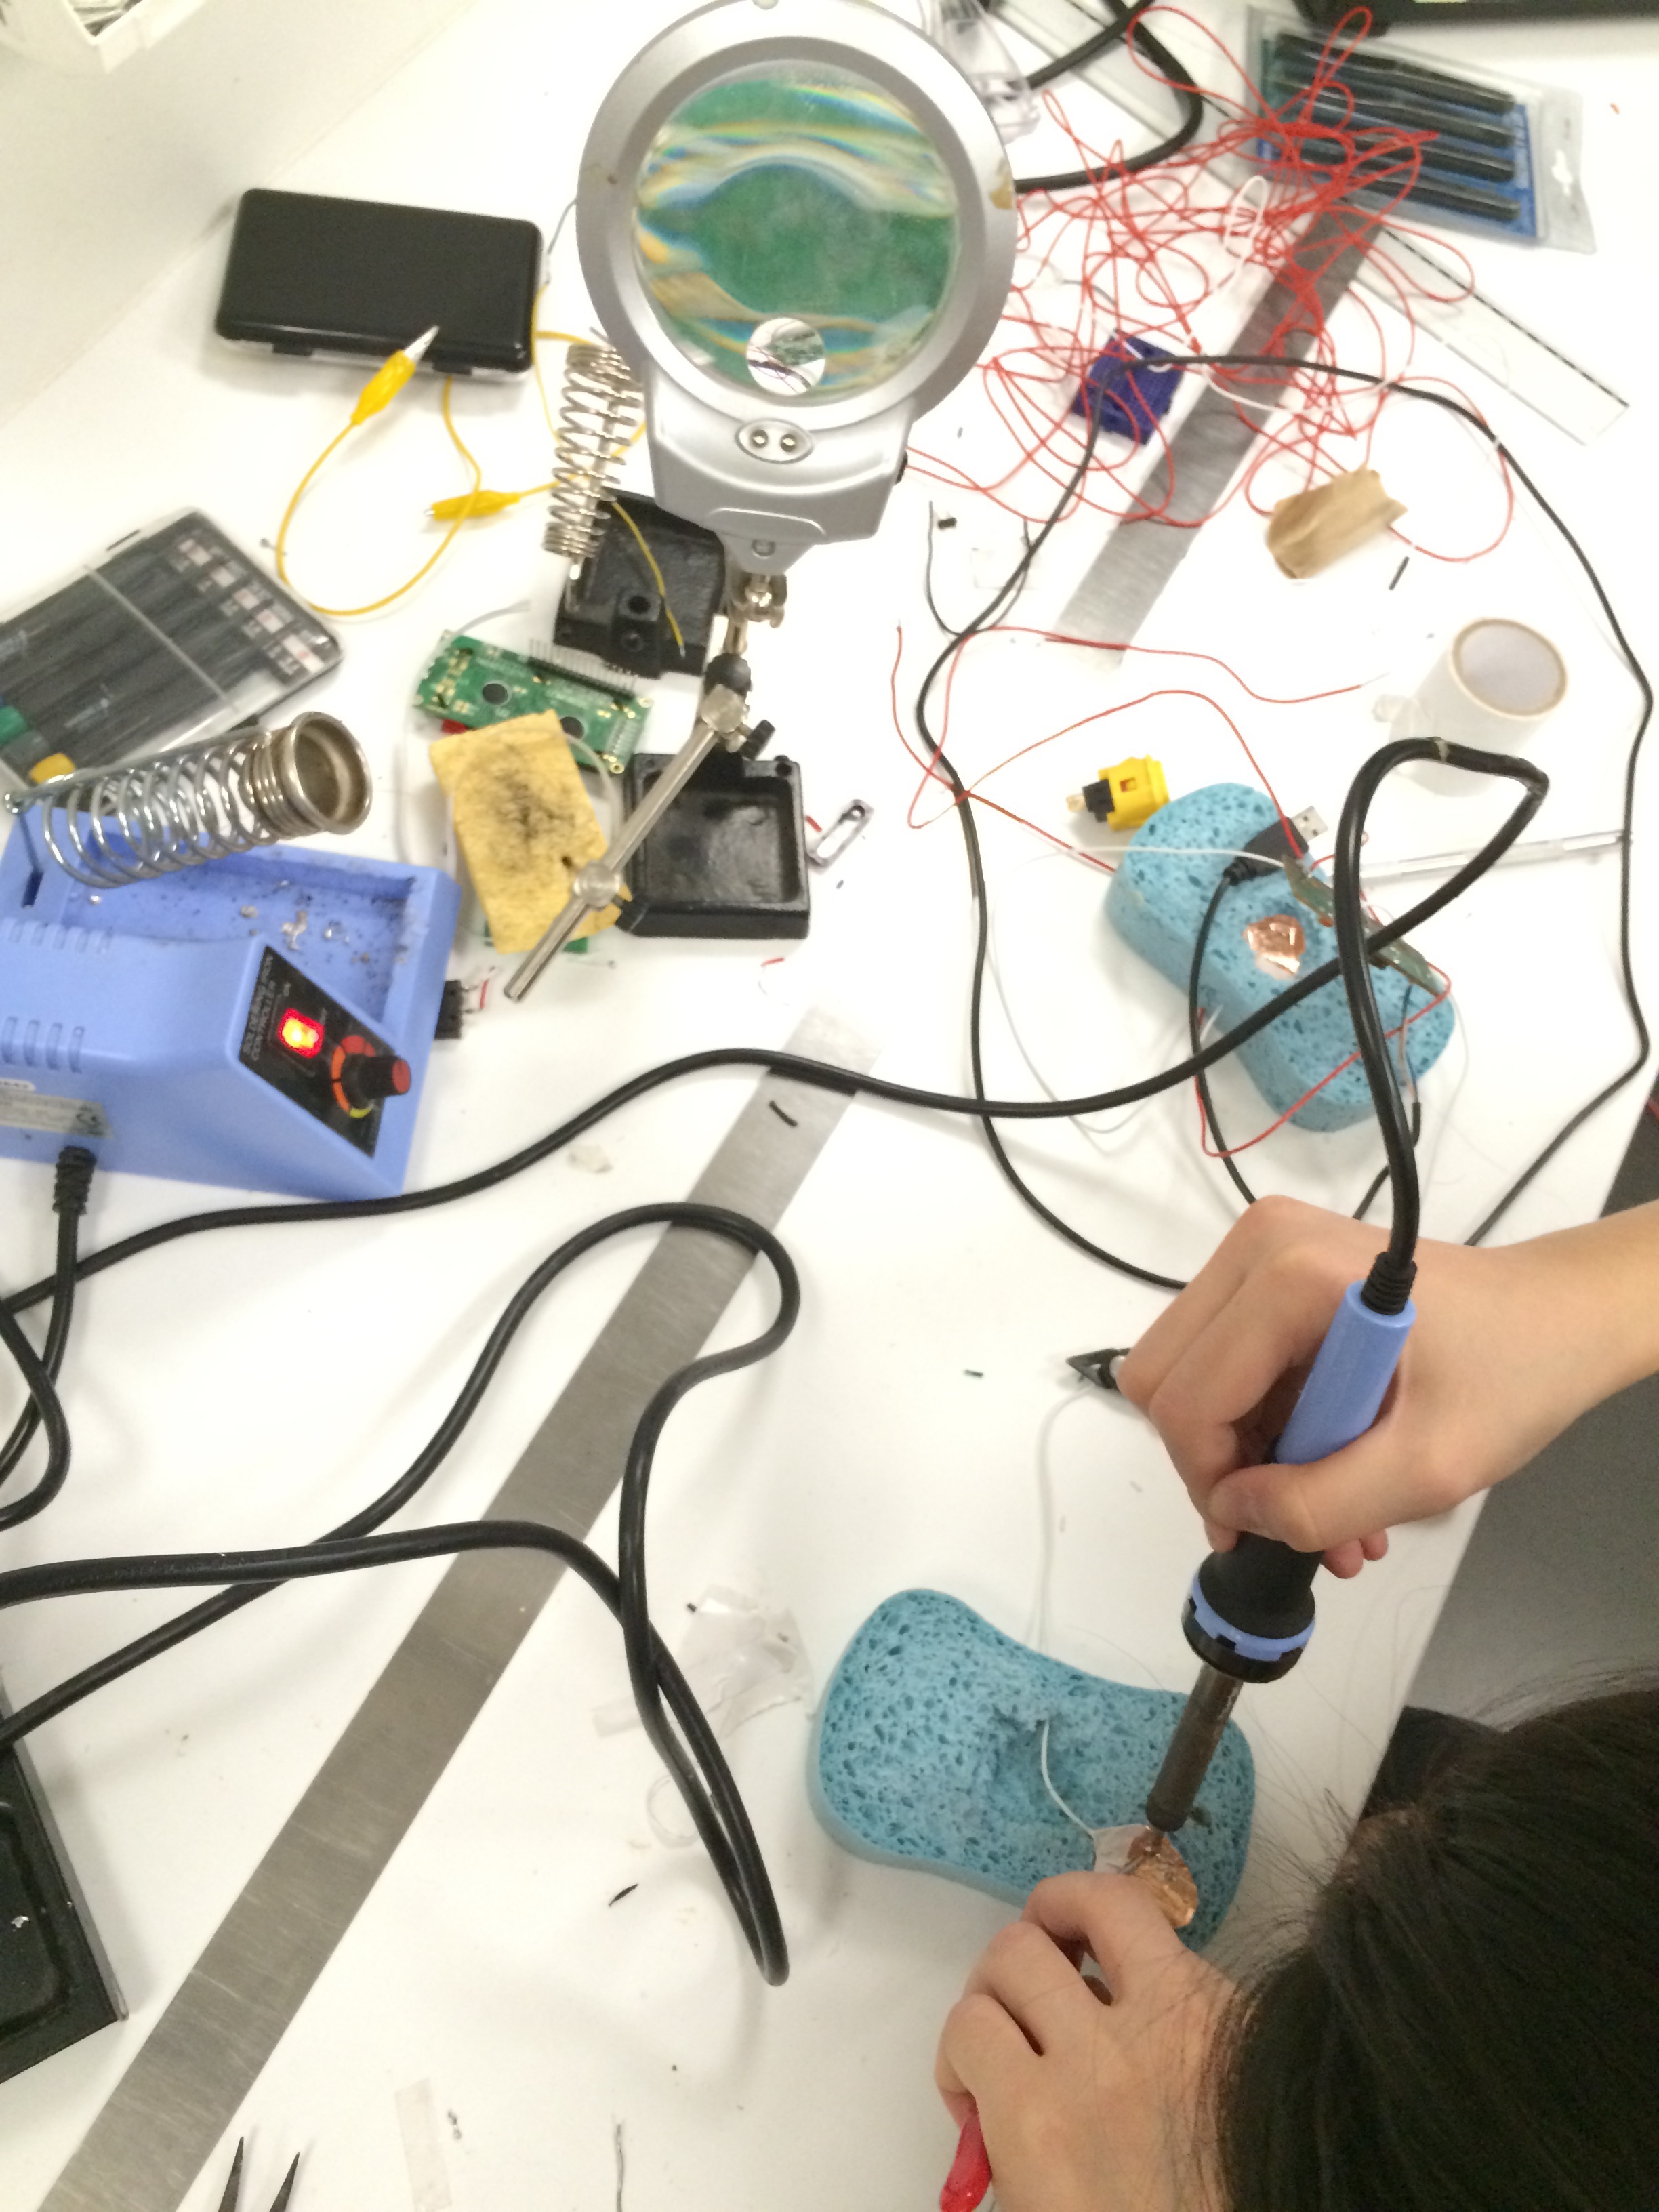
So first, we first took apart our keyboards, and then tested the wire on the board through trial and error, trying different combinations with wire. We tried so many, and it took very long, but eventually we did find what we wanted. We went through a few different projects-first we were going to do a video game, and use the up and down keys, but that seemed way too complicated, so we decided to do a music player. In the end, we went through three different circuit boards. We soldered every time, burnt many pins, but eventually, our third one was the most successful, with 3/4 pins soldered (one broke in the end, unfortunately-as of right now, but it may be fixed after this post has been uploaded so I will update accordingly if so). So, every time we had a new board, we had to find the keys that matched with the pins. It was definitely arduous, but we really just tried our best.
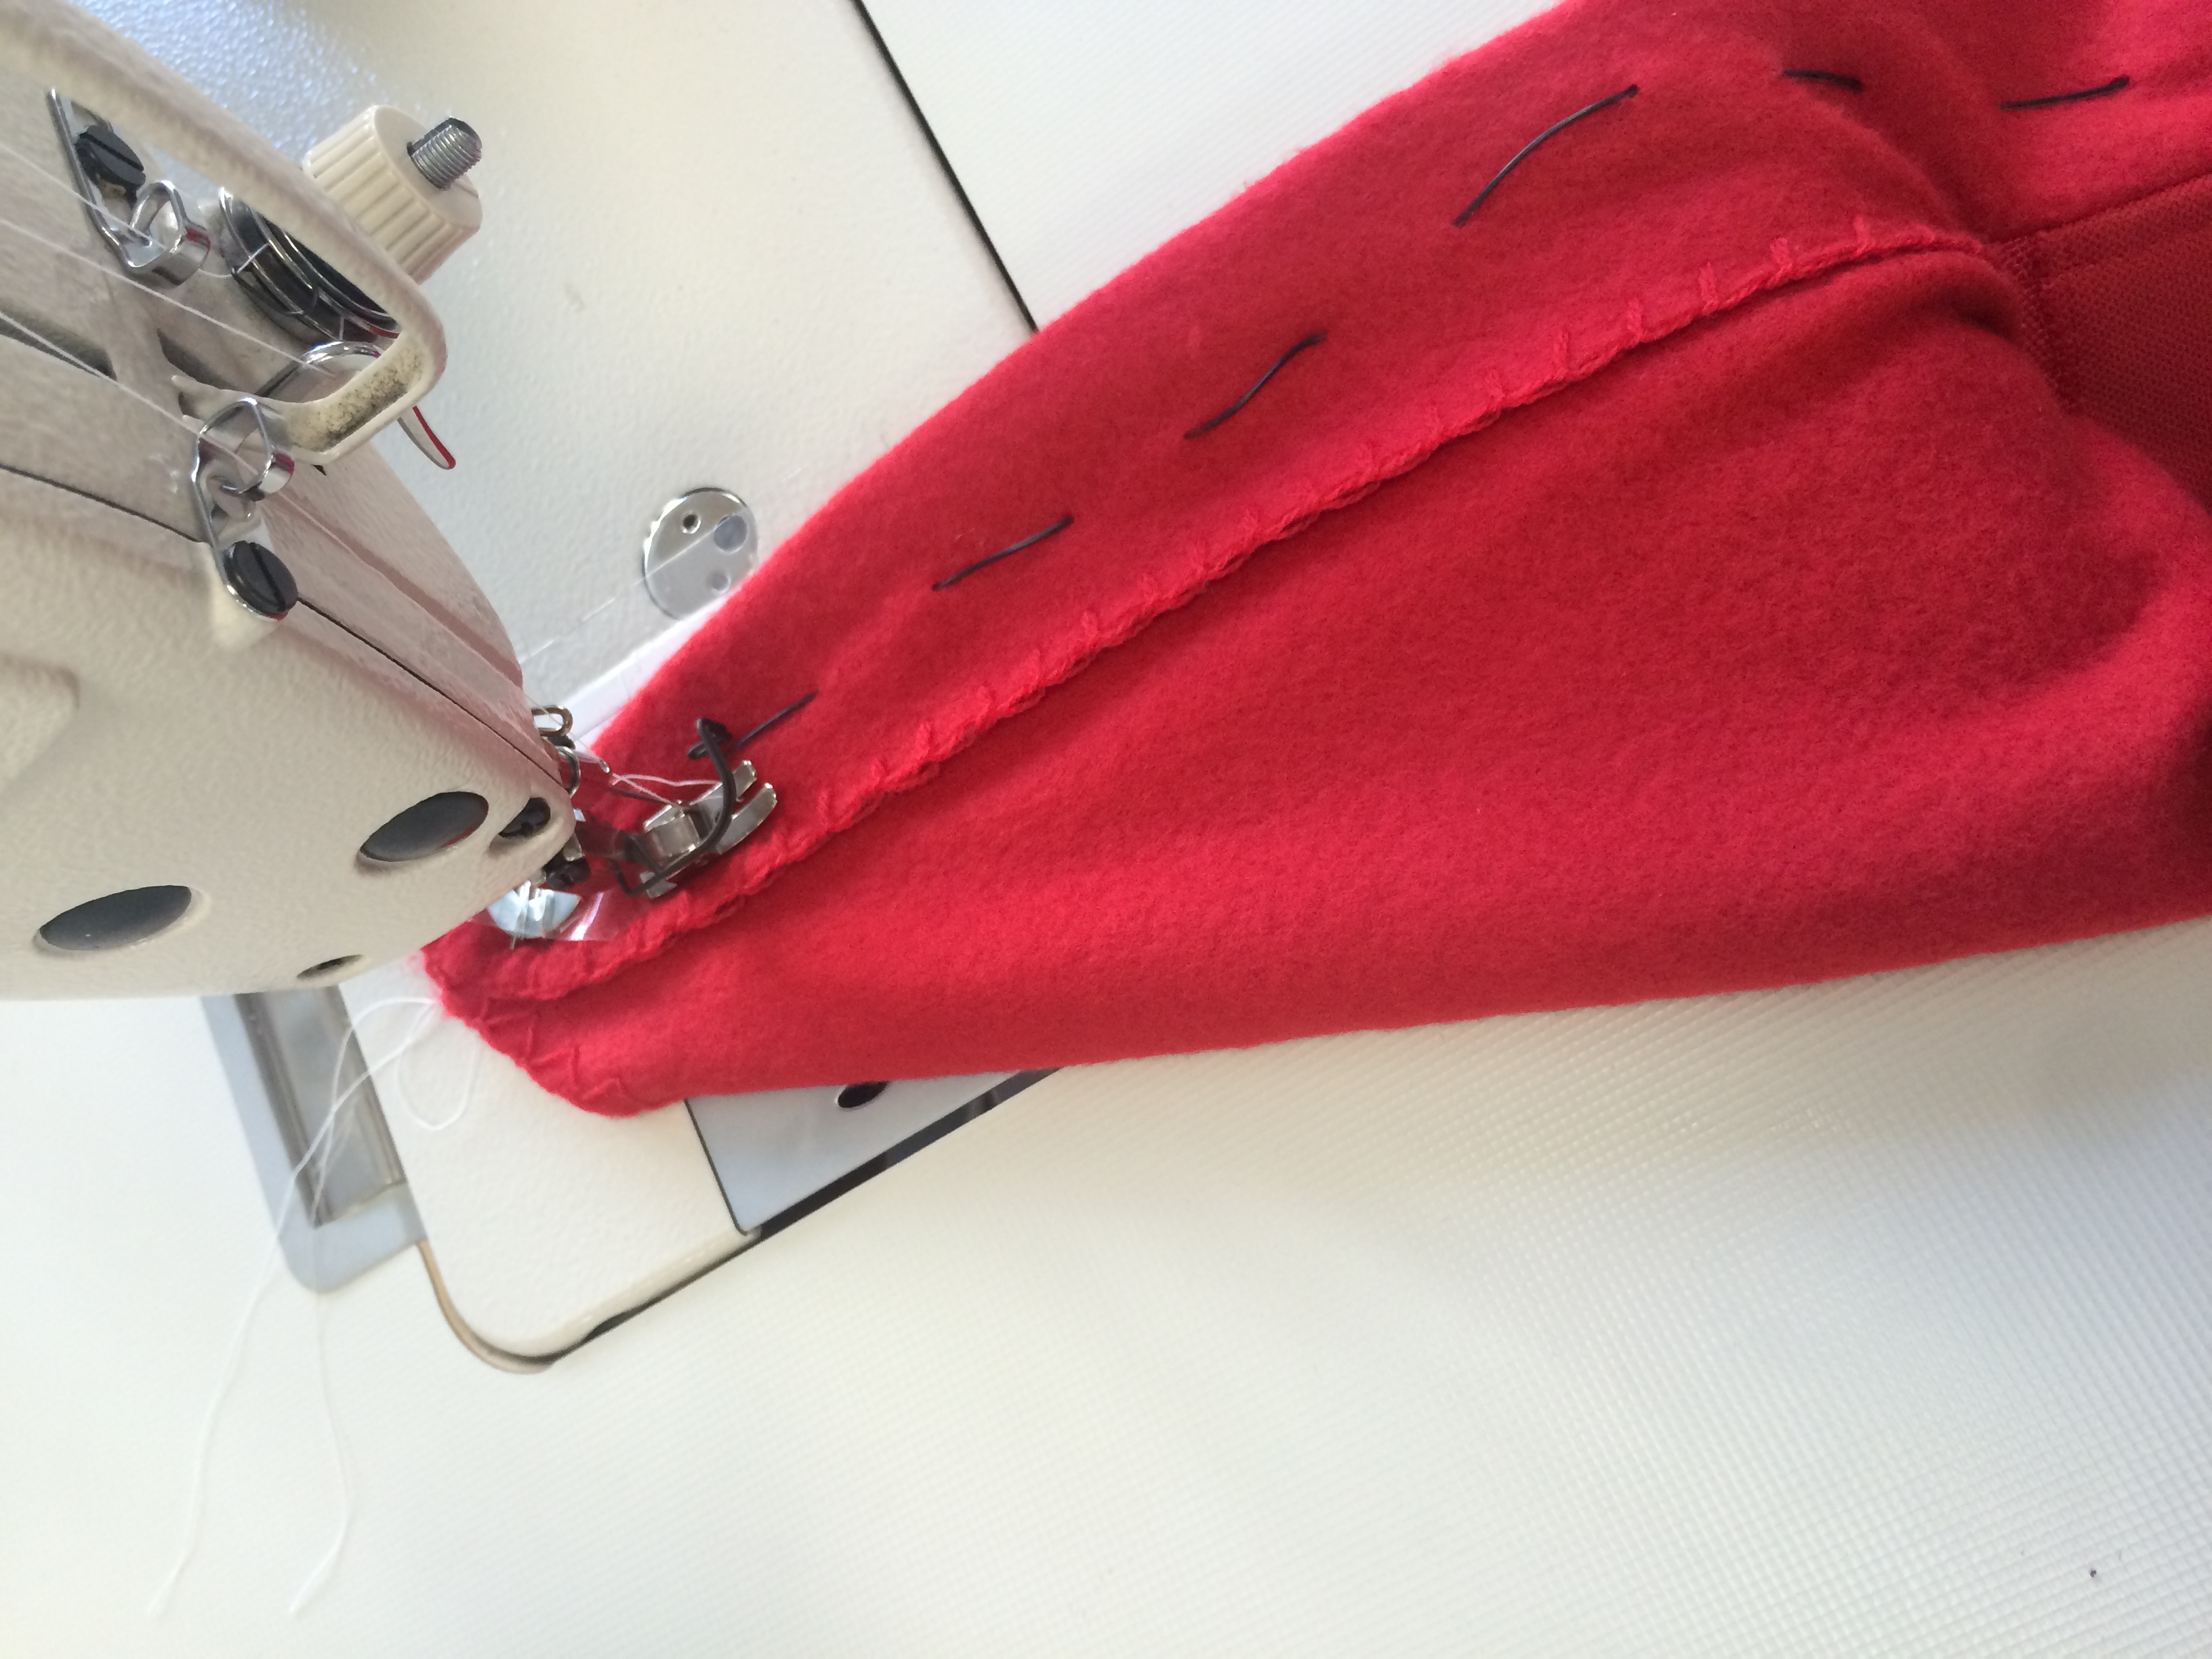
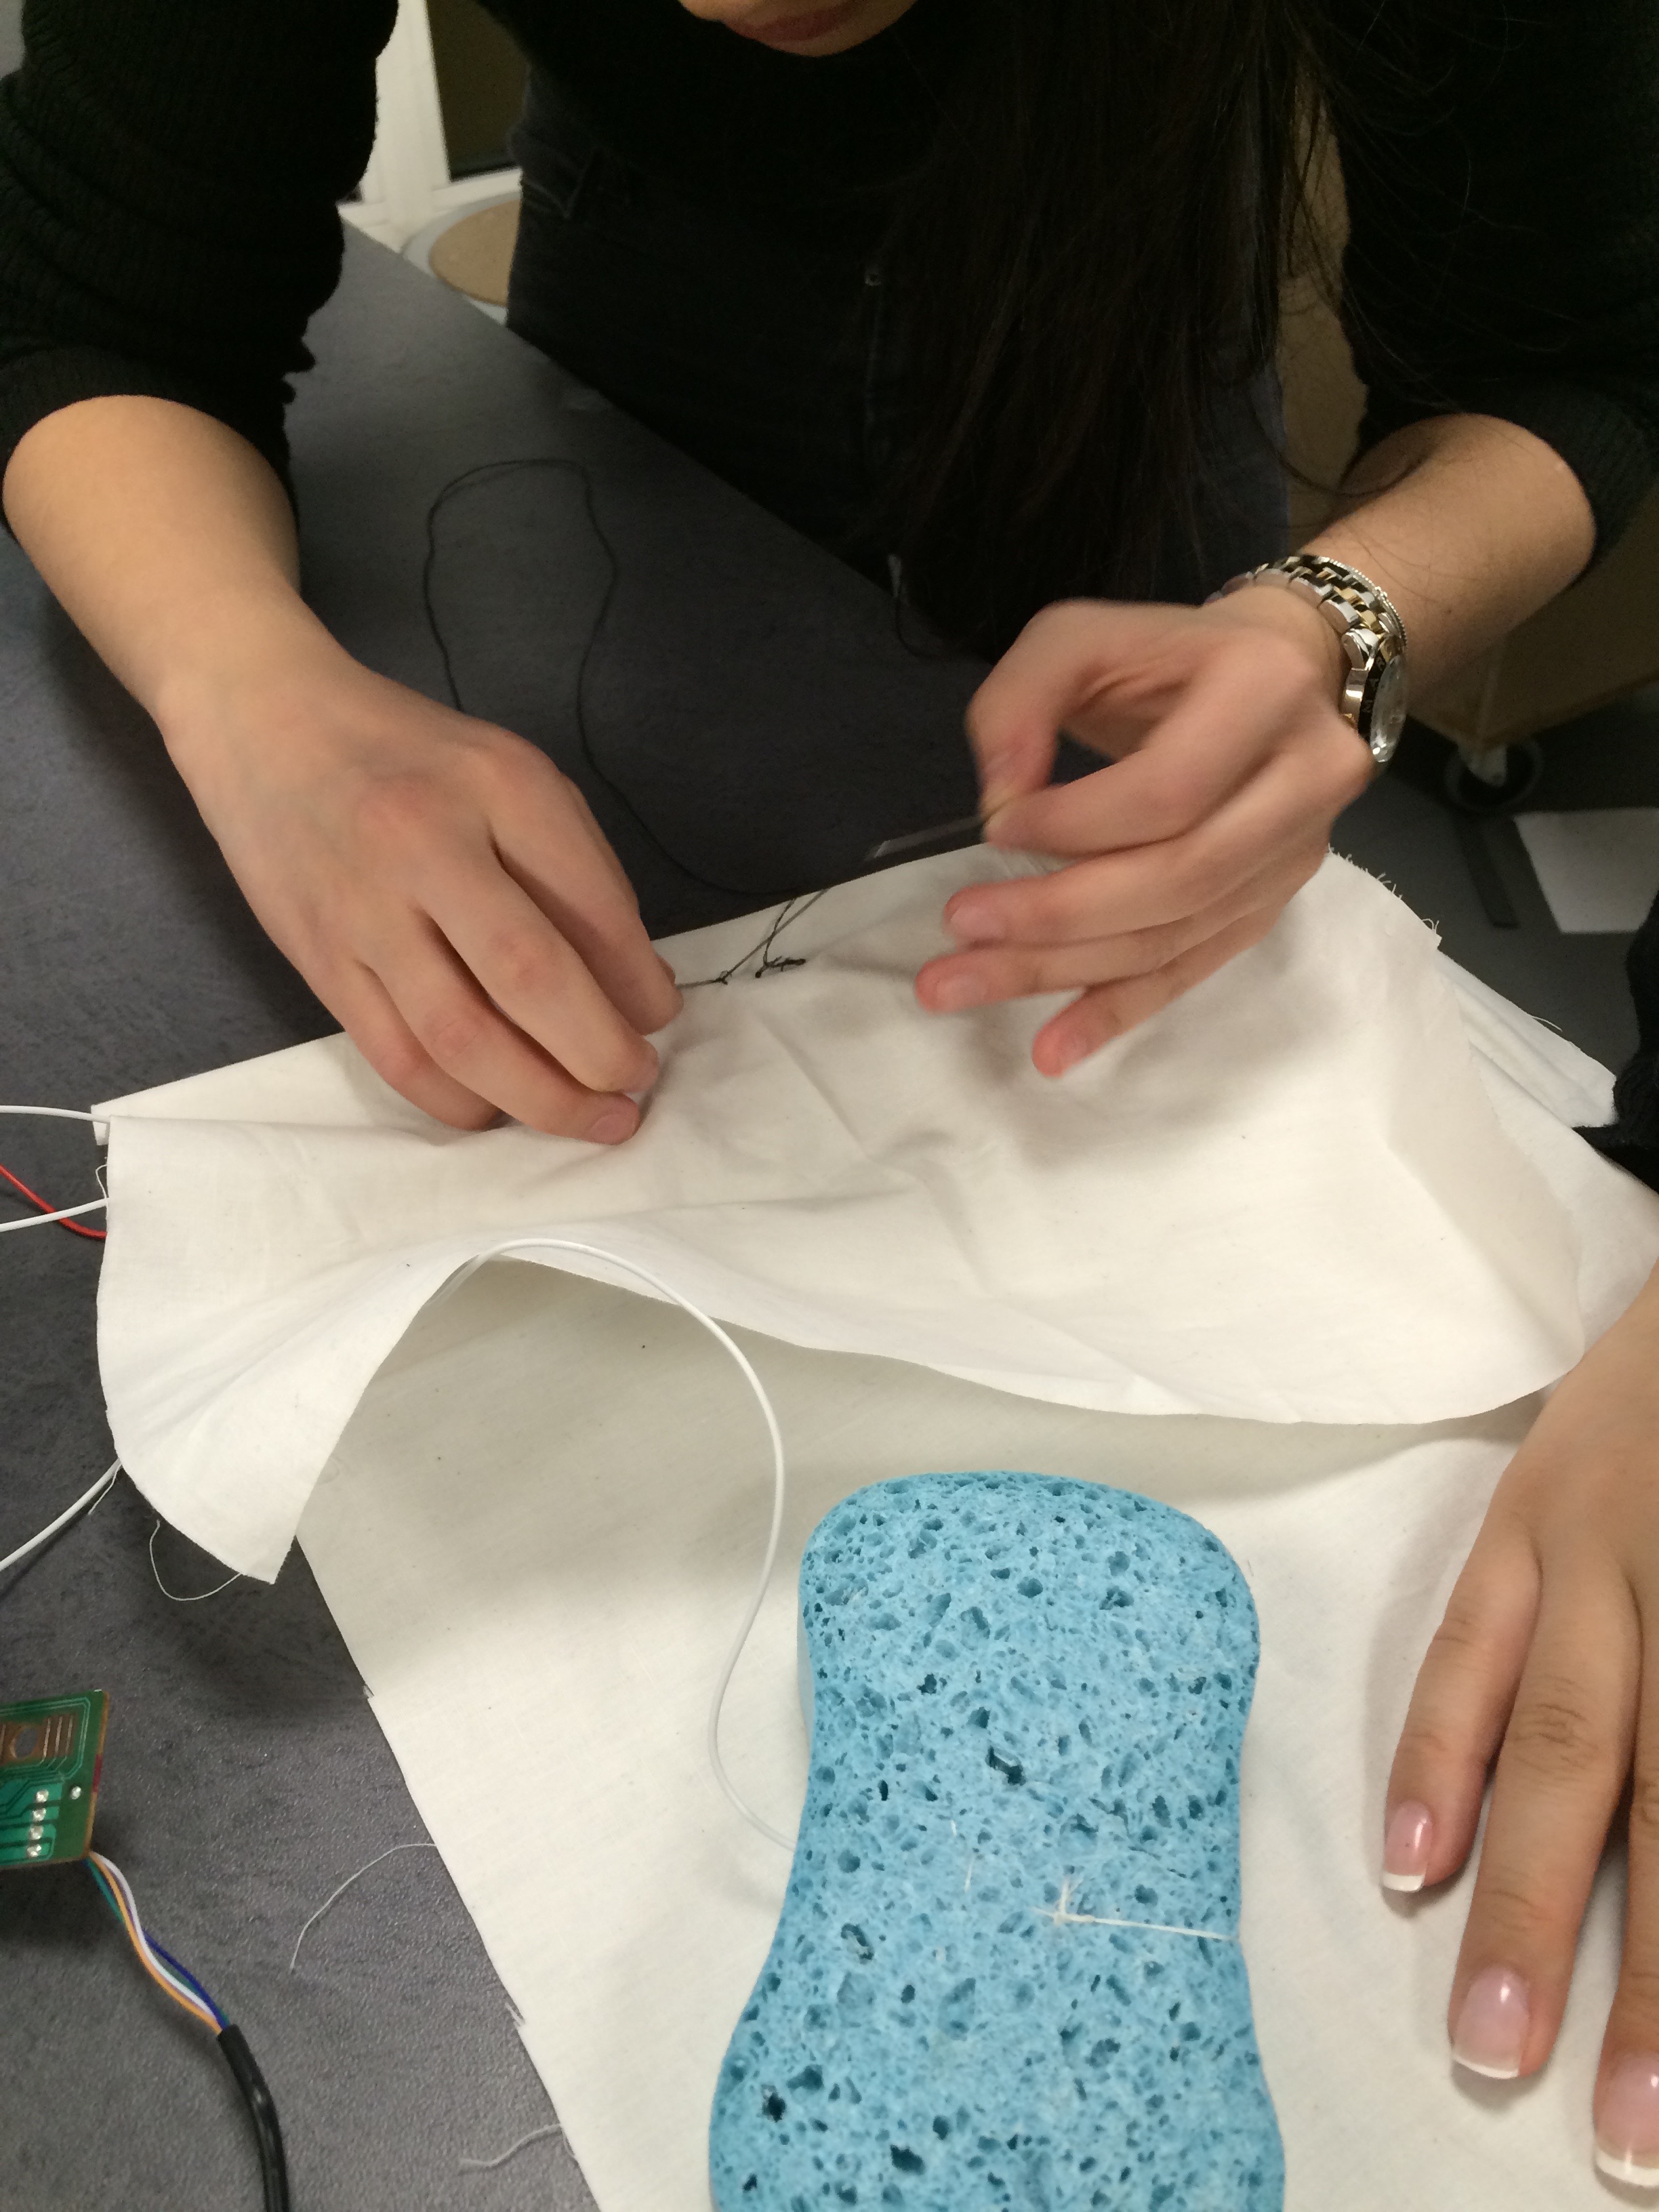
So for this music player, we used fabric, sponges, and the wire and circuit board. We created it so that when you press the sponges, you either play a song, or move onto the next one. We did this through finding the keys from the hacked keyboard. It’s a simple idea, but we put so much work into making it work successfully.
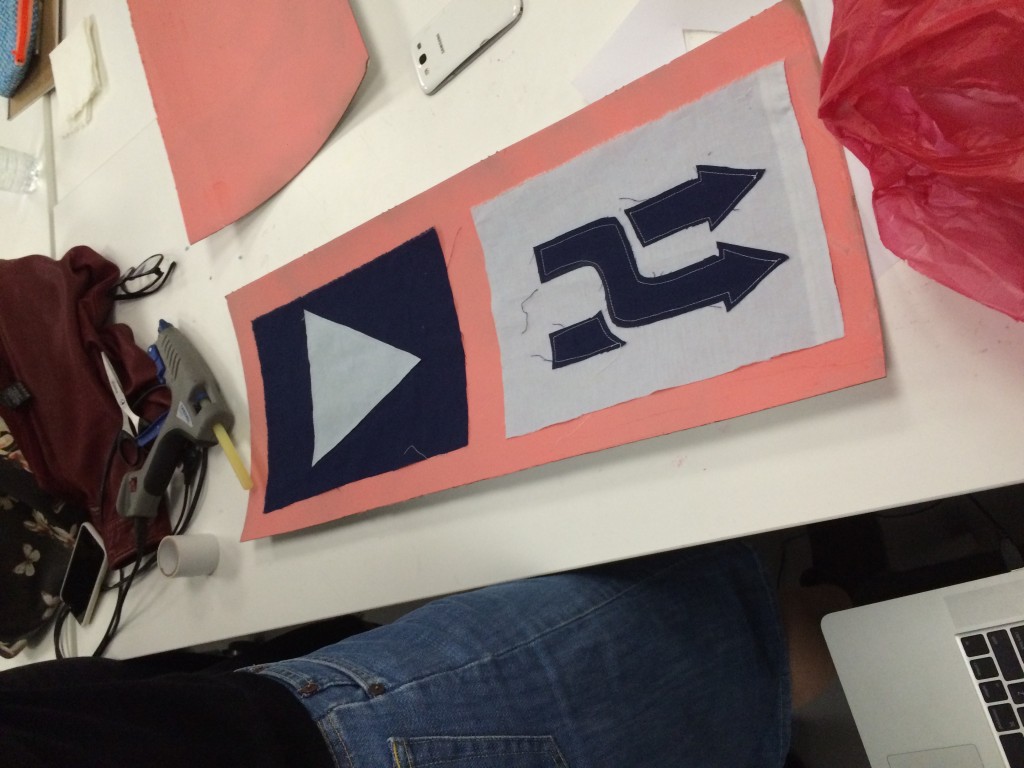
Here are the two fabric pieces that would be pressed to either play a song or play the next song.
So, we sewed together the fabric, soldered the pieces together, and incorporated copper tape to stick the wires together to complete the circuit and allow for the board to work. In order for it to work the USB must be plugged into the computer, and when the sponge is pressed, the music is played or skipped, as previously mentioned.
Here is our process in images:
We first tested the pins to see what matched with what key:

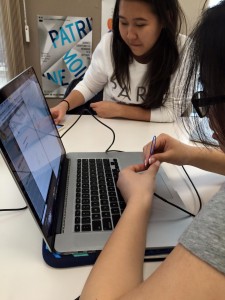
Once we figured out the pattern of keys, we started soldering:

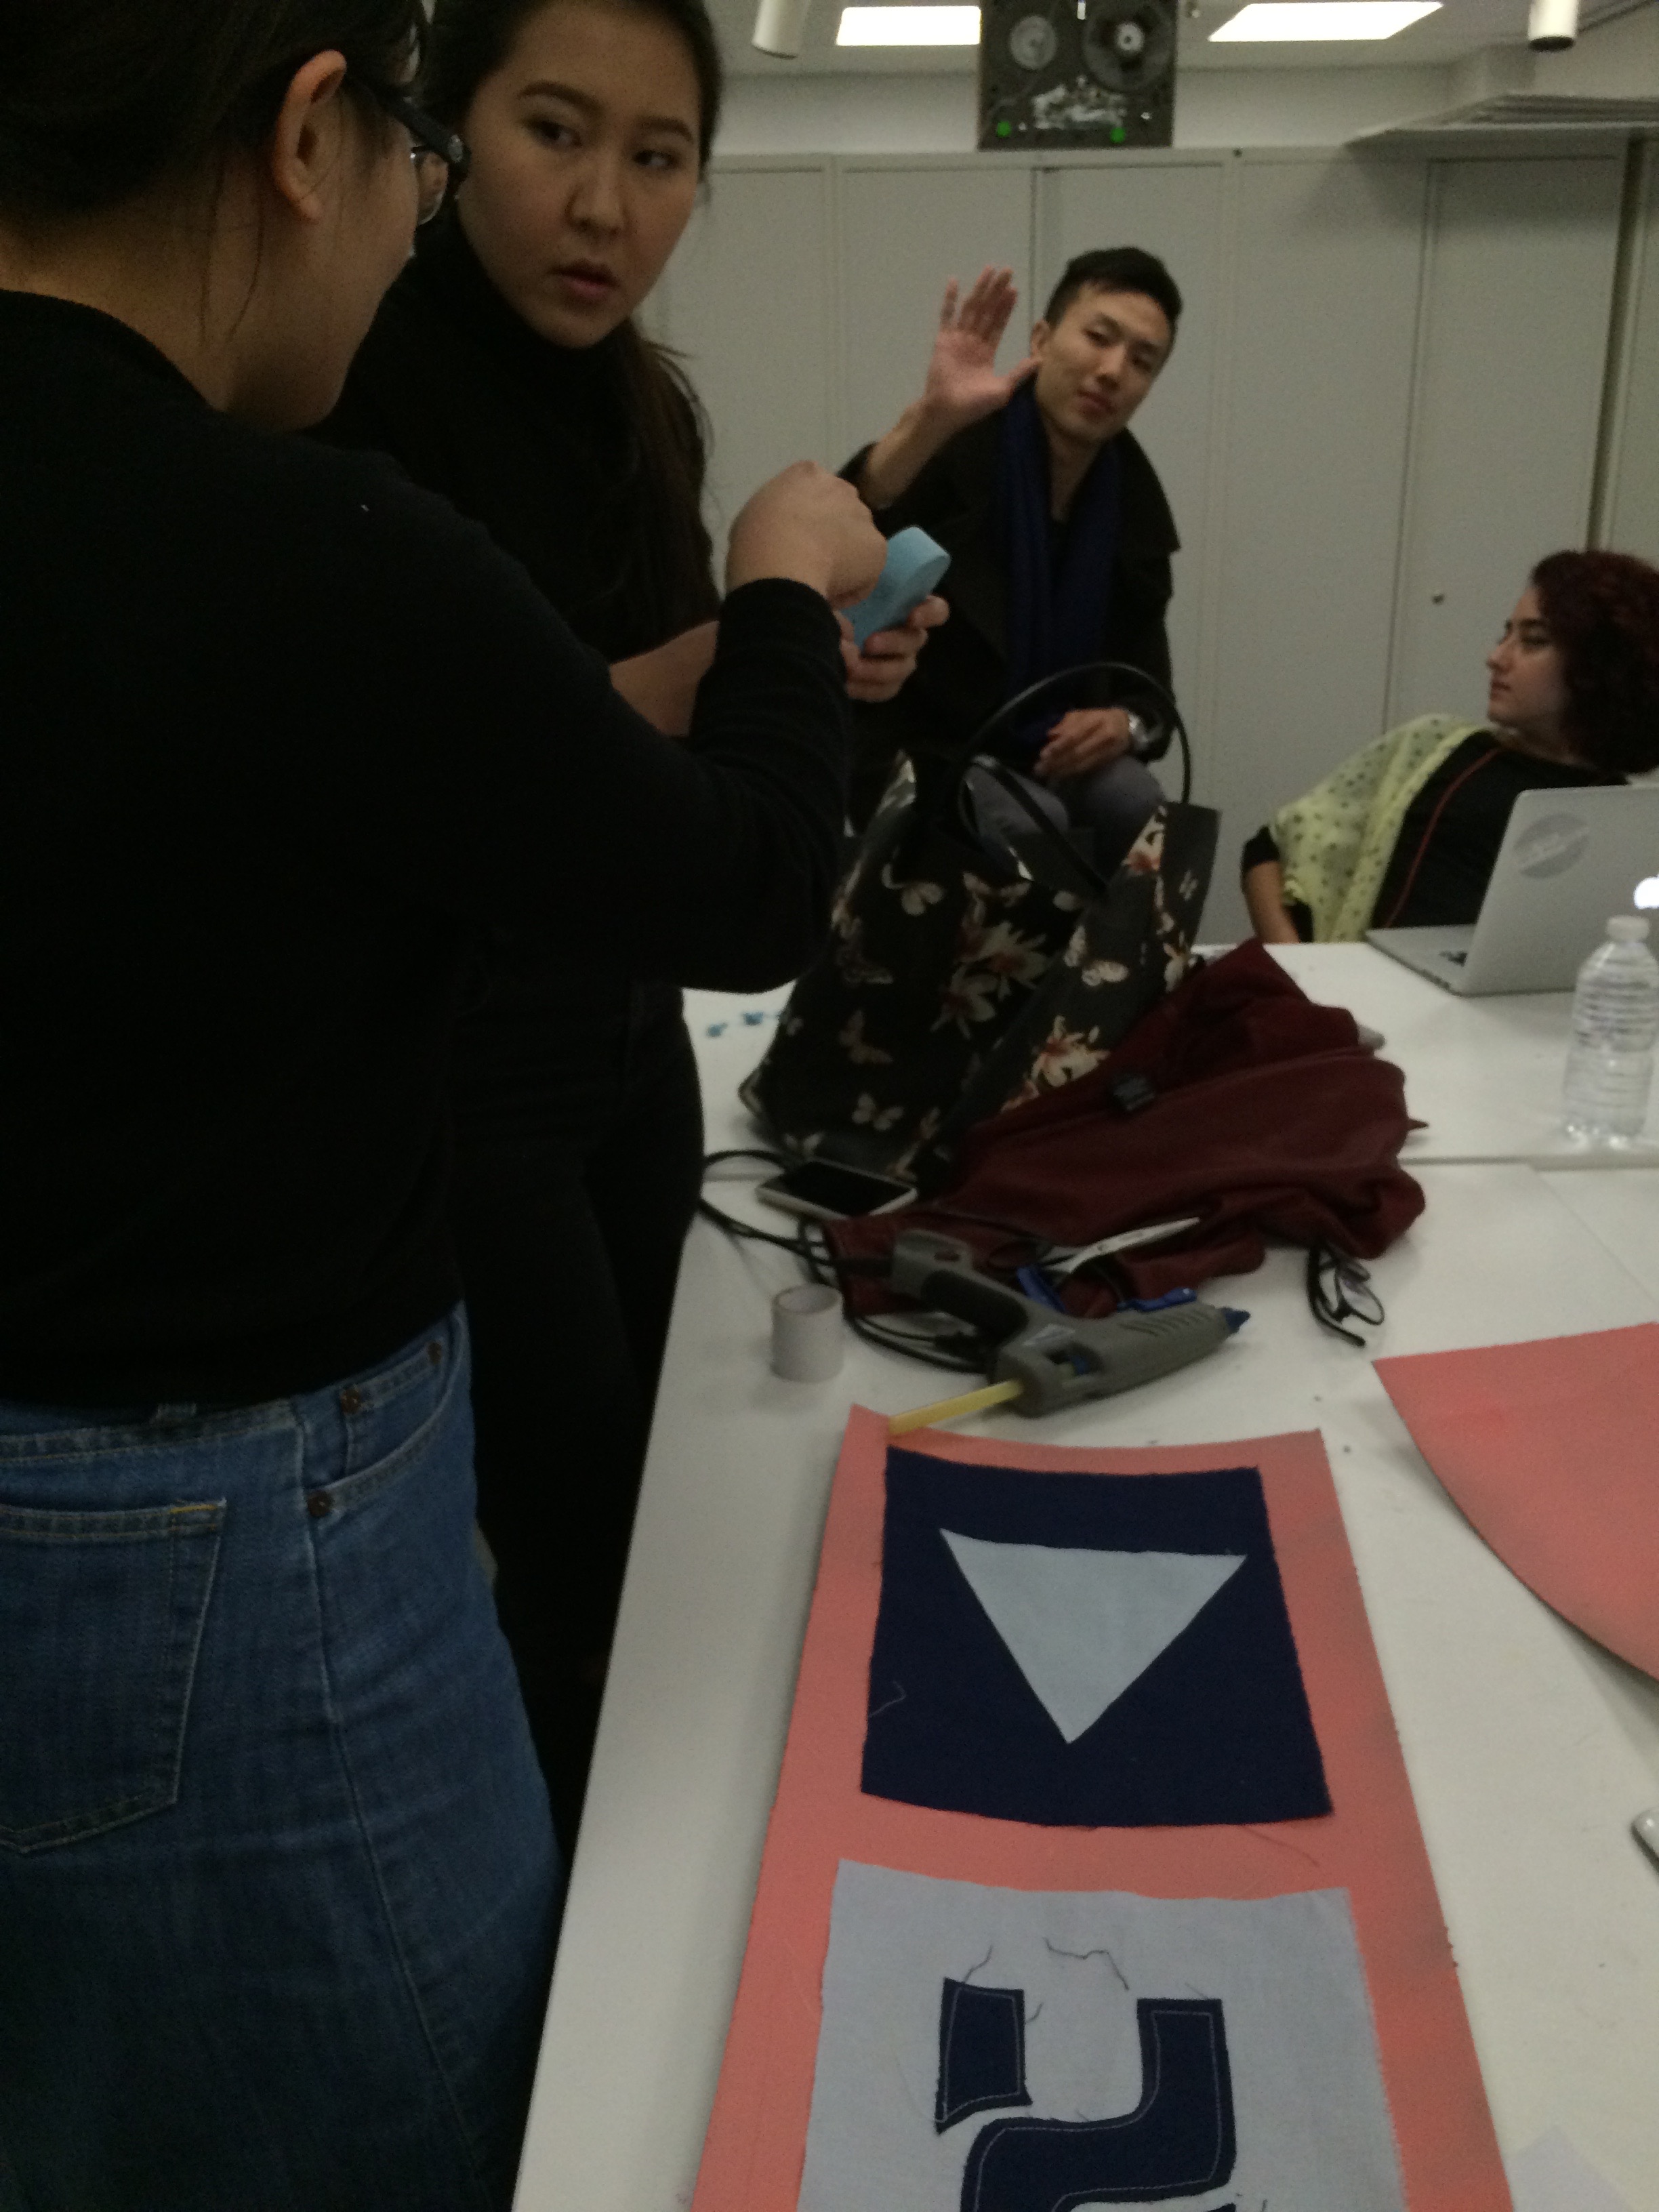
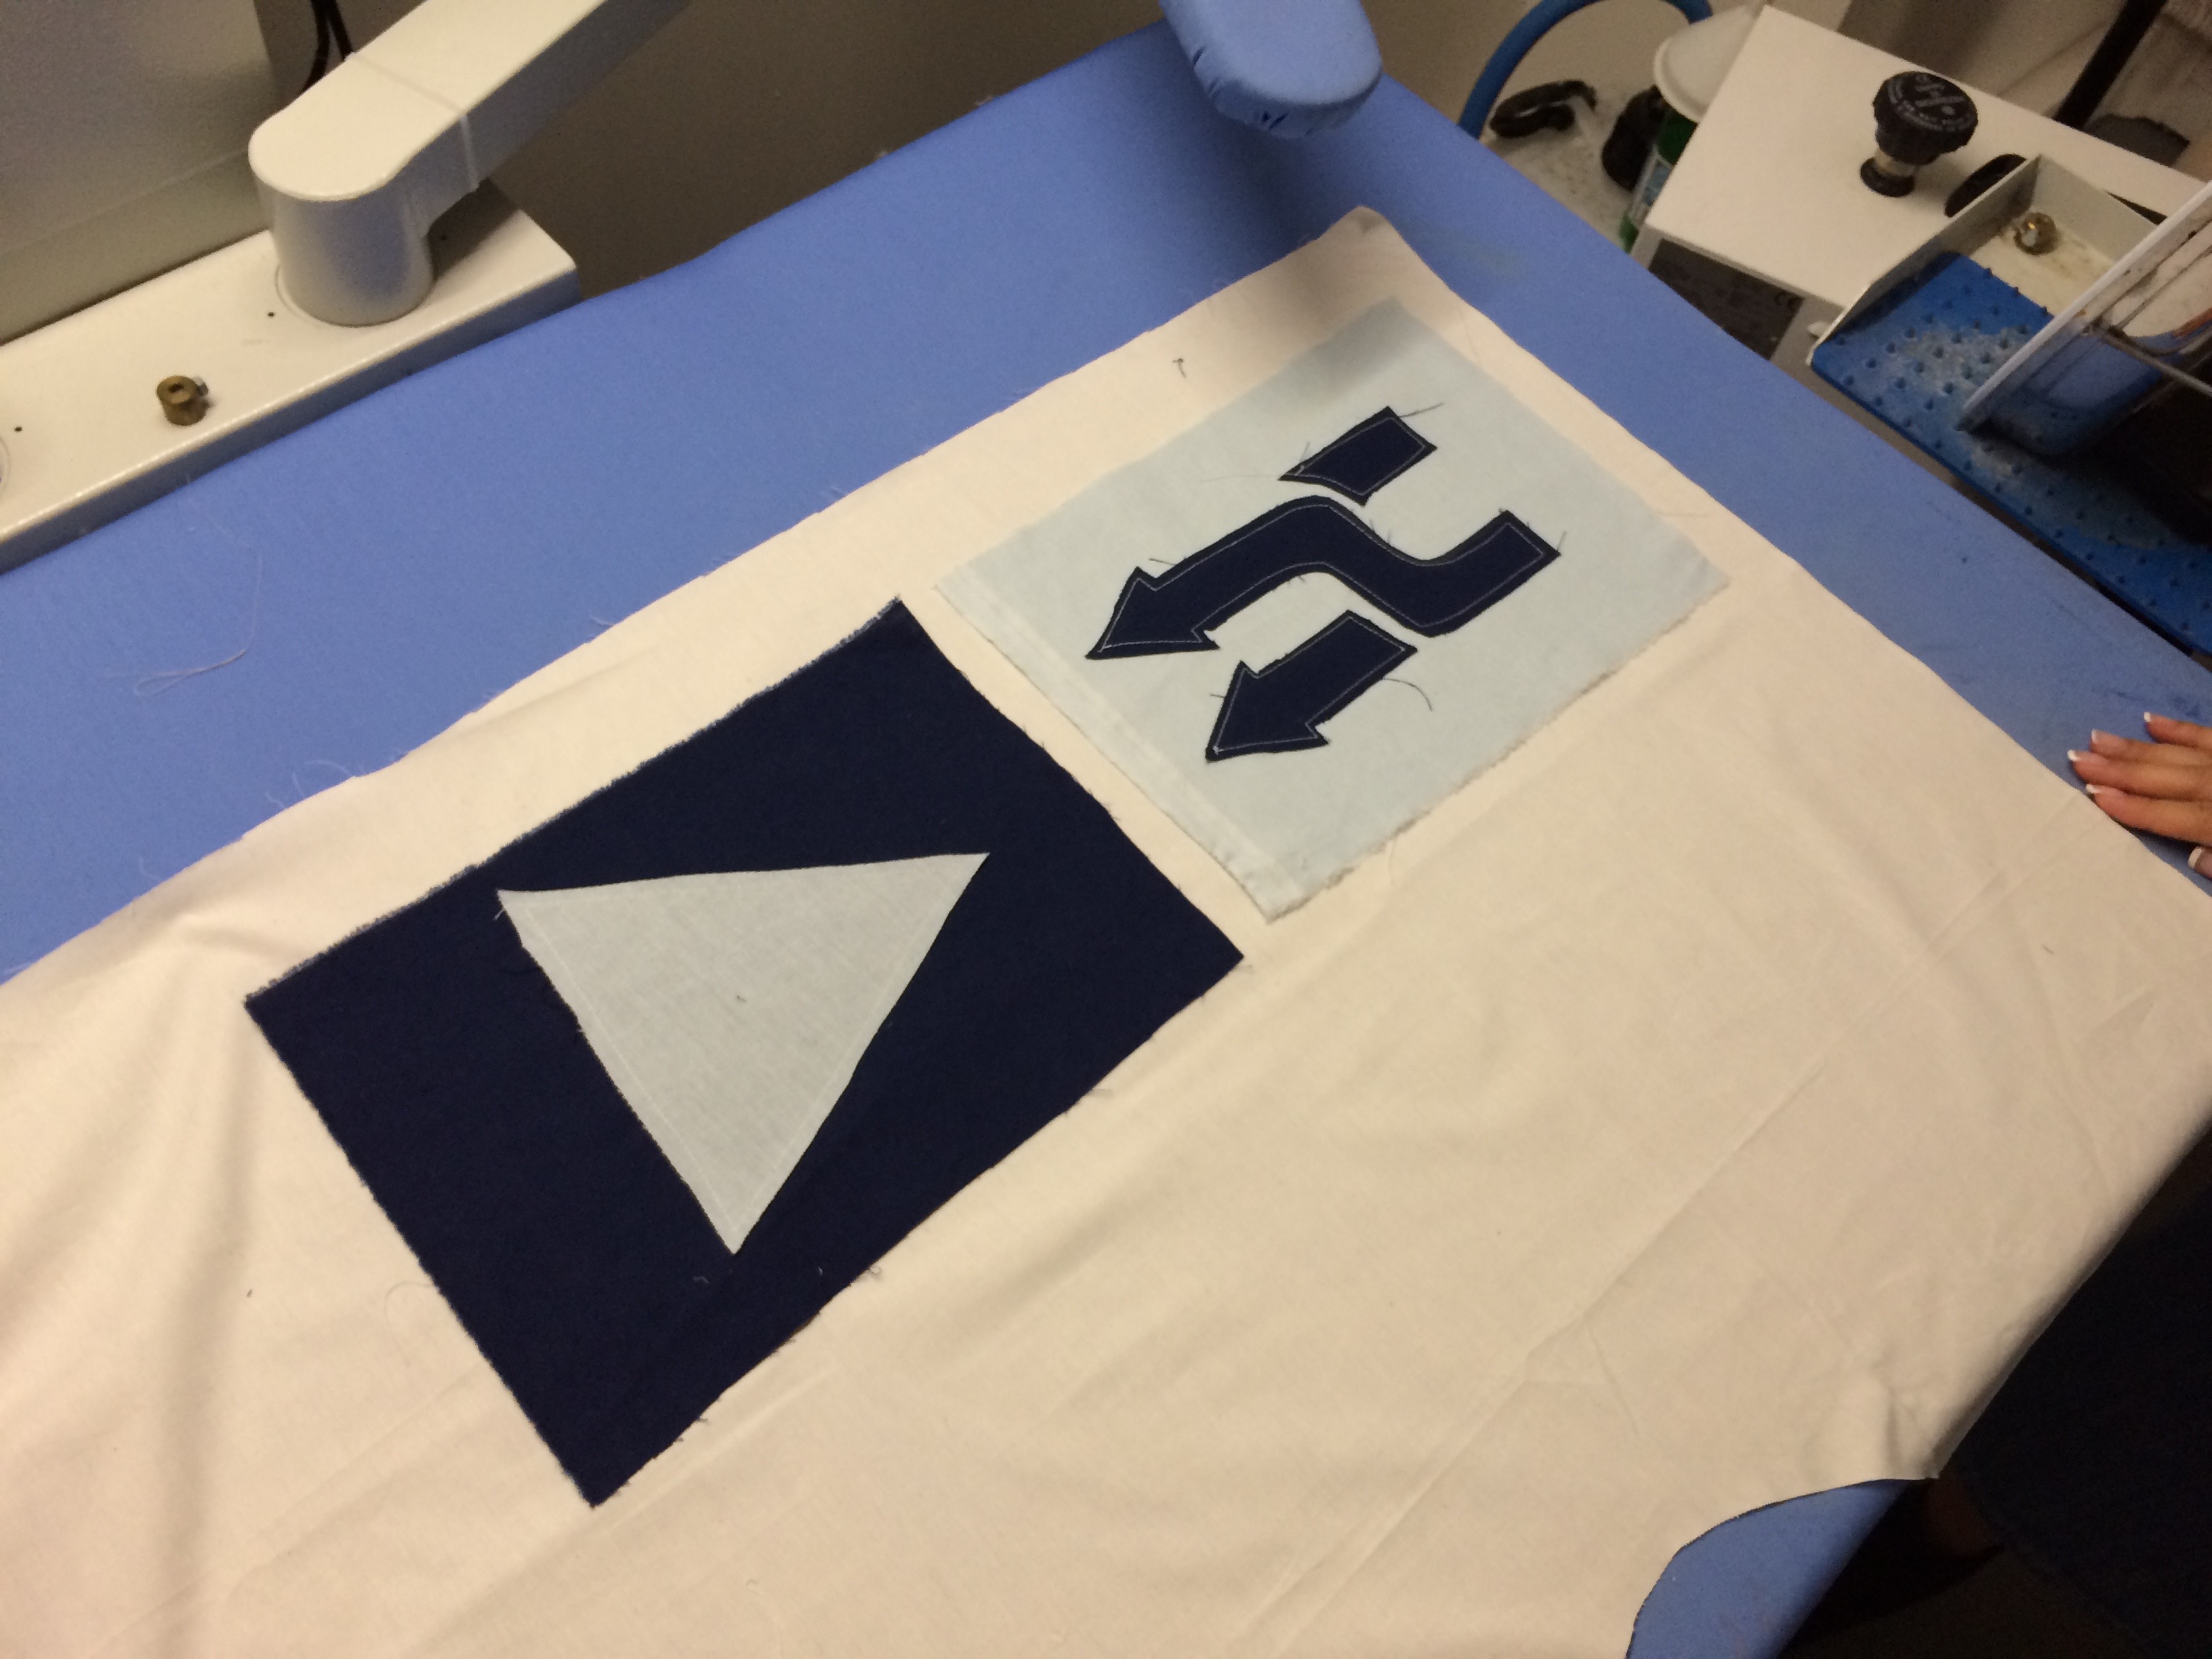
Then we designed our play and shuffle buttons we eventually sewed onto fabric:

Here is a video testing our sponges and circuit:
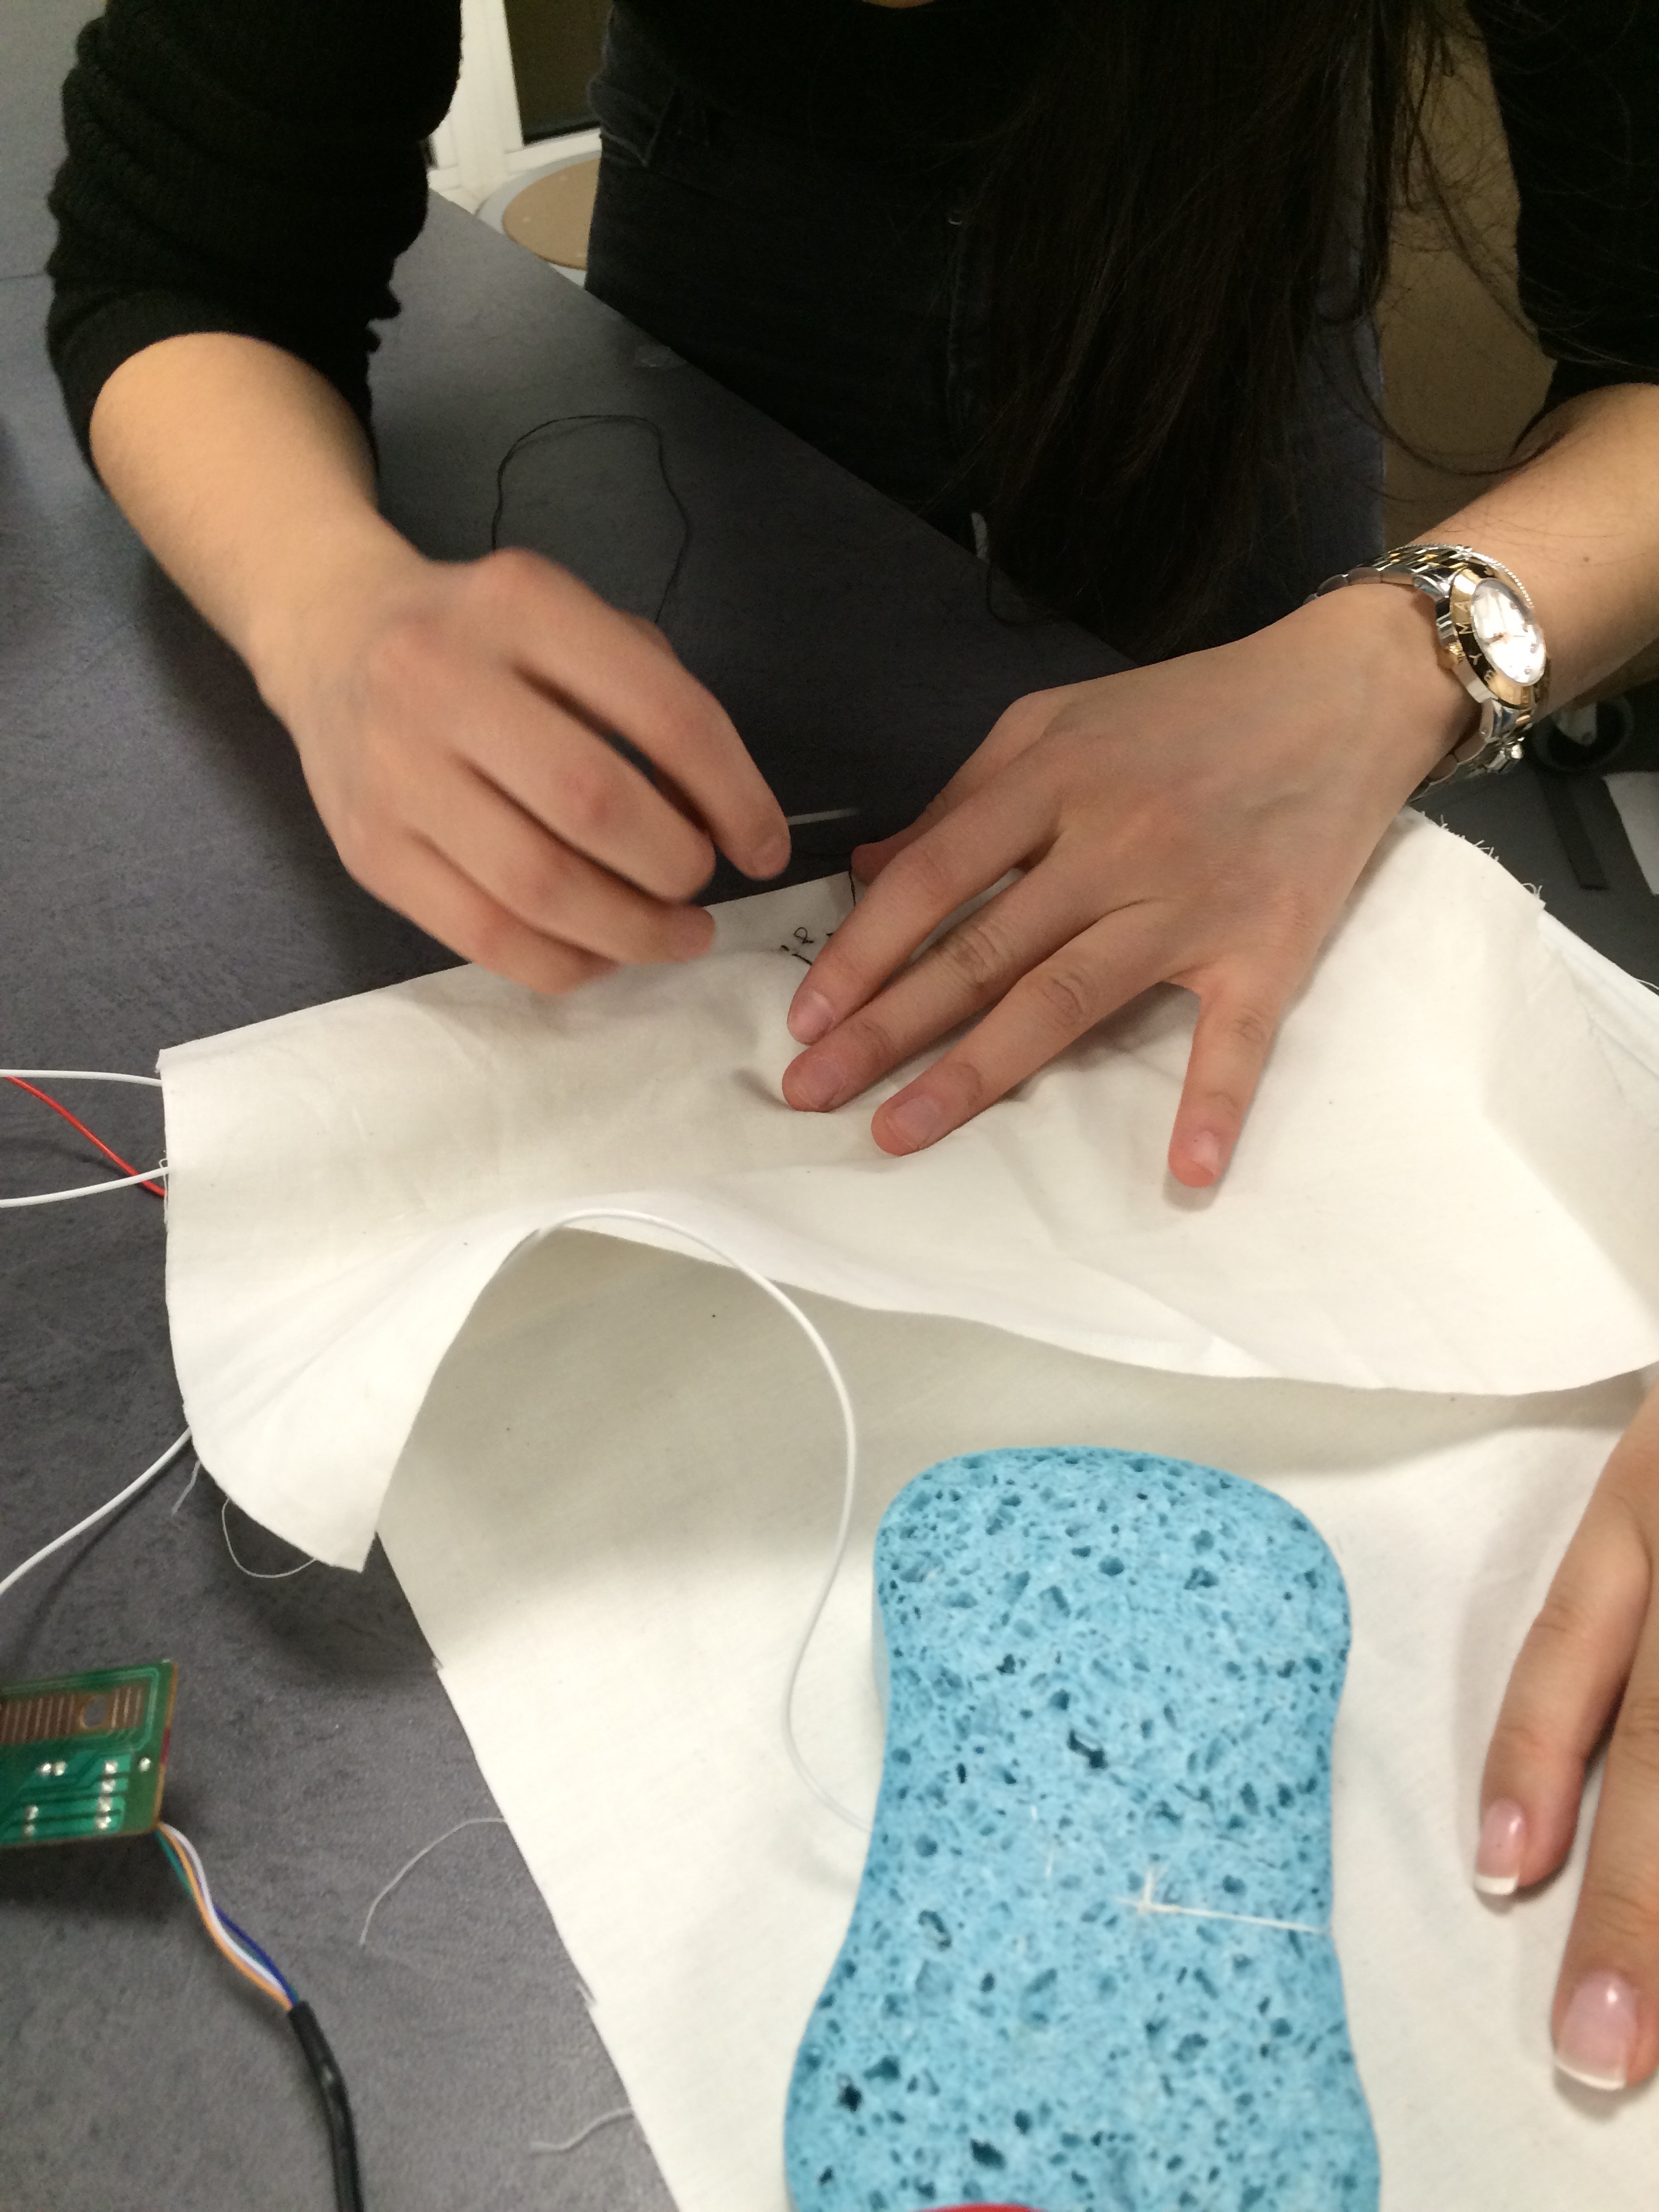
Then we figured out where the copper tape and wire would be connected to the sponges in order to complete the circuit:
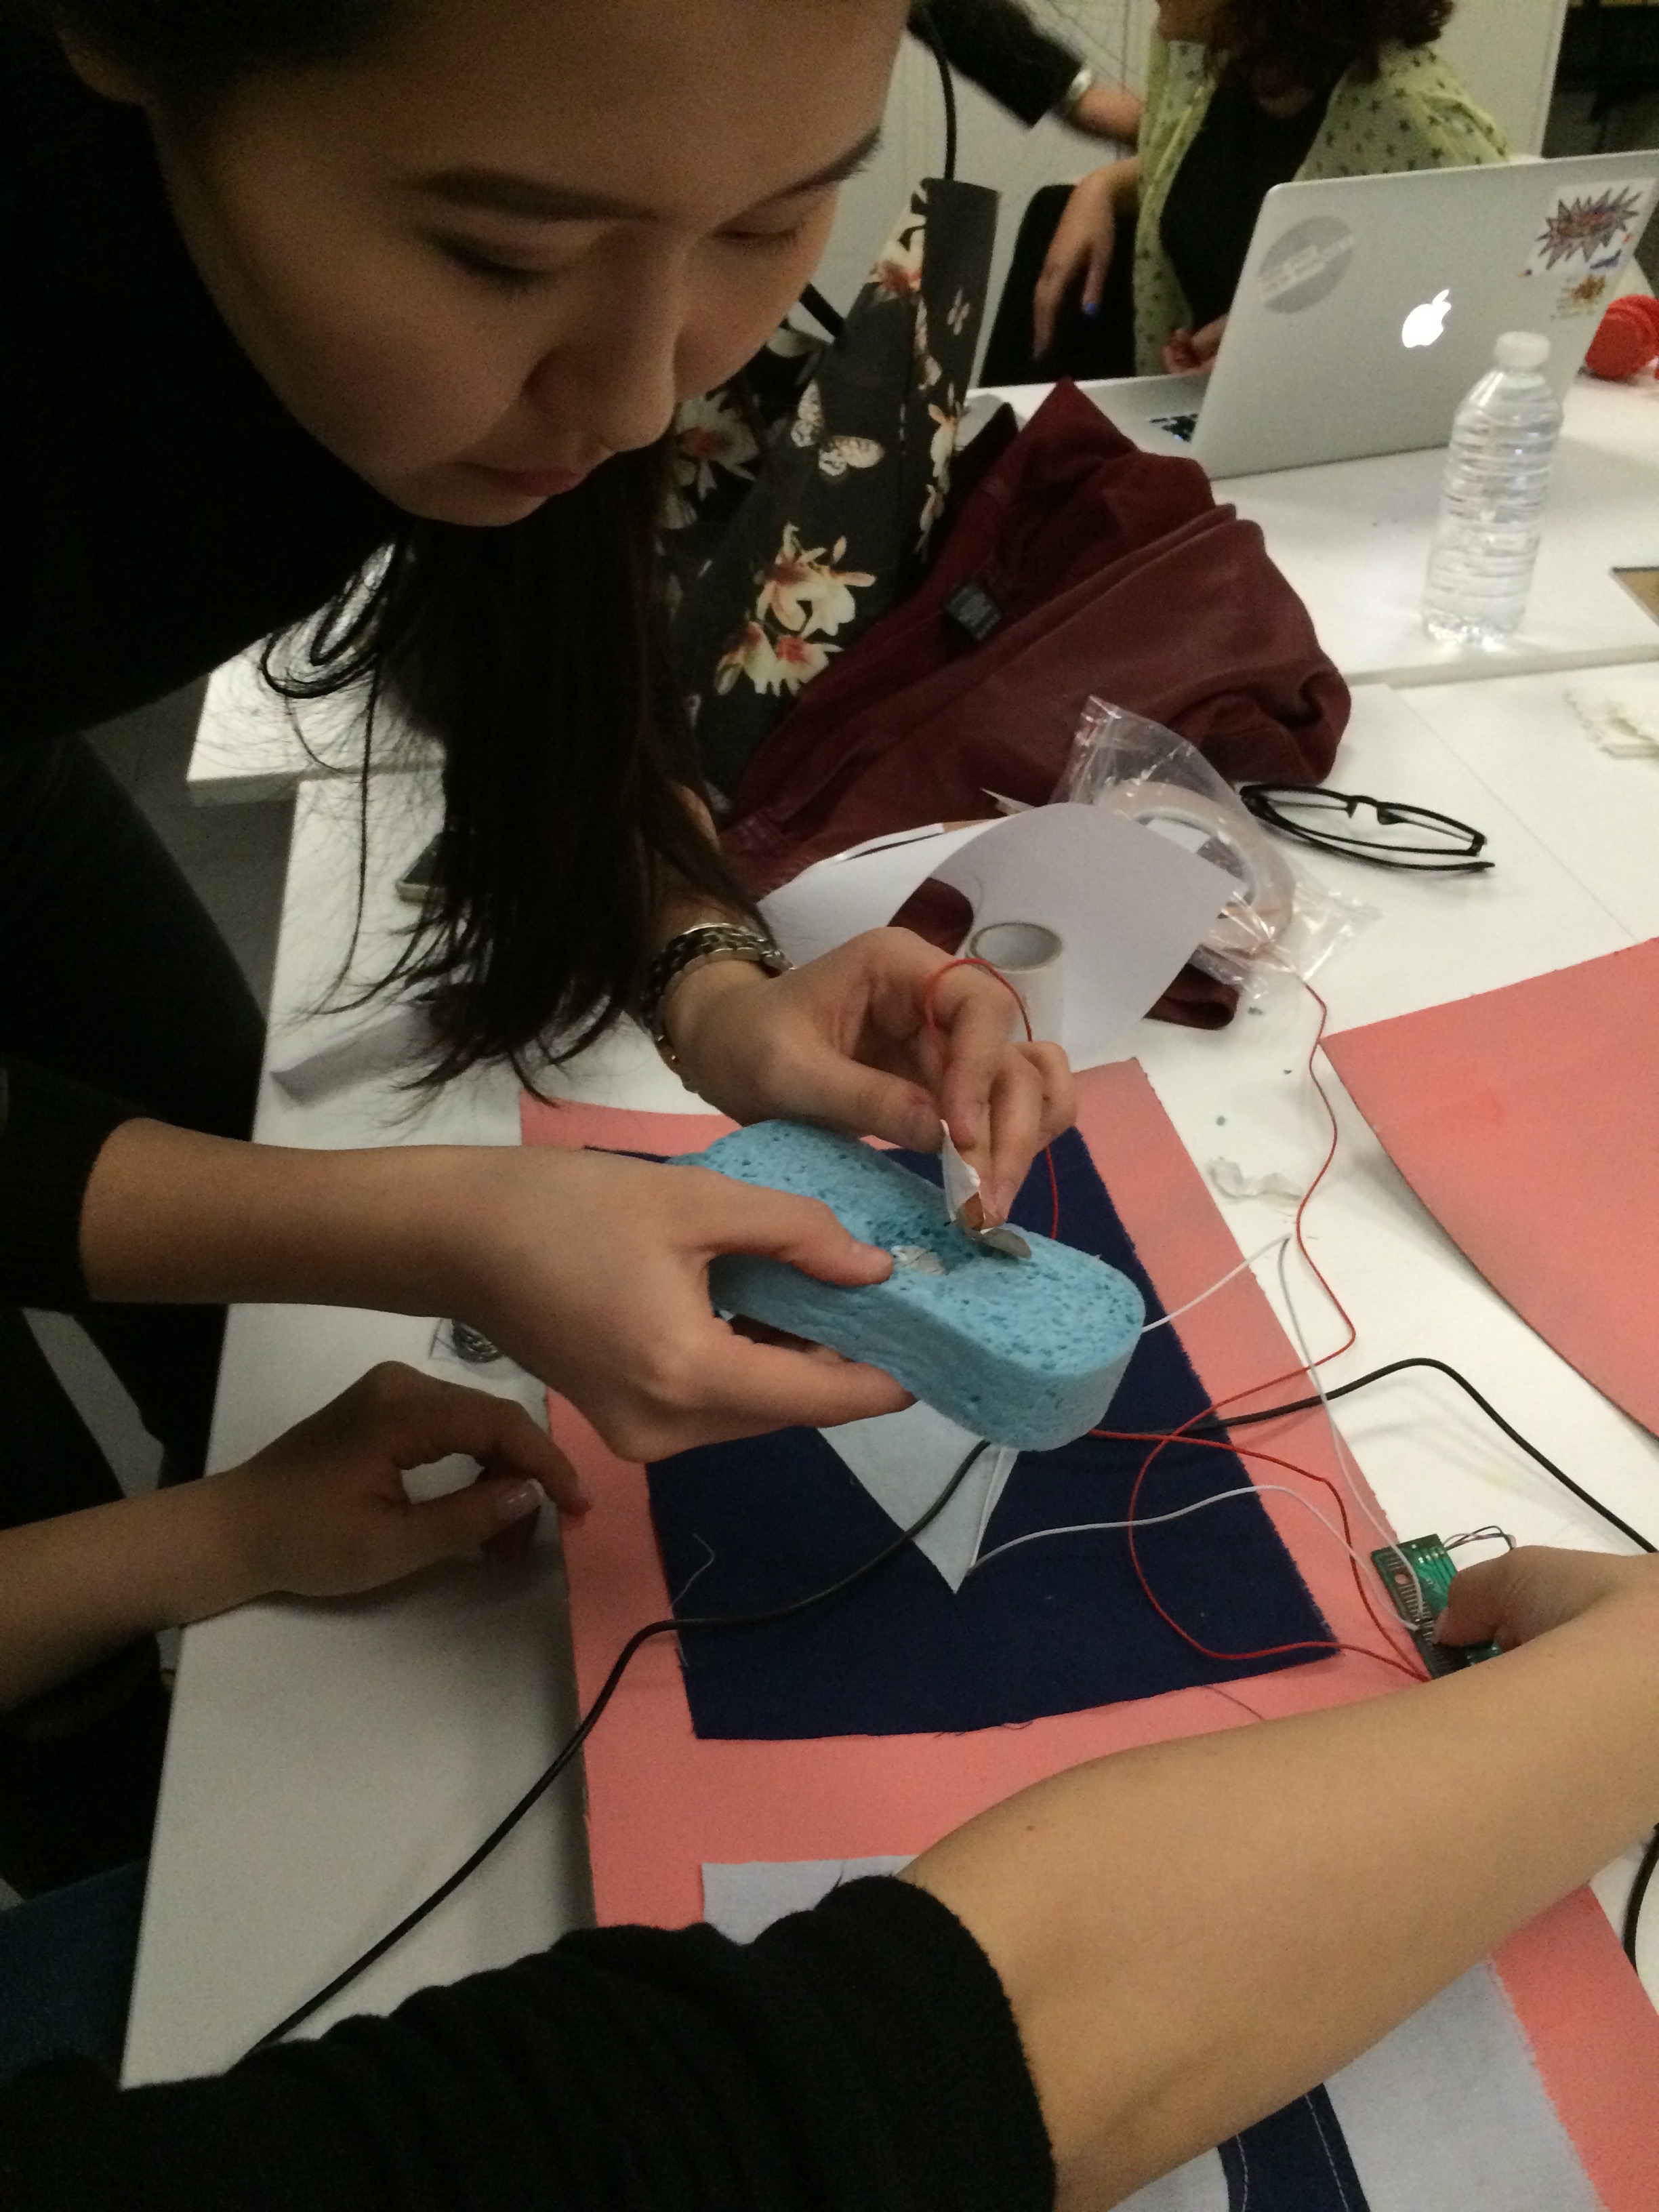
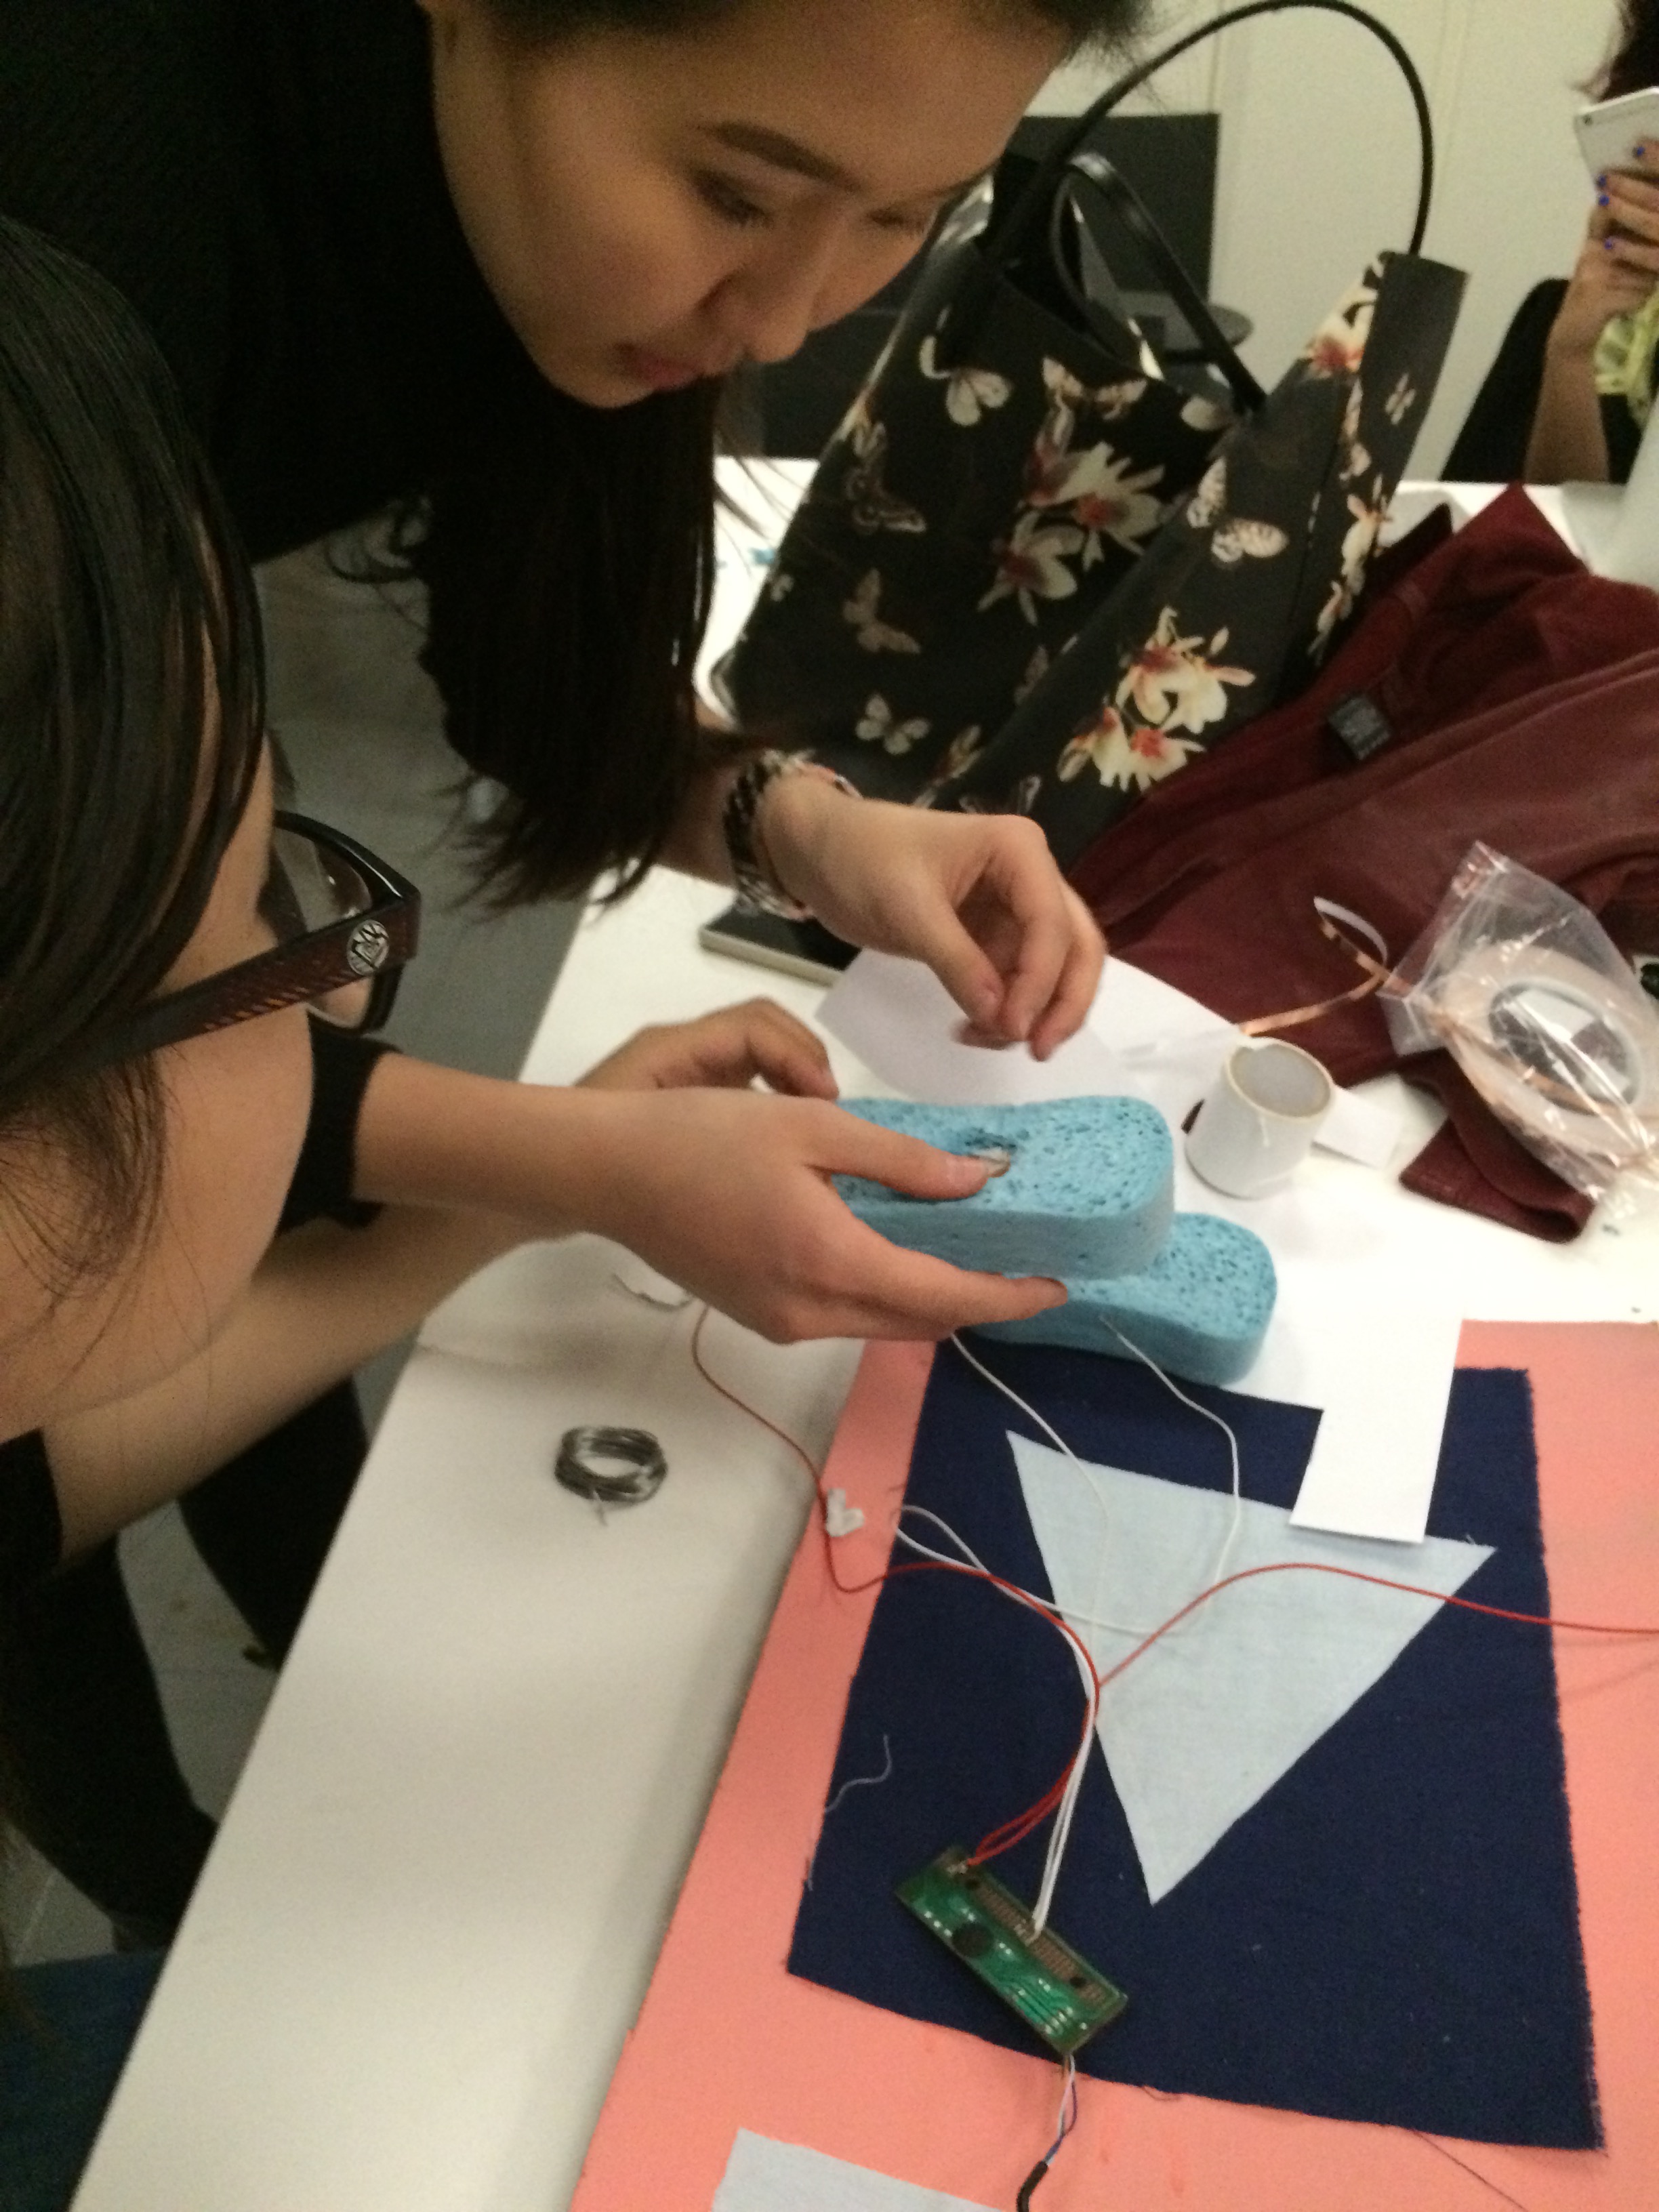
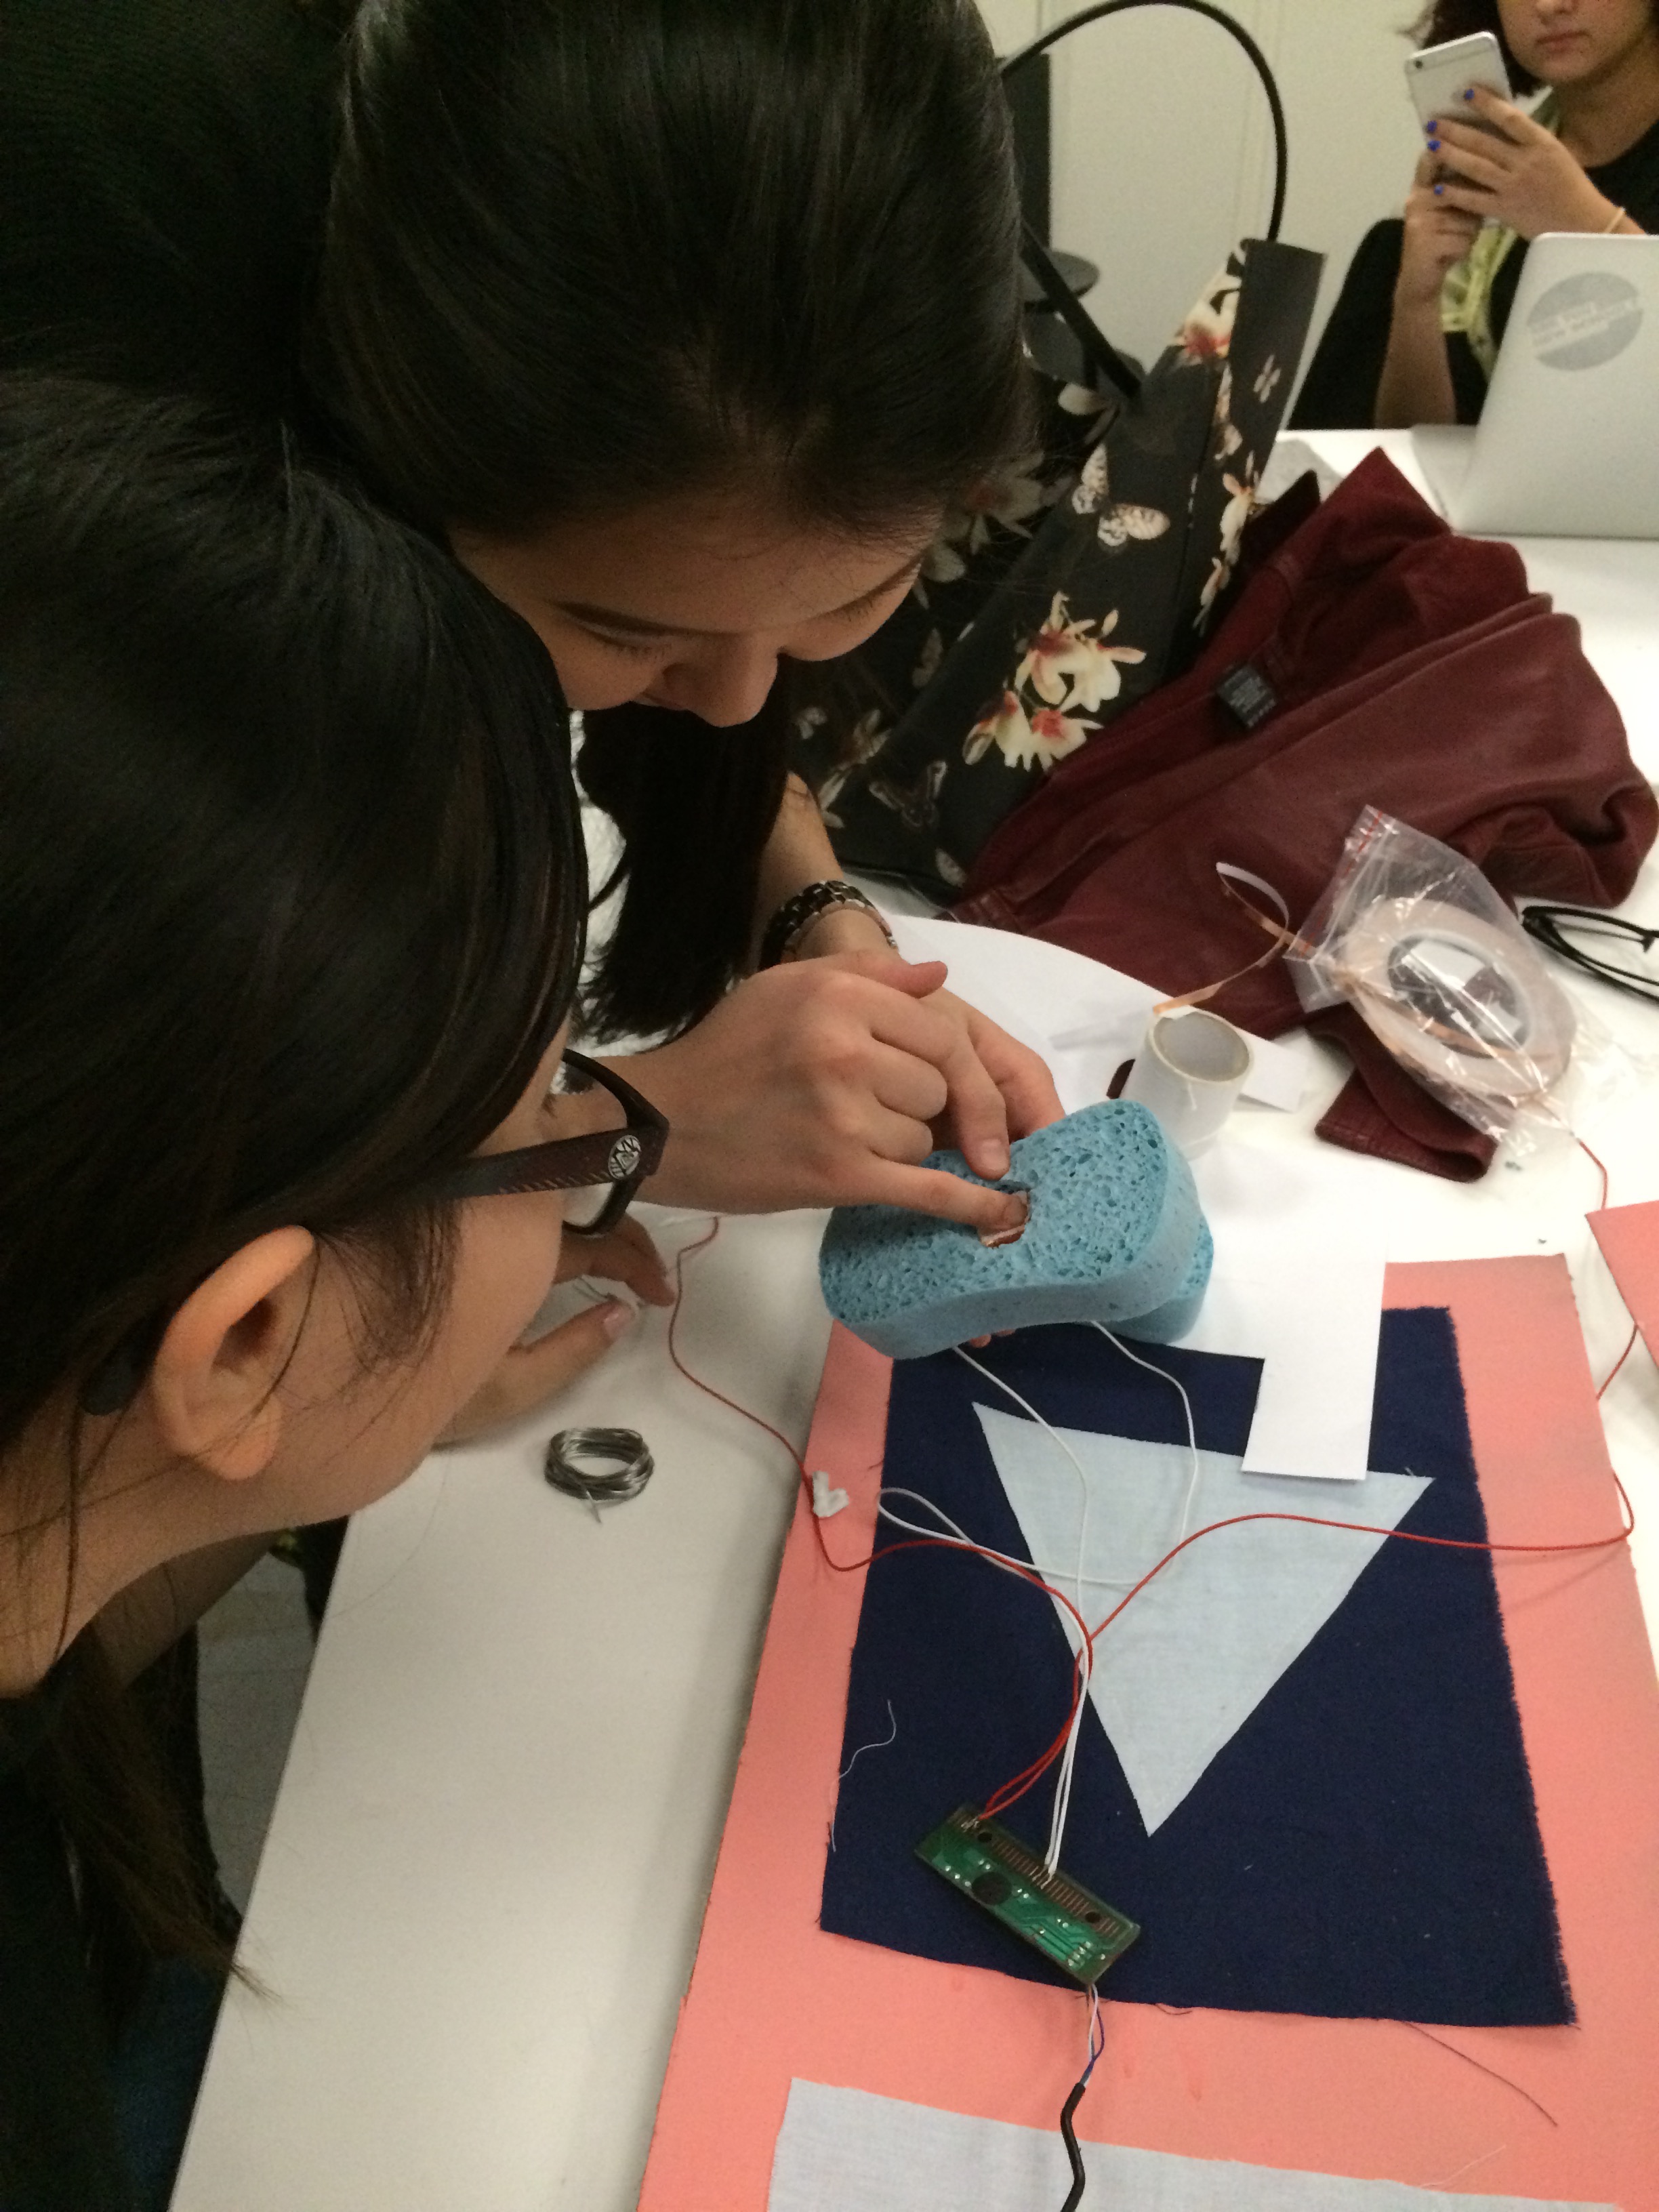

More soldering..this time we soldered the wires to the sponges/copper tape inserts:

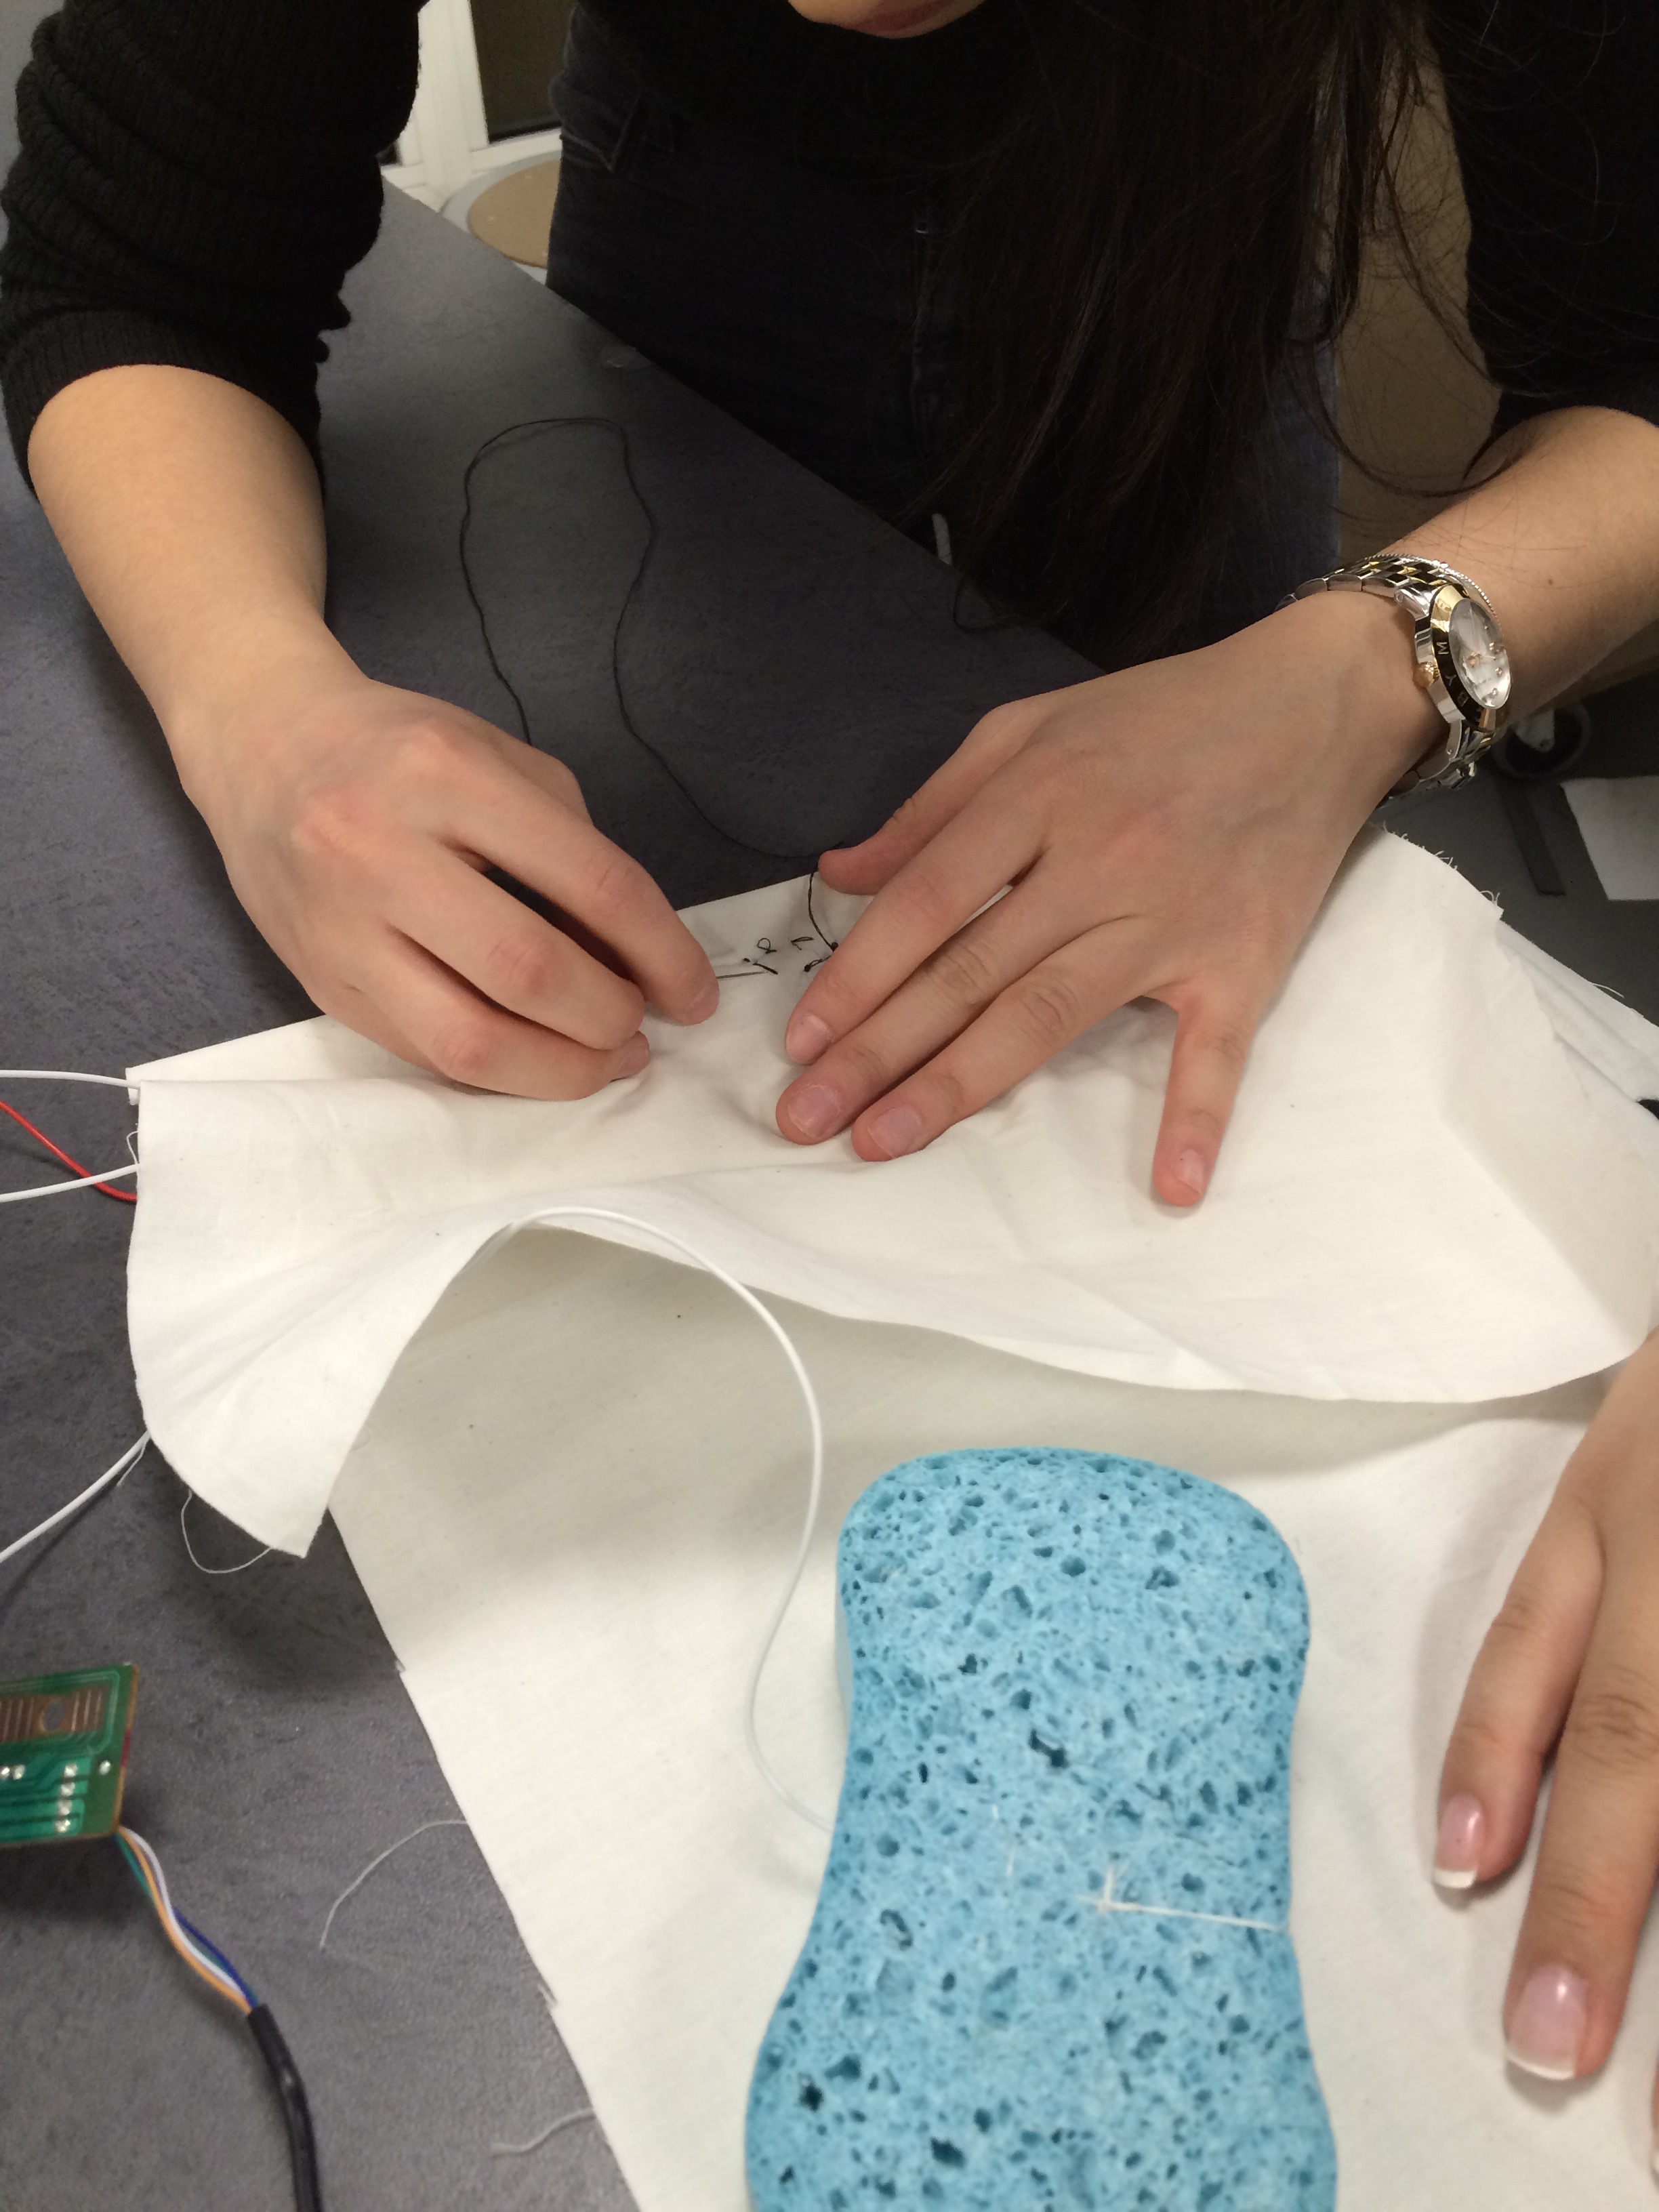
Then we ironed the play button/shuffle pattern, sewed the copper tape and circuit wires into the fabric:

And did some more sewing of the copper tape component to complete the circuit:
This was the best video of our circuitry working before the solder broke off of our board:
So, we tried really hard overall to get this to work, and we learned so much from this project; soldering, circuitry, and most importantly, how to hack three different keyboards (in this case). It may not be as complete as we wanted, but we put an immense amount of work in, and tried our absolute best on this project.
That’s it for this week!
Reading Glove
Reading Glove
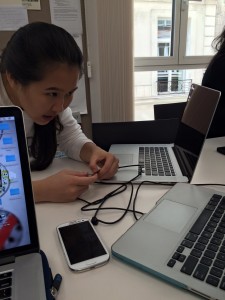
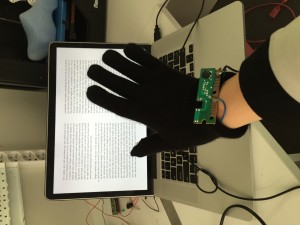
I wanted to make a glove which allowed you to read in bed without having to use the effort to hold up a book or a computer, allowing you to fall asleep while reading. Theoretically, you could connect your computer to a projector and lay in bed with your book projected onto the ceiling, using the glove to turn the pages.
materials: keyboard with usb connection, gloves, wires, aluminium foil, soldering iron and tin
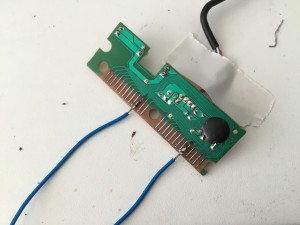
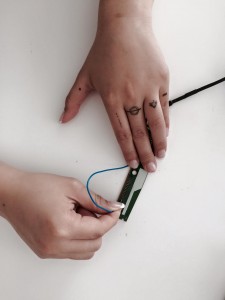
After hours of testing with a wire which key was which with the switchboard, I began by soldering the keys for space bar
Burnt through the copper traces, almost had to start over. However, luckily I was just able to change my key from SPACE to (–>) and it serves the same function in iBooks.
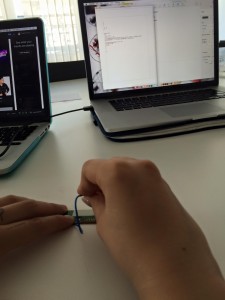
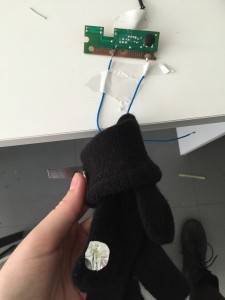
bringing the wire through the gloves
. 
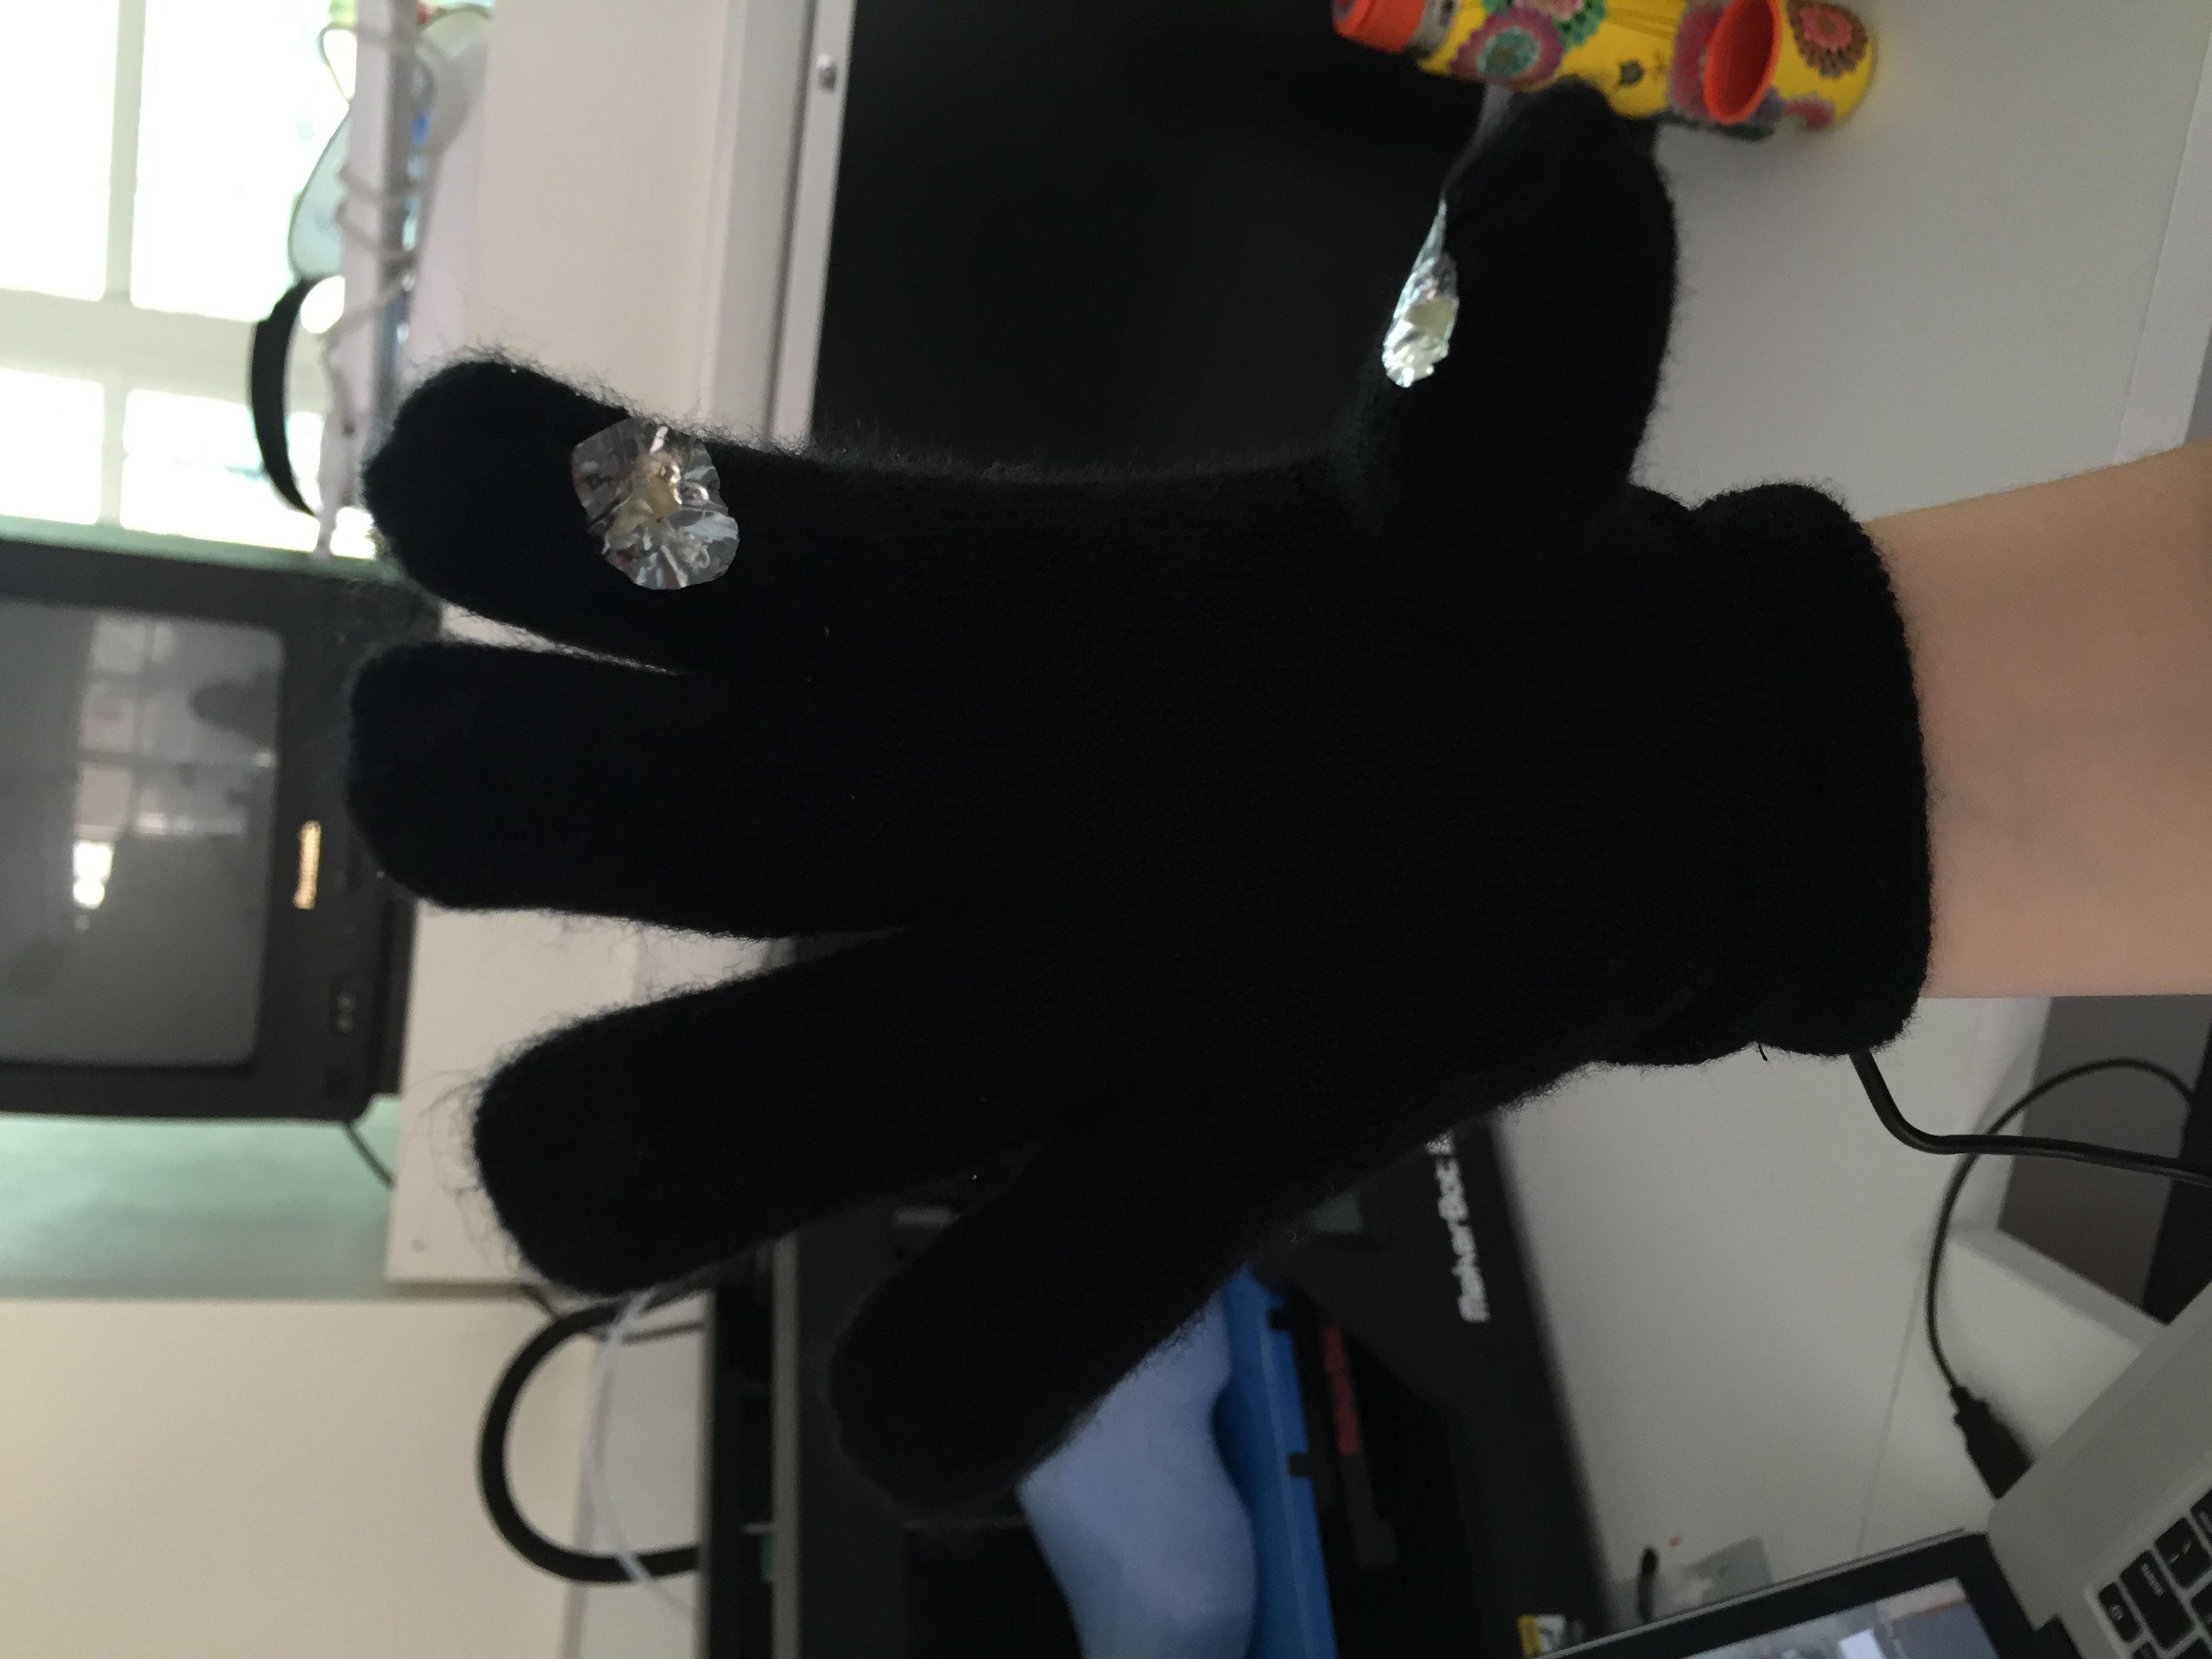
used aluminium foil to create conductive fingers. You tap your fingers together to turn the pages.
<iframe src=”https://player.vimeo.com/video/141026737″ width=”500″ height=”281″ frameborder=”0″ webkitallowfullscreen mozallowfullscreen allowfullscreen></iframe> <p><a href=”https://vimeo.com/141026737″>Reading Glove</a> from <a href=”https://vimeo.com/user38490563″>Amanda Lewis</a> on <a href=”https://vimeo.com”>Vimeo</a>.</p>
all done!
keyboard hacking
Keyboard Hacking.
My original idea for this hack was to create something that enhanced the experience of cooking while using an online recipe without getting food all over your laptop. My idea was to use a thin plastic plate that is easy to clean and of course can endure flour, sauce – you name it!
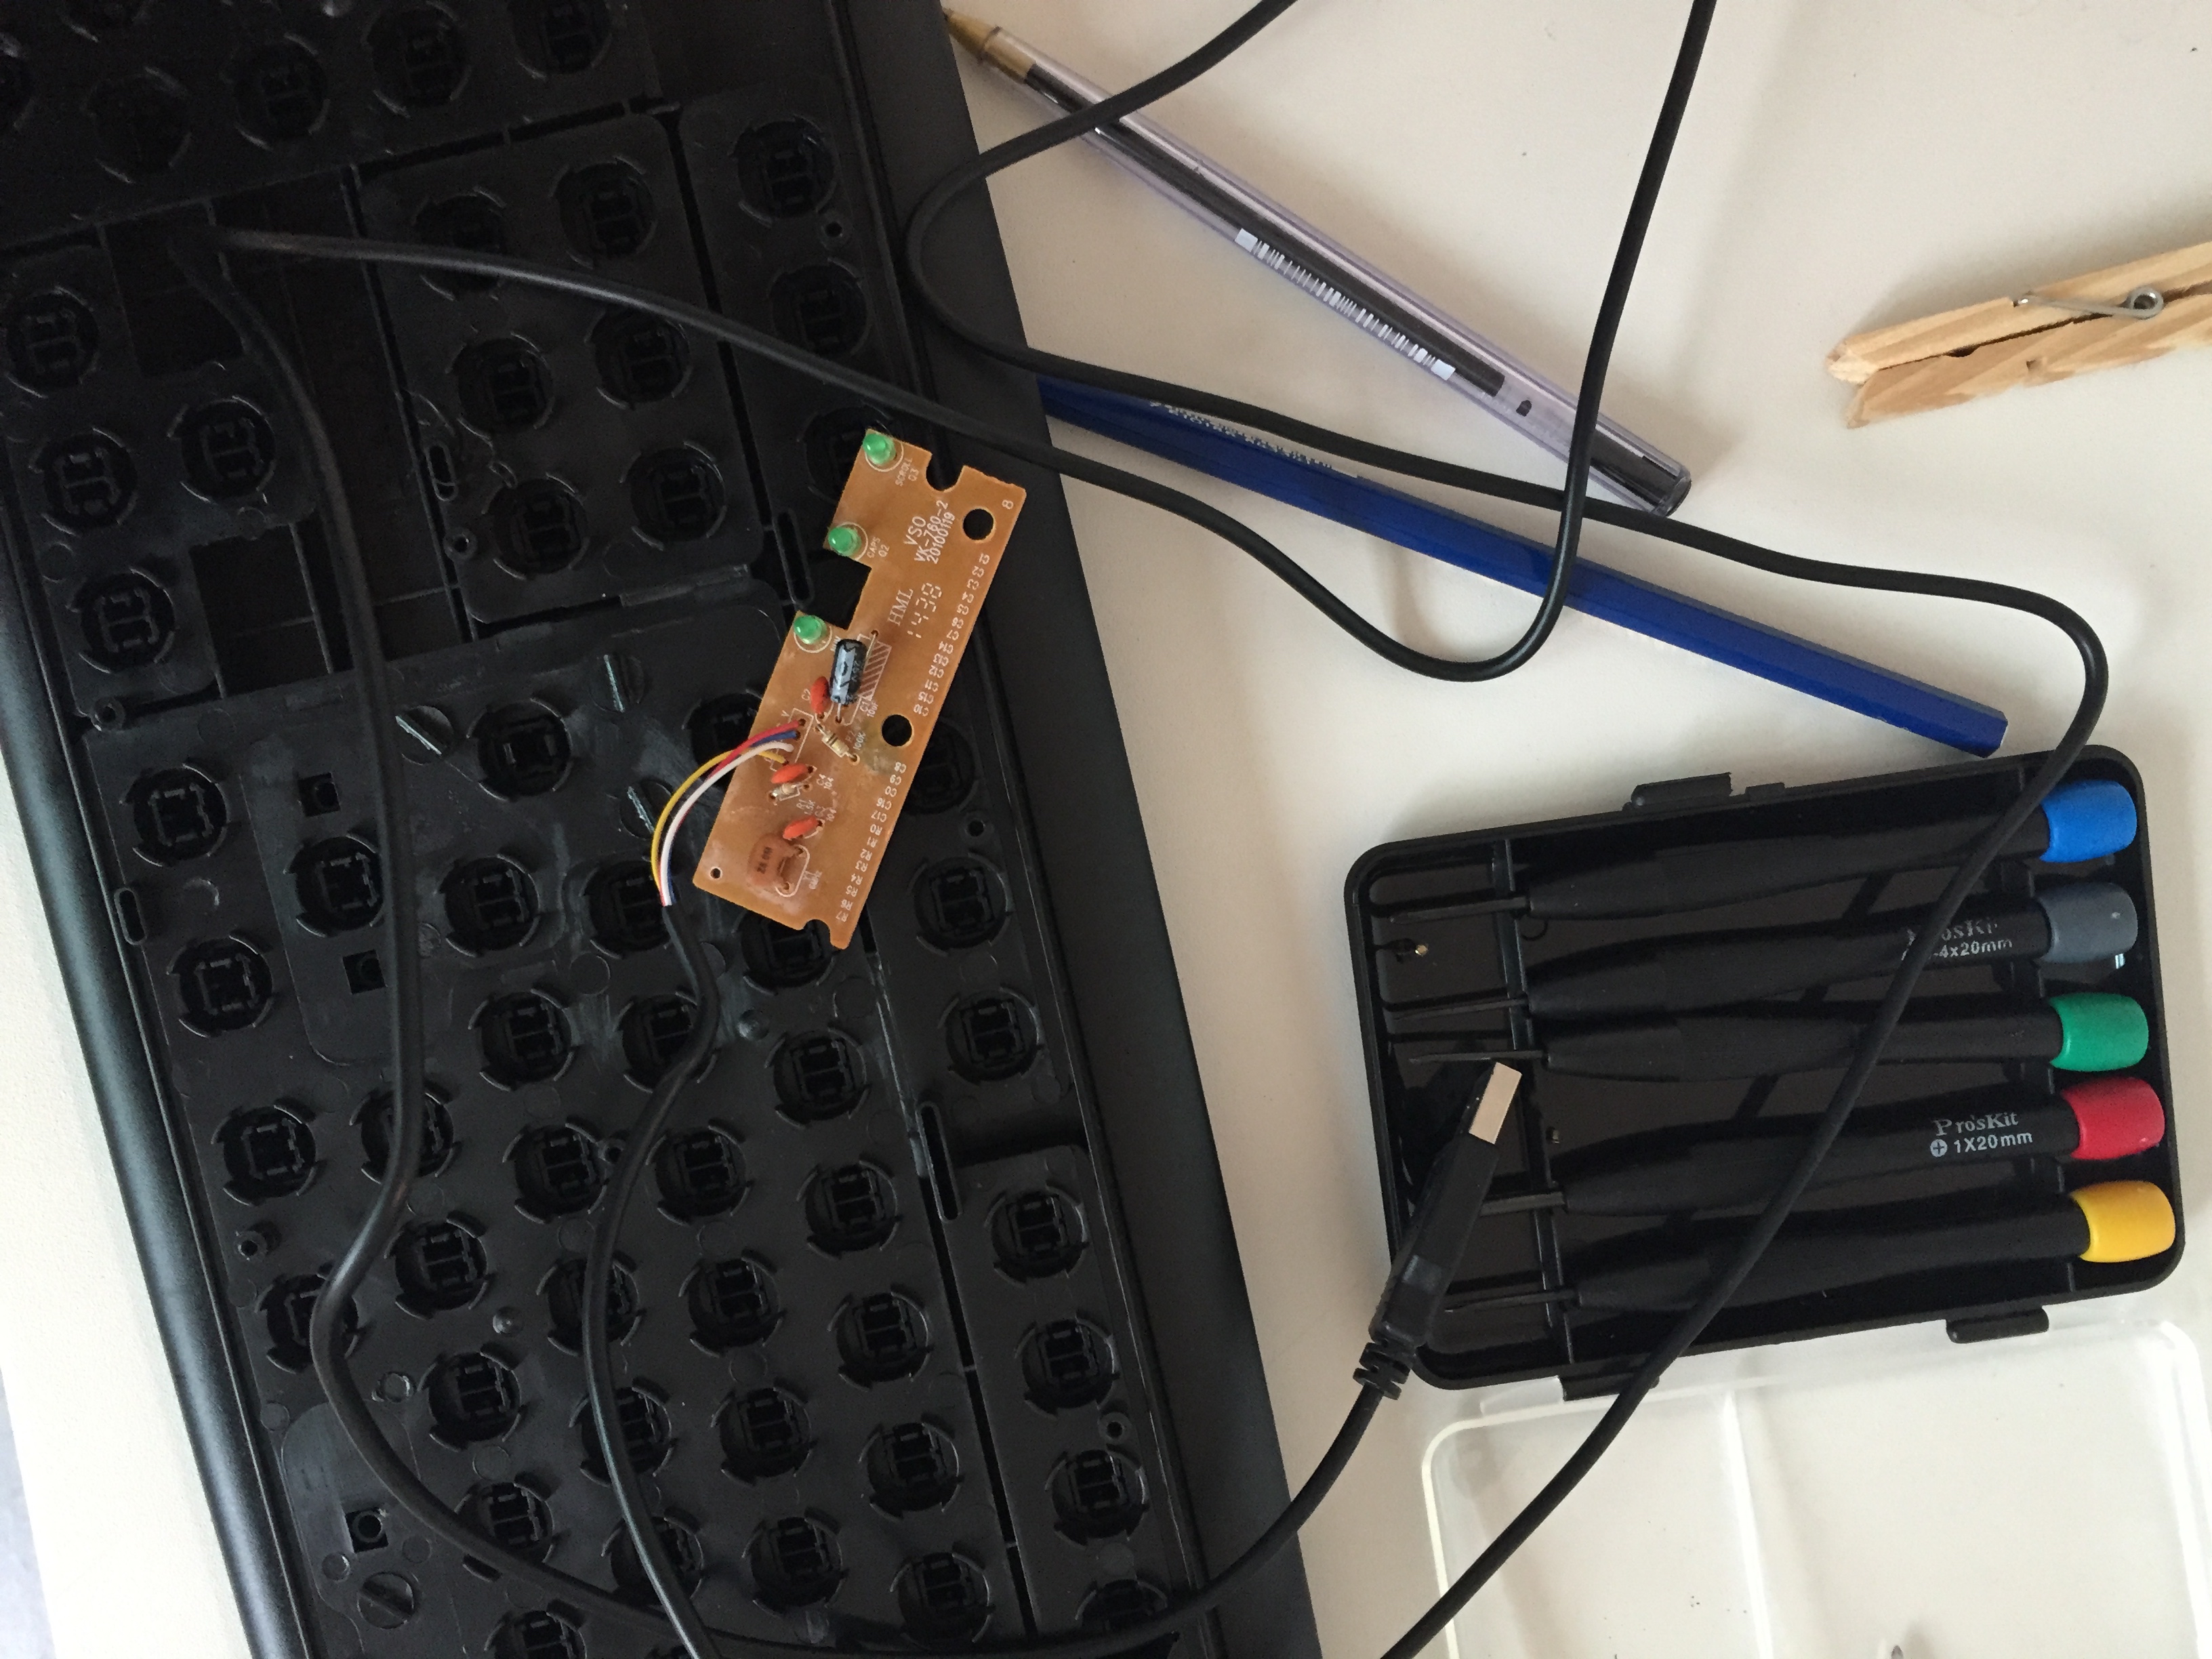
Step 1. Unscrew you keyboard and find the pcb controller and remove it from the keyboard. Then you want to gently sand the silver keys. Be careful not to sand off too much!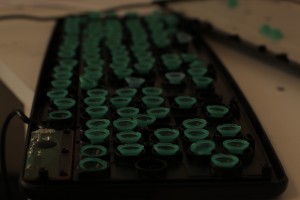
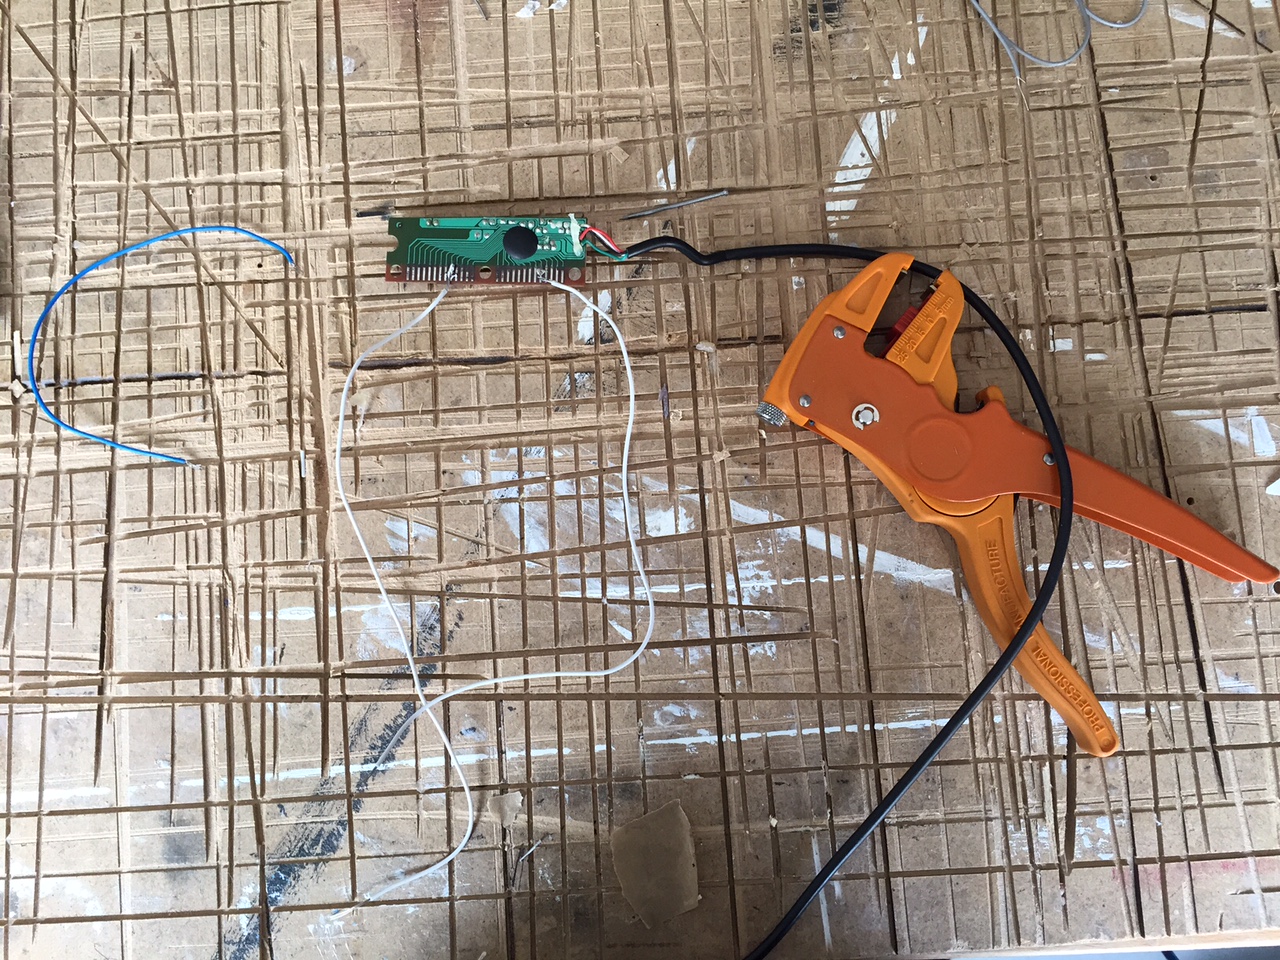
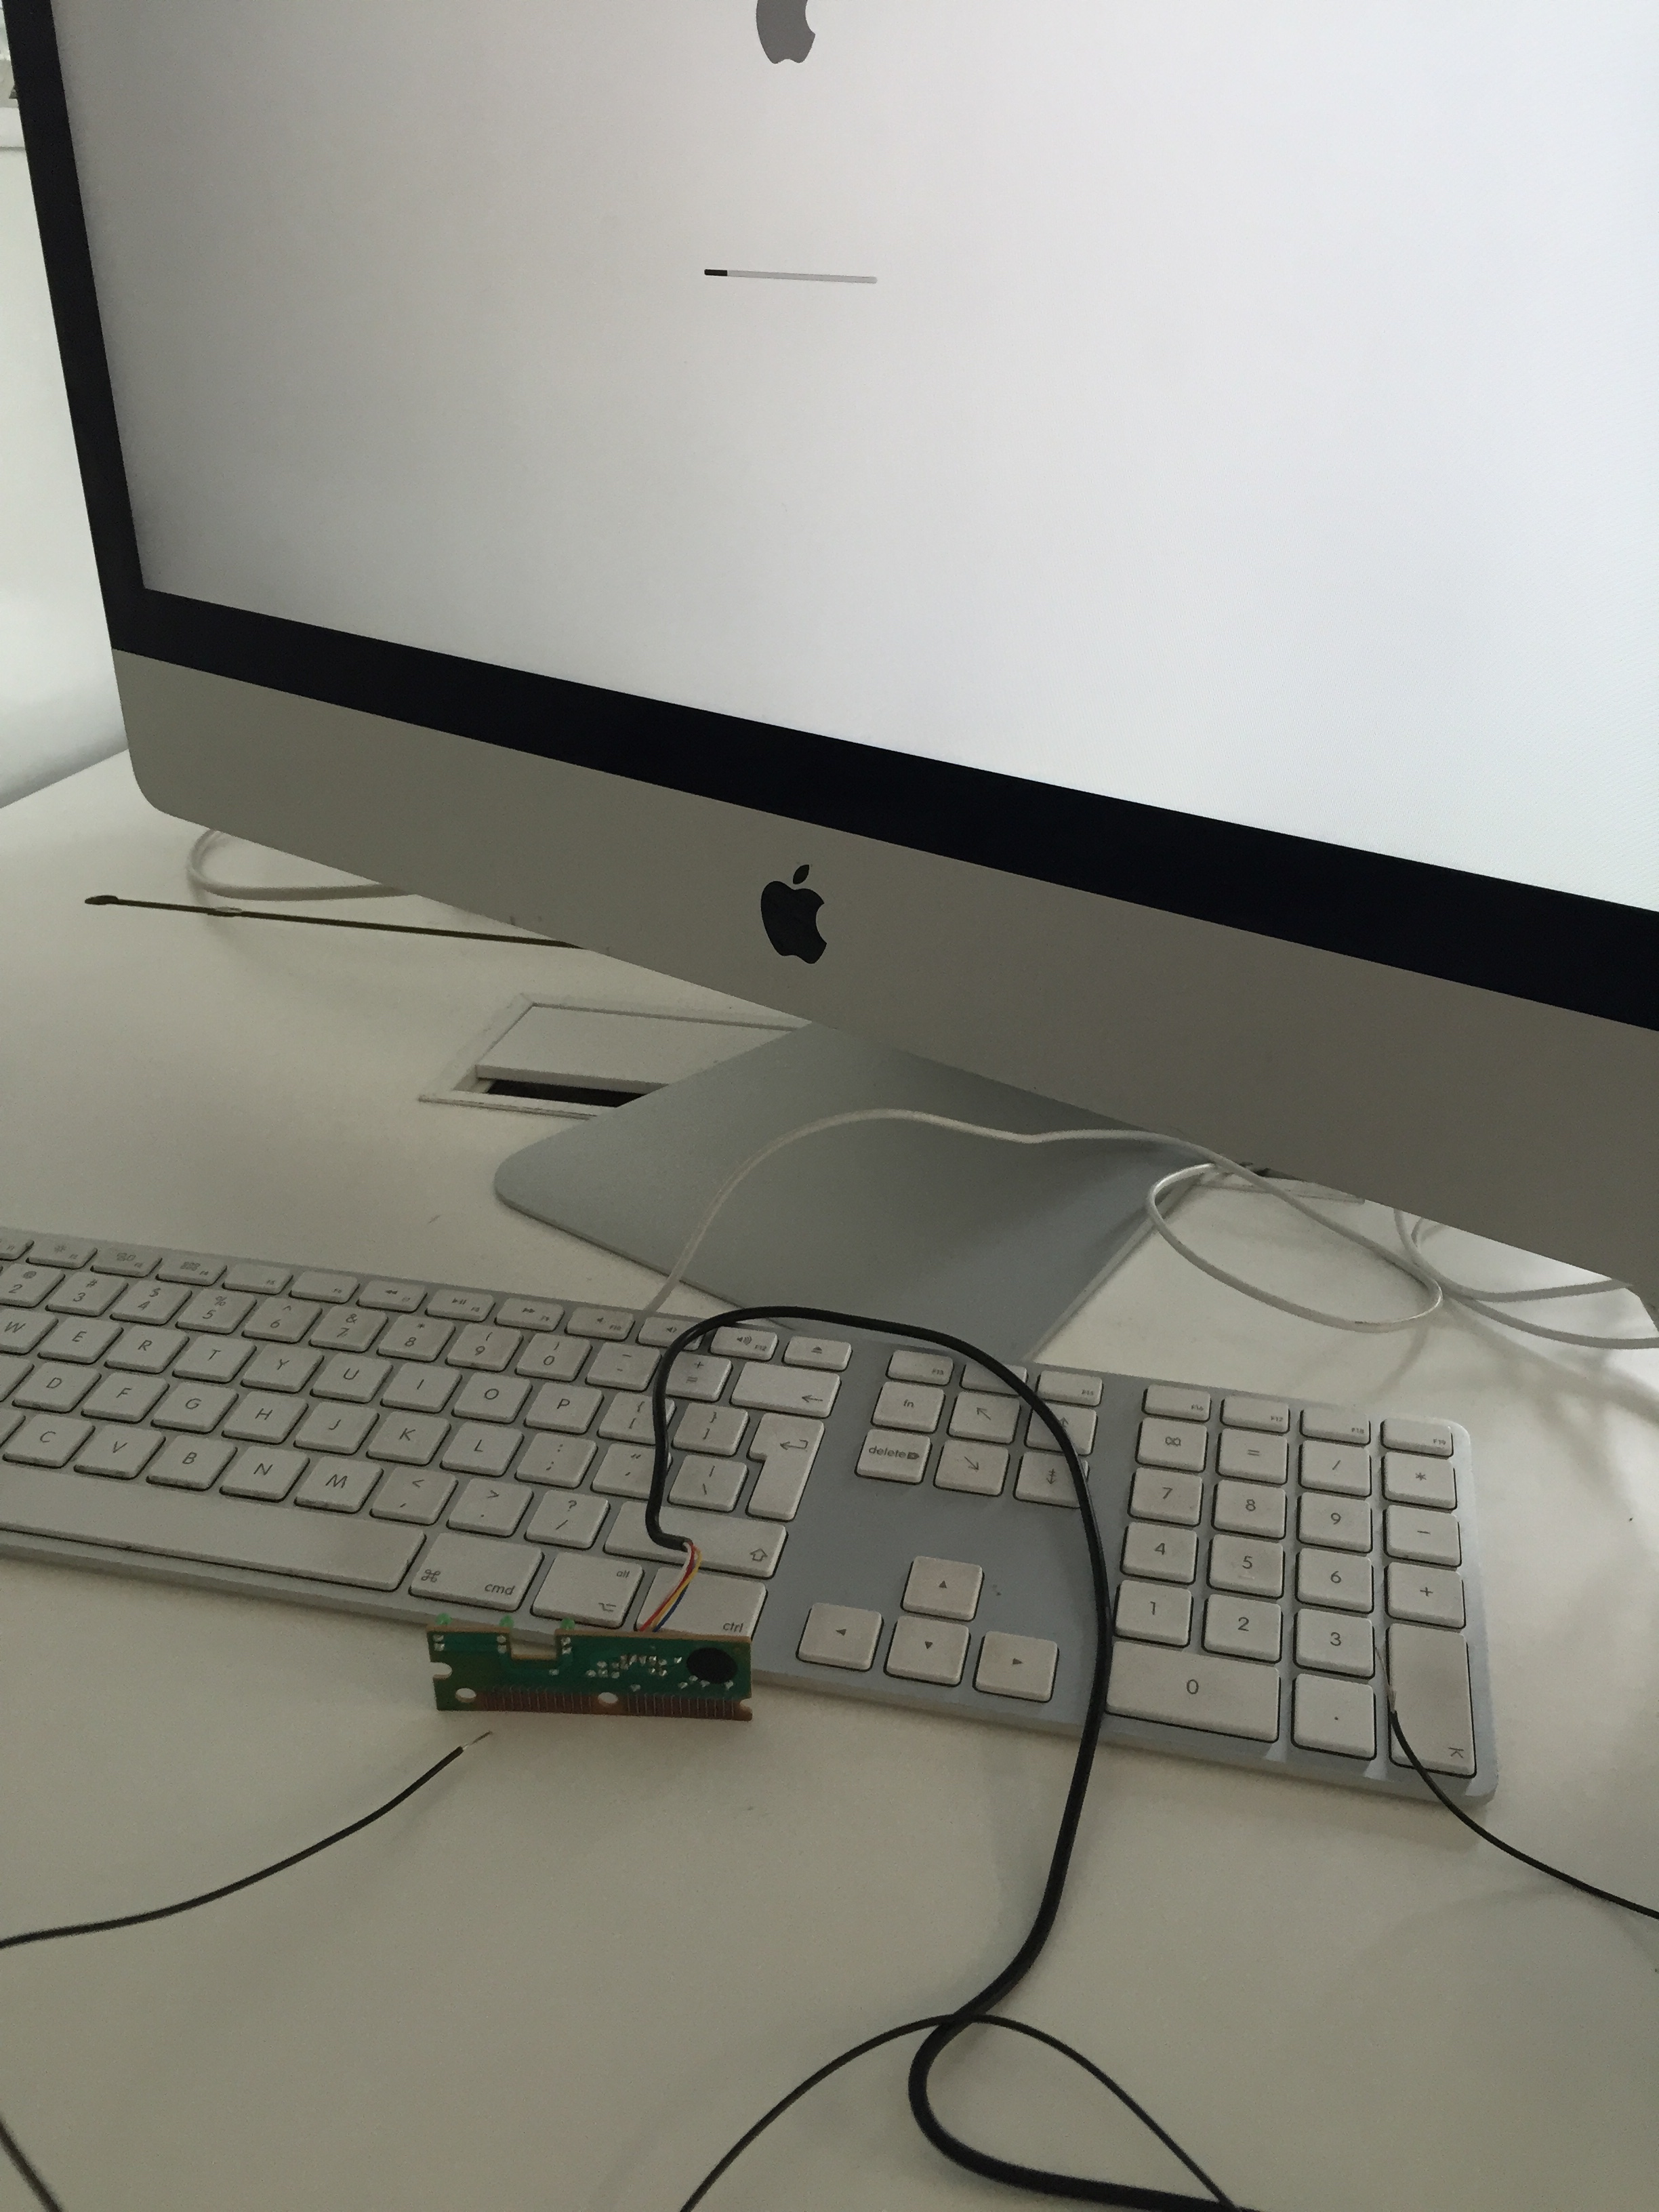
Step 2. Connect the pcb controller to a computer and begin searching for usable keys.
Step 3. Solder wires on the key combination you would like to emulate.
Step 4. Connect this to an object you would like to use to control the key combination chosen.
Unfortunately after connecting my wires to the key combination I had found, which in this case it was the space key which would allow you to navigate down the recipe page, the delicate pcb controller wires disconnected.

After multiple failed attempts of re-soldering the pcb connectors I was feeling quite defeated.
///Encoded Book///Keyboard Hacking_Carlotta
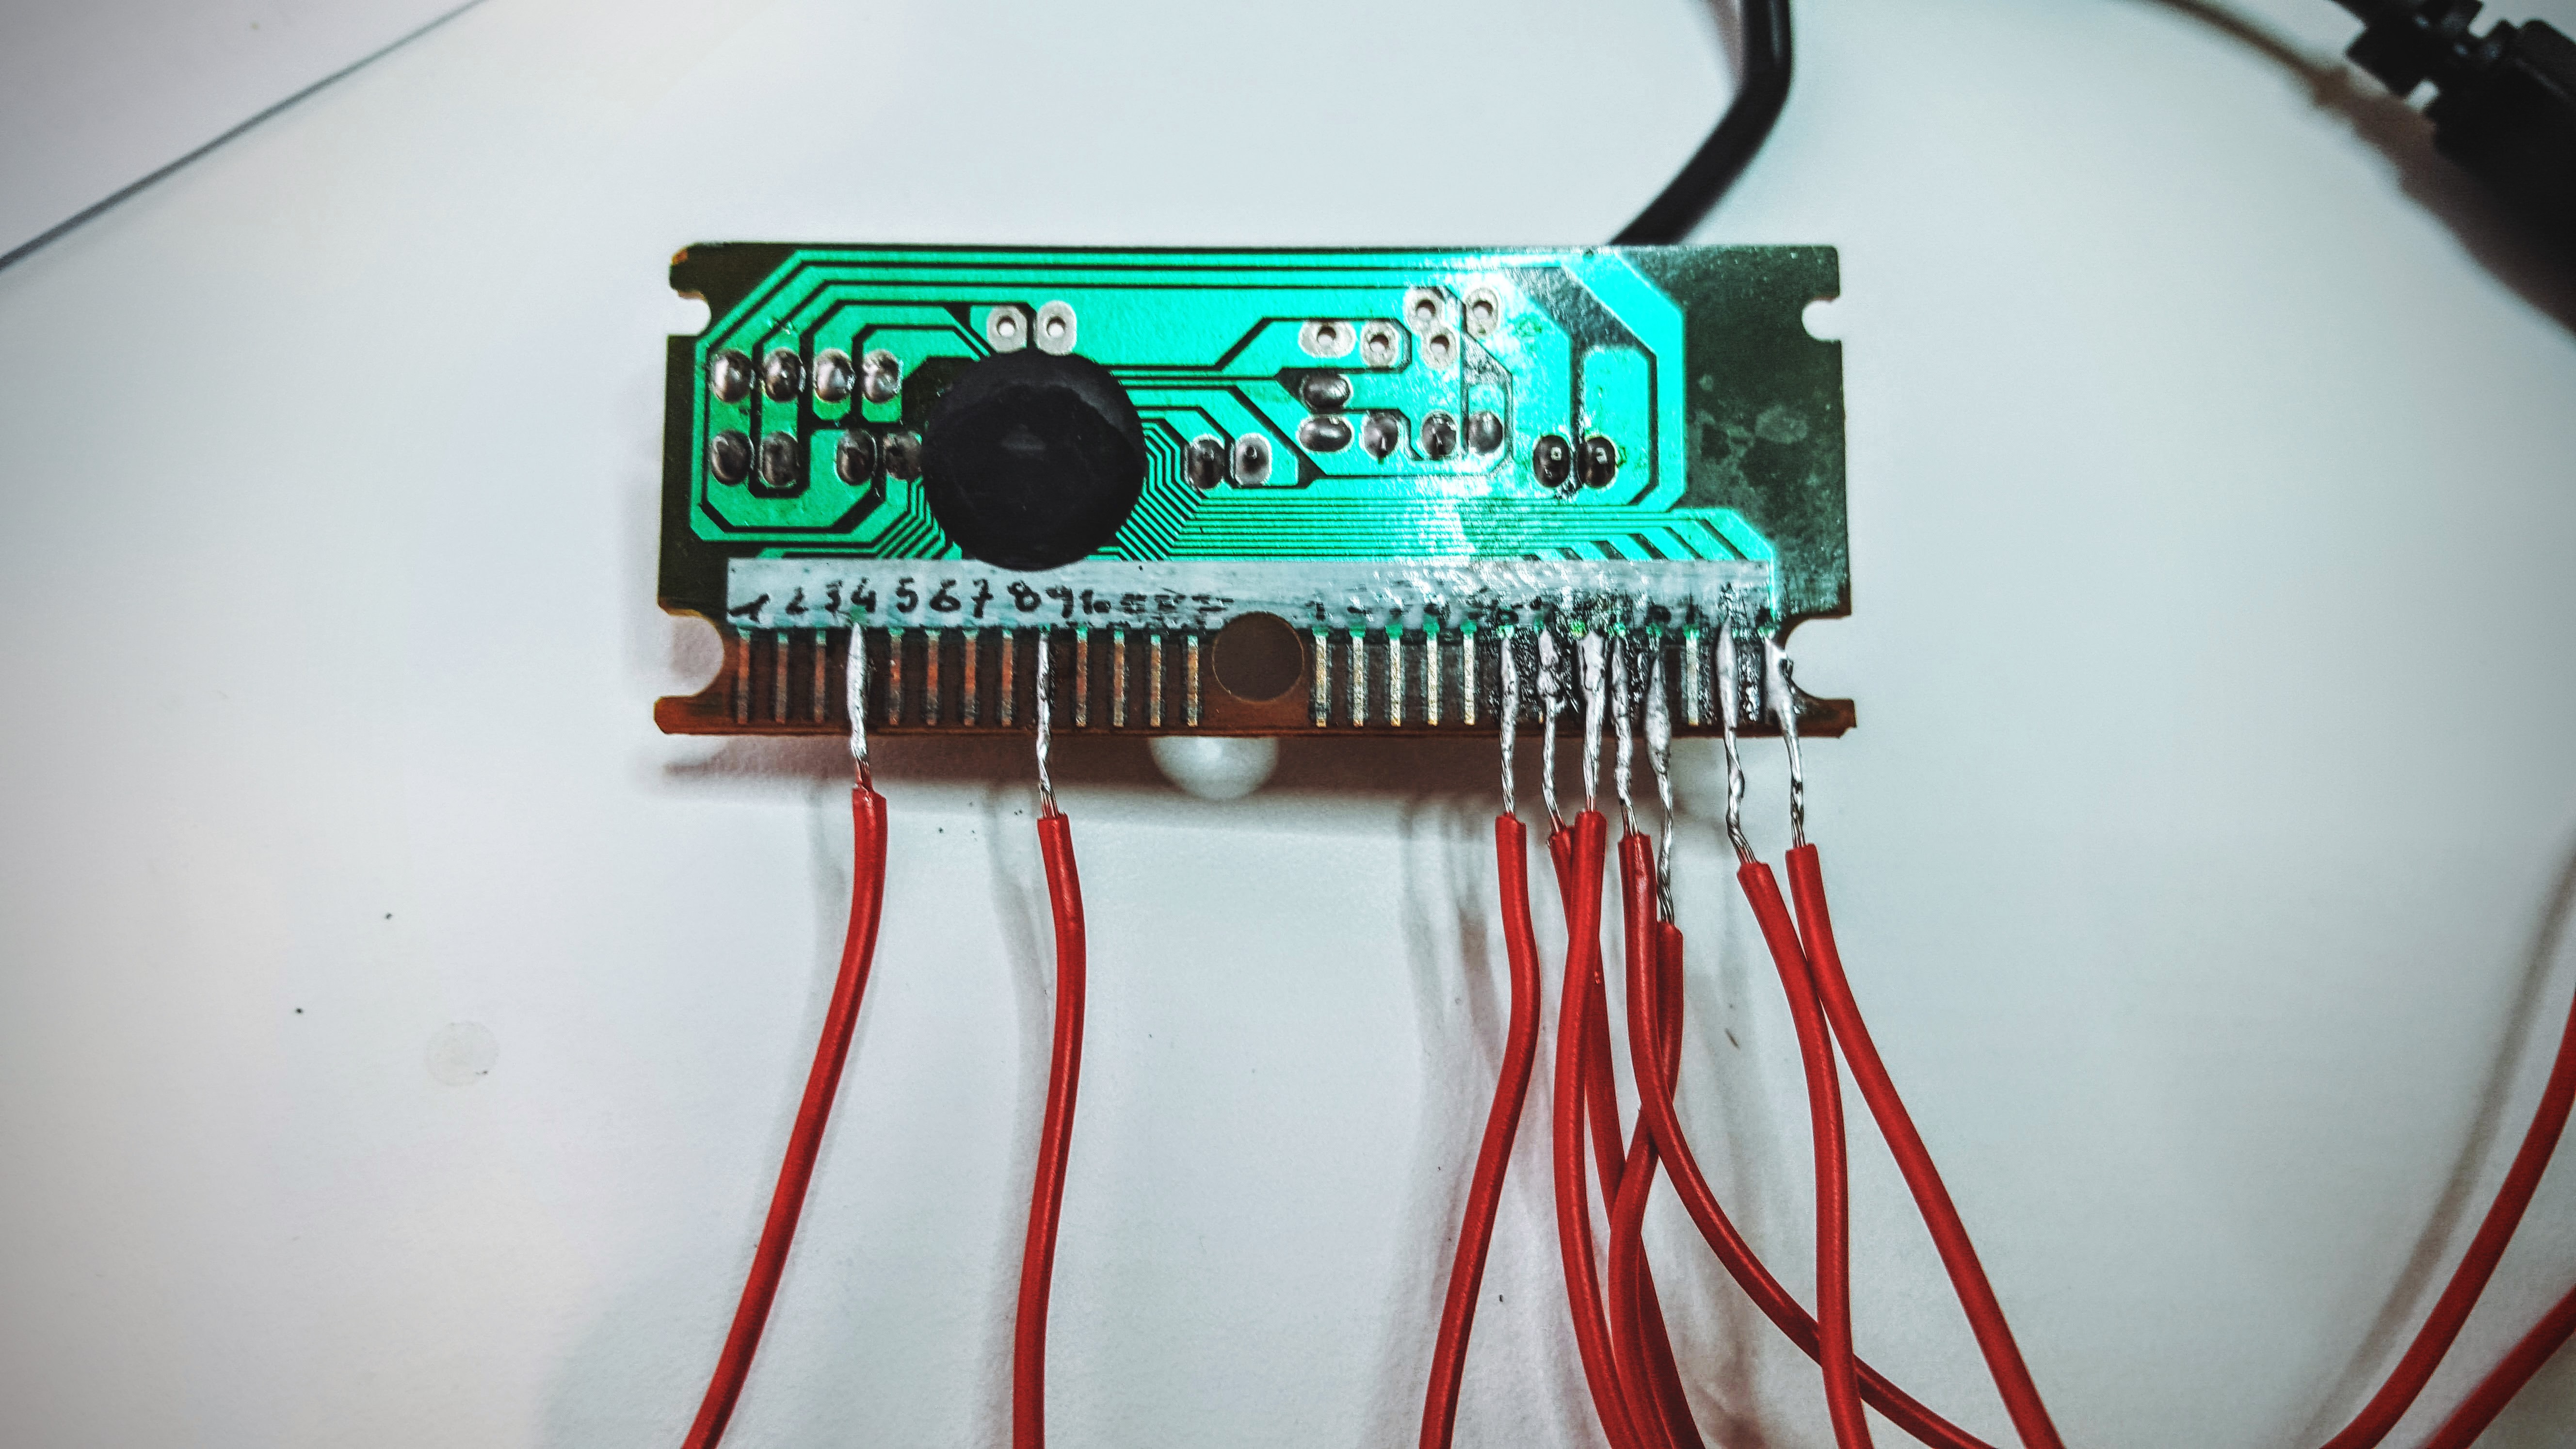
First step: Open the keyboard, take the circuit board out with the USB cable. Sand off delicately the black varnish on the straight lines at the bottom of the circuit board.

Second Step: Open a text edit page and test “line combinations” . One cable links one line from the left and one line from the right. Note down the combinations found.

Step 3: Build the project. Encoded Book is a project that creates an electronic book. It is built out of pages with no meaning, a set of letters and signs that follow each other without any recognizable pattern.
As you turn the pages of the book, the contact is made with the keyboard, and a story appears on the screen.
I chose to display a tiny poem written by Sylvia Plath:
“Out of the ash
I rise with my red hair
And I eat men like air…”
The book is binded, and between each page I built a circuit that is then glued down. The only thing shown is two parts of copper tape that will be used as a switch as the pages are turned.
This is the right way to put the copper tape, after realizing my circuit was still opened when turning the pages (duh):
Each page is attached to the correspondant combination of lines on the keyboard circuit board.

Processing Sketch:
//////KEYBAORD HACK//////////
/////ENCODED BOOK////////////
PImage img1, img2, img3, img4, img5, img6, img7, img8;
void setup () {
size (1280,800);
background (0);
frameRate (10);
img1 = loadImage (“OUT.jpg”);
img2 = loadImage(“of the ash.jpg”);
img3 = loadImage(“i rise.jpg”);
img4 = loadImage(“with my red hair.jpg”);
img5 = loadImage(“And I eat.jpg”);
img6 = loadImage(“Men1.jpg”);
img7 = loadImage (“like air.jpg”);
img8 = loadImage (“sylvia plath.jpg”);
}
void draw () {
stroke (random (0,15));
fill (random (255), random (255), random (255), random (150));
rect (random (255), random (255), random (1280), random (800));
}
void keyPressed (){
if (key == ‘-‘) {
image (img1, 0, 0, 1280, 750);
}
if (key == ‘3’) {
image (img2, 0, 0, 1280, 750);
}
if (key == ‘*’) {
image (img3, 0, 0, 1280, 750);
}
if (key == ‘9’){
image (img4, 0, 0, 1280, 750);
}
if (key == ‘g’){
image (img5, 0, 0, 1280, 750);
}
if (key == ‘v’){
image (img6,0,0, 1280, 750);
}
if (key == ‘t’){
image (img7,0,0, 1280, 750);
}
if (key == ‘r’){
image (img8,0,0, 1280, 750);
}
}
When it didn’t work properly:
Final Prototype, working well:
Final Prototype zoom on screen graphics:
Silent mode
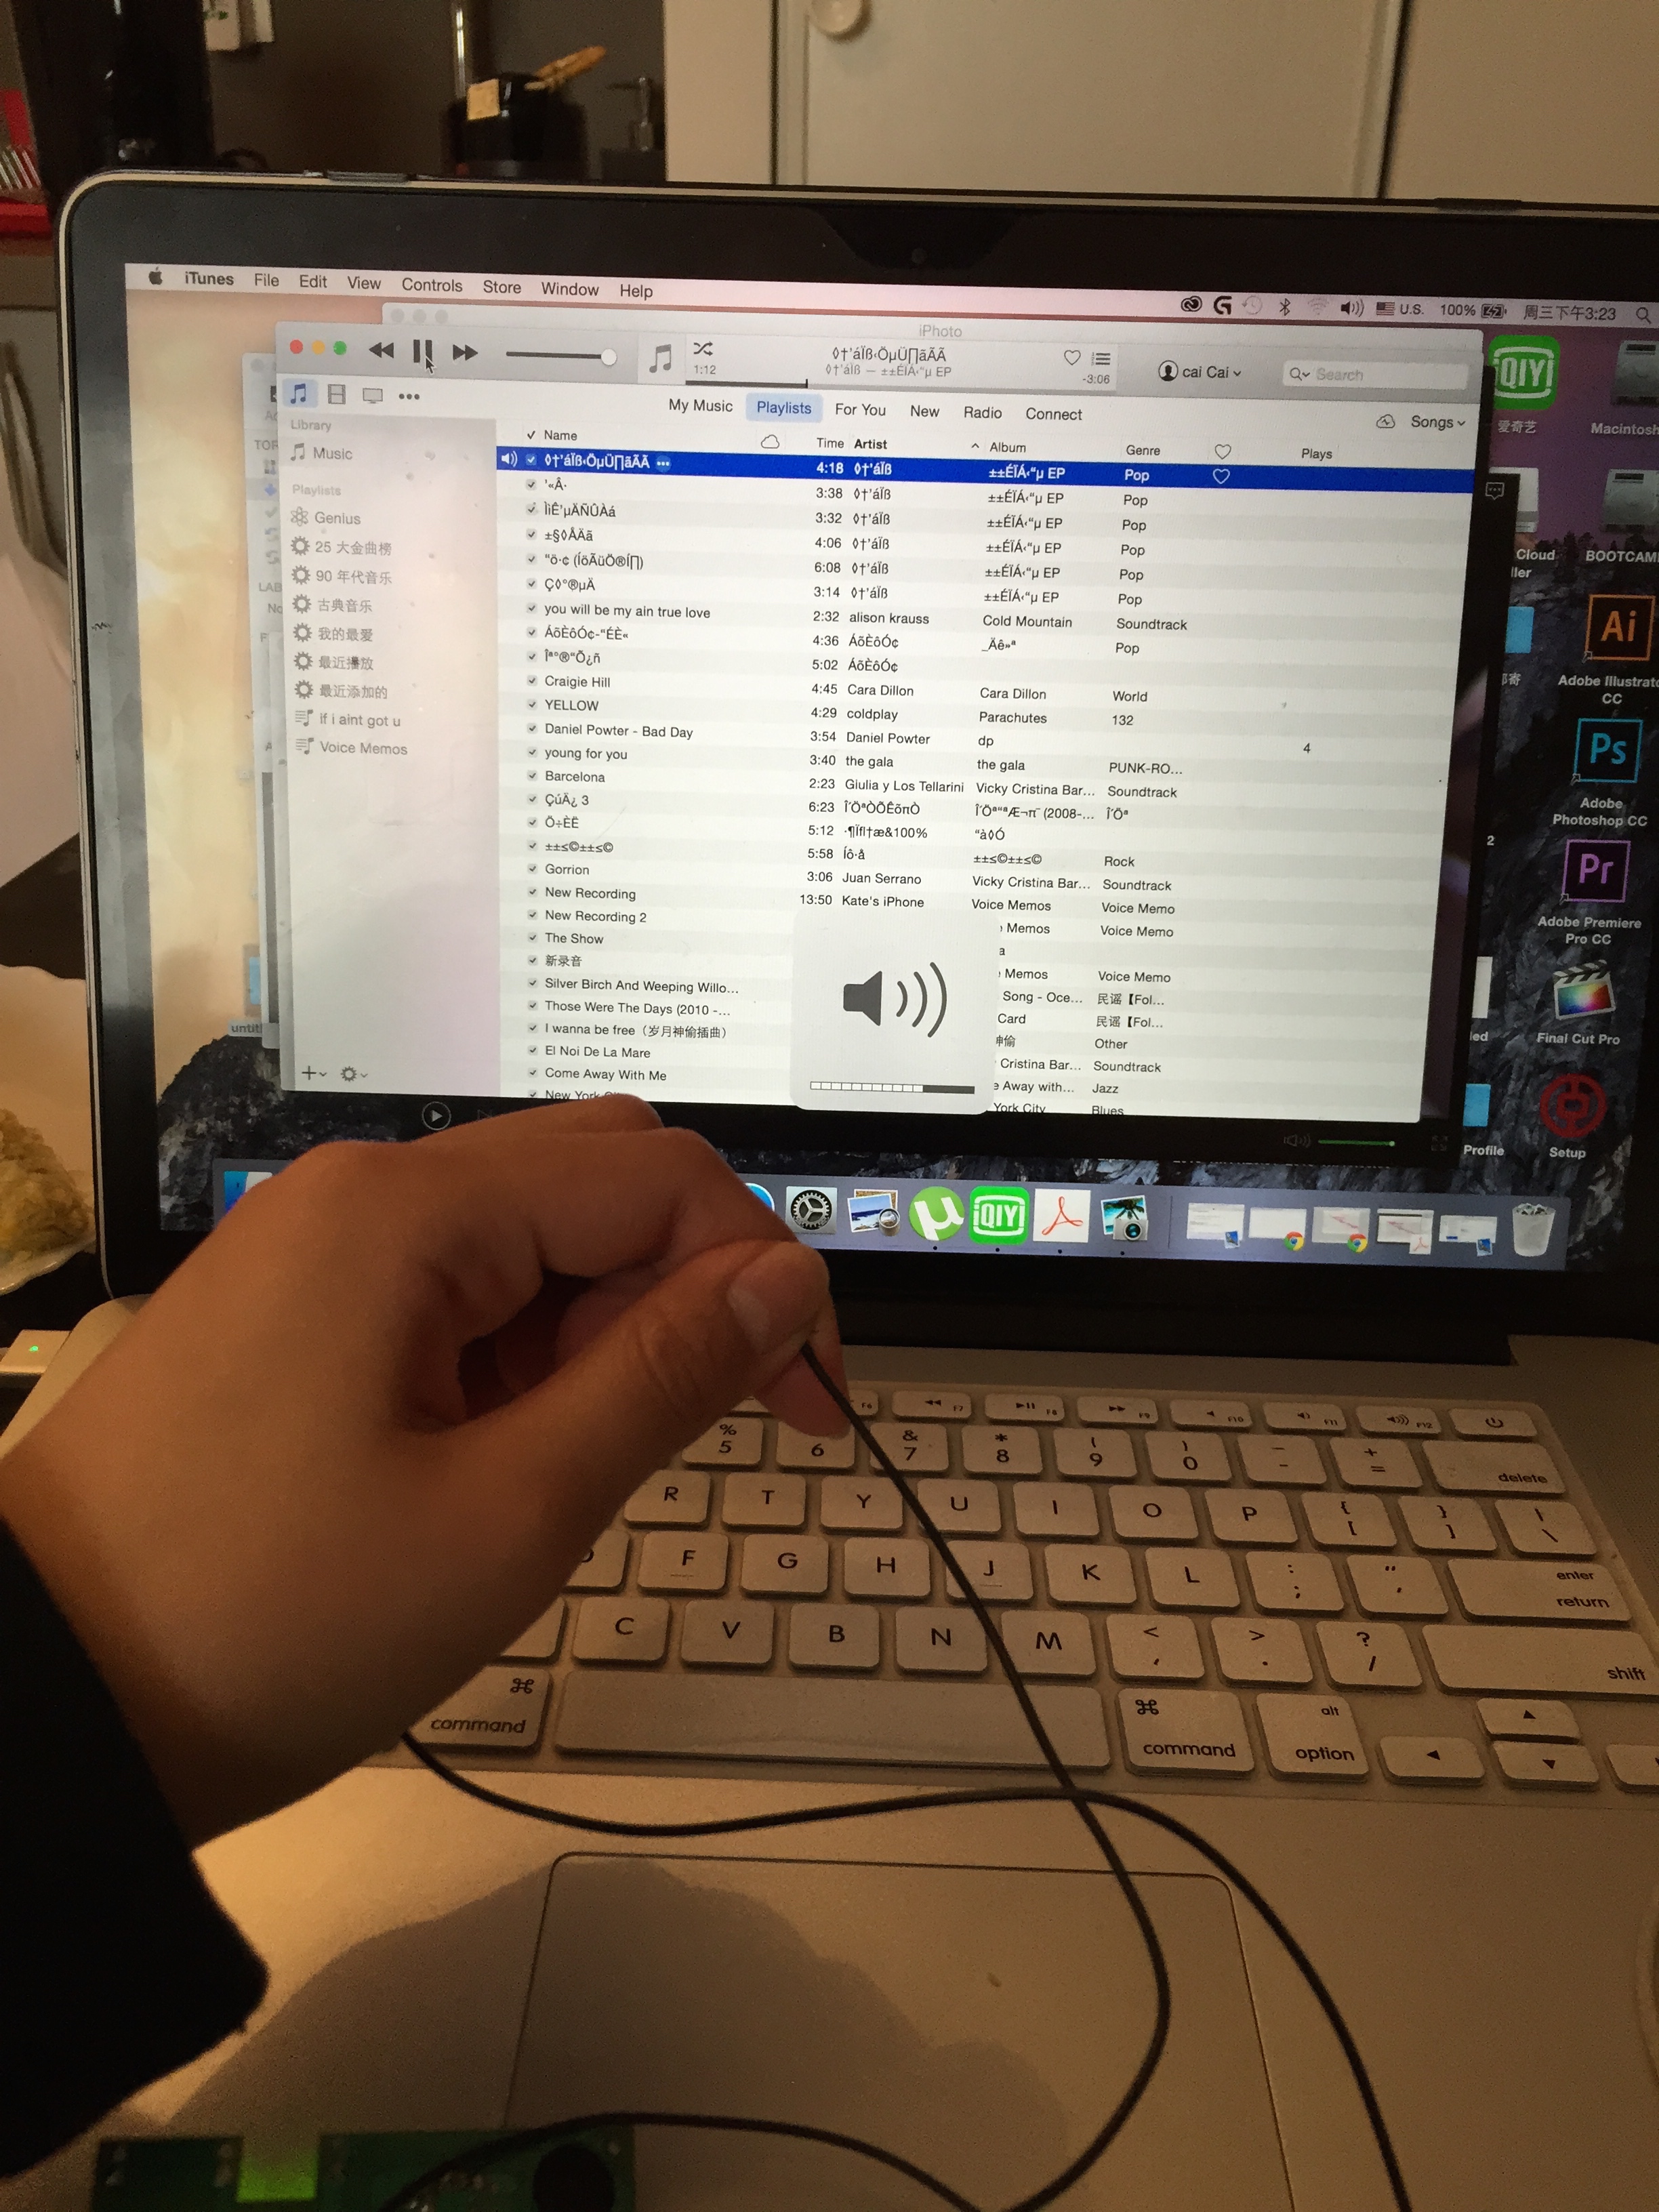
This week for the keyboard hacking, i decide to make a silent mode button. So whenever we are watching video and music we can easily stop it by push a button.
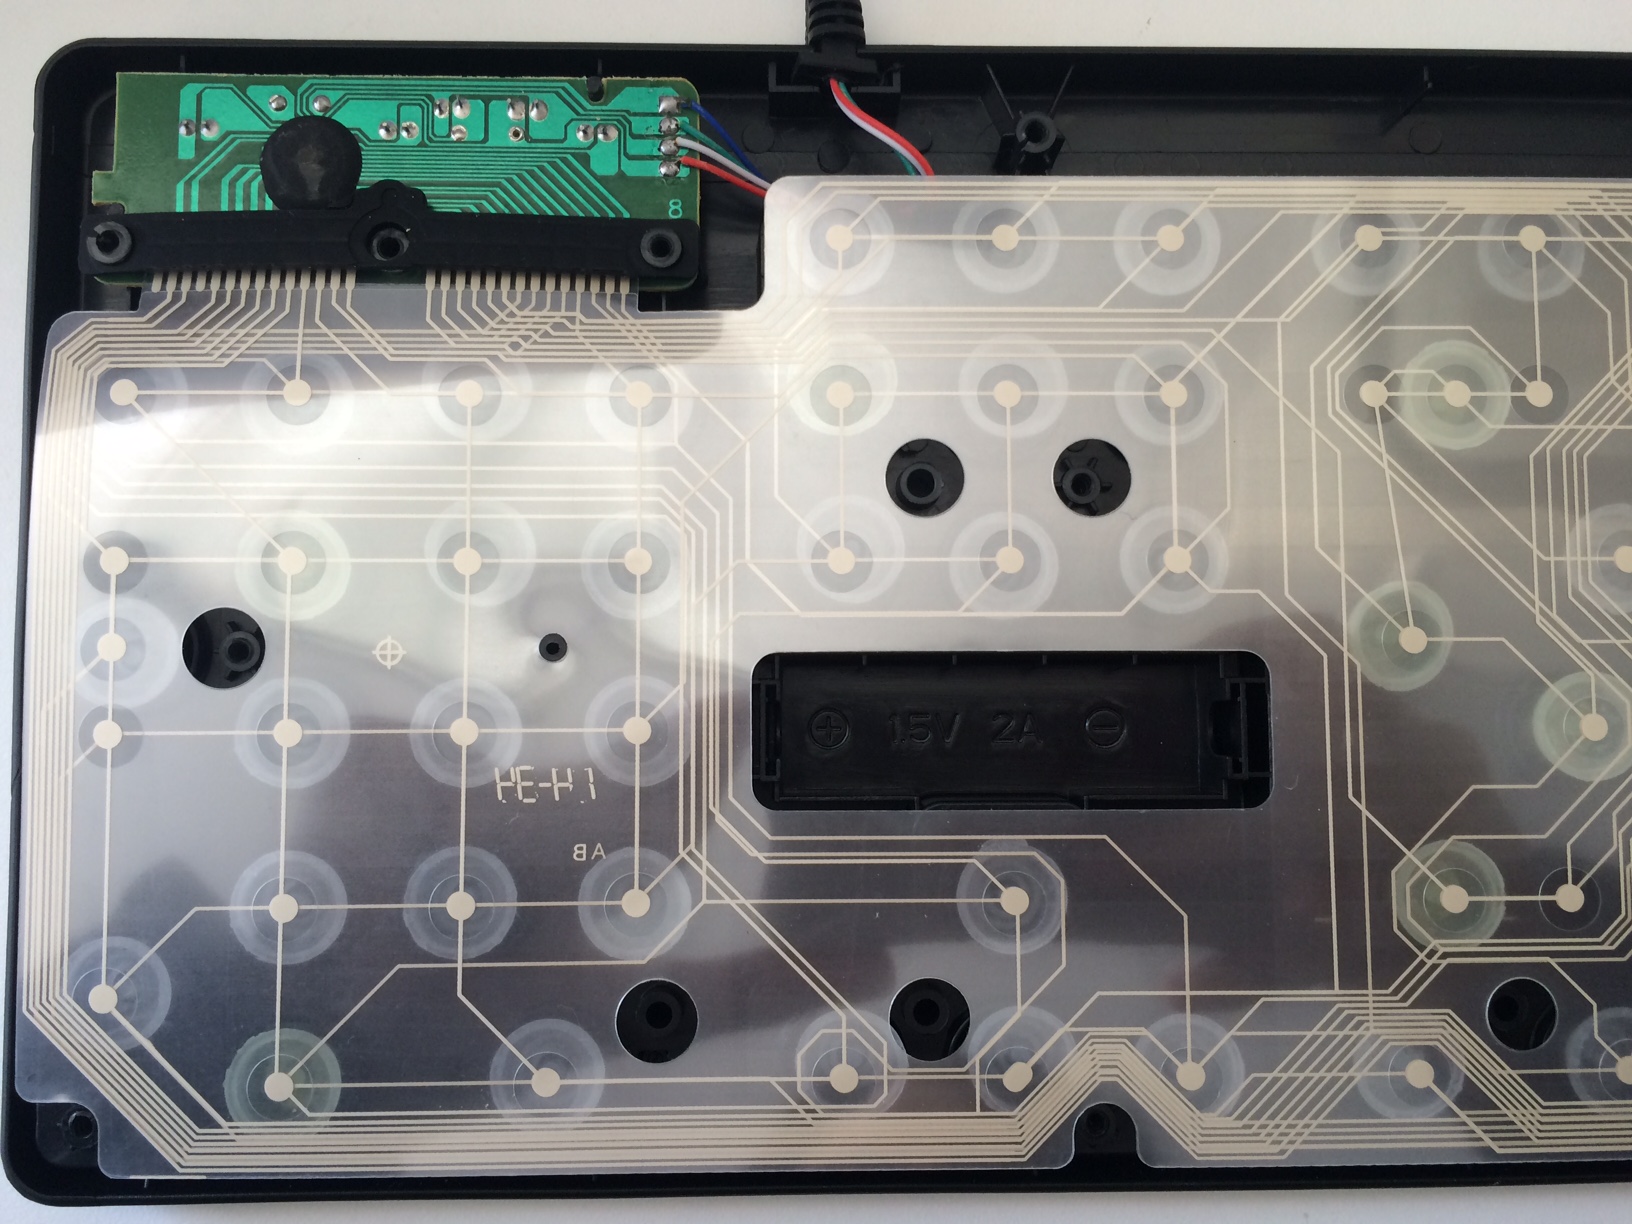
- I opened a keyboard and took the circuit board that I would use to create a switch button that would pause silent and play music.
2 Took the part that i needed.
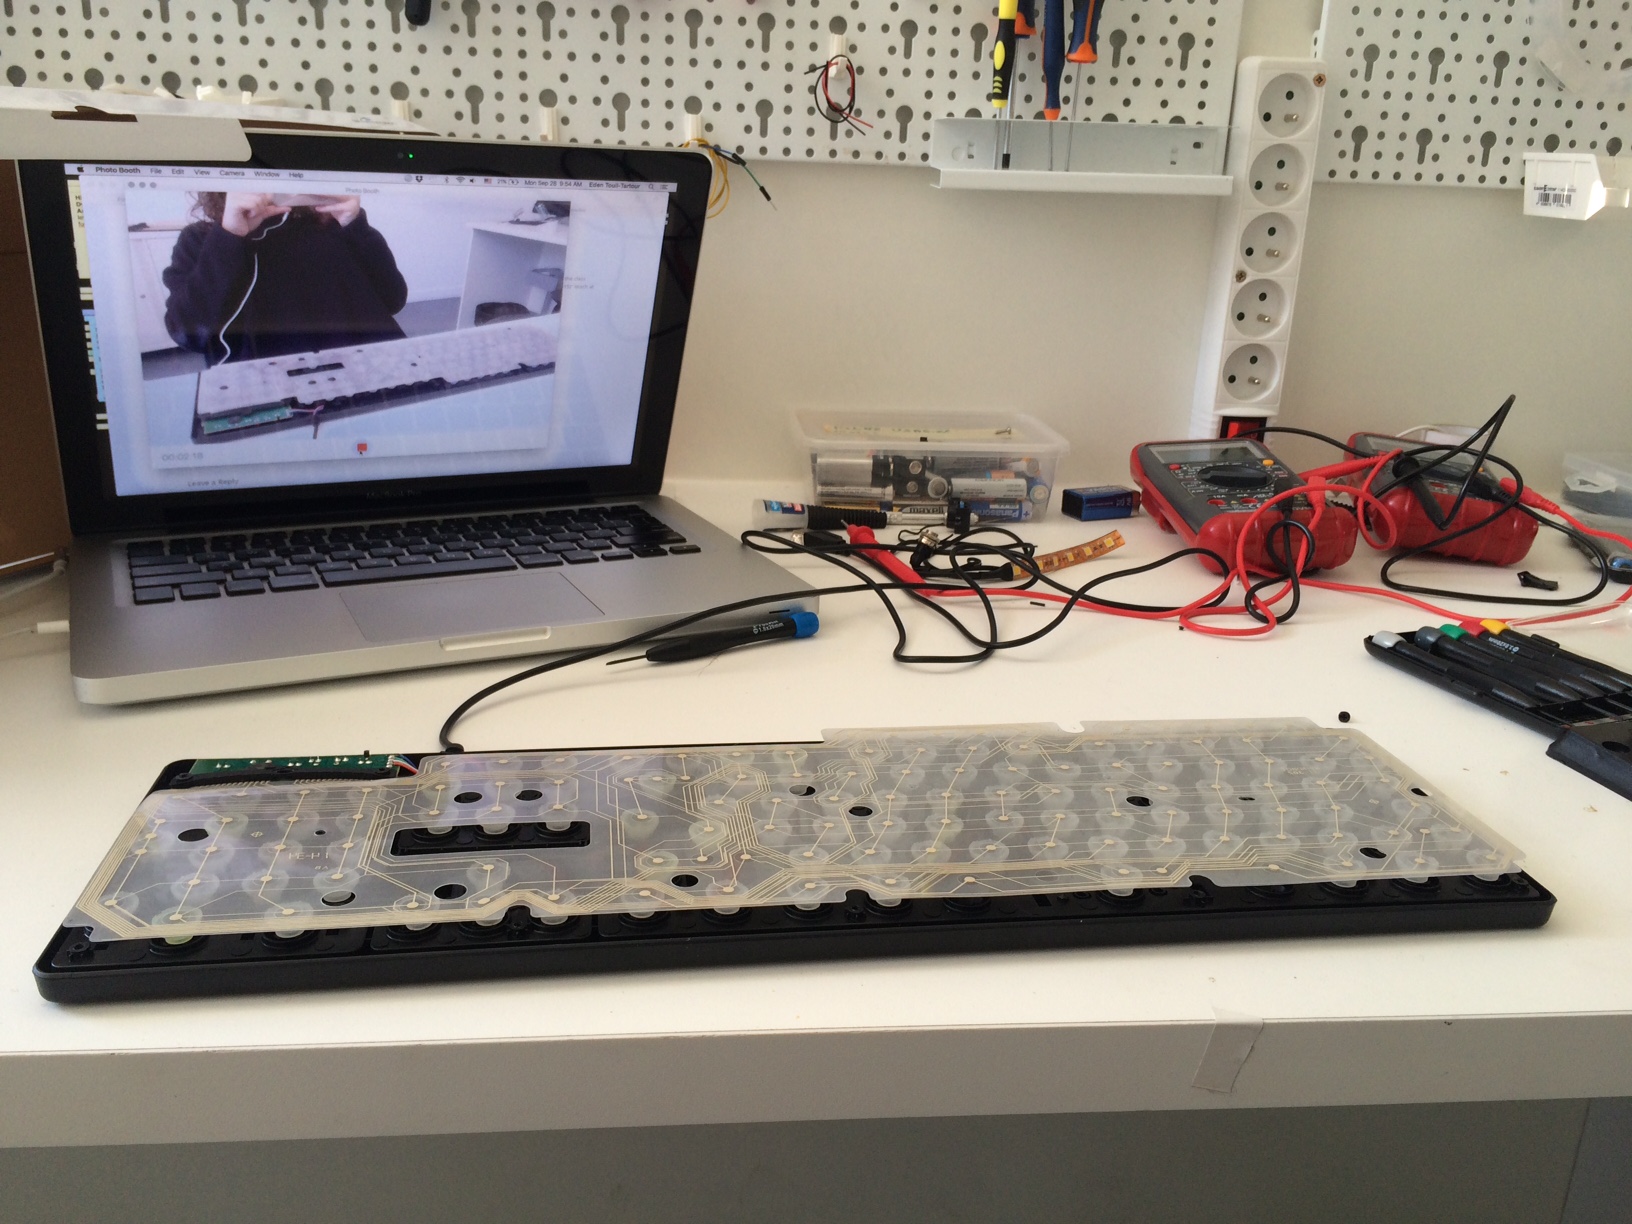
3 Test the key on the computer to find out which one is the silent key.
4 I find out not only the silent key but also the” paste key deleted key….”

5 Figured out what combination made a the “silent” button and soldered the cables to it.
6 Because my keyboard is smaller than others so it took me more time to solder the line on it.
7 But finally i made it.
8 Plug in the keyboard on a computer and then connect the two side together and the silent button worked.
9 Test it on my computer and it all worked!