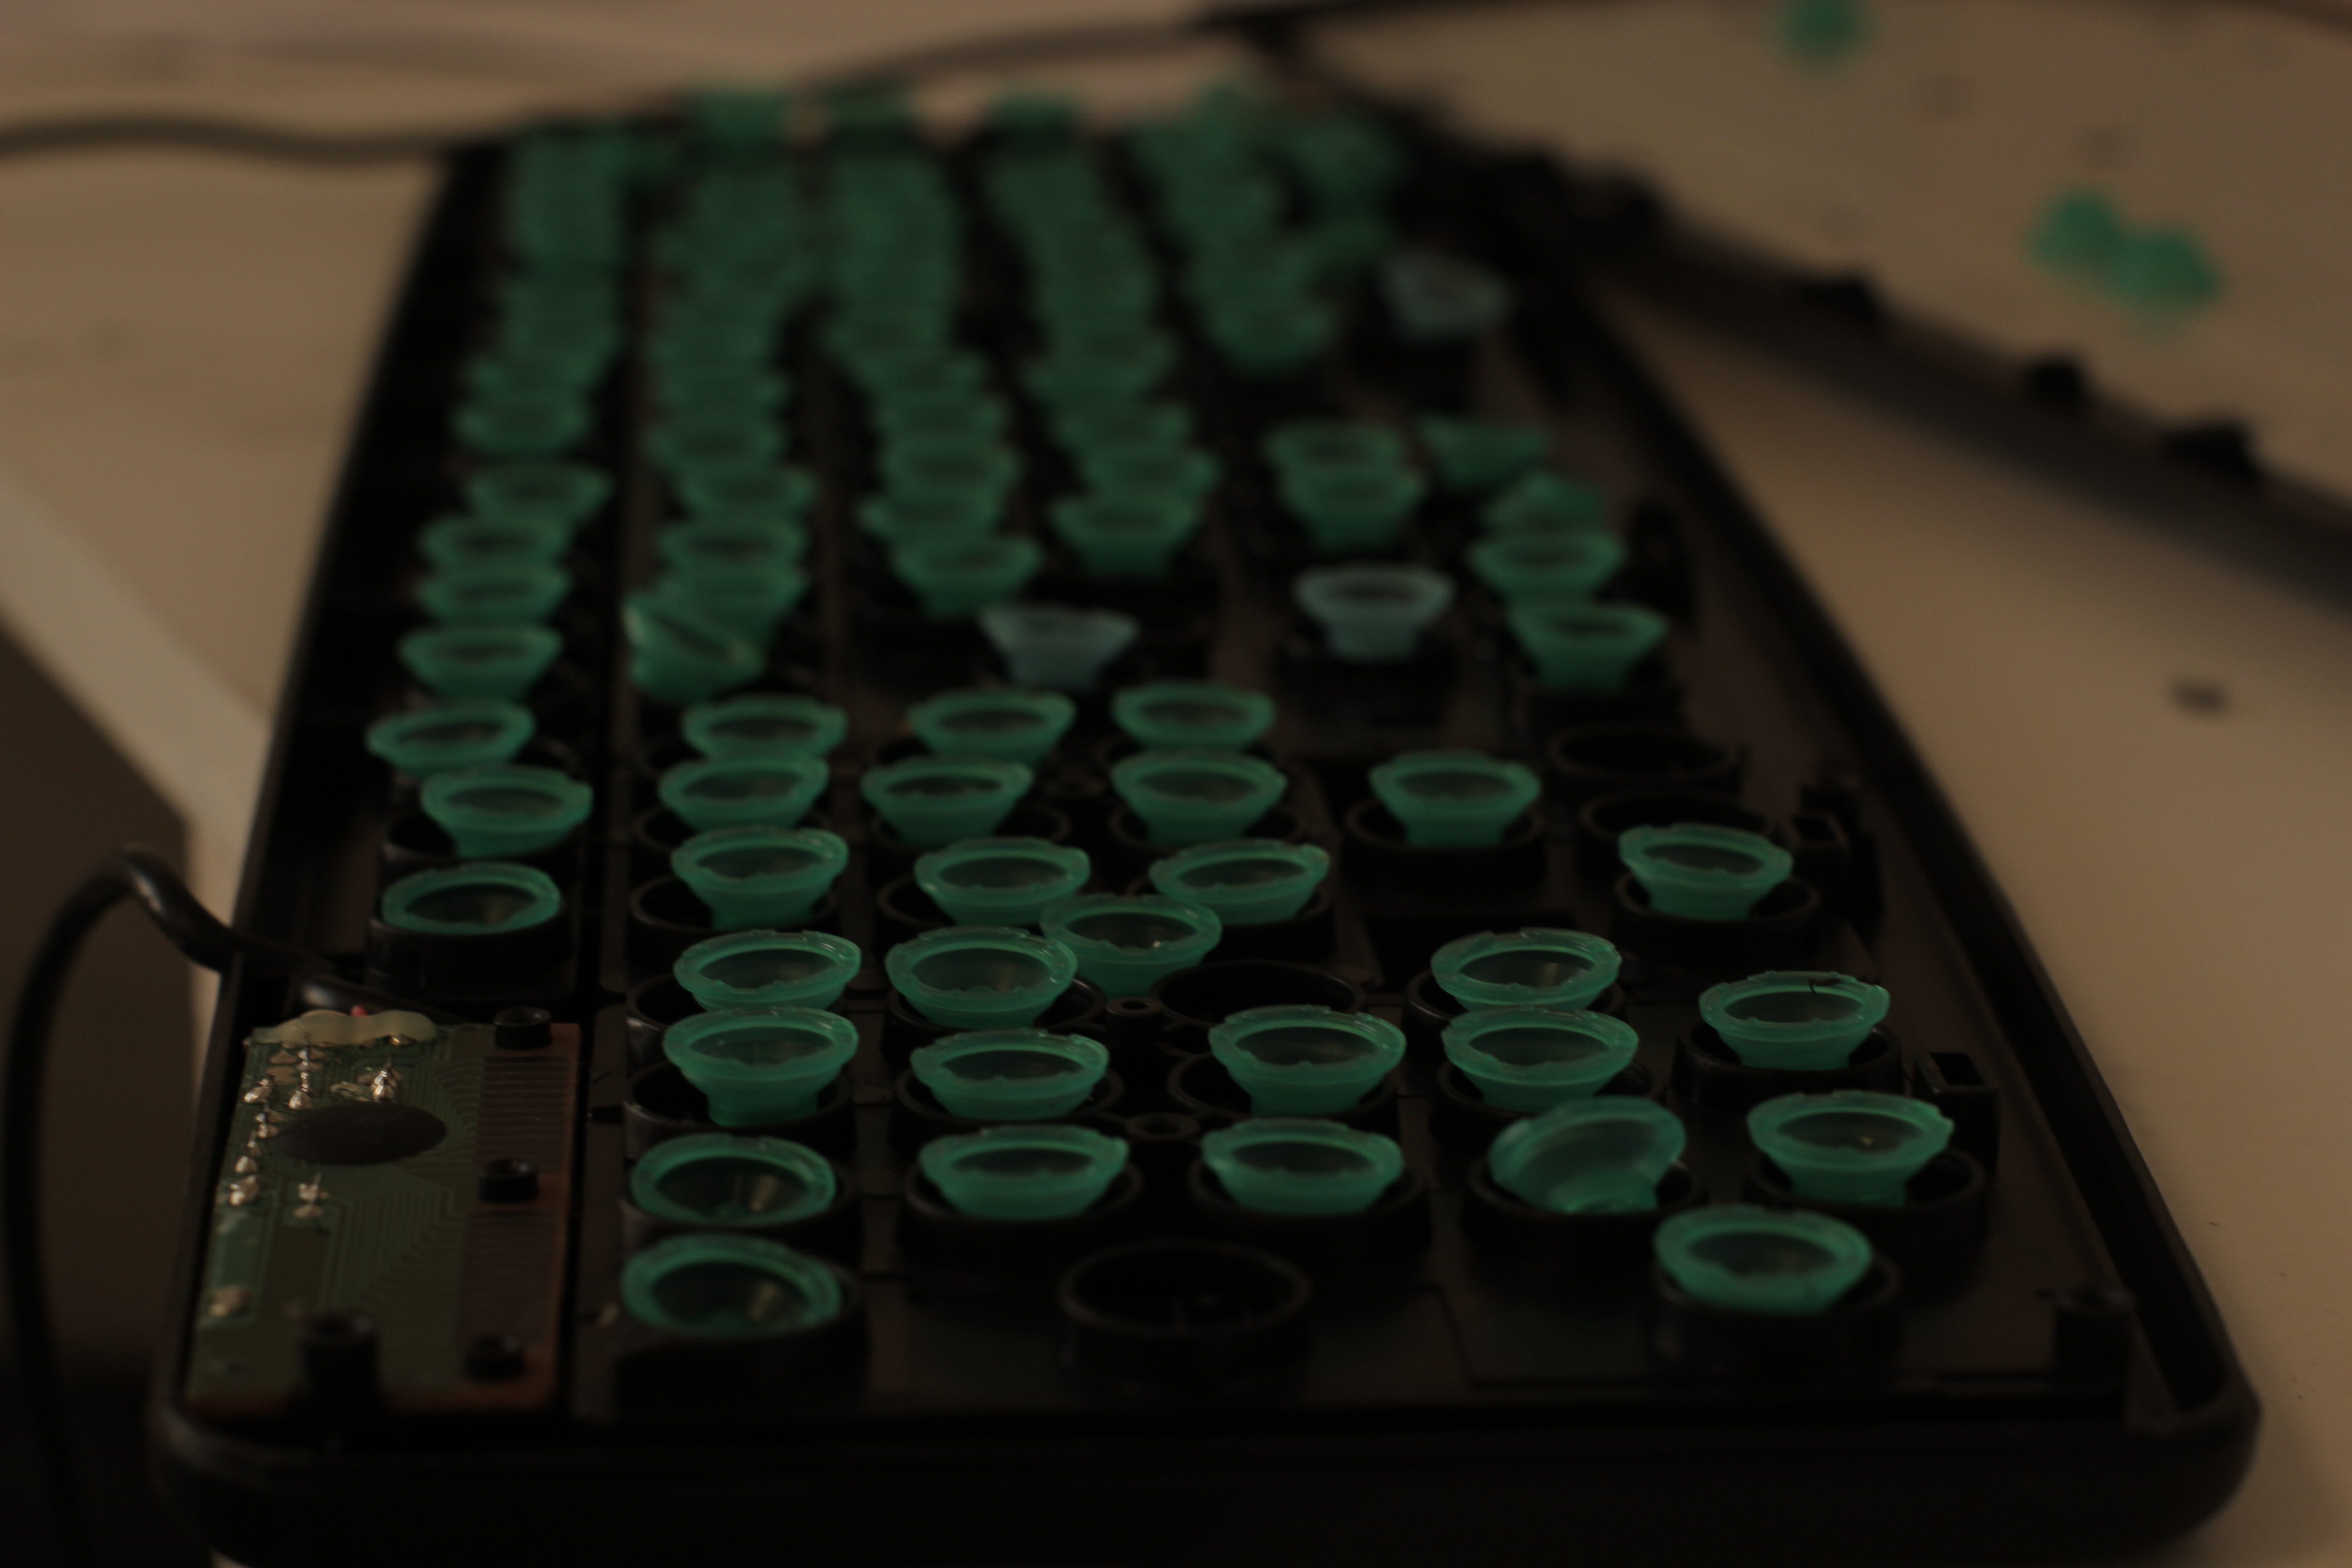
keyboard hacking


IMG_1401

Keyboard Hacking.

My original idea for this hack was to create something that enhanced the experience of cooking while using an online recipe without getting food all over your laptop. My idea was to use a thin plastic plate that is easy to clean and of course can endure flour, sauce – you name it!

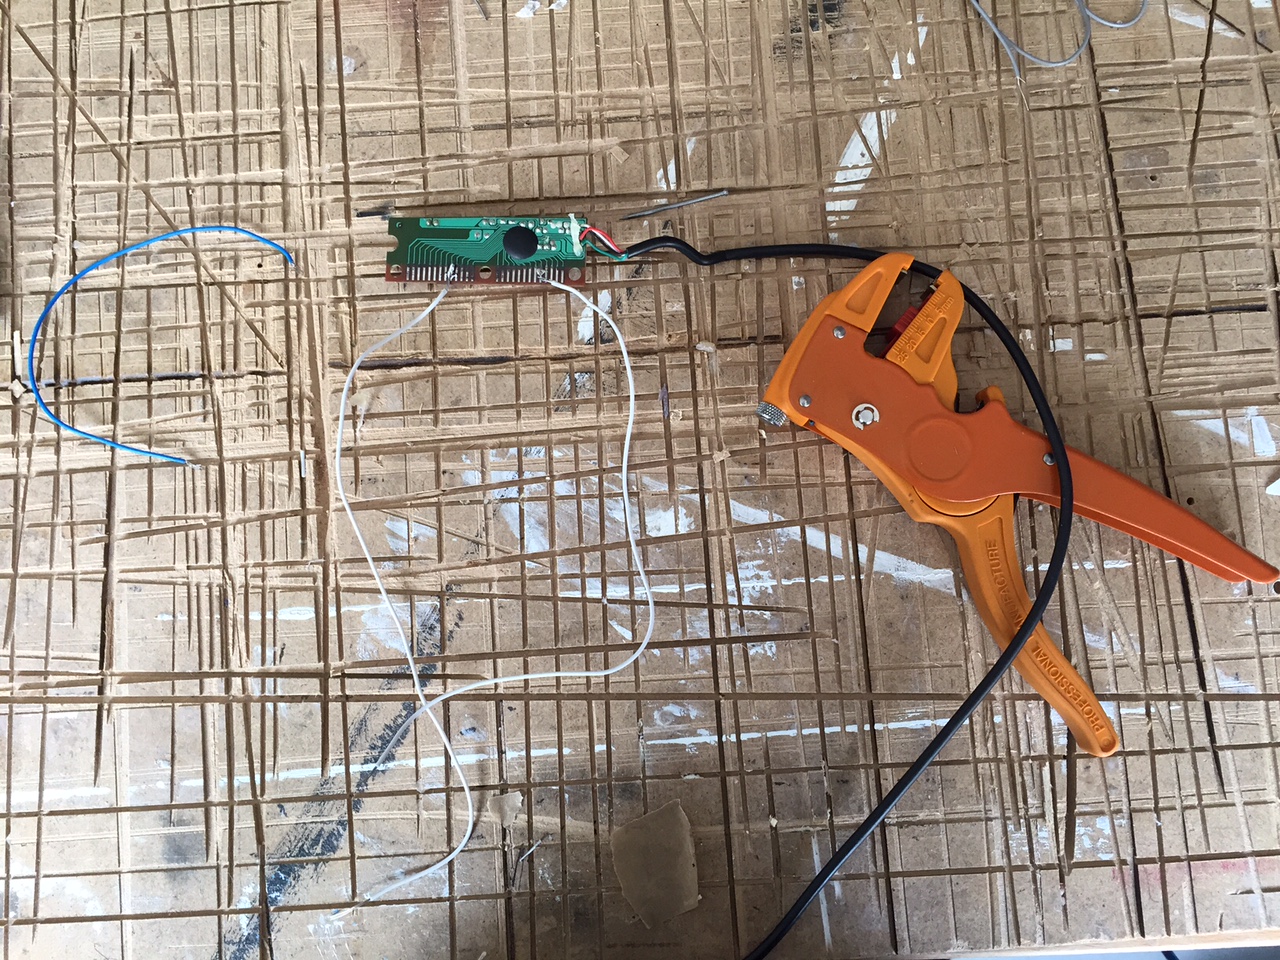
Step 1. Unscrew you keyboard and find the pcb controller and remove it from the keyboard. Then you want to gently sand the silver keys. Be careful not to sand off too much!IMG_5430

Step 2. Connect the pcb controller to a computer and begin searching for usable keys.


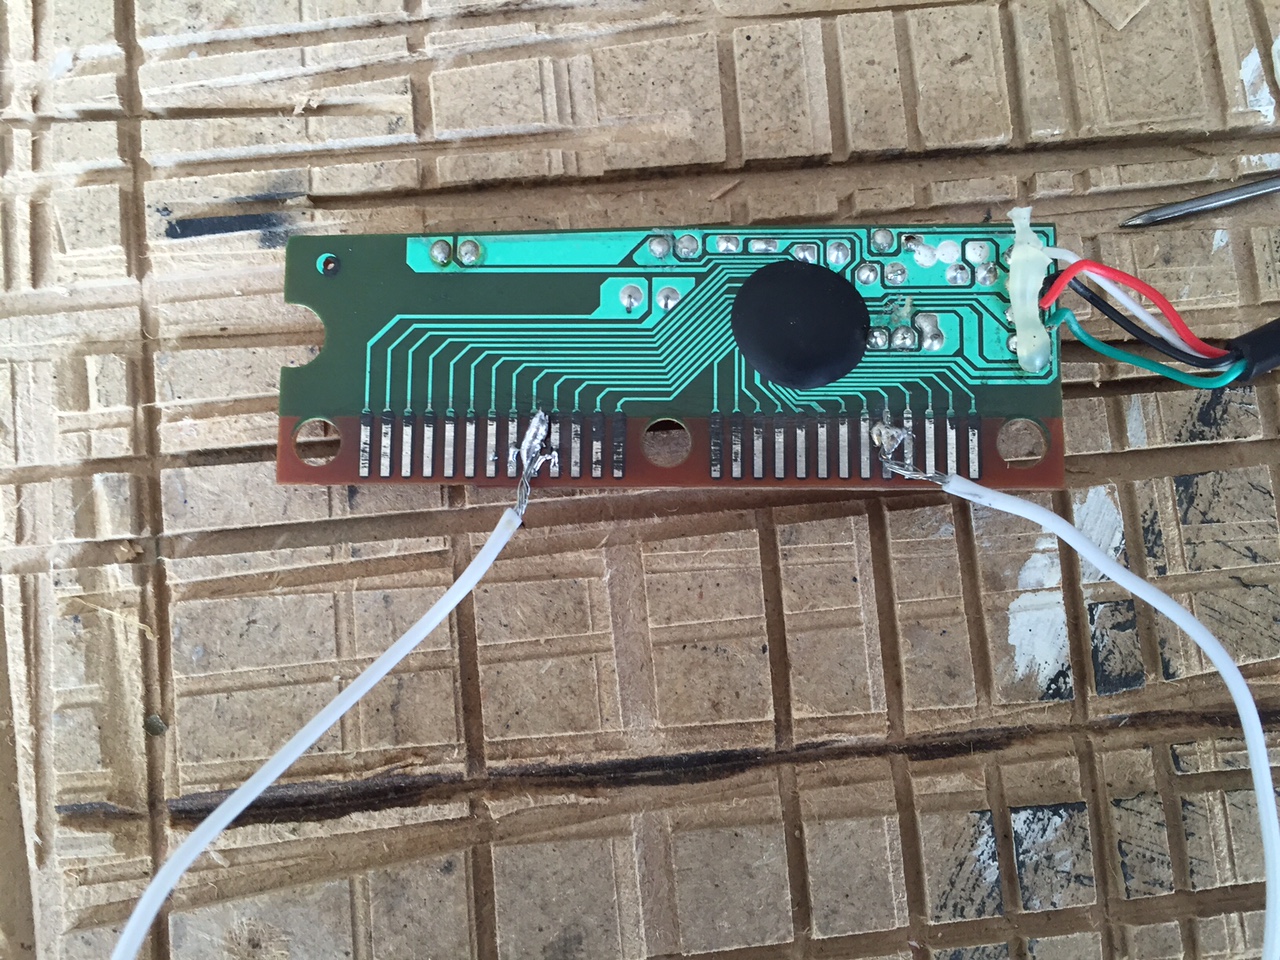
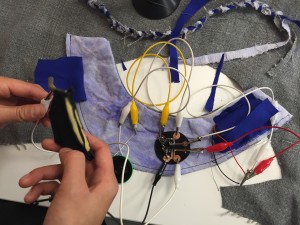
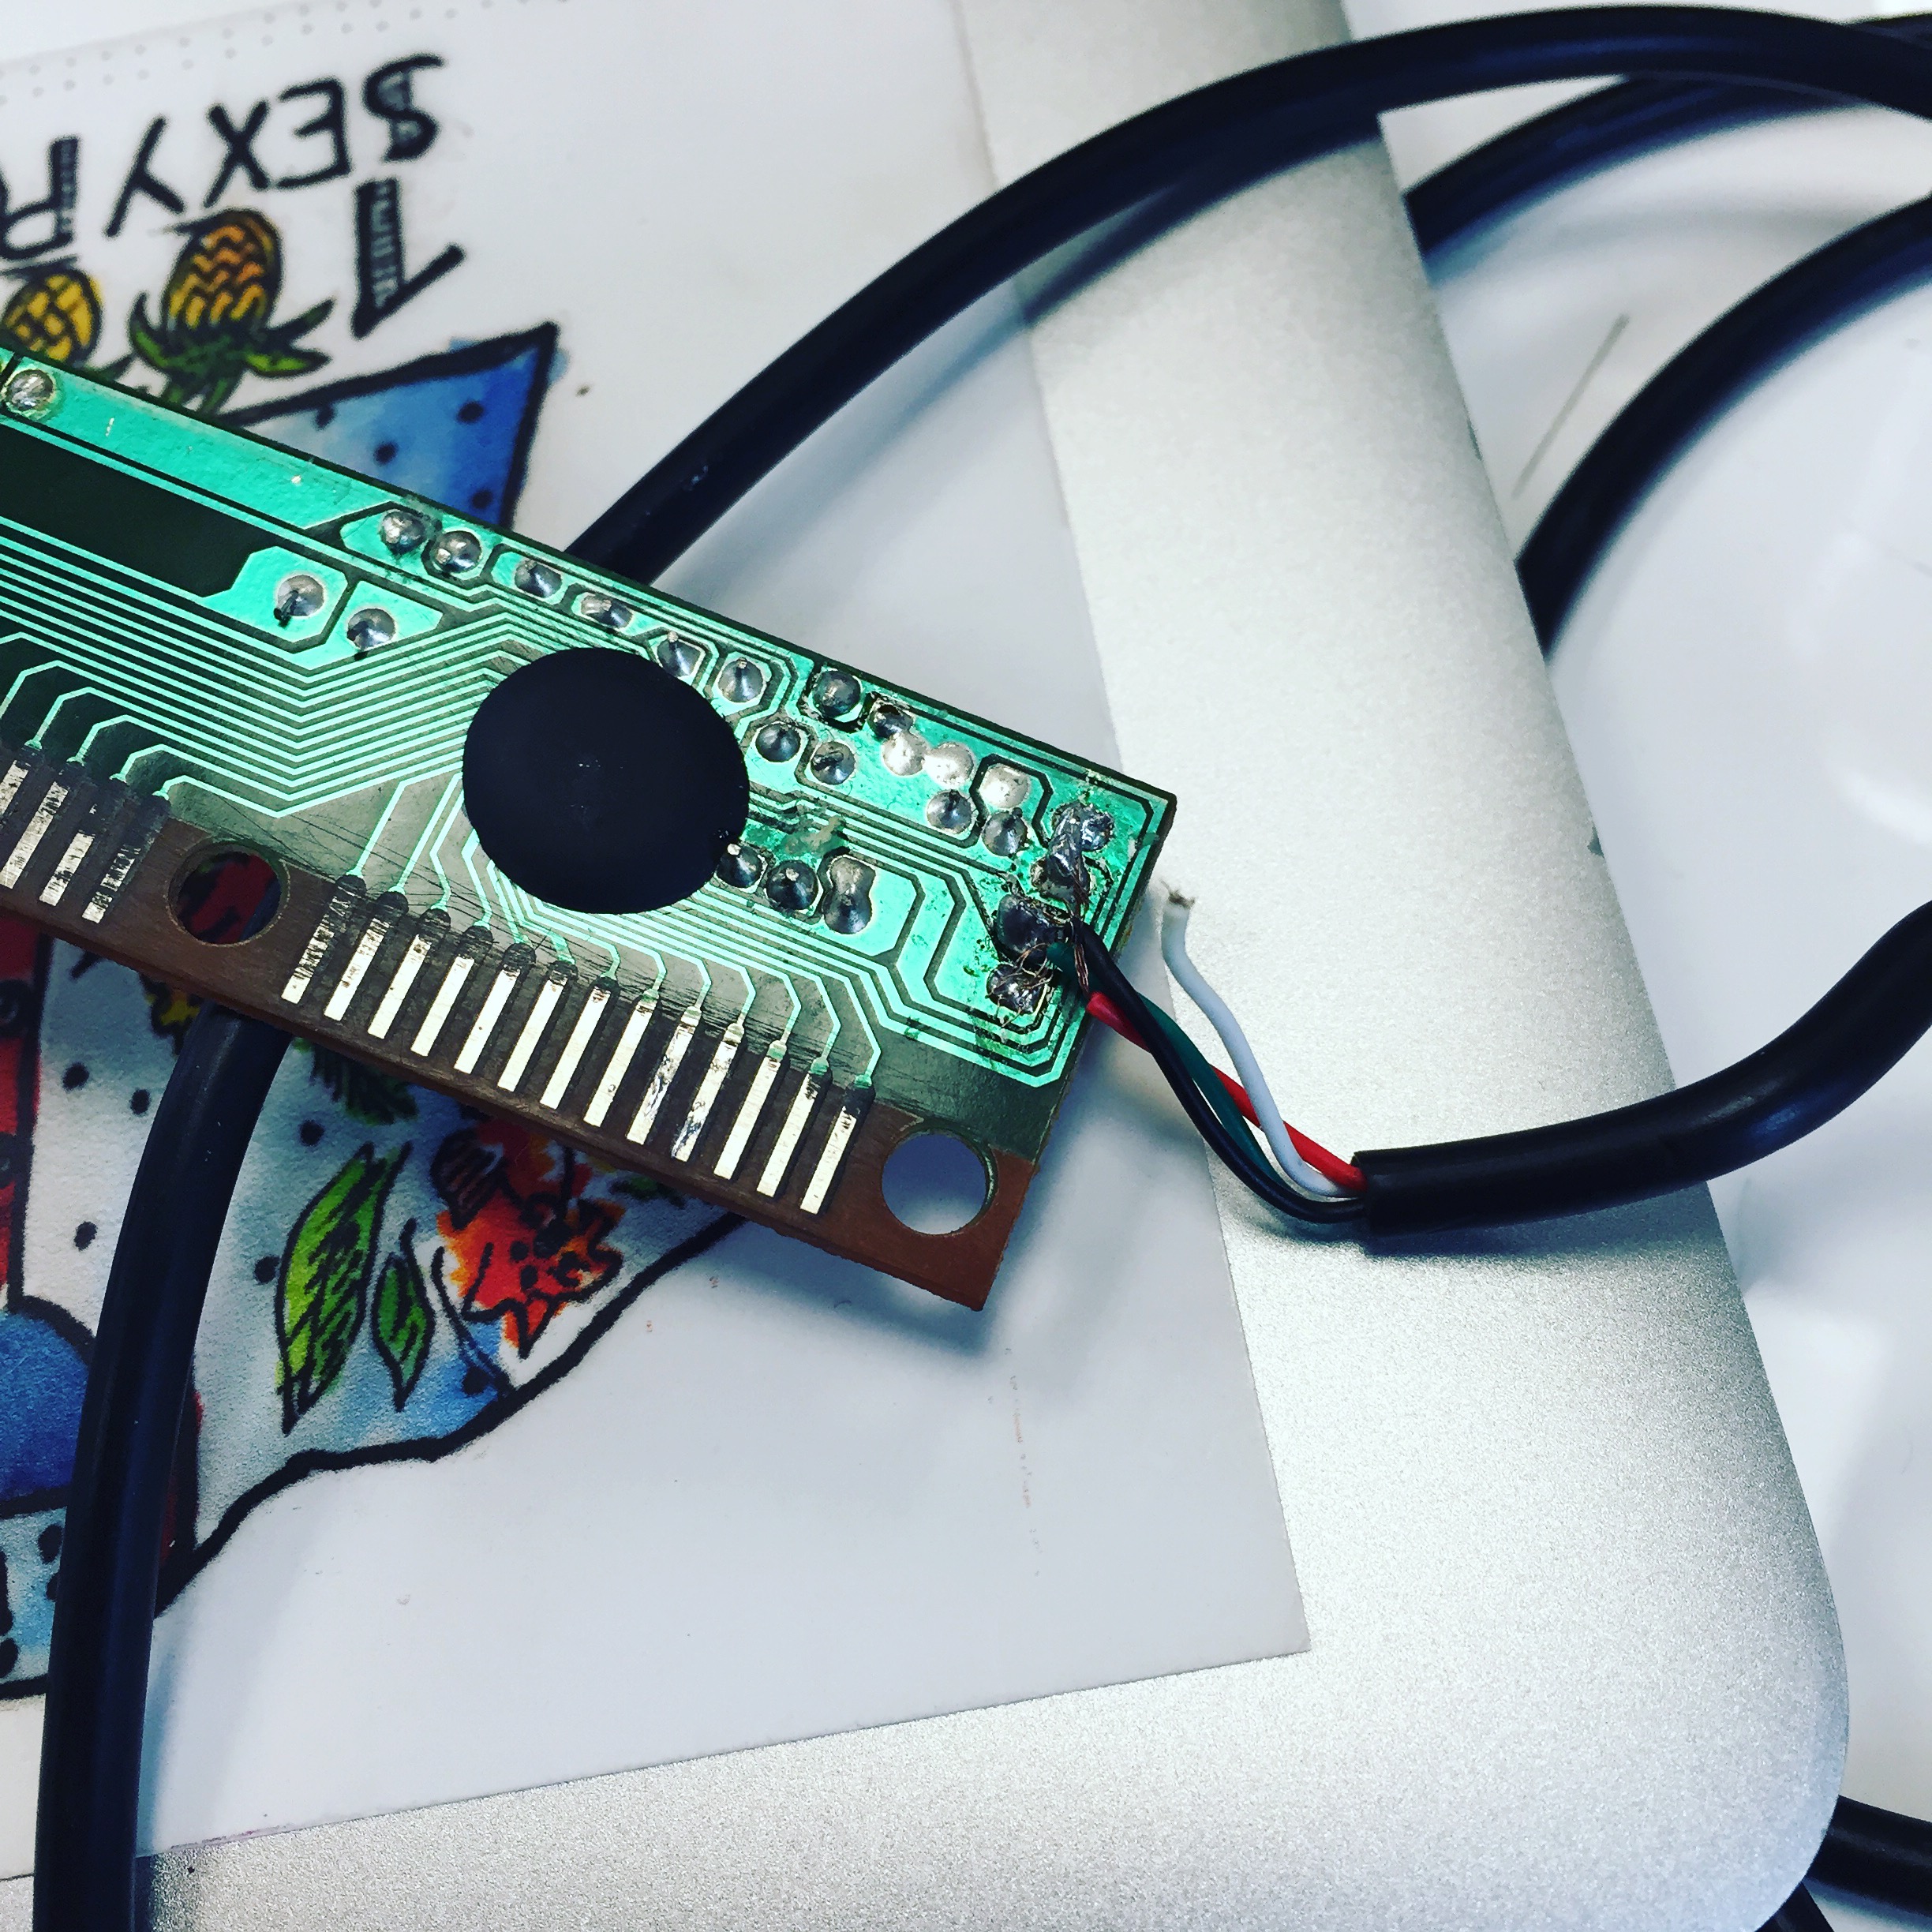
Step 3. Solder wires on the key combination you would like to emulate.

IMG_1403

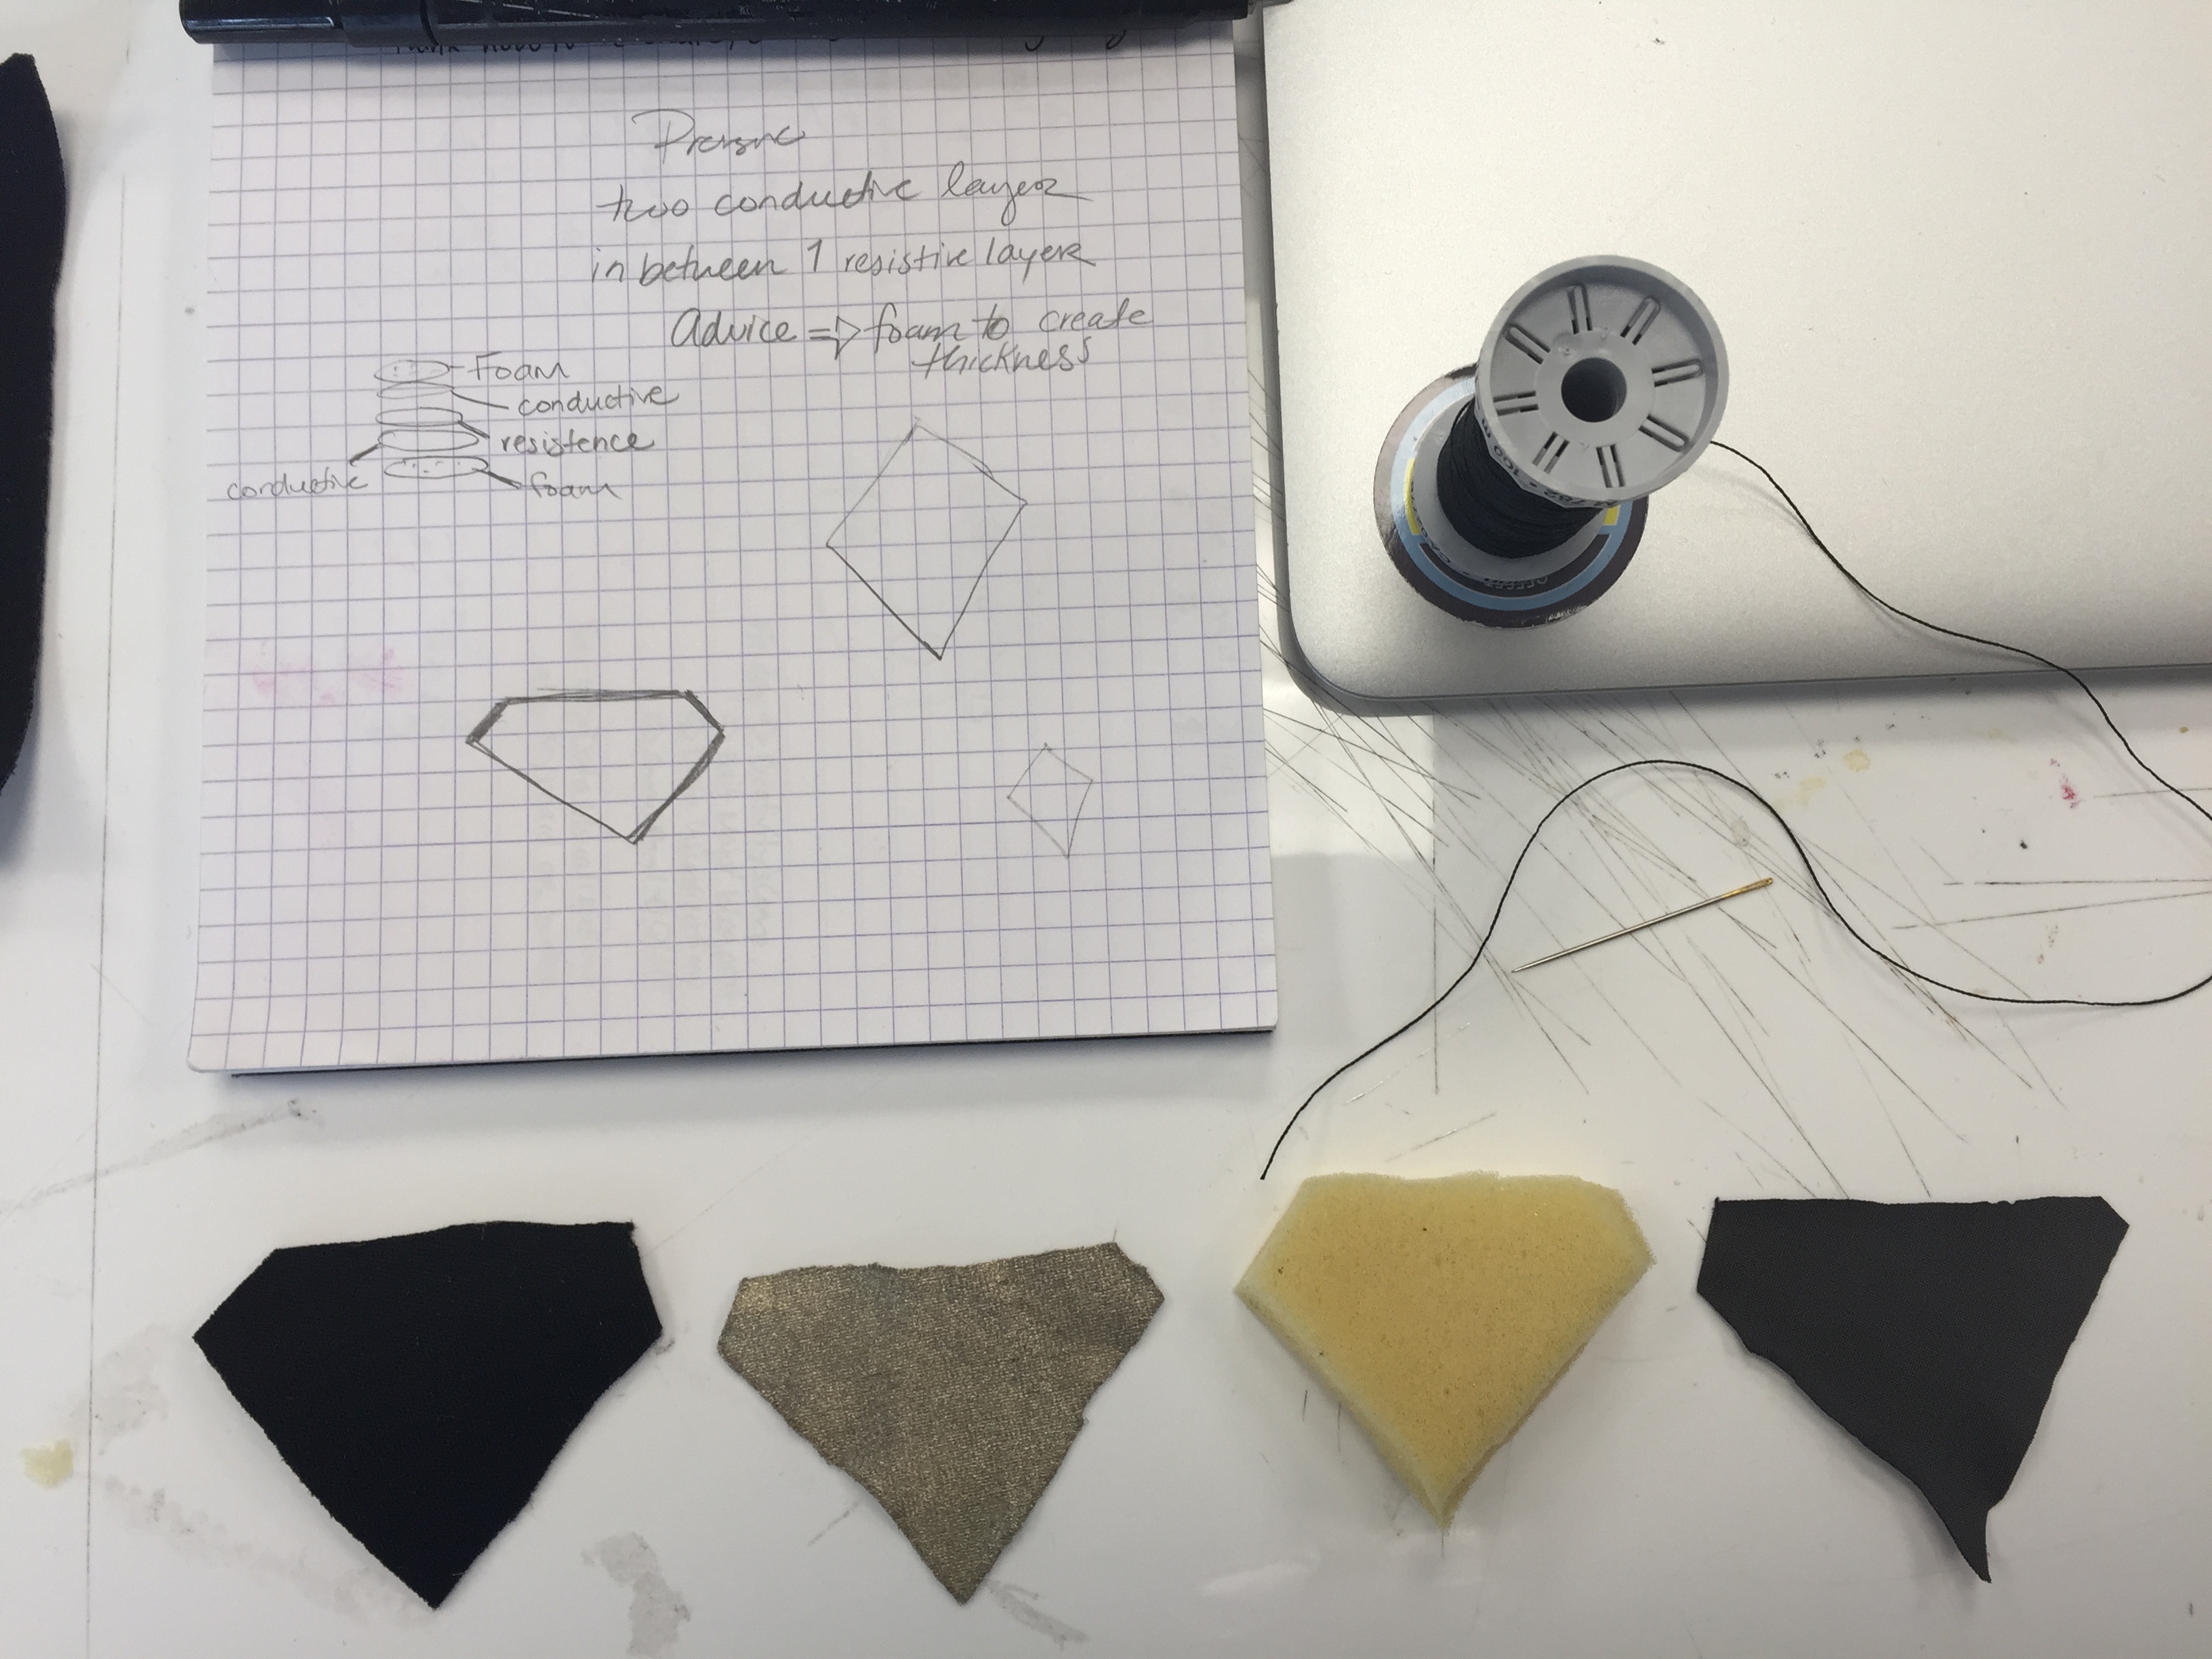
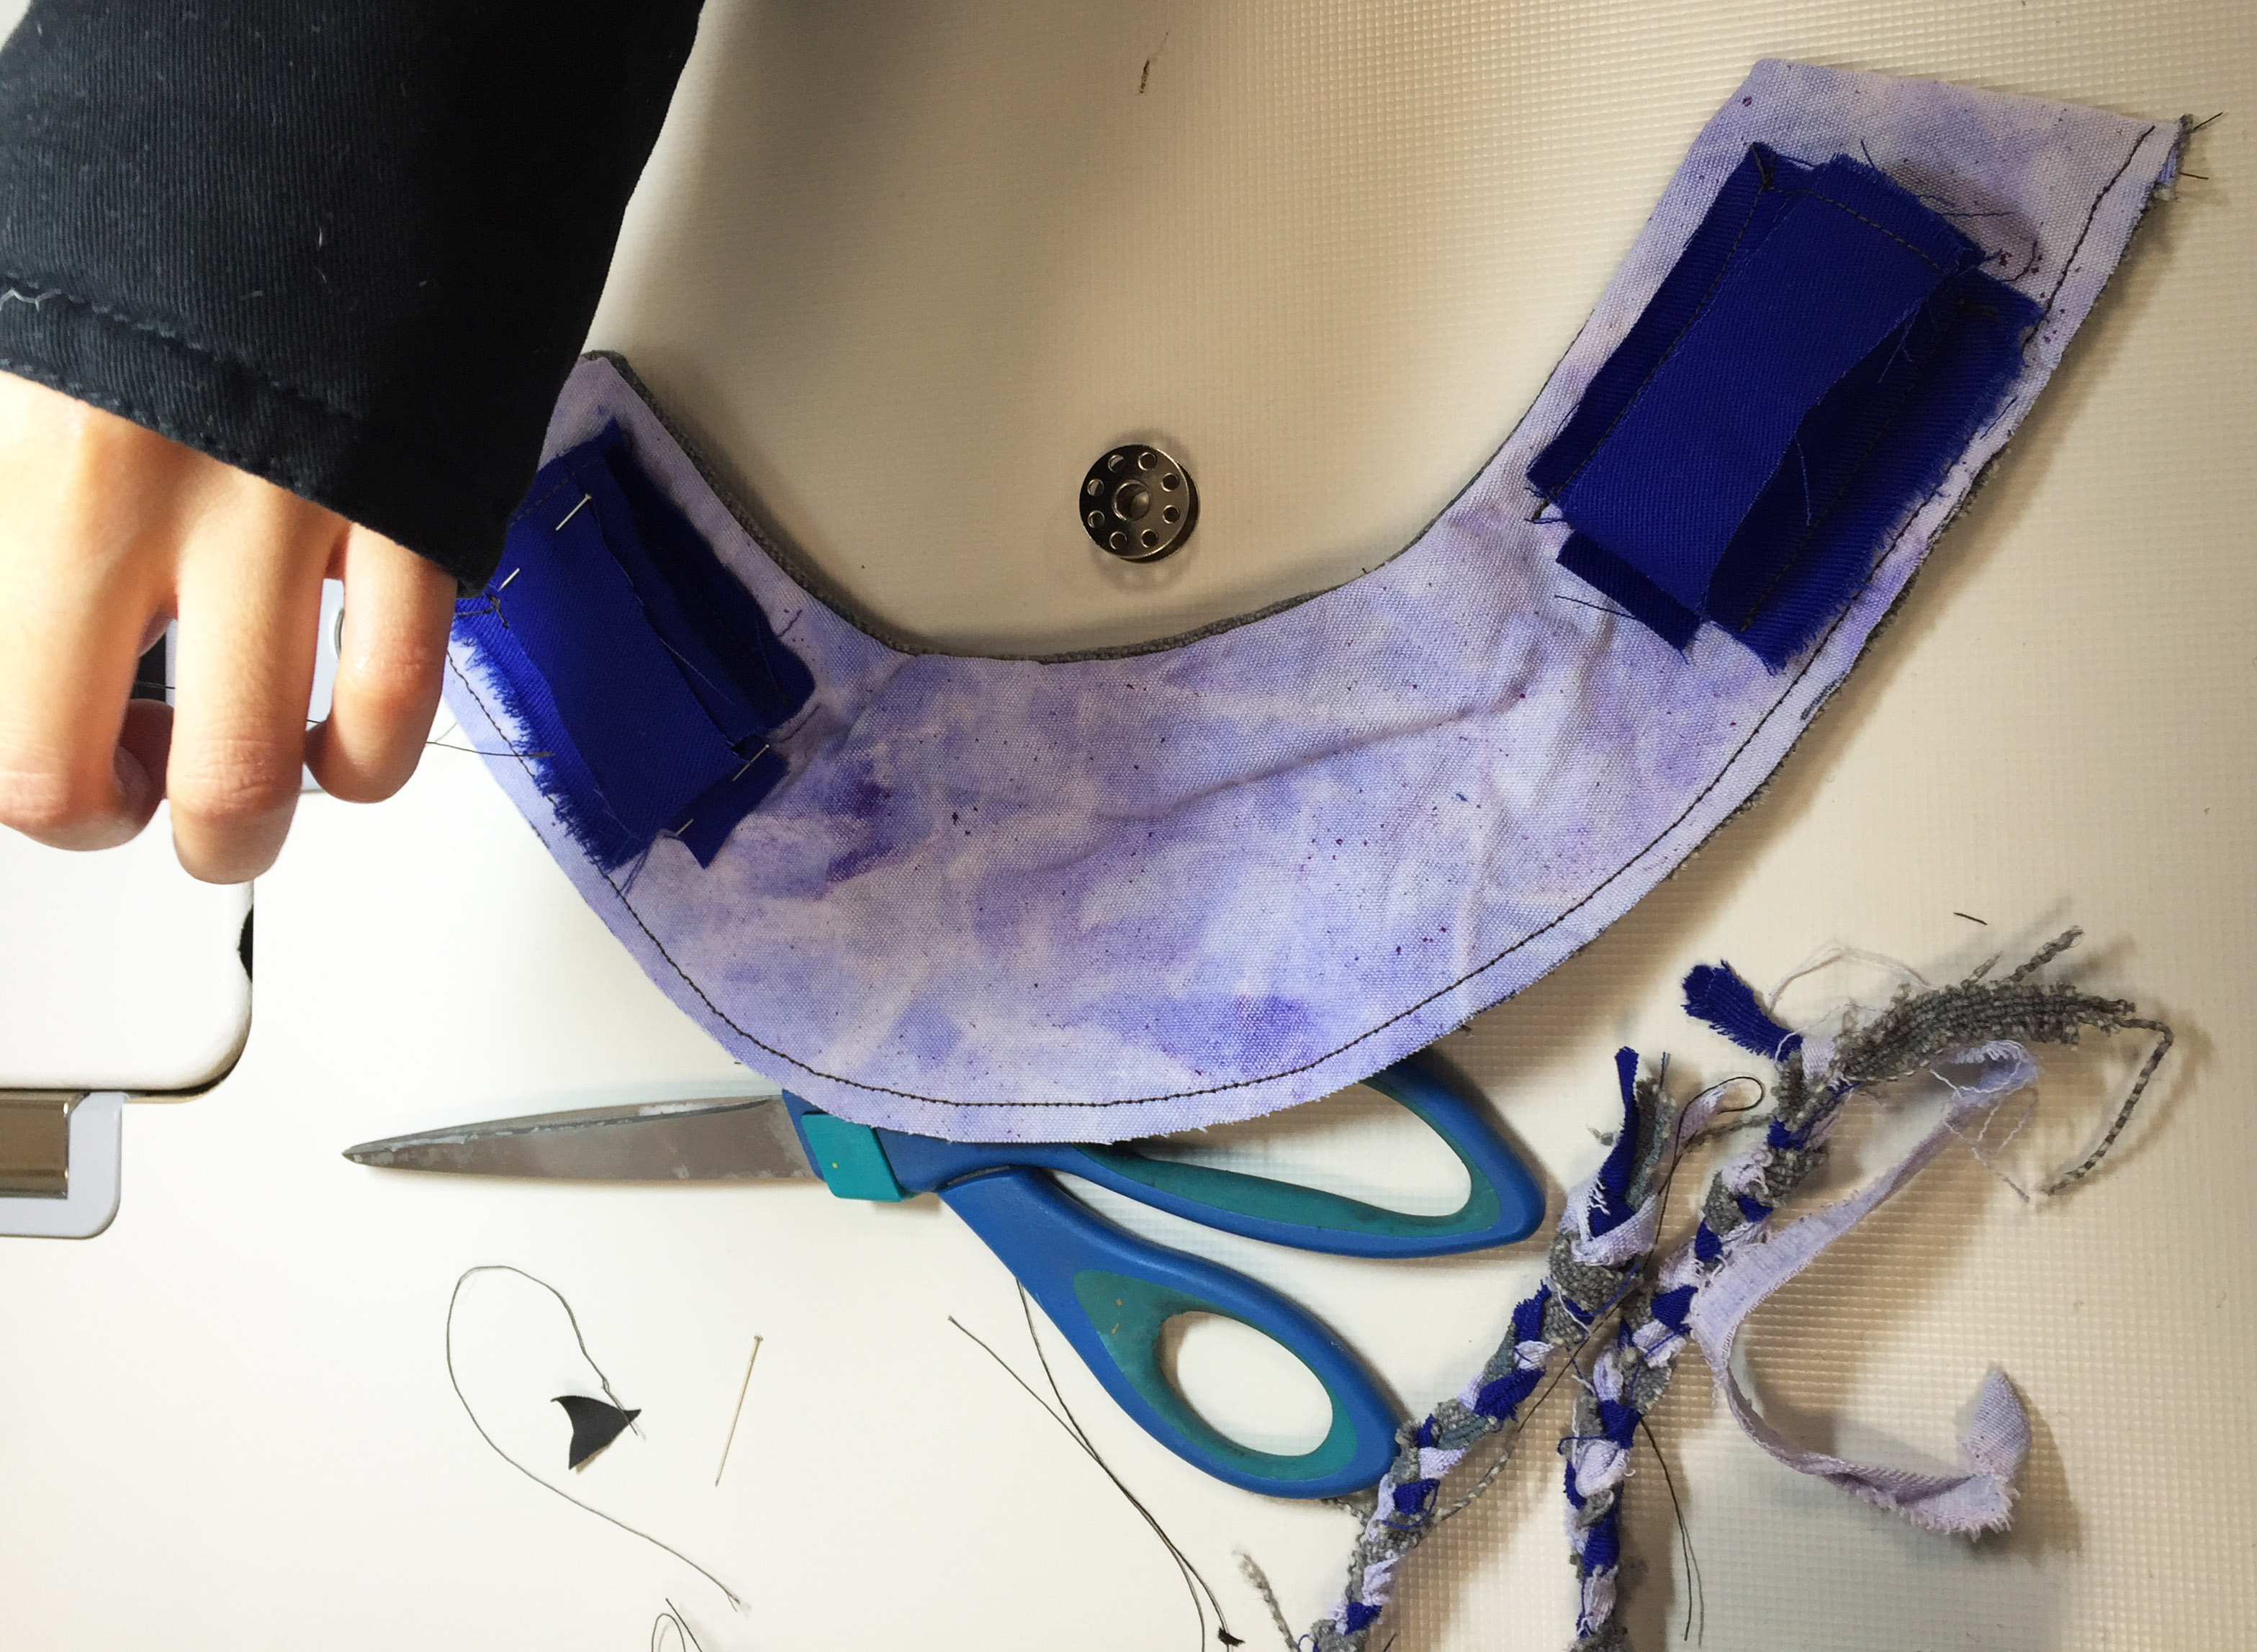
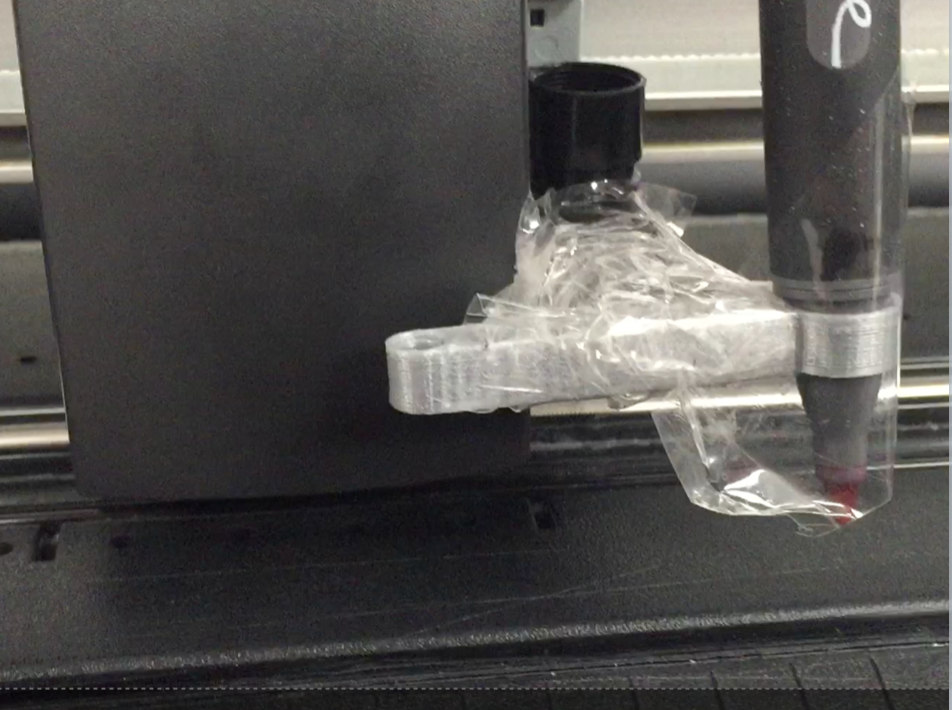
Step 4. Connect this to an object you would like to use to control the key combination chosen.

Unfortunately after connecting my wires to the key combination I had found, which in this case it was the space key which would allow you to navigate down the recipe page, the delicate pcb controller wires disconnected.

After multiple failed attempts of re-soldering the pcb connectors I was feeling quite defeated.

diamond button


IMG_1379

materials:

ruler, sketchbook, scissors, foam, any type of fabric, conductive fabric, and resistive fabric, sewing needle, thread

Step 1. Choose a shape, sketch, scale and cut out materials accordingly. Do not cut one large shape and sew together. It is crucial to create two parts which we will later sew together to create the one shape.

IMG_1378

Step 2.  Layer your materials in order of regular fabric, conductive fabric, restive fabric and lastly foam. Sew layers together and repeat.

IMG_1382

Step 3. Sew the two halves of your shape together.

IMG_1383

Step 4. Admire your button.

IMG_1385

textilo wearable accessory


conductive_button_02

The first step in creating our wearable noise accessory is to create a textile sensor.

sensor_description

There are several ways to approach this. Here I started with an ordinary black fabric, added a layer of foam, another layer of black fabric, a conductive fabric, then a resistive fabric on side one. On side two I repeated the pattern of a resistive, a conductive and an ordinary fabric.

sensor_web_02

Don’t forget to test how conductive your sensor is before sewing it together..!

IMG_1450

Now we want to connect our conductive sensor to a textilo to control a little speaker. You can find a step by step tutorial on the textilo itself here. The trickiest part for me was soldering the components to the texilo itself as it can be quite tricky to soder carefully without burning the fabric.


textilo_sodered

The next step is to brainstorm and decide what sort of material or wearable you want to create. I worked with very talented Jaqueline Banting, a fashion student at Parsons Paris. We conceptualized a wearable accessory made out of fabric that fits like a necklace. This meant, we needed to start from scratch. We chose a few fabrics and started to work out the composition of the textilio, sensor, battery and speaker.

wearable_tech_01_web

This quickly turned into this. A piece with two pockets, the one on the left for the sensor, the one on the right for the battery.

wearable_inprogress

It was time to test the functionality. Unfortunately due to some soldering mistakes it was not functioning properly.

IMG_1743

But, we didn’t let that hold us back from finishing the prototype. The wearable was created, the textilo was pinned and after a few hours in the fashion lab we came up with this…


IMG_1757

I plan to re-create the textilo and I hope to be abel to get it to a working state soon!


heartbeat reproduction

My project is about exhausting a tool, the Cutting Master 3. My approach is simple. I will experiment and explore different materials with the plotting machine and create a book.


I begin with a sketch initiated in processing by a pulse sensor. For every heart beat there is a random triangle drawn. I created a few sketches with my pulse and layered them in illustrator. The code for the heart beat sensor can be found here.


Screen Shot 2015-12-12 at 3.57.00 PM


I used the rasterize and image trace in illustrator and began to explore printing on the plotter with different mediums.

The settings for the printer were as follows, speed: 34, acceleration 2, cut force: 16.

For the cutting tool I used the following settings, offset: 0, speed: 15, acceleration: 2, cut force: 12.

sharpie_texturepaper

Over time I experimented with the different settings for the pen tool and came up with this:

As you can see there are little circles at the end of each point. To get this effect I altered the cutting force to be higher.
process_01
I found it interesting comparing the different tools used even if it was a pen the difference in results between each type of pen. I used some ghetto hacks. Unfortunately our 3D printer is not working but fortunately I created a drawing arm earlier this semester. I taped it to the machine to attach different utensils.
There’s something very meditative about this process. Repeating the same thing over again with different tools, you find yourself inspired by the outcome and begin experimenting and testing things you hadn’t conceptualized before the project.

 After creating 34 unique iterations I was reaching the deadline for this project. I decided it was time to create a book however I was so invested in the project that I was not ready to commit to binding the book just yet. I wanted to continue working on this piece.

book
My NY partner suggested I scan each print before binding. During this process I was inspired to flip the flop one more time. I decided to create a book out of the scans of each piece for now. You can view the pdf of the book here. The book includes most of the iterations of drawings. I experiment with close ups of prints.
I decided the way I would present the prints for now is by collecting each print and placing them in a box so the viewer could still  explore the different textures and effects.
Interested in re-producing my project? Check out my Instructables tutorial.

self portrait


lines

For the flip flop project I programmed a pulse sensor to initiate a processing sketch. The concept of this project was to emulate an internal self portrait. The idea is that you are drawing with your heart.

Step 1. Connect the heart sensor to an Arduino, and begin working on the code. The pulse sensor I used can be found here [you can also find the code to get started on their site]. To connect the pulse sensor, connect the black wire into ground, and the red into 5V, and the purple into A3.

Step 2. Once the pulse sensor is detected and you are able to receive information in the console, link to processing.

Step 3. Creating a sketch in processing. I really wanted the sketch to be minimal so I decided to do a simple sketch. For every heart beat detected, a random line is drawn.

Step 4. I quickly learned that the pulse sensor was not the most accurate sensor, so in order to get rid of ghost heart beats, I put in a line of code to filter out phantom beats.

Check out the code here!

Now that the code is all set it was time to add another element of flipping and flopping. Initially we have a physical interaction of a person wearing a pulse sensor – which is also a digital experience. We take the measure of the physical world and interpret it via a sketch, and lastly we take the sketch and bring it back into the physical world. You can find the steps for that below:

Step 1: Wear the pulse sensor and begin drawing with your pulse.

Step 2: Open the automatically saved PDF, from your code’s folder, and import it into Illustrator.

Step 3: In Illustrator expand, rasterize and image trace your file.
Object > Expand
Object > Rasterize
Object > Image Trace > Make and Expand

Step 4; Print on Cutting Master 3 with any type of writing utensil . In this case I used a fine point Staedtler pen. Below are the settings I used; speed: 34, acceleration: 2, cut force: 16.

Below is a quick video demonstrating the plotter in action!