Week 1: Experimenting With Circuits

For the first week of class, we experimented with the conductivity of different materials by making a circuit with a small battery and LED light.

IMG_4891

Metallic clips work well as resistors


IMG_5757

aluminium foil


IMG_5760

We also used silver conductive fabric

IMG_5759

IMG_5758


IMG_5775

using copper tape to make a circuit

IMG_5762

using carbon paint to make a circuit


IMG_5766

soldering copper tape together to complete the circuit

IMG_5774

we made a switch over the battery turn it on and off

Reading Glove

Reading Glove

I wanted to make a glove which allowed you to read in bed without having to use the effort to hold up a book or a computer, allowing you to fall asleep while reading.  Theoretically, you could connect your computer to a projector and lay in bed with your book projected onto the ceiling, using the glove to turn the pages.

materials: keyboard with usb connection, gloves, wires, aluminium foil, soldering iron and tin

IMG_5951

After hours of testing with a wire which key was which with the switchboard, I began by soldering the keys for space bar

IMG_5956IMG_5954

Burnt through the copper traces, almost had to start over. However, luckily I was just able to change my key from SPACE to (–>) and it serves the same function in iBooks.

IMG_5953IMG_5952

bringing the wire through the gloves

.IMG_5957  IMG_5955

used aluminium foil to create conductive fingers.  You tap your fingers together to turn the pages.

IMG_5959

<iframe src=”https://player.vimeo.com/video/141026737″ width=”500″ height=”281″ frameborder=”0″ webkitallowfullscreen mozallowfullscreen allowfullscreen></iframe> <p><a href=”https://vimeo.com/141026737″>Reading Glove</a> from <a href=”https://vimeo.com/user38490563″>Amanda Lewis</a> on <a href=”https://vimeo.com”>Vimeo</a>.</p>

all done!


Epaper

Making a table tealight

Materials: paper, copper tape, small battery,

IMG_5871

I drew where I would place the circuit on the inside of the paper


IMG_5873

placing the copper tape — the LED will go in the middle

IMG_5872

I cut a slit to the outside of the tea light so that I could make a switch with one of the folds on the outside, because you cant turn the switch on the inside

IMG_5874 IMG_5875

looking at how I’m going to place the LED before soldering

IMG_5876

soldered the LED

IMG_5895

taped the battery in place and finished soldering the connections

IMG_5891  IMG_5893

it works!

IMG_5894 IMG_5896

the switch on the outside


Touch Sensor Tank Top


IMG_5960

First I gathered the materials to make a touch sensor: foam, neoprene, a bit of resistive fabric, two pieces of conductive fabric, and conductive thread.

IMG_5961

To create the touch sensor you have to sandwich the resistive fabric between the pieces of conductive fabric. When you press down, the resistive fabric condenses and decreases the space between the bits of conductive fabric so that a current can pass through and the circuit can be completed. It’s very important to make sure the bits of conductive fabric are not otherwise touching, or else there will be a shortcut and the sensor won’t work.

IMG_5962

I then sewed a bit of conductive thread to each side of conductive fabric so that I would later be able to connect it with my circuit.

Sew everything inside of neoprene to keep it all together.

IMG_6036

I then created a small circuit to connect the battery, speakers, and sensor. We laser cut the pattern of the circuit onto copper fabric and ironed it on to a laser cut neoprene circle using ironing paper.  You can also iron the circuit directly onto a piece of clothing.

IMG_6038

After making the parts, I connected all of the elements together to test it.

IMG_6418

I was feeling creative and decided to sew my own tank top, so I traced the pattern of a tank top I already had onto black viscose, then sewed the pieces together with my domestic sewing machine. I also made a tiny pocket for the battery, which I later added with fabric glue to my tank top.

IMG_6419

All done!

IMG_6421

I then placed everything on to the tank top.  I sewed in the circuit with regular thread and attached the speaker above it with hot glue.  I sewed in the sensor to the bottom left and glued the battery to the bottom right.

IMG_6422

I sewed the conductive fabric into the tank top and connected it with the circuits.  I soldered the speaker wires and the wires from the battery cap to the circuit as well.


And it works! I originally intended to cover the components with a fabric panel, but now I like being able to see them.

Reading Light: Flip Flop

For this assignment, I wanted to create a generative drawing based on light read by my light sensor.  To do this, I had to connect a light sensor to my Lilypad Arduino and then use Processing to create the drawing, with aspects affected by the values read by the sensor.  I uploaded the example code AllInputsFirmata into my Lilypad which allows it to connect with Processing, then used this code for Processing:
import processing.serial.*;
import cc.arduino.*;
Arduino arduino;

float rotacActual=0;
float perlinPos=0;
float perlinVel=0.1;

int sensorValue;

void setup() {
size(1000, 1000, P3D);
frameRate(10);
background(0);

arduino = new Arduino(this, Arduino.list()[2], 57600);
arduino.pinMode(3, Arduino.INPUT);

}

void draw() {

int sensorValue = arduino.analogRead(3);
println(sensorValue);

// fill(0, 0.1);
translate(width/2, height/2, -100);

float modifica=noise(perlinPos)*50;
translate(0, -100);
float transporta=noise(perlinPos*perlinVel)*400;
float escala=noise(transporta)*150;

pushMatrix();
//rotateX(noise(rotacActual)*3);
rotateY(rotacActual*sensorValue/1000);
rotateZ(rotacActual);
translate(0, transporta);
stroke(255, 100);

float val1=-sensorValue+escala;
float val2=sensorValue-escala+modifica;
line(val1, 0, val2, 0);

//noStroke();
fill(255);
pushMatrix();
translate(val1, 0);
popMatrix();

pushMatrix();
translate(val2, 0);
popMatrix();

popMatrix();

perlinPos +=perlinVel;
rotacActual +=0.025;

}
void mousePressed() {
saveFrame();
}

Here’s a video of the code :

The values alter the drawing by changing the lengths of the lines being created, and if there is a drastic change it will alter the direction they are placed as well.  For example, If you try the code in a darker room, the lines will be printed shorter, and in a lighter room they will be much longer.  You can play with this to get some variations, such as:

Screen Shot 2015-11-19 at 1.40.05 PM

Screen Shot 2015-11-26 at 12.10.11 AM

Afterwards, I decided to print them onto a black tote bag that I have using a fabric printer.  To do that, you have to remove the background in Photoshop before printing (unless you want to keep the black background and print it on something else). To do this, simply double click on the layer and the blending settings will pop up.  Under “Advanced blending” drag the arrow on the black side of the gradient towards the center–that way, all of the values darker than that will be removed from the image.

Screen Shot 2015-11-26 at 12.13.19 AM

After you have your file ready,  you are ready to fabric print!  Press the fabric and add a fabric fixative to help the ink set in, put it in the printer and go! (or ask Amaury to help you)


3030black copy

Unfortunately I can’t print it yet because I am waiting for the fabric primer to arrive in order to print on the fabric that I have, but when I do it will look something like this.

Generative Poetry


This project is based on the idea of creating the ability to write poetry about places all around the world–places you’ve been to or have never been to, places your friends have been to, or places you would like to go to. Although we may not be able to actually visit all of these places, now with the internet giving us the ability to see anywhere we would like in the world in under a second, we could be able to write poetry the same way. I created this project to help us connect visually and linguistically with anywhere you would like.


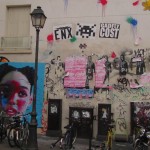
I started by asking friends to give me photos of places they’ve been, they grew up in, etc, and added a few of my own. The two images I’m showing are just examples–one is from Crimea and the other is from Paris. I’m lucky to have friends who come from all around the world to give me cool photos, but it doesn’t matter where they come from, some of my favorites are from home.

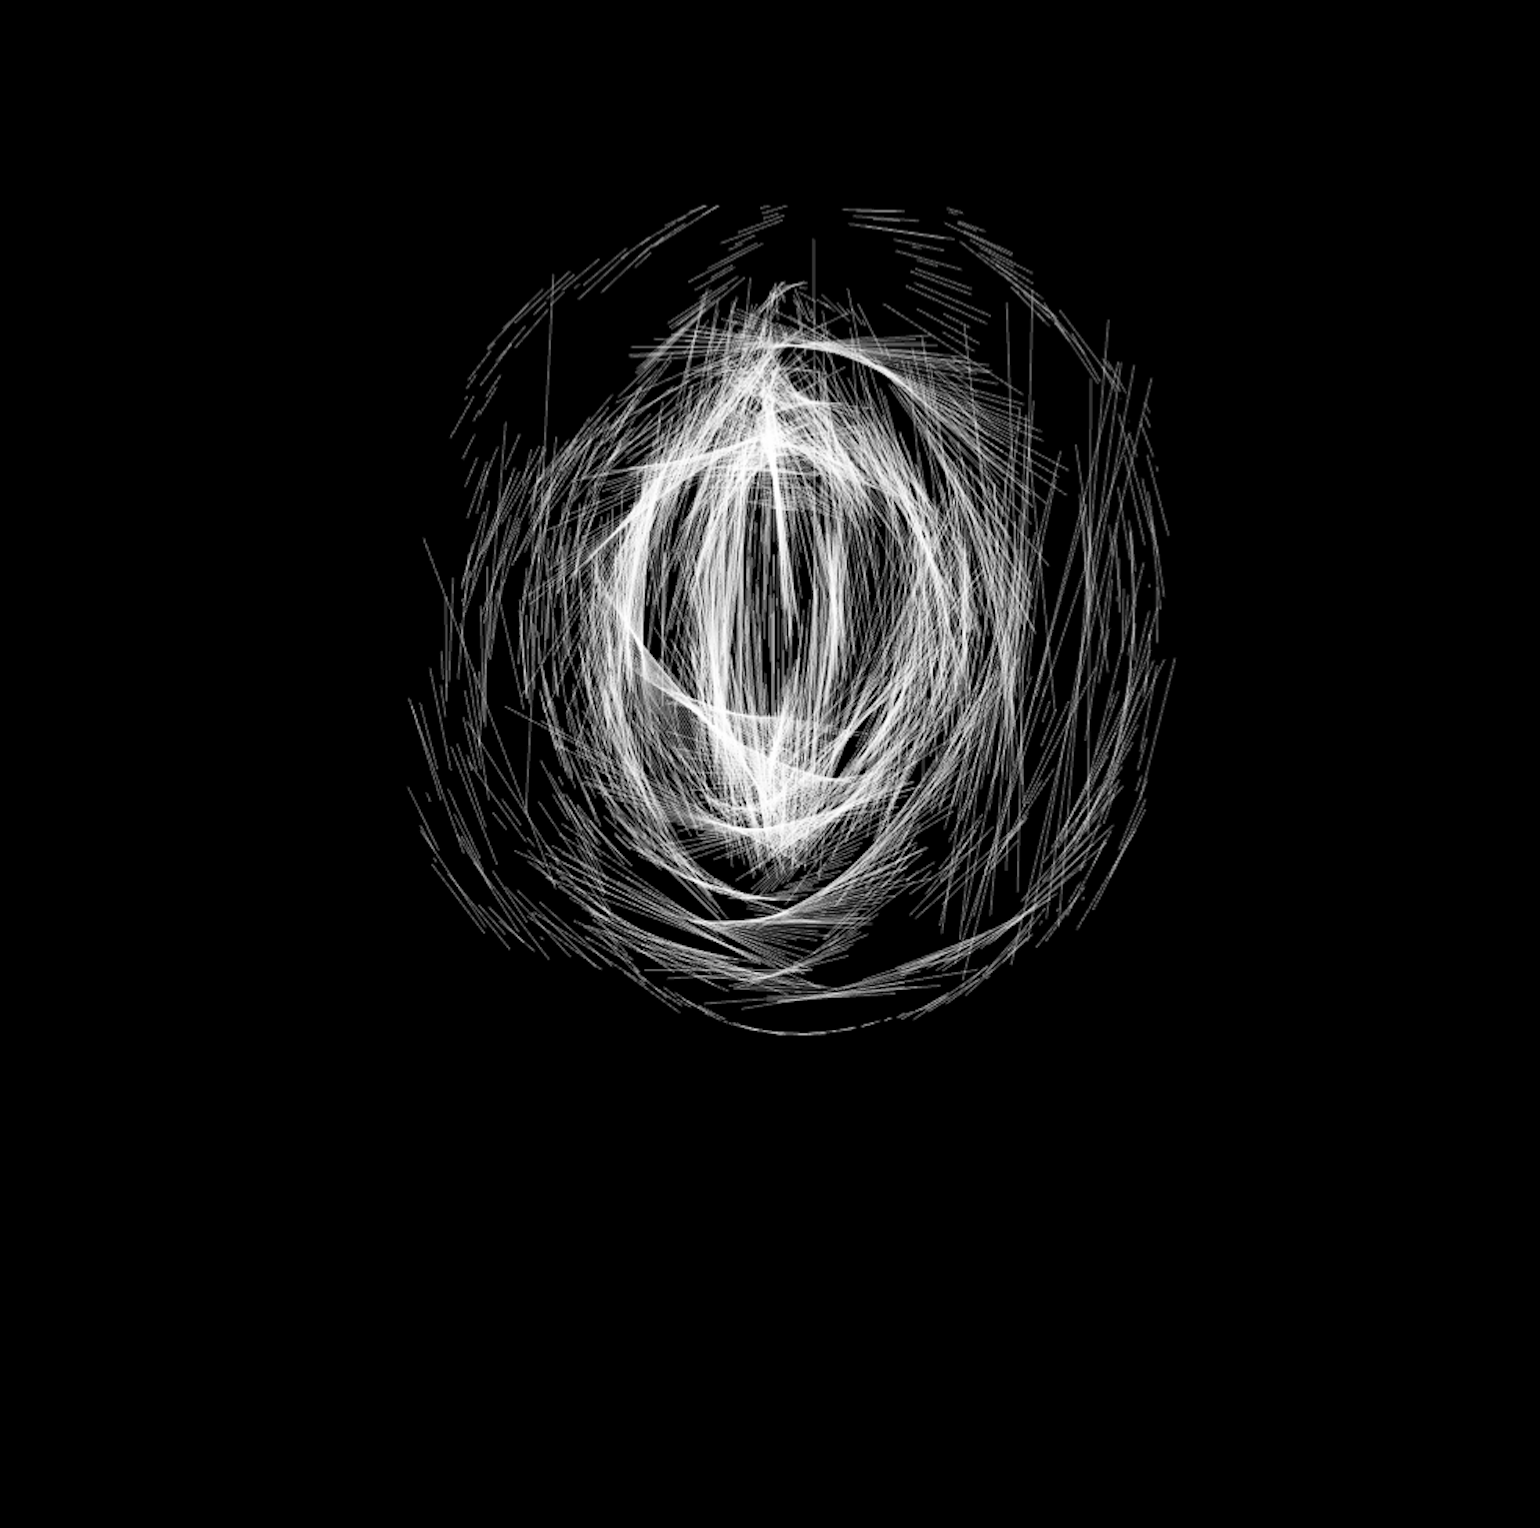
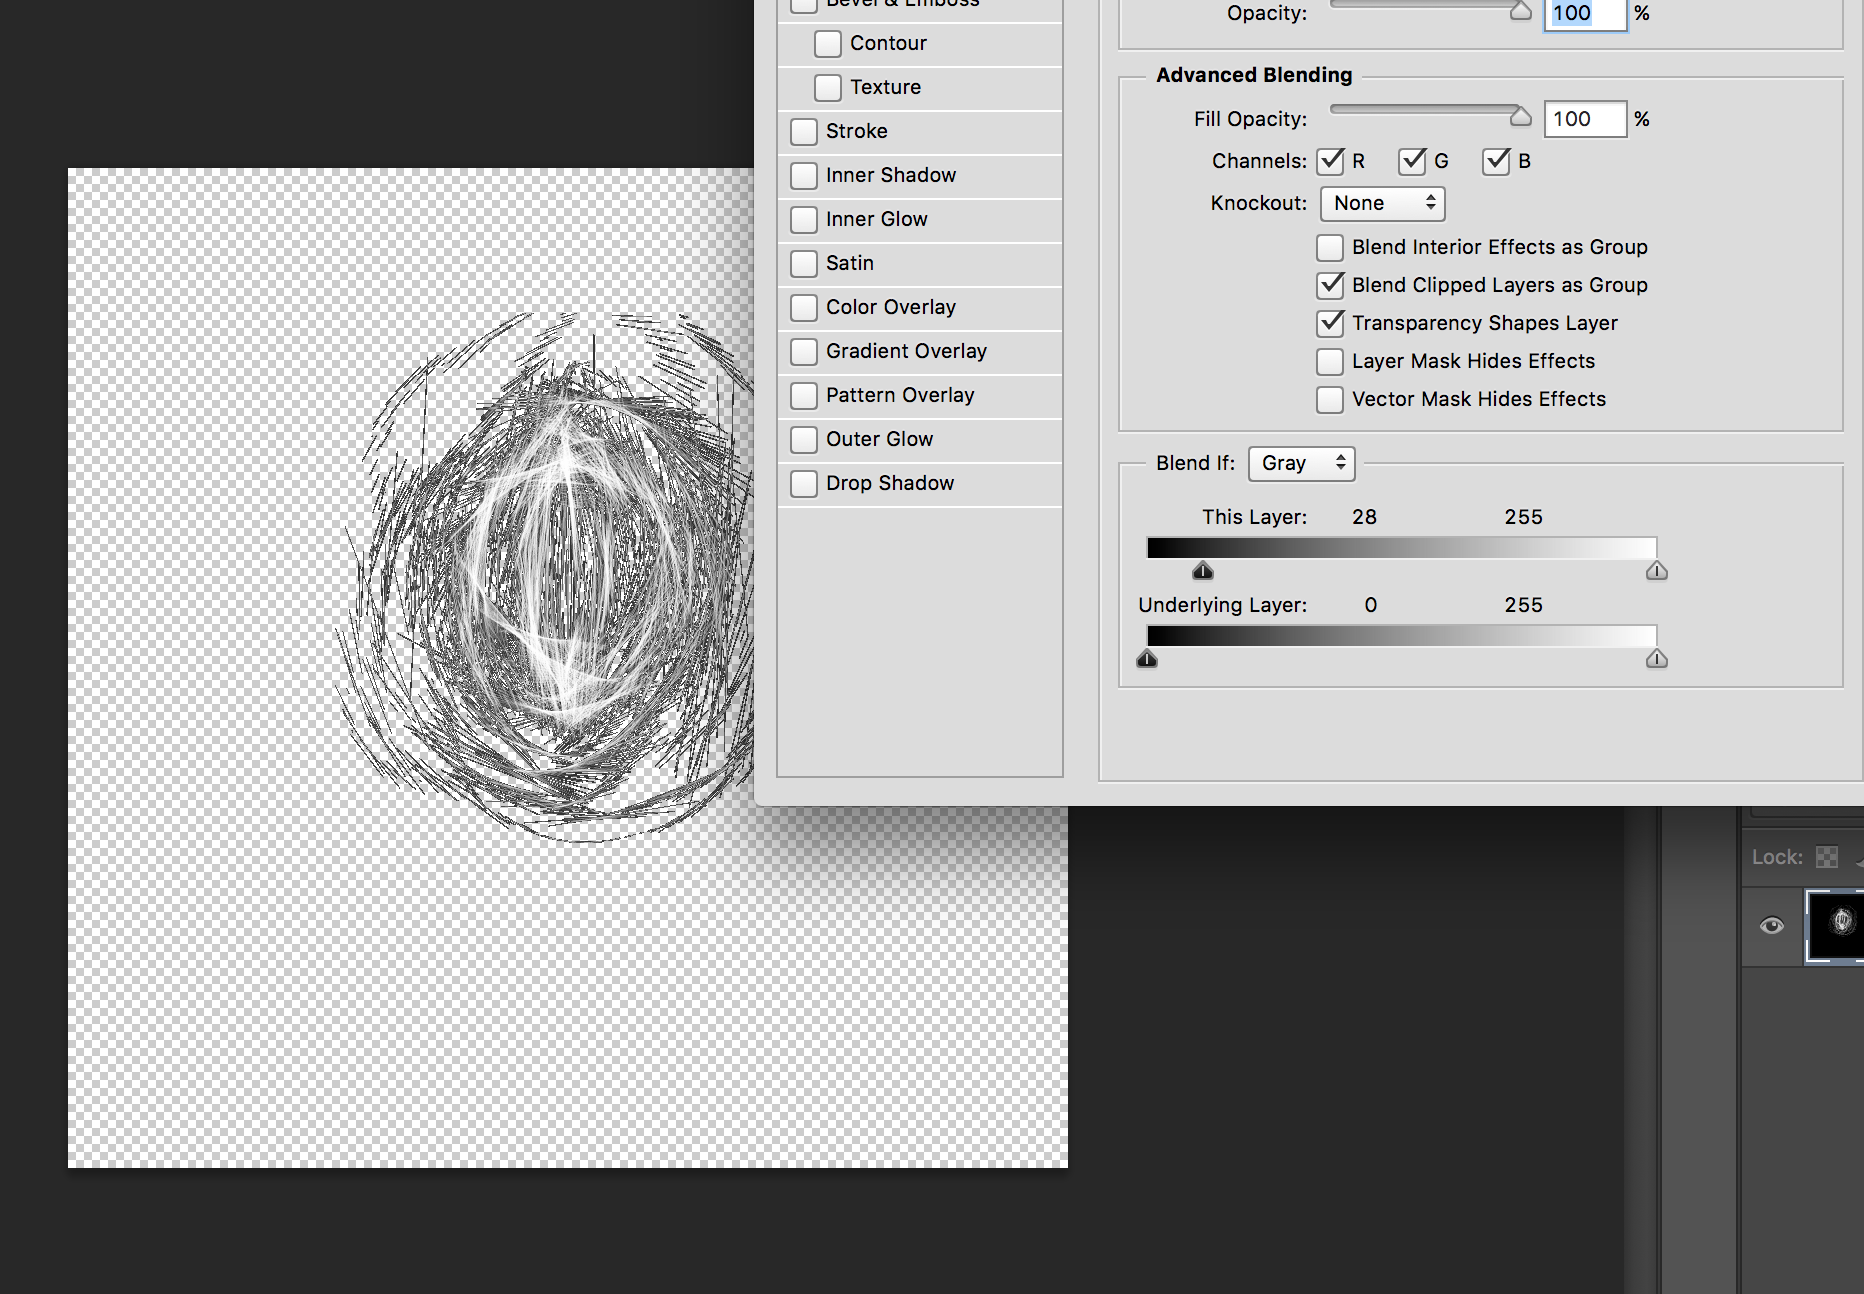
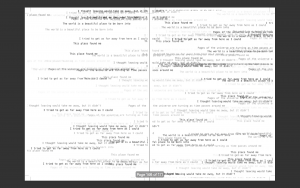
I only used the Processing coding language for this project. I created a series of strings which included several poetry fragments in each string. Each line of poetry will be selected based on a number taken from the average pixel color taken from each image uploaded. For the code to work, you should upload all of the images you want into the data folder of the processing file in an array with files called “place0.jpg” etc– or you can rename it as you wish. The code runs through all of the images automatically and creates gifs and takes screenshots of what is generated from each image.

import gifAnimation.*;
import processing.opengl.*;

GifMaker gifExport;

String [] firstWords = { “I’m homesick for places I haven’t been”, “Without even looking, you can see that”, “It used to be dangerous here”, “The world is a beautiful place to be born into”, “On this street I’ve always known”, “I wish we could see the stars in this city”, “Walking down streets strange as these”,

}; String [] secondWords = { “Smells of this familiar place fill my nose”, “I thought I would have formed an idea of depth of the city”, “Golden dawn and shivering evening find us”, “I ran away and crossed mountains and forests”, “Waves crash onto concrete shores”, “Pages of the universe are turning as time passes around me”, “In the clouds and the sun”, “People here have funny faces”, “Smells of this unfamiliar place fill my nose”, “I can feel the flowers seeding under the concrete”,

}; String [] thirdWords = { “Comedy drips on the grass stages”, “As elegant as a Paris street, favored by light”, “I came here for sanctuary”, “I came here for release”, “Can we lay in the grass and tell our memories of each star”, “I thought leaving would take me away, but it didn’t”, “This place excites me”, “I came here for sanctuary”, “I came here for release”, “I came here to escape”, “I’m stuck in this waiting place”, };

String [] fourthWords = { “I came here to escape your memory” , “I can only pretend that your memory isn’t written all over these walls”, “It’s impossible to describe the opaque light”, “Meadows of flame leap up to the summit of the little hill”, “My breath like the wind on dead flowers”, “I tried to get as far away from here as I could”, “I think I can see you in the distance”, “Meadows of flame leap up to the summit of the little hill”, “My breath like the wind on dead flowers”, “I tried to get as far away from here as I could”, };

String [] fifthWords = {

“These feelings are all in my head”, “Yet I come here to forget”, “Yet I come here to remember”, “This place found me”, “Will you join me to watch the sun rise over the ocean?”, “I feel at home here” , “I’m still not welcome”, };

PFont menlo; PImage img;

String[] imageList;

int currentIndex = 36;

void setup(){

size(1200,800, OPENGL);

frameRate(15);

background(255);

menlo = createFont(“Menlo”, 12);

textFont(menlo);

println(color(0));

println(color(255));

imageList = listFileNames(“place”);

img = loadImage(“place”+ currentIndex +”.jpg”);

println(“gifAnimation ” + Gif.version());

gifExport = new GifMaker(this, “place”+ currentIndex +”.gif”);

gifExport.setRepeat(0);

}

color getAverageColor(PImage img) {

img.loadPixels();

int r = 0, g = 0, b = 0;

for (int i=0; i>16&0xFF;

g += c>>8&0xFF;

b += c&0xFF;

}

r /= img.pixels.length;

g /= img.pixels.length;

b /= img.pixels.length;

return color(r, g, b);

}

String[] listFileNames(String place) {

File file = new File(place);

if (file.isDirectory()) {

String names[] = file.list();

return names;

} else {

// If it’s not a directory

return null;

} }

void draw(){

fill(random(255));

int avgColor = getAverageColor(img);

int word1index = (int) map(avgColor, -16777216, -1, 0, firstWords.length); int word2index = (int) map(avgColor, -16777216, -1, 0, secondWords.length);

int word3index = (int) map(avgColor, -16777216, -1, 0, thirdWords.length); int word4index = (int) map(avgColor, -16777216, -1, 0, fourthWords.length);

int word5index = (int) map(avgColor, -16777216, -1, 0, fifthWords.length);

String word1 = firstWords[word1index];

String word2 = secondWords[word2index];

String word3 = thirdWords[word3index];

String word4 = fourthWords[word4index];

String word5 = fifthWords[word5index];

text(word1,random(0, 1200),random(0, 1200));

text(word2,random(0, 1200),random(0, 1200));

text(word3,random(0, 1200),random(0, 1200));

text(word4,random(0, 1200),random(0, 1200));

text(word5,random(0, 1200),random(0, 1200));

gifExport.setDelay(1);

gifExport.addFrame();

if (frameCount % 50 == 0) {

// Add a new frame to the gif

saveFrame();

println(“frame saved”); }

if (frameCount % 150 == 0) {

// Save the ongoing gif, create a new one, clear the screen, load the next image and analyse it

gifExport.finish();

println(“gif saved”);

background(255);

currentIndex++;

img = loadImage(“place” + currentIndex +”.jpg”);

gifExport = new GifMaker(this, “place”+ currentIndex +”.gif”);

gifExport.setRepeat(0);

println(currentIndex);

//if (currentIndex++ == imageList.length) {

// exit();

//} } }

place00

^click on the gif!


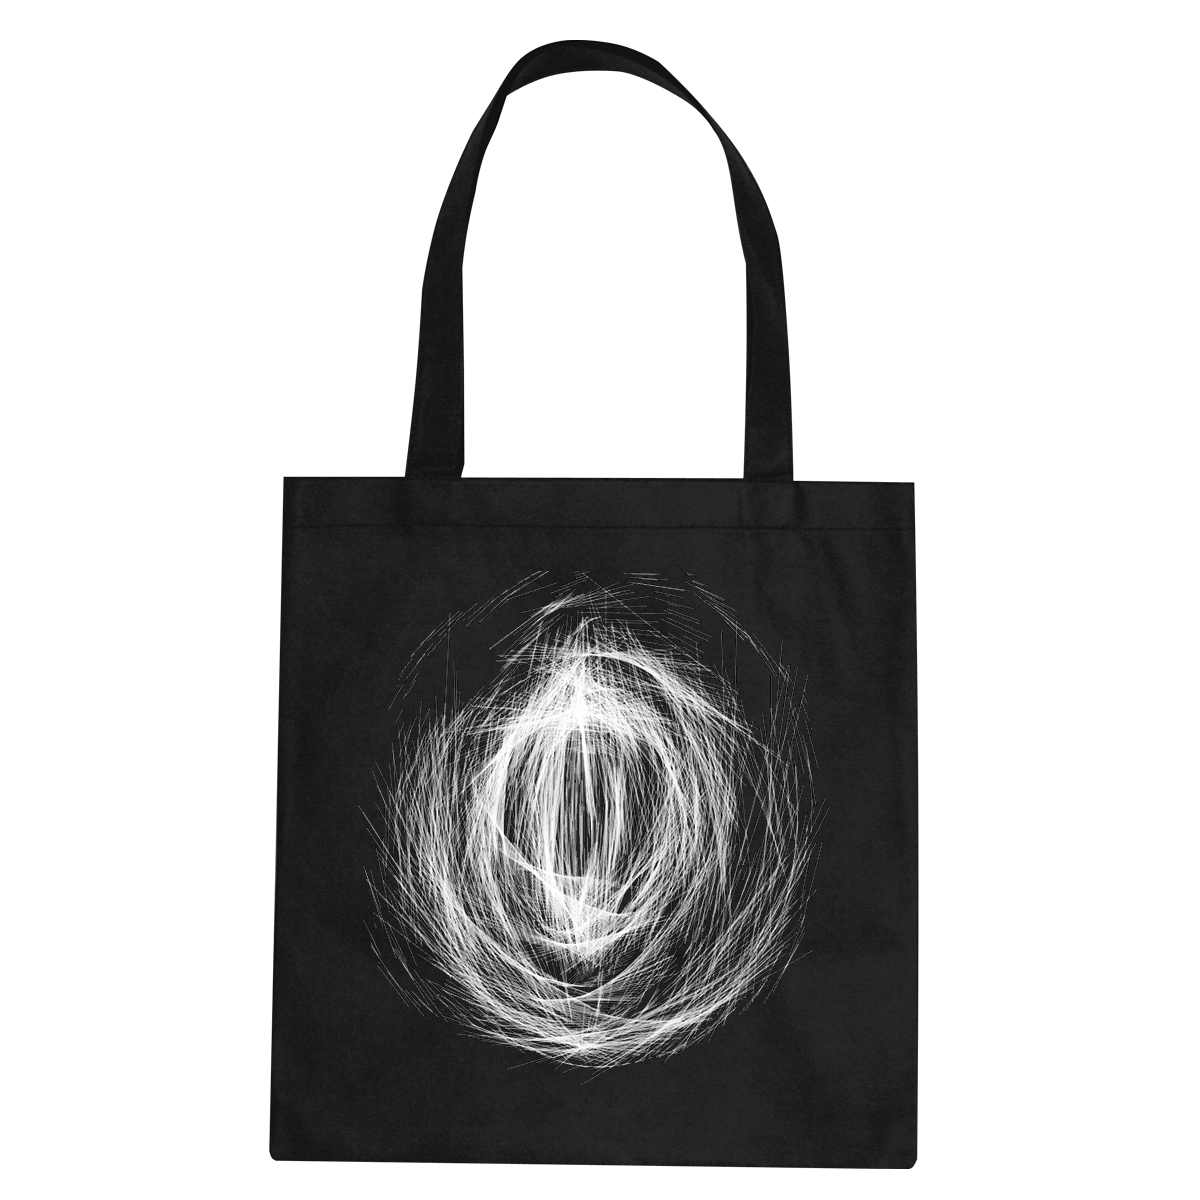
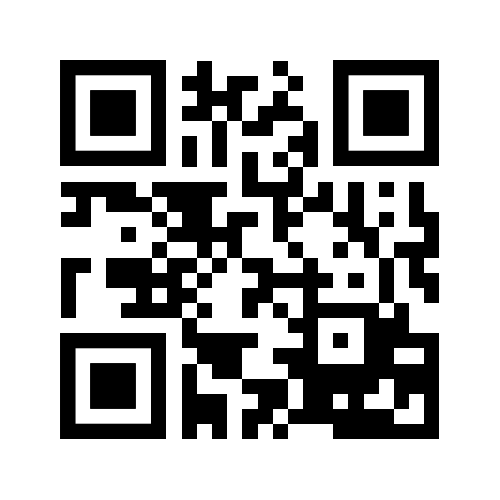
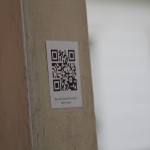
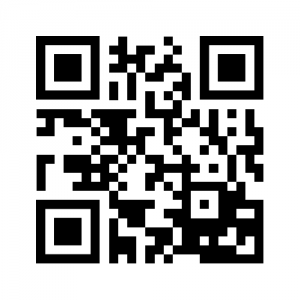
One thing I really wanted to do with this project was give my generated poetry back to the places I used to create it and not just keep it for myself. I decided using QR codes would be a cool way to do this, as I could upload the GIFs of the poems generating and make it visible, which it isn’t in my documentation of the project (I made a book of poetry). I created them through an online generator at www.qr-code-generator.com . I printed these QR codes onto adhesive paper and made stickers with them, so I can stick them wherever I wish. Obviously in a city they are easier to apply, but it’s the idea that counts–you could take the poems back to nature in other ways too, like writing them in the dirt or sand or with a sharpie on rocks. Scan my code I uploaded and see how it works!

Screen Shot 2015-12-15 at 10.02.35 PM                           dashatournelle


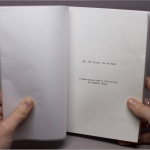
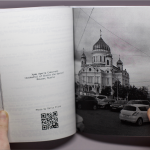
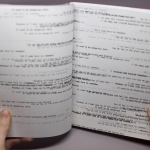
As poetry is traditionally printed, I decided to take this project full circle and bring it back to its roots and make a book of poetry and the photos which were submitted. I used the screenshots from each poem, the image, the place, and the QR code. My book ended up being 171 pages because I had lots of nice images given to me. This example was a photo that I took, but I credited each person who submitted images as well. I made the layout using InDesign, and printed copies in both black and white and color. Personally, I preferred the black and white print more, but that’s just me.

I printed this copy on a normal black inkjet printer and bound it with glue using a bookbinder–you can also find binding glue at any craft store and do it at home. The book is a little smaller than an A5 size, and I ended up printing six copies. Also stick up your QR codes so everyone can enjoy!