
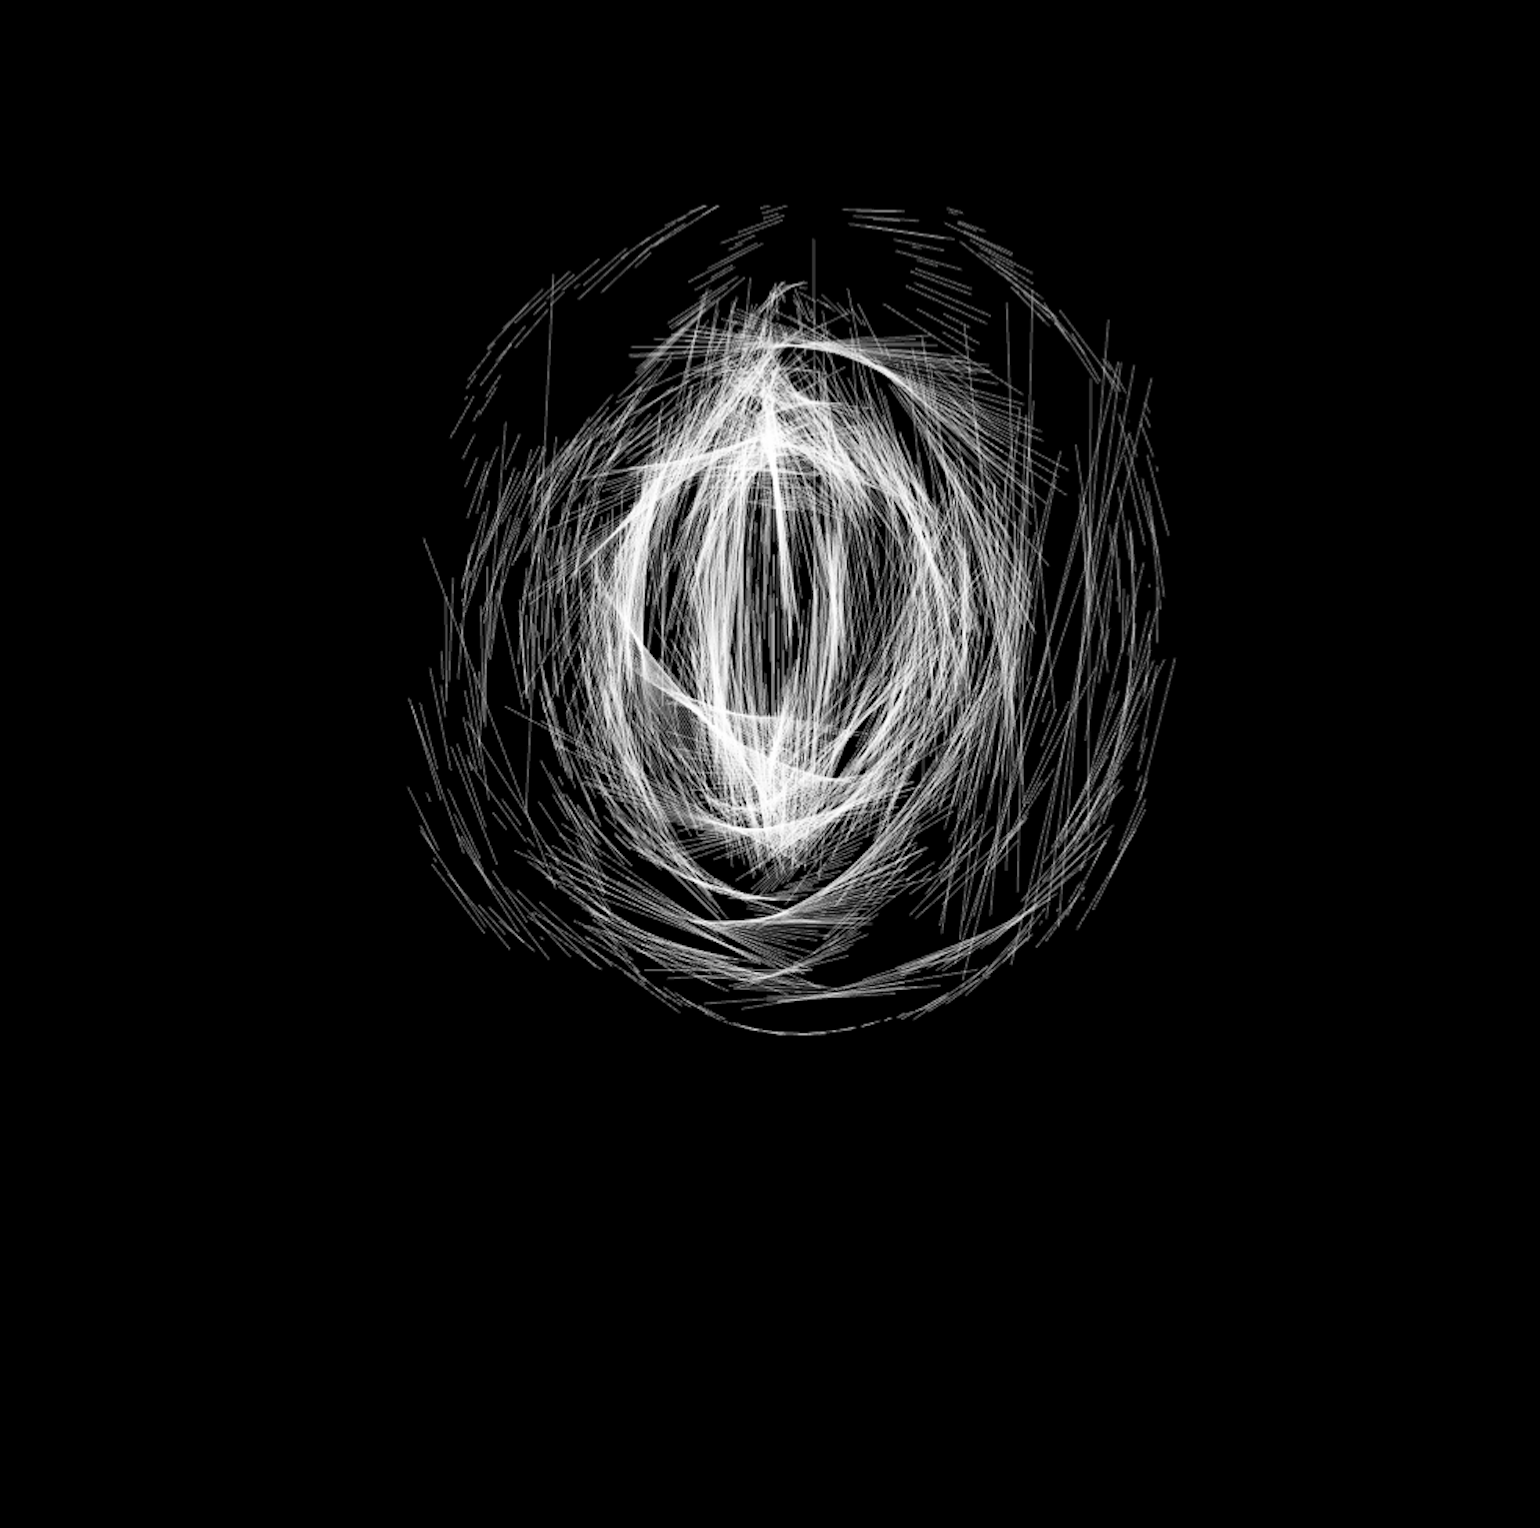
For this assignment, I wanted to create a generative drawing based on light read by my light sensor. To do this, I had to connect a light sensor to my Lilypad Arduino and then use Processing to create the drawing, with aspects affected by the values read by the sensor. I uploaded the example code AllInputsFirmata into my Lilypad which allows it to connect with Processing, then used this code for Processing:
import processing.serial.*;
import cc.arduino.*;
Arduino arduino;
float rotacActual=0;
float perlinPos=0;
float perlinVel=0.1;
int sensorValue;
void setup() {
size(1000, 1000, P3D);
frameRate(10);
background(0);
arduino = new Arduino(this, Arduino.list()[2], 57600);
arduino.pinMode(3, Arduino.INPUT);
}
void draw() {
int sensorValue = arduino.analogRead(3);
println(sensorValue);
// fill(0, 0.1);
translate(width/2, height/2, -100);
float modifica=noise(perlinPos)*50;
translate(0, -100);
float transporta=noise(perlinPos*perlinVel)*400;
float escala=noise(transporta)*150;
pushMatrix();
//rotateX(noise(rotacActual)*3);
rotateY(rotacActual*sensorValue/1000);
rotateZ(rotacActual);
translate(0, transporta);
stroke(255, 100);
float val1=-sensorValue+escala;
float val2=sensorValue-escala+modifica;
line(val1, 0, val2, 0);
//noStroke();
fill(255);
pushMatrix();
translate(val1, 0);
popMatrix();
pushMatrix();
translate(val2, 0);
popMatrix();
popMatrix();
perlinPos +=perlinVel;
rotacActual +=0.025;
}
void mousePressed() {
saveFrame();
}
Here’s a video of the code :
The values alter the drawing by changing the lengths of the lines being created, and if there is a drastic change it will alter the direction they are placed as well. For example, If you try the code in a darker room, the lines will be printed shorter, and in a lighter room they will be much longer. You can play with this to get some variations, such as:

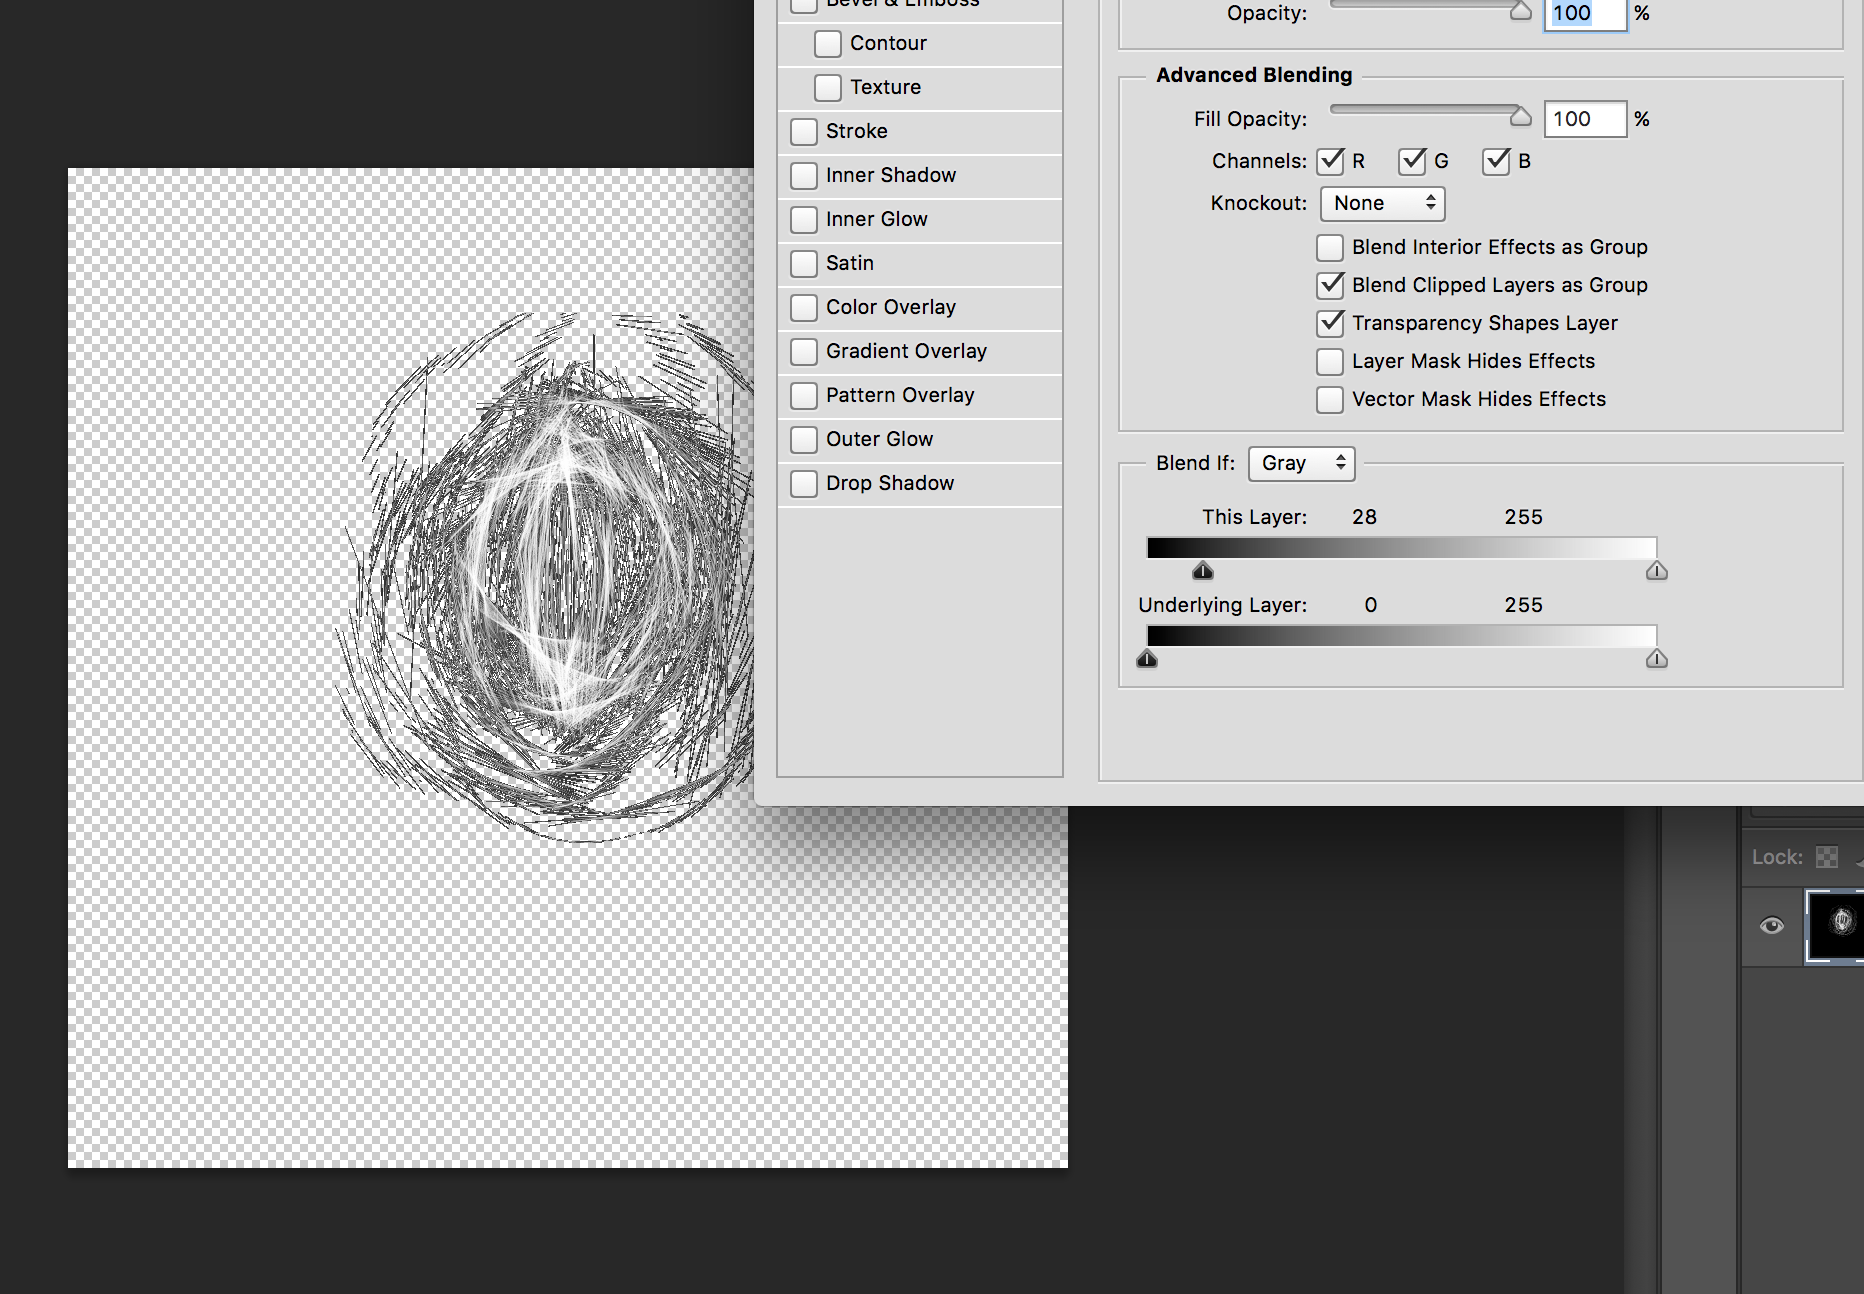
Afterwards, I decided to print them onto a black tote bag that I have using a fabric printer. To do that, you have to remove the background in Photoshop before printing (unless you want to keep the black background and print it on something else). To do this, simply double click on the layer and the blending settings will pop up. Under “Advanced blending” drag the arrow on the black side of the gradient towards the center–that way, all of the values darker than that will be removed from the image.
After you have your file ready, you are ready to fabric print! Press the fabric and add a fabric fixative to help the ink set in, put it in the printer and go! (or ask Amaury to help you)
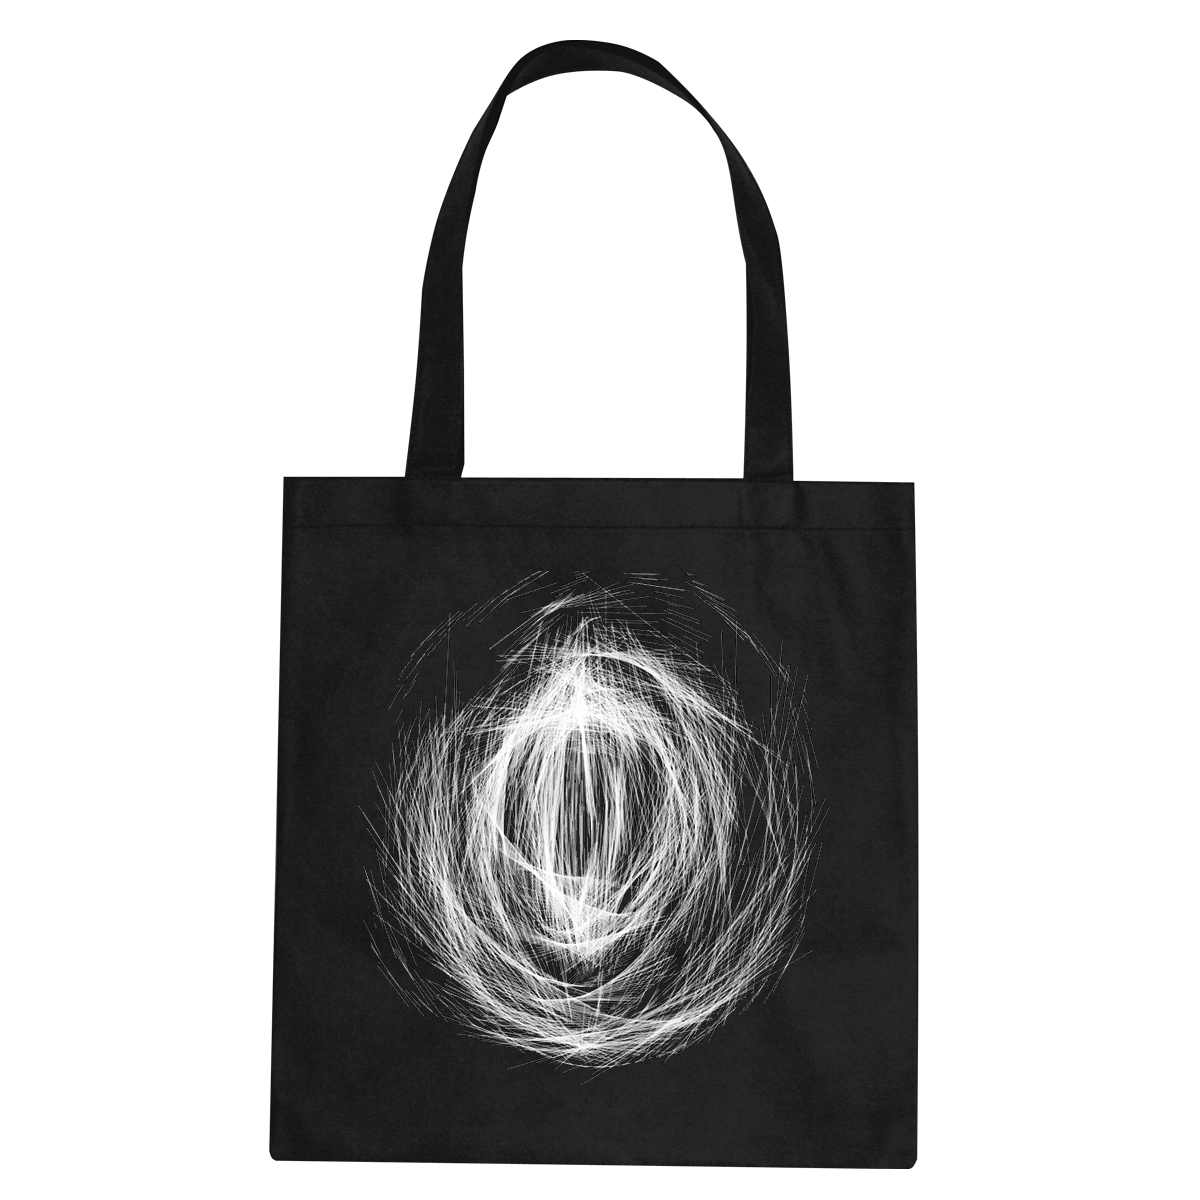
Unfortunately I can’t print it yet because I am waiting for the fabric primer to arrive in order to print on the fabric that I have, but when I do it will look something like this.