
So this week, Sheena, Ice, and I (Lanie) hacked a keyboard (well, three technically, between all of us) and decided to create a party shuffle player for music. Essentially, one would tap the enter button to play the song, and then the shuffle button to play the next song.
So first, we first took apart our keyboards, and then tested the wire on the board through trial and error, trying different combinations with wire. We tried so many, and it took very long, but eventually we did find what we wanted. We went through a few different projects-first we were going to do a video game, and use the up and down keys, but that seemed way too complicated, so we decided to do a music player. In the end, we went through three different circuit boards. We soldered every time, burnt many pins, but eventually, our third one was the most successful, with 3/4 pins soldered (one broke in the end, unfortunately-as of right now, but it may be fixed after this post has been uploaded so I will update accordingly if so). So, every time we had a new board, we had to find the keys that matched with the pins. It was definitely arduous, but we really just tried our best.
So for this music player, we used fabric, sponges, and the wire and circuit board. We created it so that when you press the sponges, you either play a song, or move onto the next one. We did this through finding the keys from the hacked keyboard. It’s a simple idea, but we put so much work into making it work successfully.
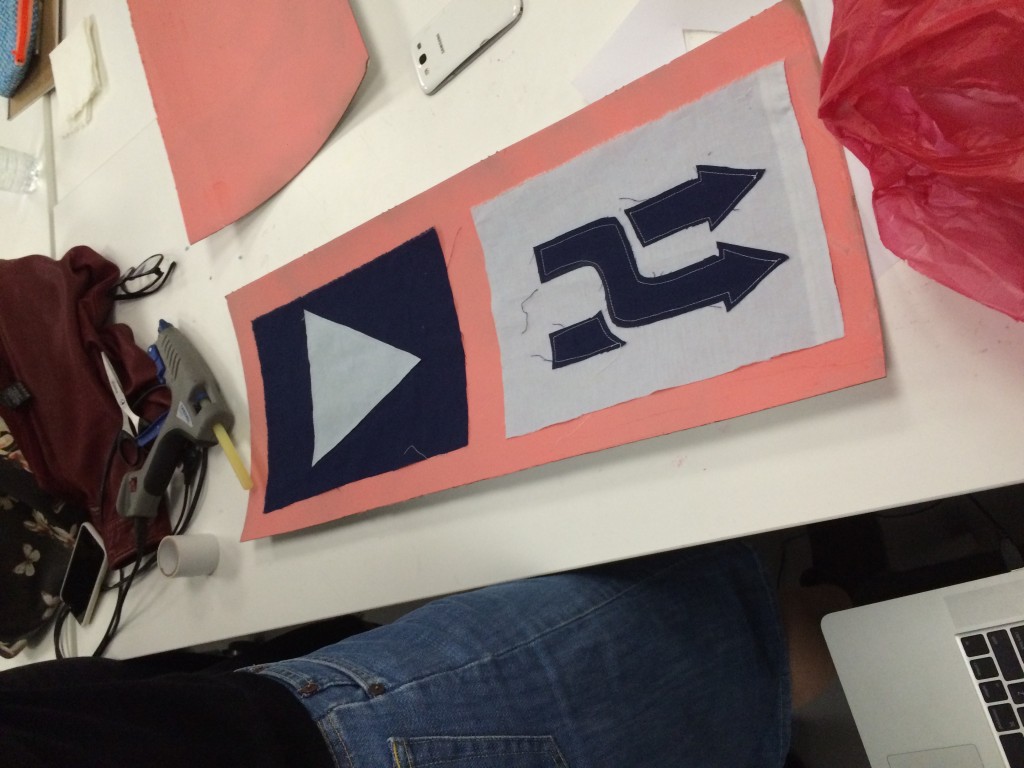
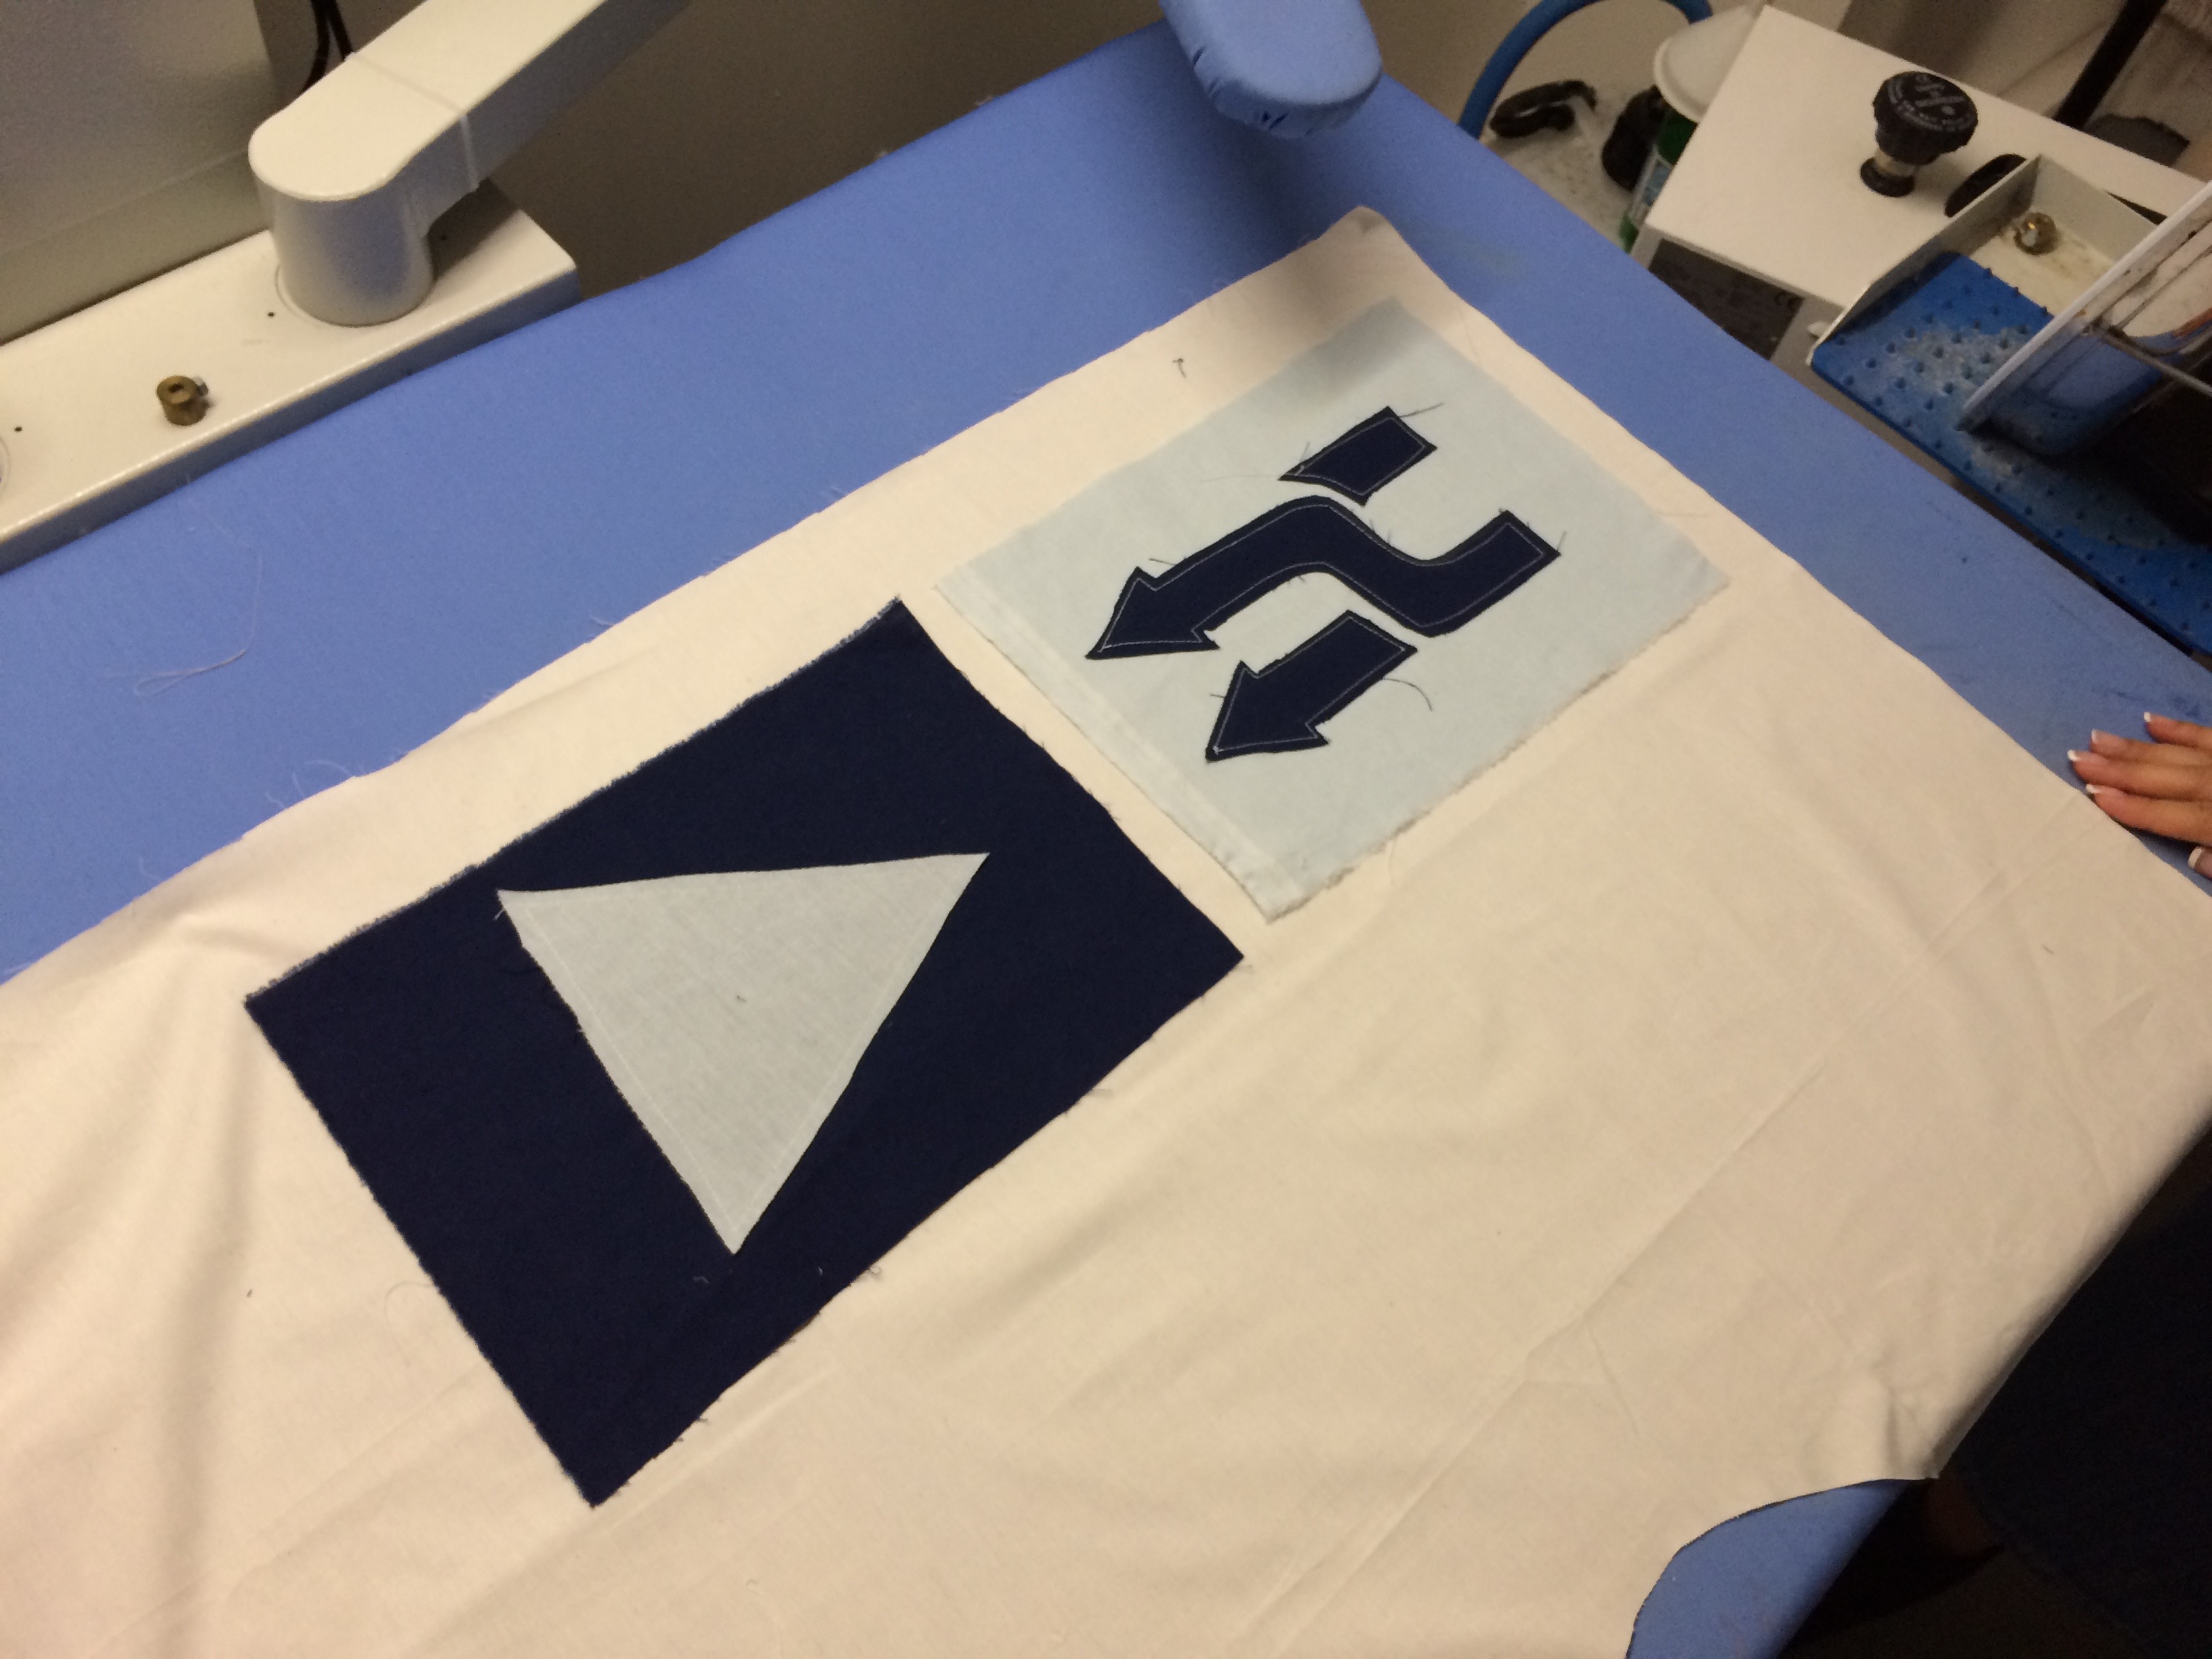
Here are the two fabric pieces that would be pressed to either play a song or play the next song.
So, we sewed together the fabric, soldered the pieces together, and incorporated copper tape to stick the wires together to complete the circuit and allow for the board to work. In order for it to work the USB must be plugged into the computer, and when the sponge is pressed, the music is played or skipped, as previously mentioned.
Here is our process in images:
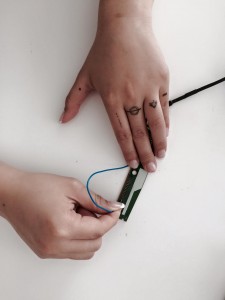
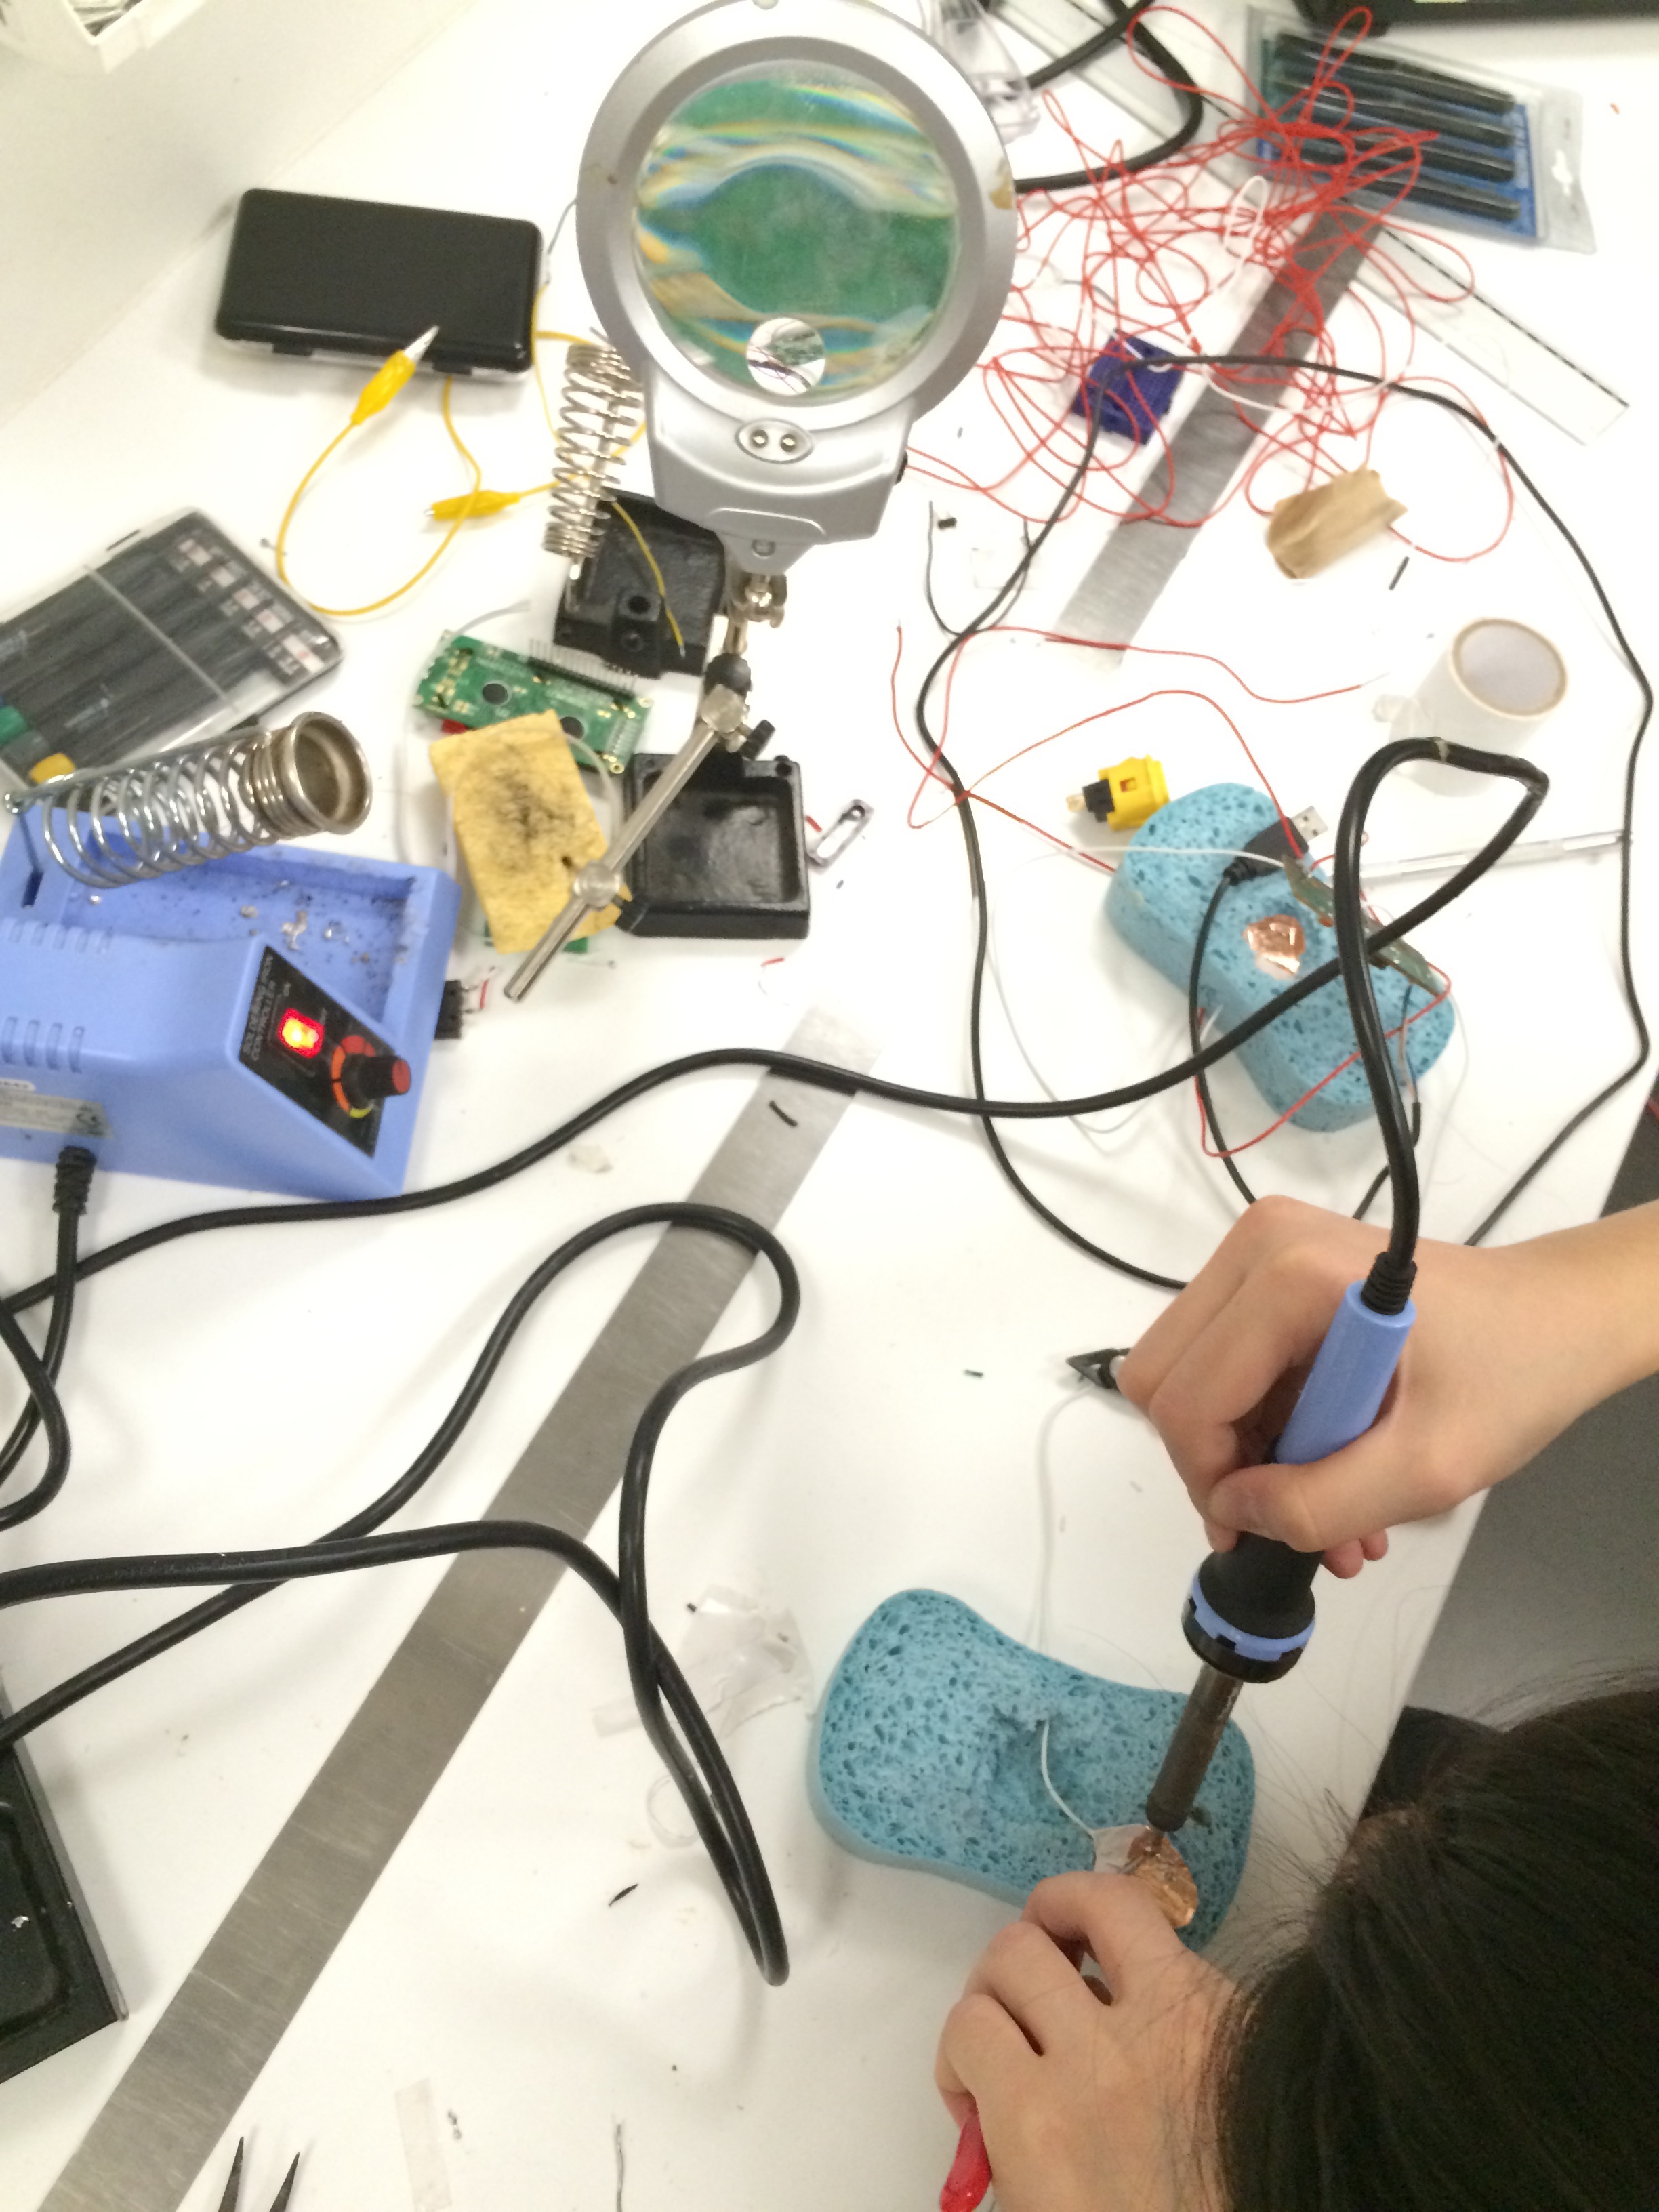
We first tested the pins to see what matched with what key:
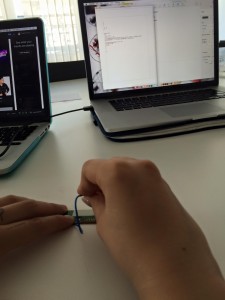

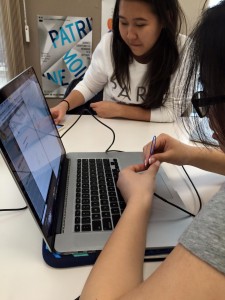
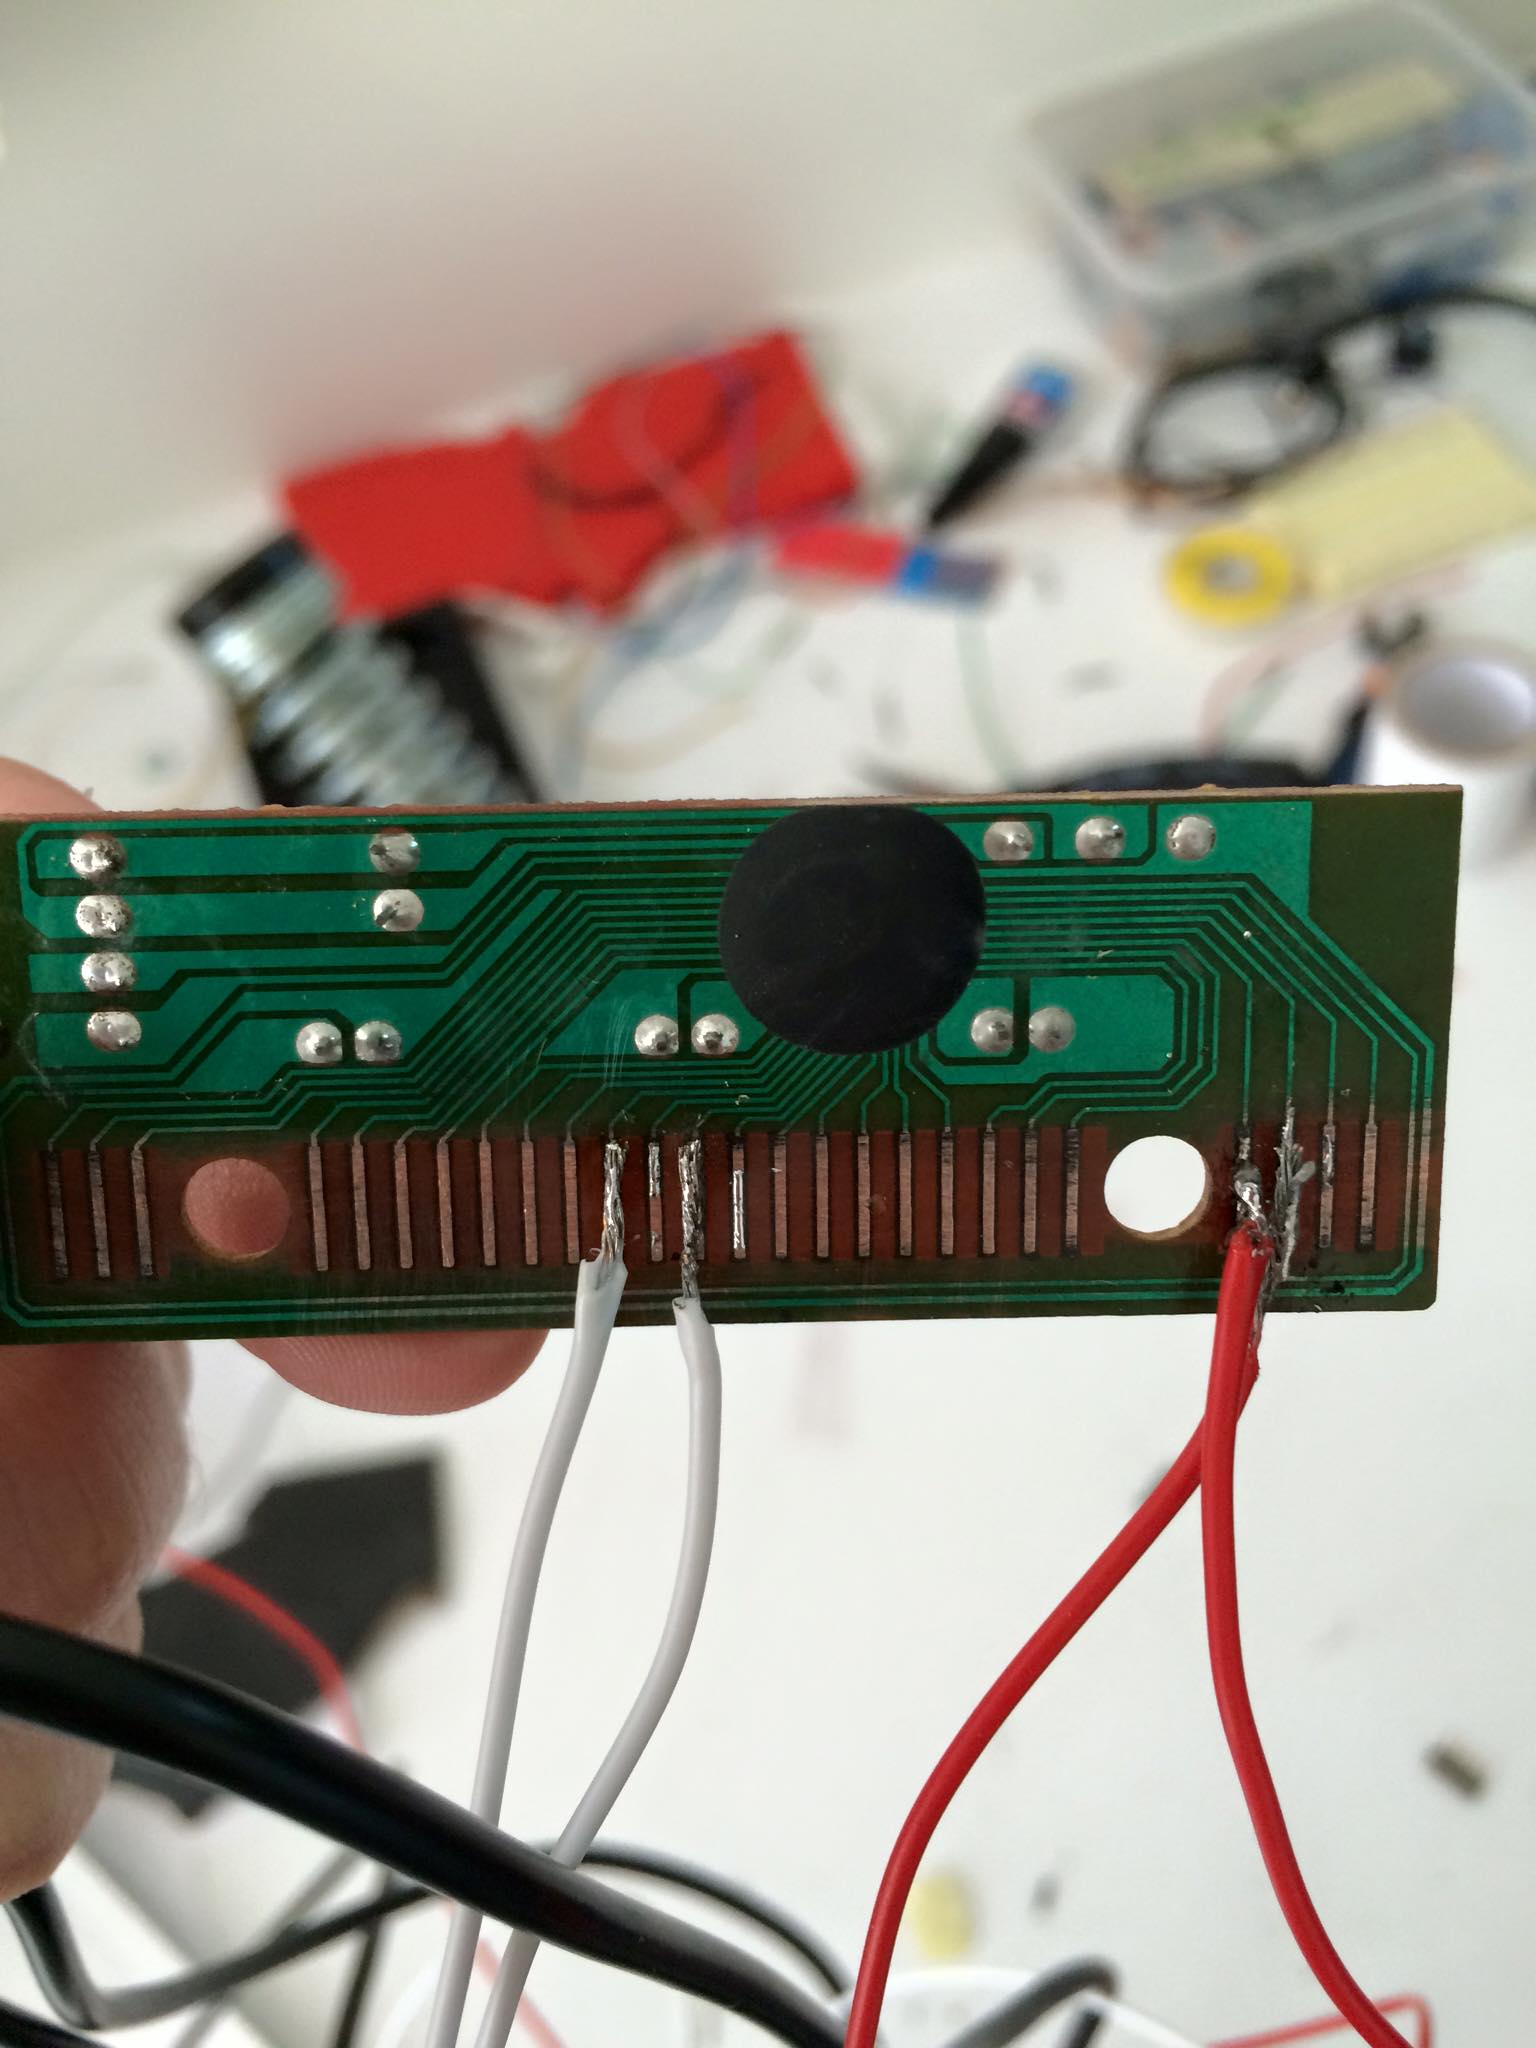
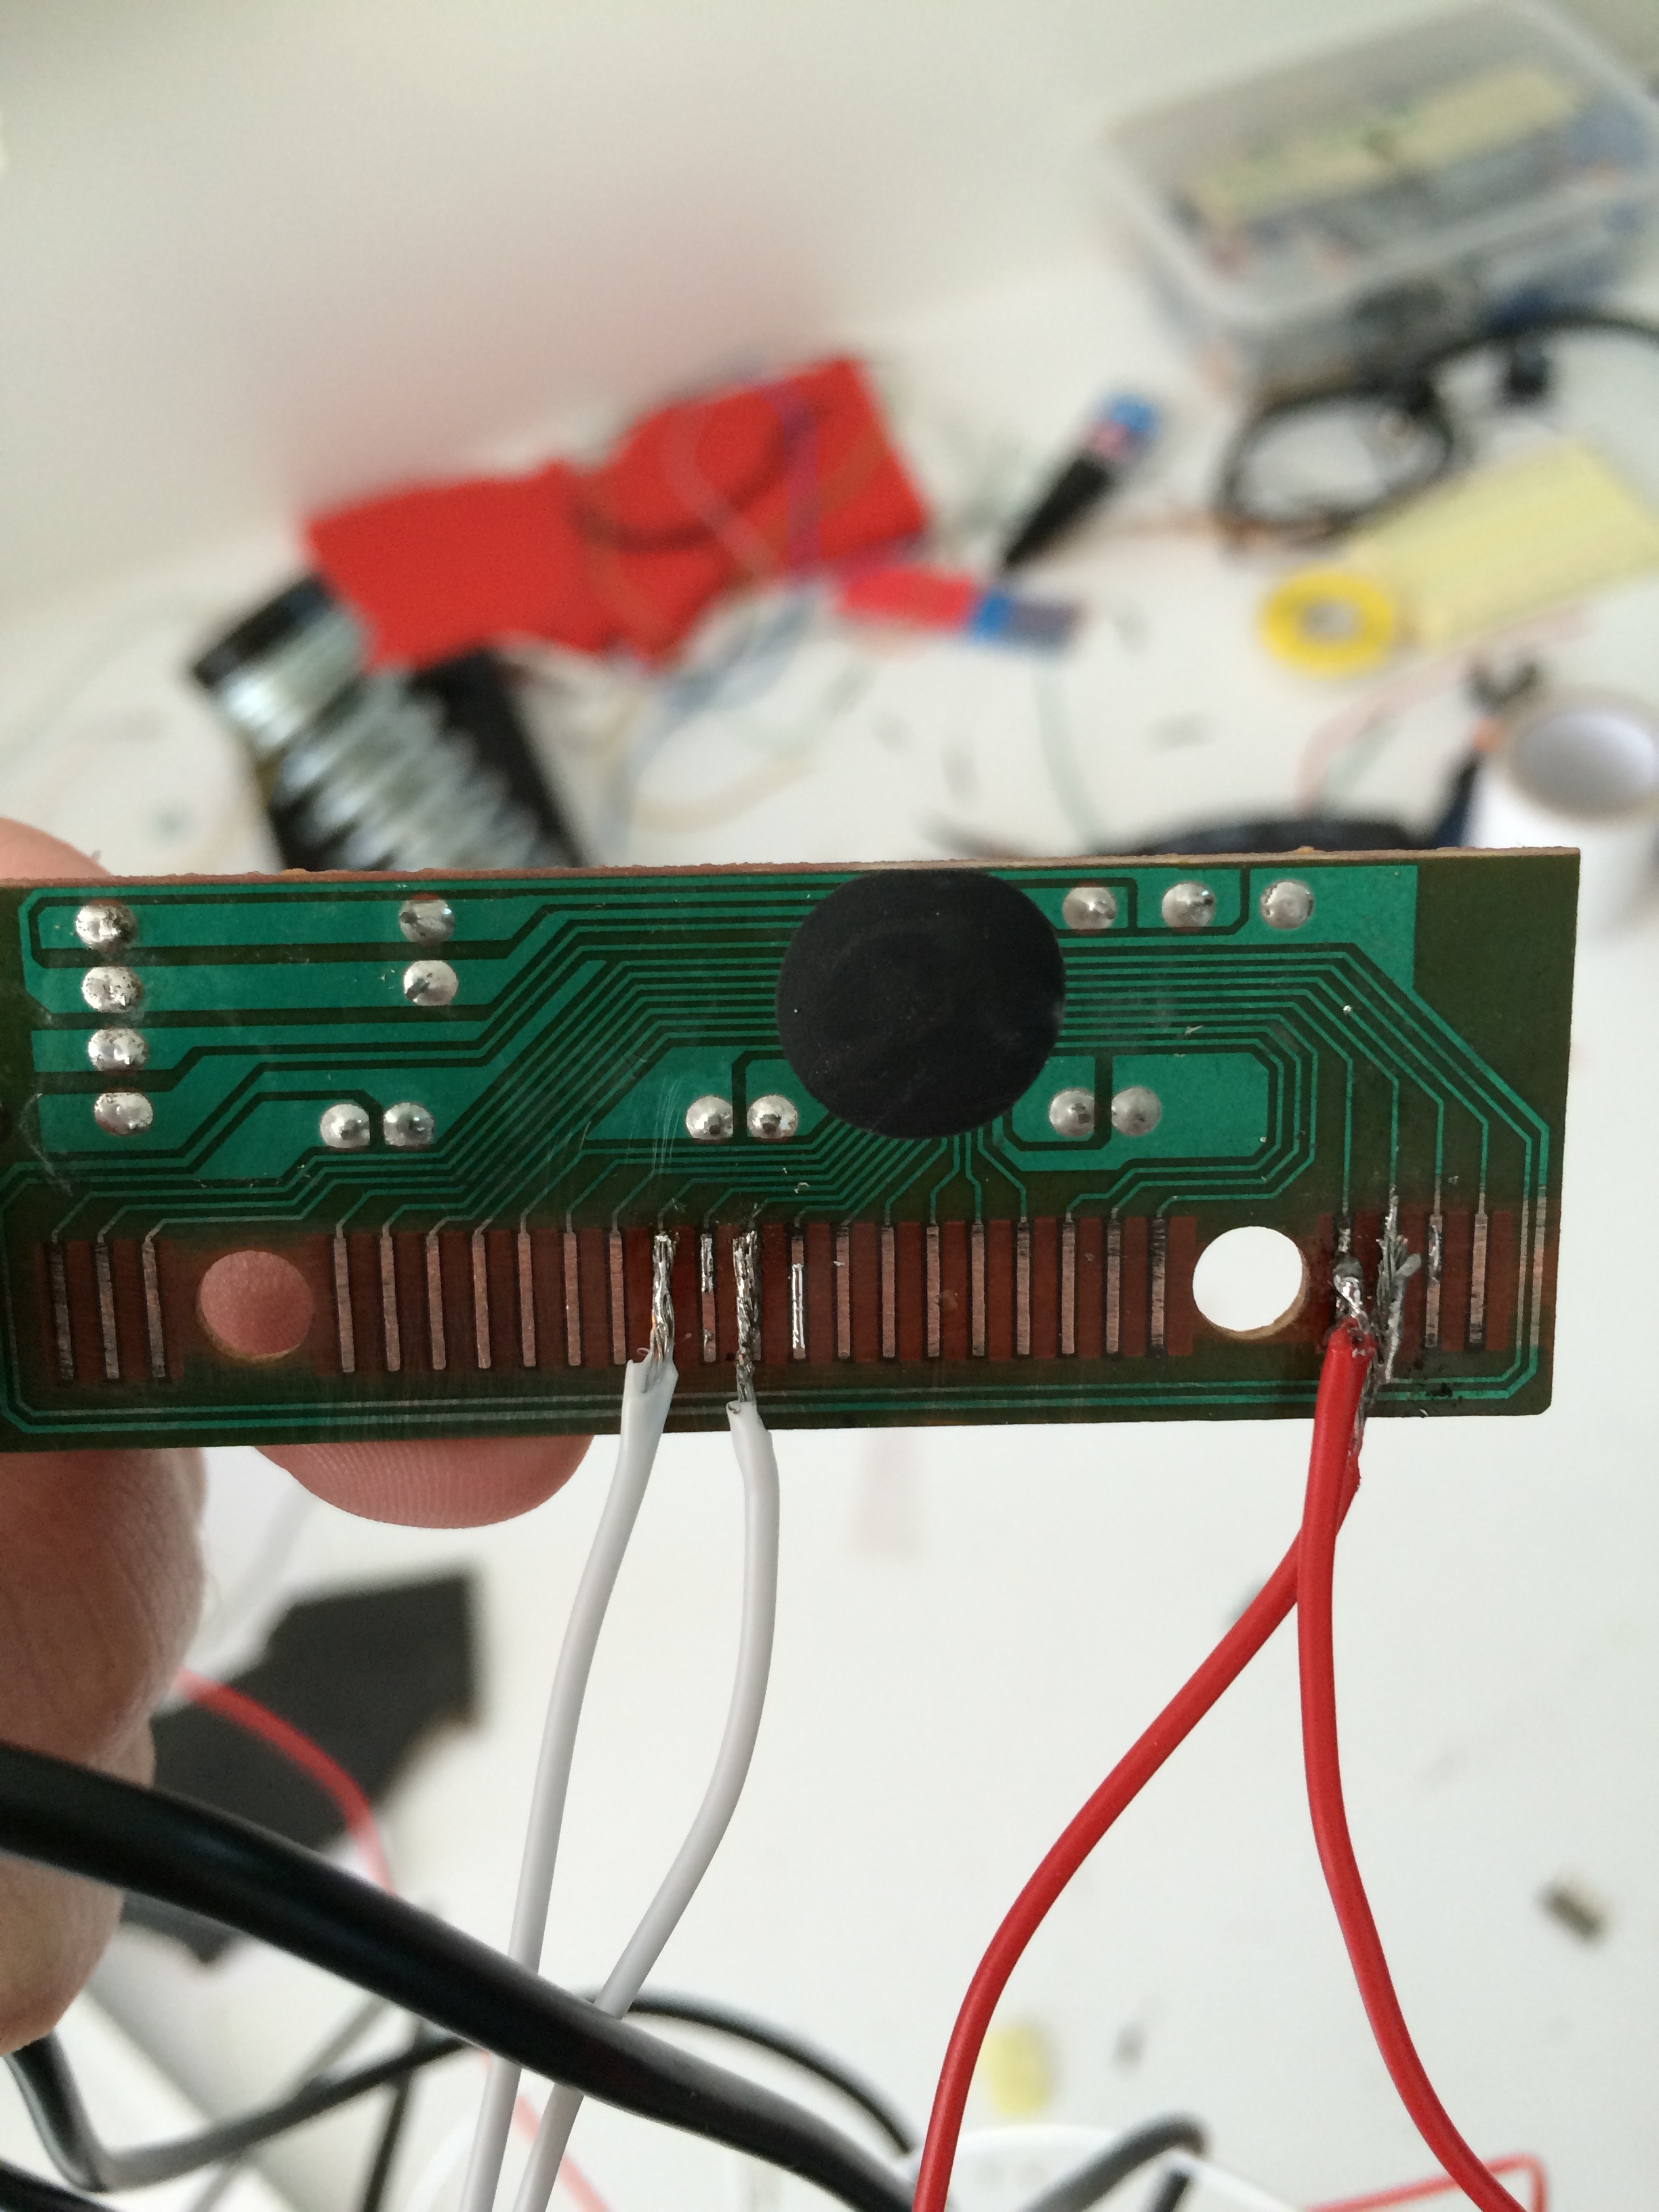
Once we figured out the pattern of keys, we started soldering:

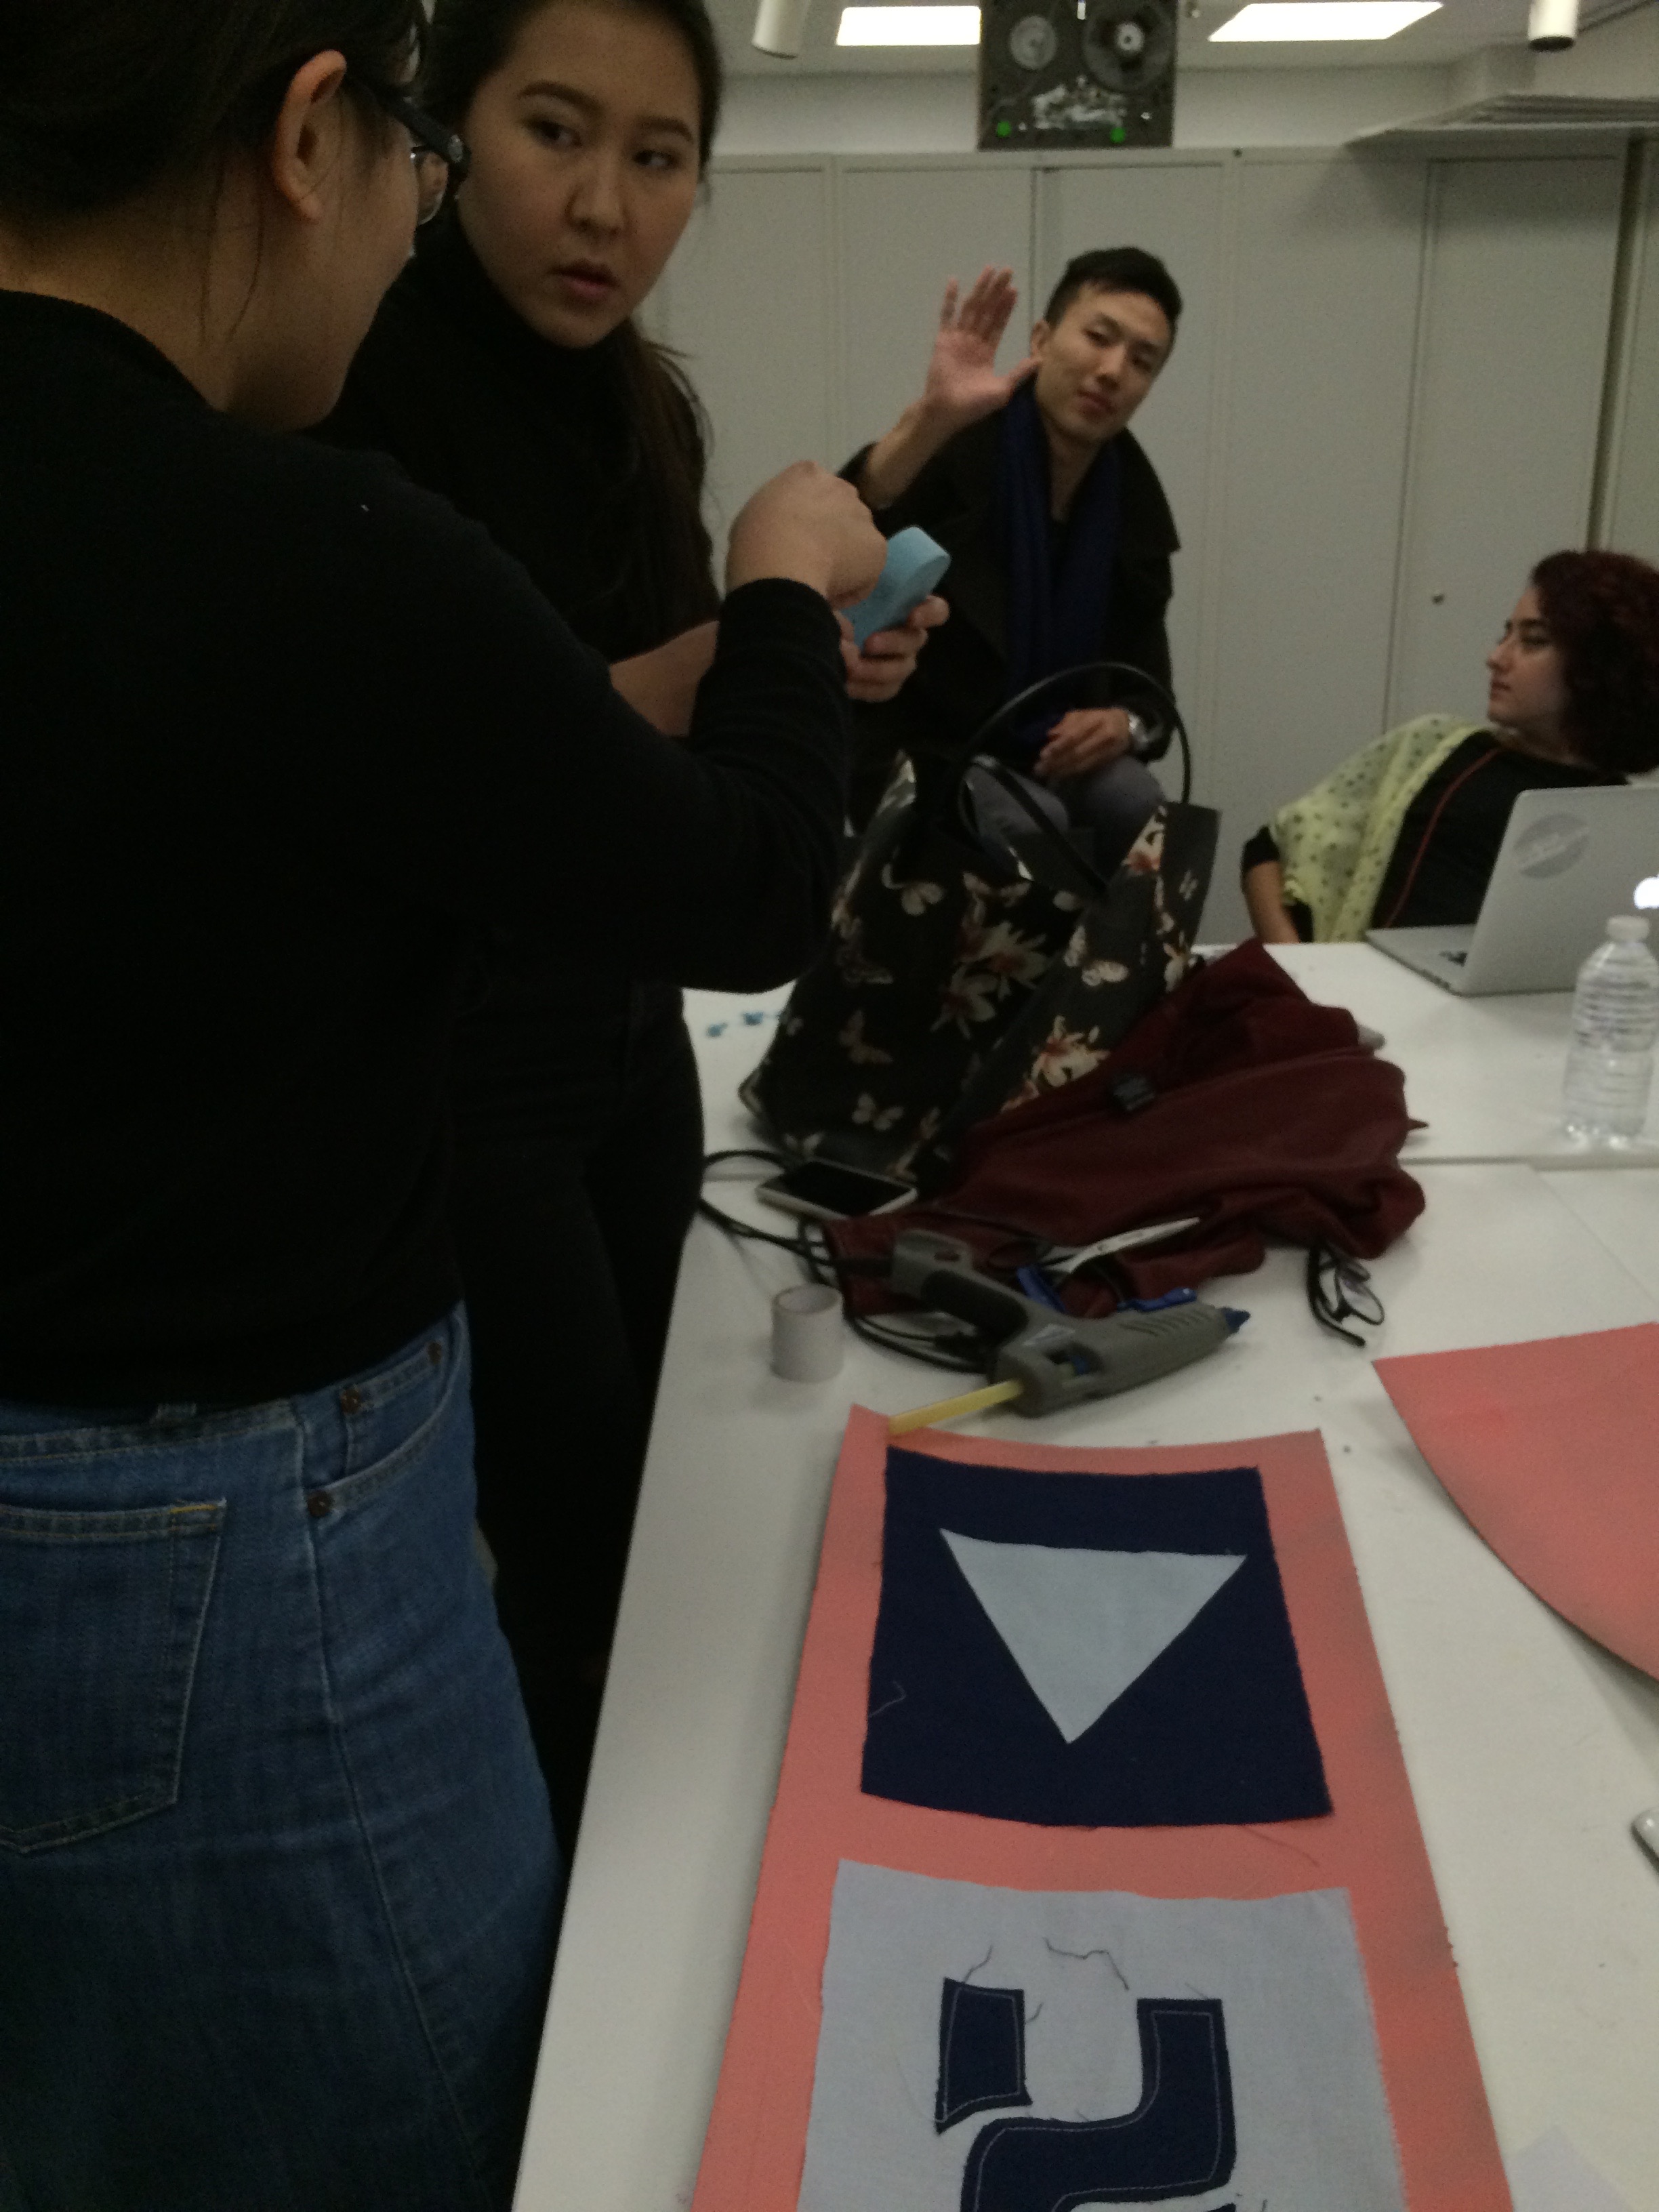
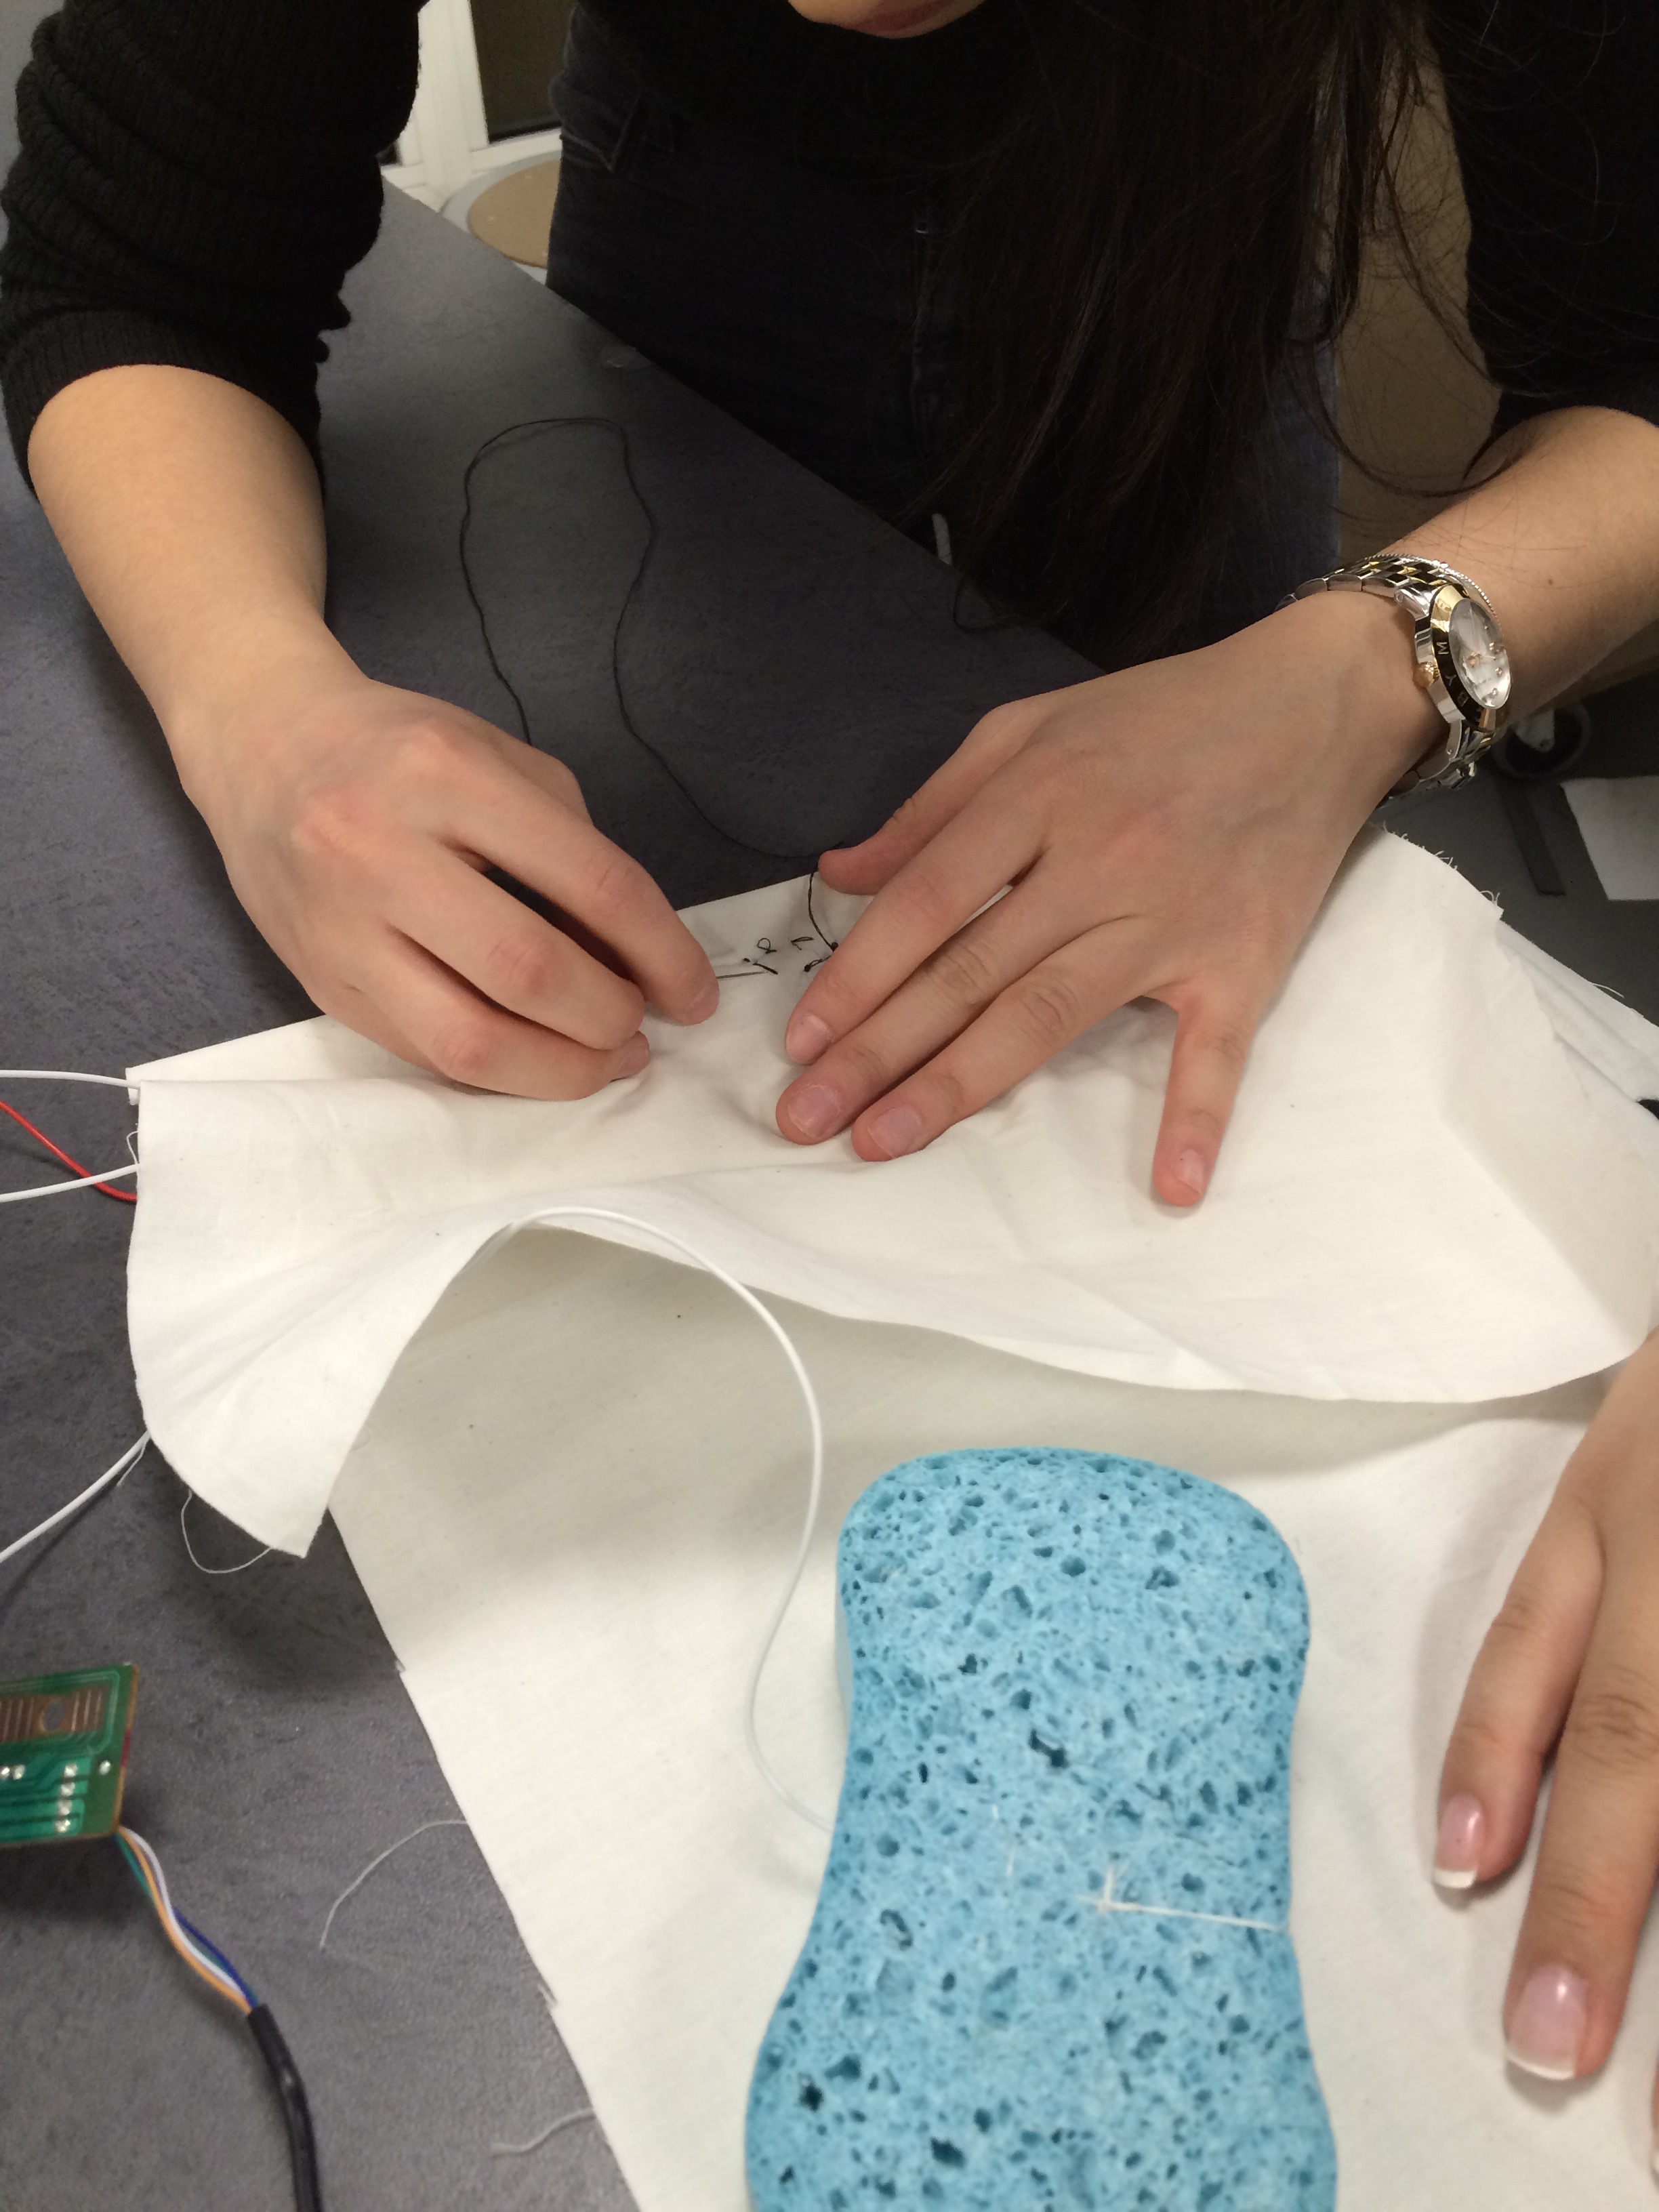
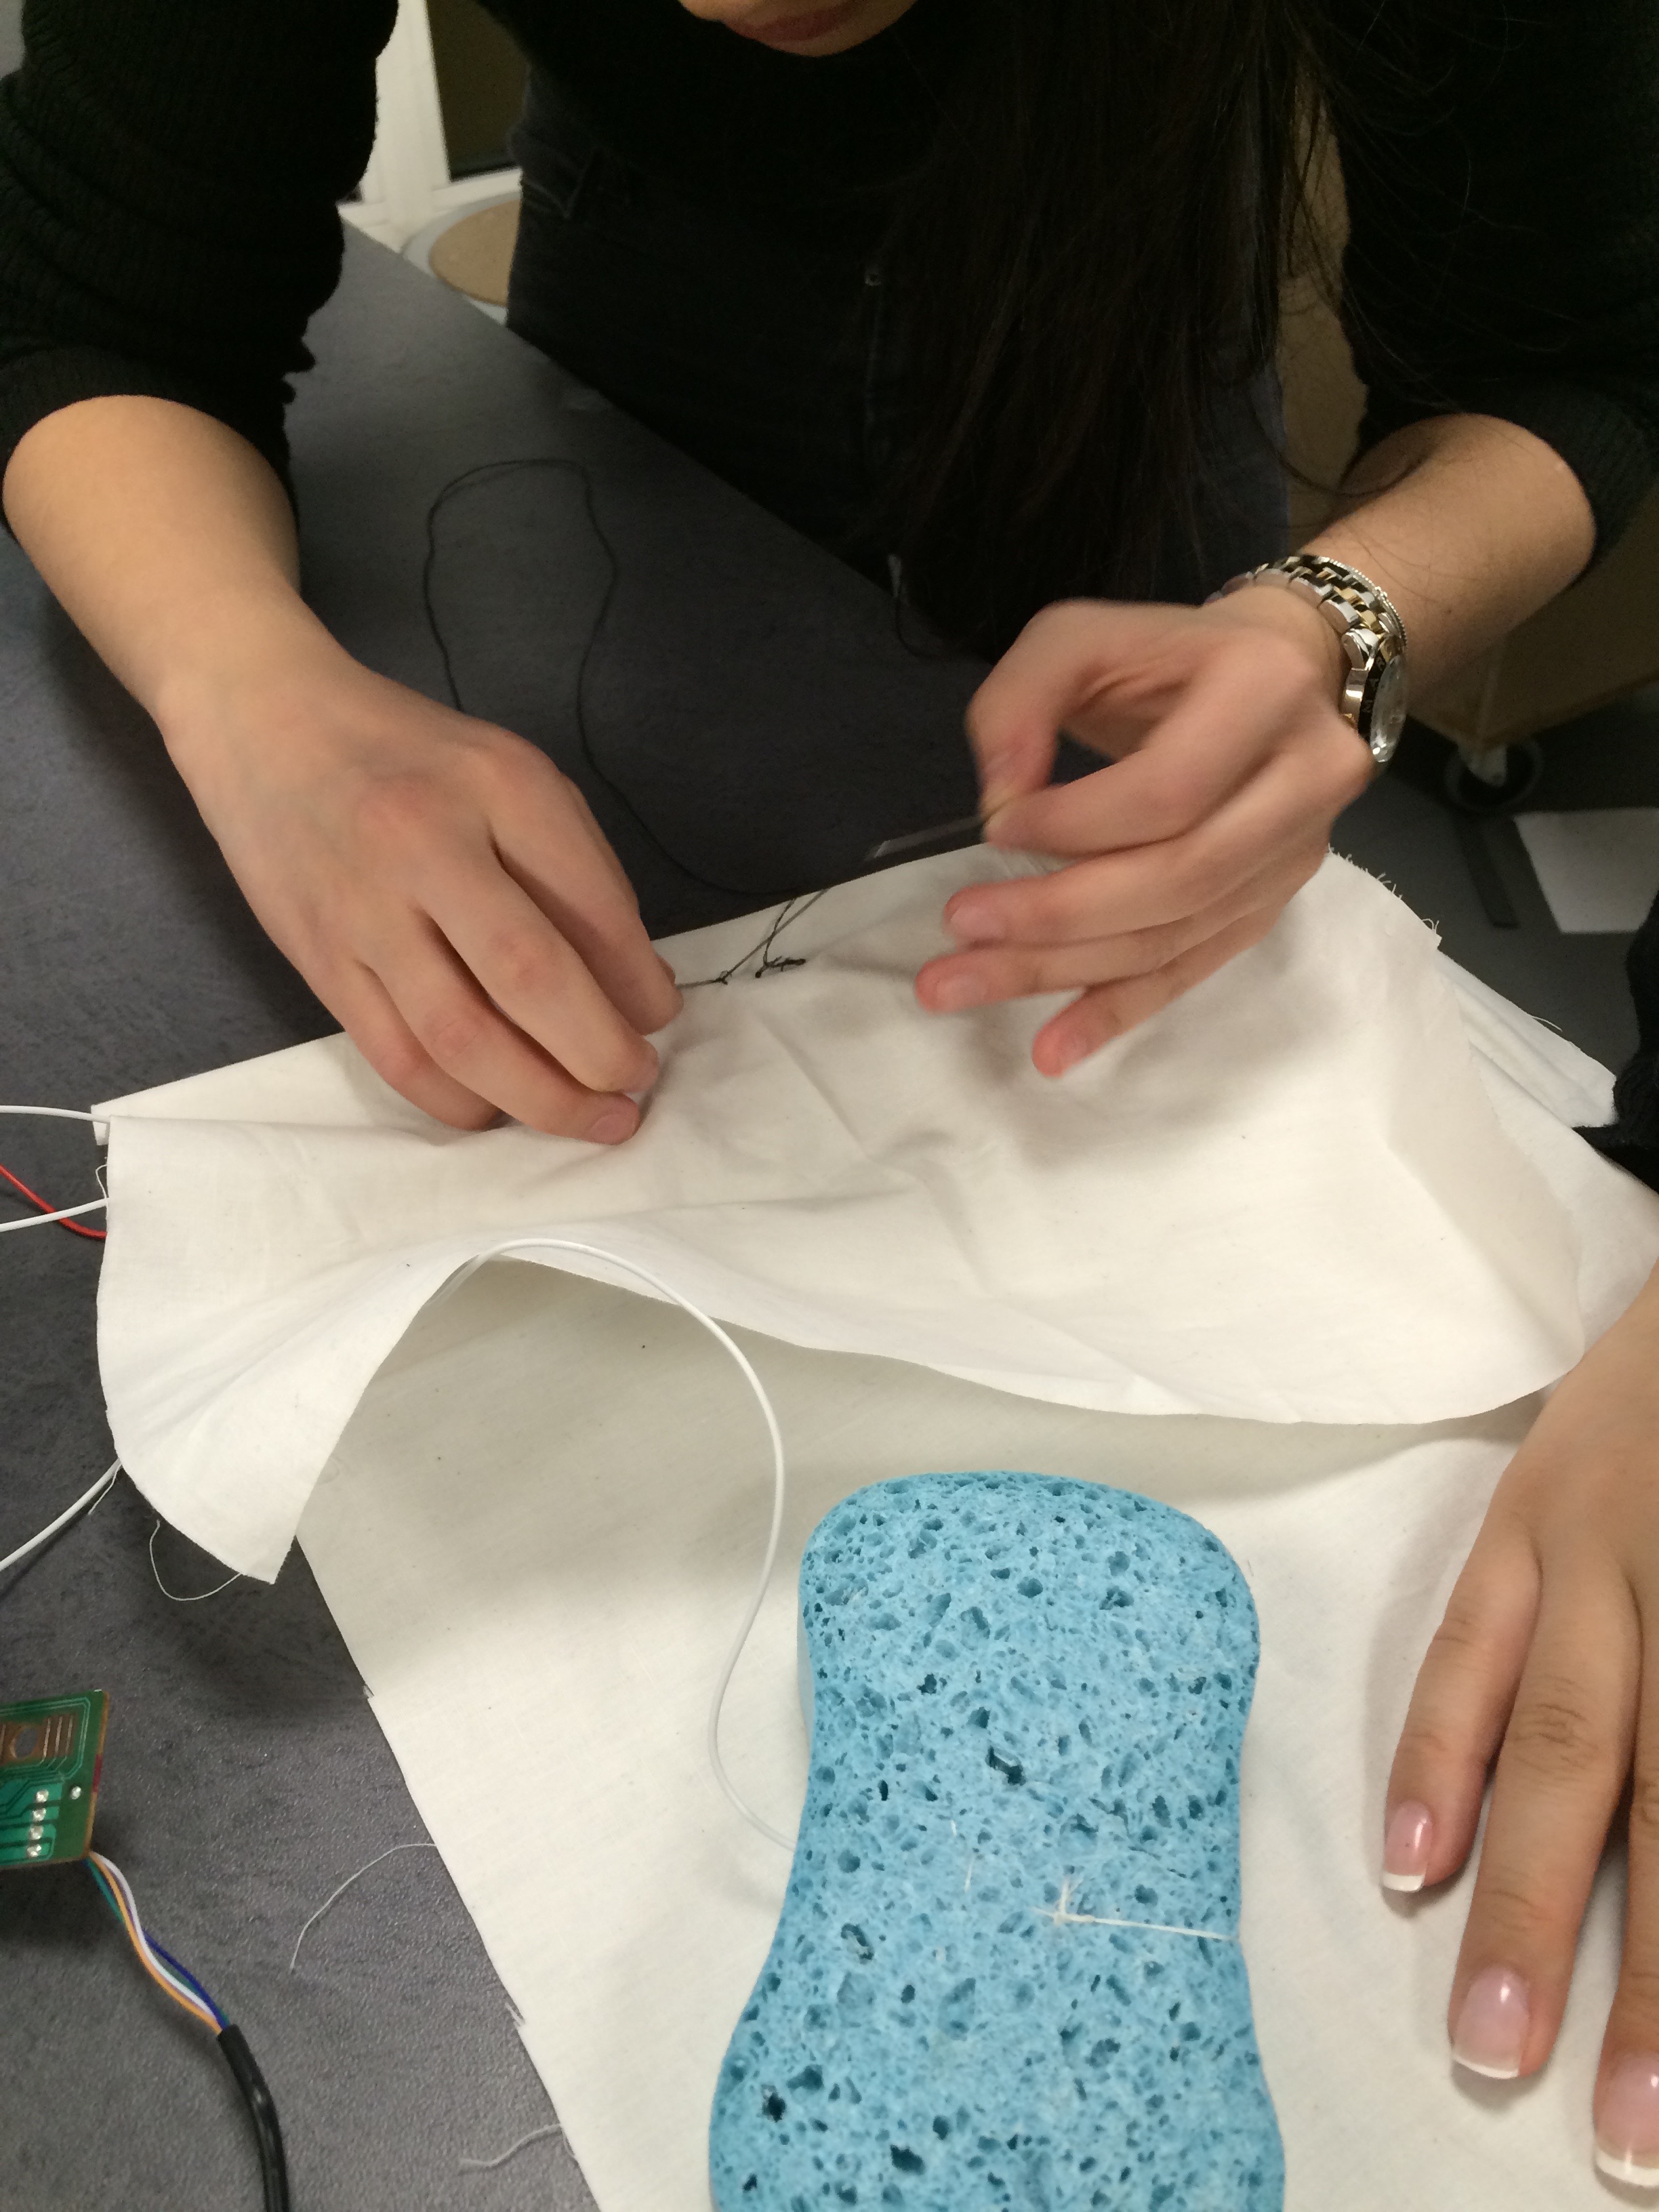
Then we designed our play and shuffle buttons we eventually sewed onto fabric:

Here is a video testing our sponges and circuit:
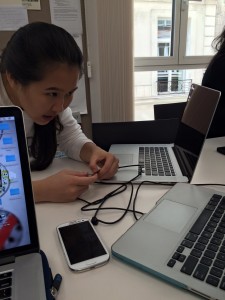
Then we figured out where the copper tape and wire would be connected to the sponges in order to complete the circuit:
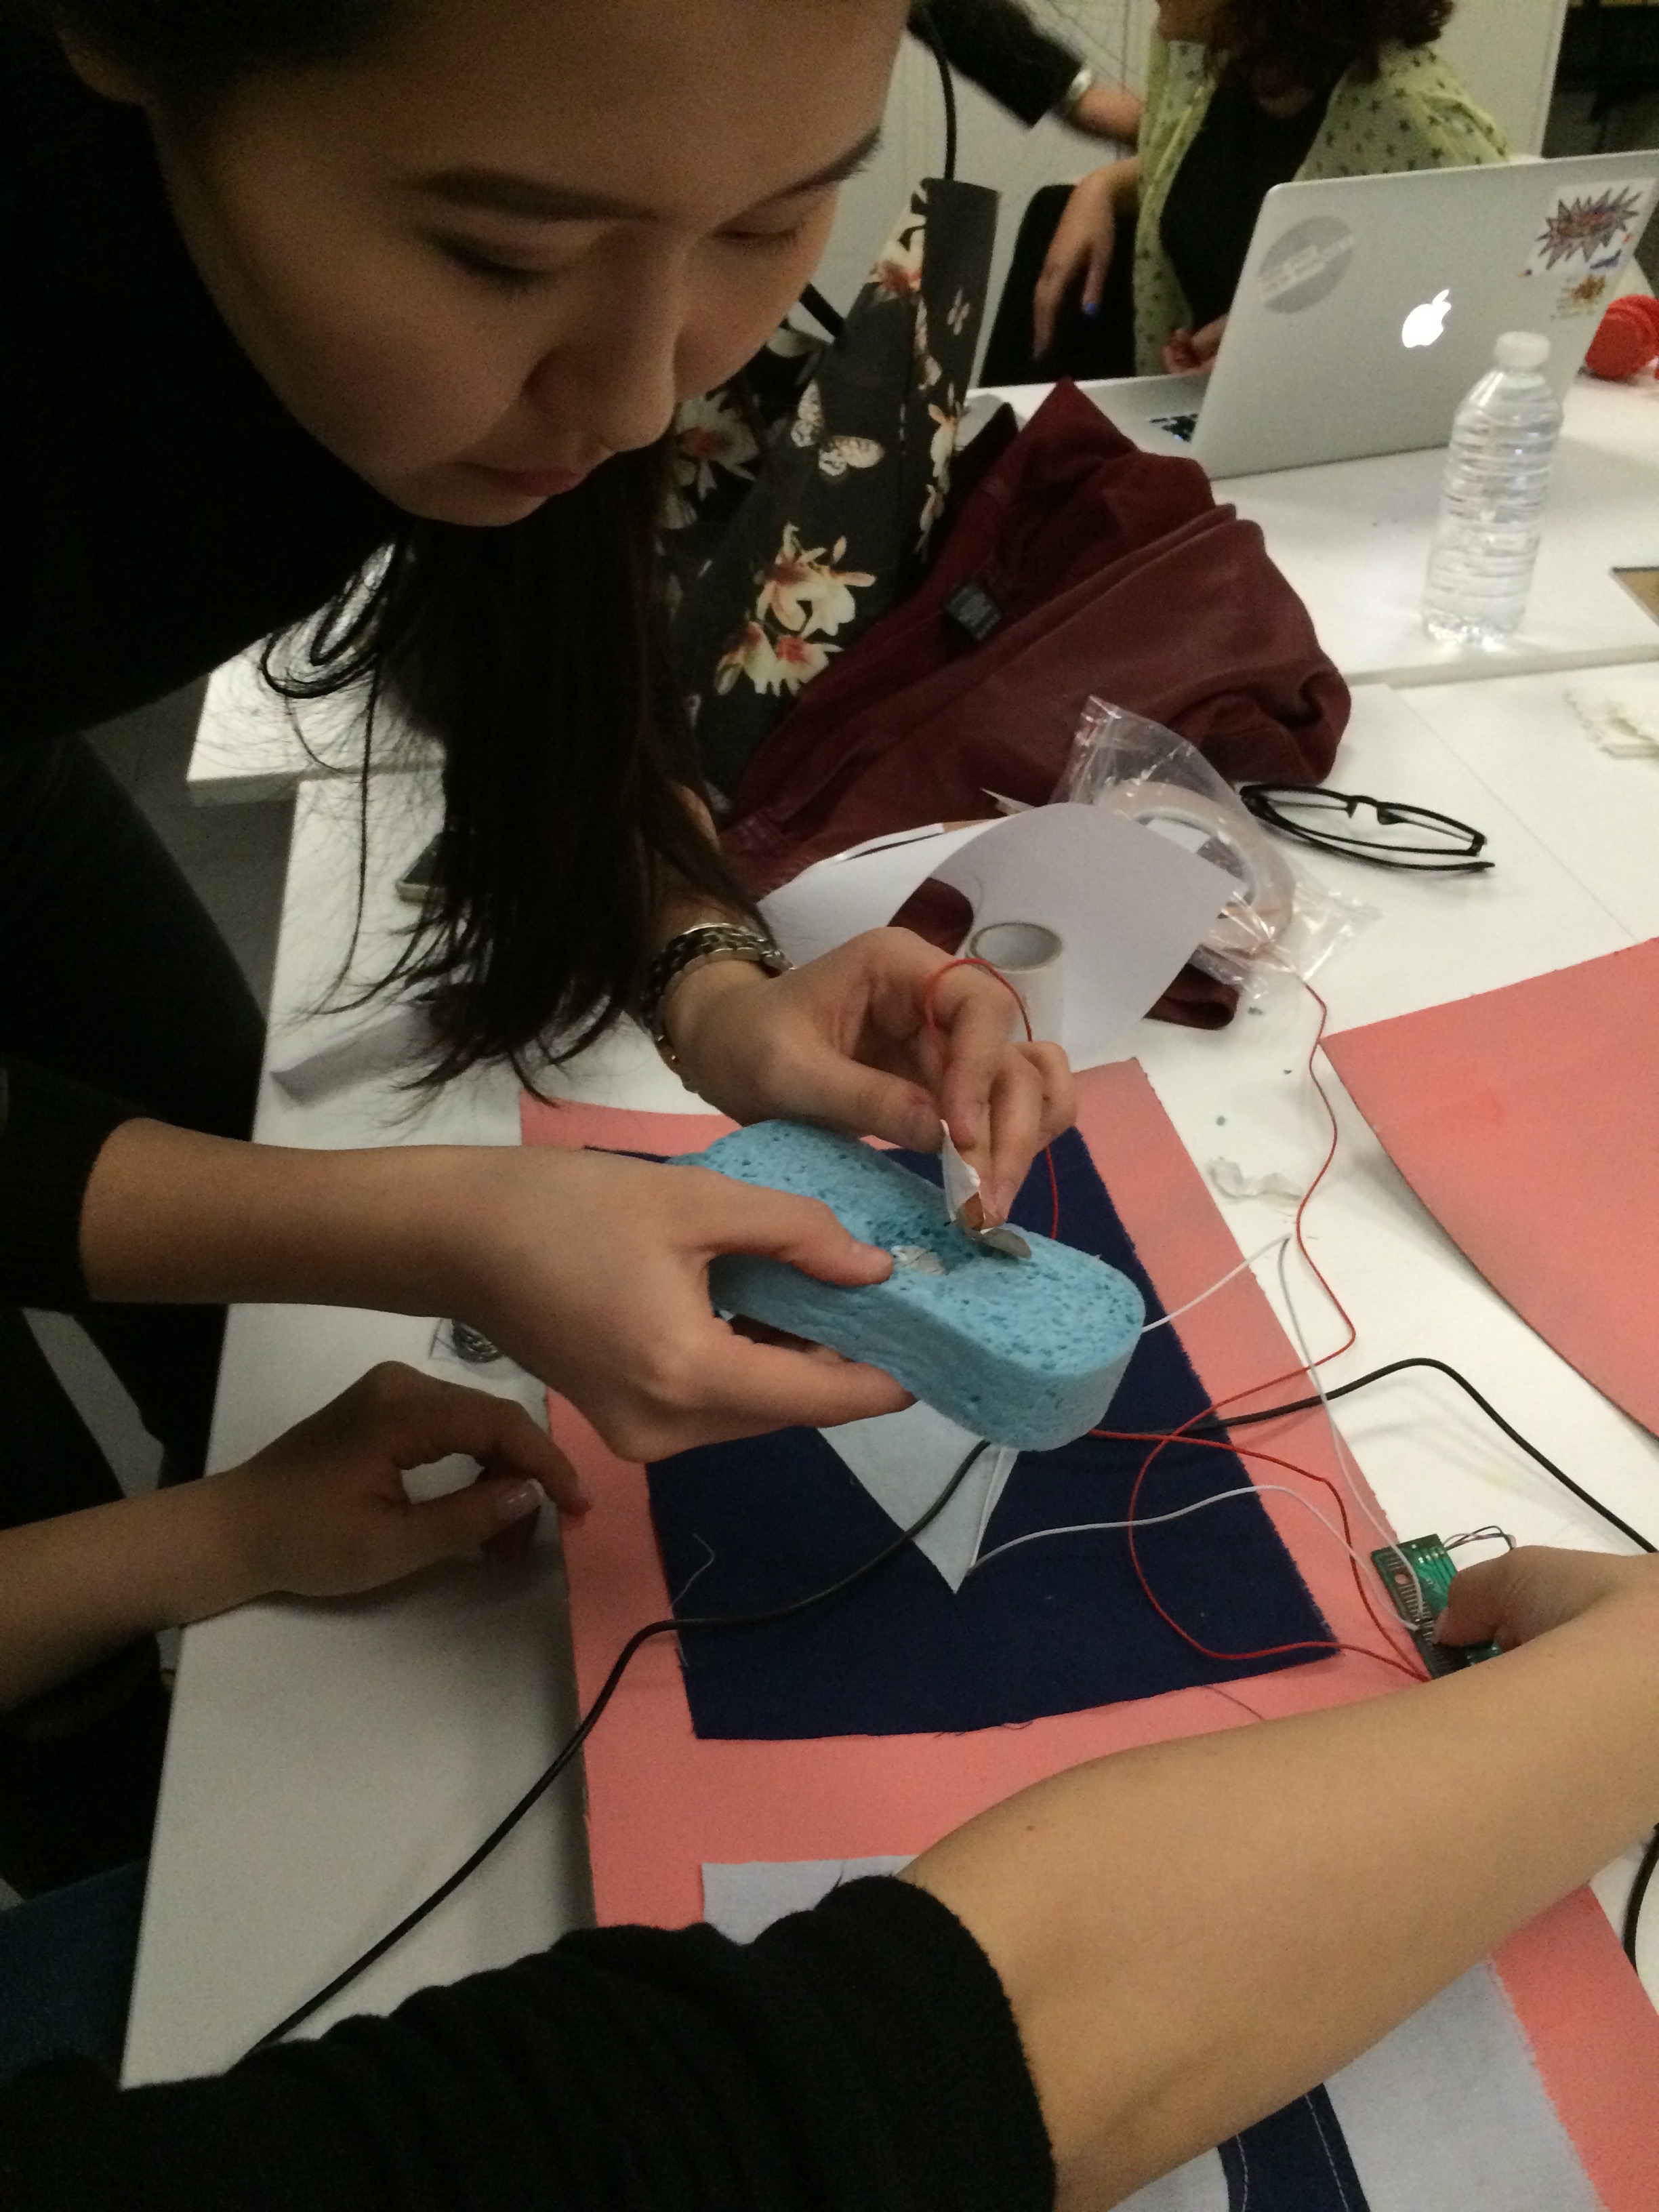
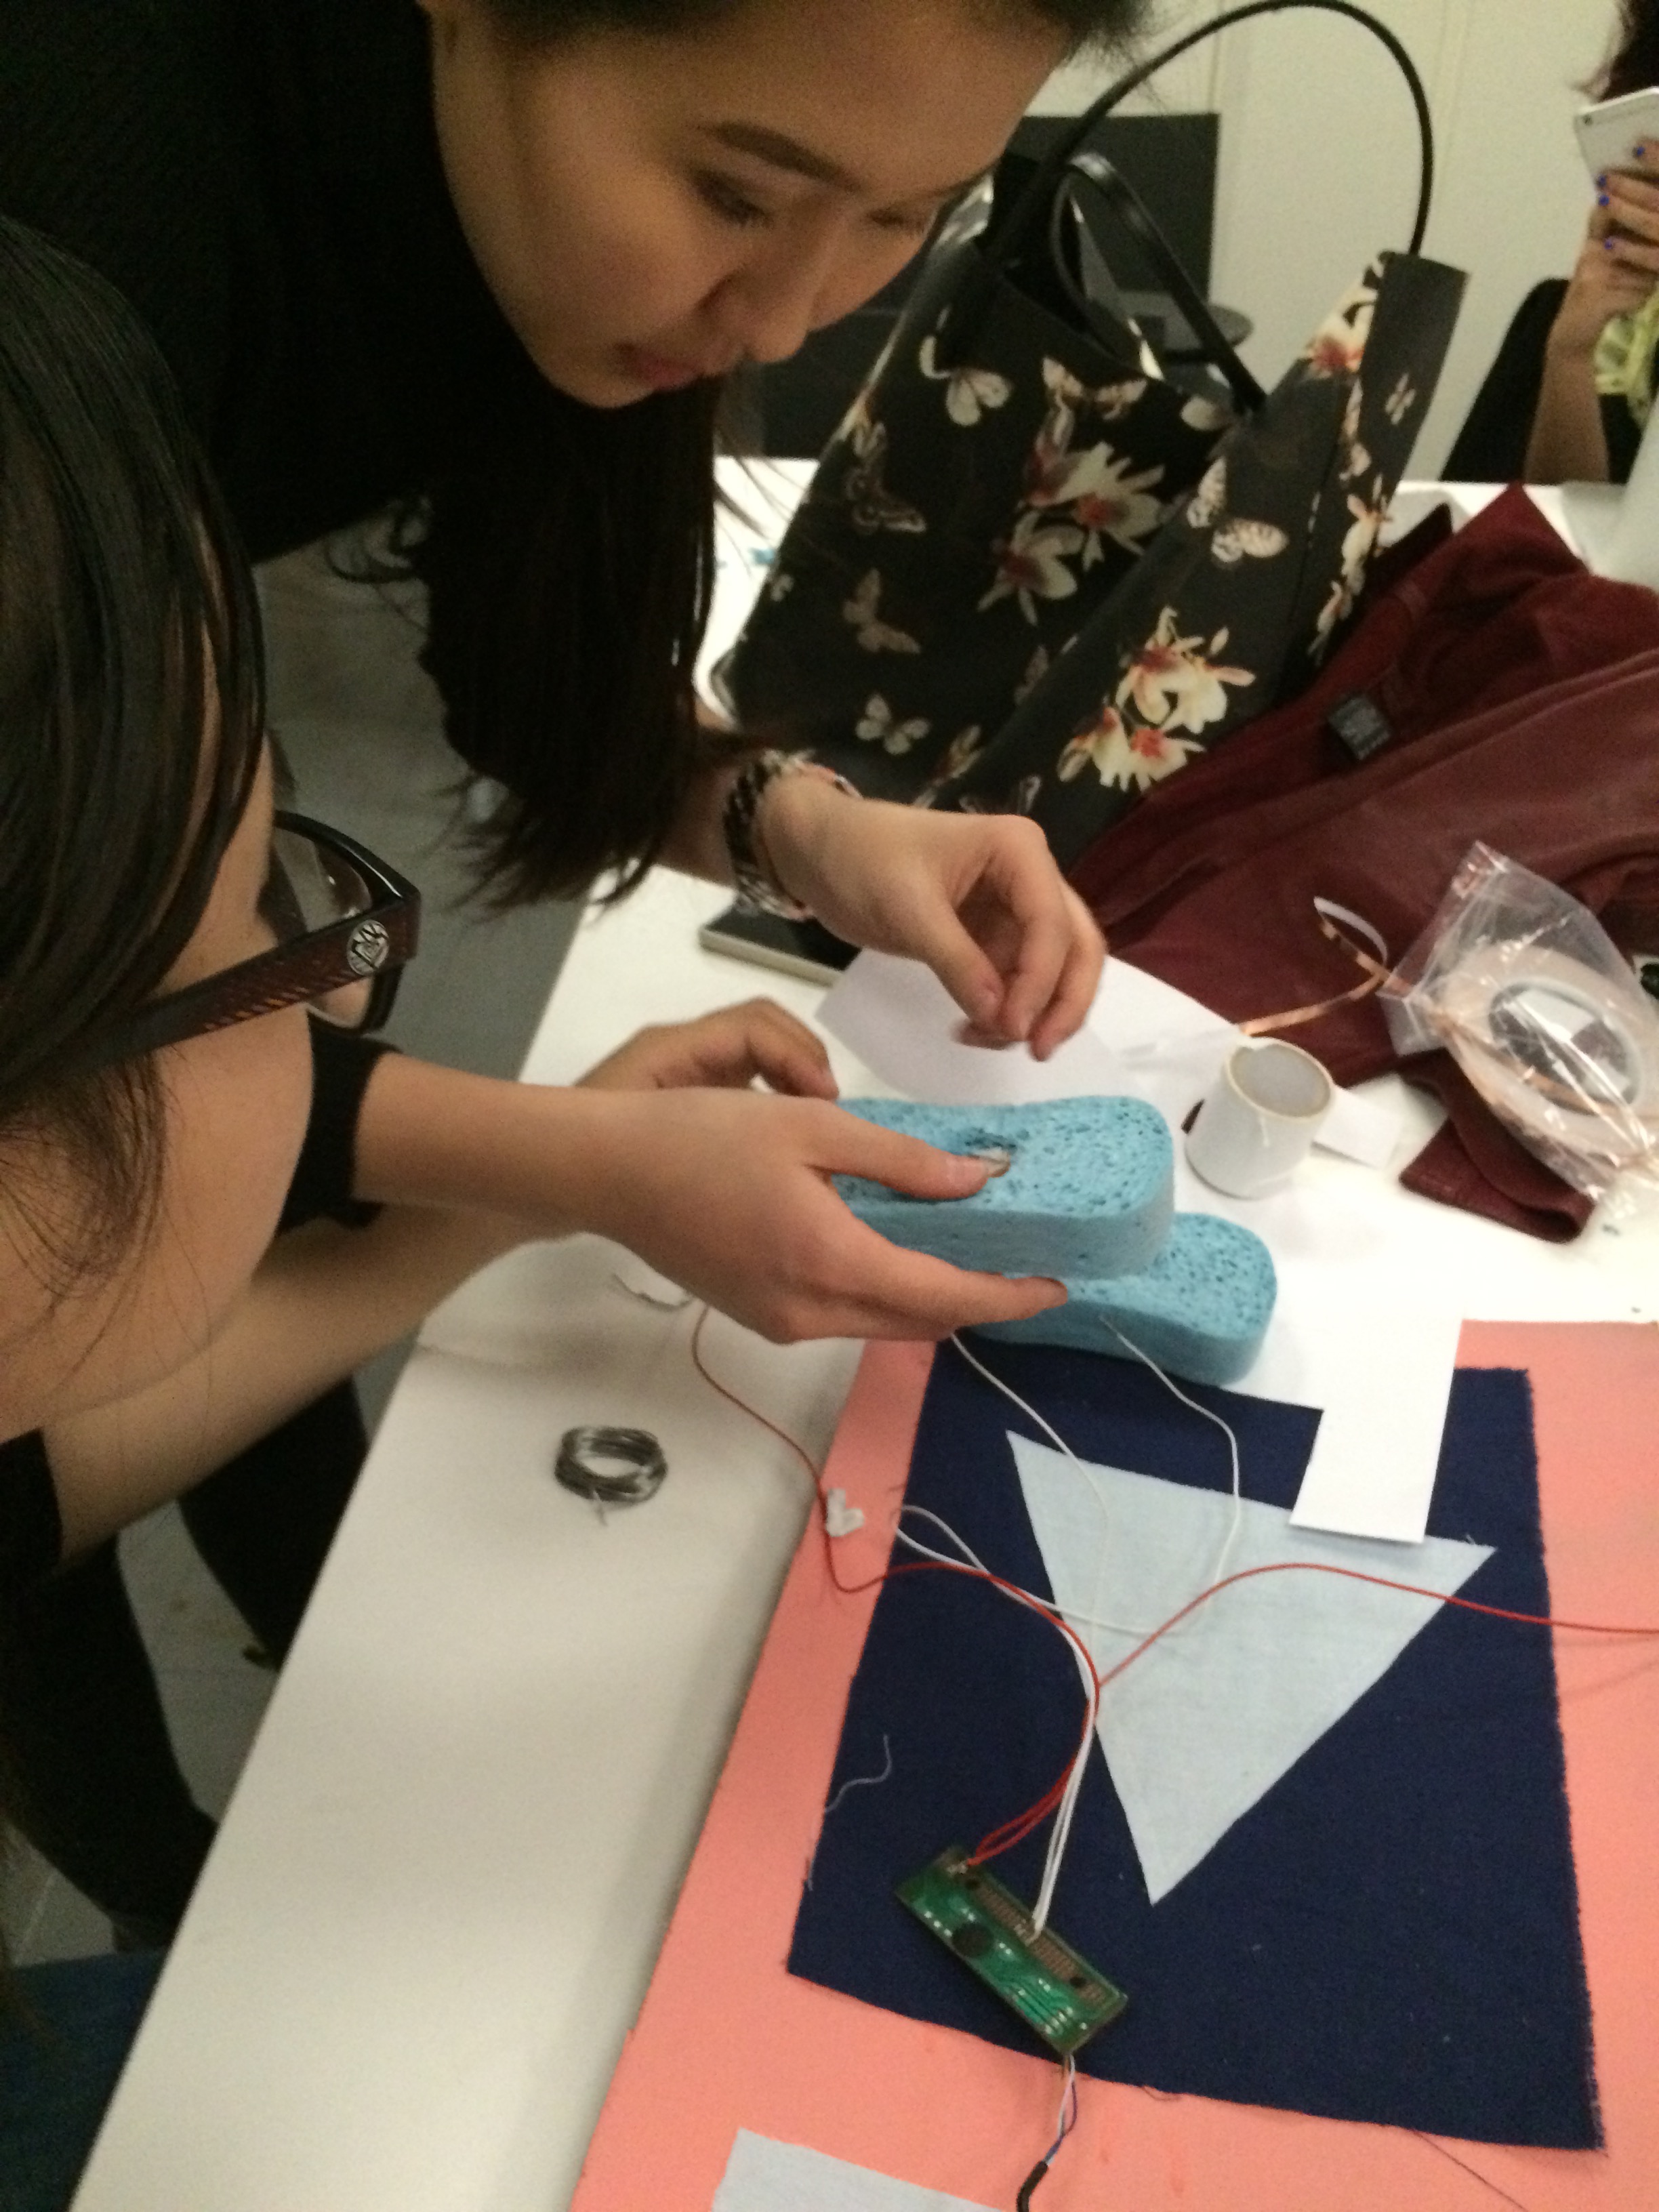
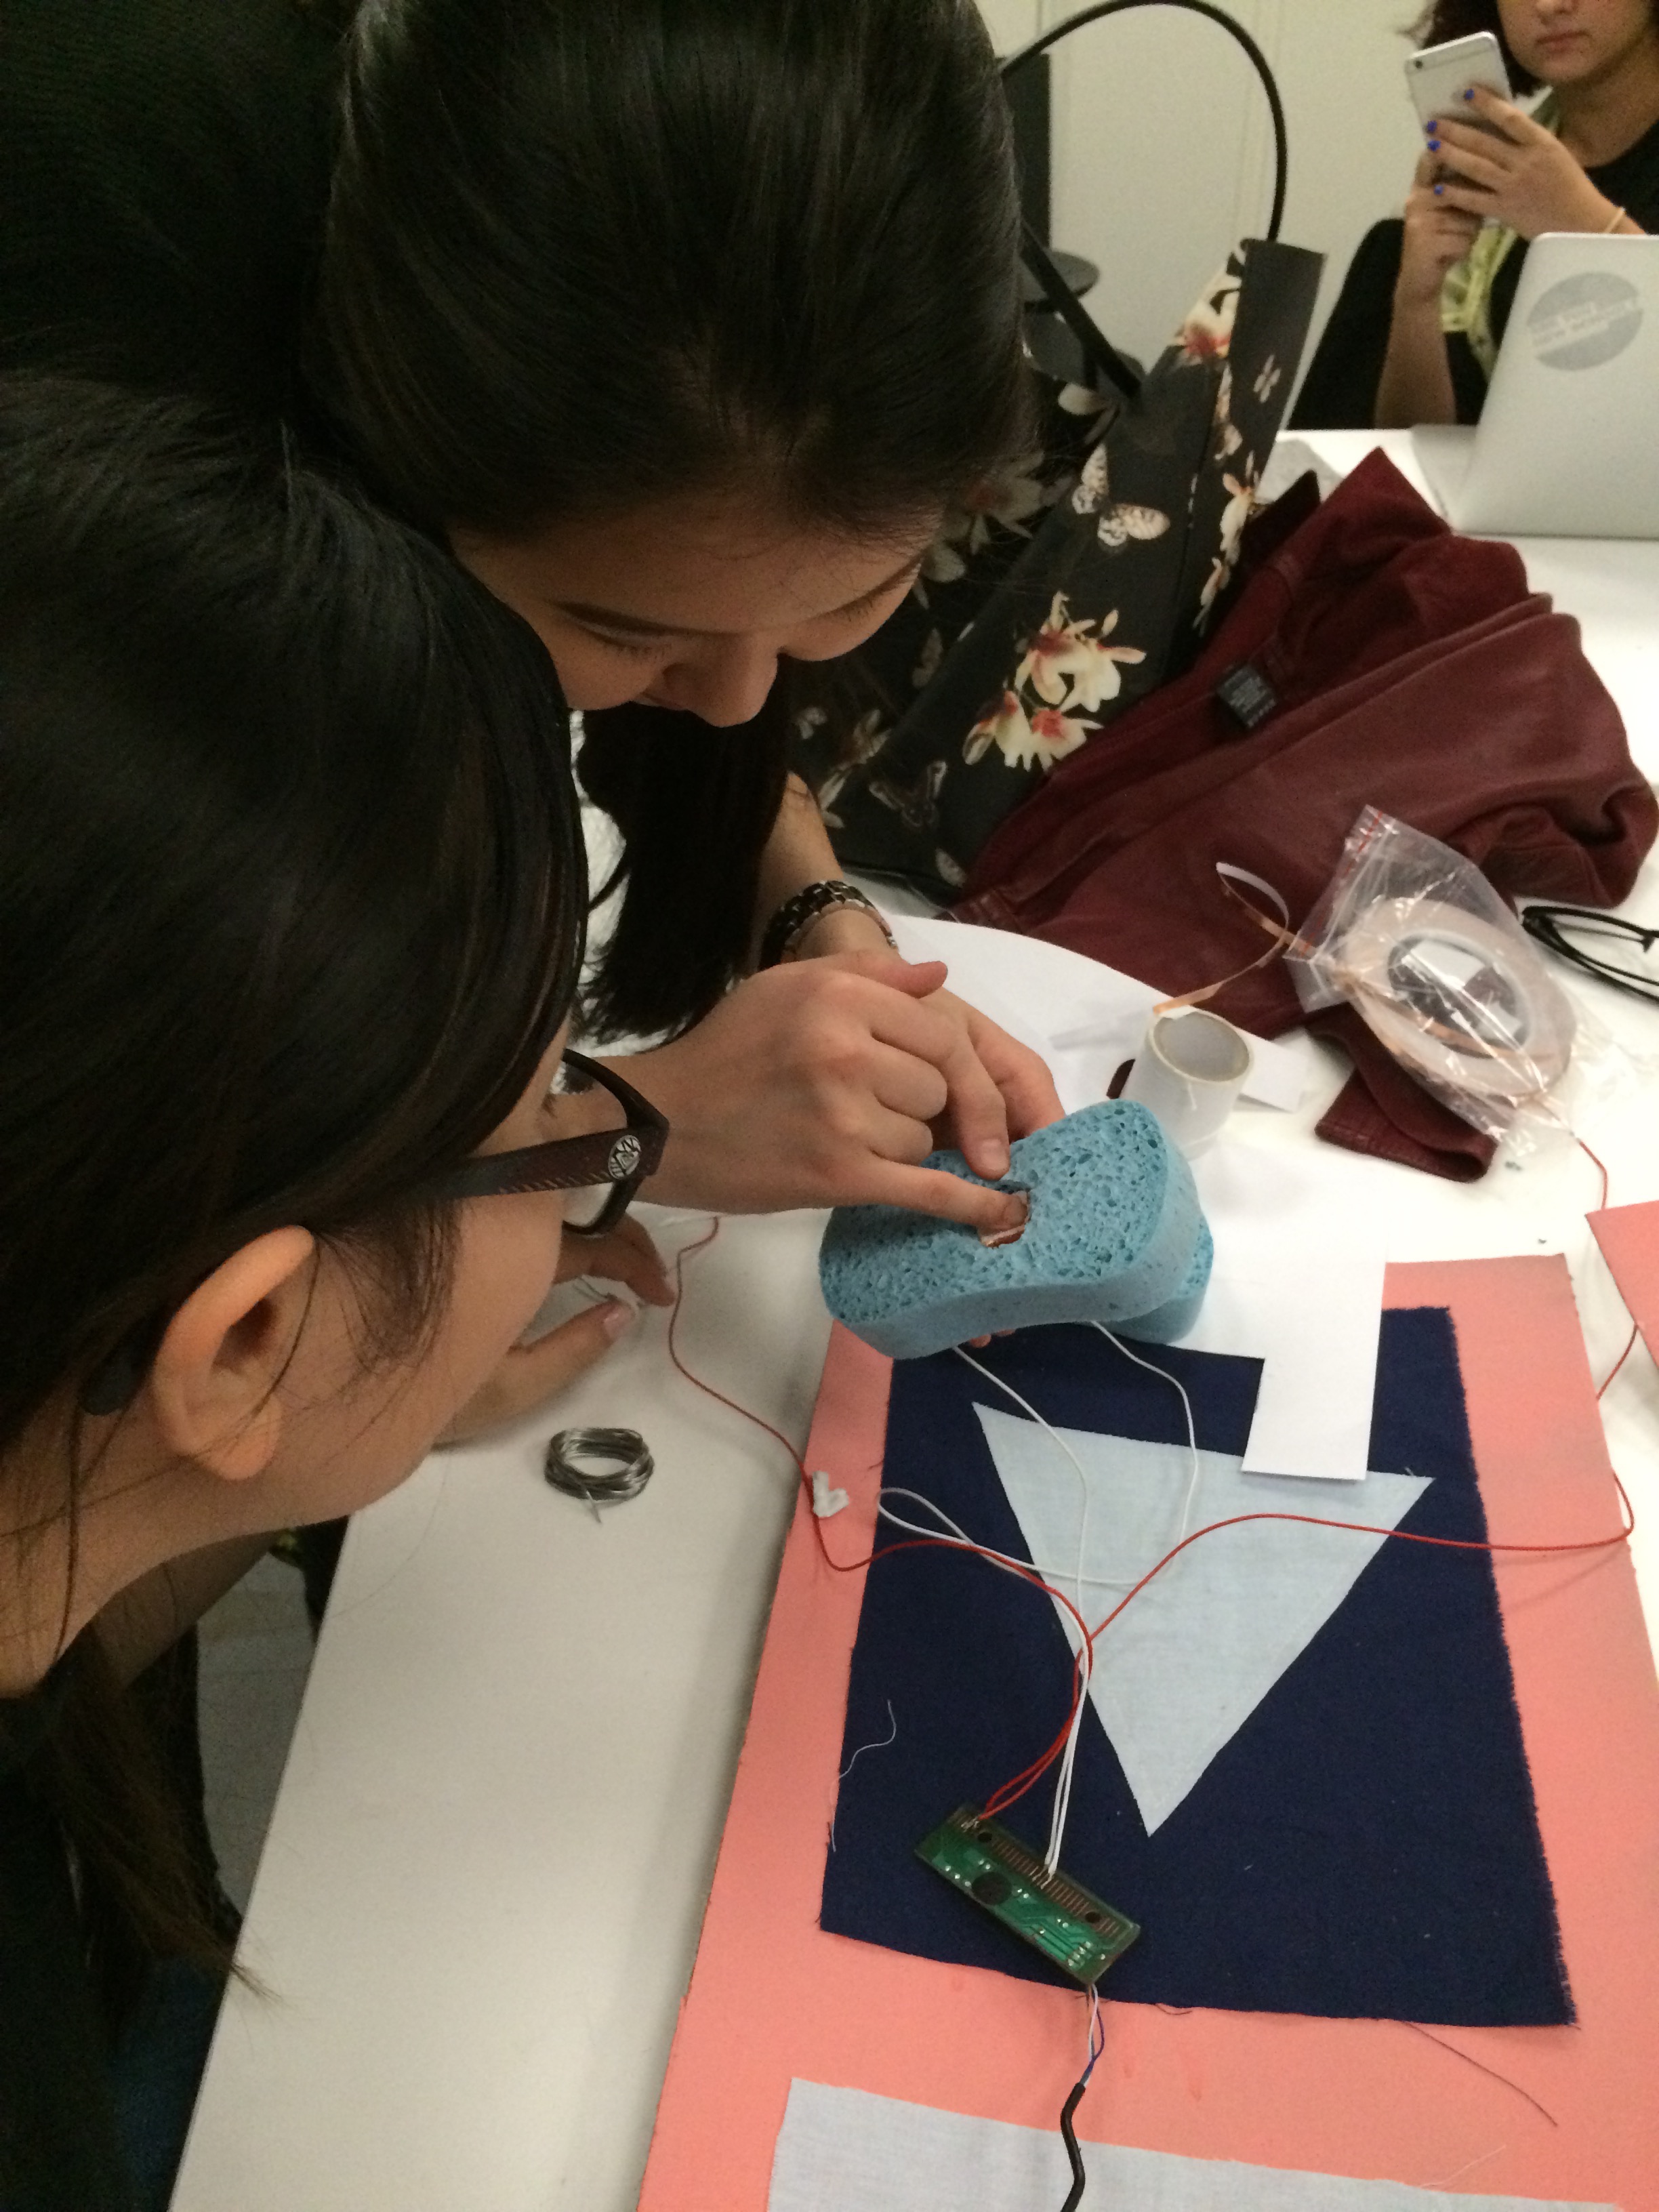

More soldering..this time we soldered the wires to the sponges/copper tape inserts:

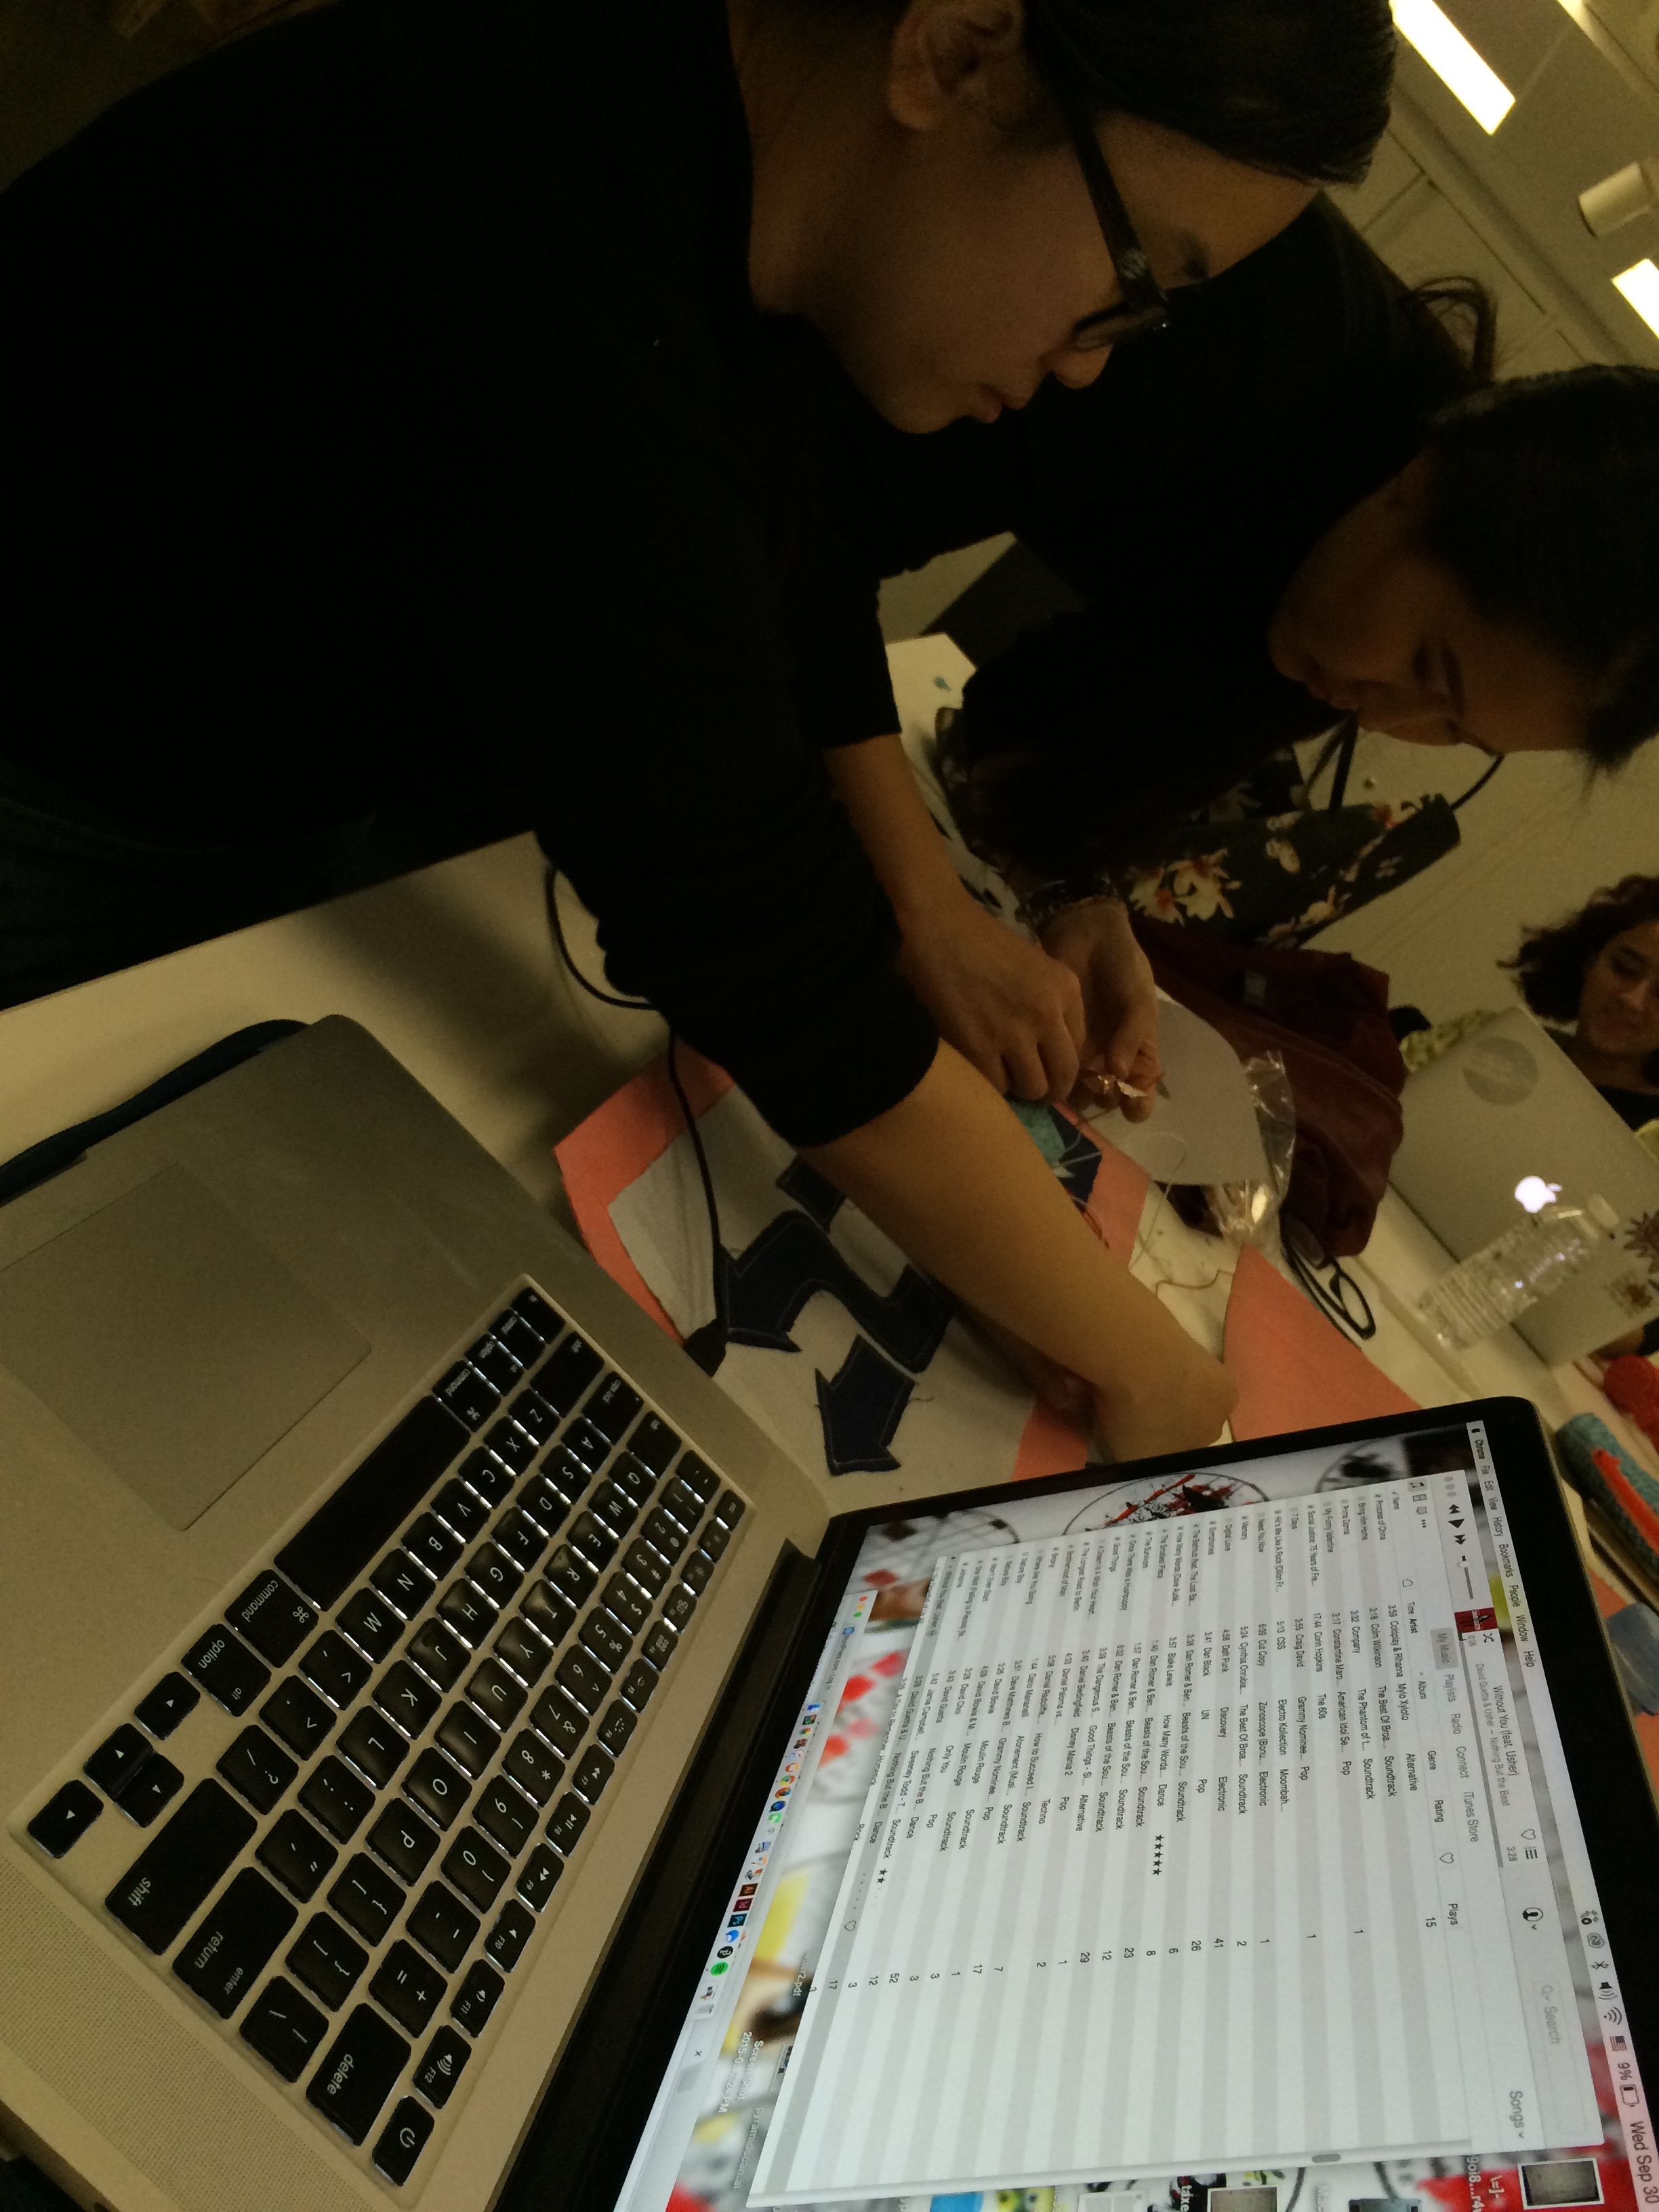
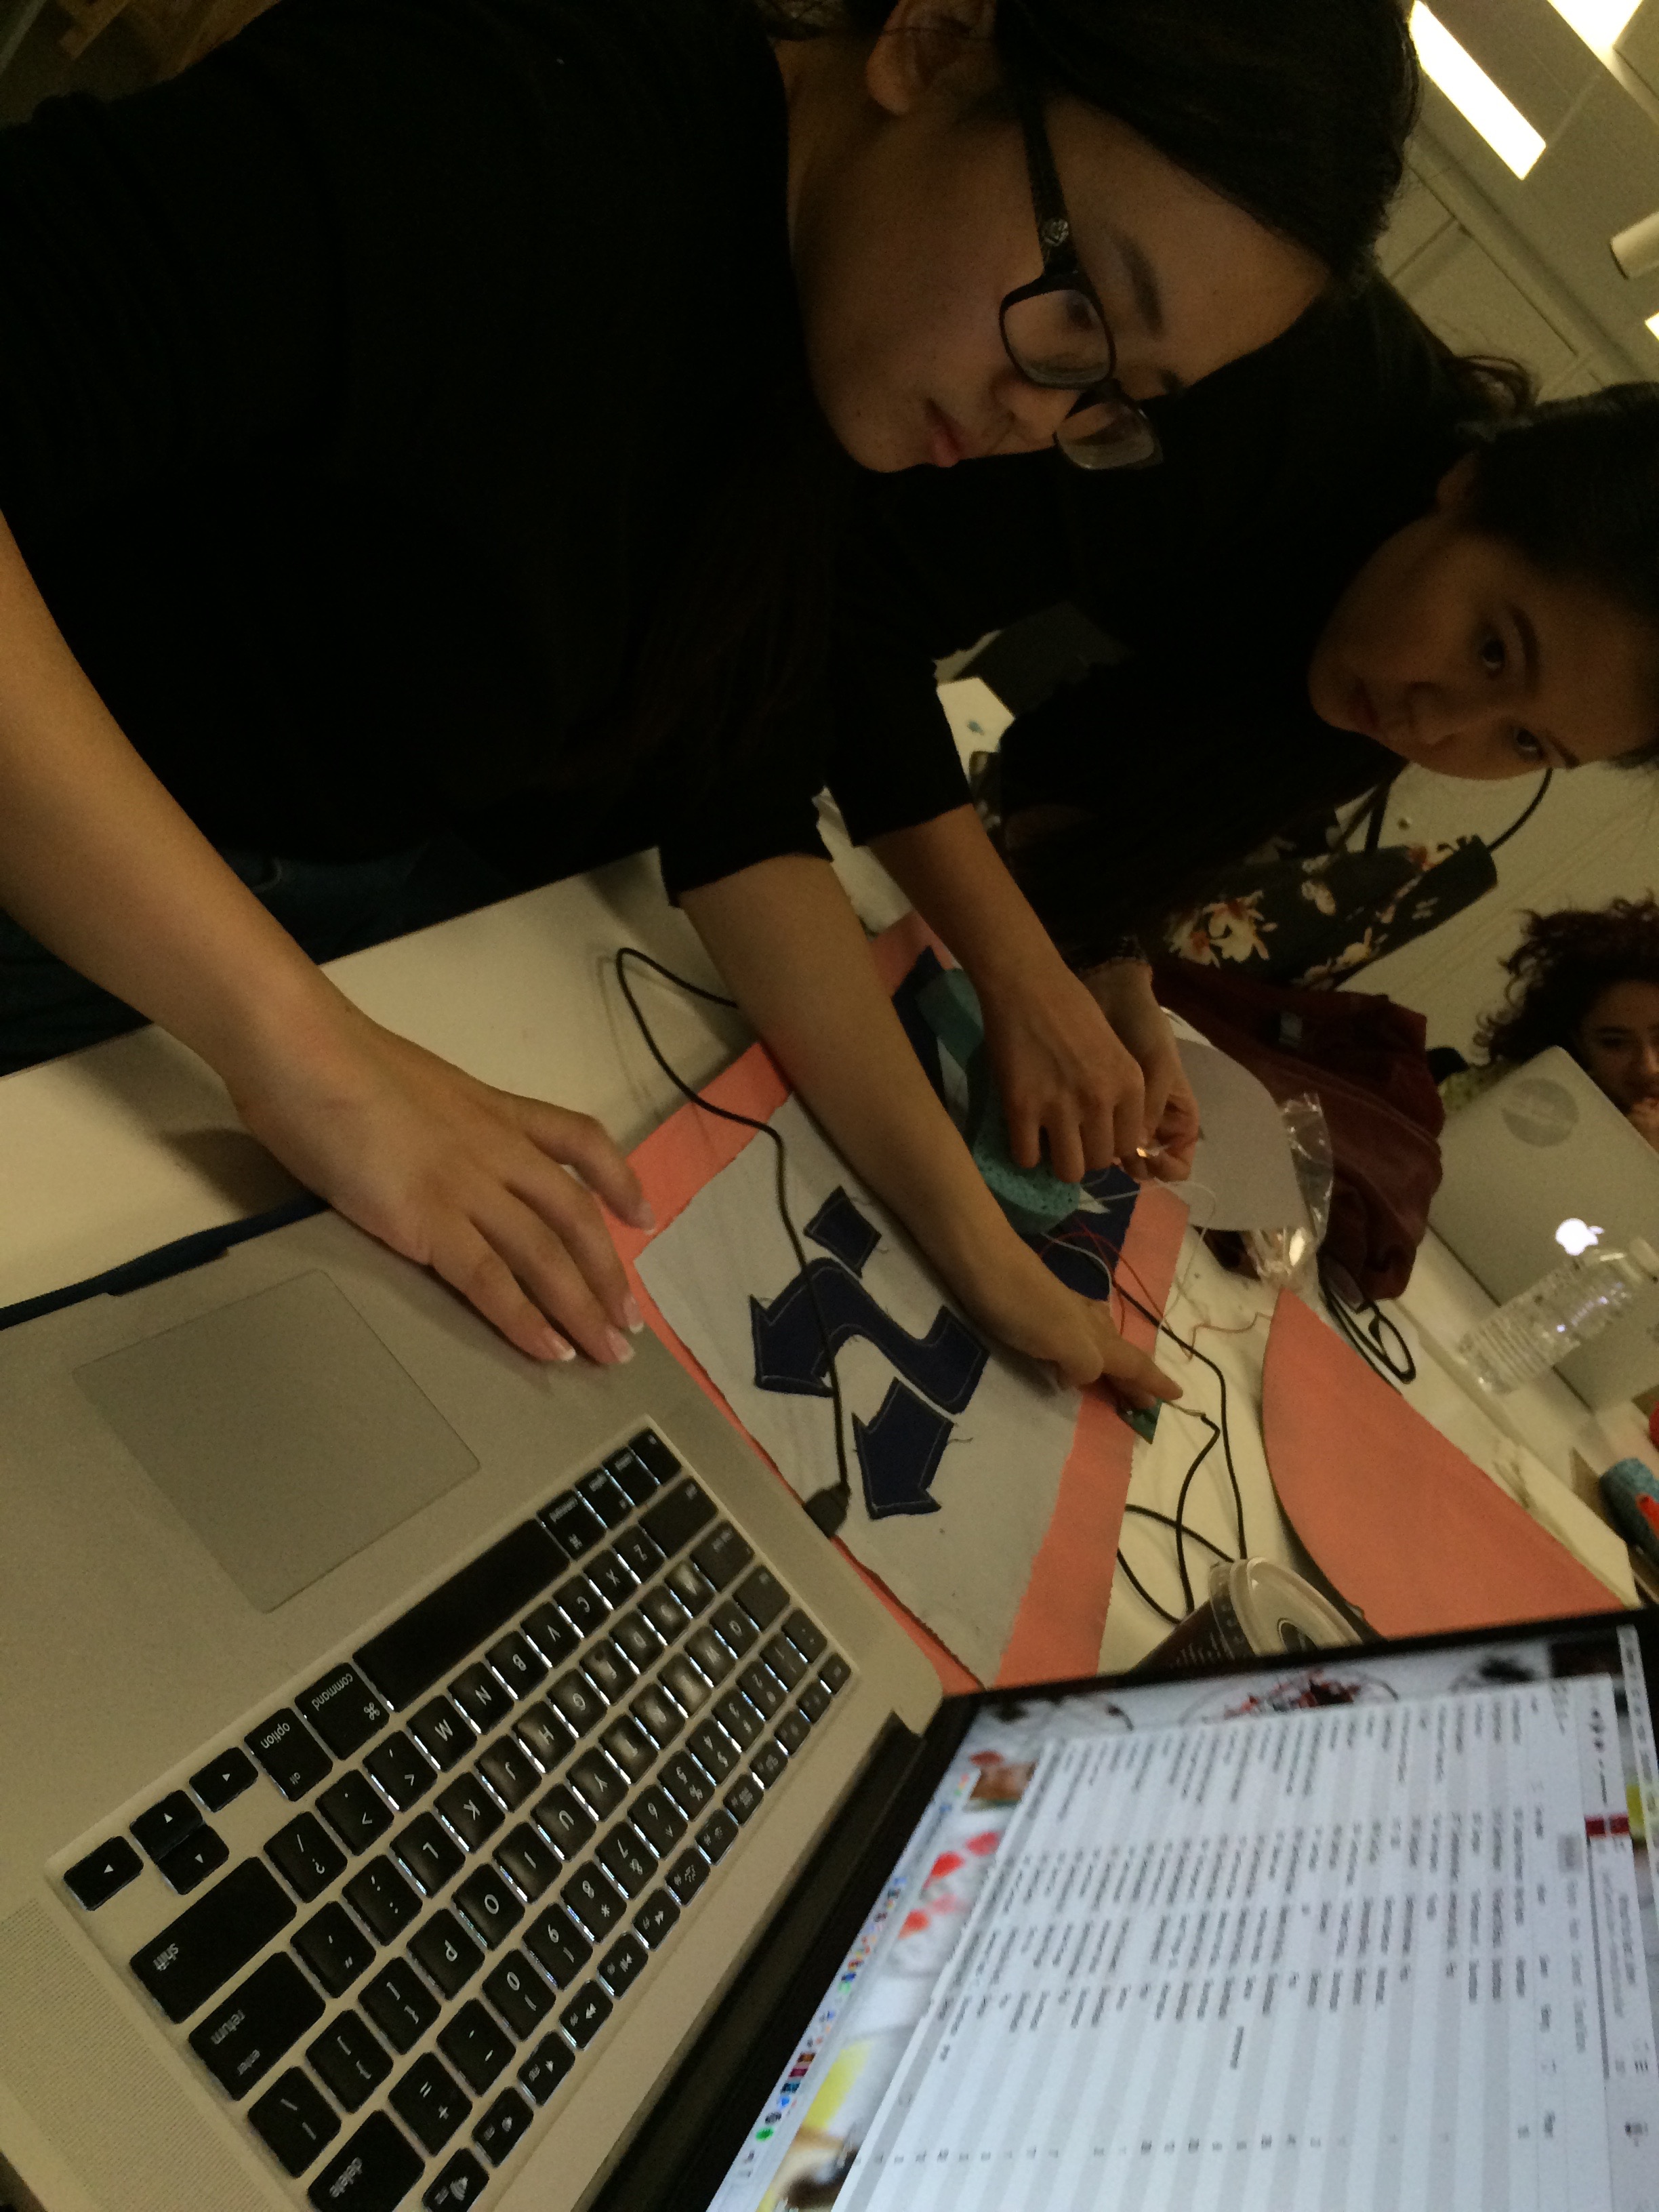
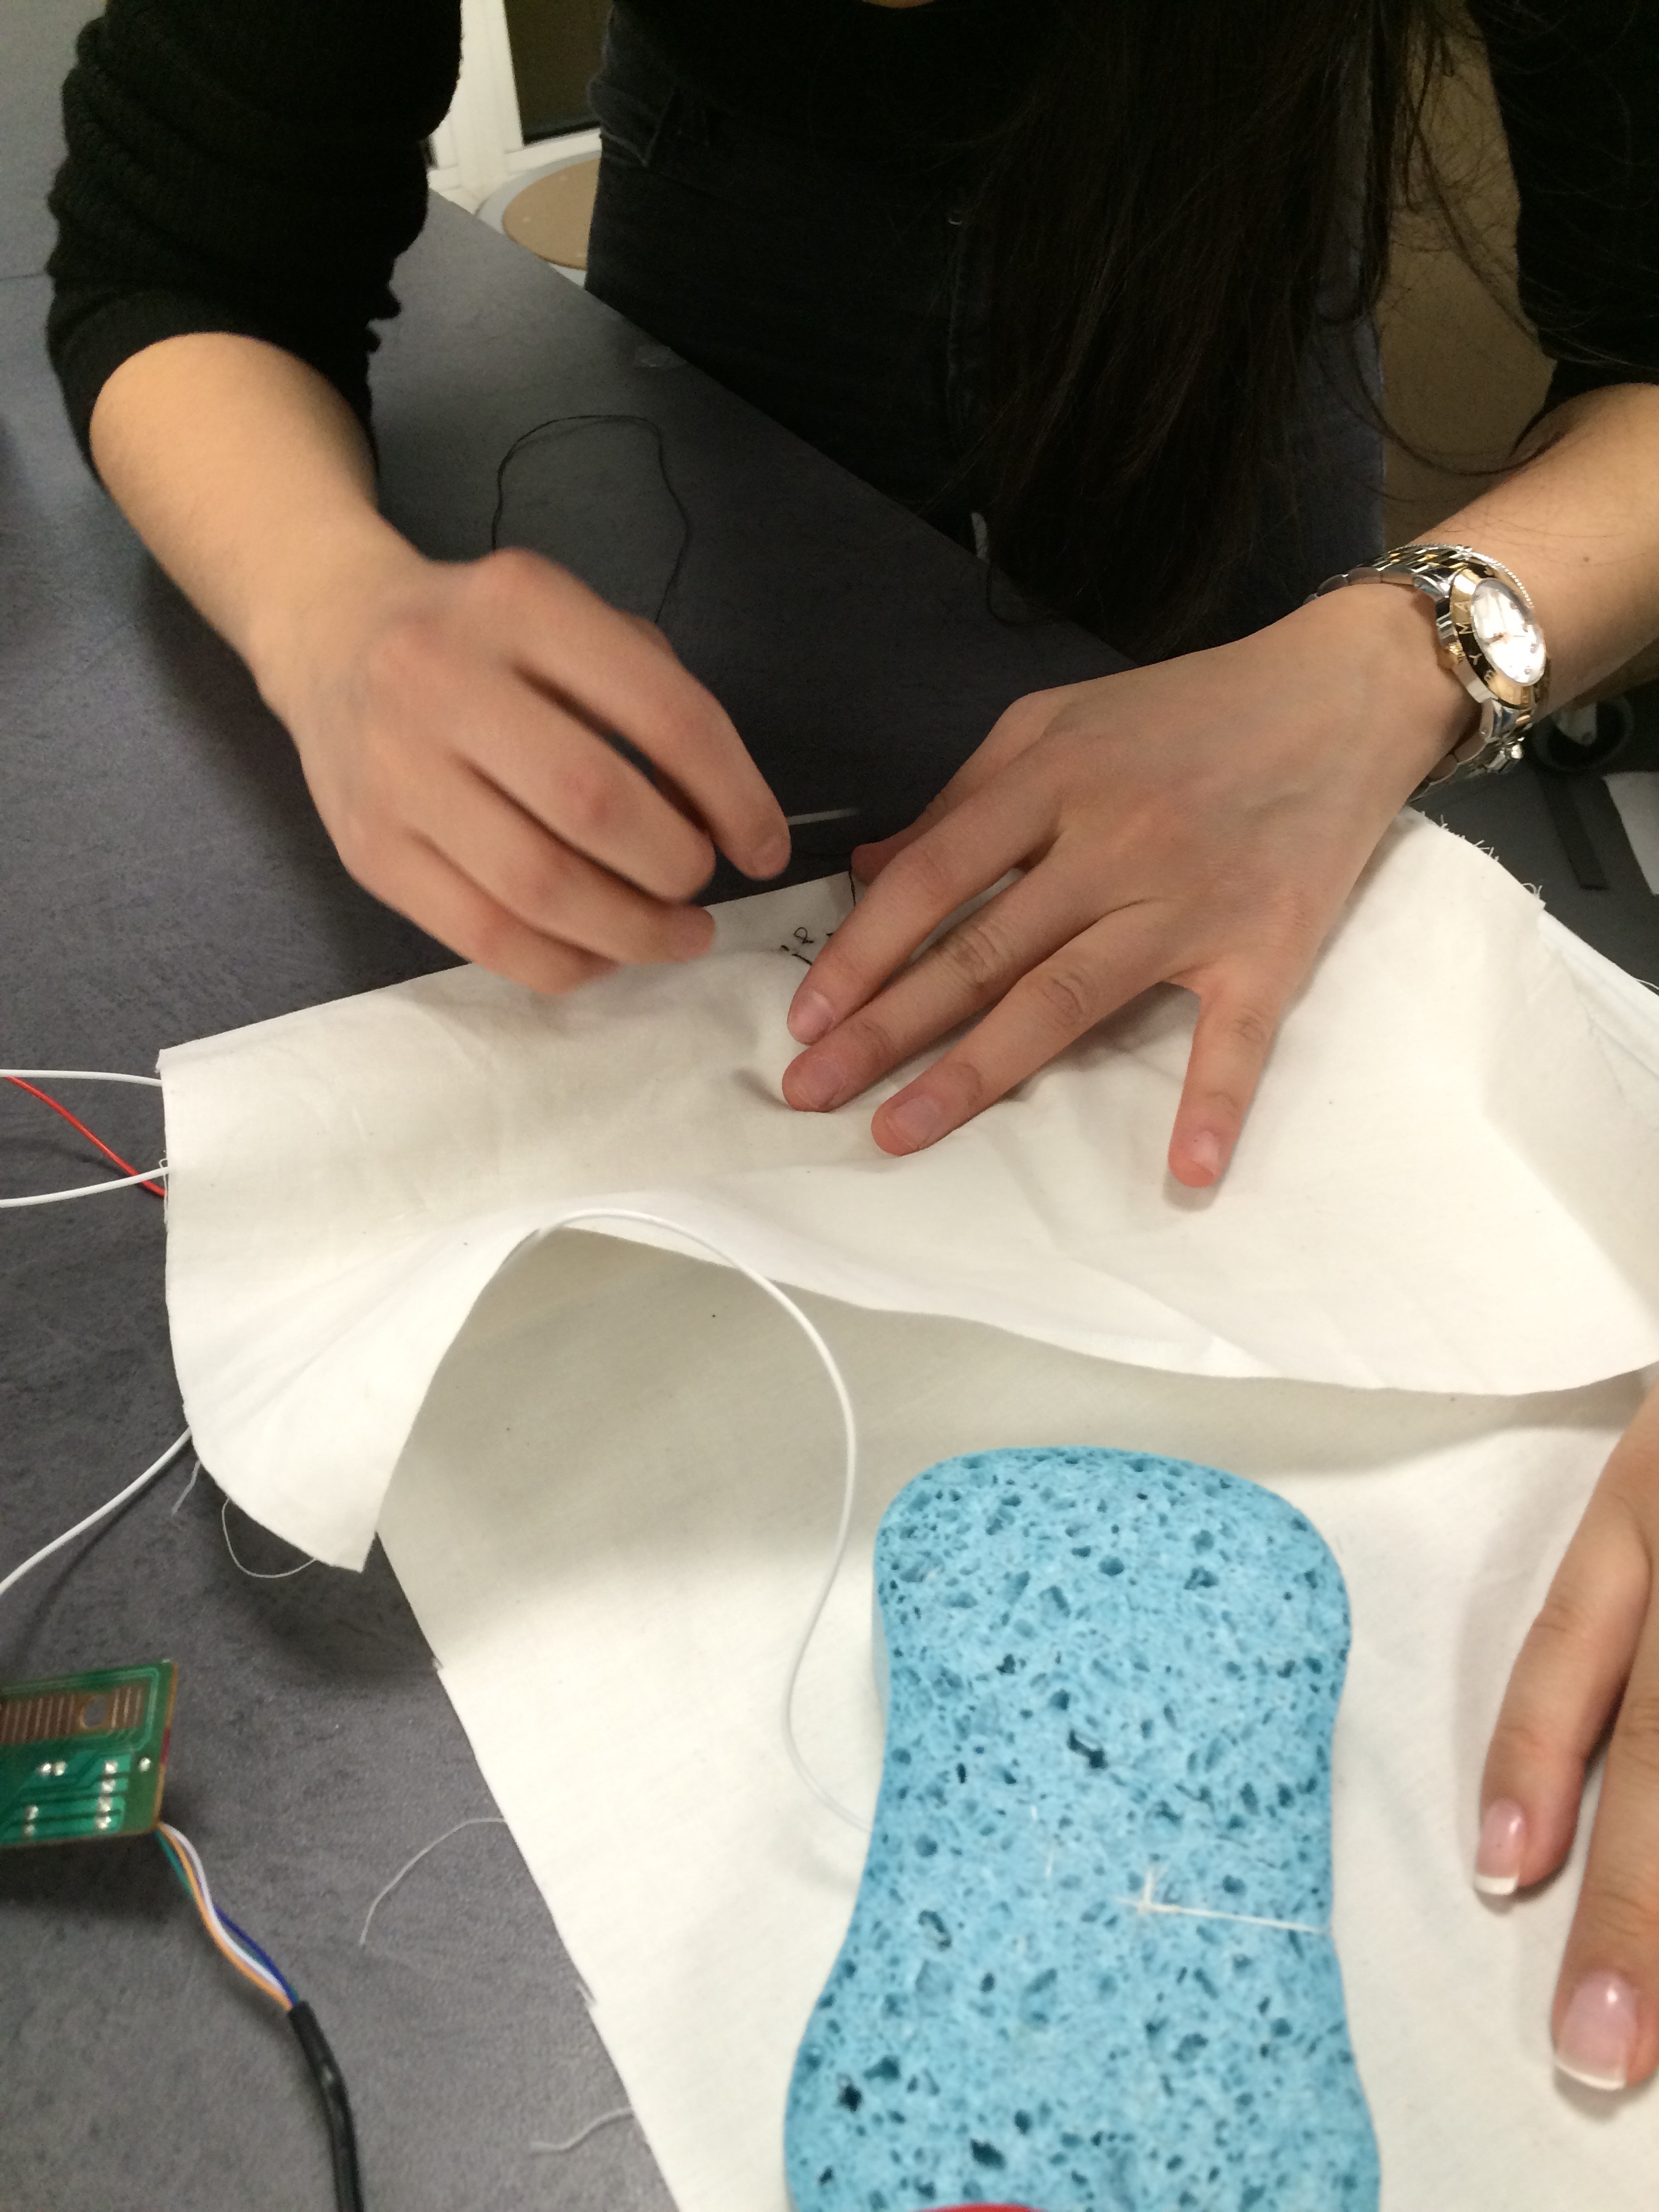
Then we ironed the play button/shuffle pattern, sewed the copper tape and circuit wires into the fabric:

And did some more sewing of the copper tape component to complete the circuit:
This was the best video of our circuitry working before the solder broke off of our board:
So, we tried really hard overall to get this to work, and we learned so much from this project; soldering, circuitry, and most importantly, how to hack three different keyboards (in this case). It may not be as complete as we wanted, but we put an immense amount of work in, and tried our absolute best on this project.
That’s it for this week!