
Link to the Instructables tutorial, for a more thorough description on how to make this happen.
Here is a tutorial on how to make a staircase musical instrument that makes sick beatz and produces generative art.
First, we had to make pressure sensors that would serve as the buttons of our musical instrument. We decided to make 4. For each sensor, we started with 2 pieces of neoprene and a piece of resistive fabric (25cm x 25cm each).
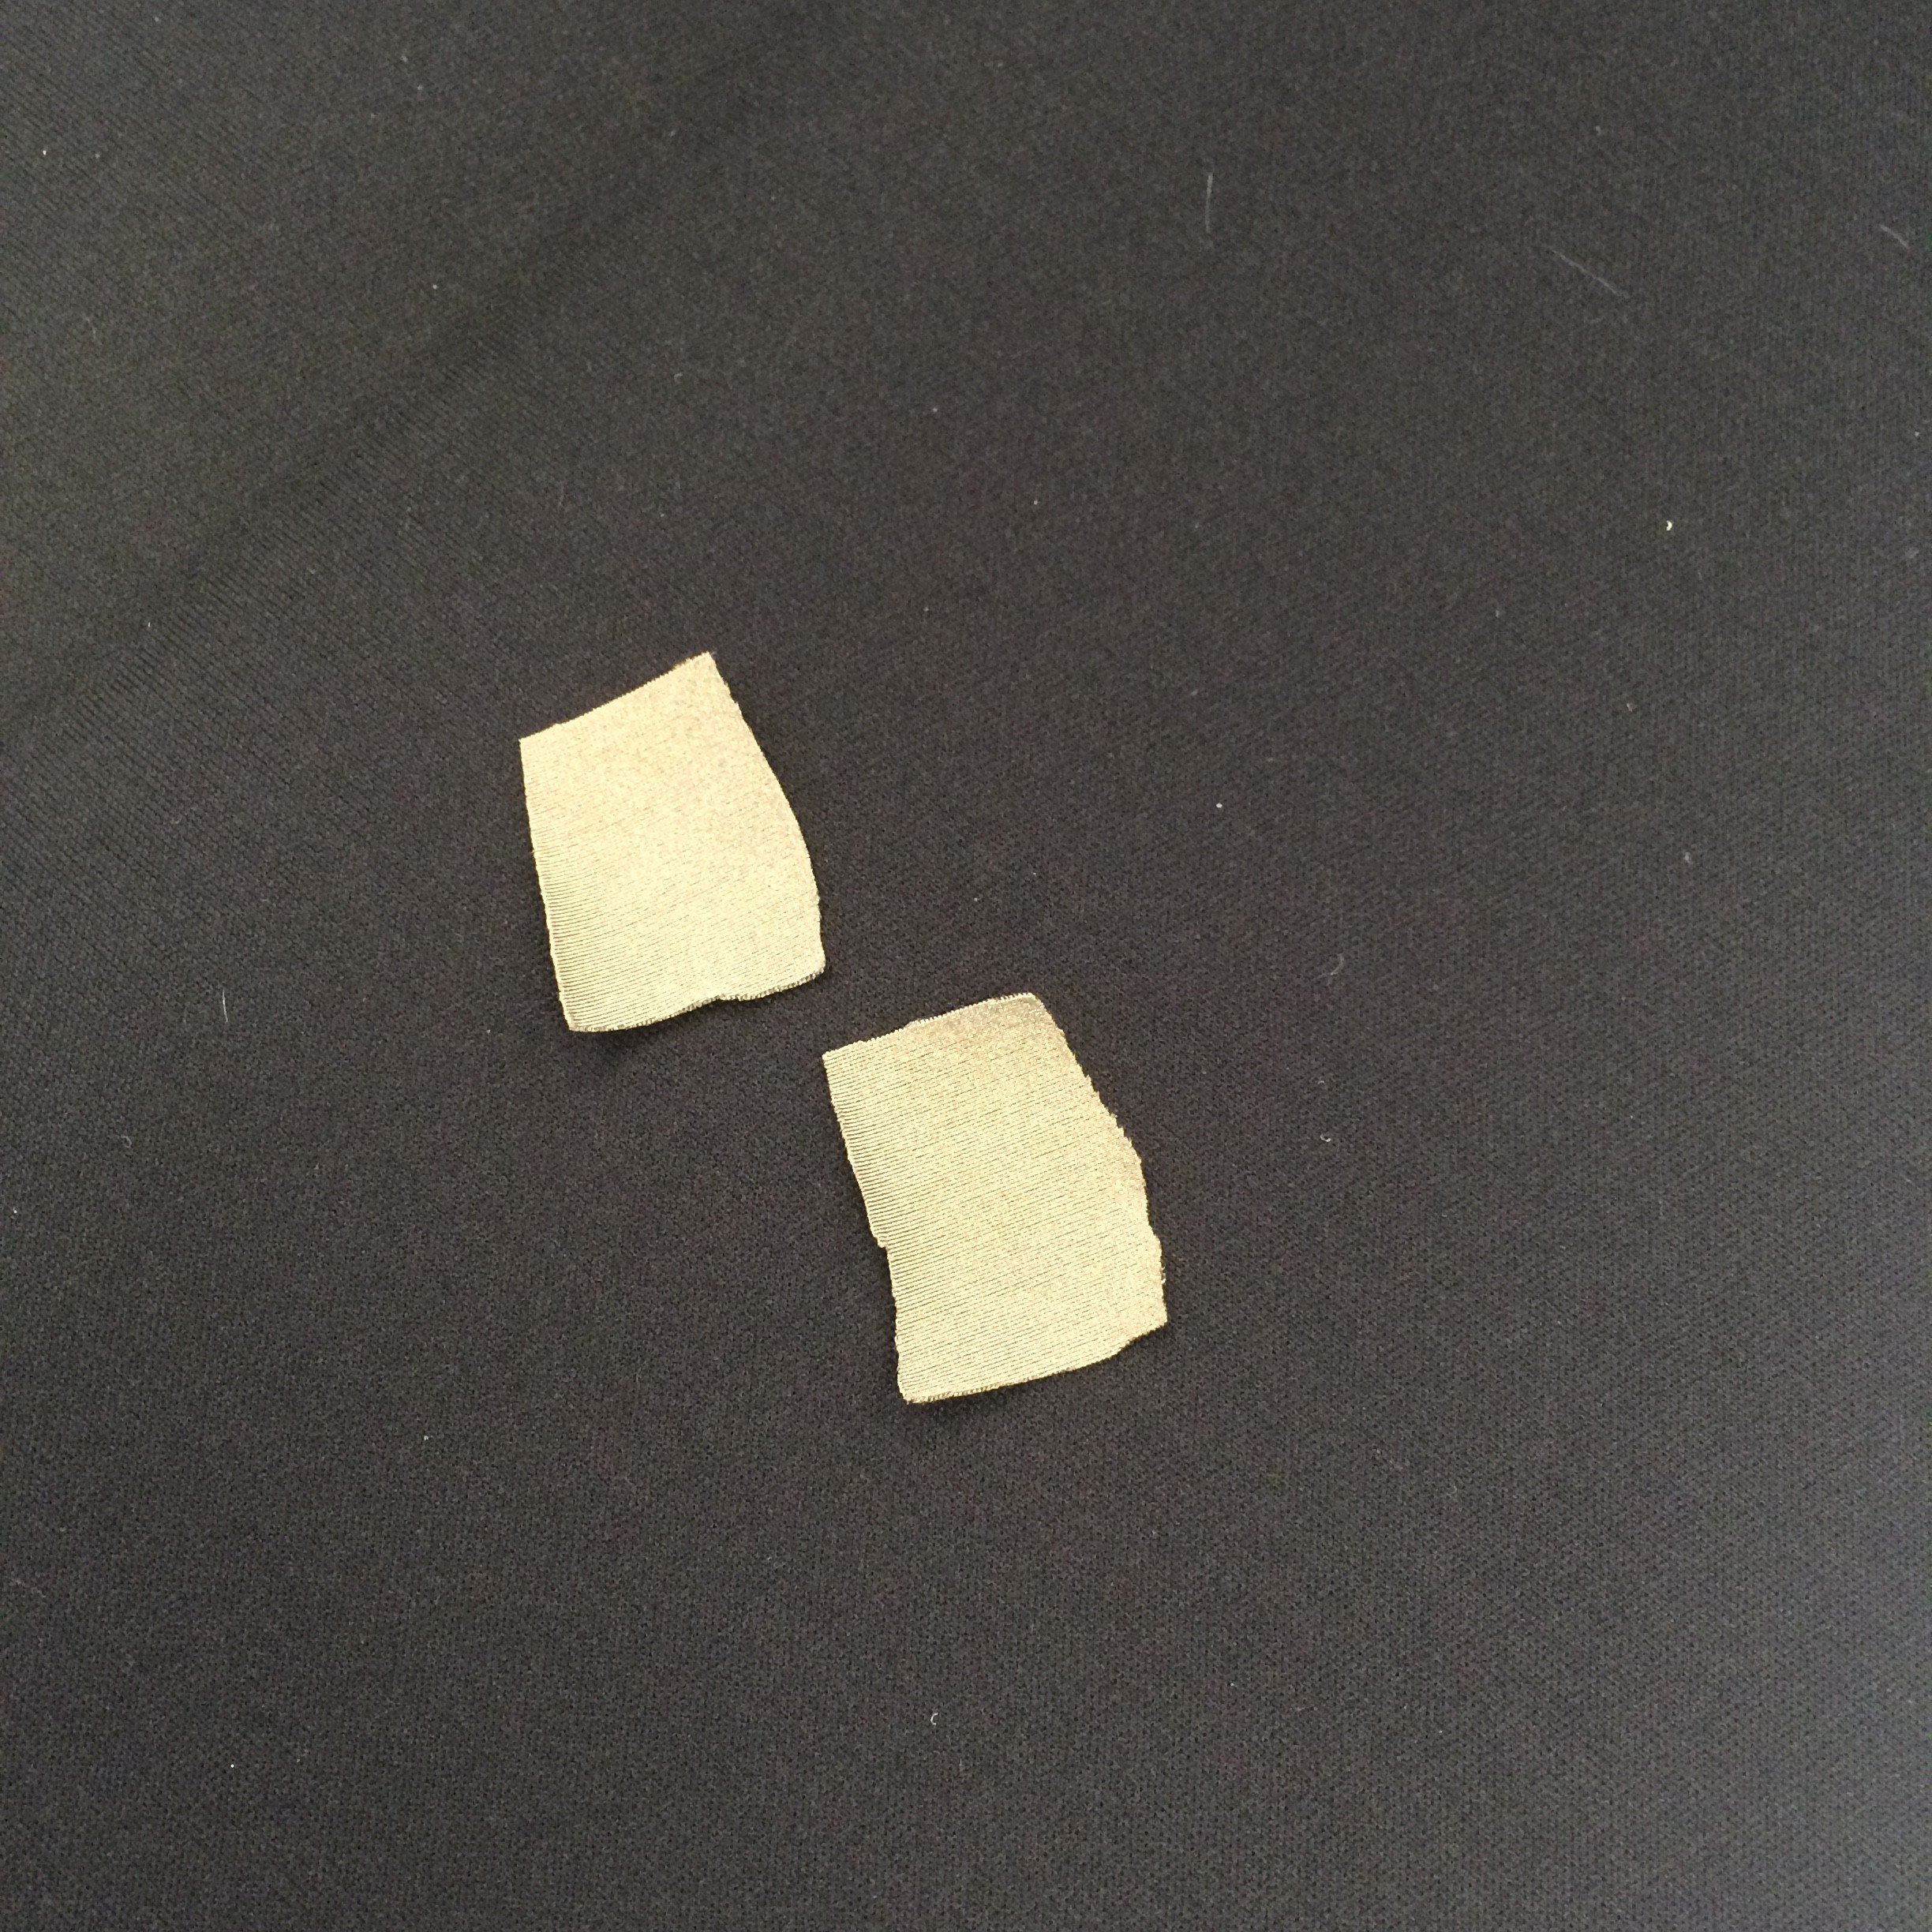
You will also need two small pieces of conductive fabric to connect snap buttons and wires to.
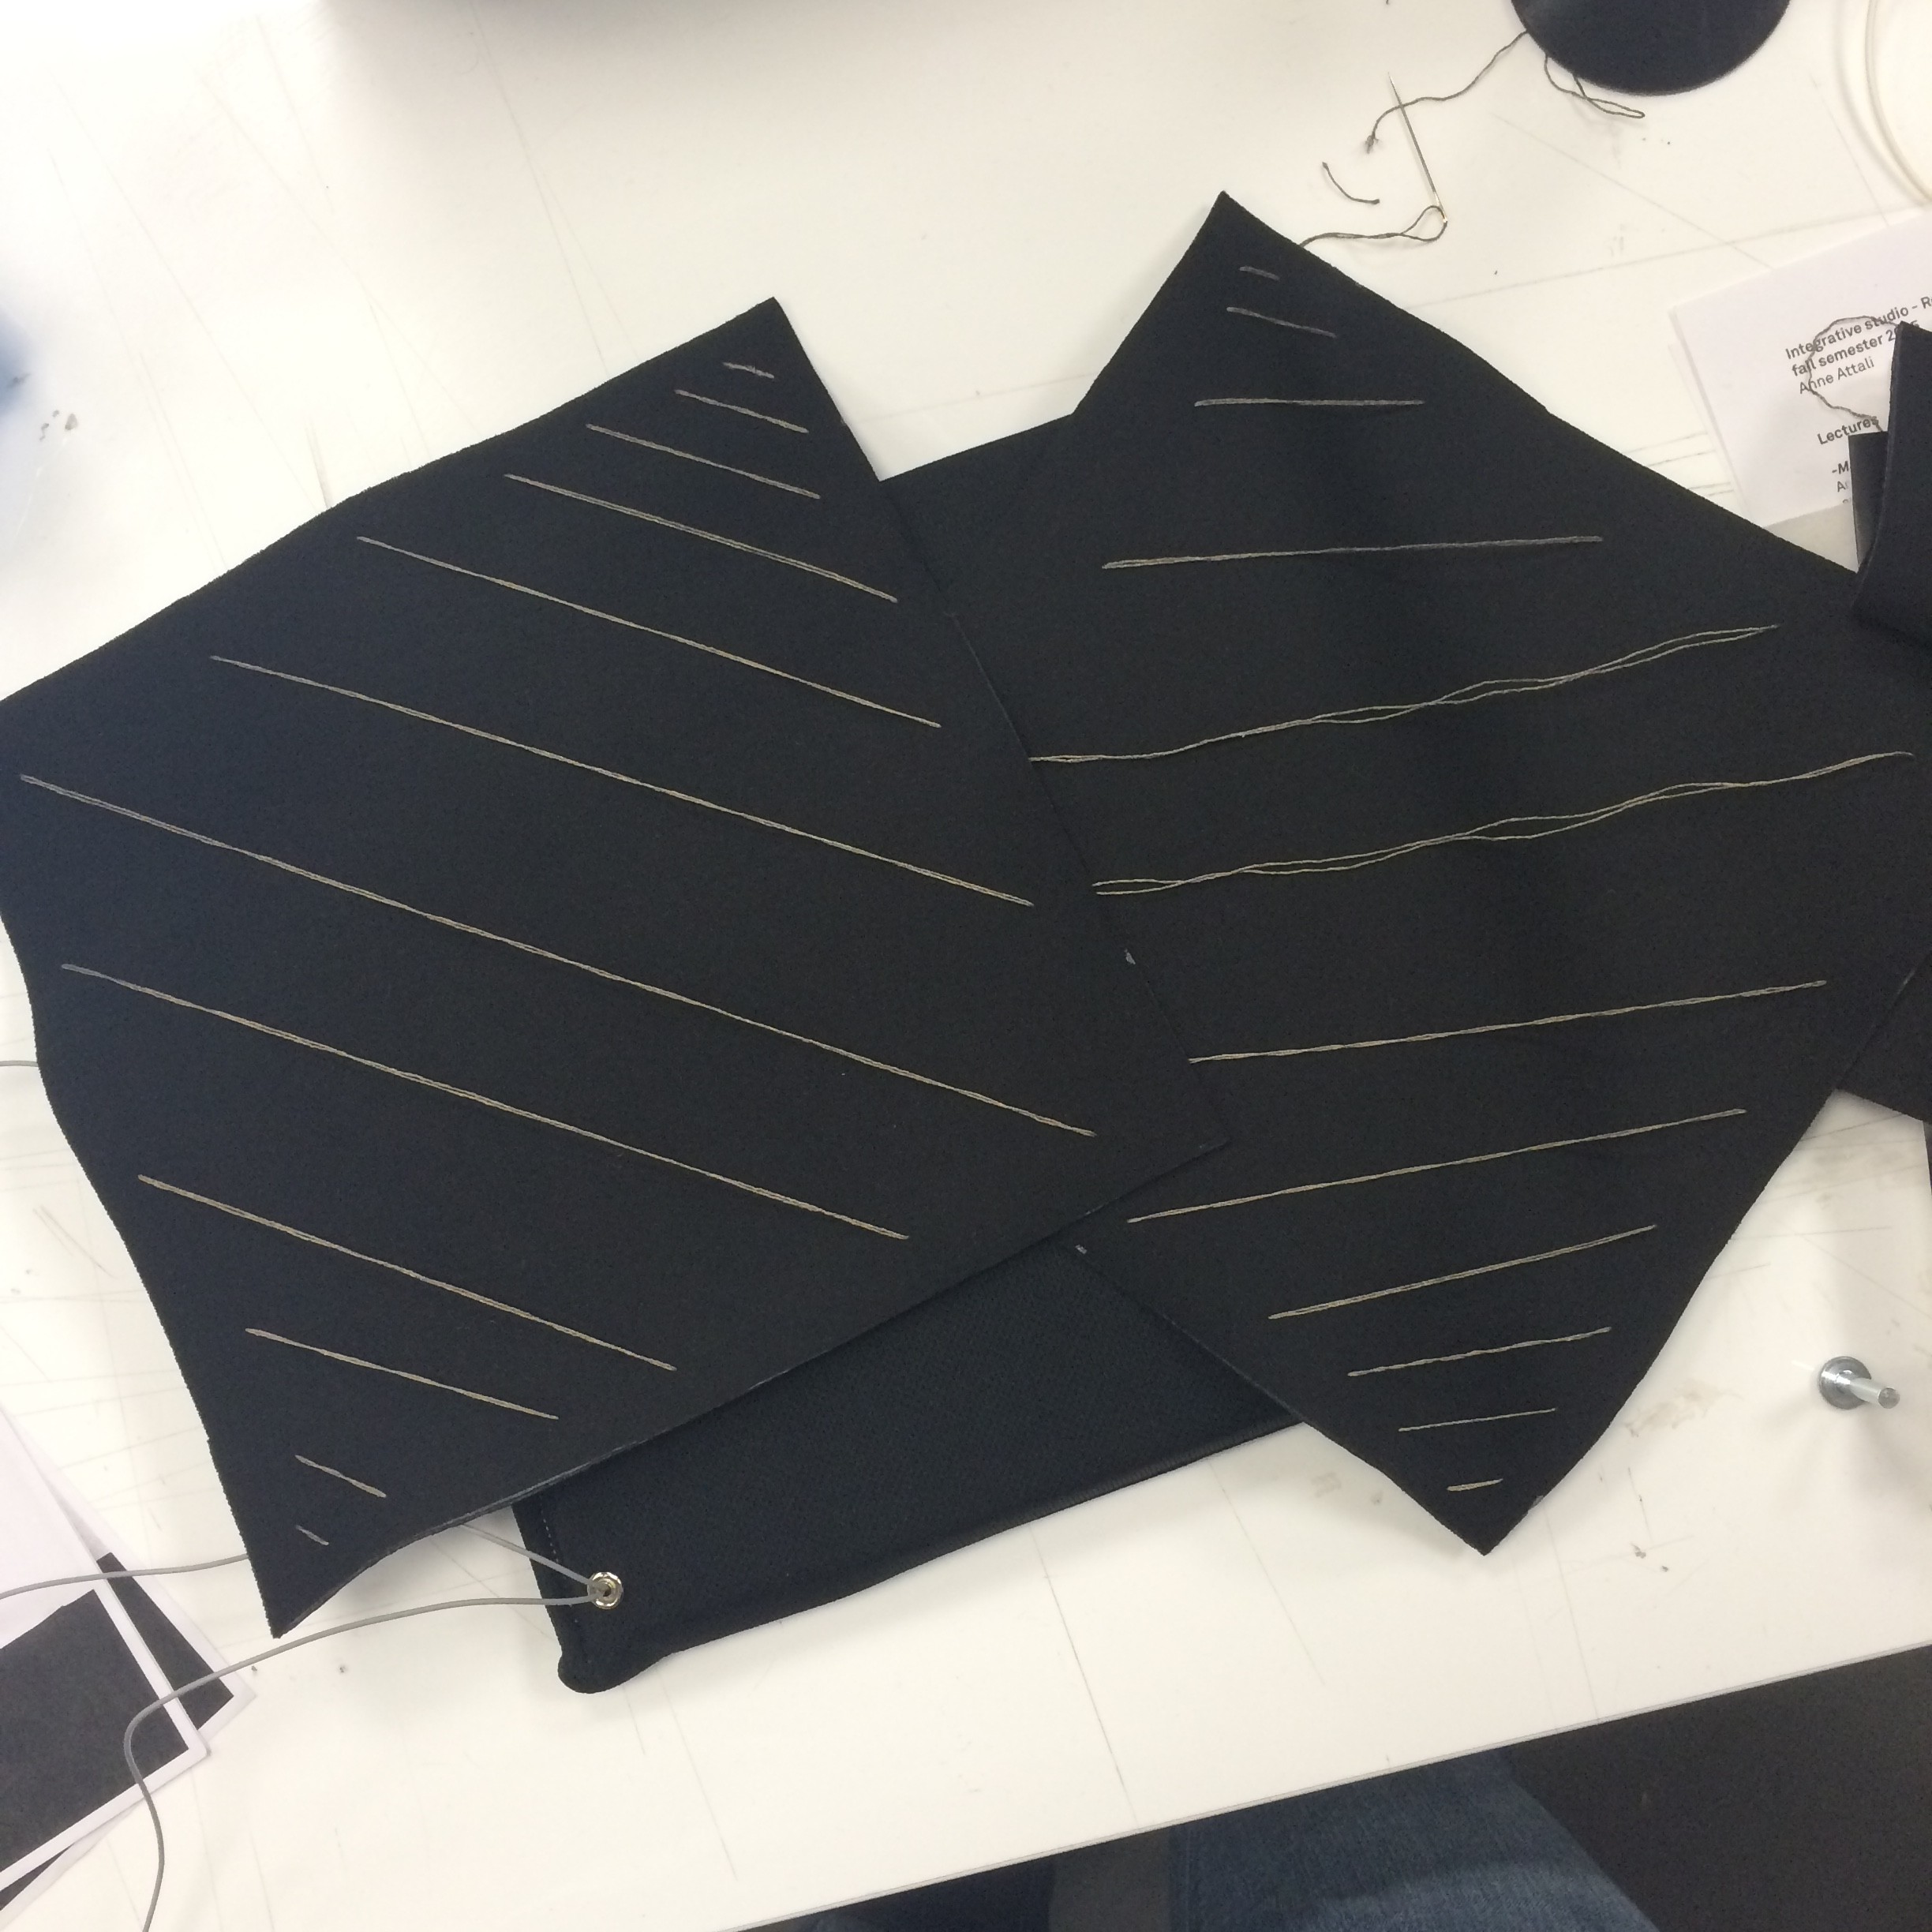
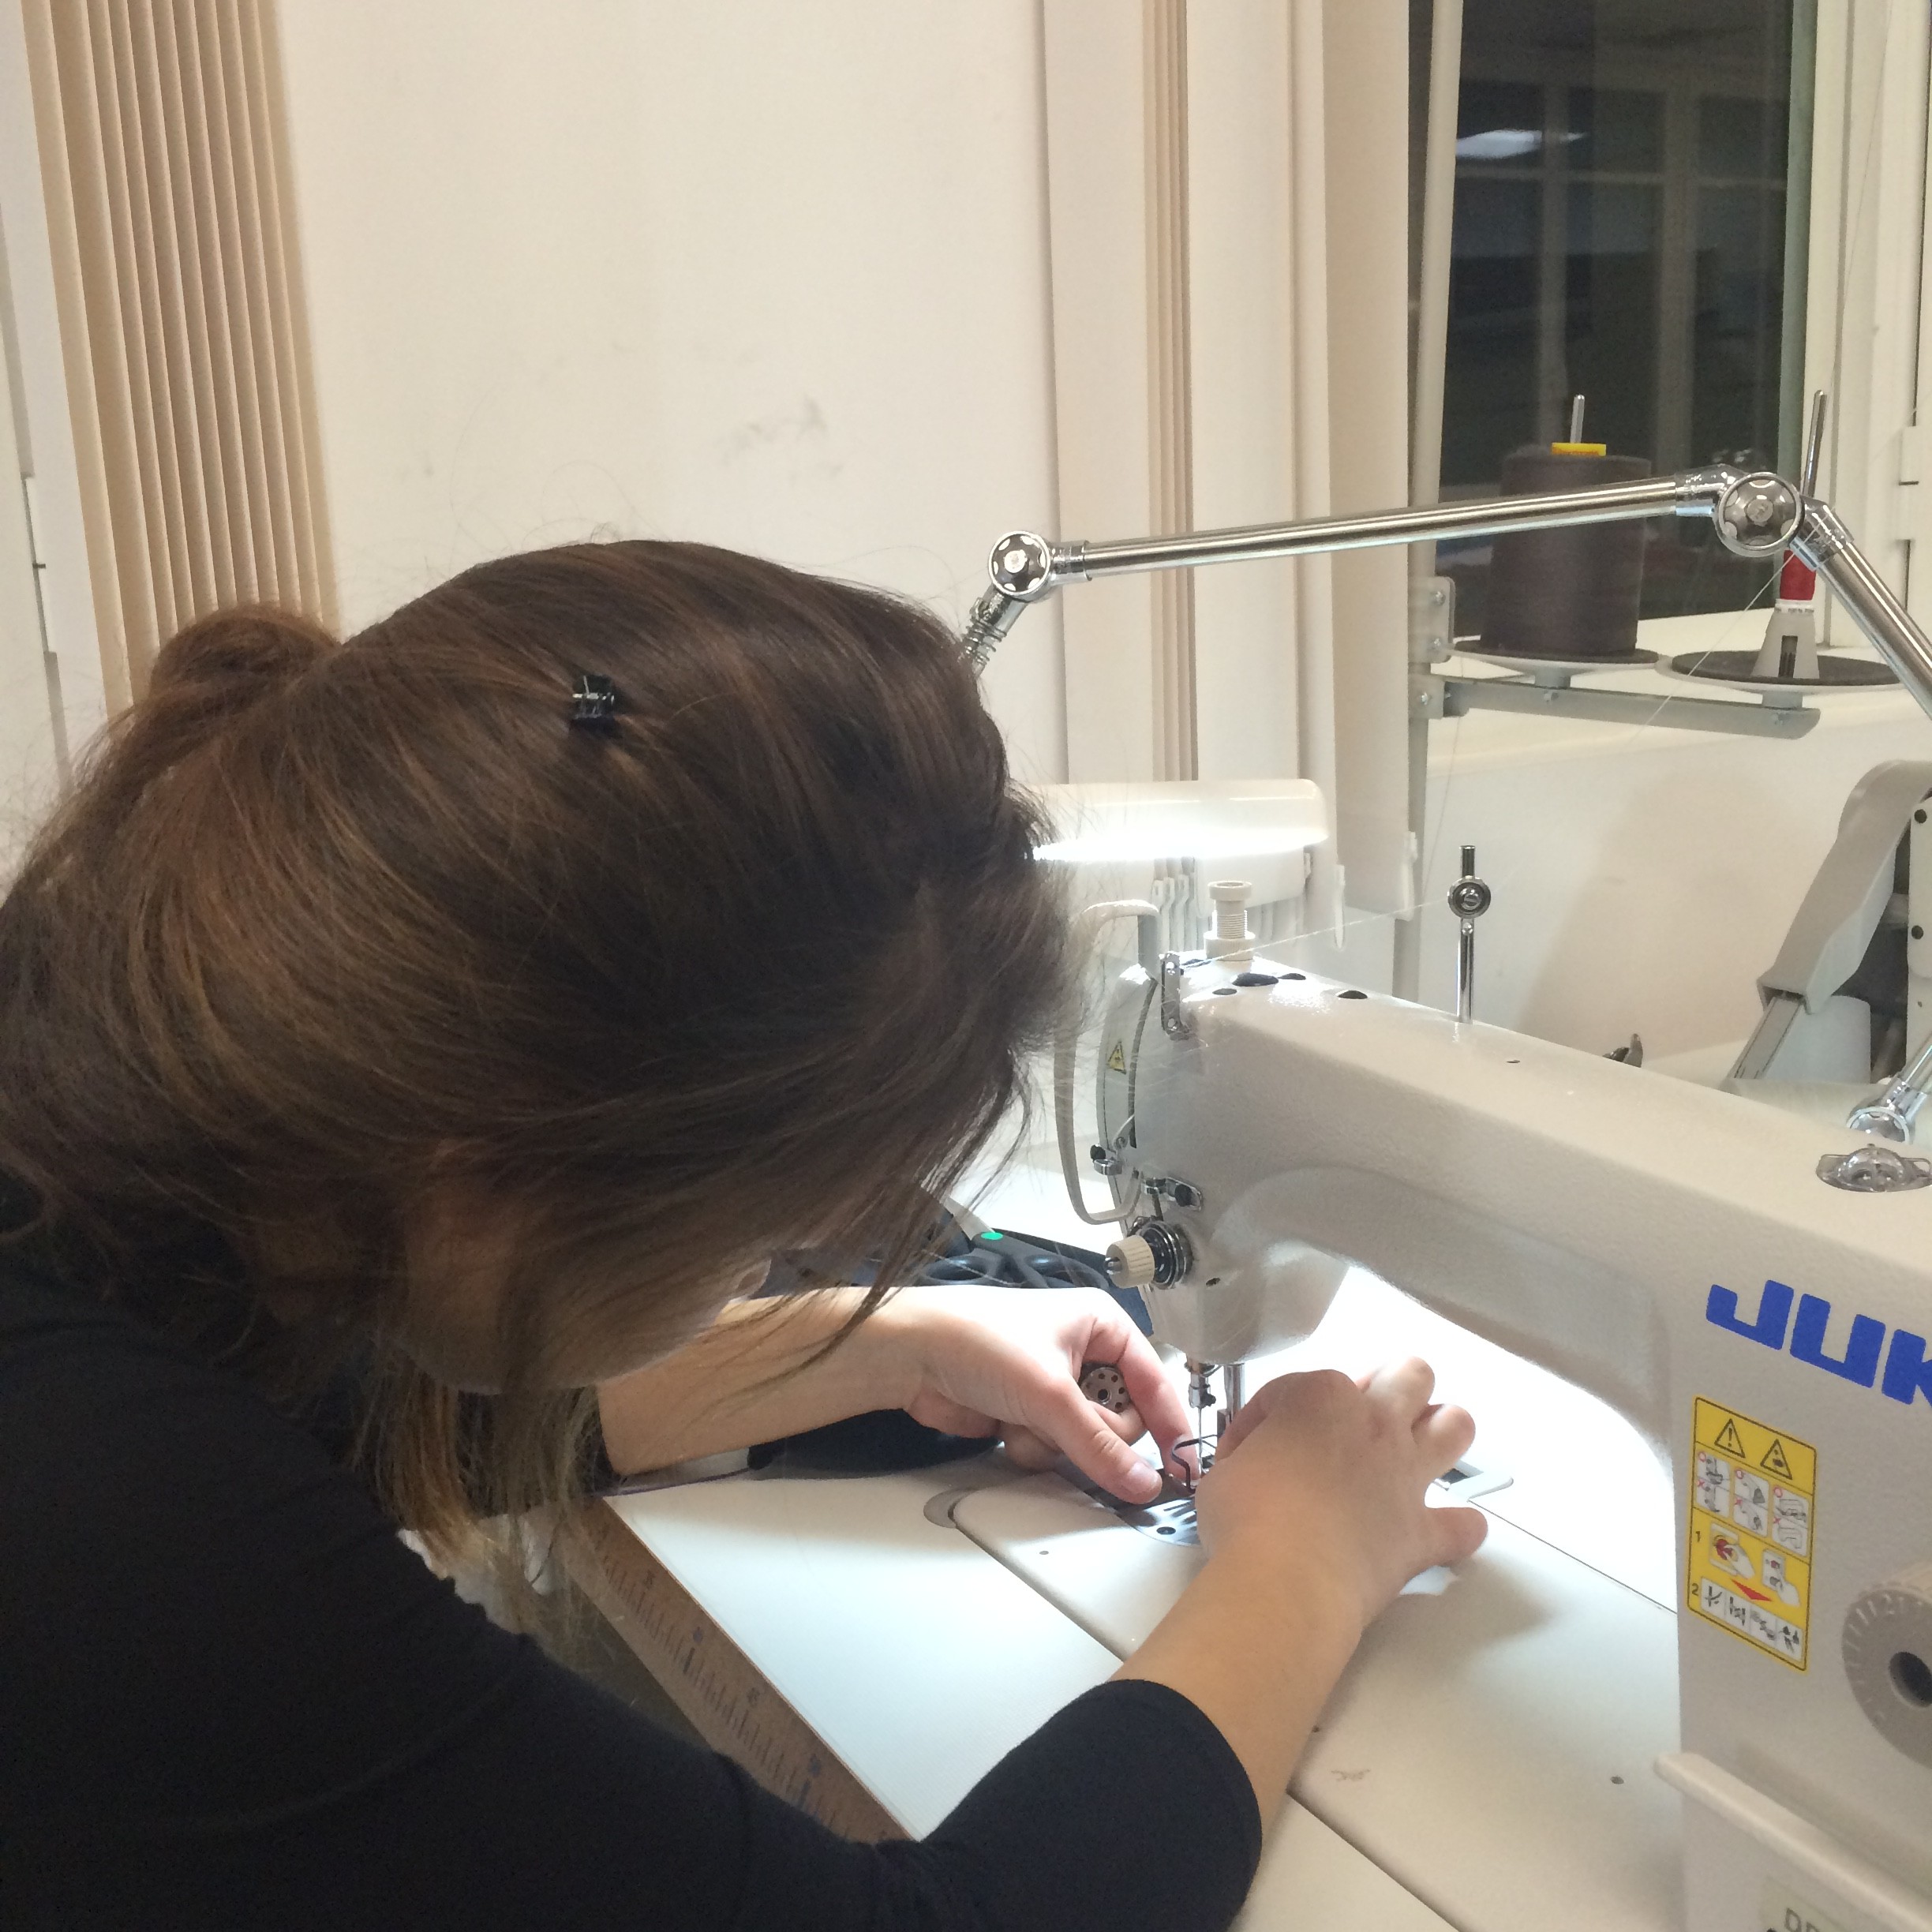
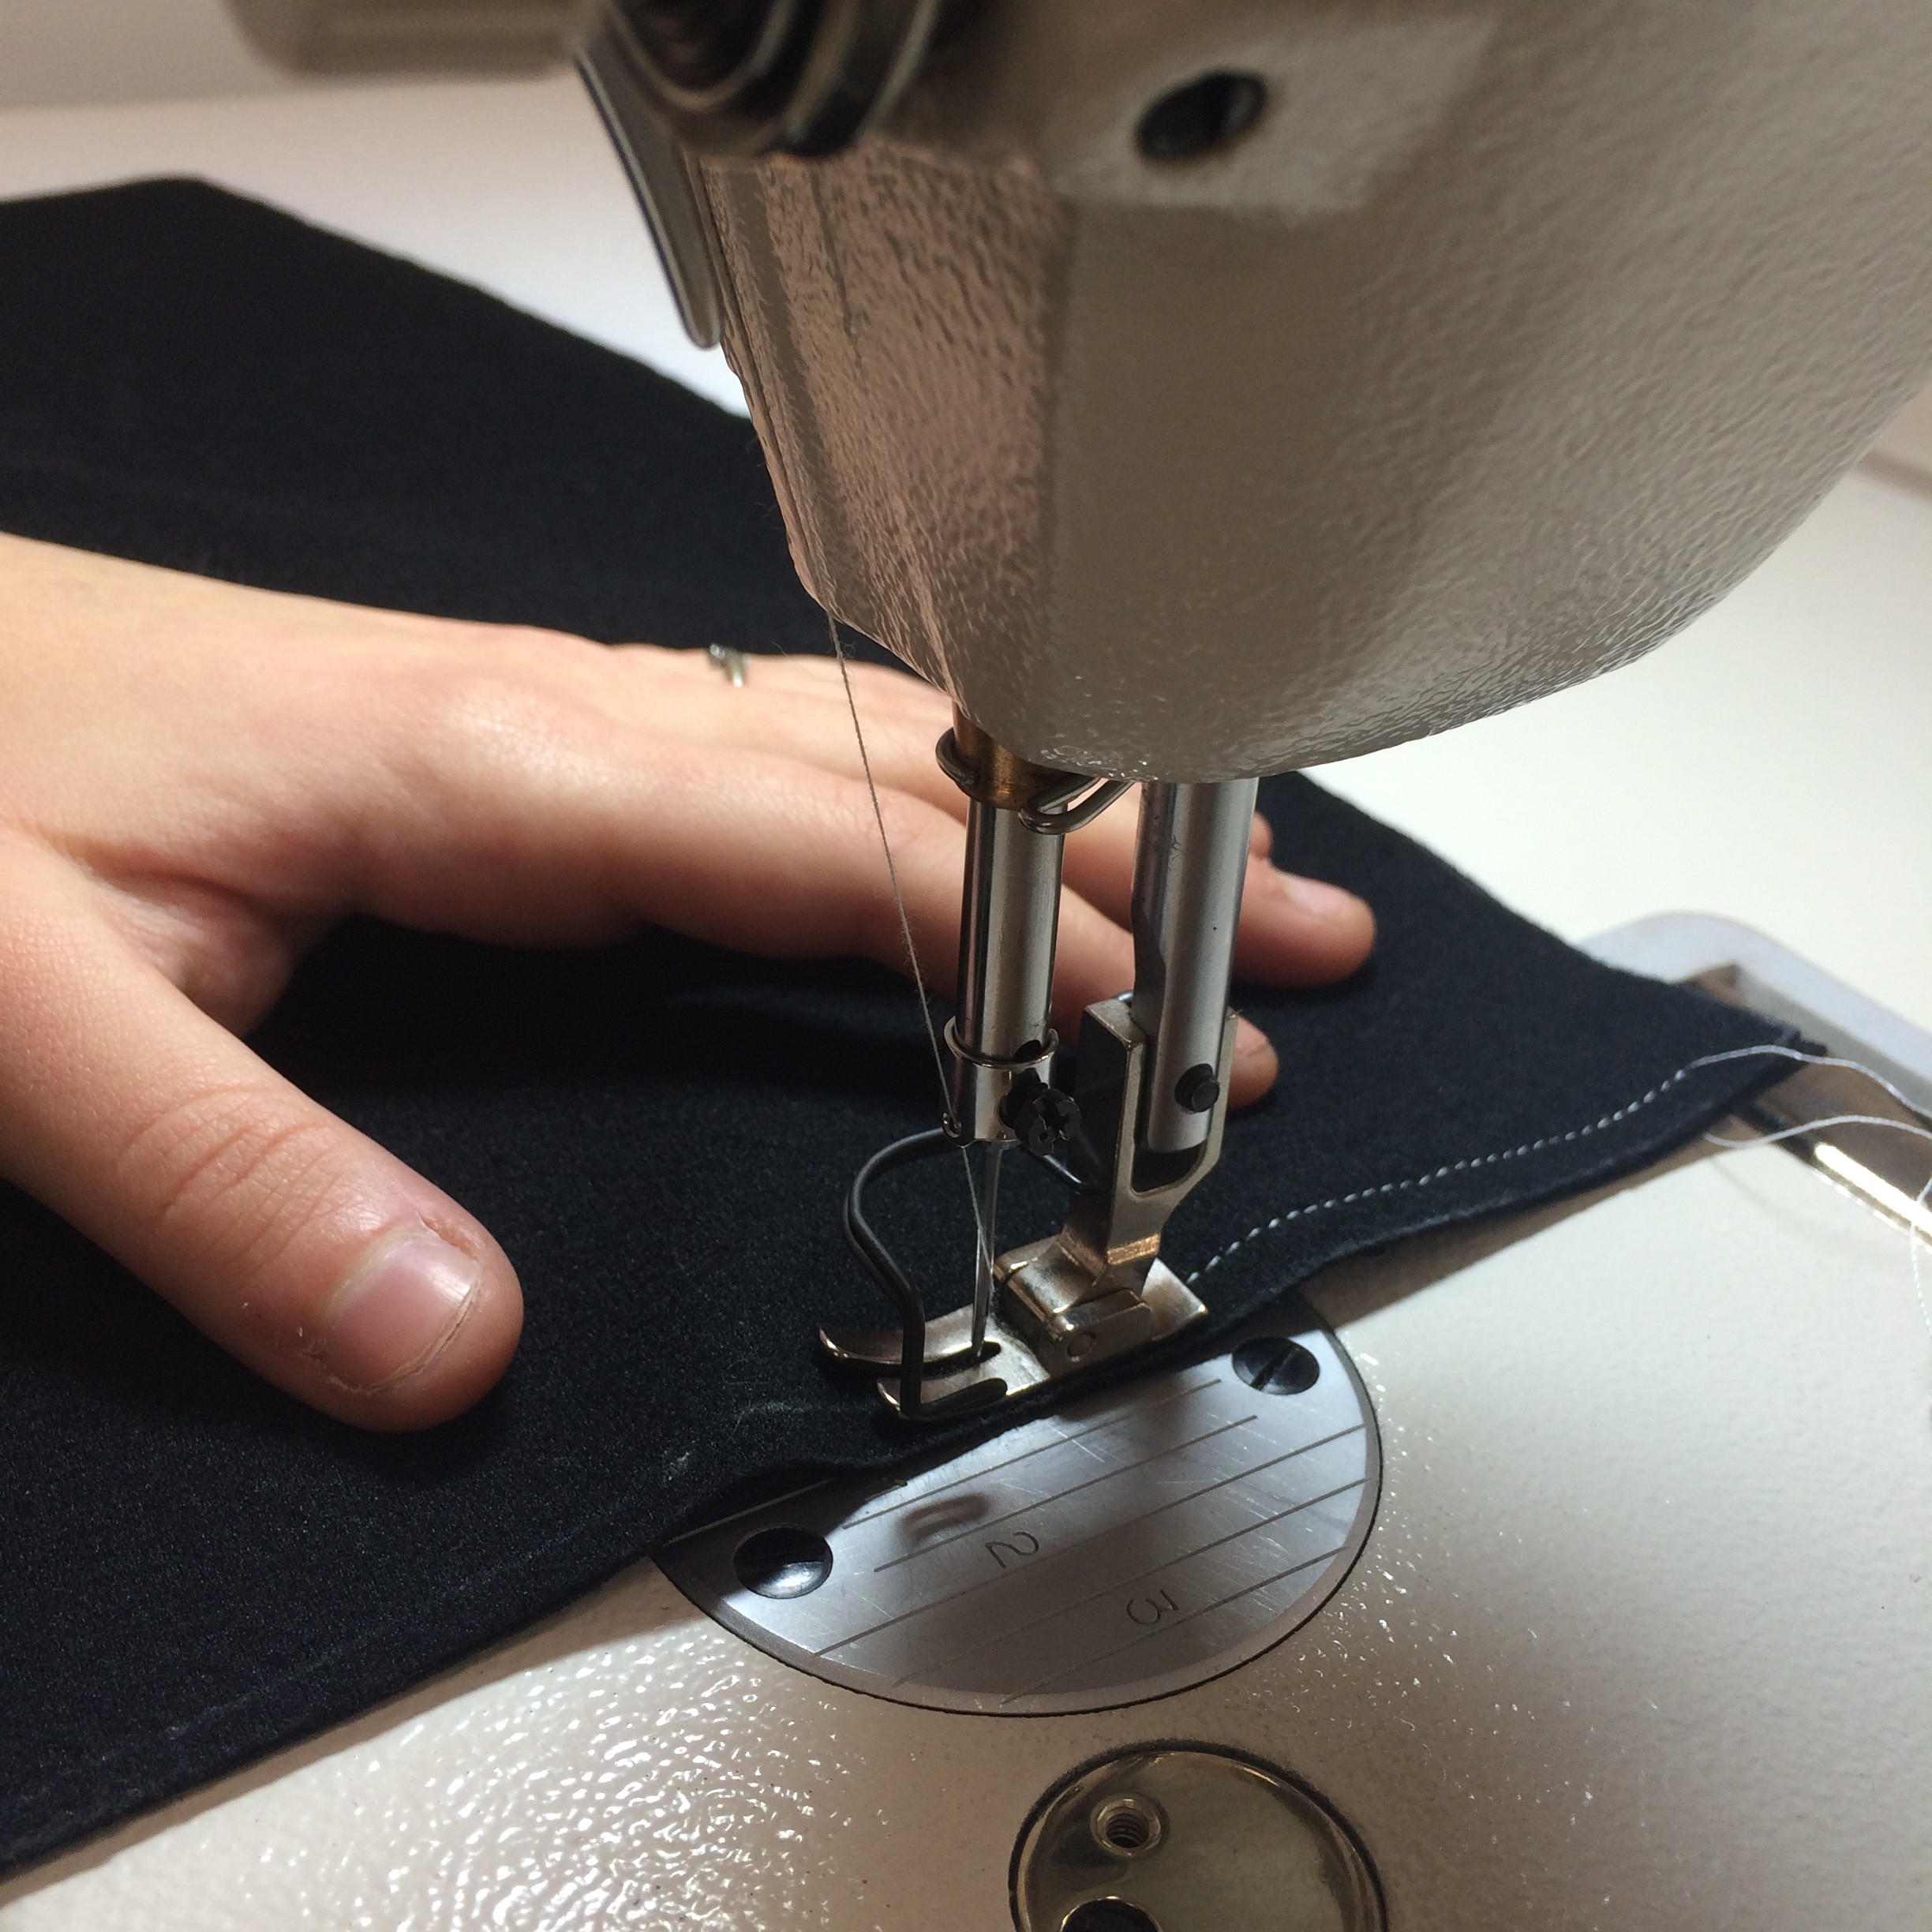
The first step after preparing the materials is sewing with conductive thread. We made parallel lines throughout both pieces of neoprene fabric.

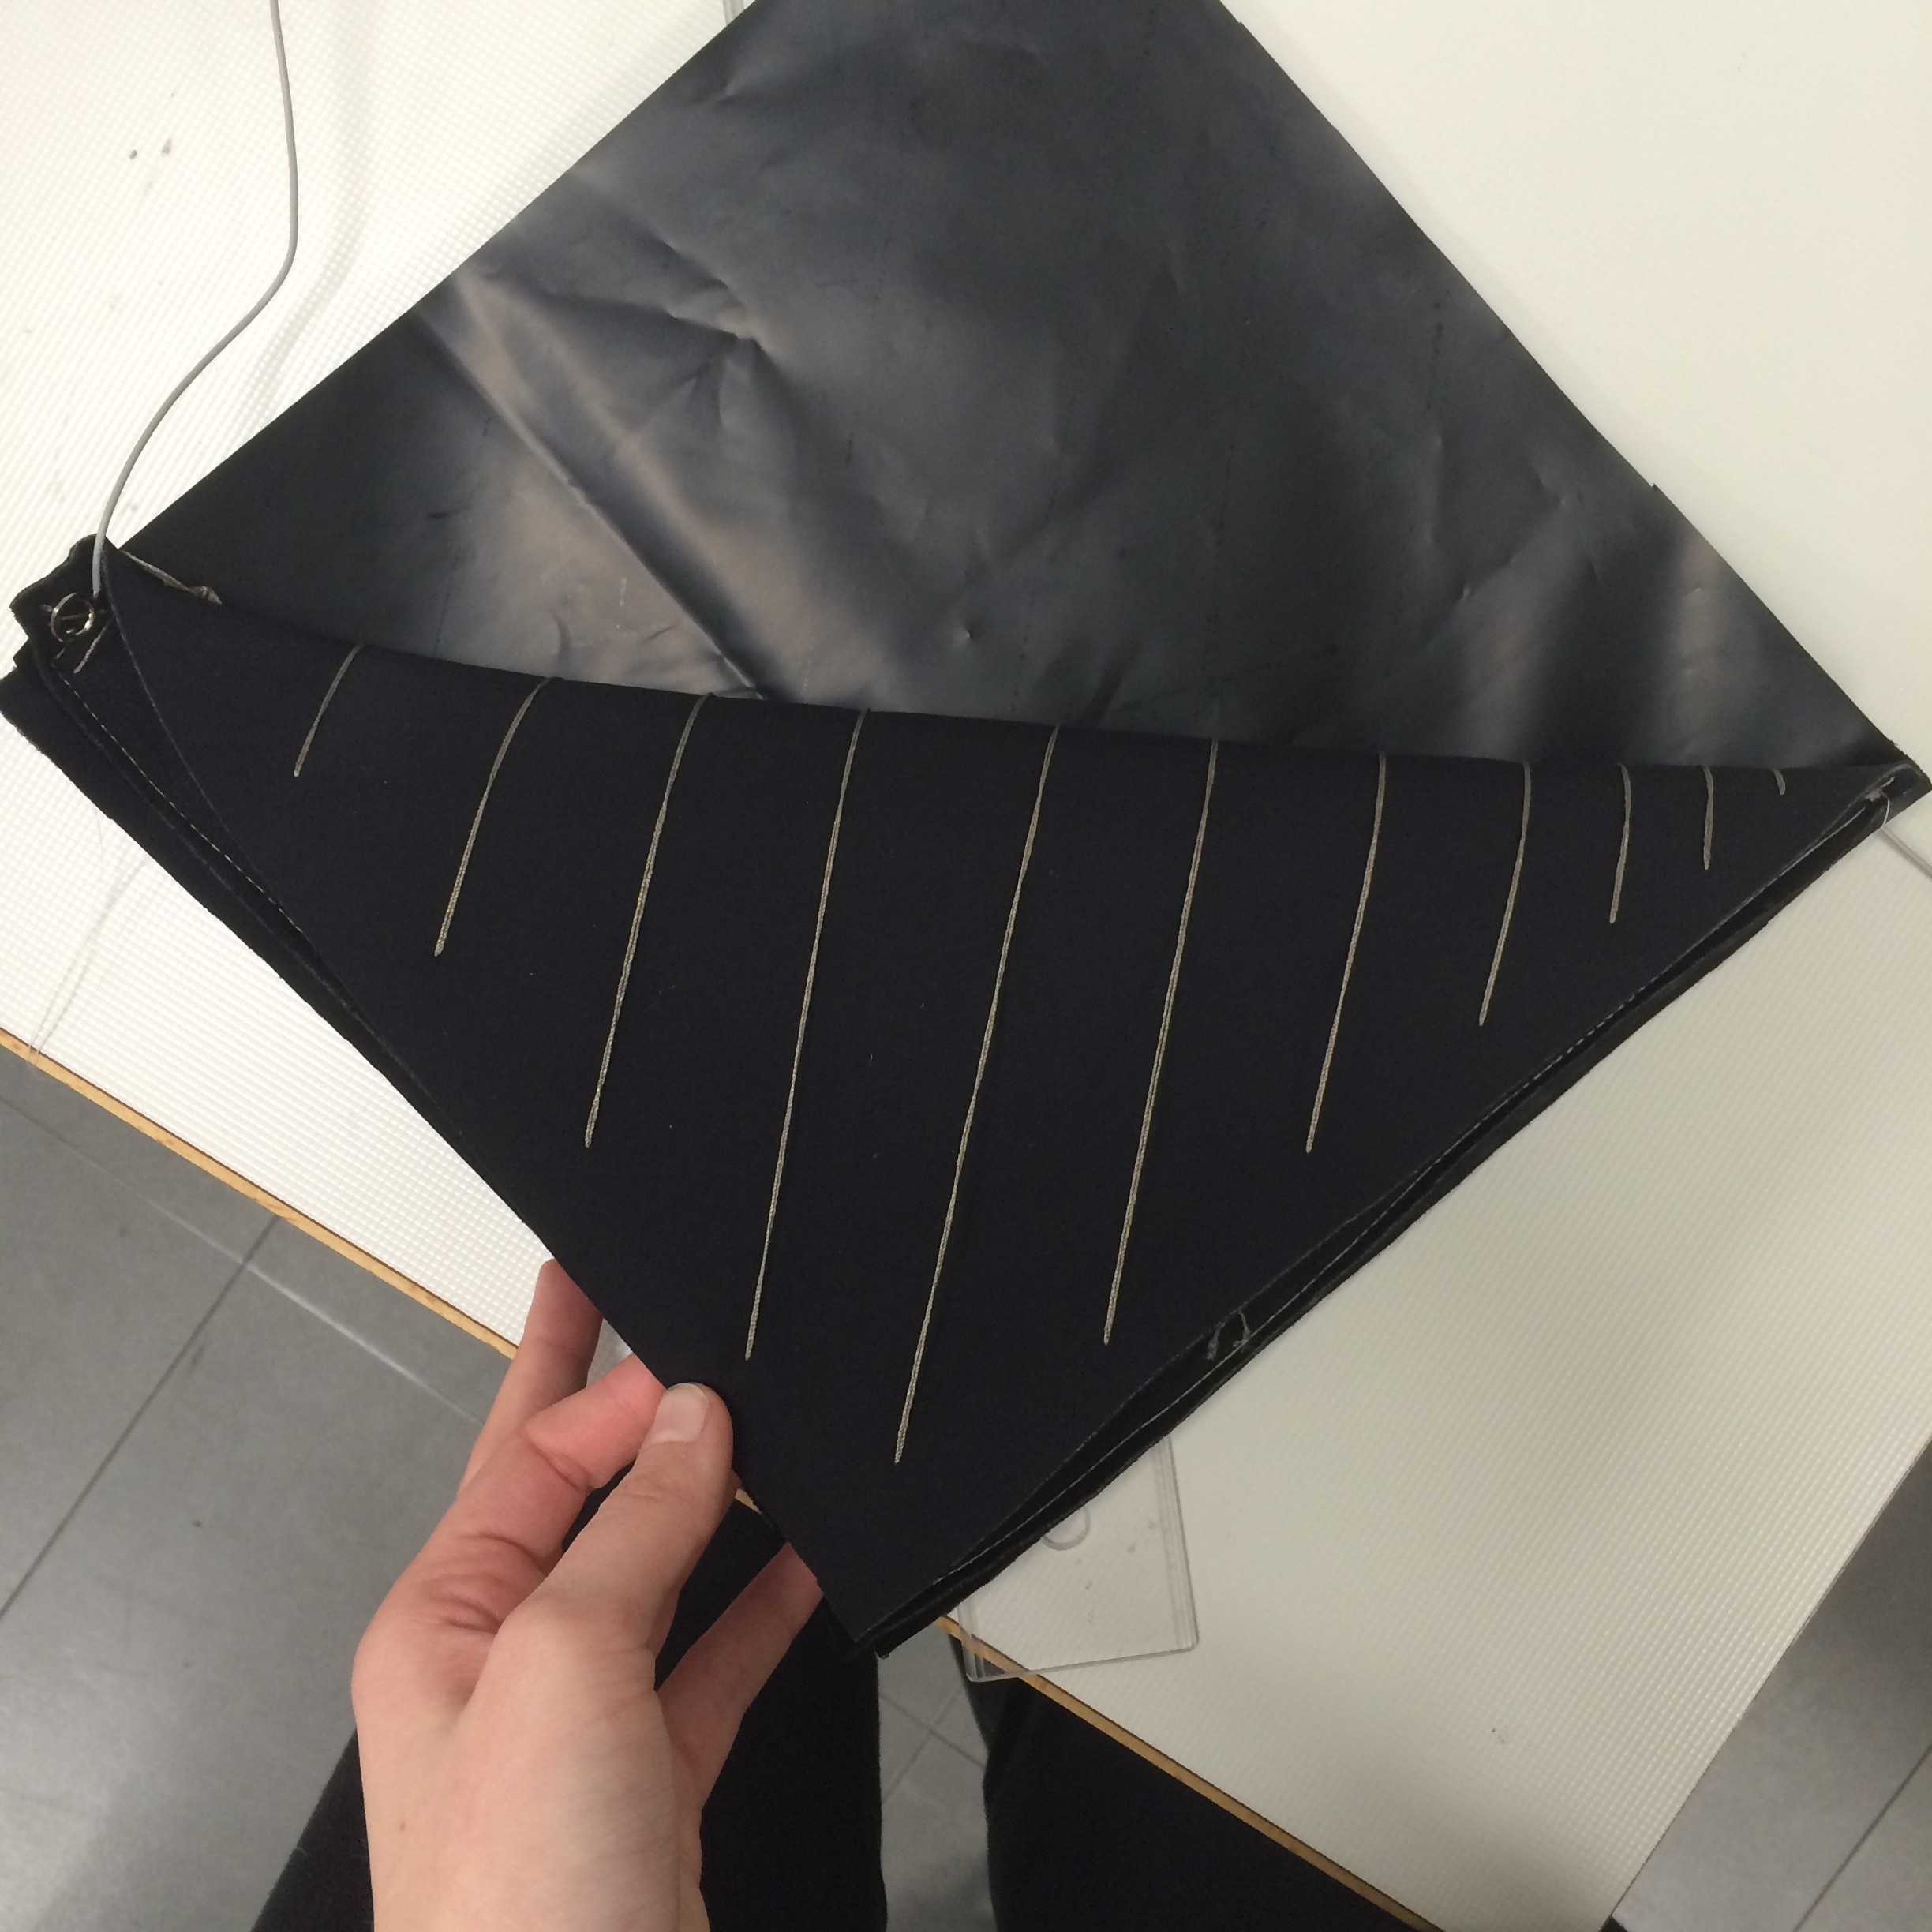
Next step is to place the resistive fabric in between the two layers of neoprene with conductive thread, so that the parallel lines are going in different directions.

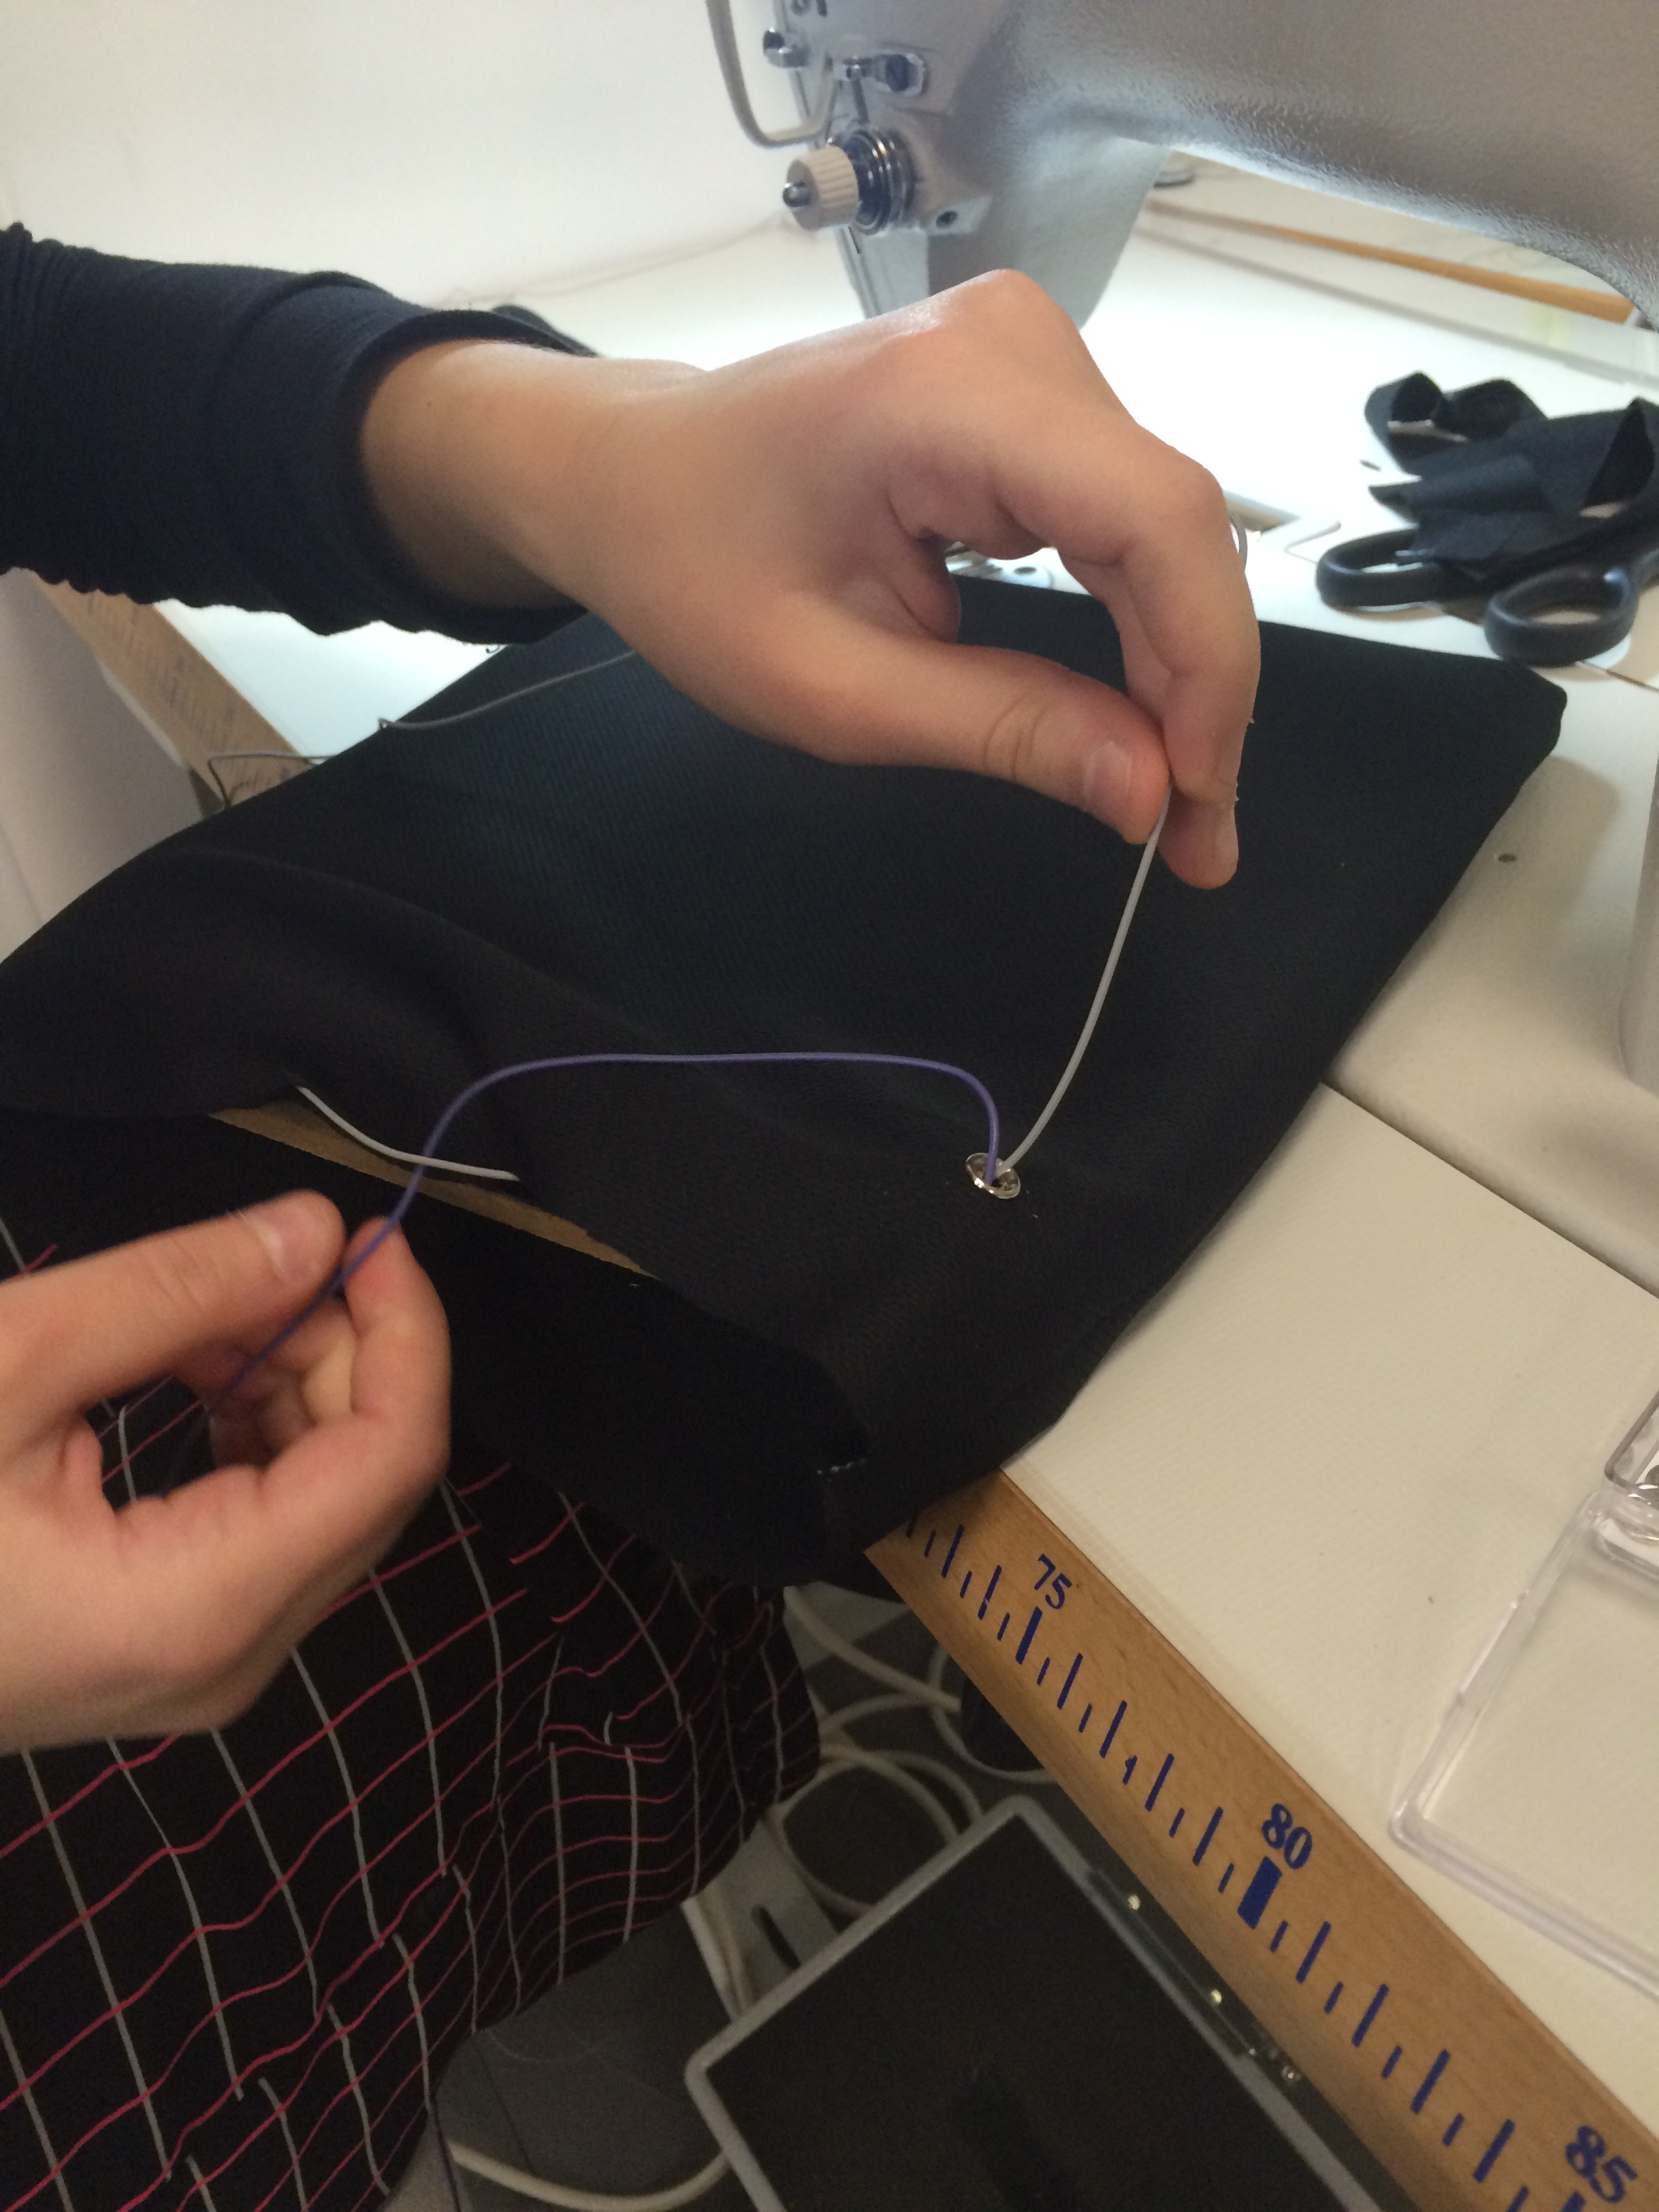
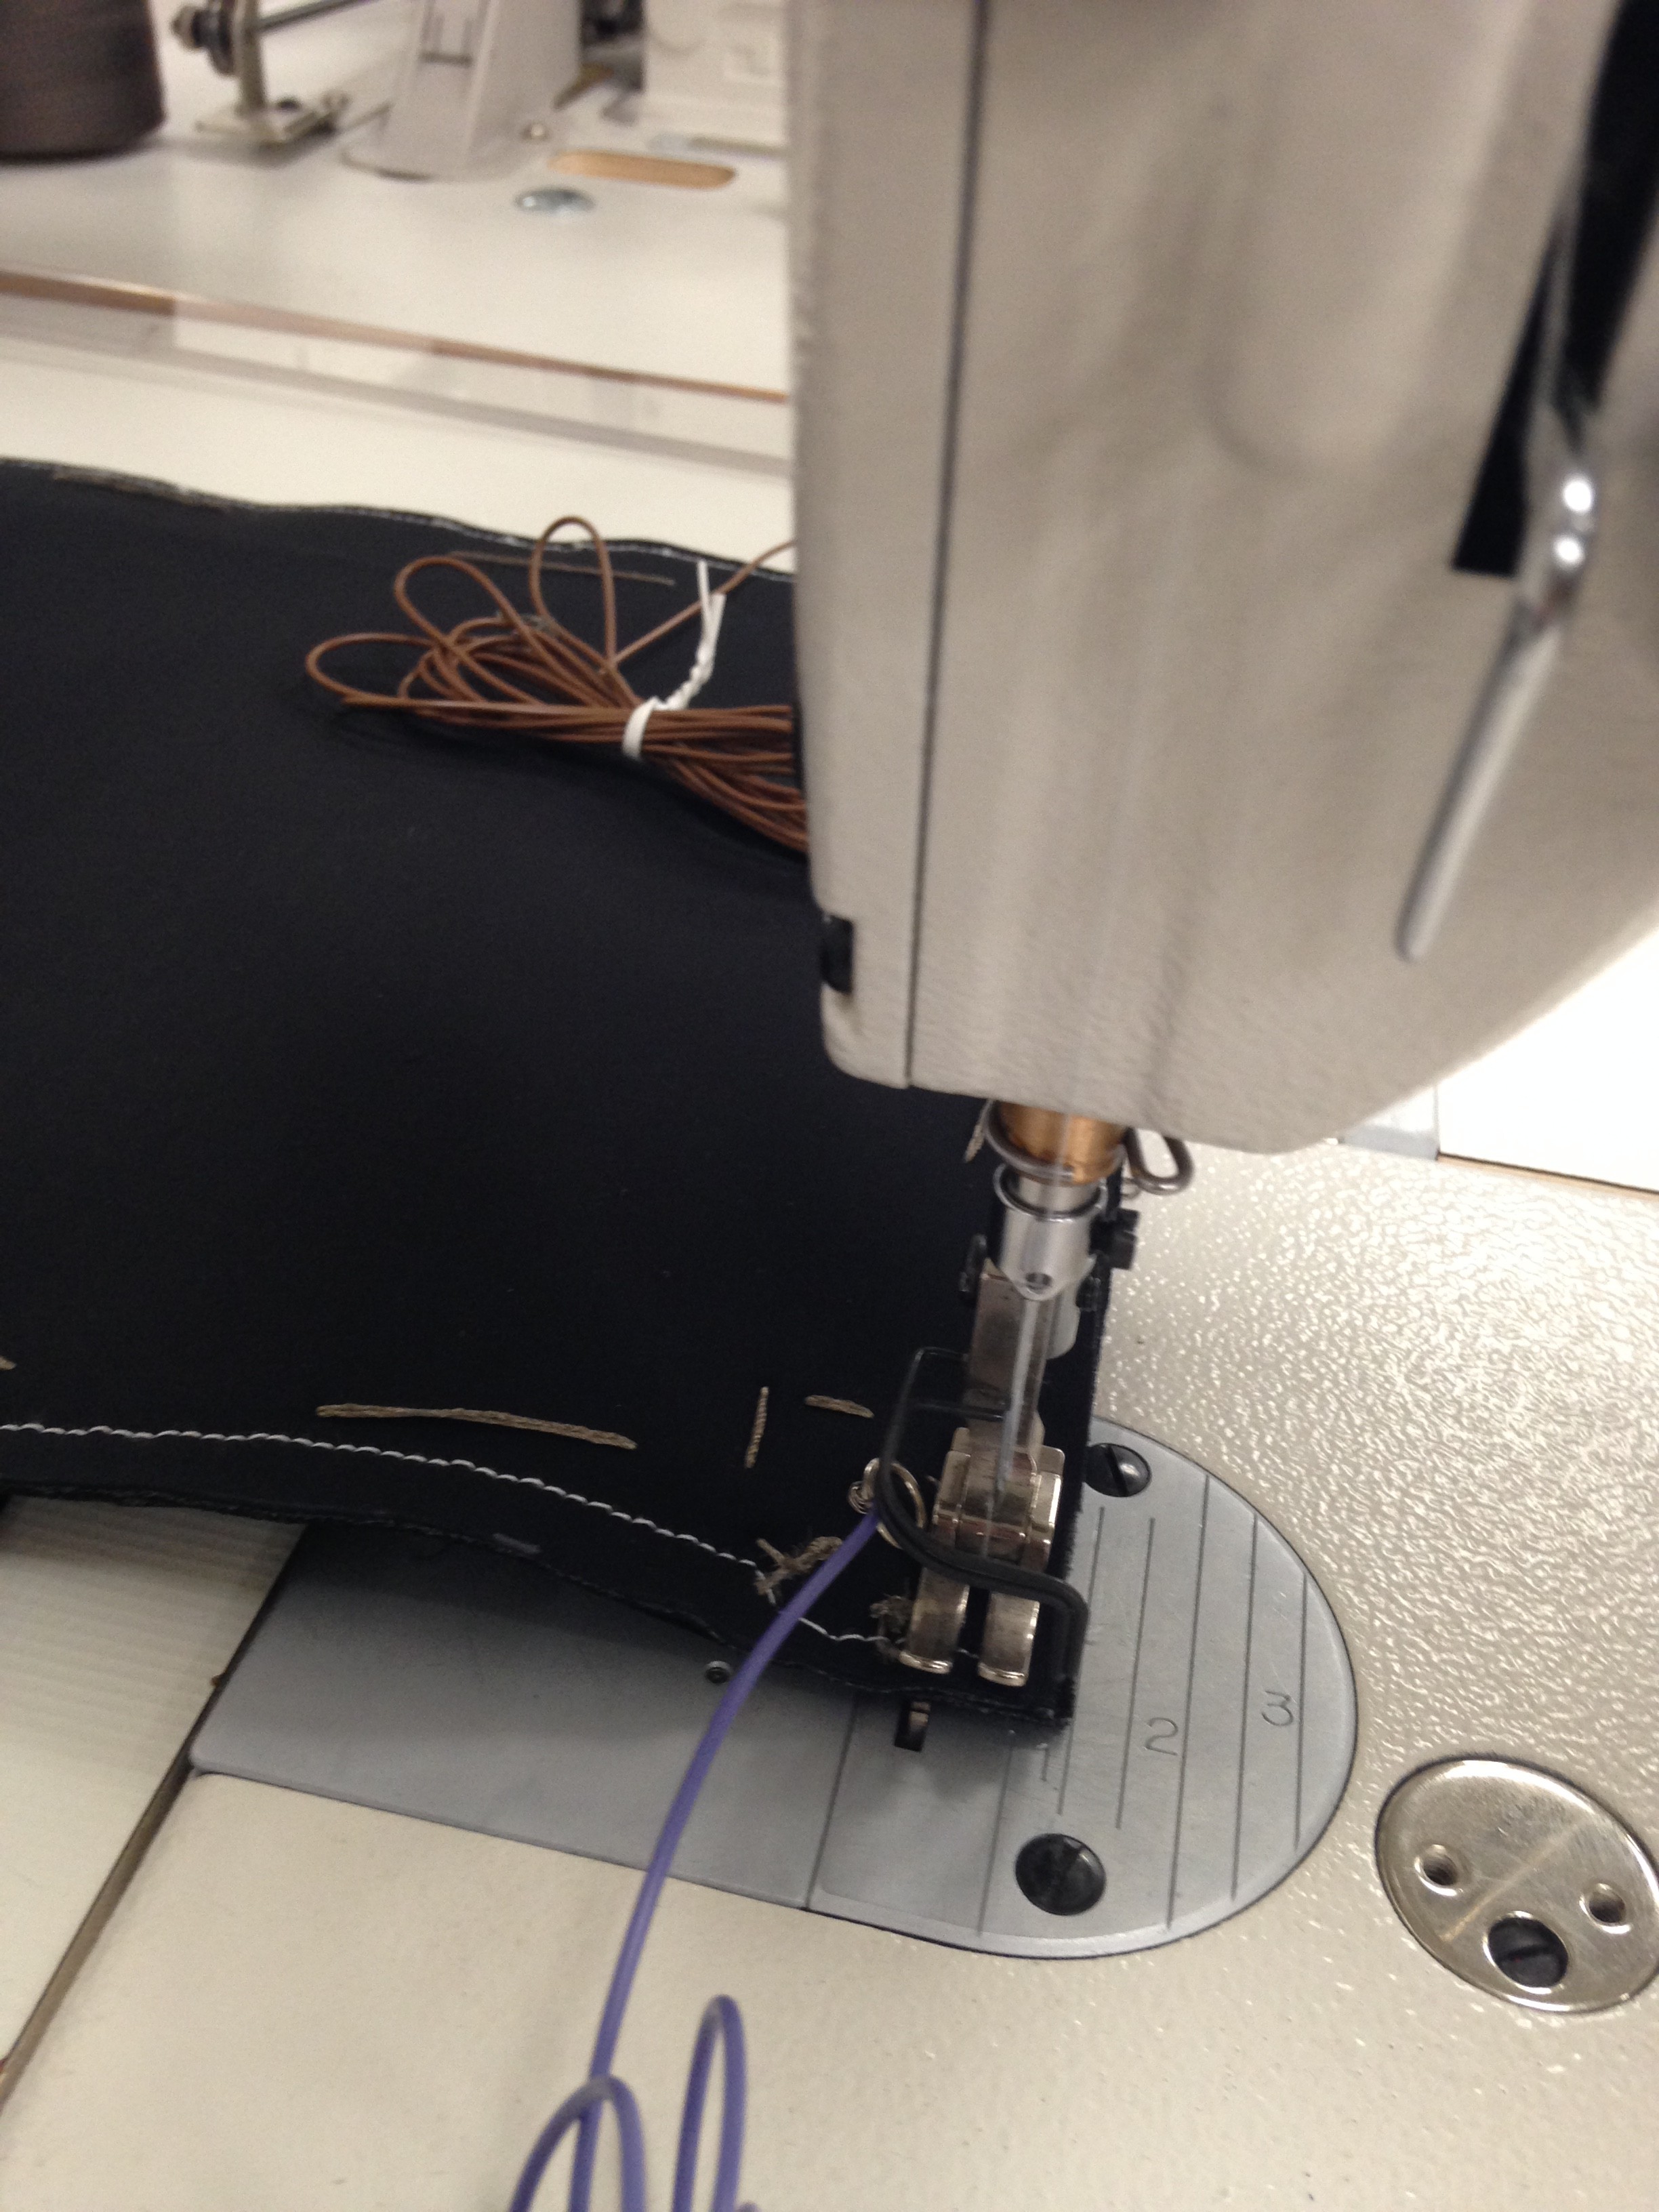
Then we attached to snap buttons to two corners (doesn’t matter which ones, as long as they’re not in the same corner) of the neoprene, that went through two small pieces of conductive fabric. The conductive fabric has to touch the conductive thread. We also connected wires to the snap buttons before the attachment that are then going to go to the lilypad.

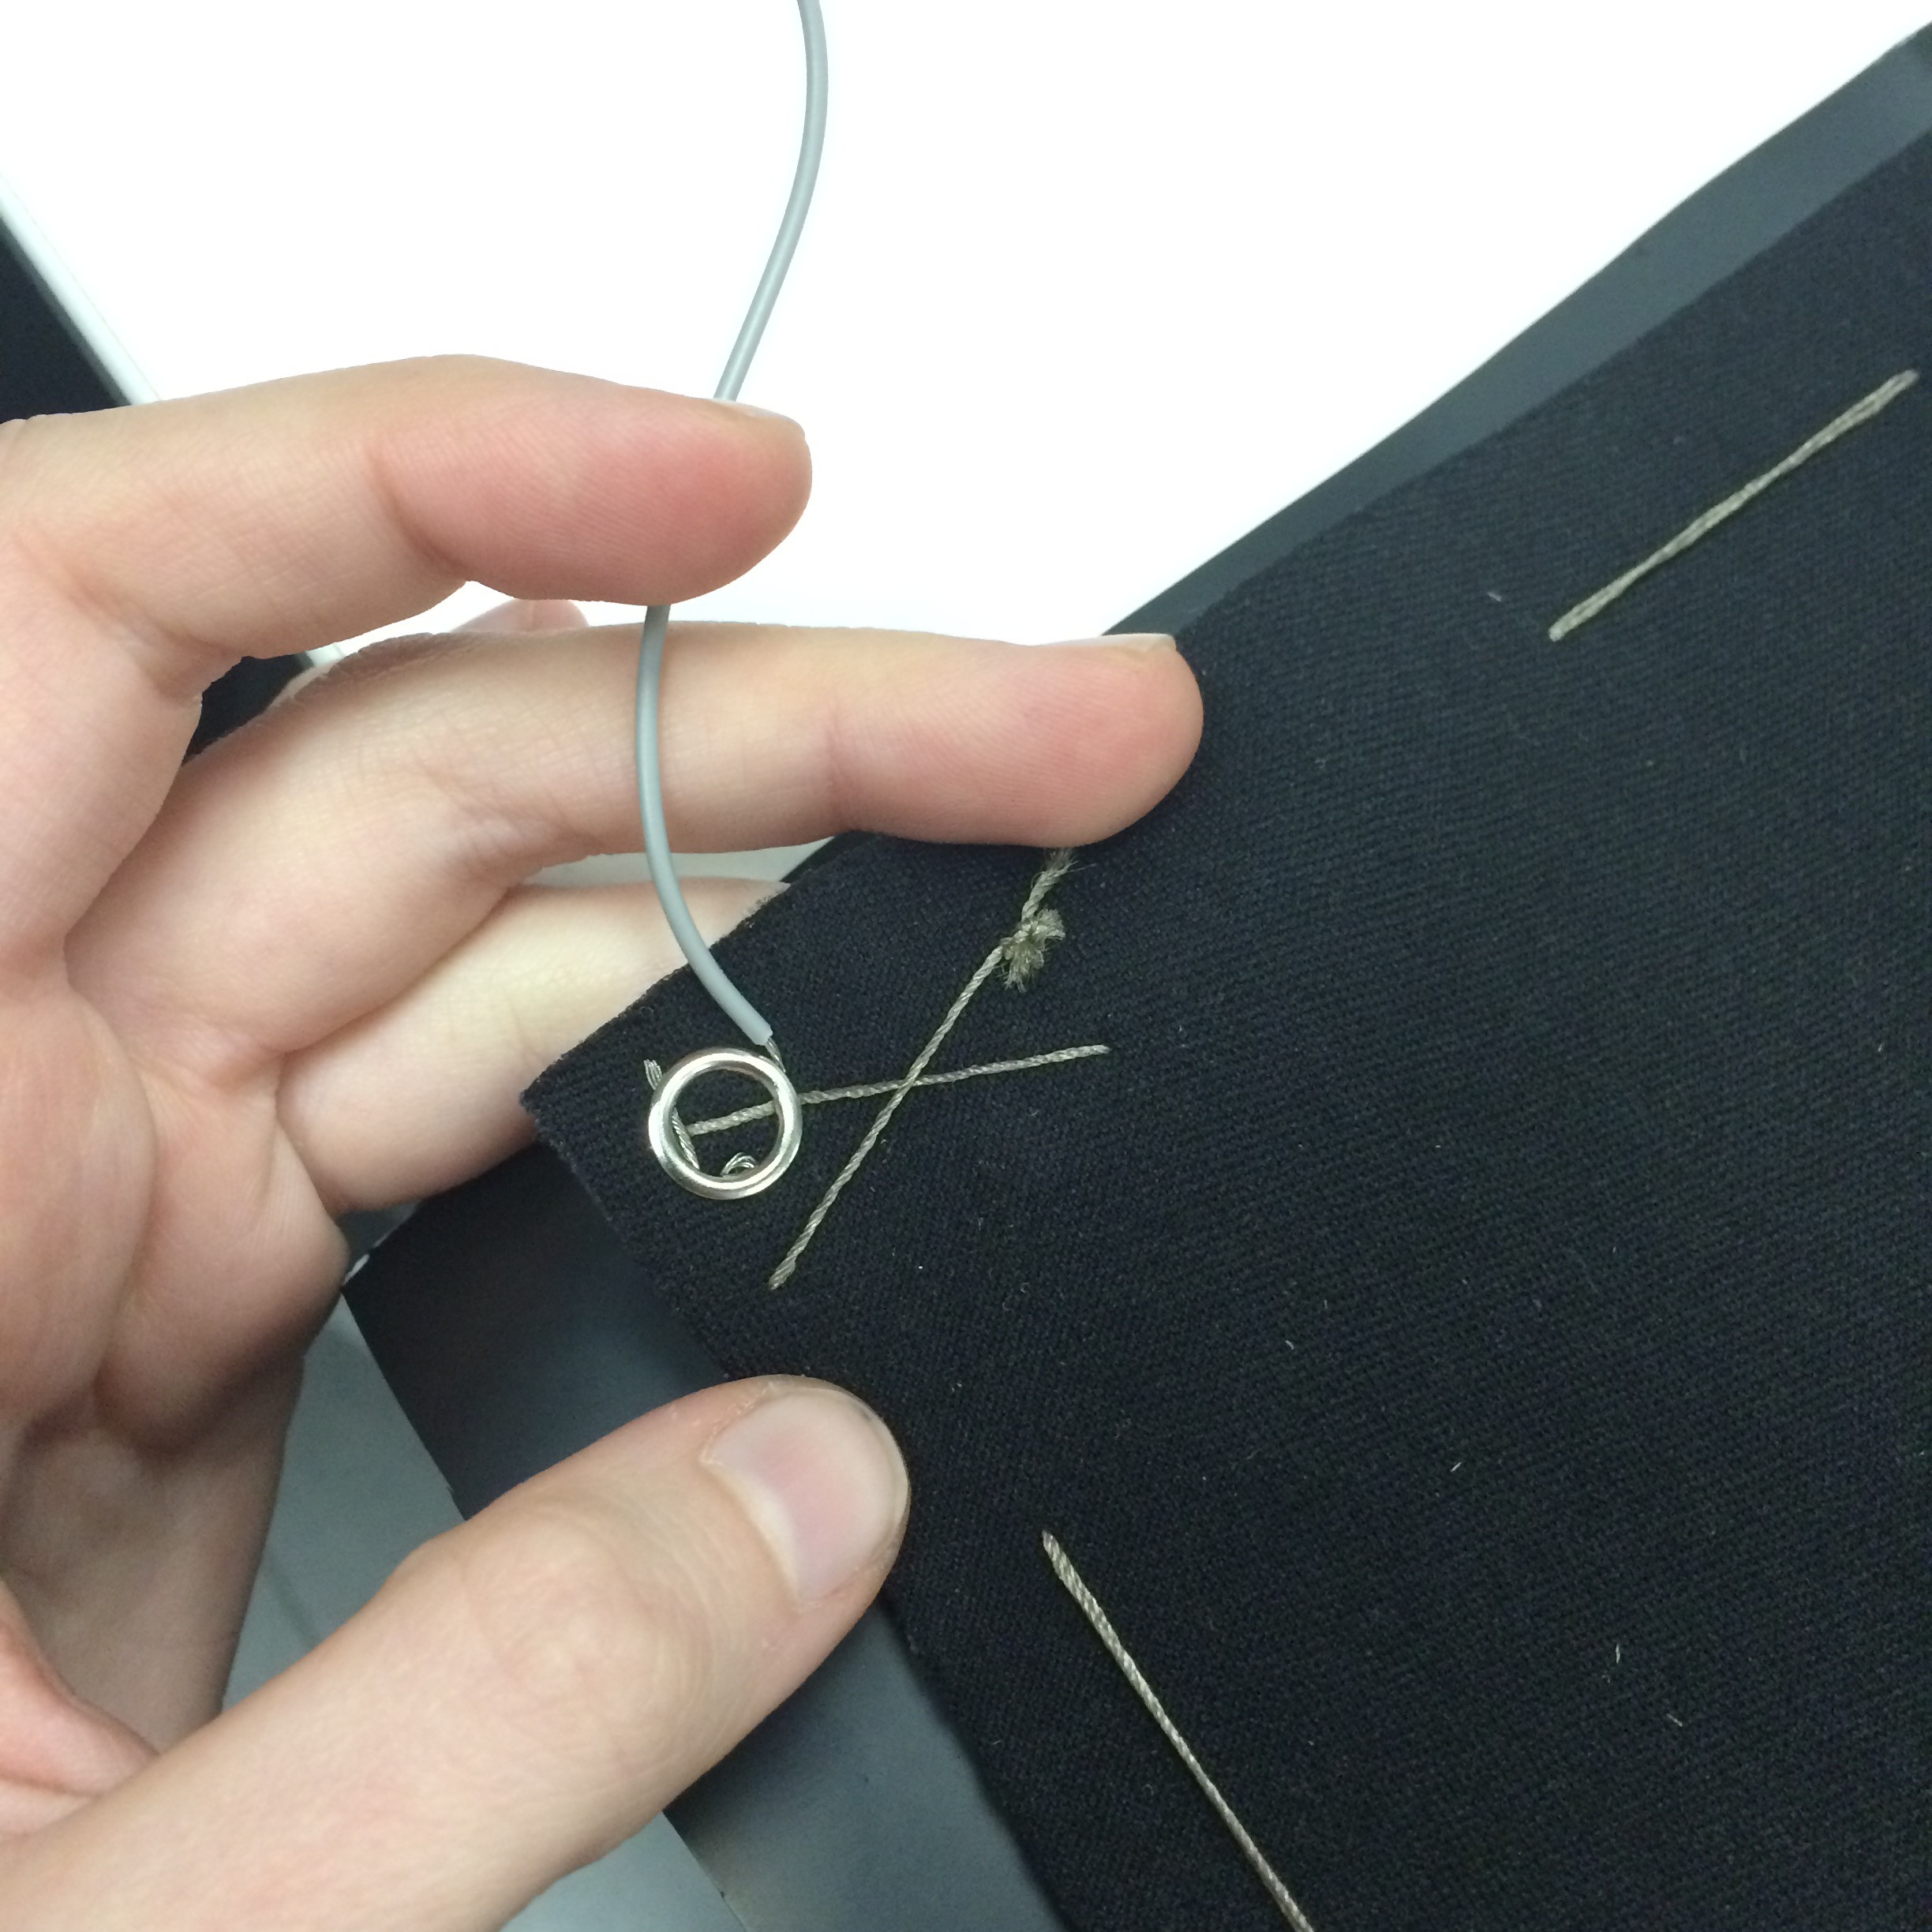

For more informations about how to connect the snap buttons, you can click here.
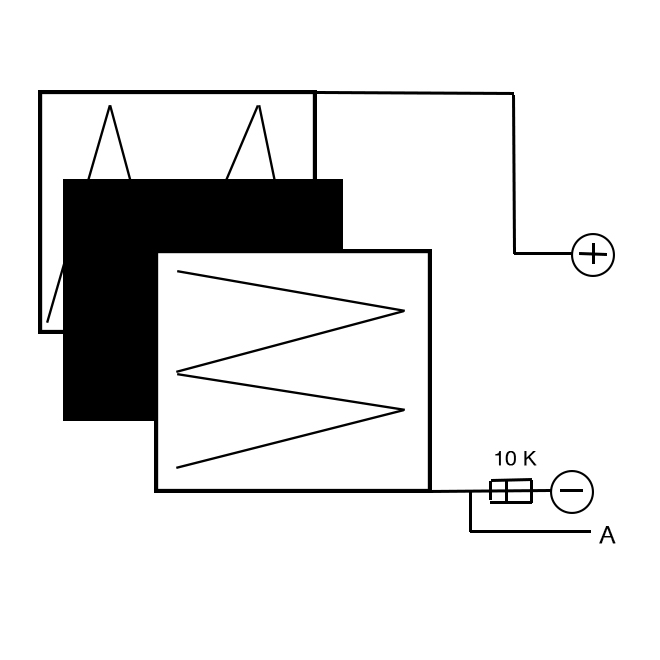
Once you’ve connected the wires you should test whether the sensor actually works. For that you first attach one of the wires to +, and another one to a 10K resistor and to -, and to an analog pin (A). You can see how it’s don in the scheme below:
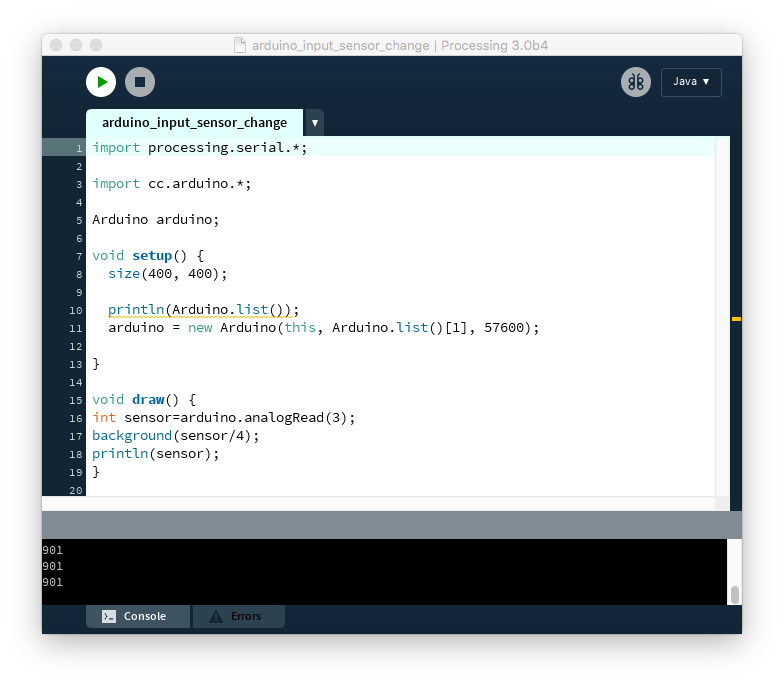
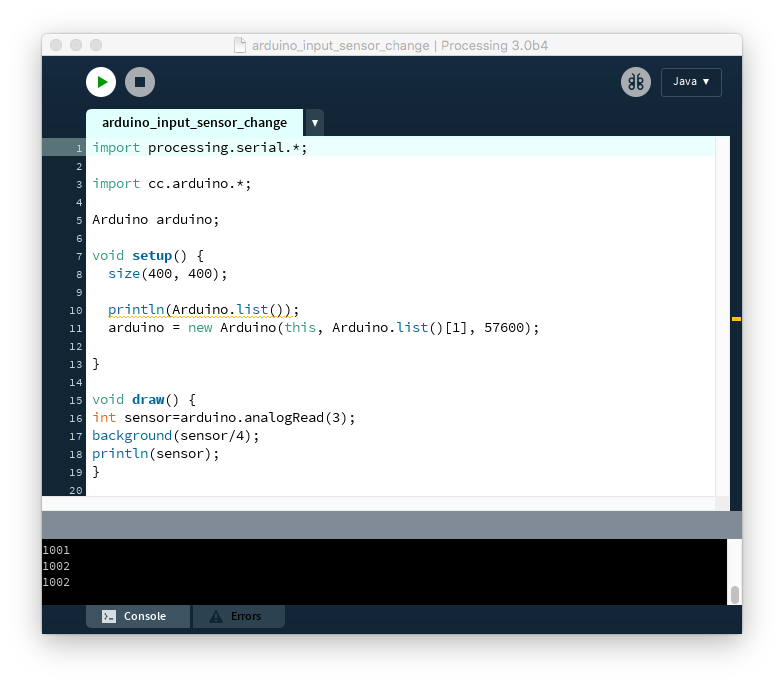
To check that it works you can use the code seen in the photo below (if it works the values on the bottom of the screen in the console will change when you press the pressure sensor). You can copy it from this window or find it in processing examples called “arduino input sensor change”:
Here come the last steps: add foam on top of the sensor, once you’re sure that it works, and cardboard or thin wood on the bottom just to make it sturdy on the bottom.
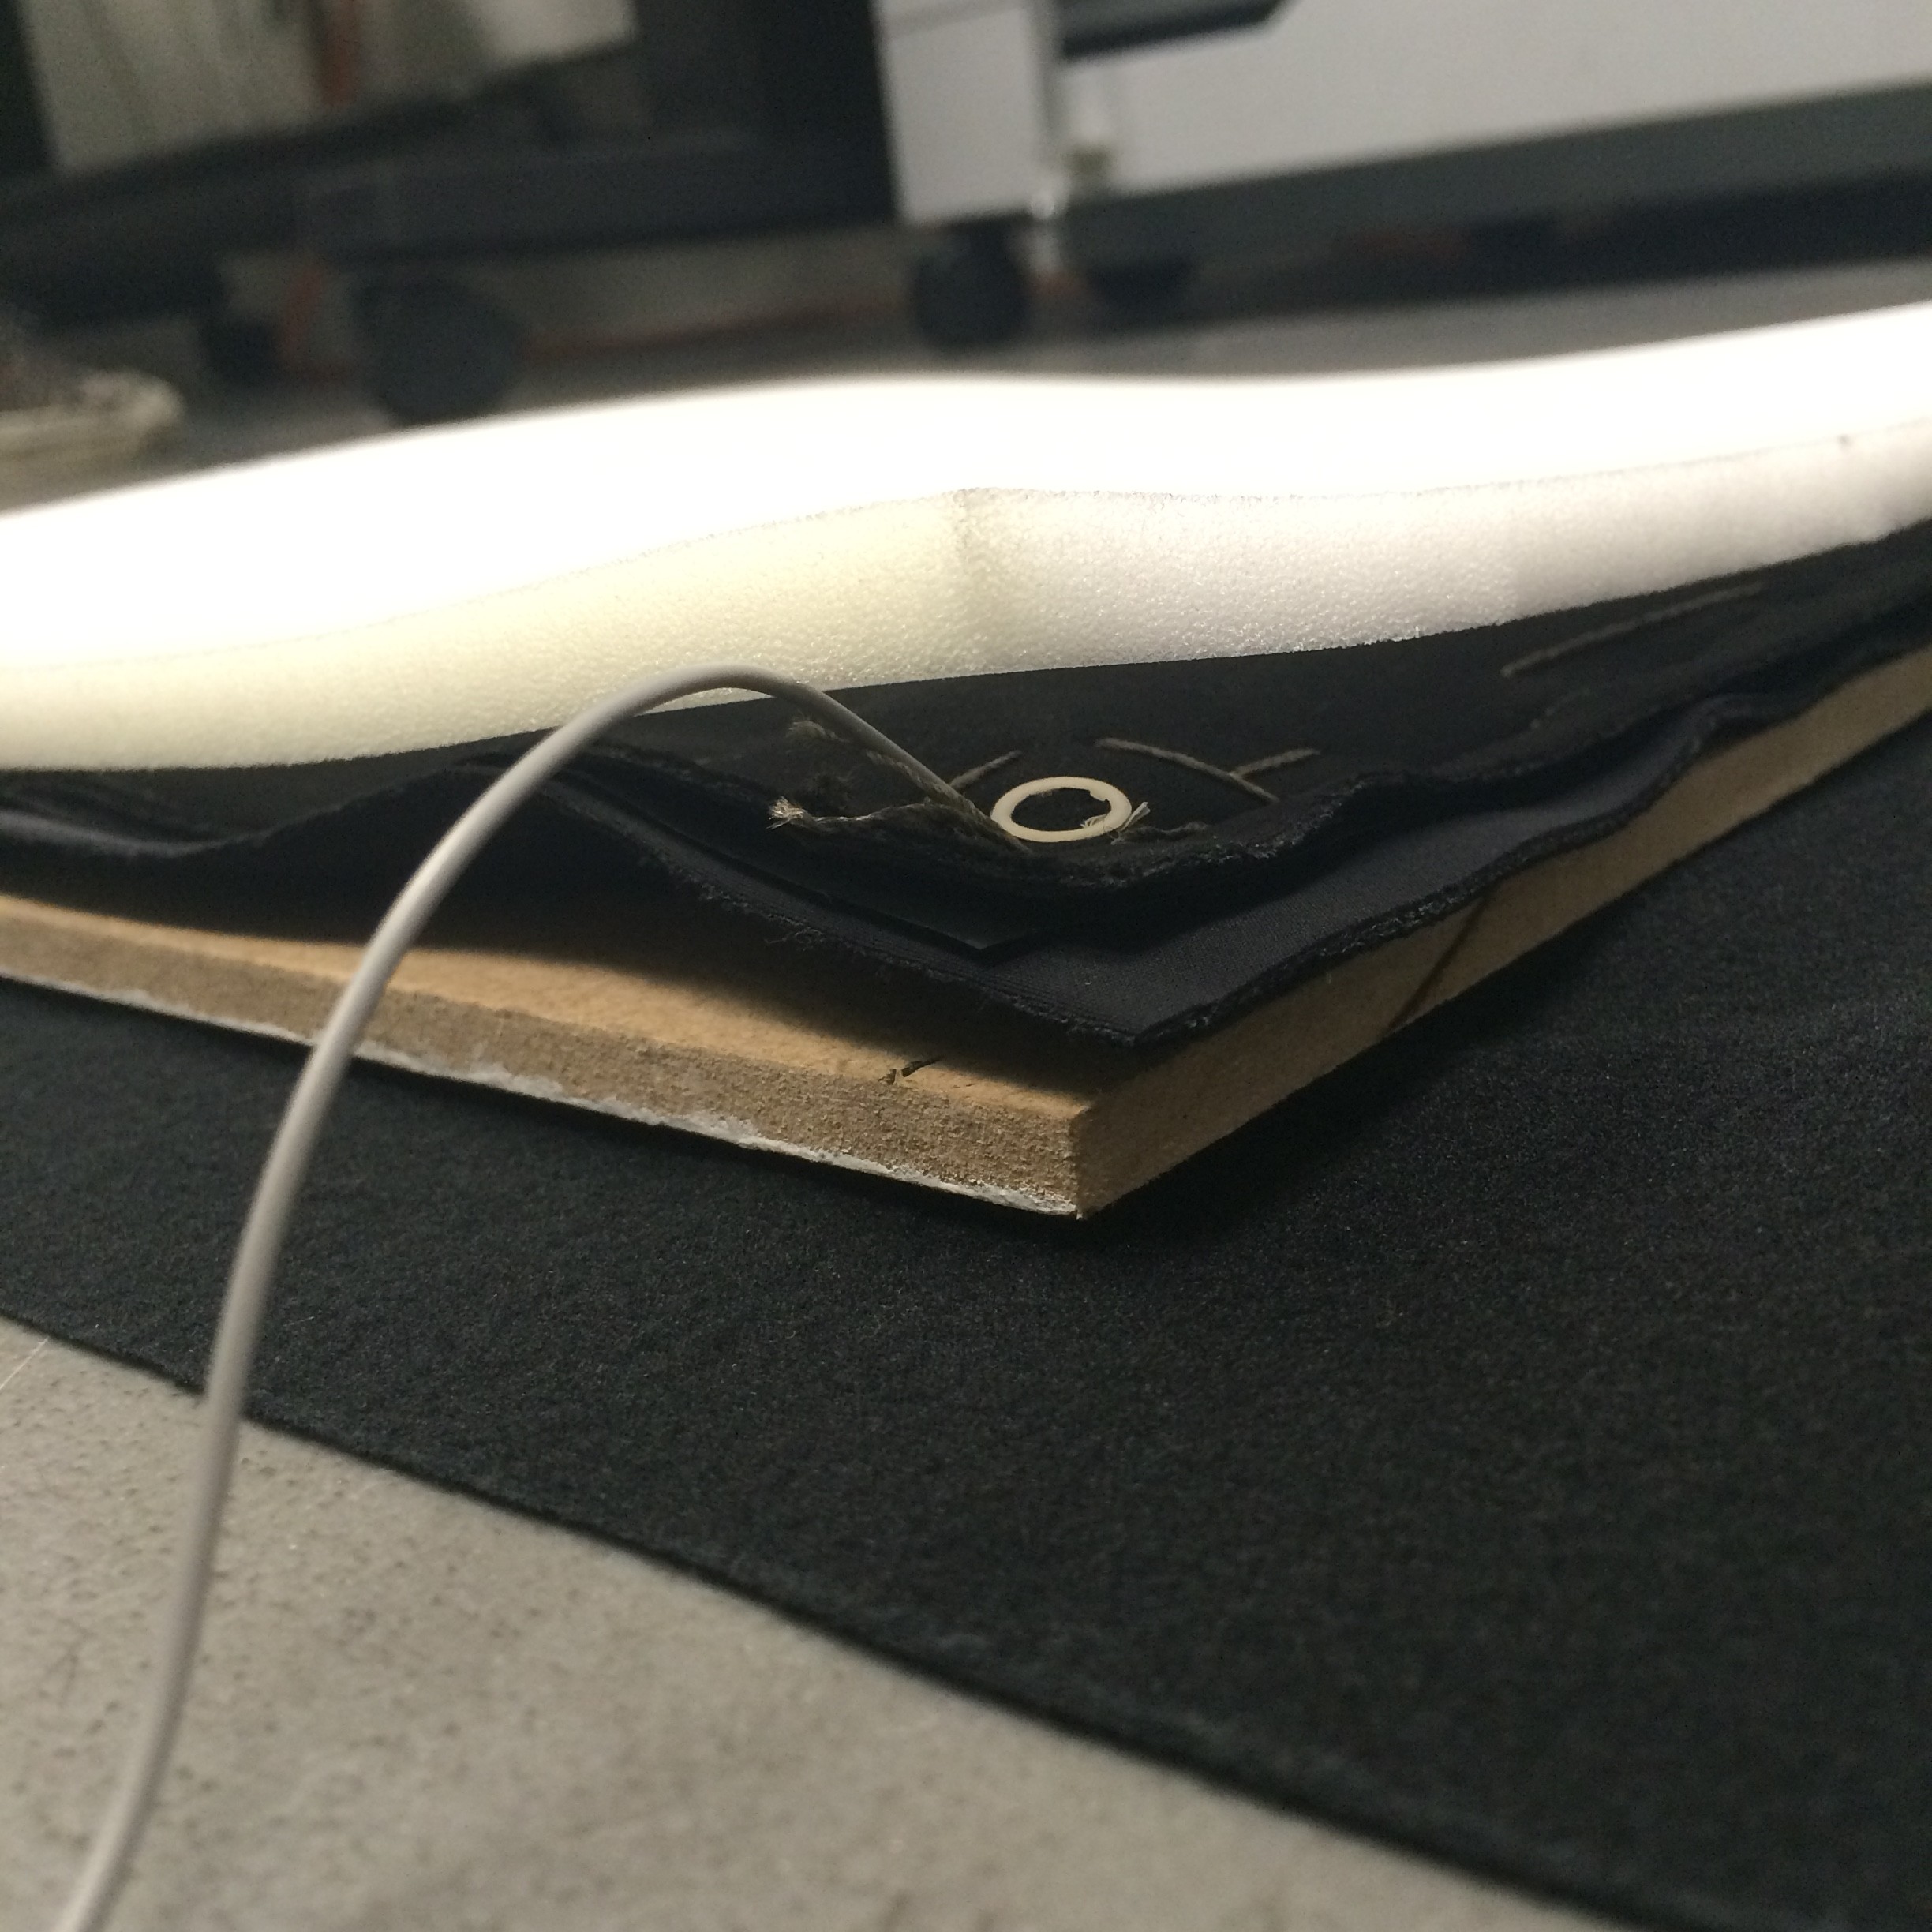
Lastly, find any fabric you like and cut out two 30x30cm squares to cover the foam, wood and pressure sensor. Make a whole in the fabric that the wires would go through and sew it all together!
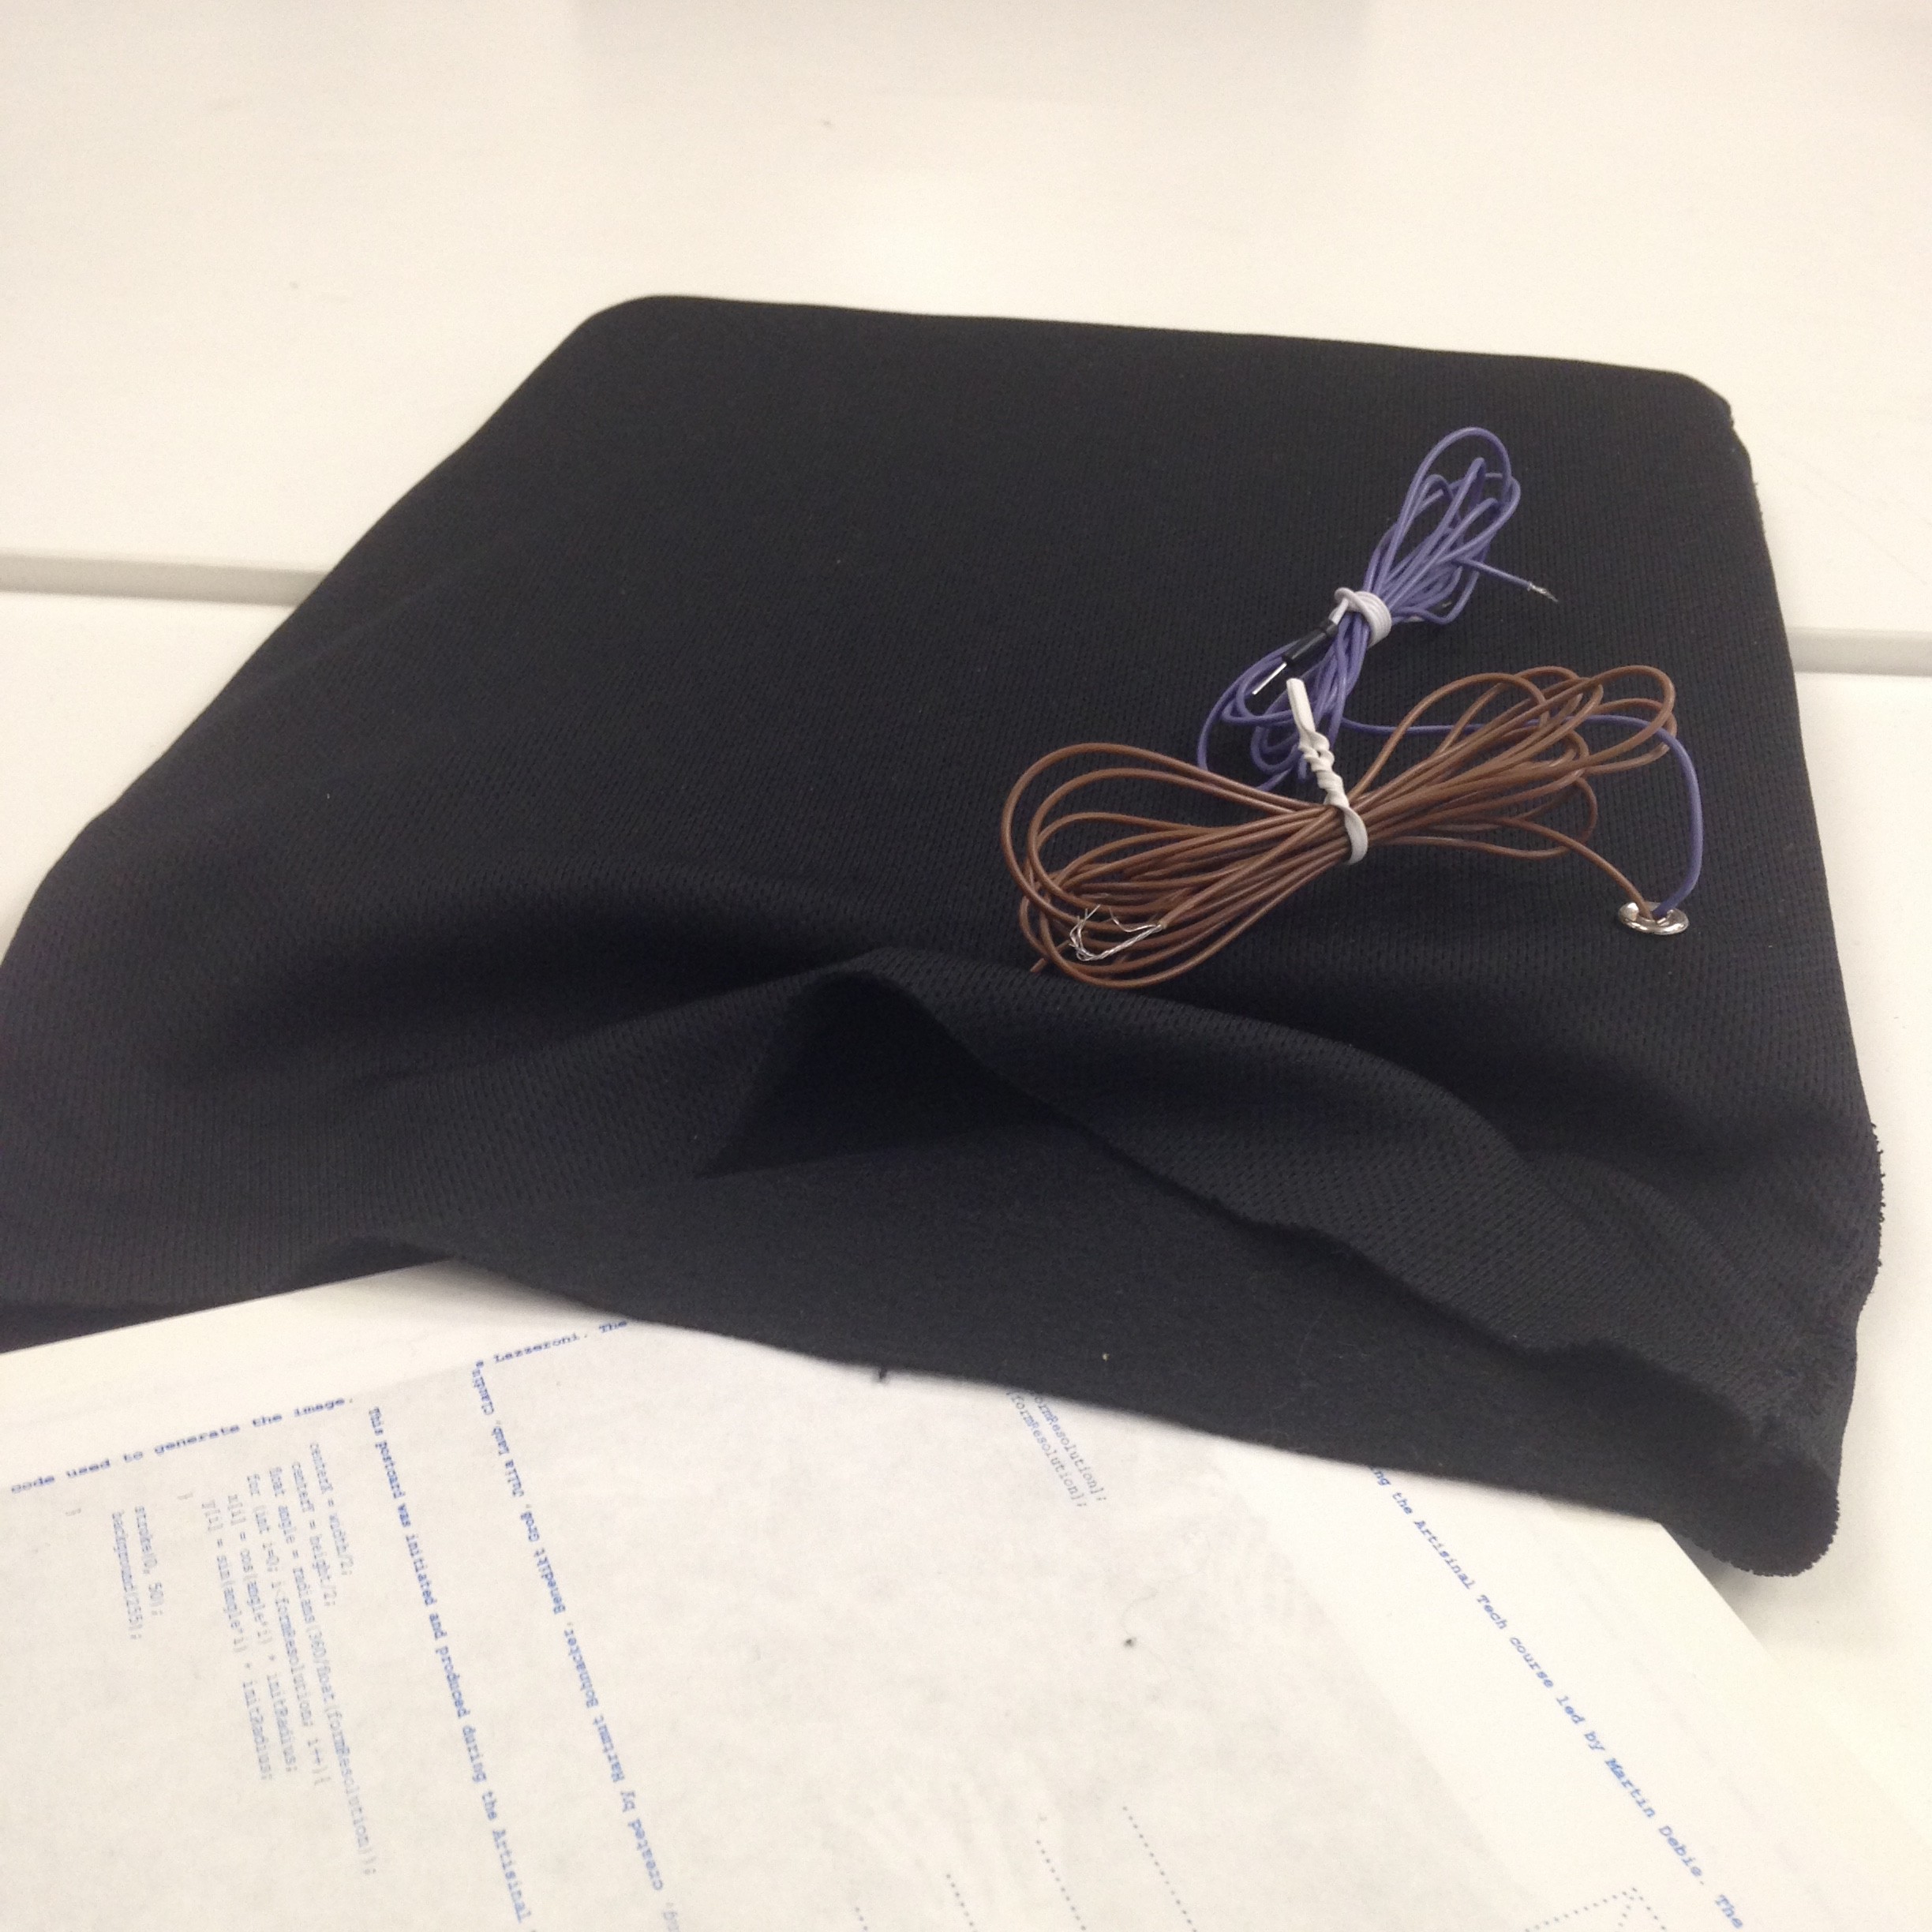
The finished result will look something like this:
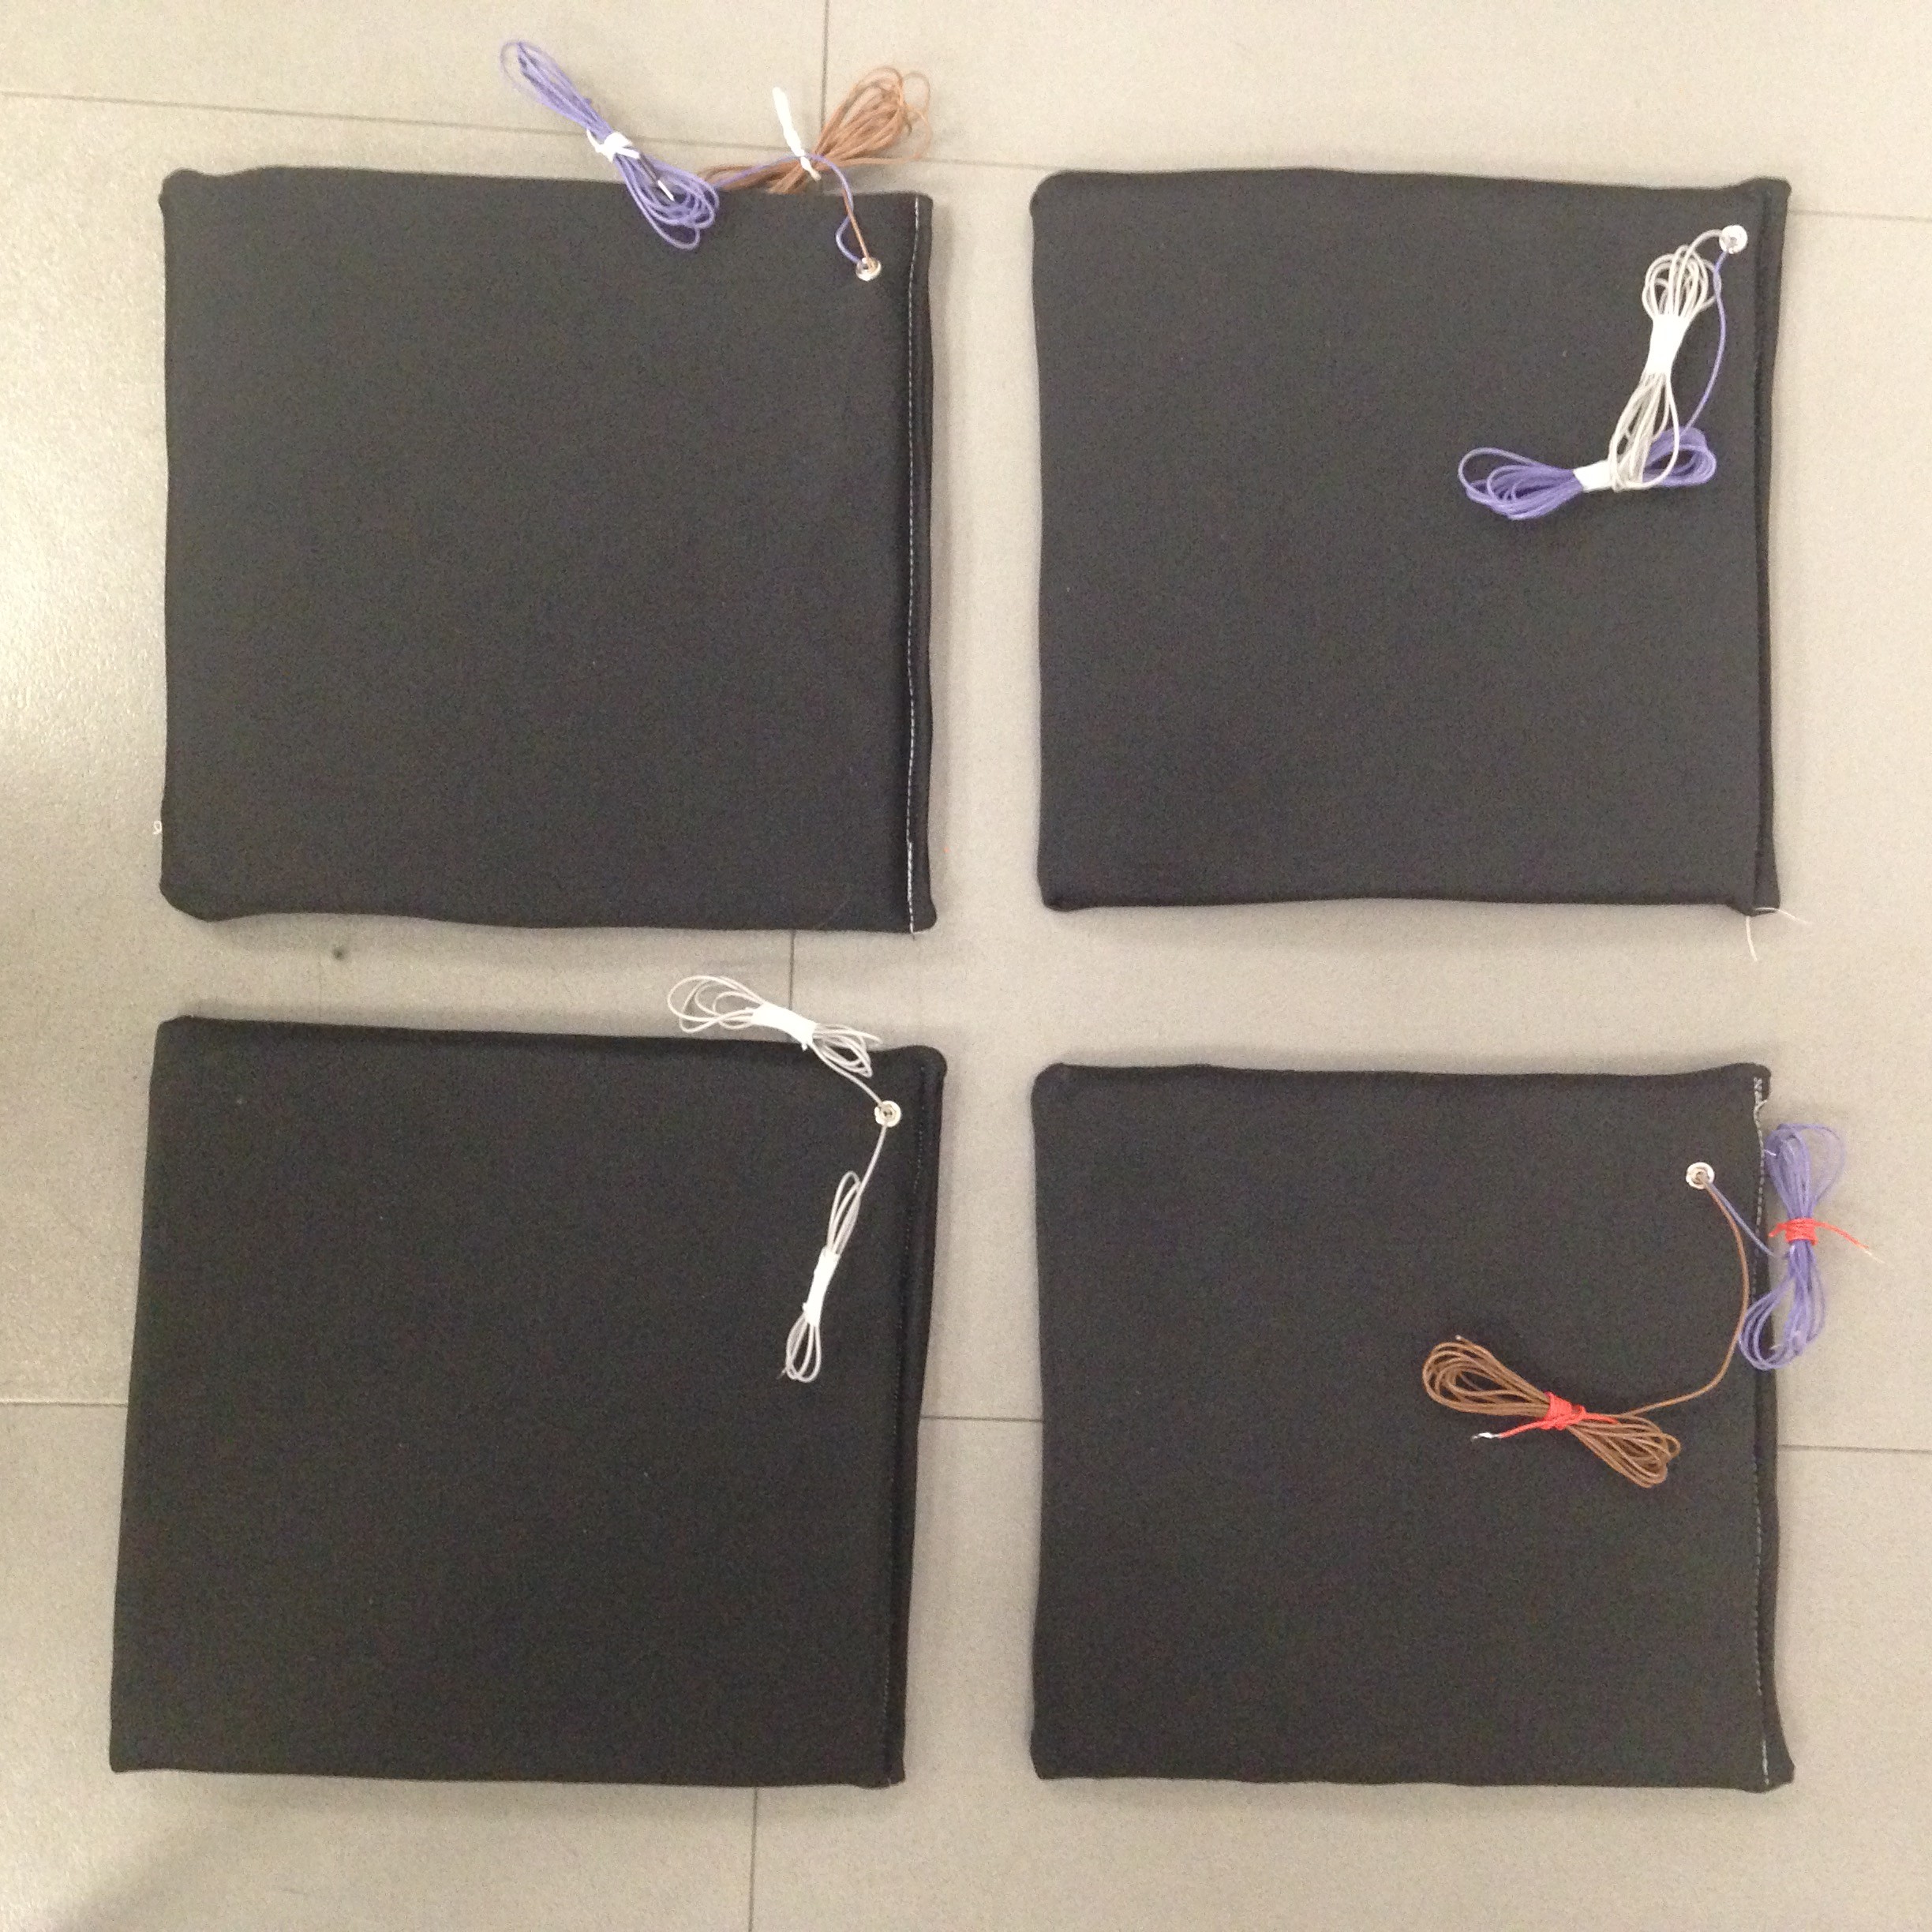
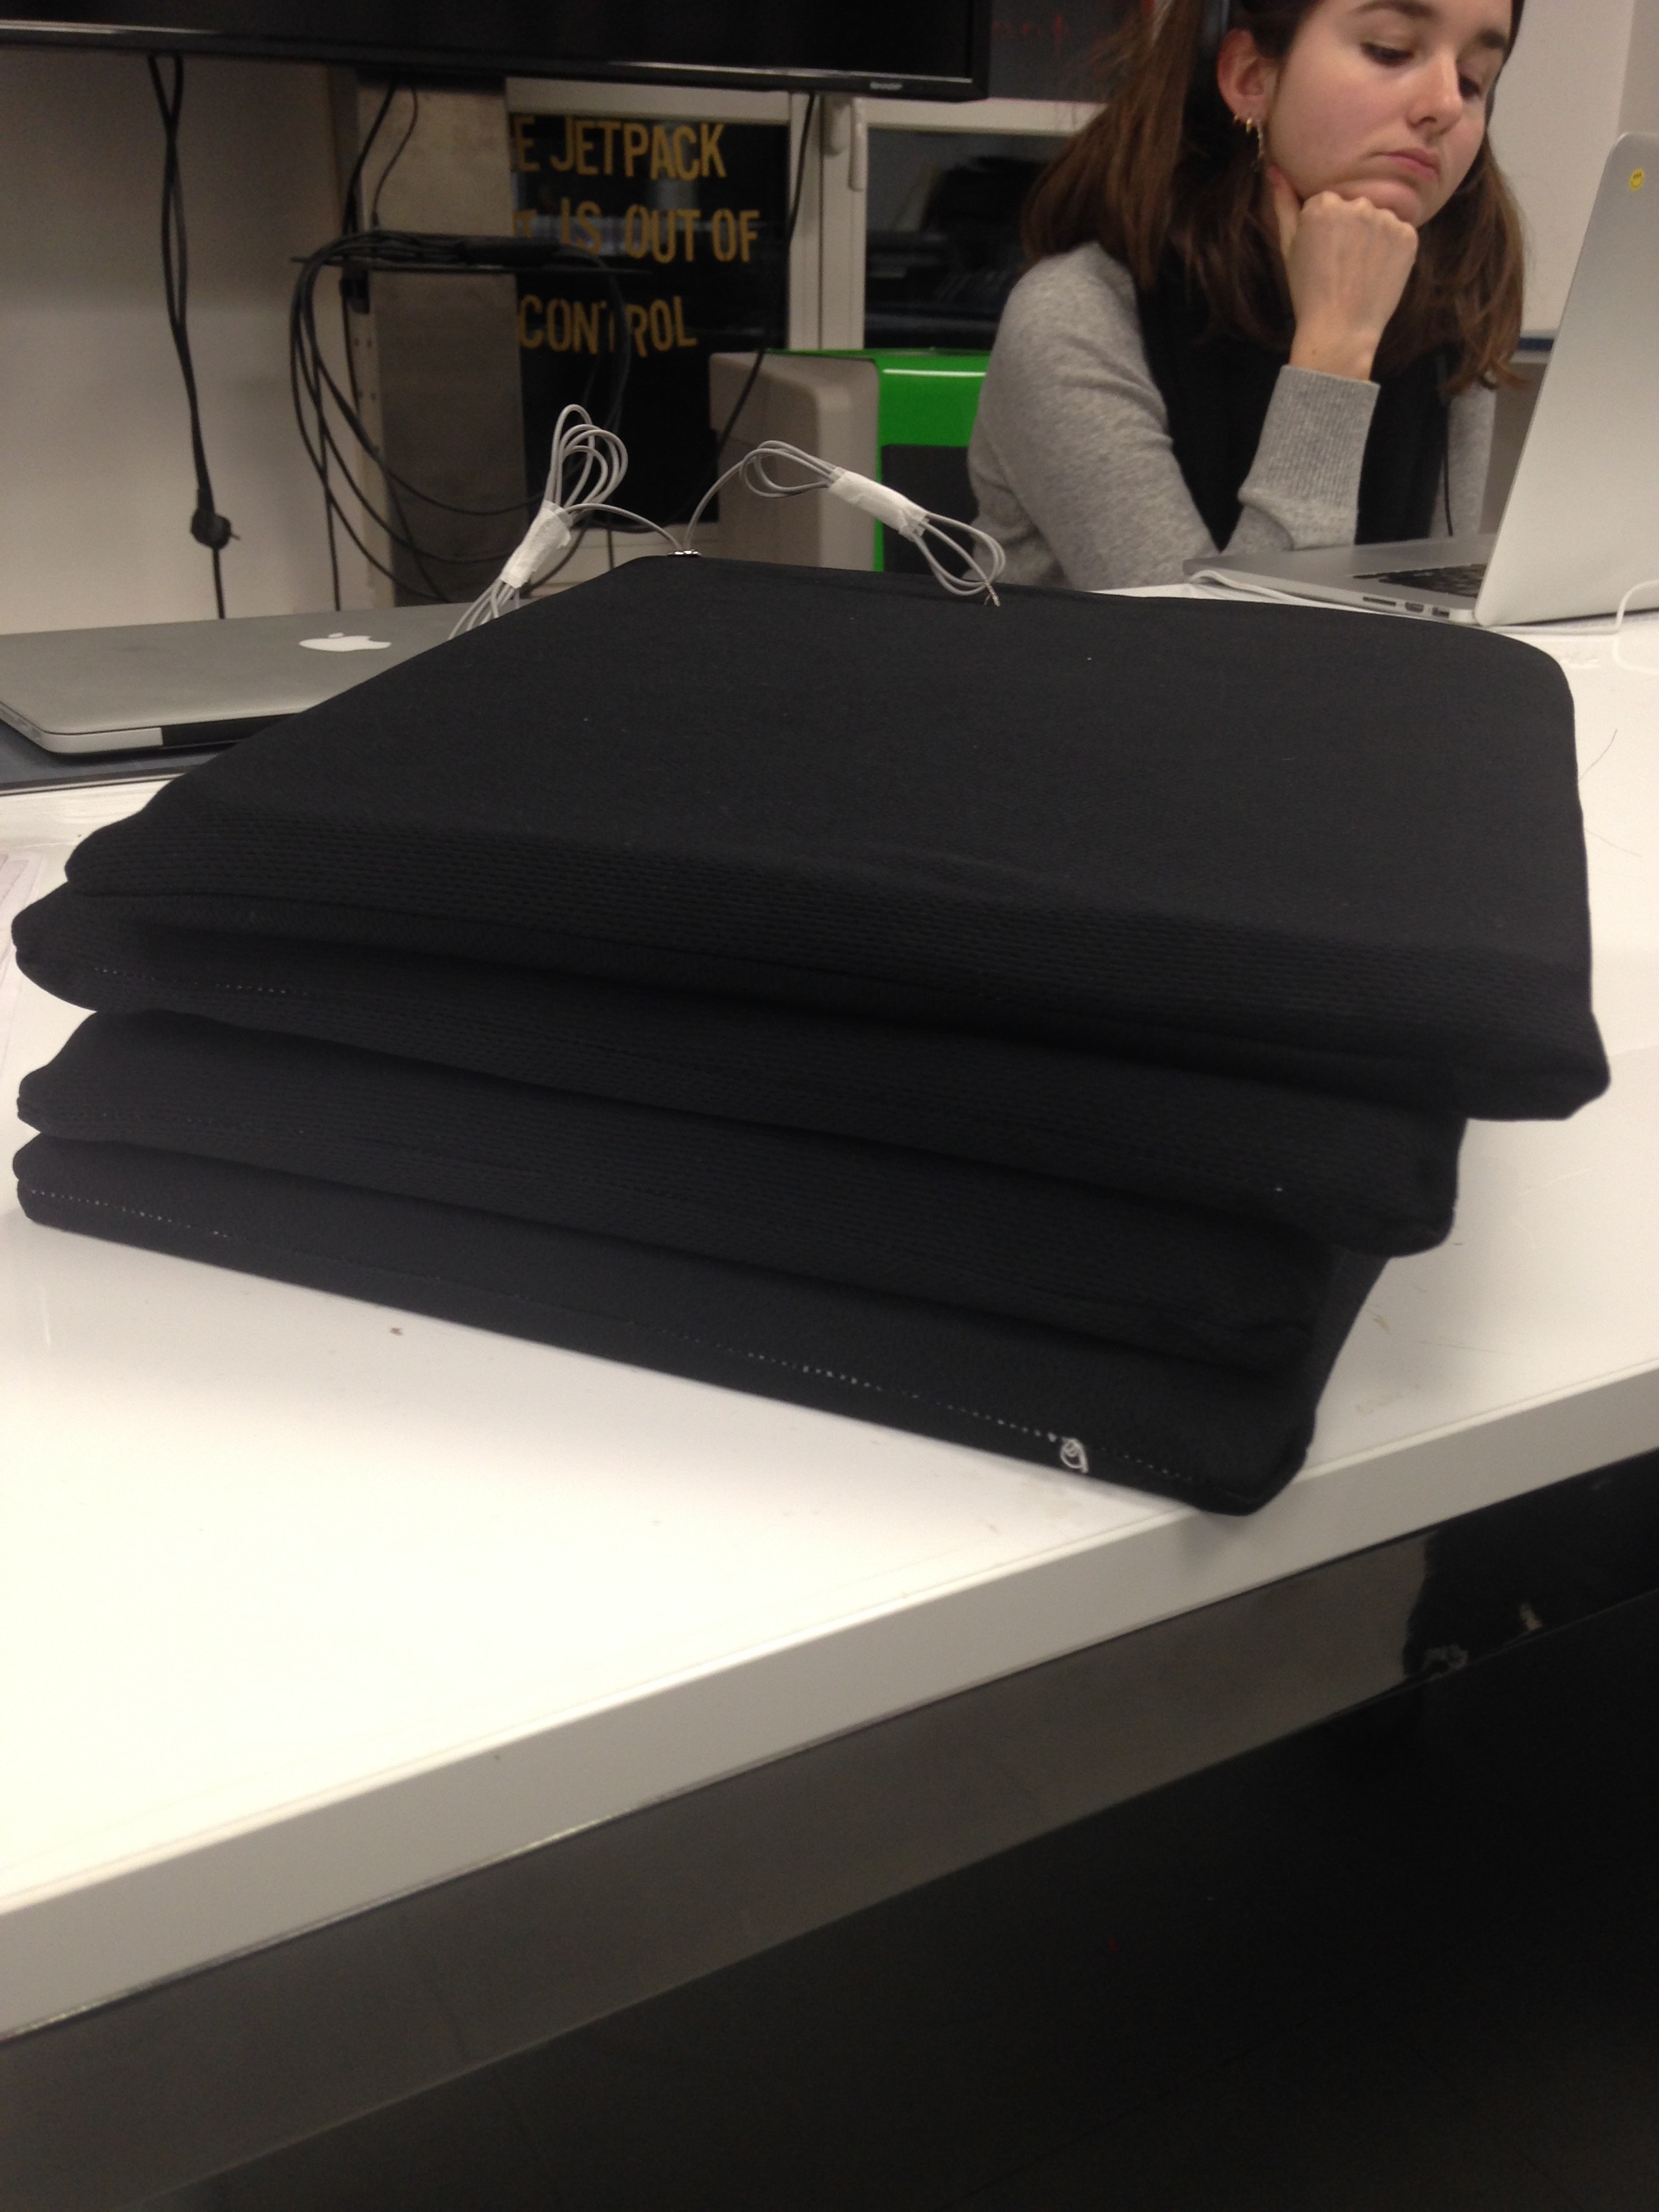
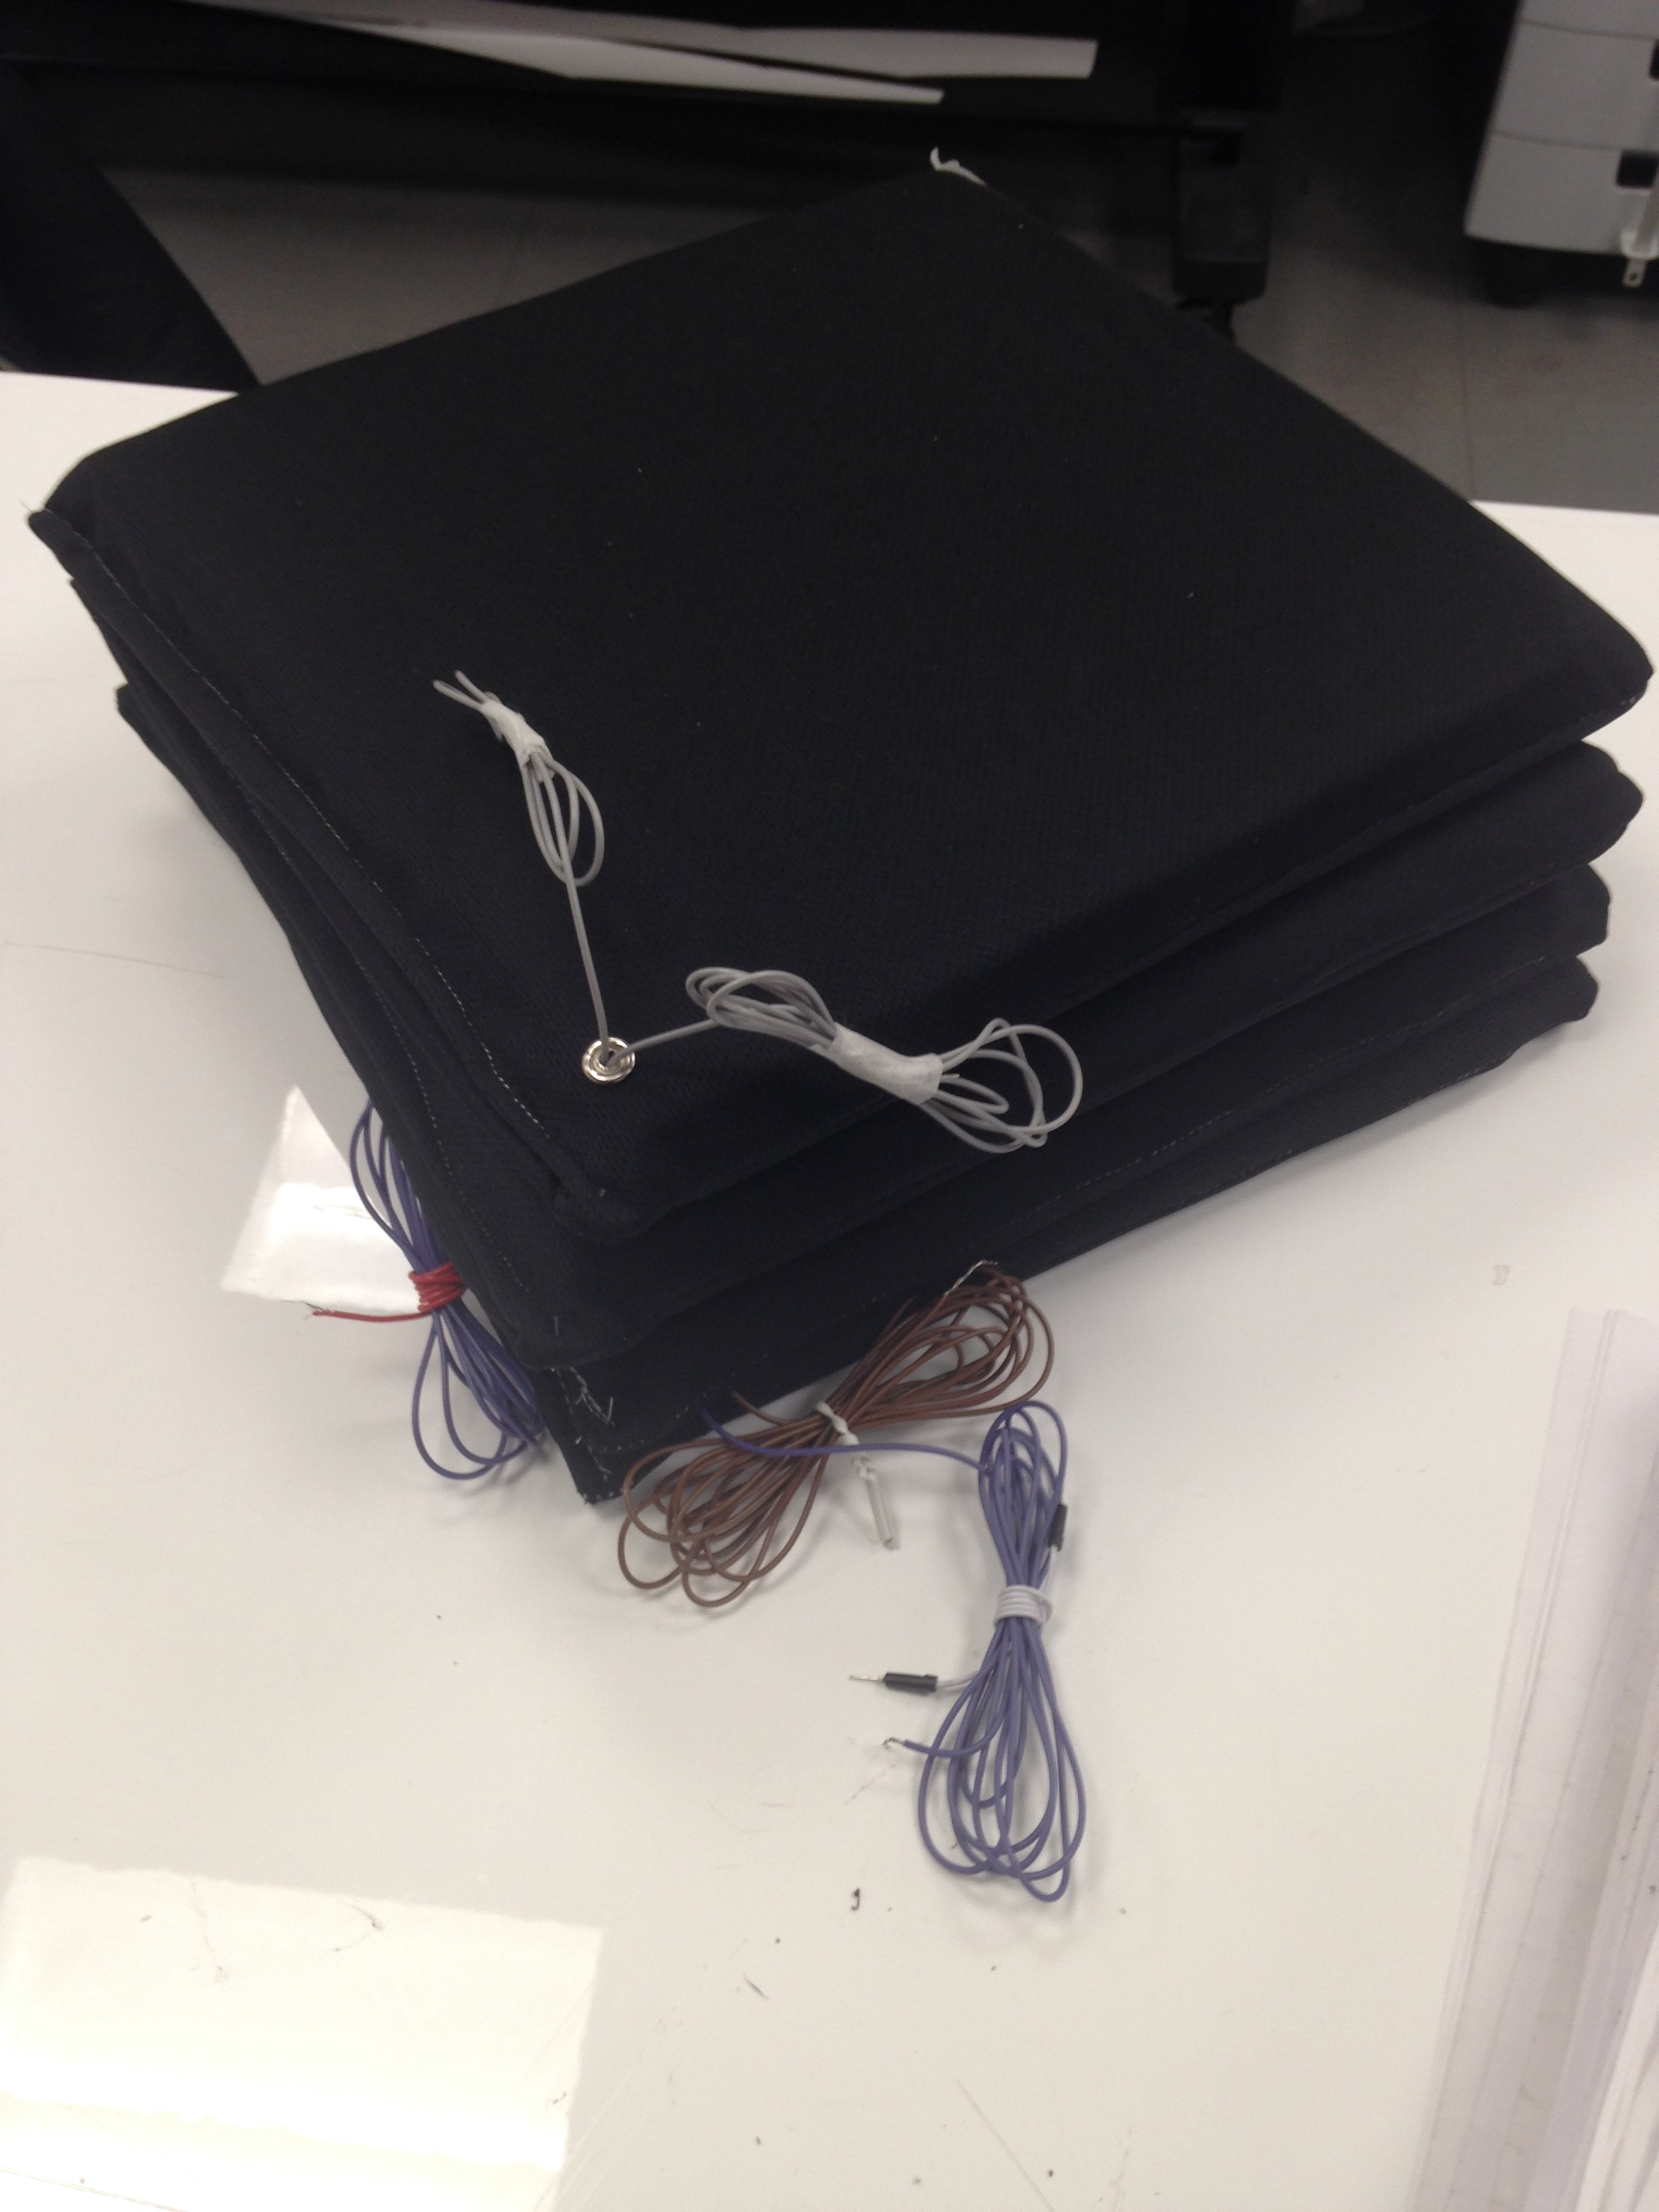
Then repeat all of the steps 3 more times to create 4 identical pressure sensors.
The code for Processing can be found on GITHUB. Add the data .wav files to the sketch, if you want to use our tracks. For Lilypad use All Inputs Firmata example code.