
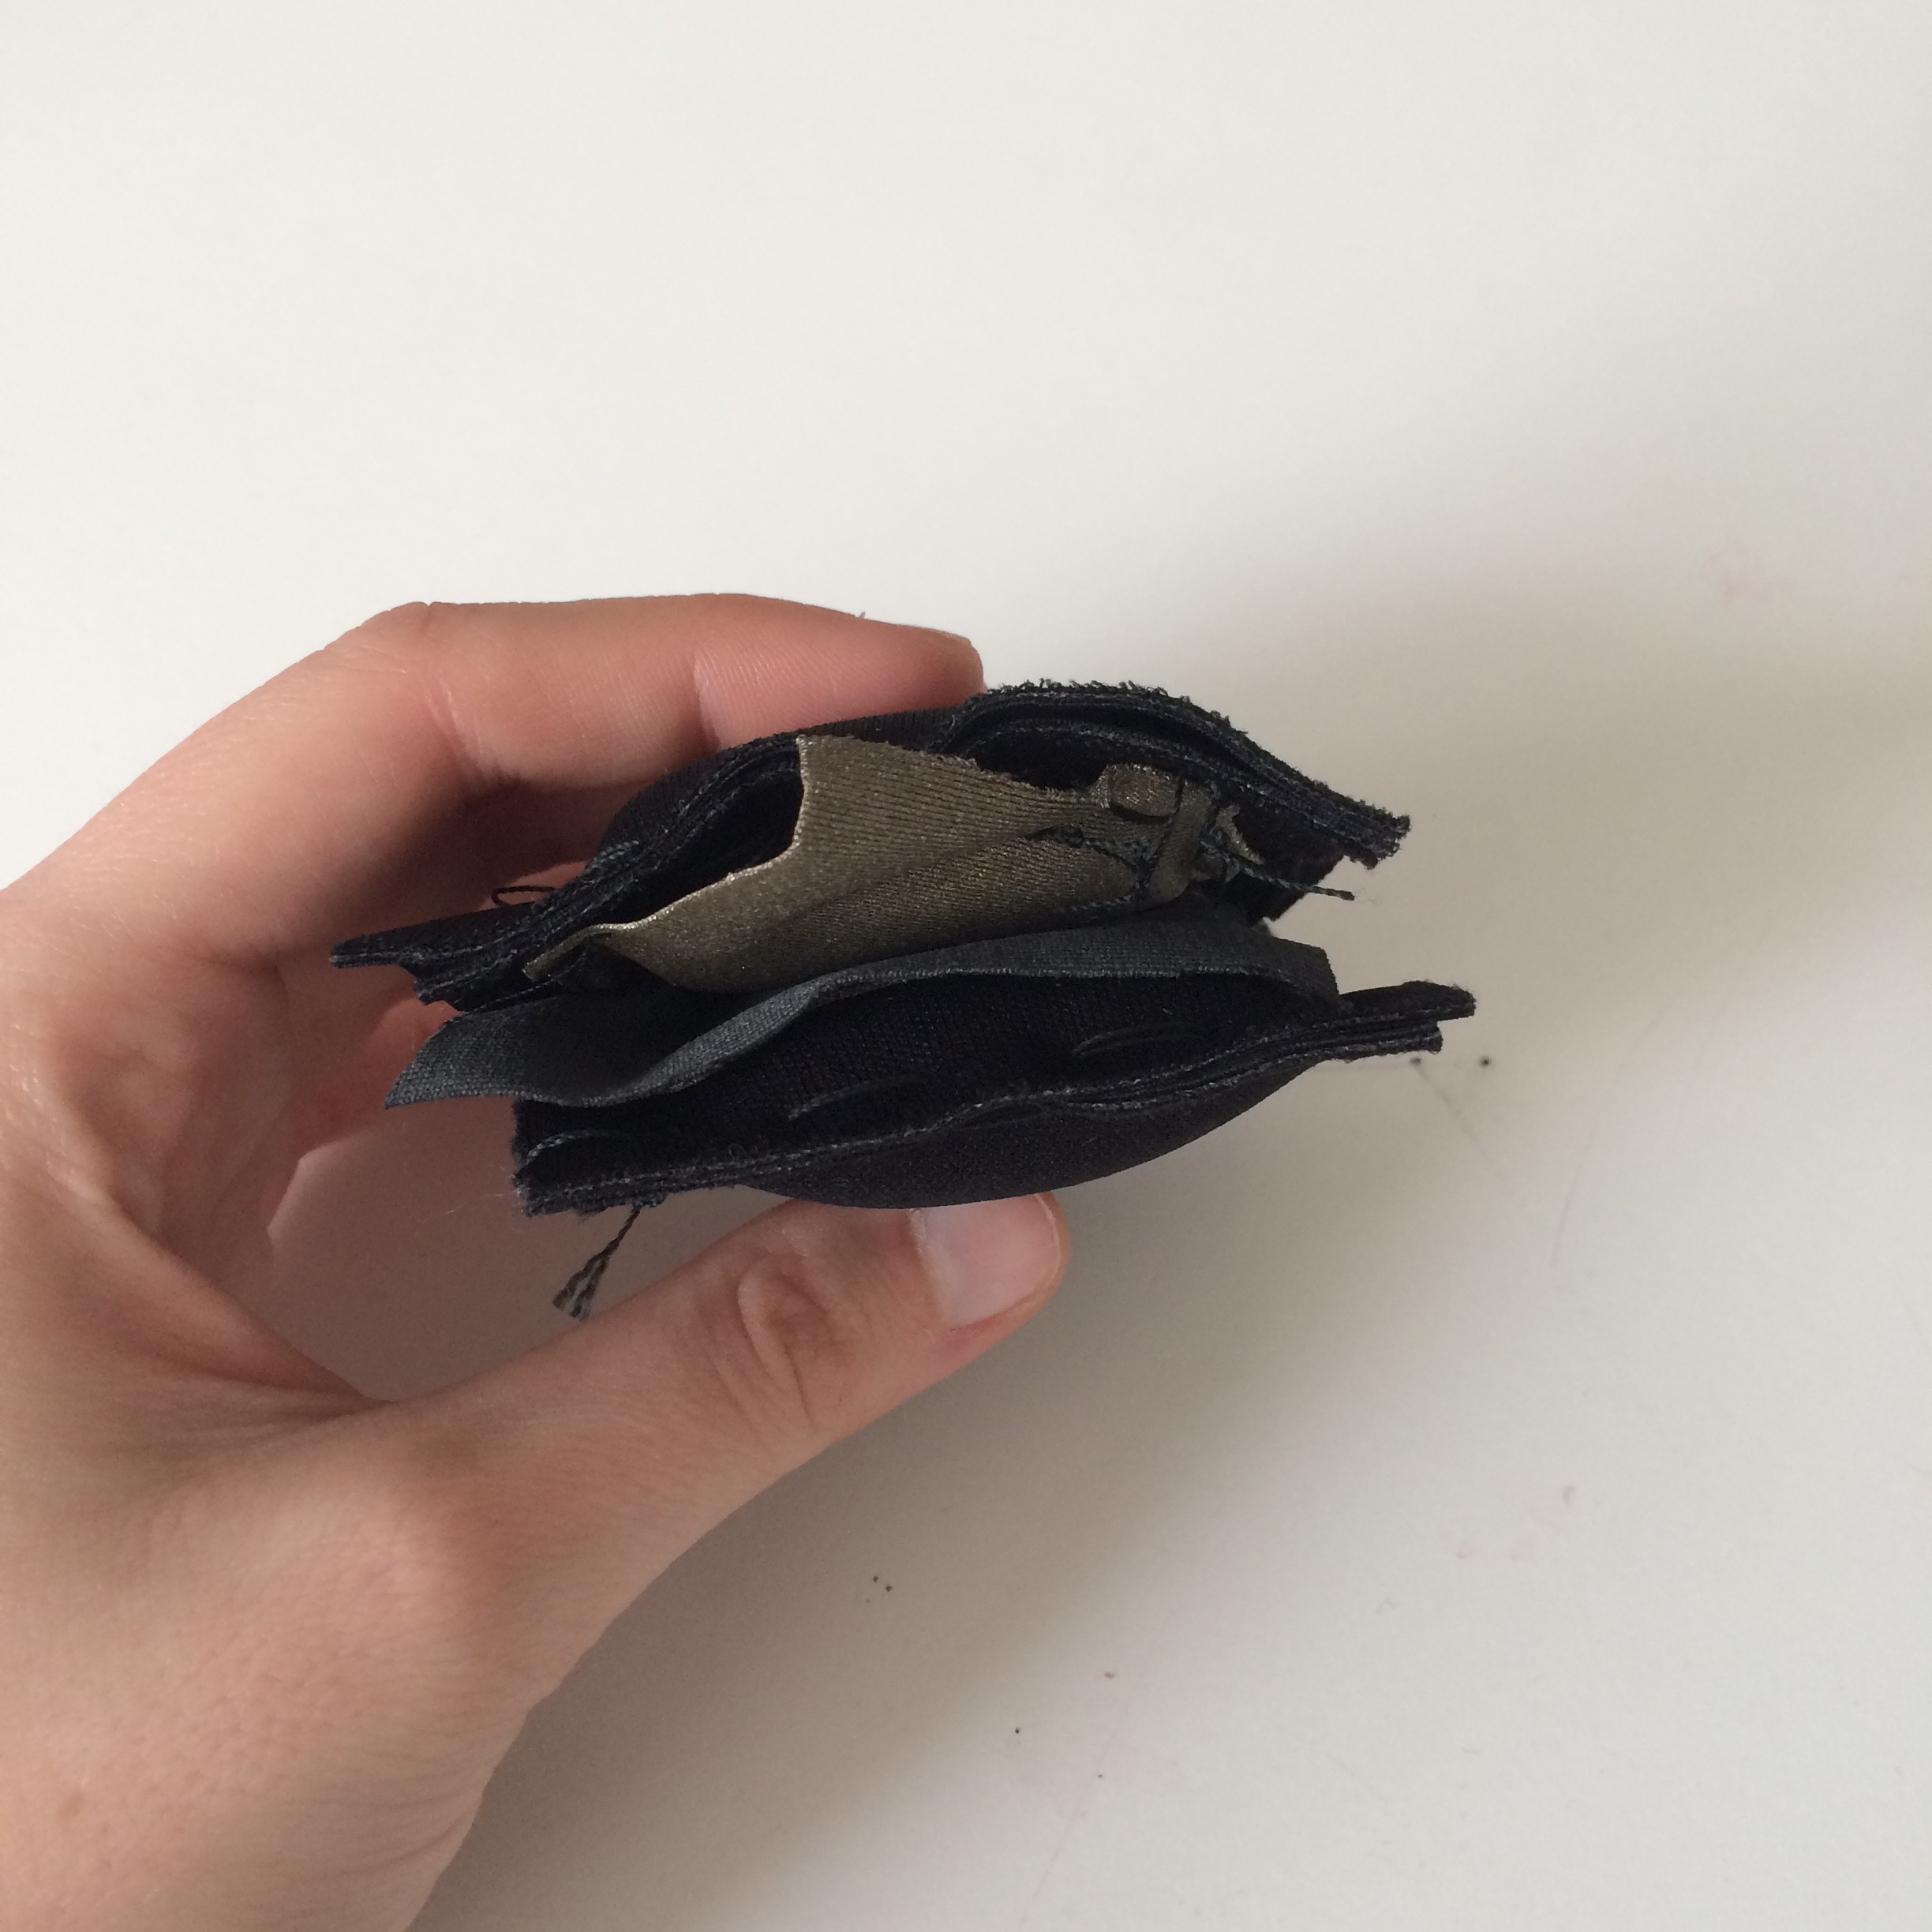
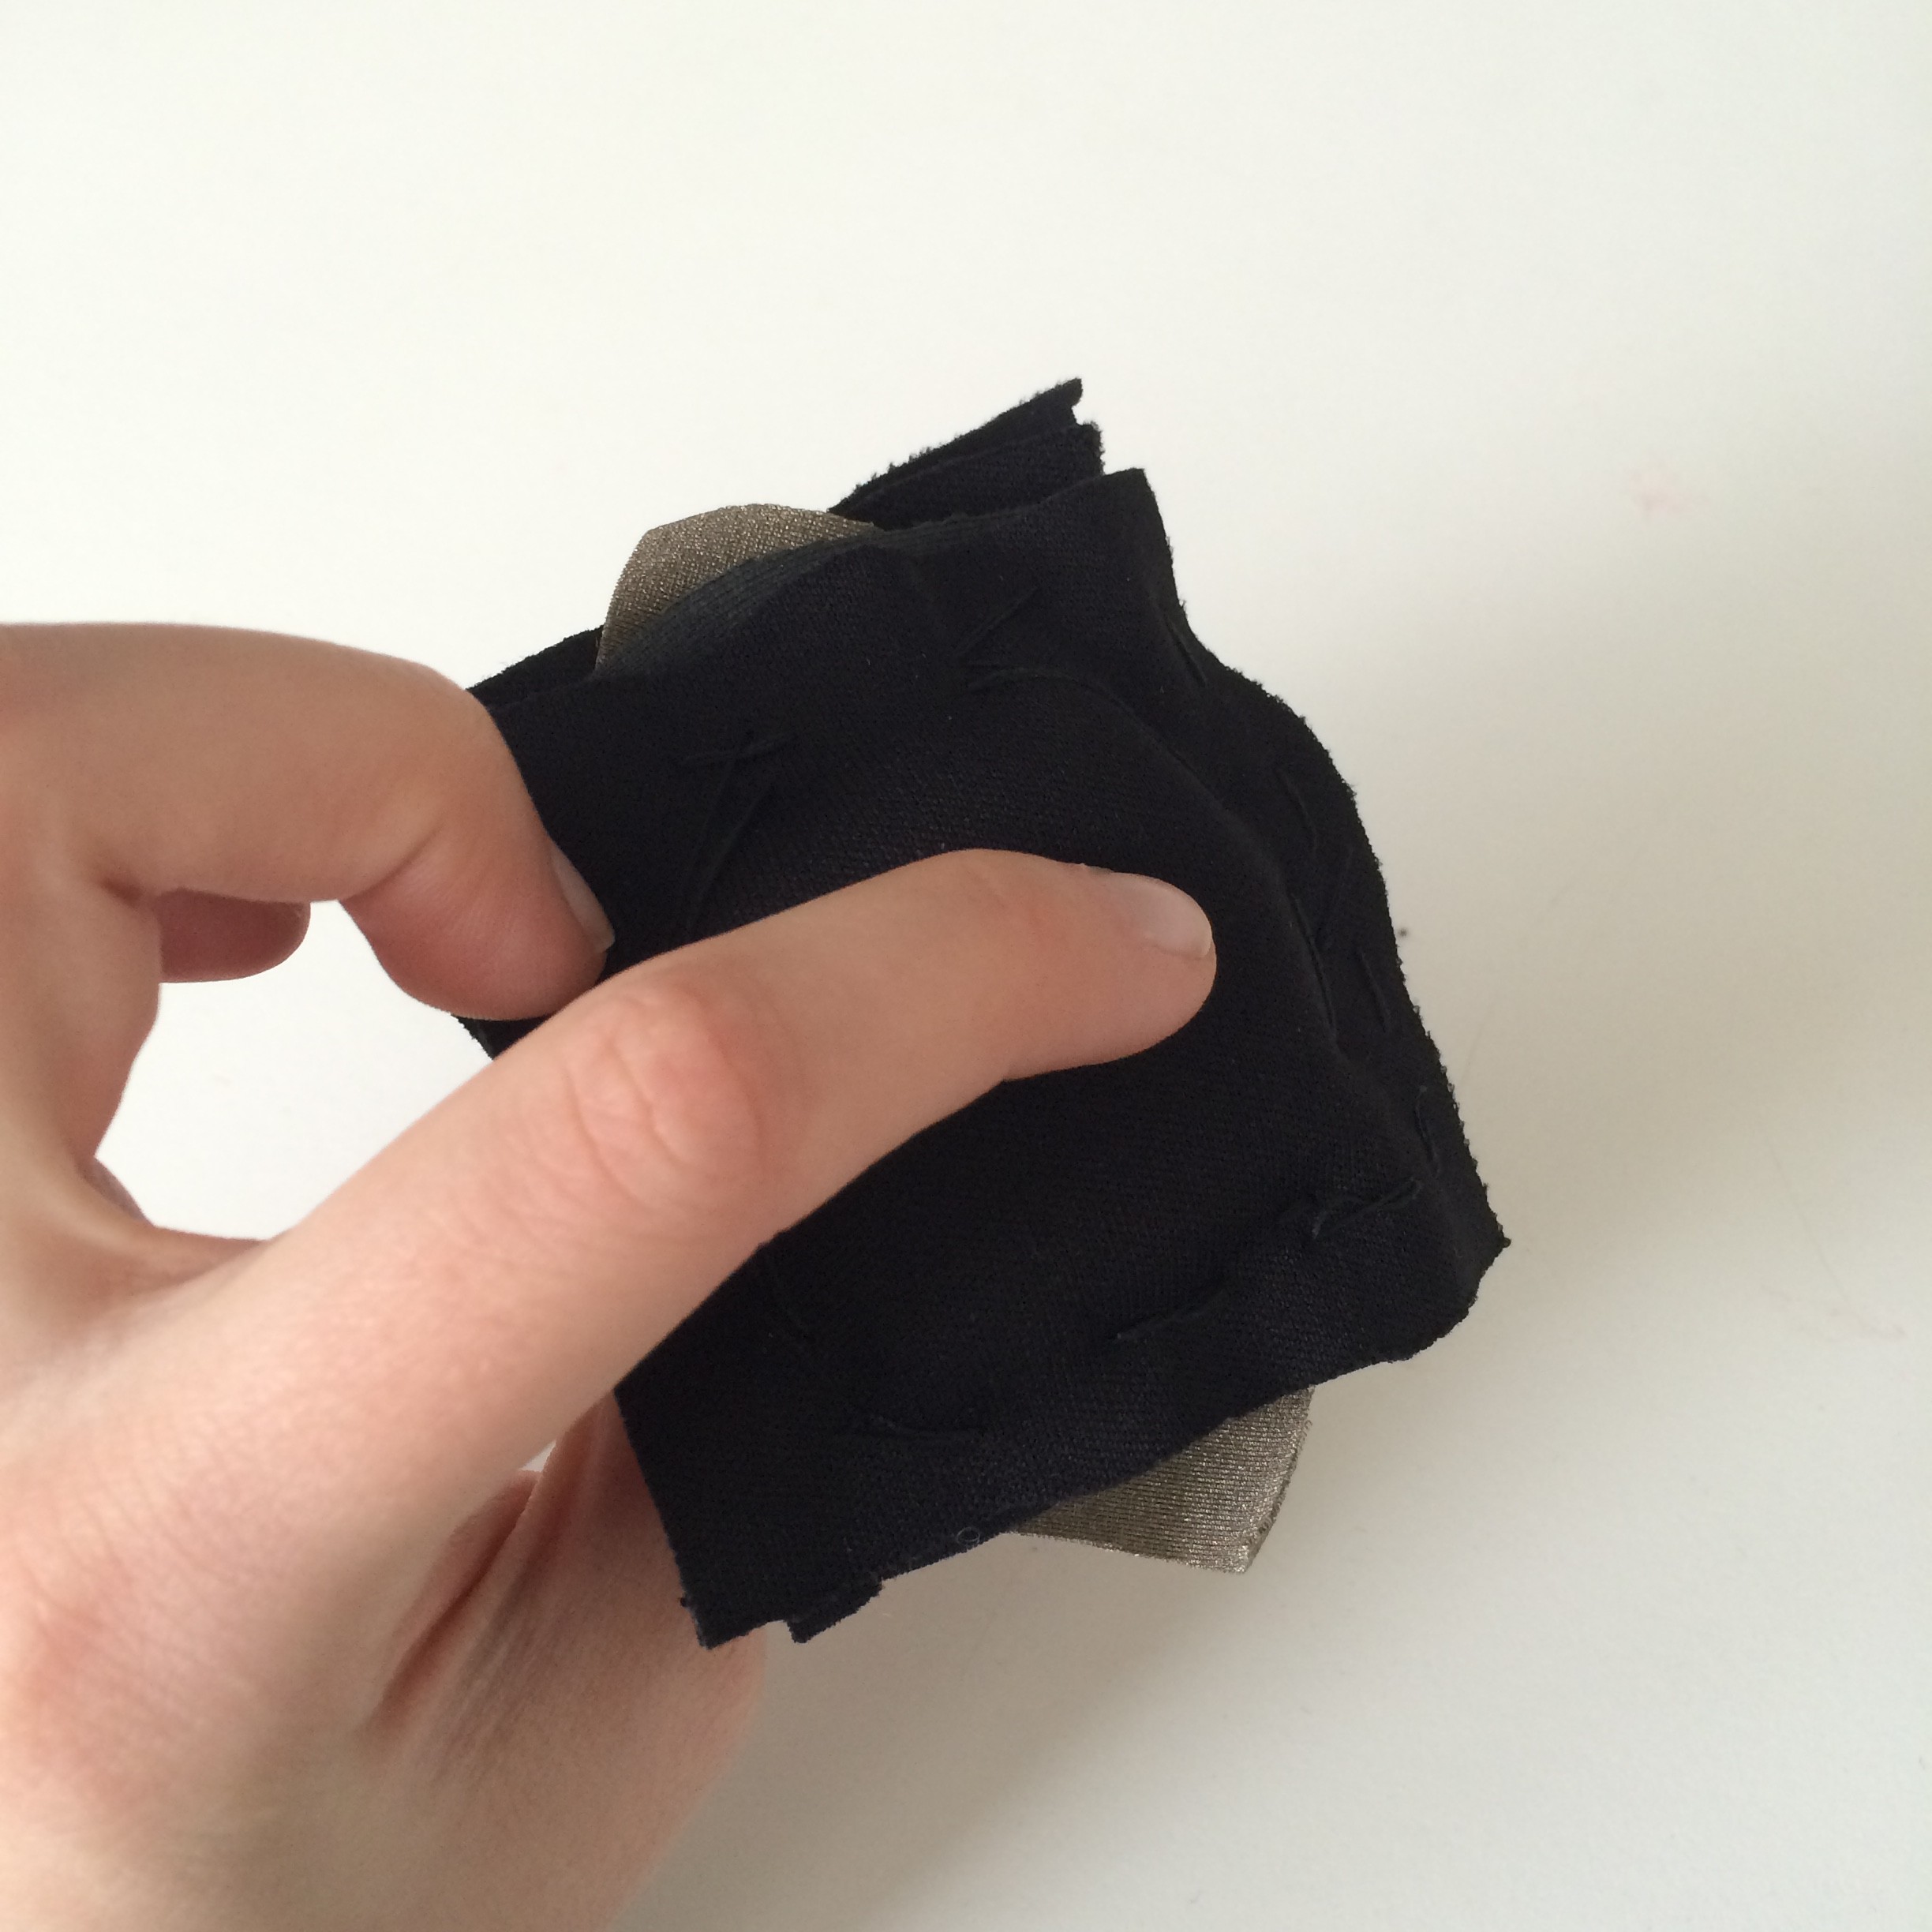
The first part of creating a t-shirt that would make screaming sounds using a textilo and a speaker was to create a button. This button has 3 parts to it: neoprene fabric with two pieces of sponge on both ends of the button, two pieces of conductive fabric that had 2 sides that went outside of the button and were used to connect it to textilo and, finally, one piece of resistive fabric in between.
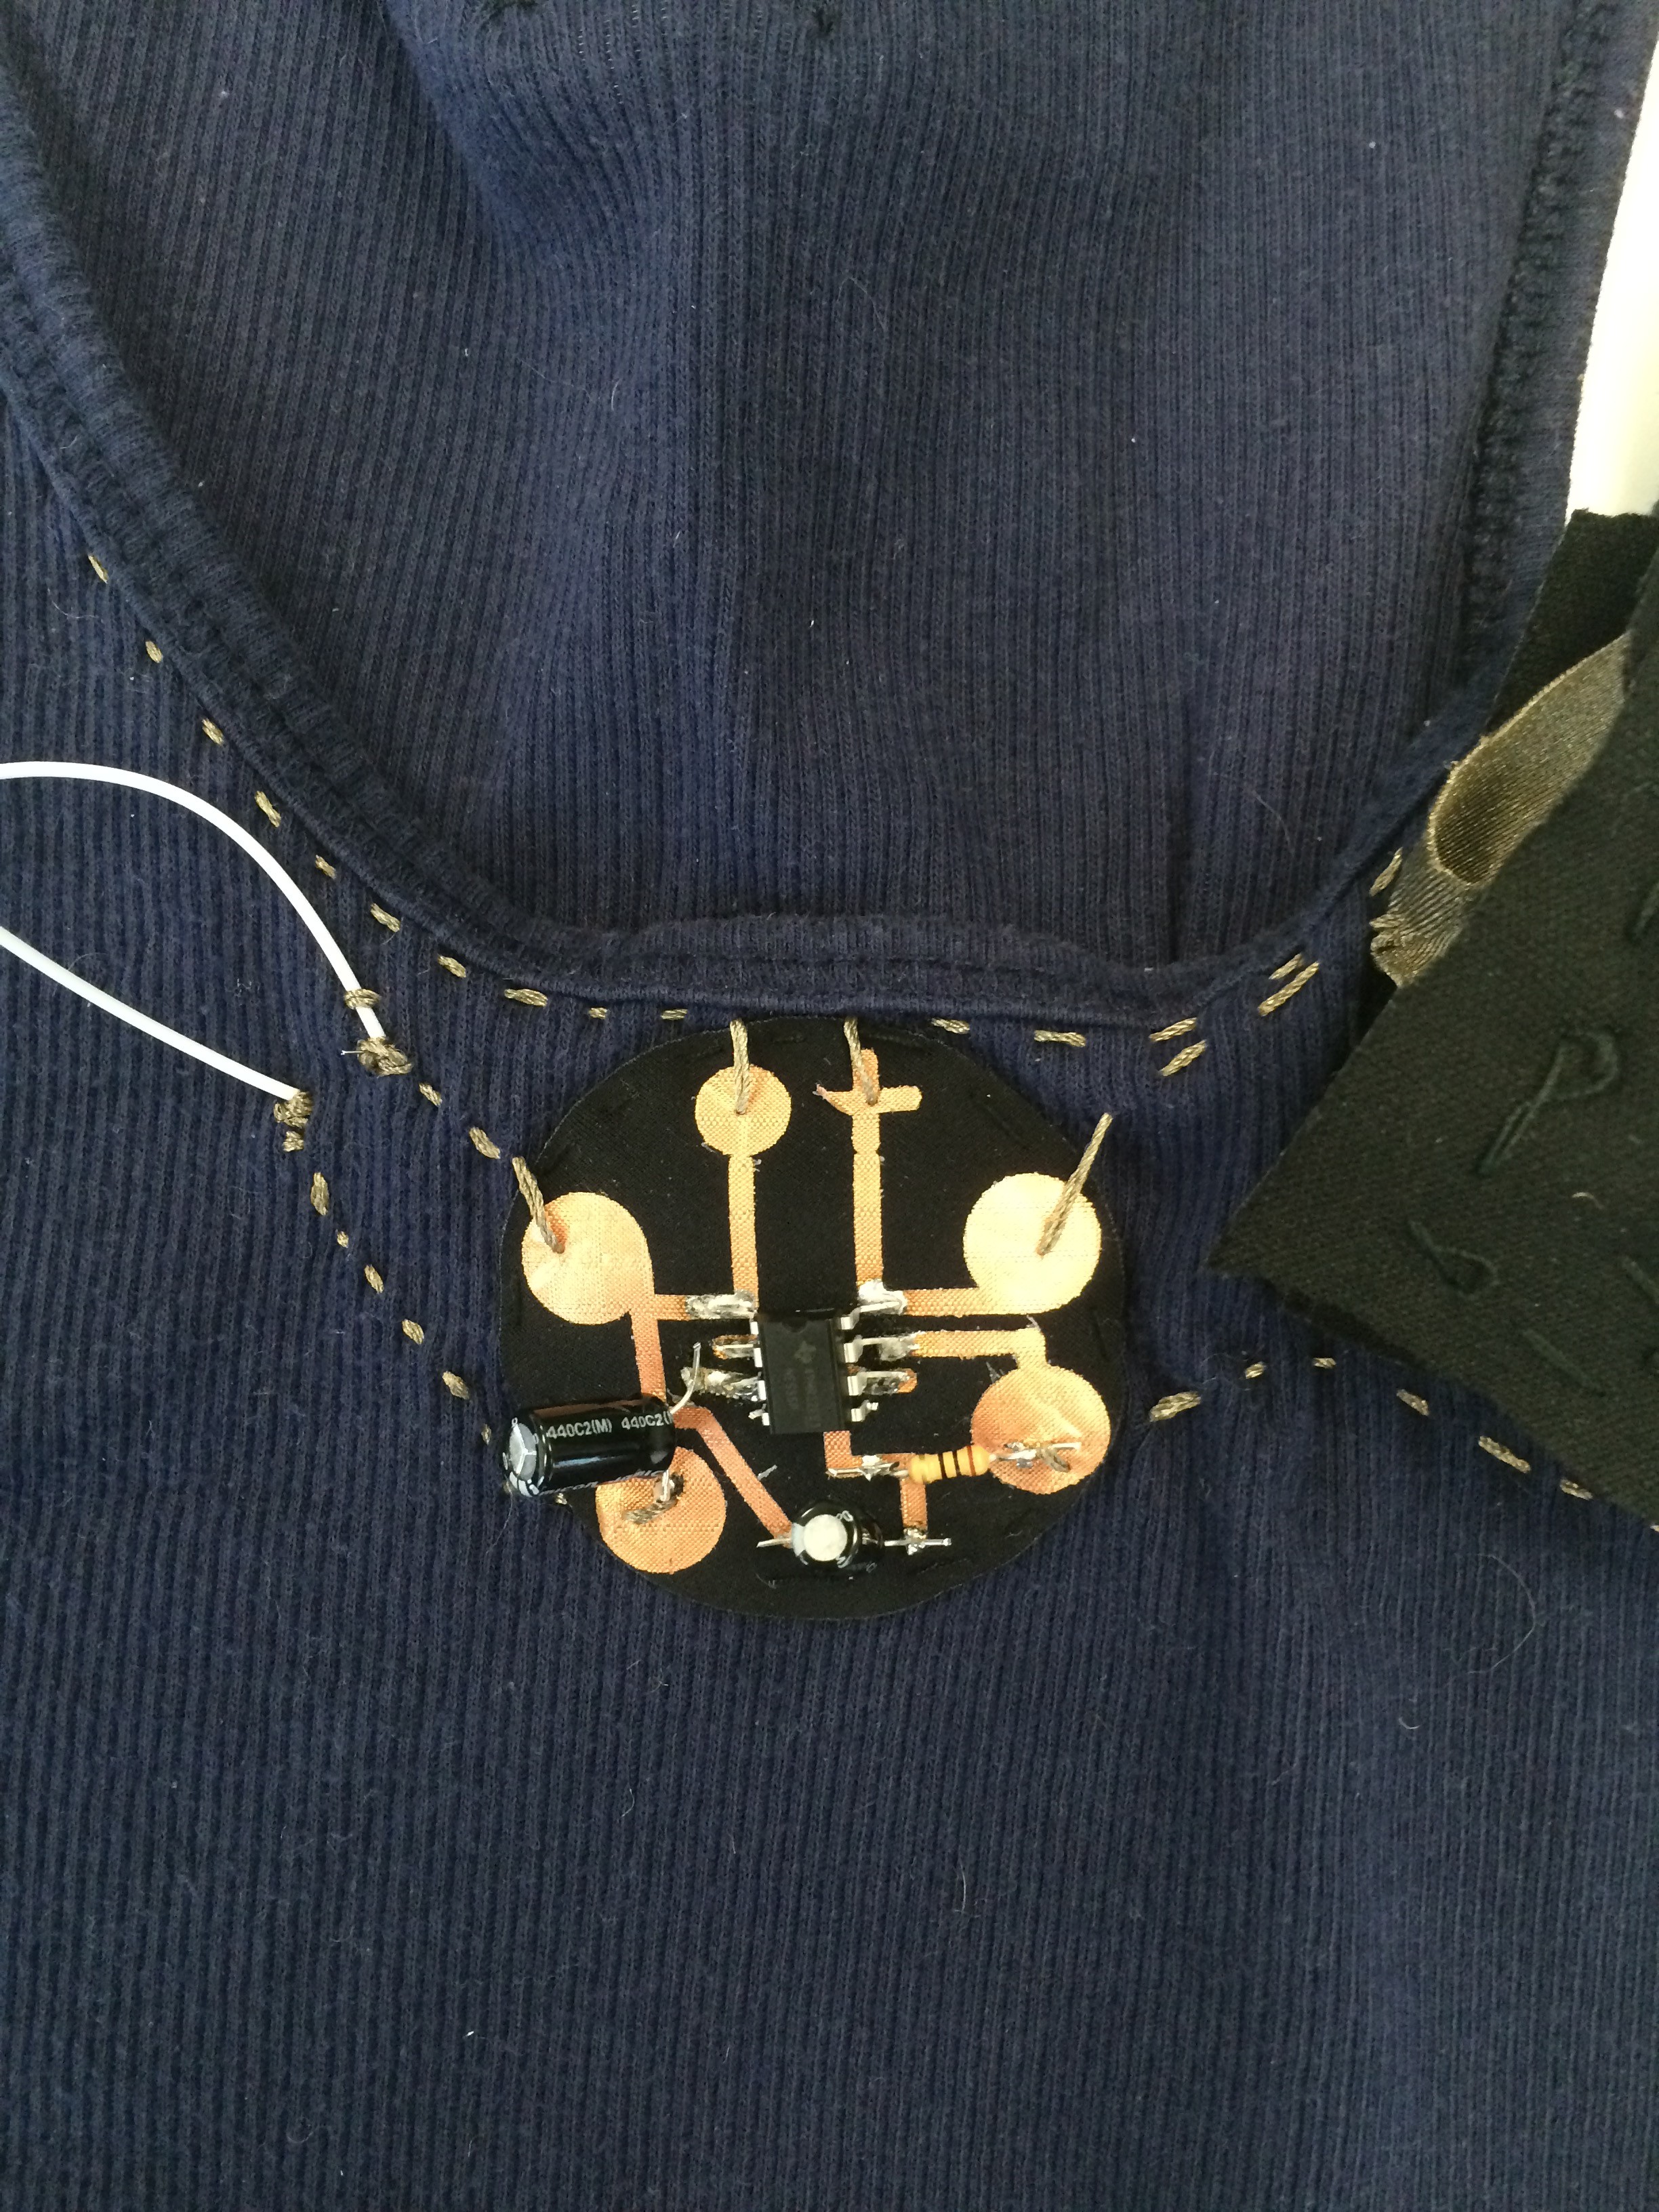
The next step was laser cutting and gluing the textilo. Then soldering the NE555 and 10uF and 100uF capacitors. Once the textilo was made, I attached a speaker, battery and the button to it with alligator clips to make sure that it works.
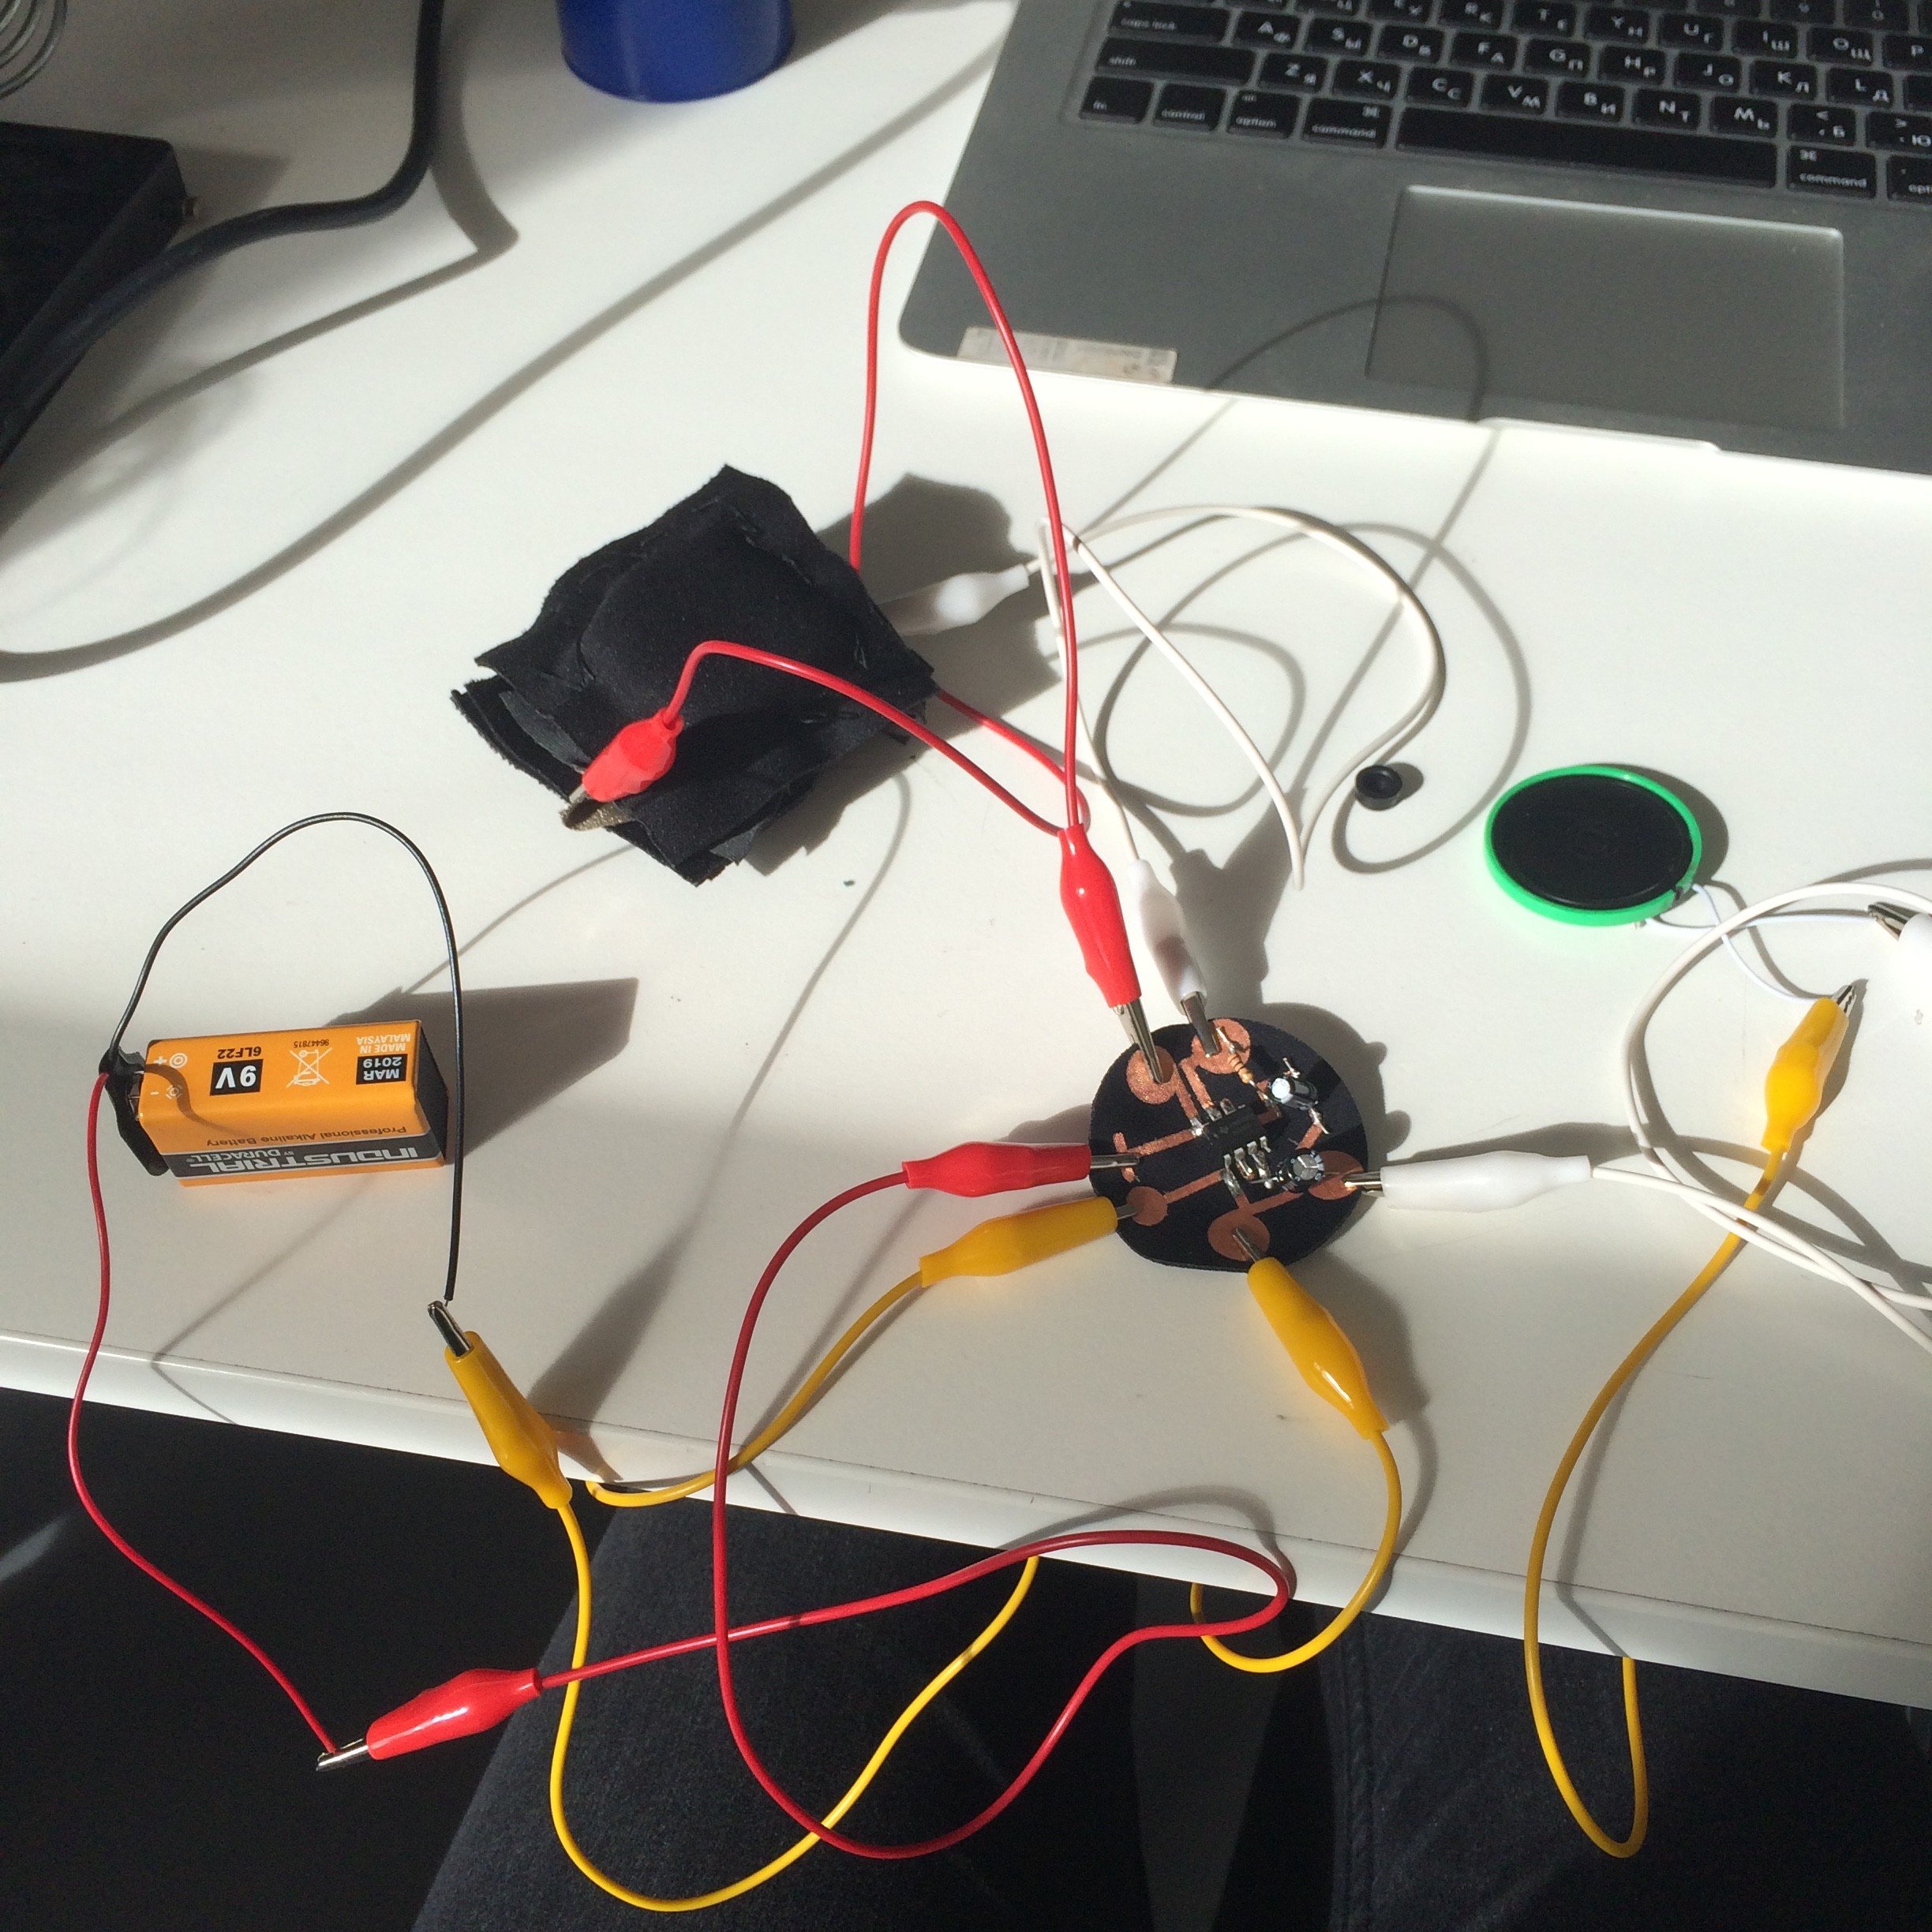
And it did!
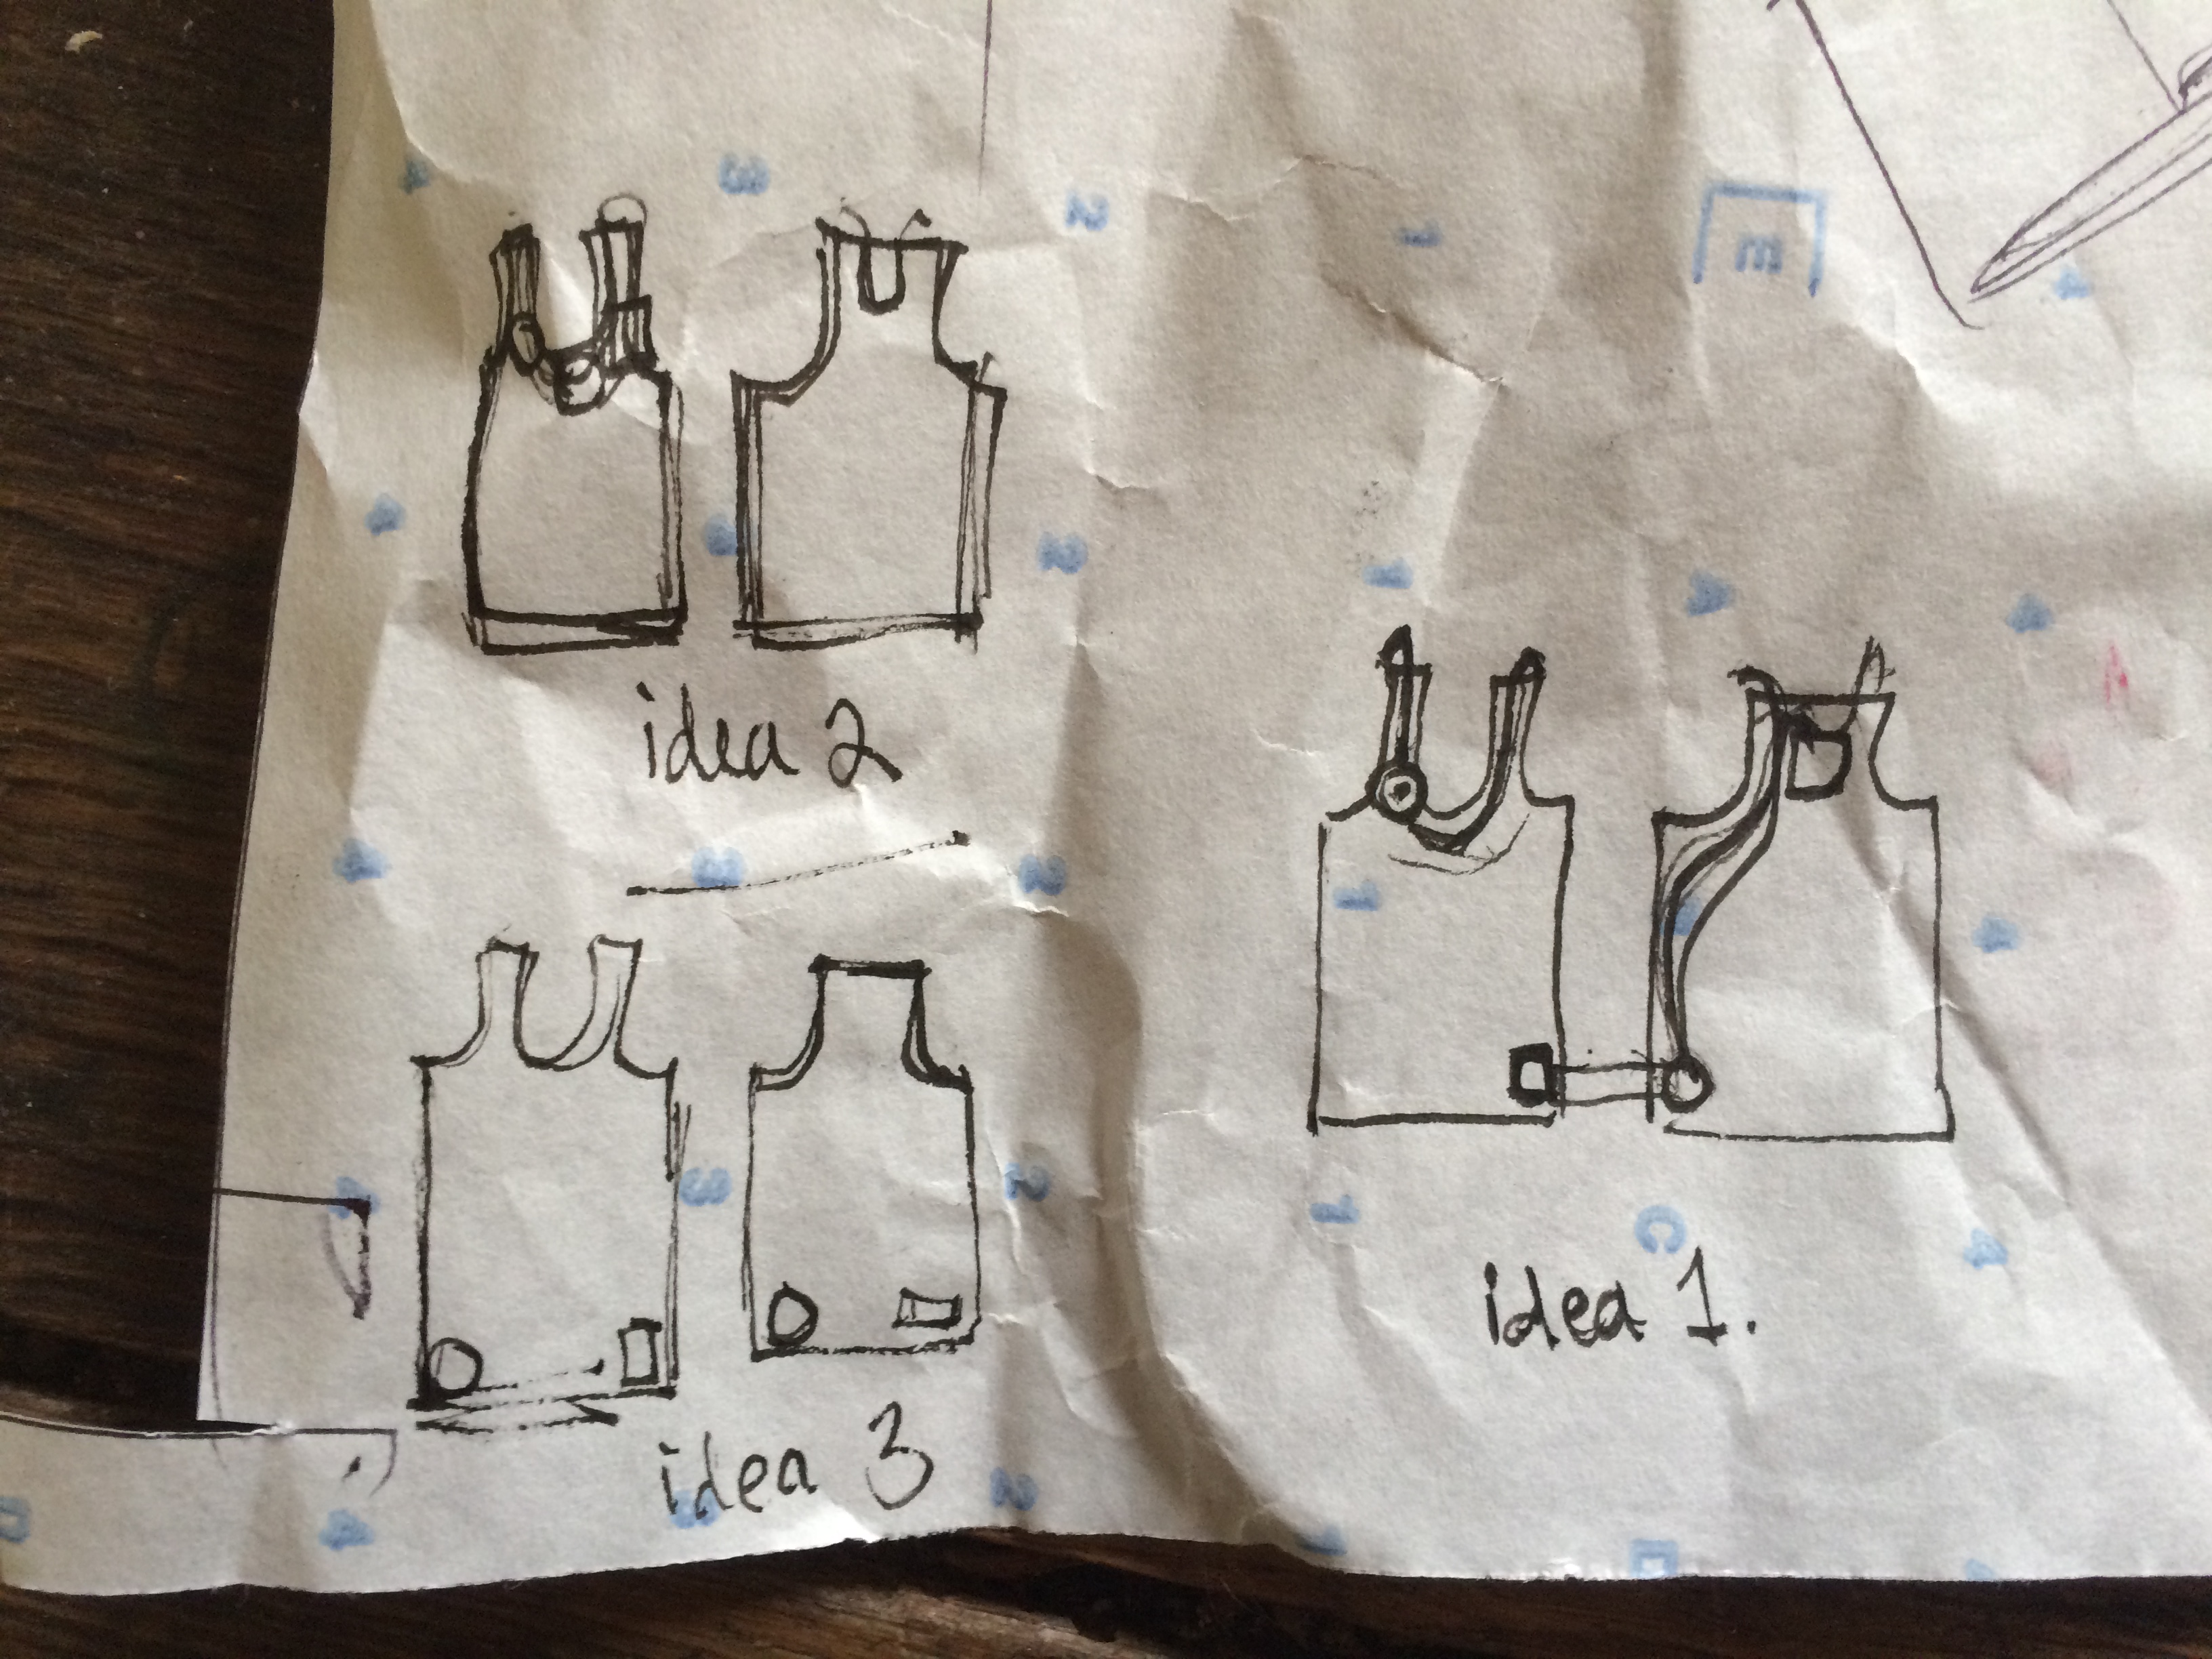
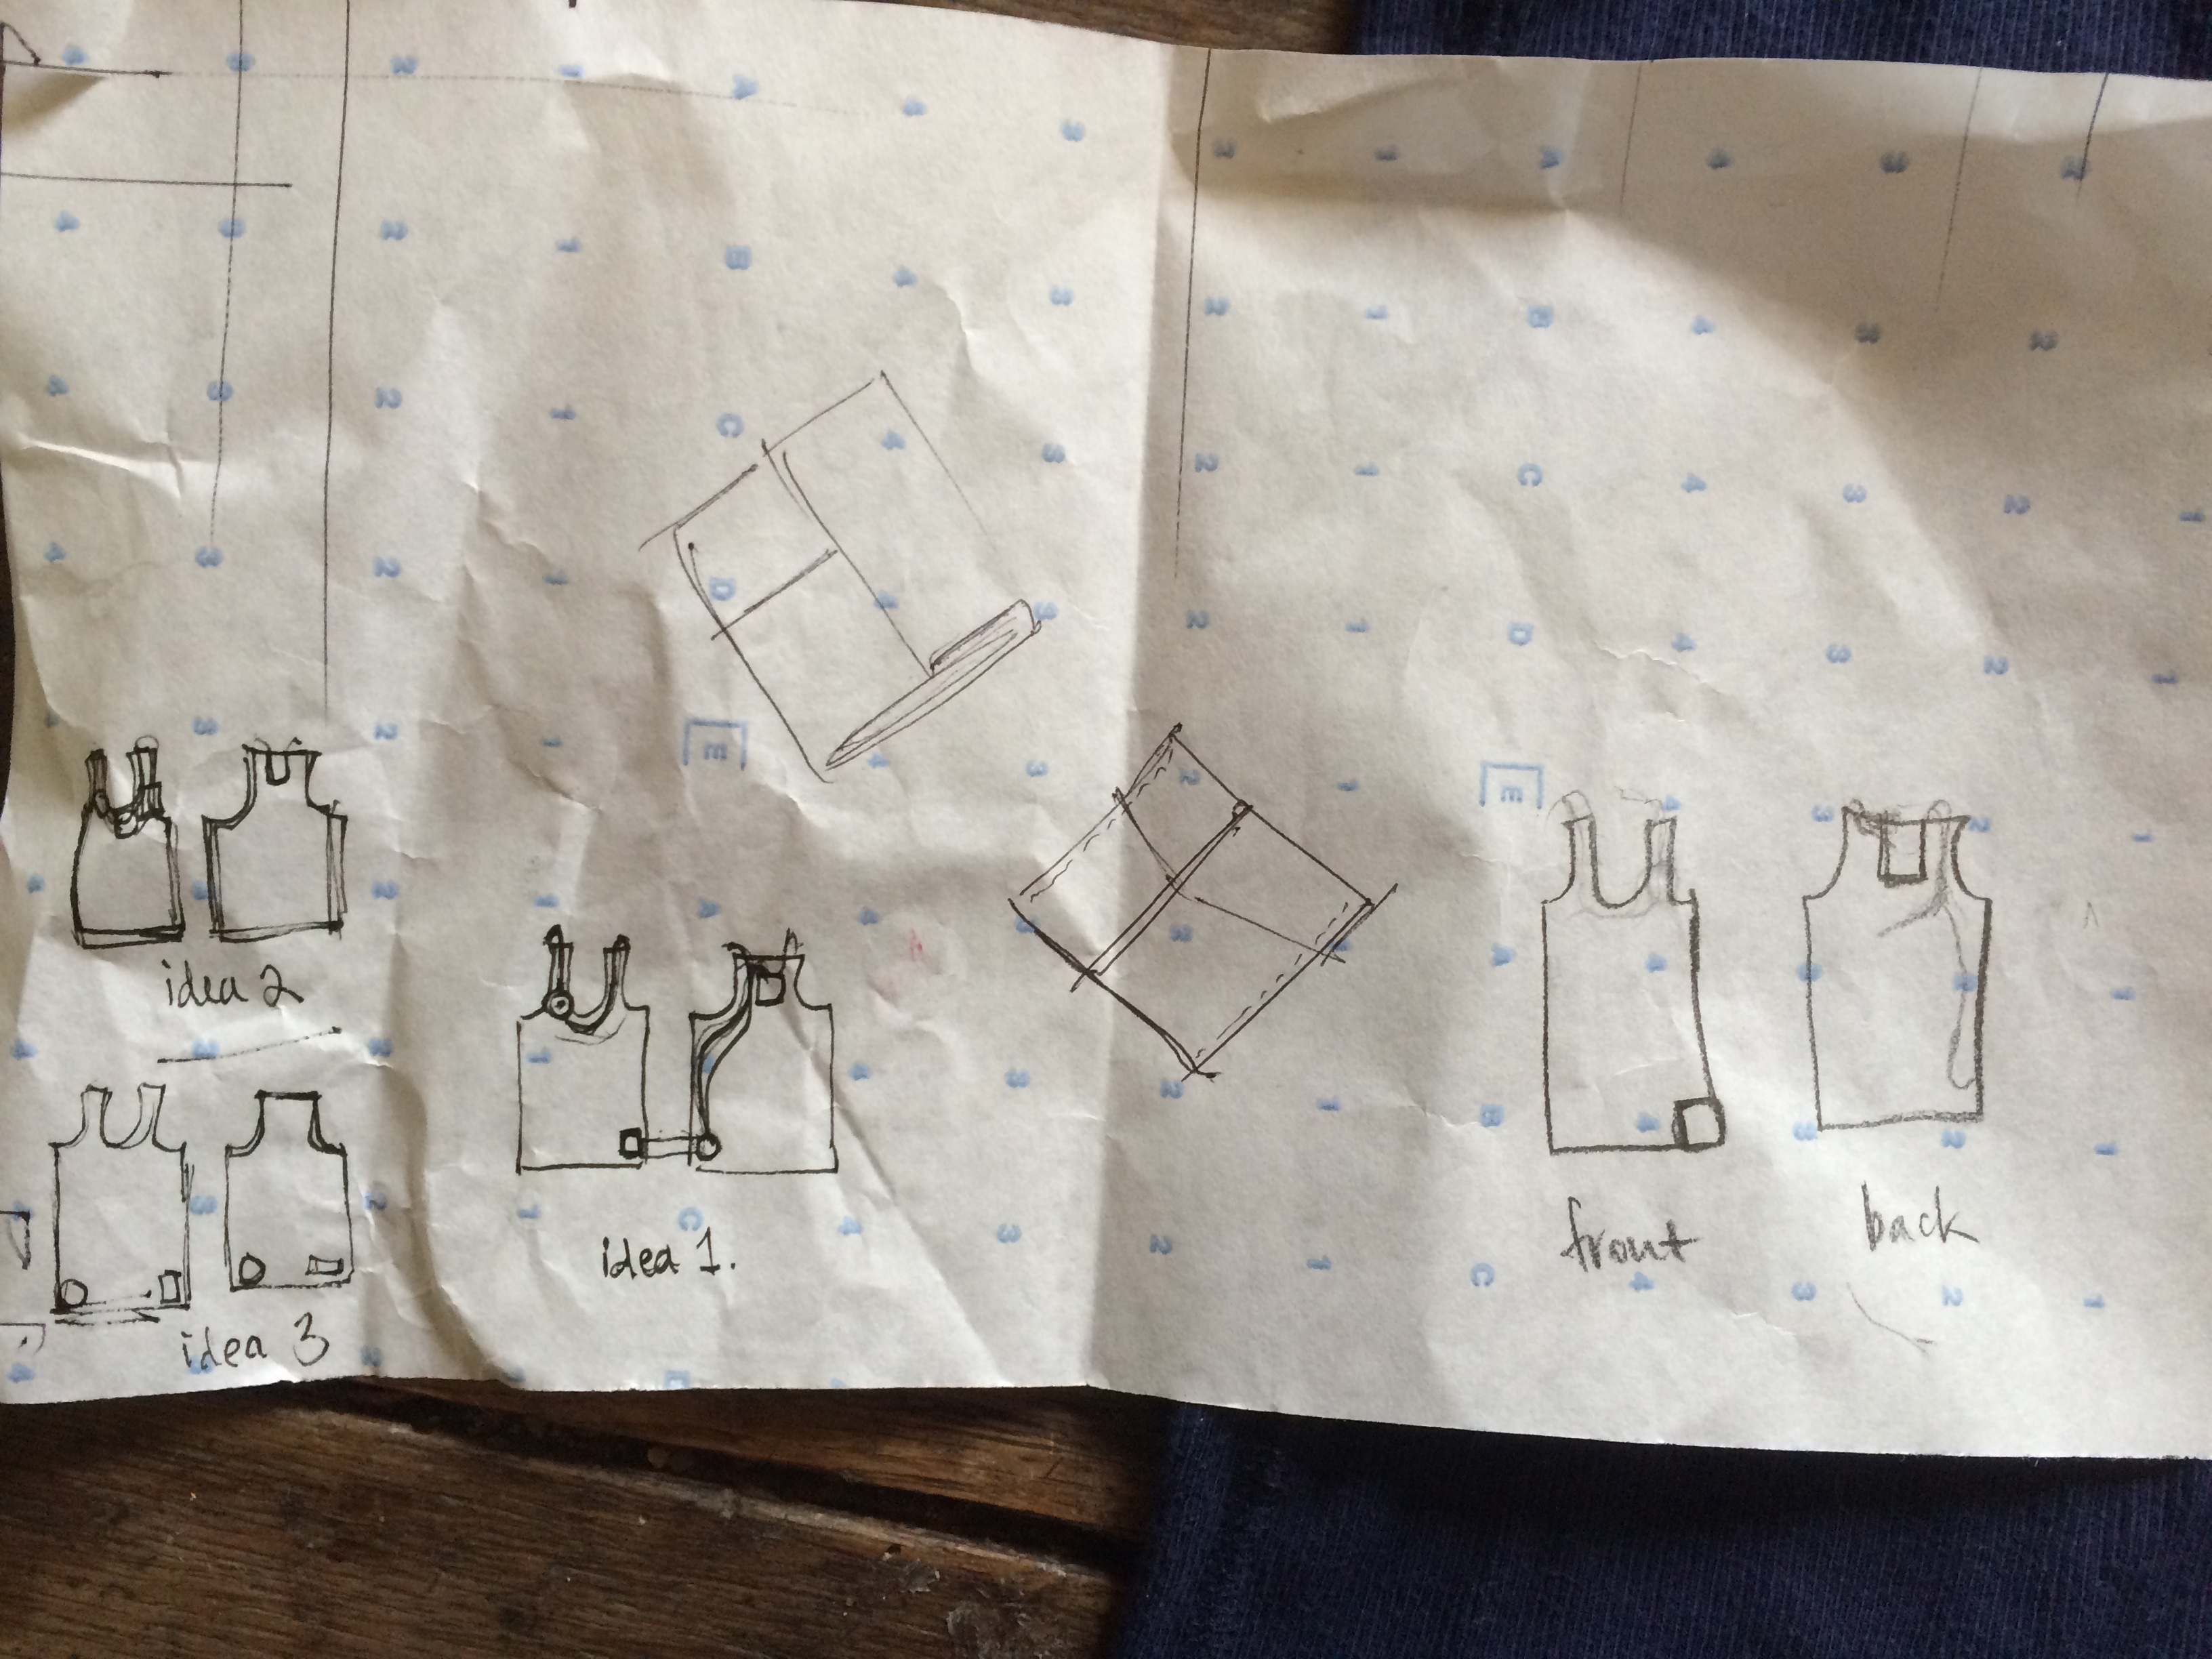
Afterwards I started thinking about how I can attach all of these things to a shirt, so I made a couple of drawings and chose the shirt that I would be working with.

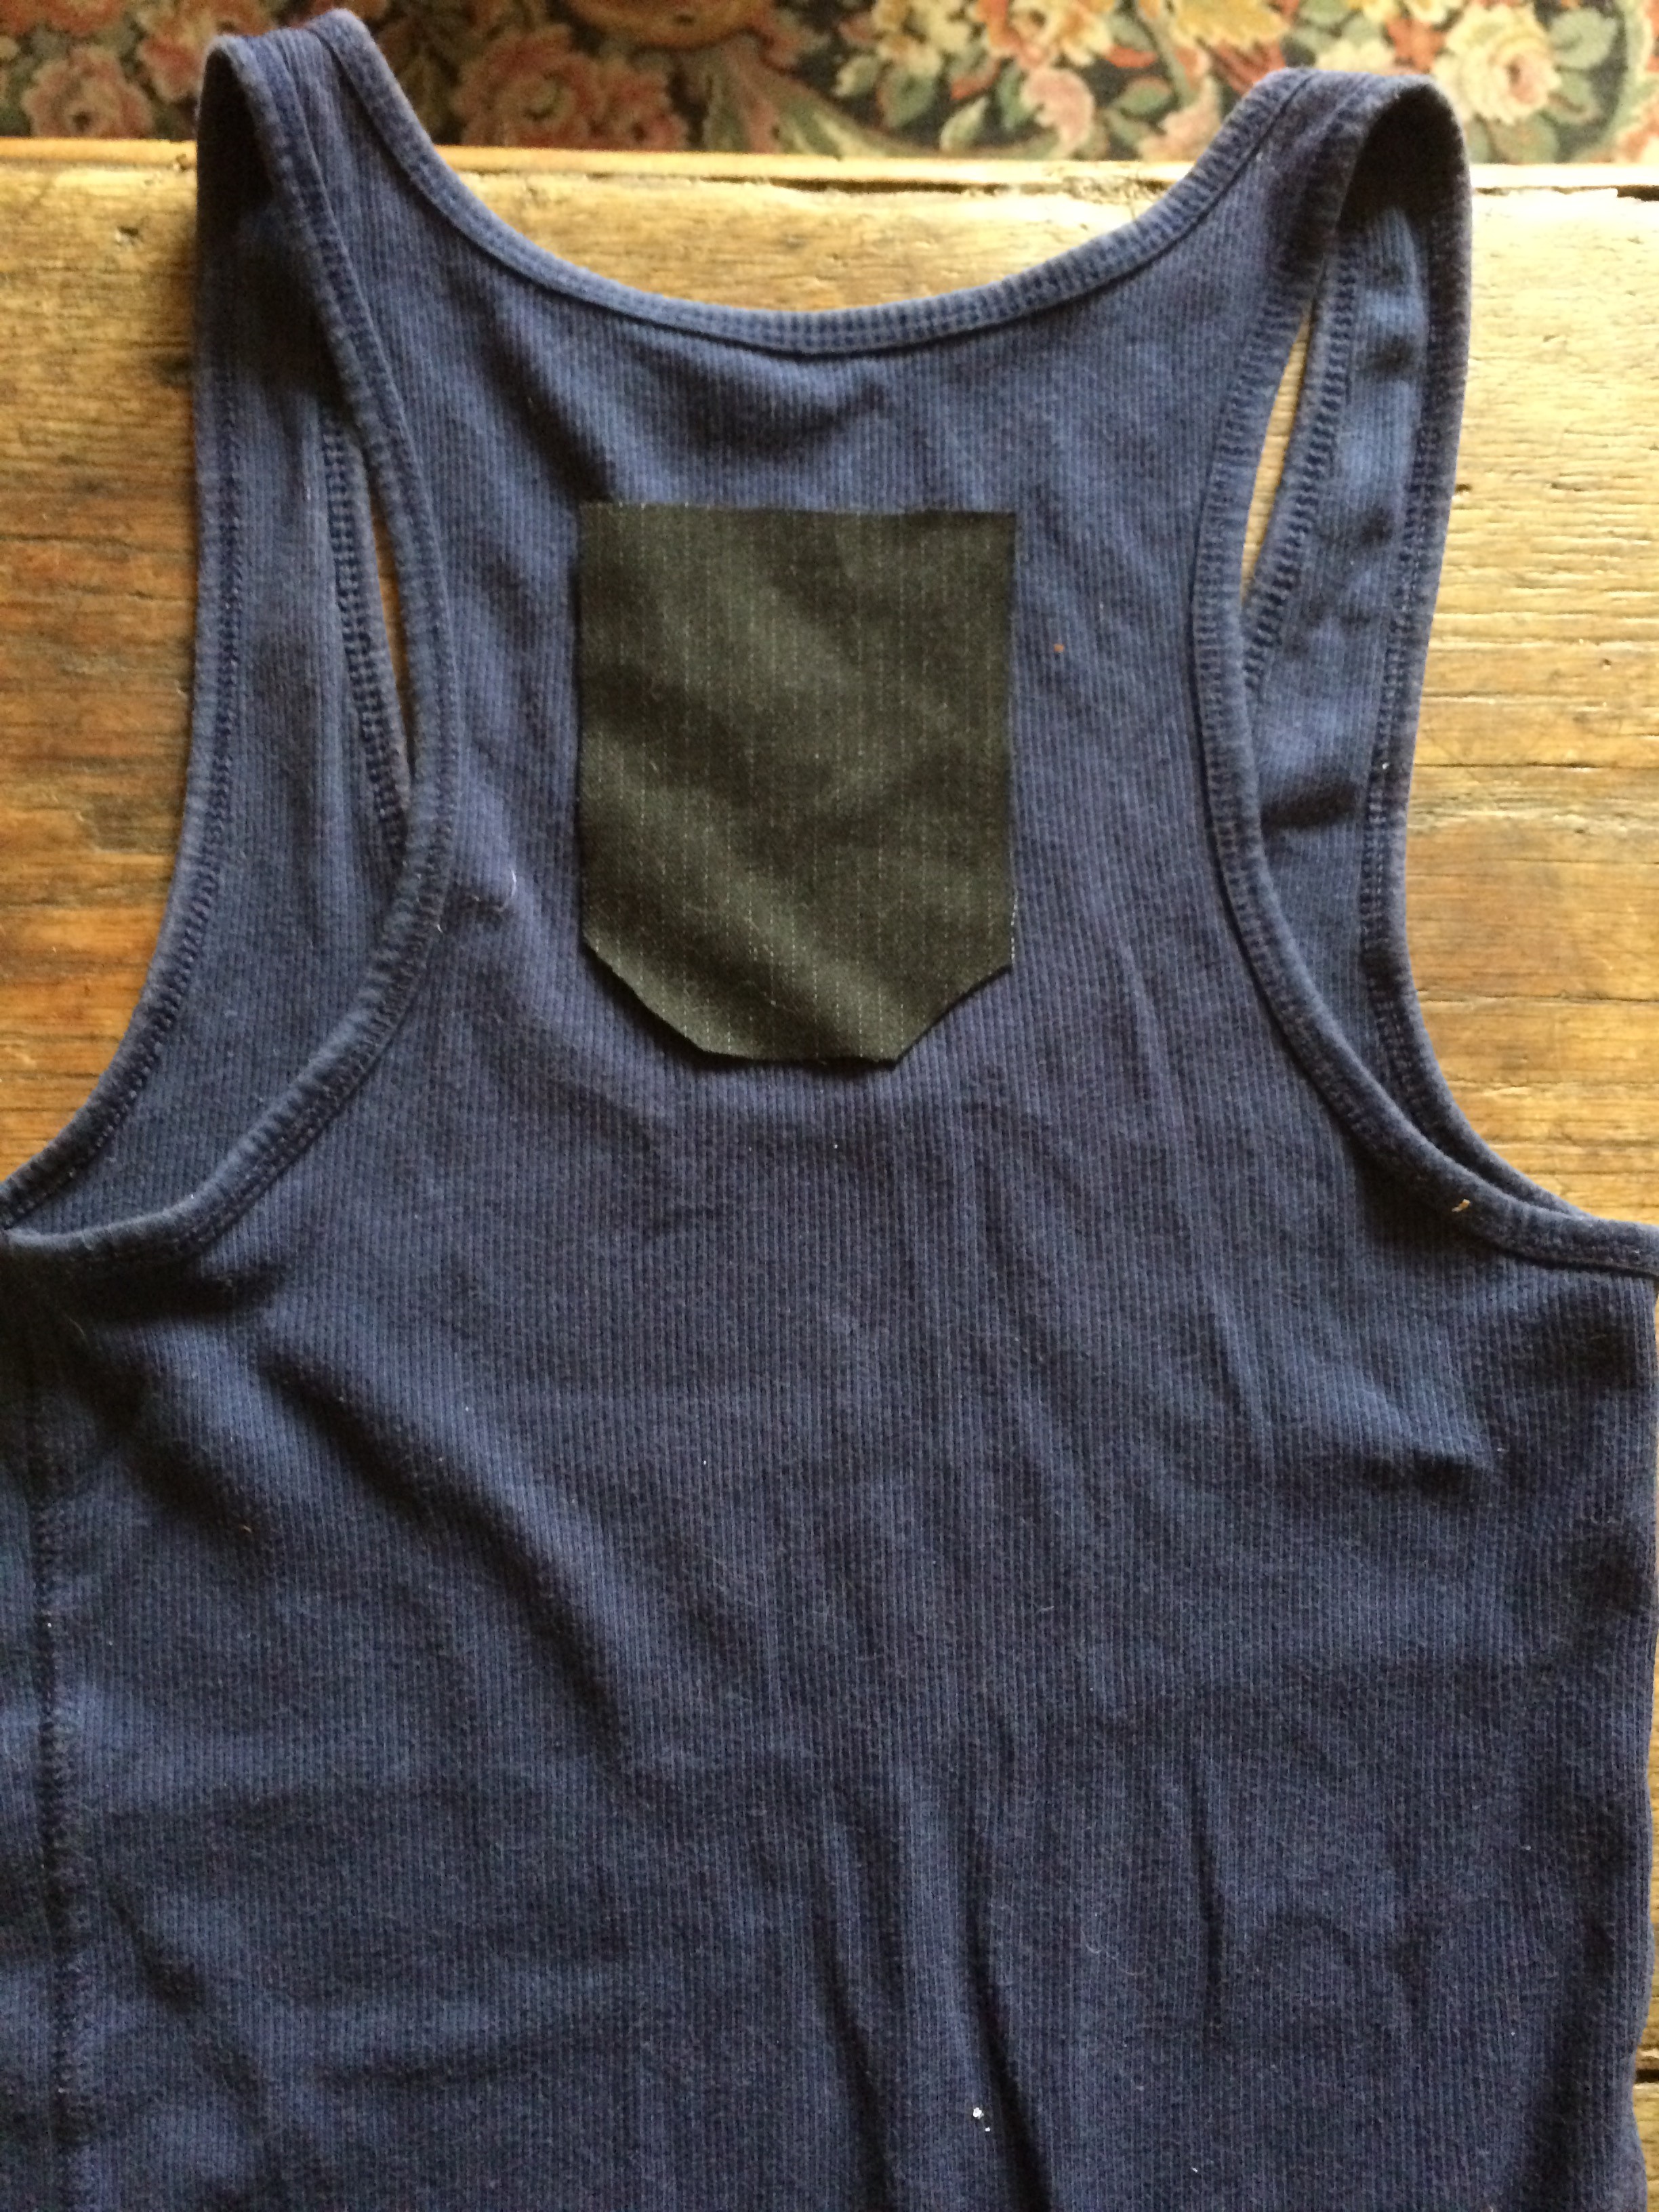
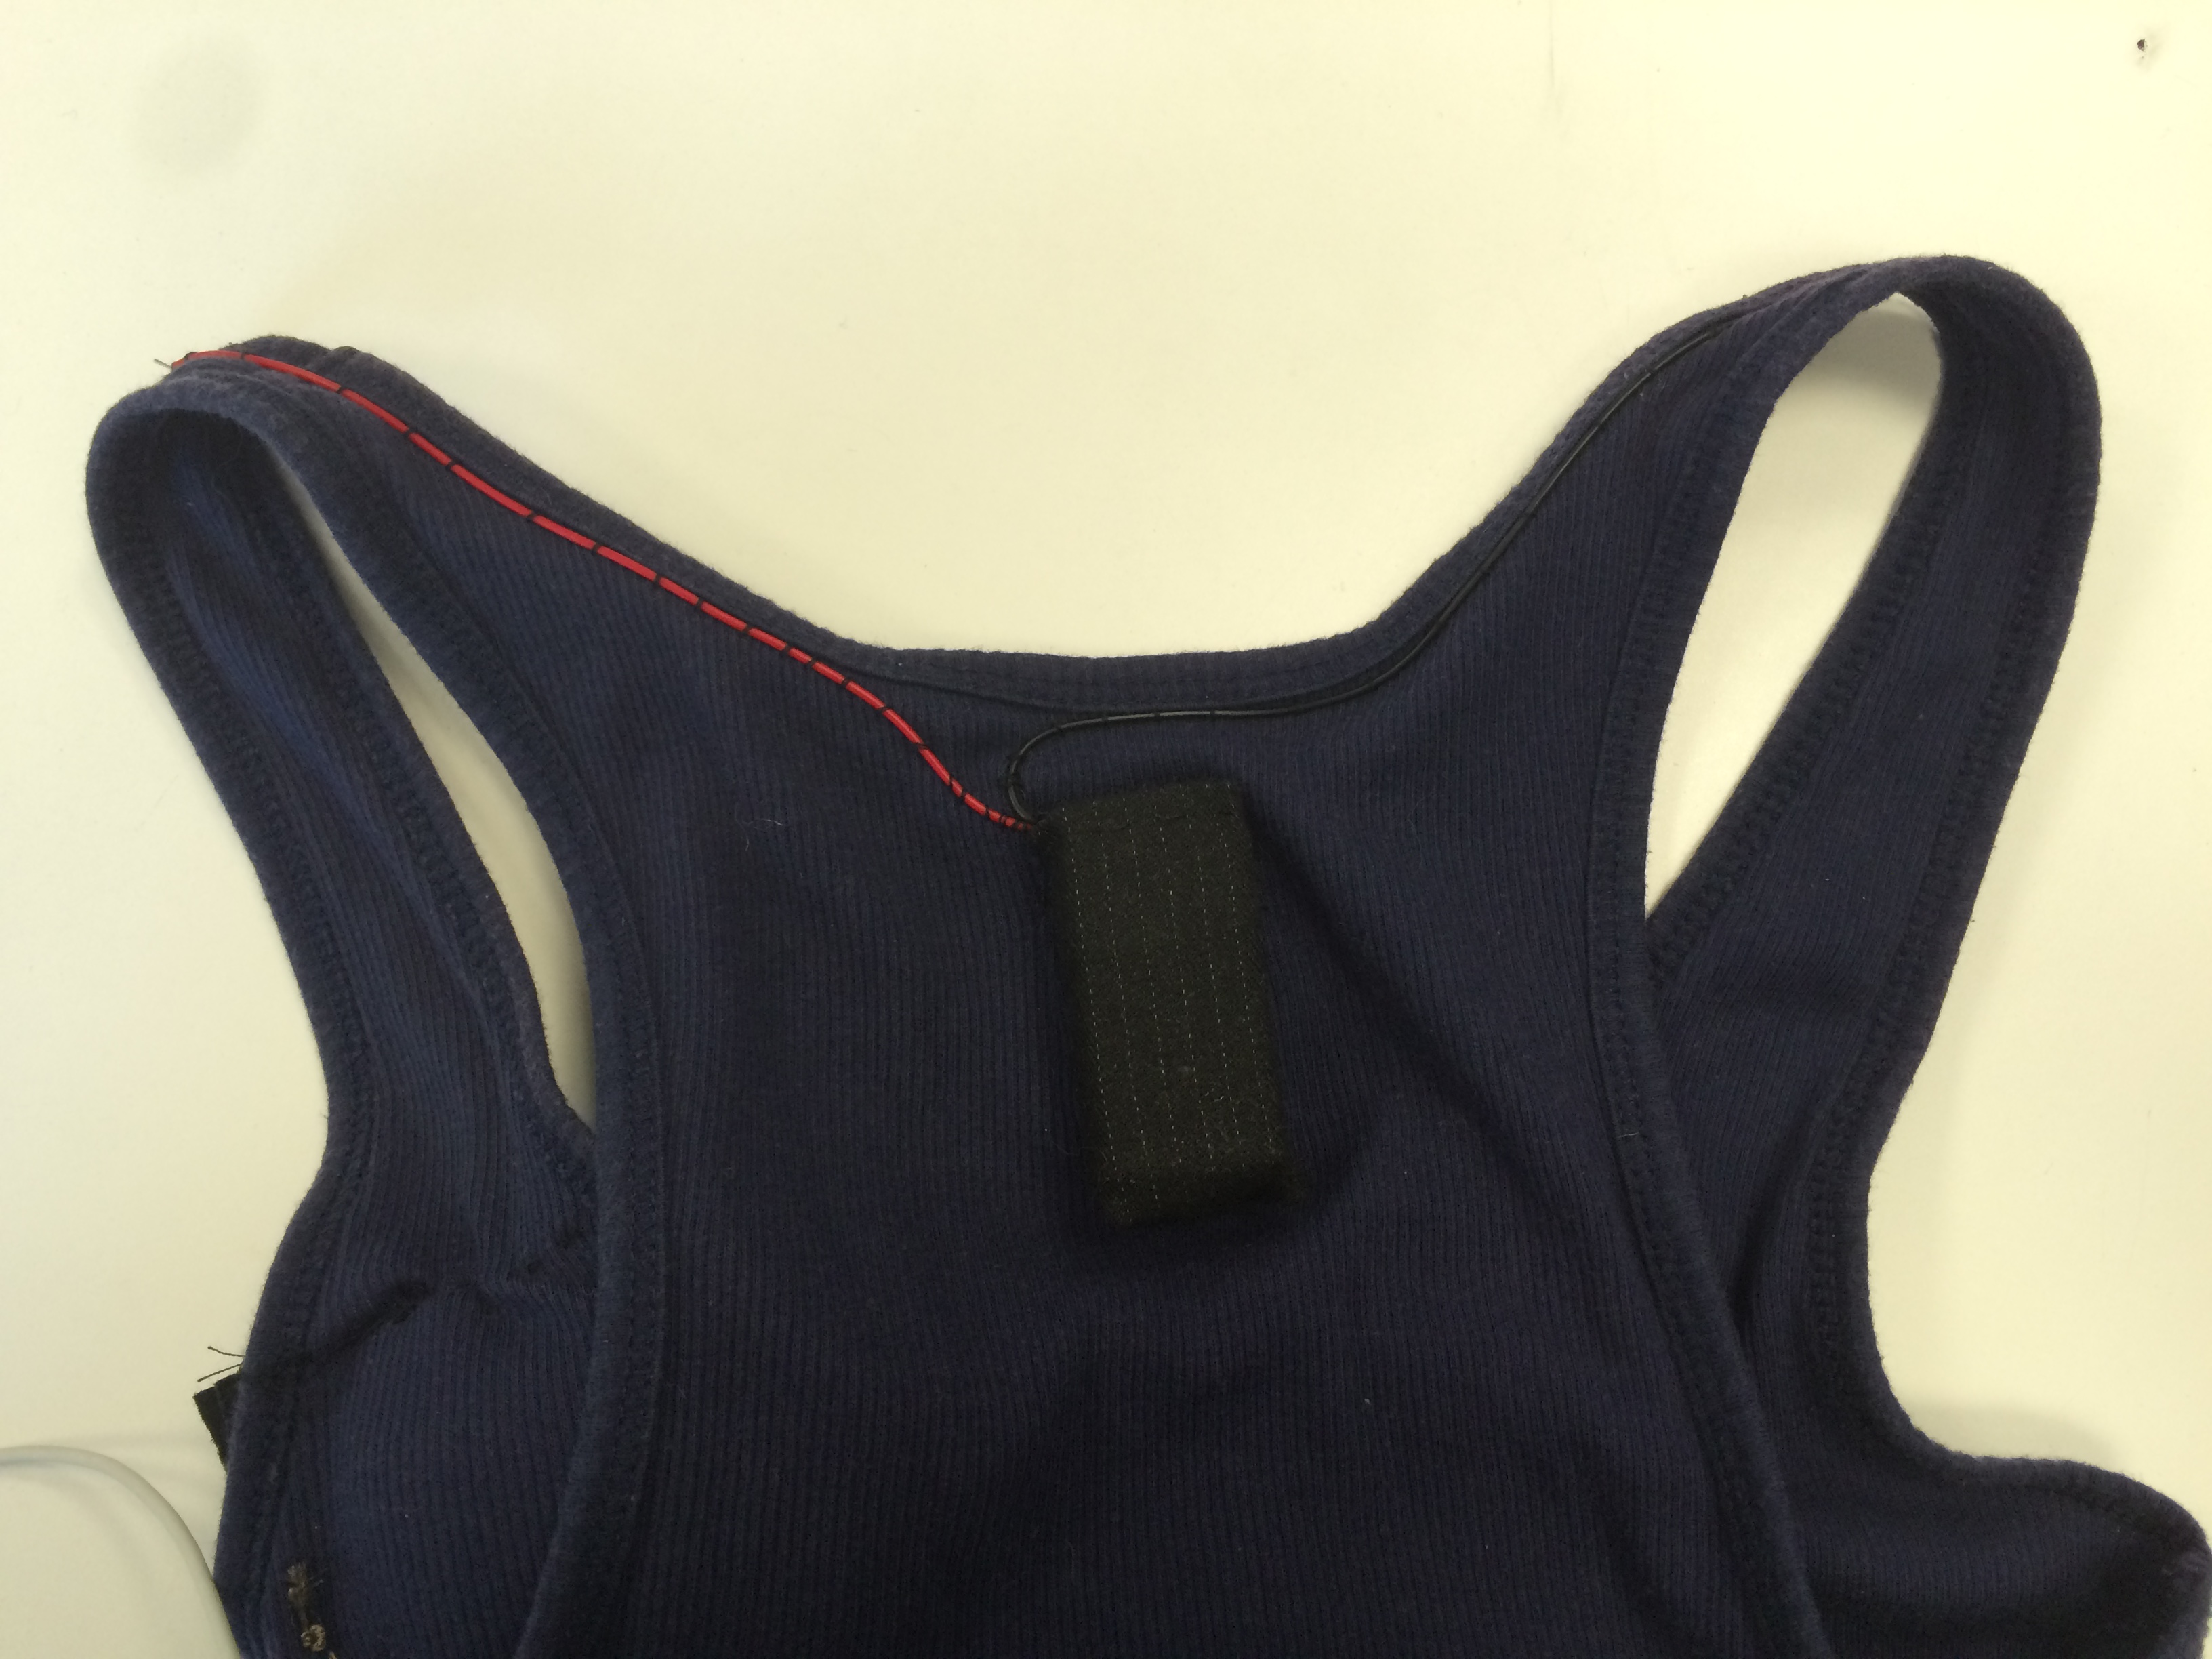
First, I decided to attach the battery, because I was sure of where I wanted to position it. I had to make a pocket and attach it on the back of the shirt.
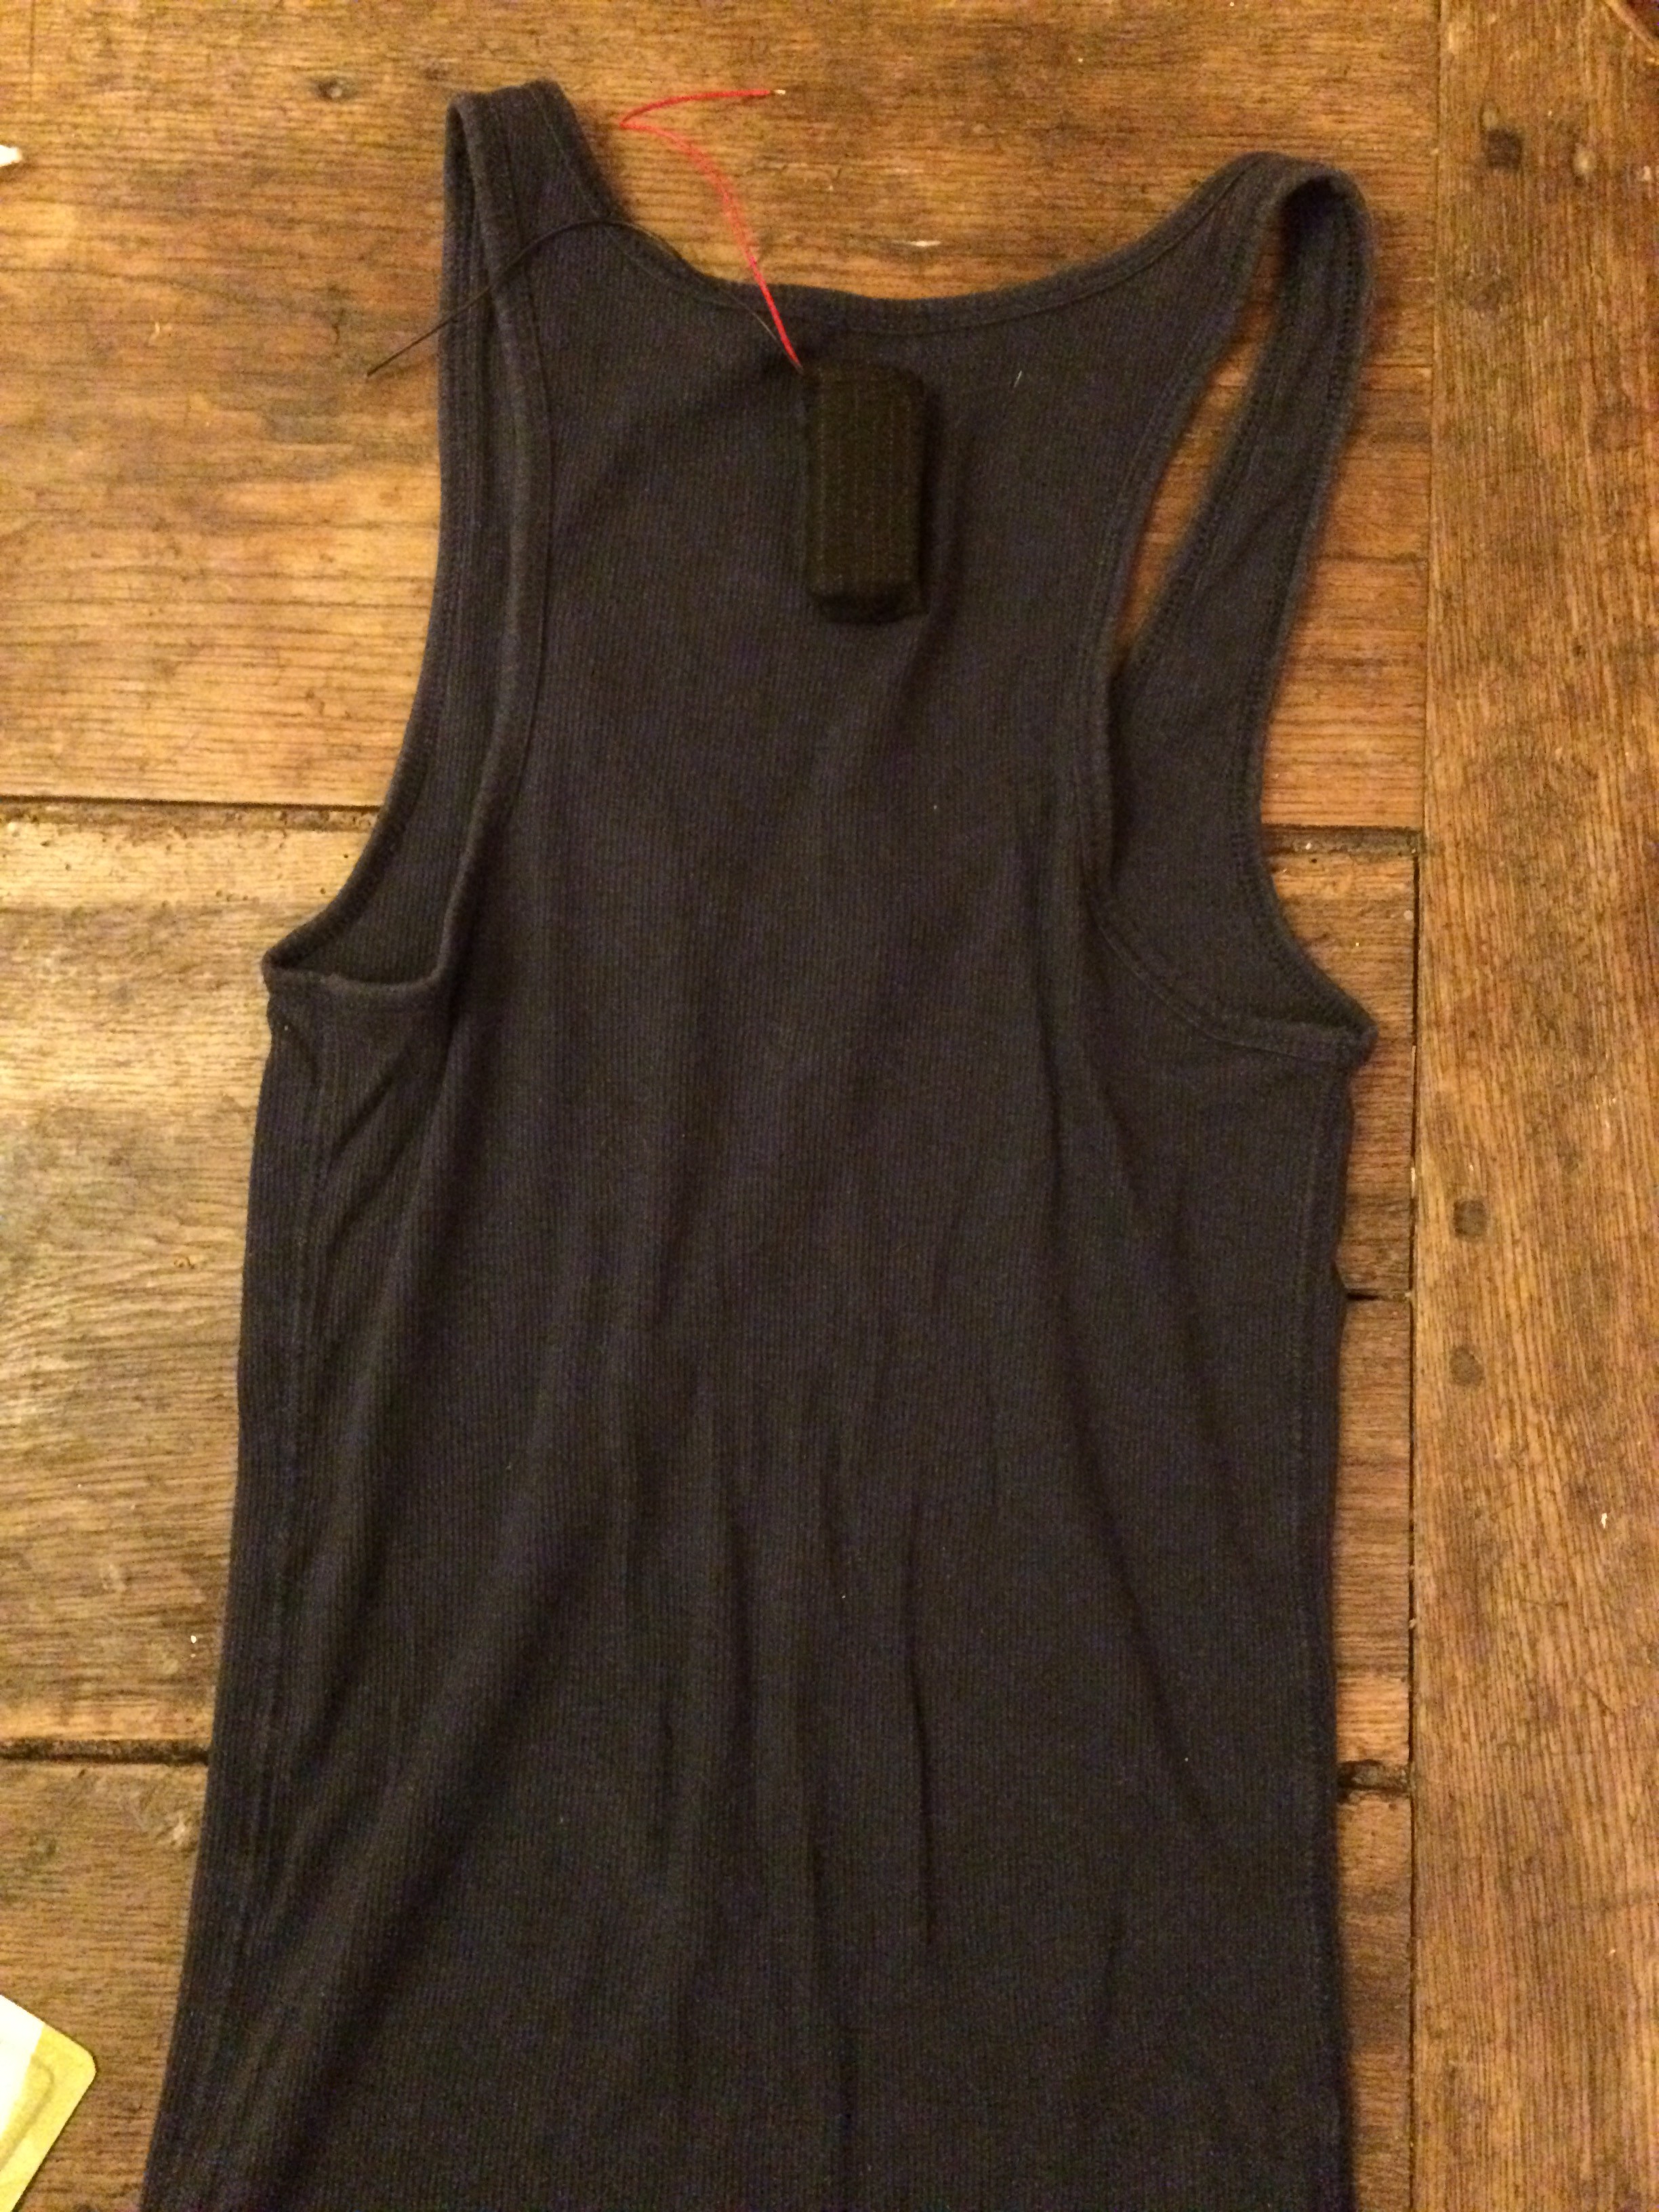
Then I decided on the placement of the button and sewed it on the shirt.
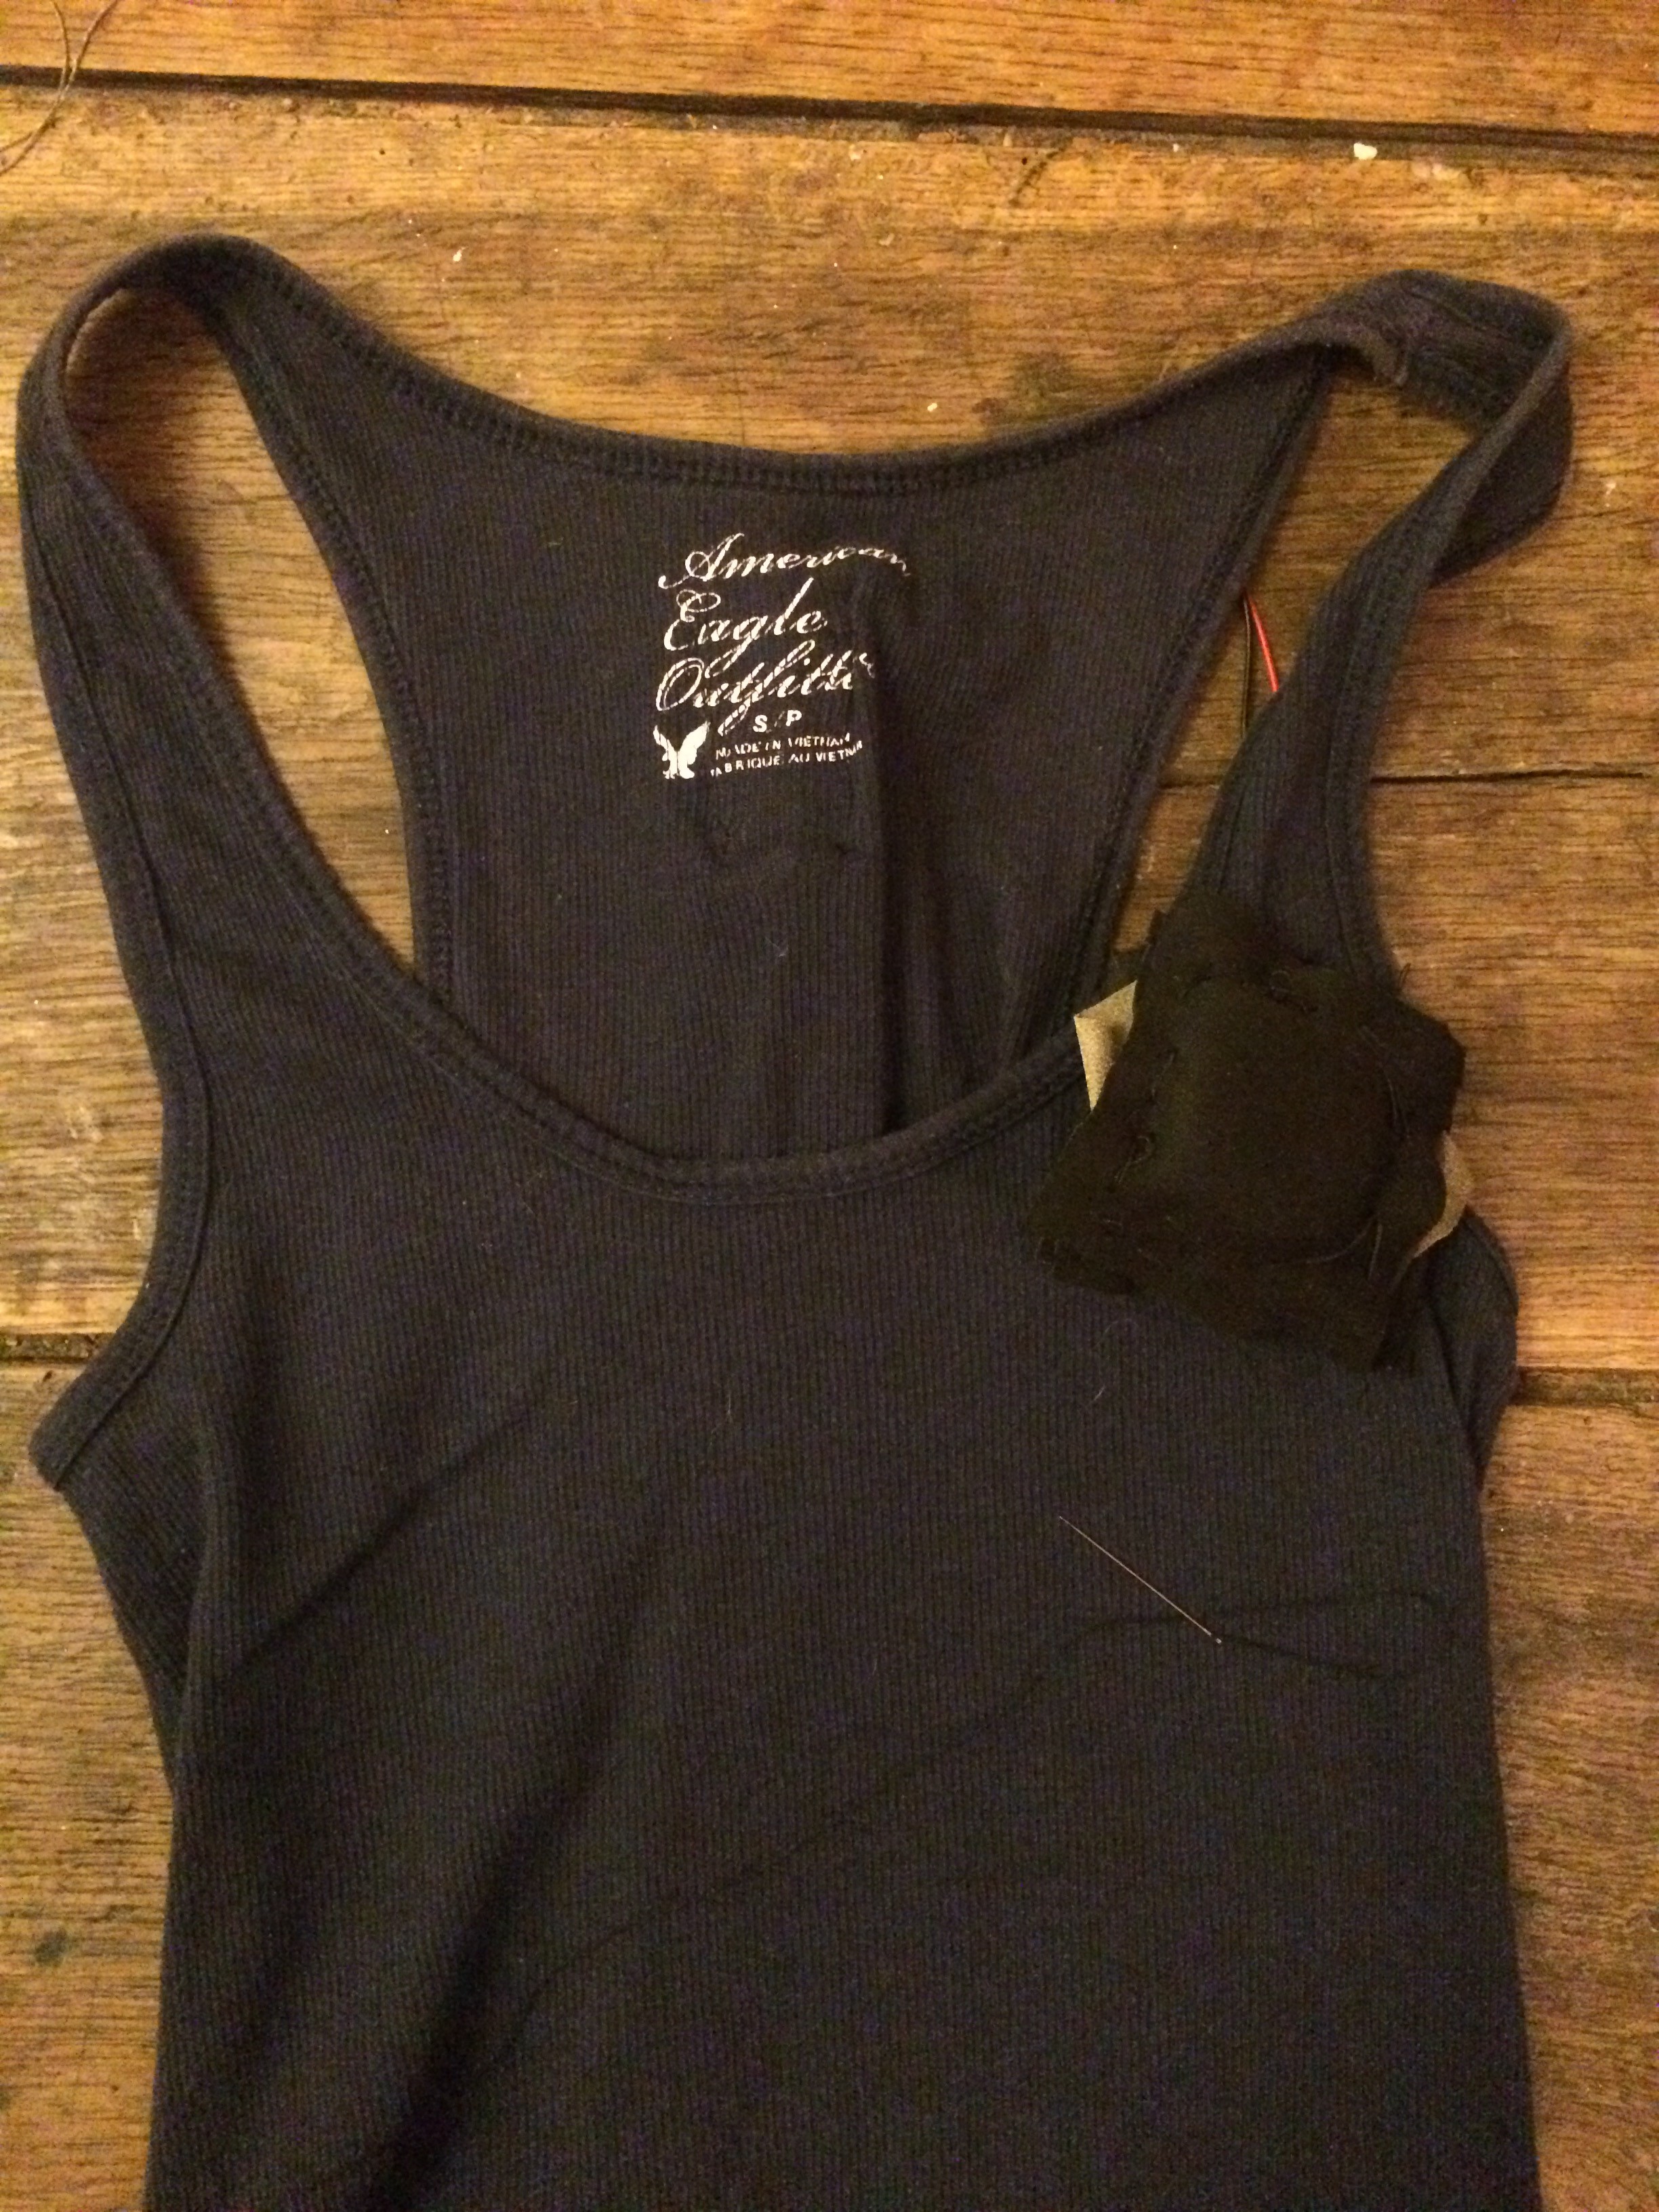
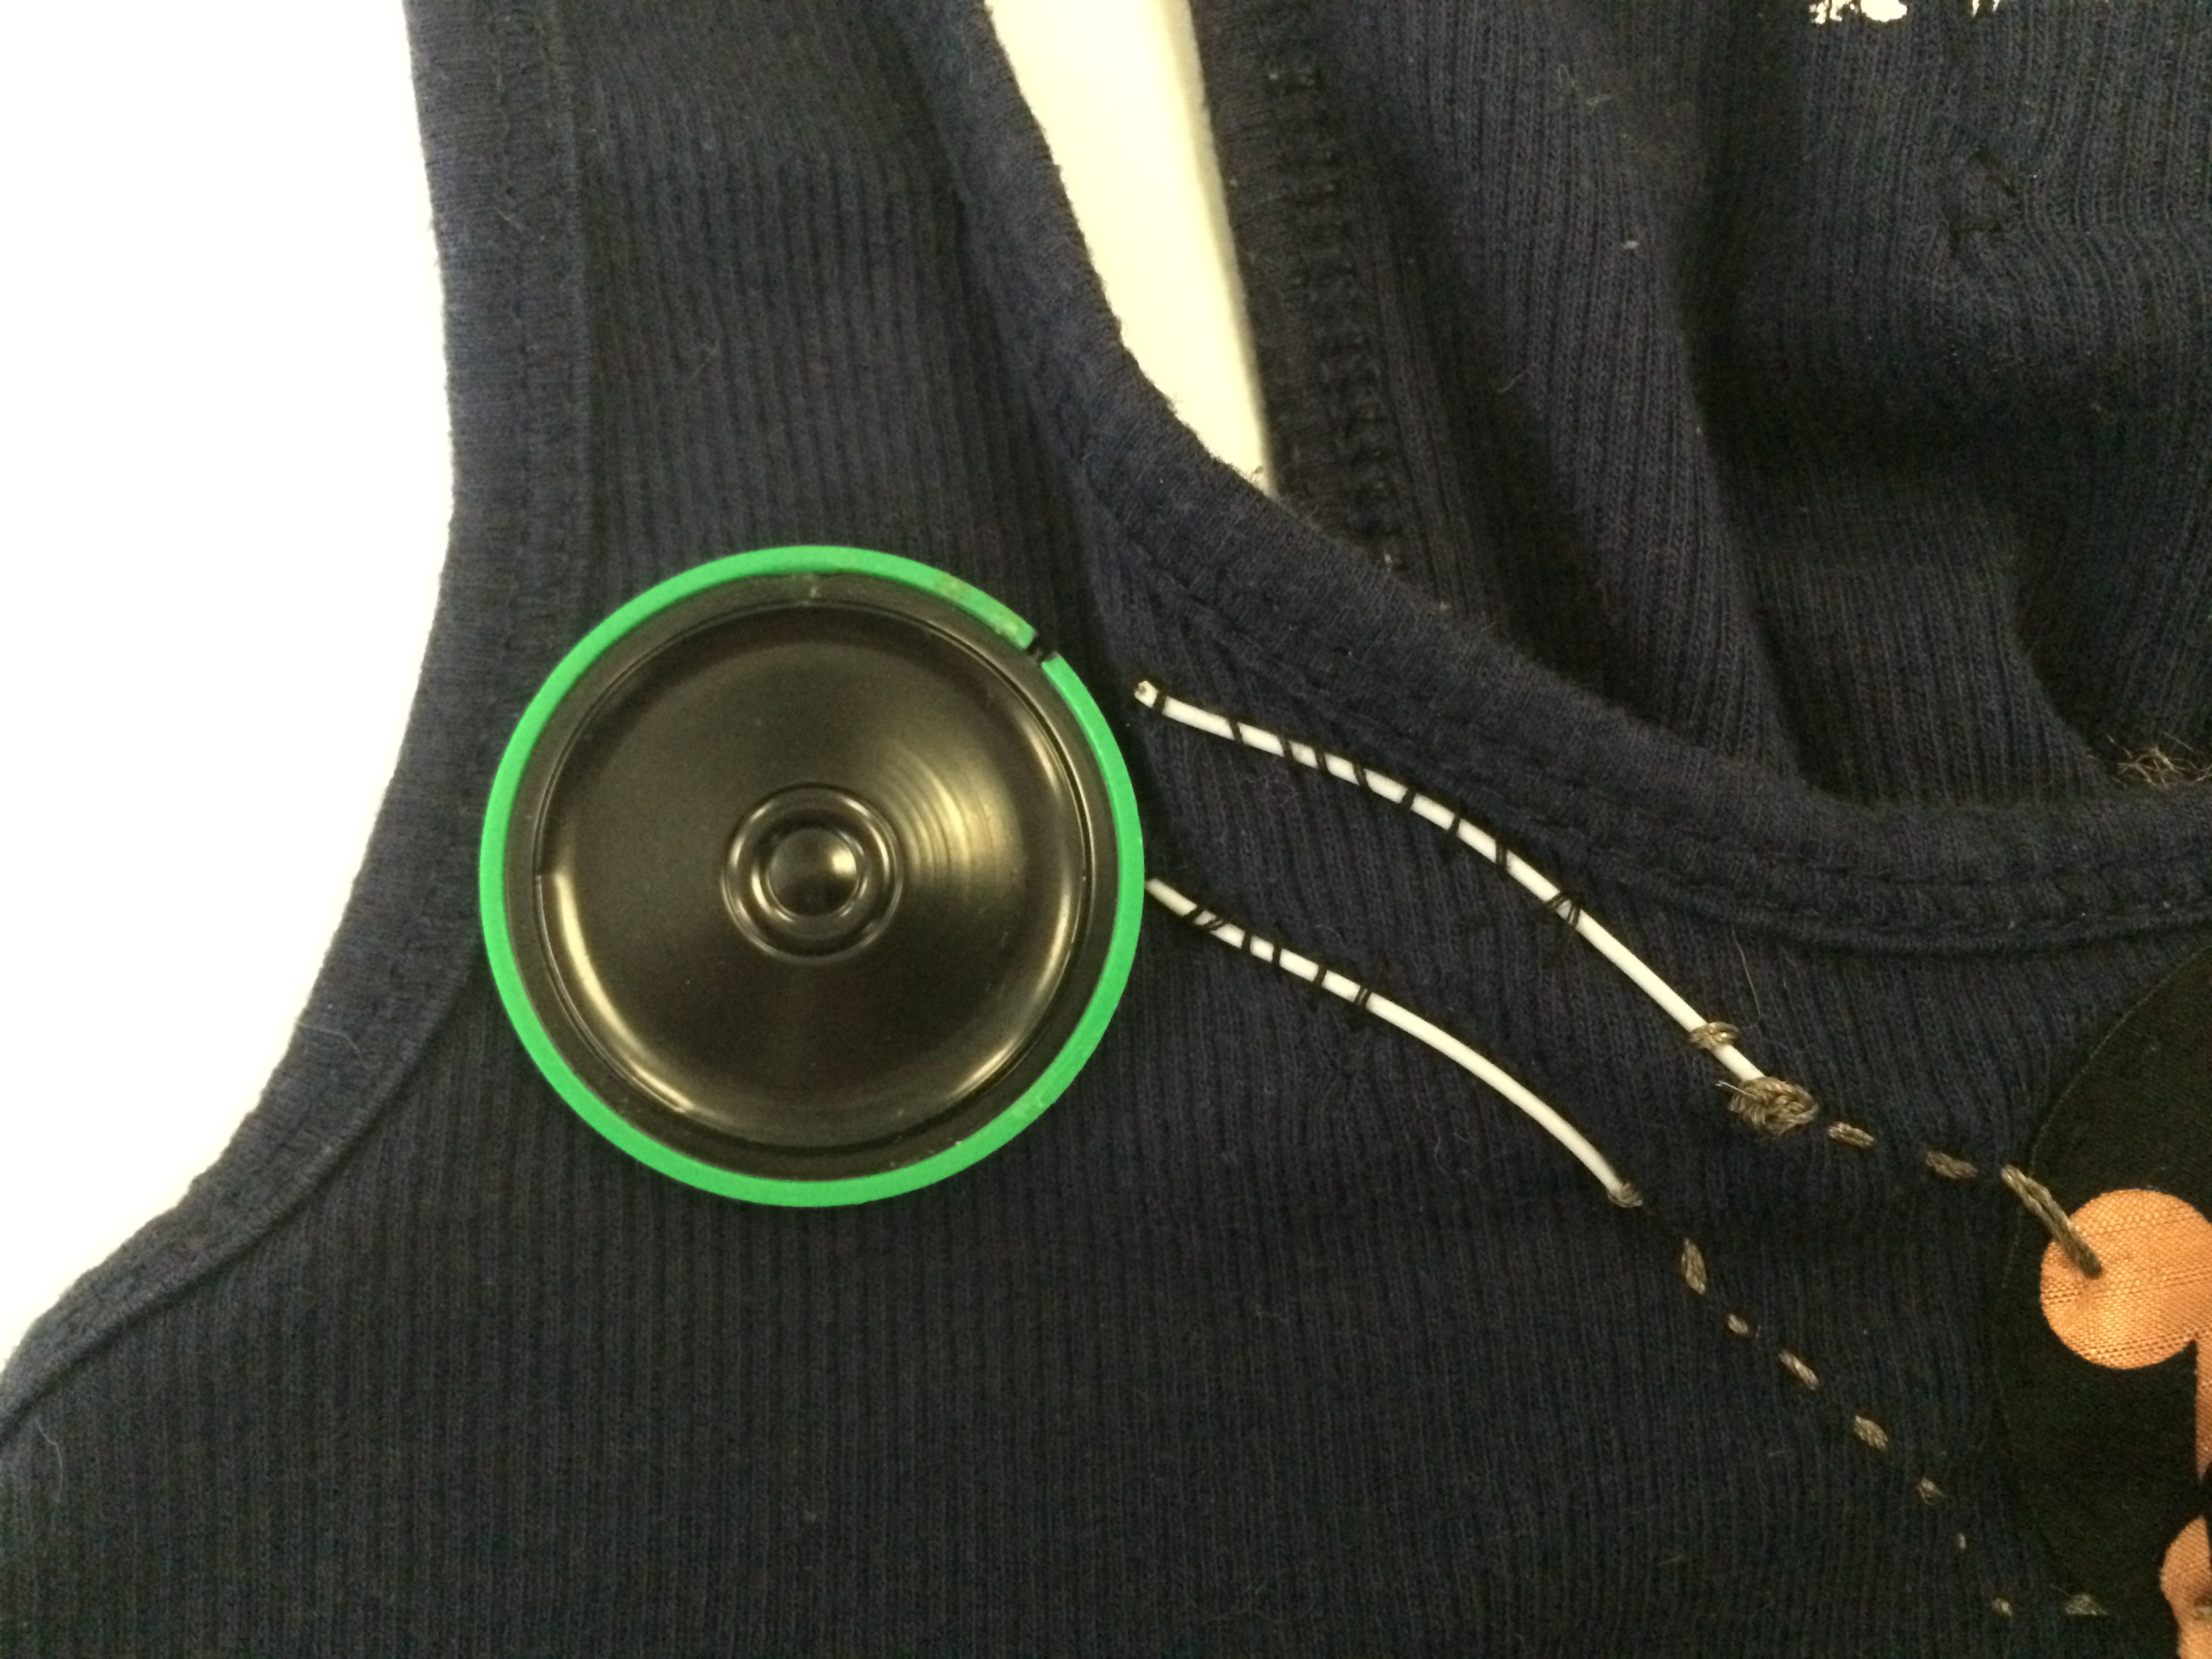
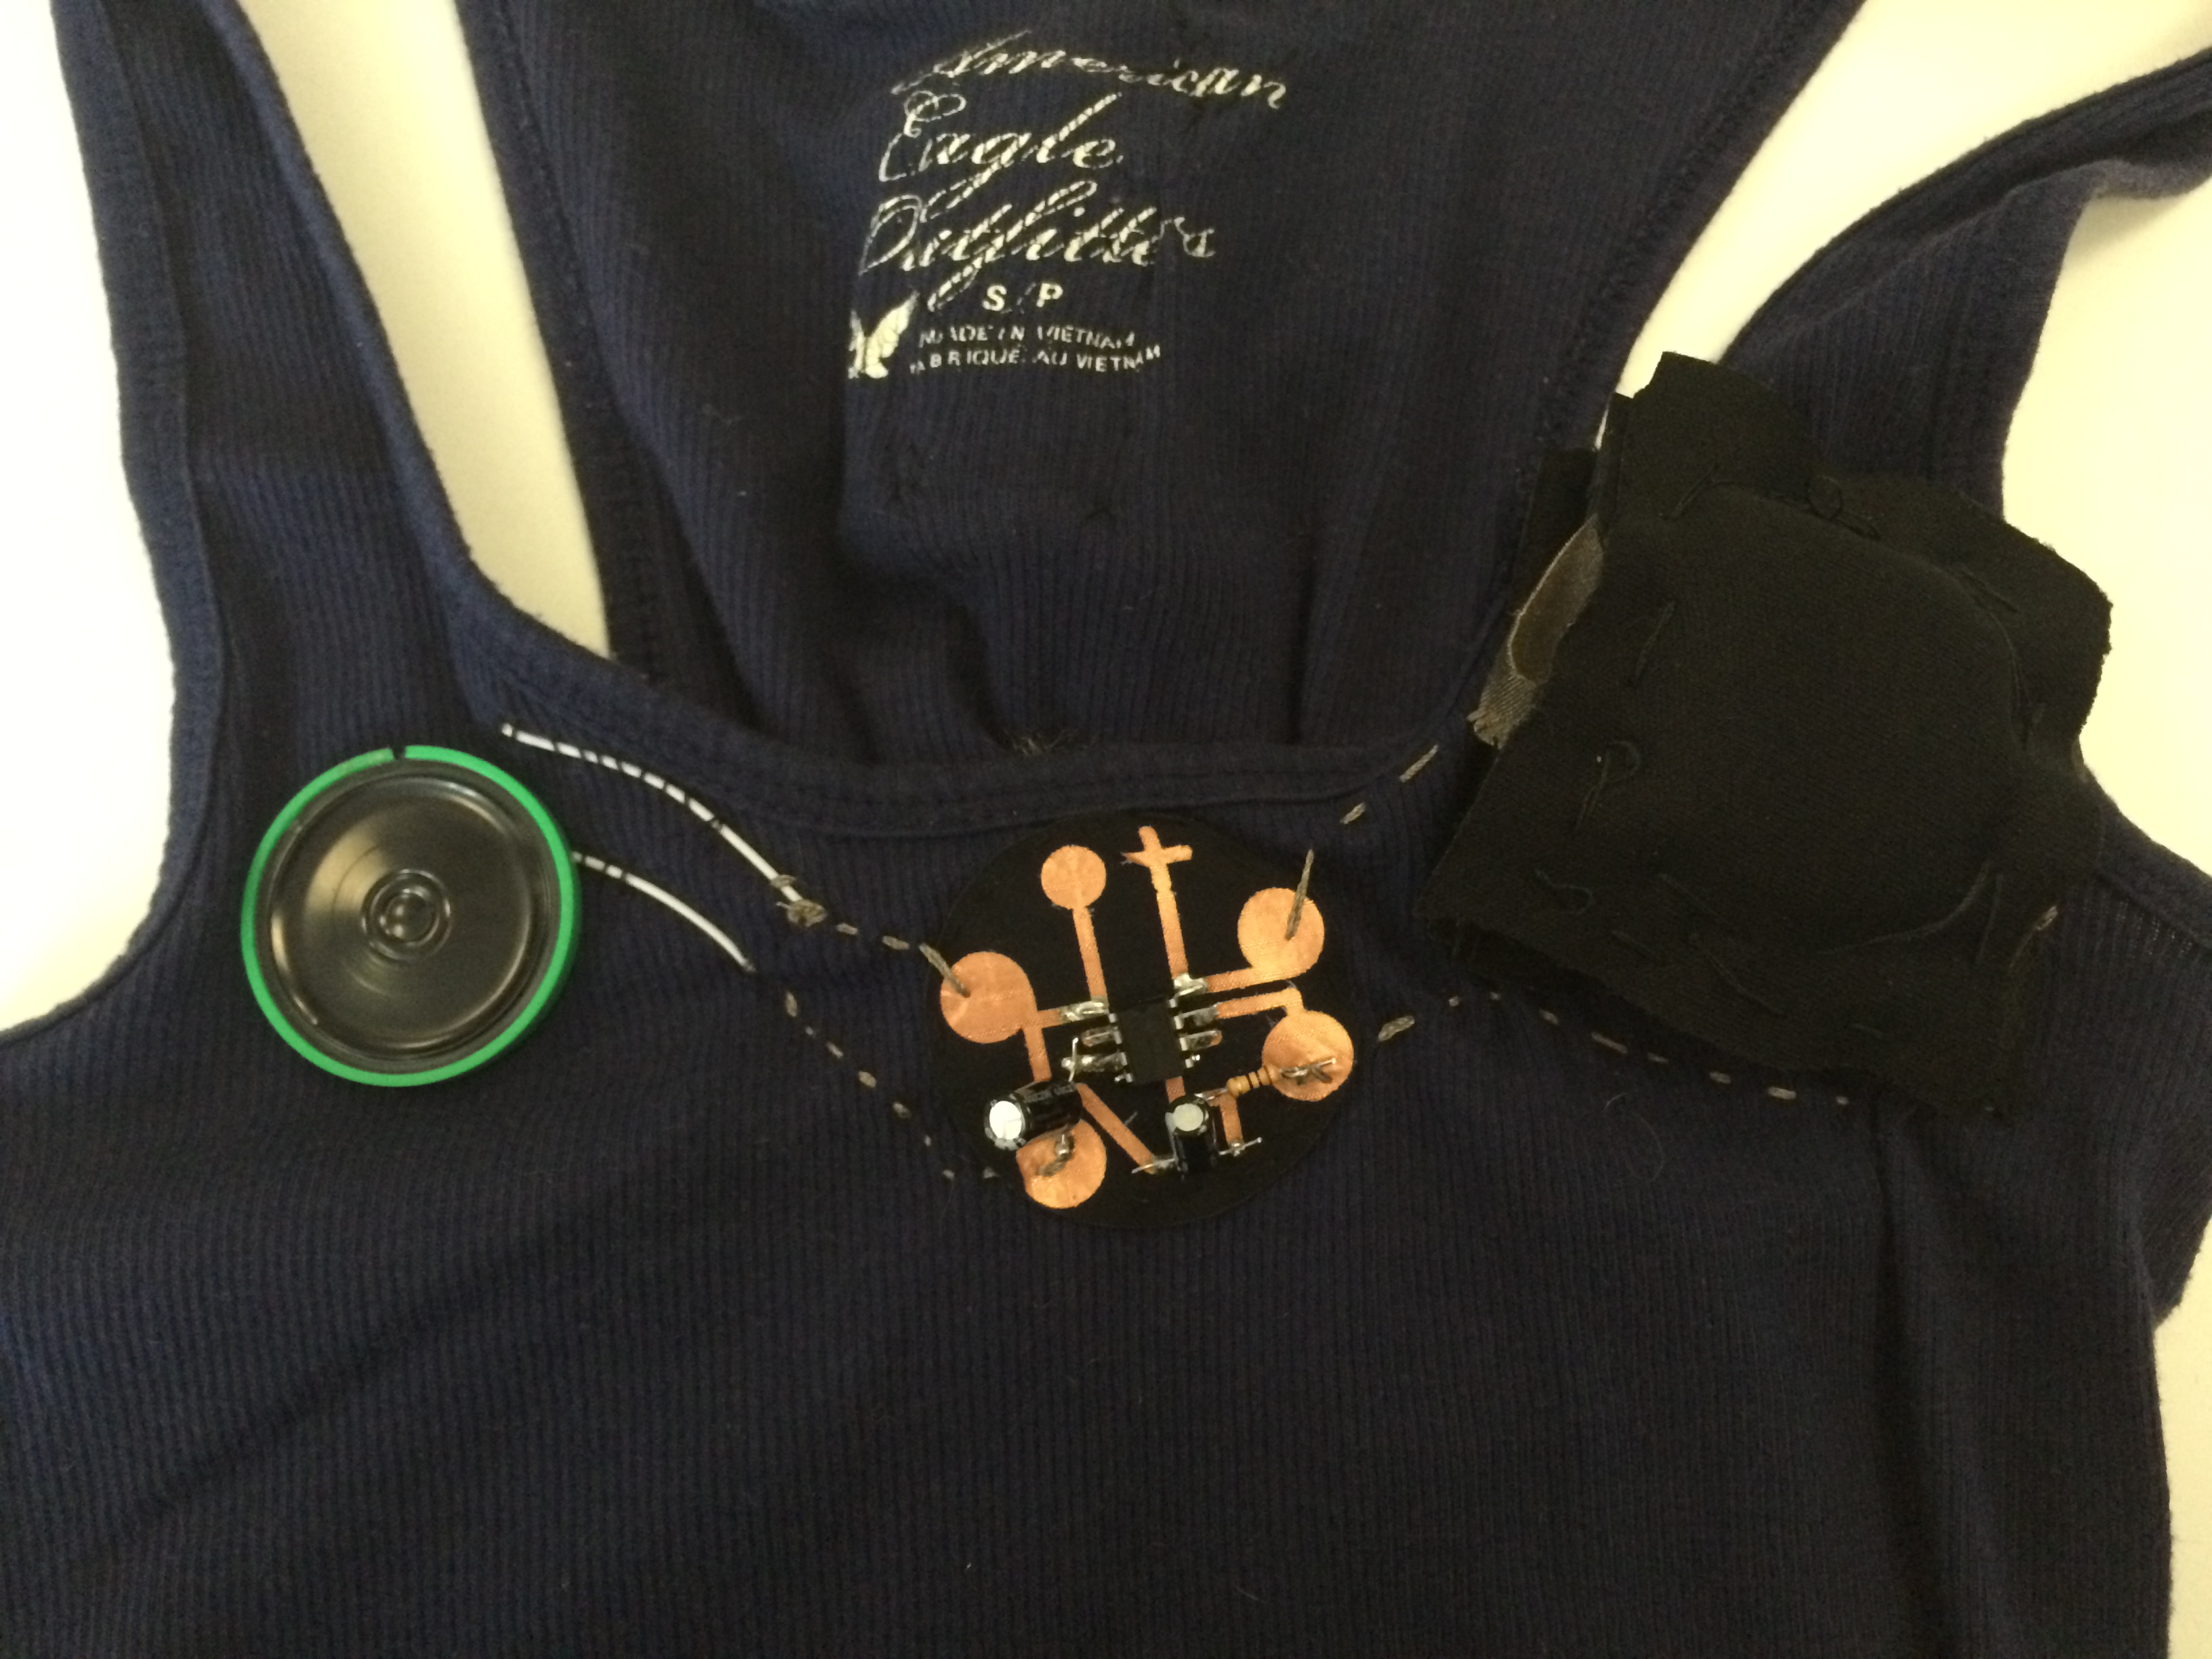
Finally, I sewed on the textilo and the speaker. To connect the all the components with the textilo I used conductive thread.

I ran into a problem as I was working on the shirt – my speaker fell off, so I had to solder it back on.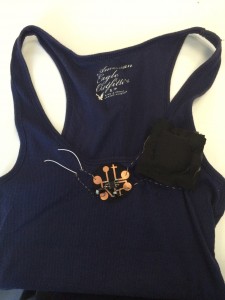

Once everything was sewed on, I had another issue with the shirt, because it would only work when you press one of the capacitors into a certain position:
Here is the final version: